Date Published: March 19th, 2025 | Last Updated: March 19th, 2025
Author: Abby |Category: sides, asian, mains, vegetarian
Serves: 6-8 | Prep time: 20 mins | Cook time: 40 mins
Jump to recipe |
I’ve only ever known “biryani” in the form of chicken biryani, an Indian dish that cooks the chicken and rice together in a mix of spices which results in a flavourful rice dish. I always thought you needed the meat to achieve the flavours of the rice but when we went to Cairo Cafe in Perth for the first time back in October 2021 during our big road trip around Australia, they had an option of plain biryani rice as a side and it blew me away! Their rice was smokey yet flavourful and I just couldn’t get enough of it! I’ve since tried to recreate it multiple times, but sadly I have not achieved a copycat version. However, I did find an alternative biryani/kuska rice recipe from IndianHealthyRecipes and after a few tweaks, it’s still not the same as Cairo Cafe, but also just as tasty so I decided to share it here anyway.
If you’re ever in Perth, I definitely recommend checking out Cairo Cafe in Canning Vale or Cannington. I always got the Chicken Shawarma platter with biryani rice (of course) and Toby would usually order the Gourmet Mixed Platter. This place does grilled meats REALLY well.
What is Kuska Rice?
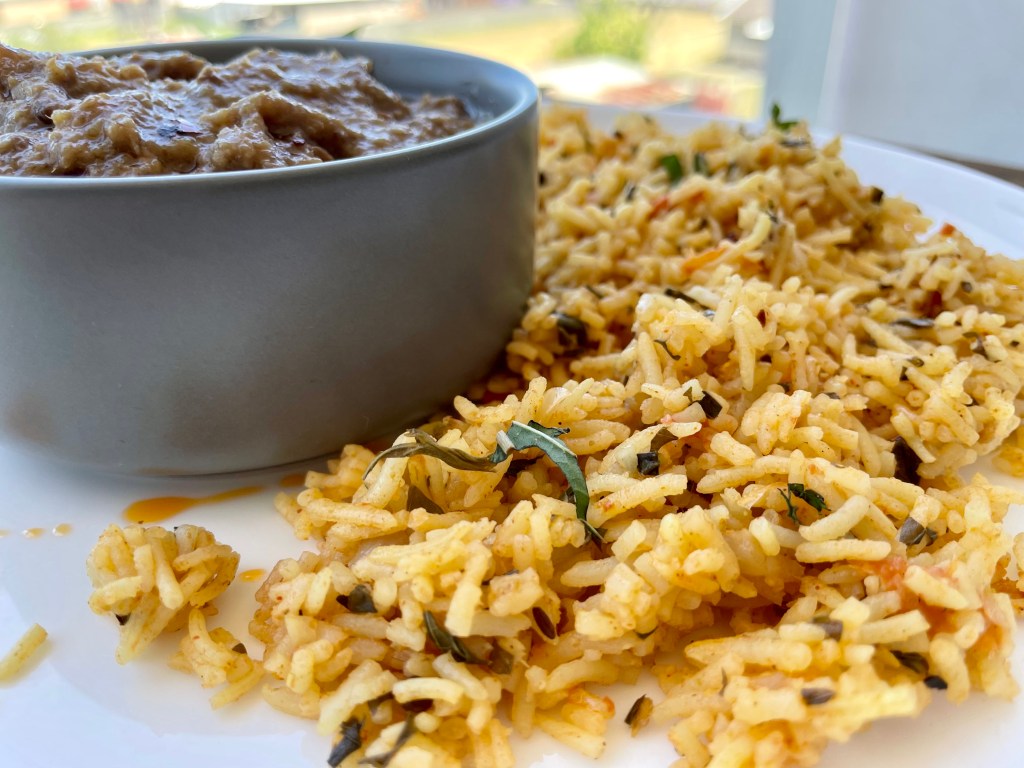
Kuska rice is also commonly known as ‘plain biryani’ which is a South Indian dish that is made without any meat. It is a flavourful spiced rice dish that pairs well with grilled meats such as shawarmas or kebabs. This rice is packed with flavour and goes really well served alongside pita bread and a mint yogurt sauce or toum (Lebanese garlic sauce)!
Anyways, without further ado, here’s the recipe! If you have any comments or suggestions, I’d love to hear from you in the comment section! You can follow me on instagram, youtube and facebook to see all the recipes I post!
Happy cooking!
Ingredients you’ll need:
- 2 cups basmati rice
- 2.5 Tbsps neutral oil
- Spice mix:
- 2 bay leaves
- 6 cloves
- 6 green cardamom pods
- 1 star anise
- 1/2 tsp cumin seeds
- 1 cinnamon stick (~3-4cm)
- 1 tsp red chilli flakes
- 1/2 tsp coriander seeds
- 6 curry leaves
- 1 medium red onion, sliced
- 1/2 Tbsp garlic (~2 cloves), finely minced
- 1/2 Tbsp ginger, finely minced
- 1 large tomato (or 2 medium), diced small
- 1/4 cup plain or Greek yoghurt
- 1/2 tsp salt (or more to taste)
- 1.5 tsps garam masala powder (or biryani masala)
- 1/4 tsp turmeric powder
- 1 tsp smoked paprika
- Handful of mint leaves, chopped
- 3.5 cups chicken stock
Directions:
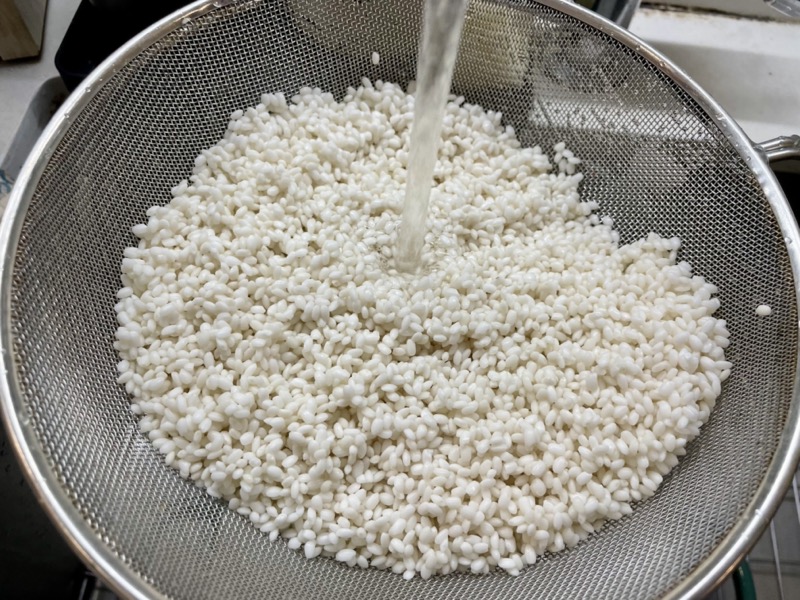
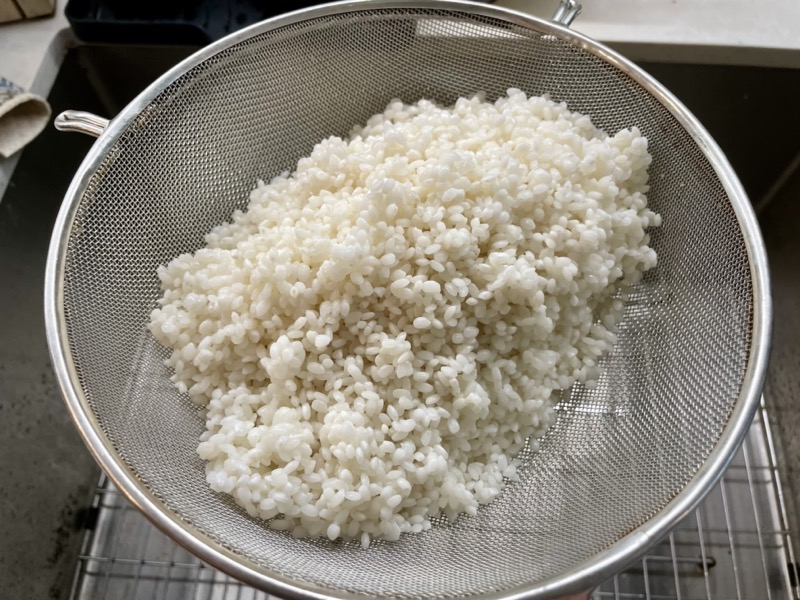
Rinse and soak the basmati rice for 20 minutes then drain it (you can prep the rest of the ingredients while the rice soaks).

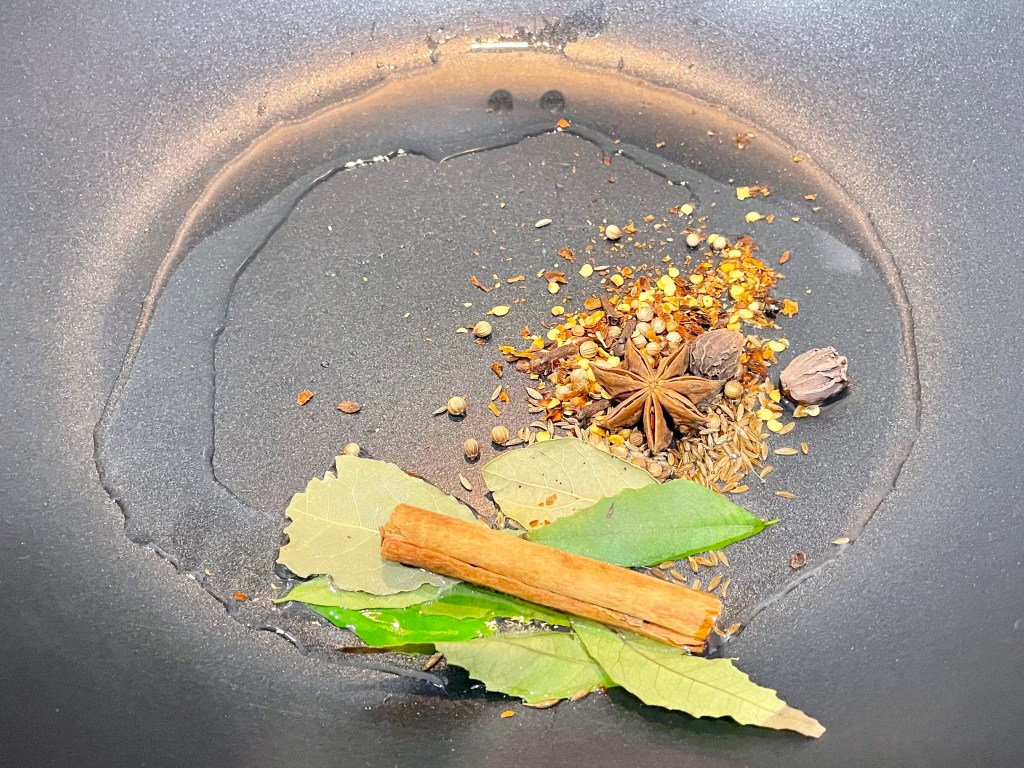
Heat up a medium pot or pan on MED-HIGH heat and add in the oil. Next add in the spice mix (2 bay leaves, 6 cloves, 6 cardamom, 1 star anise, 1/2 tsp cumin seeds, 1 cinnamon stick, 1 tsp chilli flakes, 1/2 tsp coriander seeds, 6 curry leaves). Sauté the spices in the oil until the cumin seeds start to sputter (~5 mins).


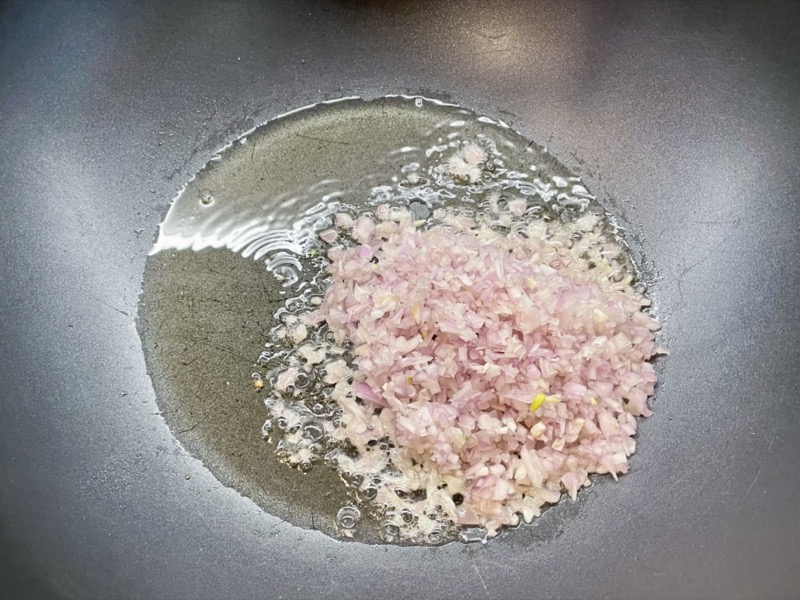
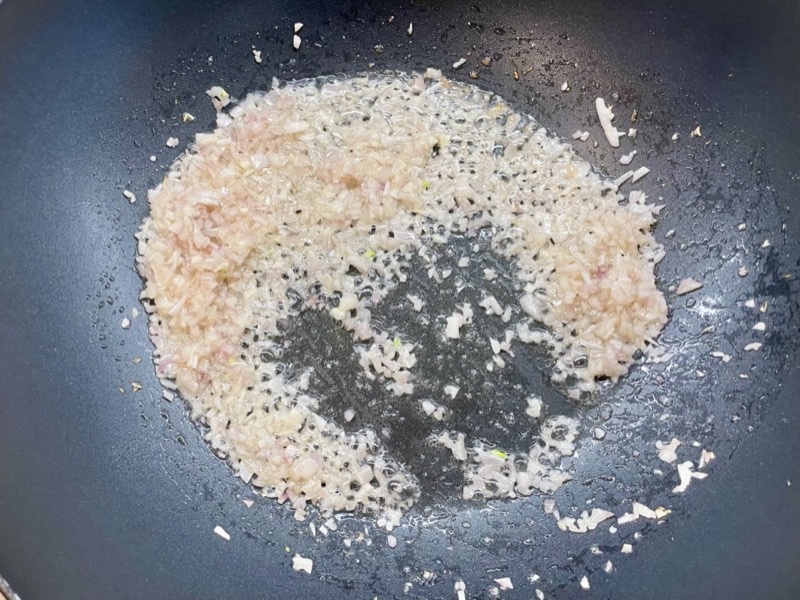
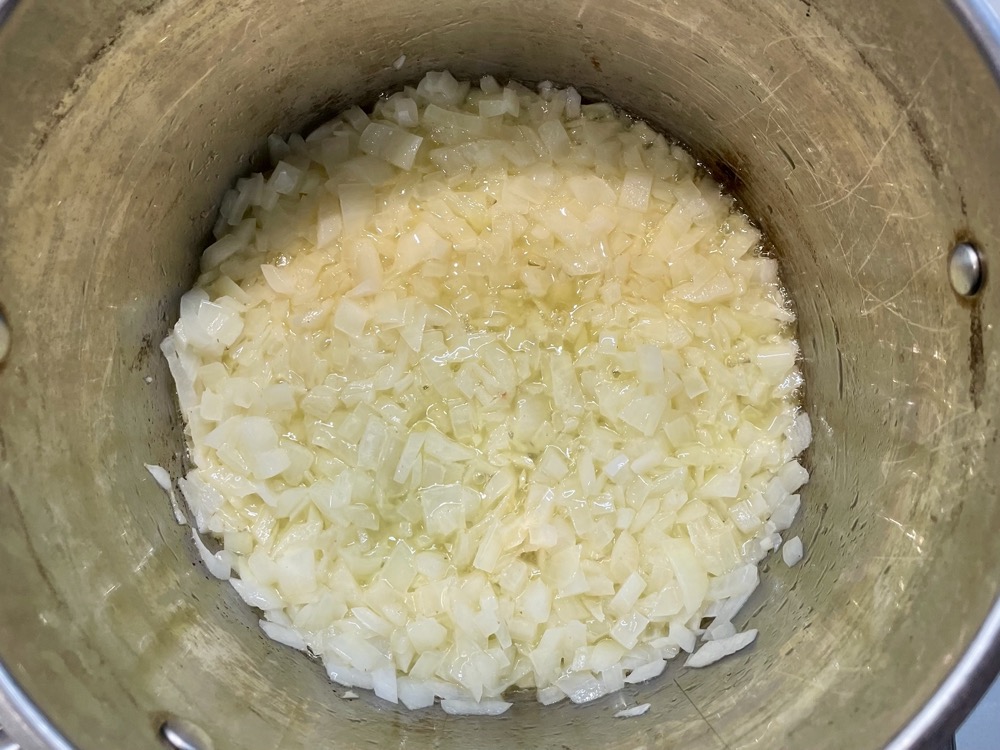
Next add in the red onion and continue to sauté until the edges of the onion turn golden brown (~5 mins). Add in the garlic and ginger and cook until fragrant (~1 min).


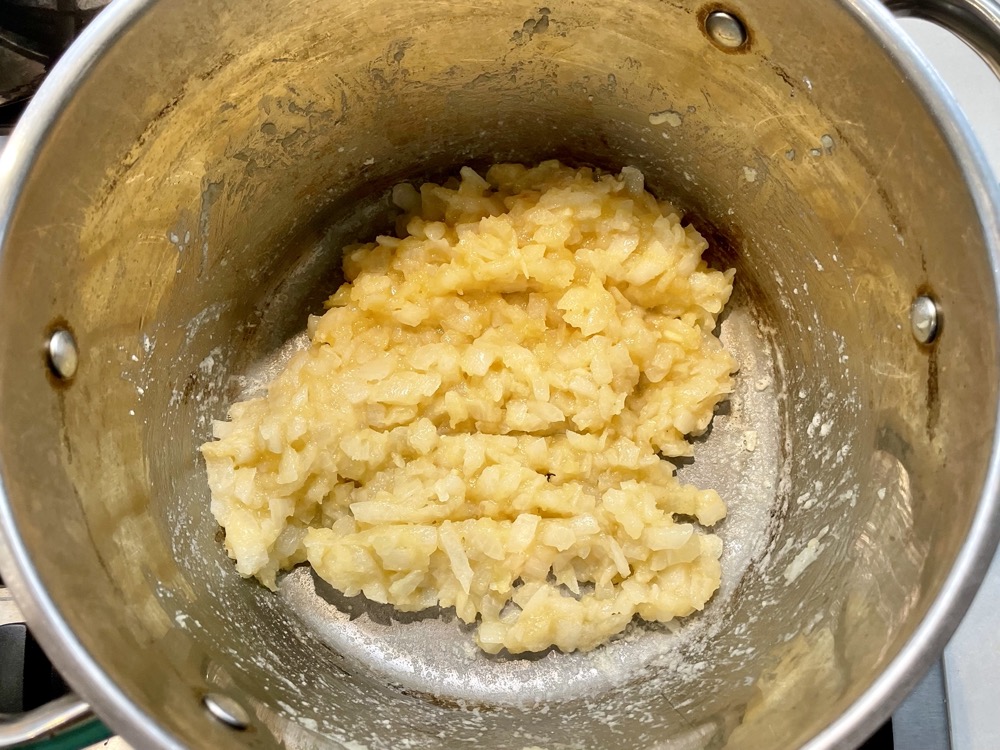
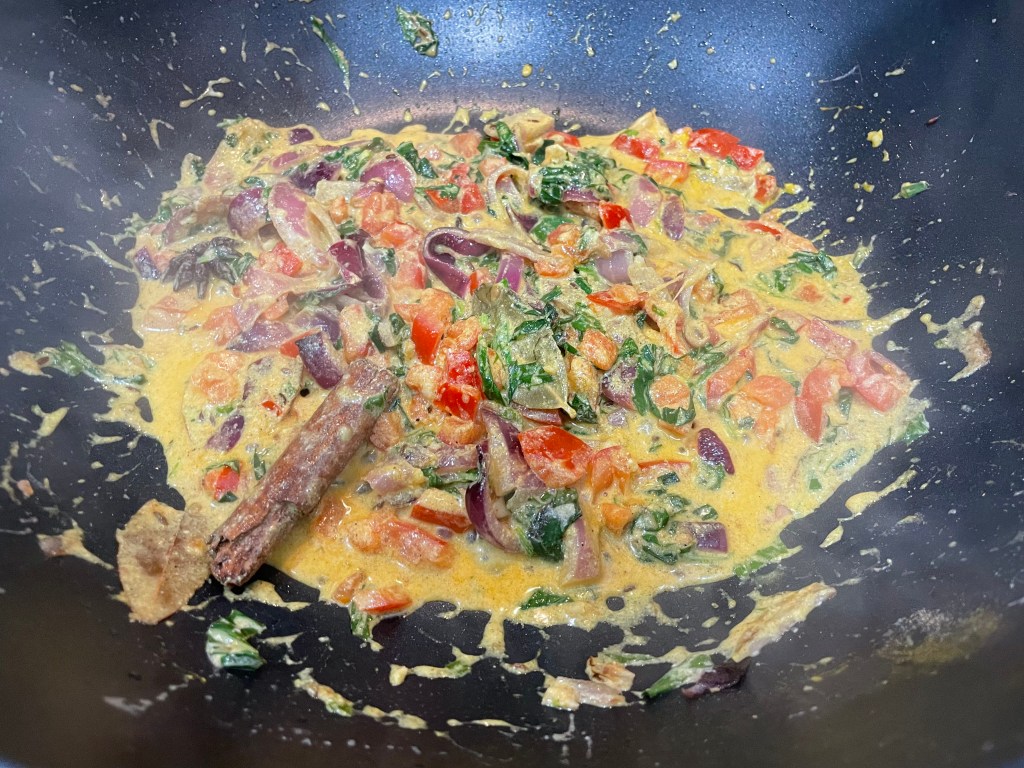
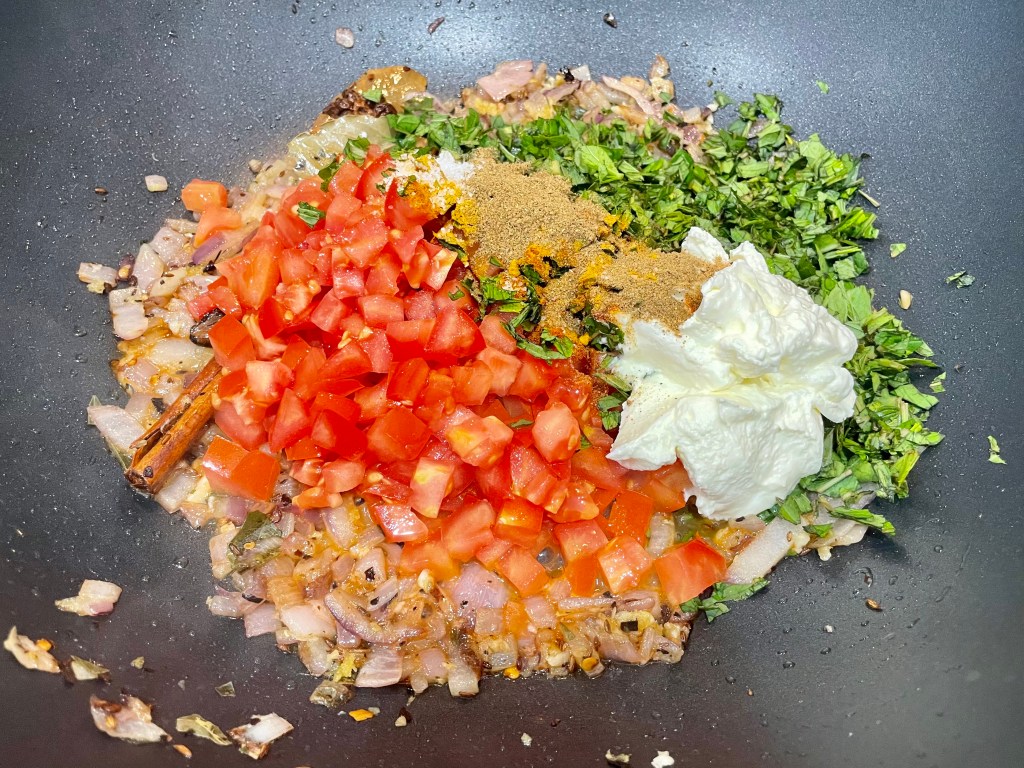
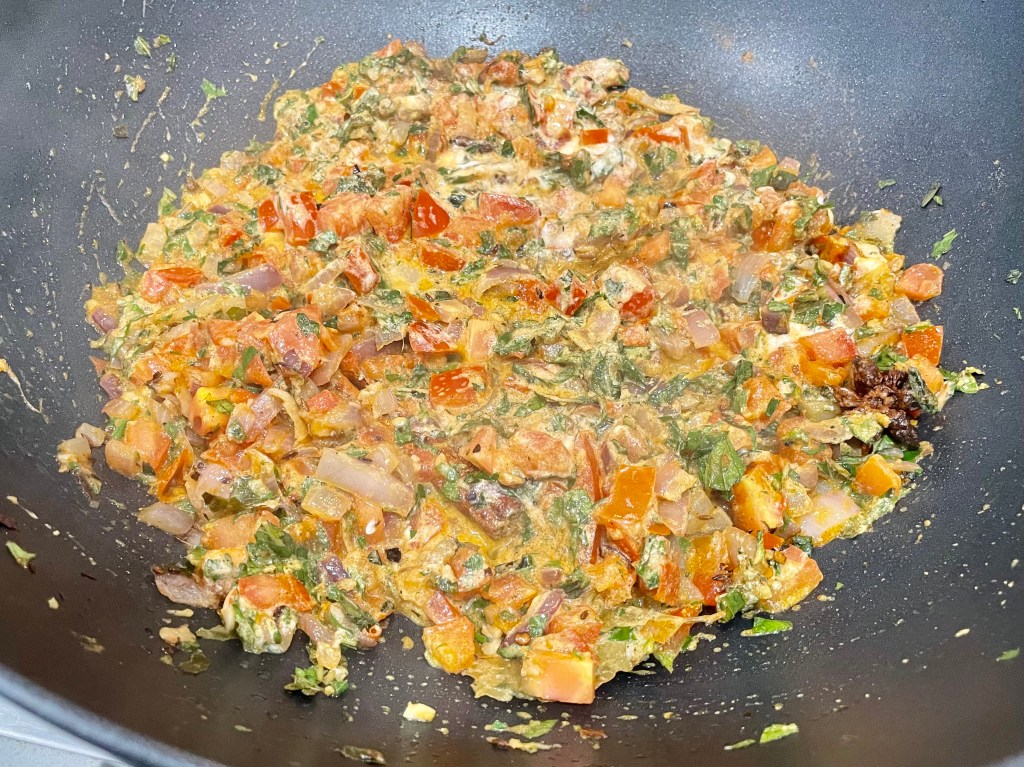
Next add in the tomatoes, 1/4 cup plain yoghurt, 1/2 tsp salt, 1.5 tsps garam masala, 1/4 tsp turmeric, 1 tsp paprika, and handful of mint leaves. Stir to combine and continue to sauté until the tomatoes break down and you end up with a thick mushy paste (~5-8 mins).

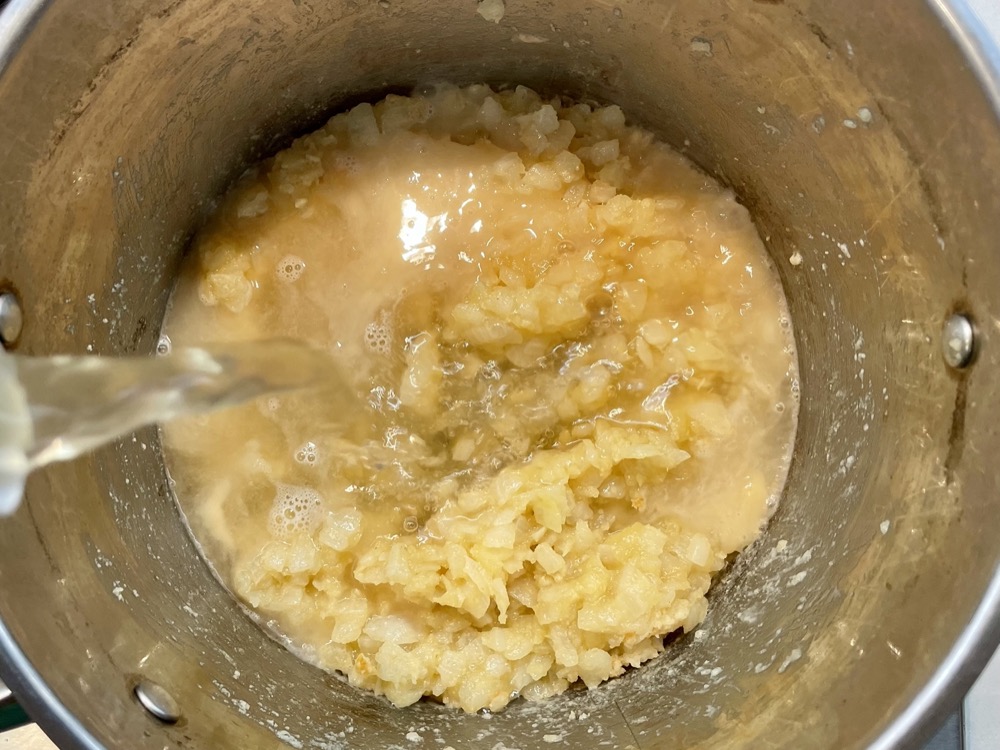
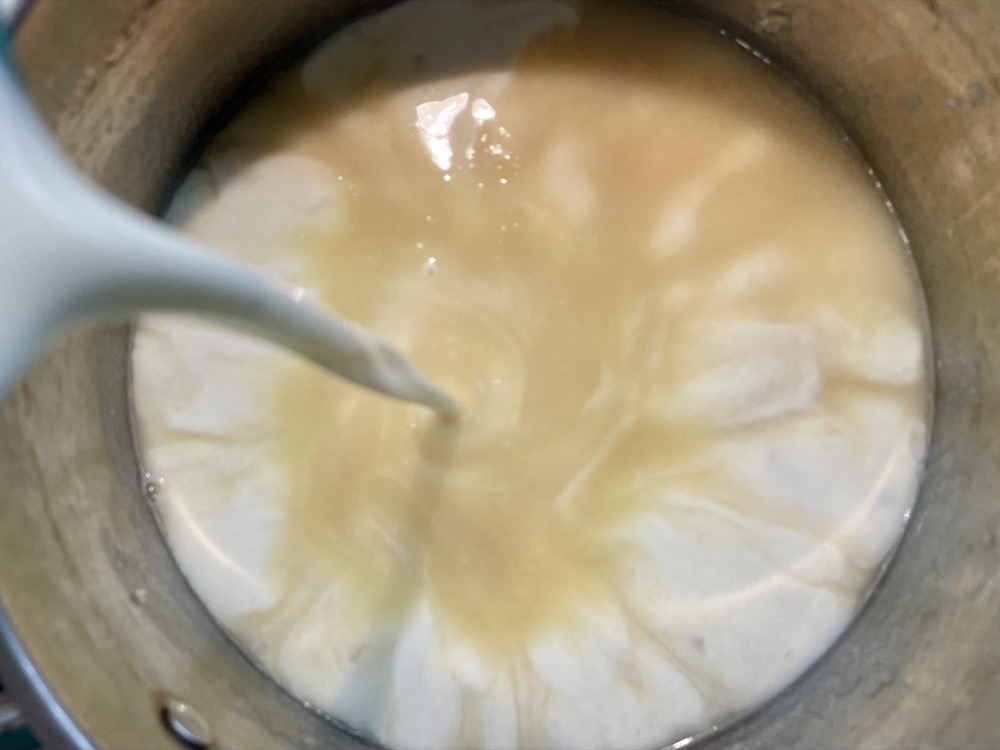
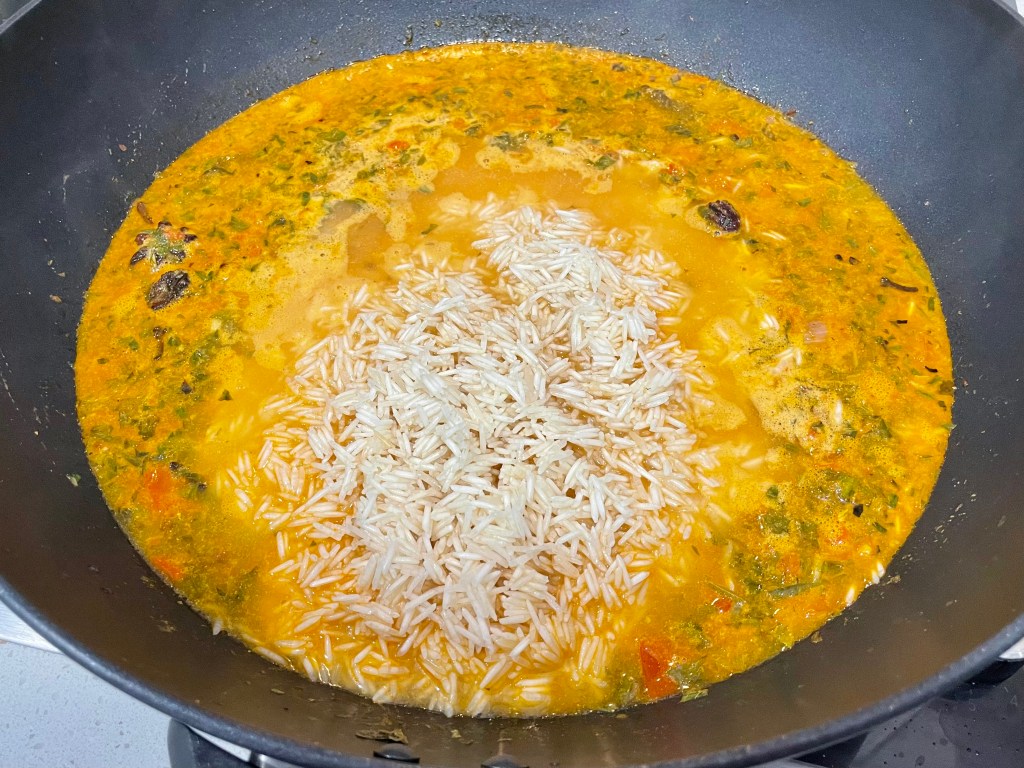
Once you have a mushy paste, pour in the 3.5 cups of chicken stock and mix. Turn the heat up to HIGH and once the liquid boils, add in the drained basmati rice and mix. Turn the heat down to MED and let the rice simmer uncovered until the liquid is nearly gone (~10-15mins – see photo) then turn the heat to LOW and put a lid on the rice to steam for a further 5-10 mins until fully cooked, then turn off the stove. Taste and adjust salt as needed.


Fluff up the rice and Serve!


Summarized Recipe:
Biryani (Kuska) Rice
Date Published: March 19th, 2025 | Last Updated: March 19th, 2025
Author: Abby |Category: sides, asian, mains, vegetarian
Serves: 6-8 | Prep time: 20 mins | Cook time: 40 mins
Ingredients:
- 2 cups basmati rice
- 2.5 Tbsps neutral oil
- Spice mix:
- 2 bay leaves
- 6 cloves
- 6 green cardamom pods
- 1 star anise
- 1/2 tsp cumin seeds
- 1 cinnamon stick (~3-4cm)
- 1 tsp red chilli flakes
- 1/2 tsp coriander seeds
- 6 curry leaves
- 1 medium red onion, sliced
- 1/2 Tbsp garlic (~2 cloves), finely minced
- 1/2 Tbsp ginger, finely minced
- 1 large tomato (or 2 medium), diced small
- 1/4 cup plain or Greek yoghurt
- 1/2 tsp salt (or more to taste)
- 1.5 tsps garam masala powder (or biryani masala)
- 1/4 tsp turmeric powder
- 1 tsp smoked paprika
- Handful of mint leaves, chopped
- 3.5 cups chicken stock
Directions:
- Rinse and soak the basmati rice for 20 minutes then drain it (you can prep the rest of the ingredients while the rice soaks).
- Heat up a medium pot or pan on MED-HIGH heat and add in the oil. Next add in the spice mix (2 bay leaves, 6 cloves, 6 cardamom, 1 star anise, 1/2 tsp cumin seeds, 1 cinnamon stick, 1 tsp chilli flakes, 1/2 tsp coriander seeds, 6 curry leaves). Sauté the spices in the oil until the cumin seeds start to sputter (~5 mins).
- Next add in the red onion and continue to sauté until the edges of the onion turn golden brown (~5 mins).
- Add in the garlic and ginger and cook until fragrant (~1 min).
- Next add in the tomatoes, 1/4 cup plain yoghurt, 1/2 tsp salt, 1.5 tsps garam masala, 1/4 tsp turmeric, 1 tsp paprika, and handful of mint leaves. Stir to combine and continue to sauté until the tomatoes break down and you end up with a thick mushy paste (~5-8 mins).
- Once you have a mushy paste, pour in the 3.5 cups of chicken stock and mix. Turn the heat up to HIGH and once the liquid boils, add in the drained basmati rice and mix. Turn the heat down to MED and let the rice simmer uncovered until the liquid is nearly gone (~10-15mins – see photo) then turn the heat to LOW and put a lid on the rice to steam for a further 5-10 mins until fully cooked, then turn off the stove. Taste and adjust salt as needed. Fluff up the rice and Serve!