Date Published: April 6th, 2025 | Last Updated: April 6th, 2025
Author: Abby |Category: snacks, dessert
Makes: 6 chocolate bars (in the specified molds) | Prep time: 15 mins | Total time: 1 hour
Jump to recipe |
My coworker Joe was the one that put me on the viral Dubai Chocolate Bars. I’m not much of a TikTokker so I had never heard of them until he brought it up, and then suddenly within the next two weeks I was seeing these chocolate bars everywhere. An NYC nut shop was importing them from Dubai and was selling them for $16 for 1 bar! It was insane. It was ridiculous, but out of curiosity we got suckered into the hype and bought a bar. Not many things live up to the craze, but this chocolate bar was SERIOUSLY SO GOOD. I’m not sure if it was $16 good, but it was pretty close.
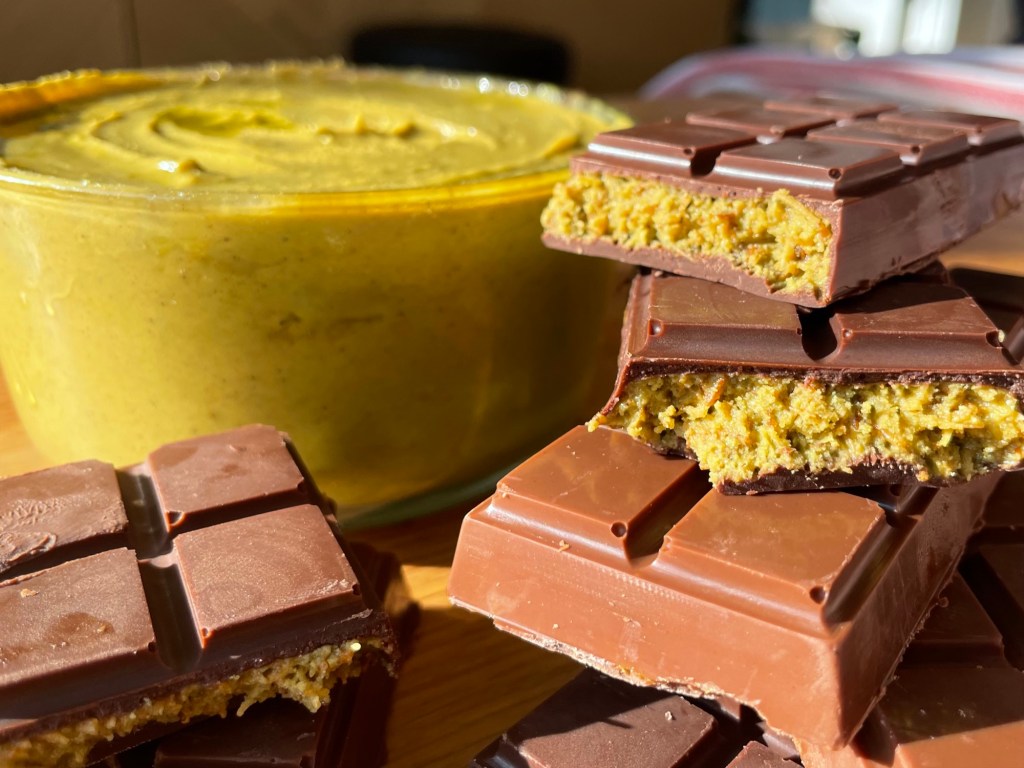
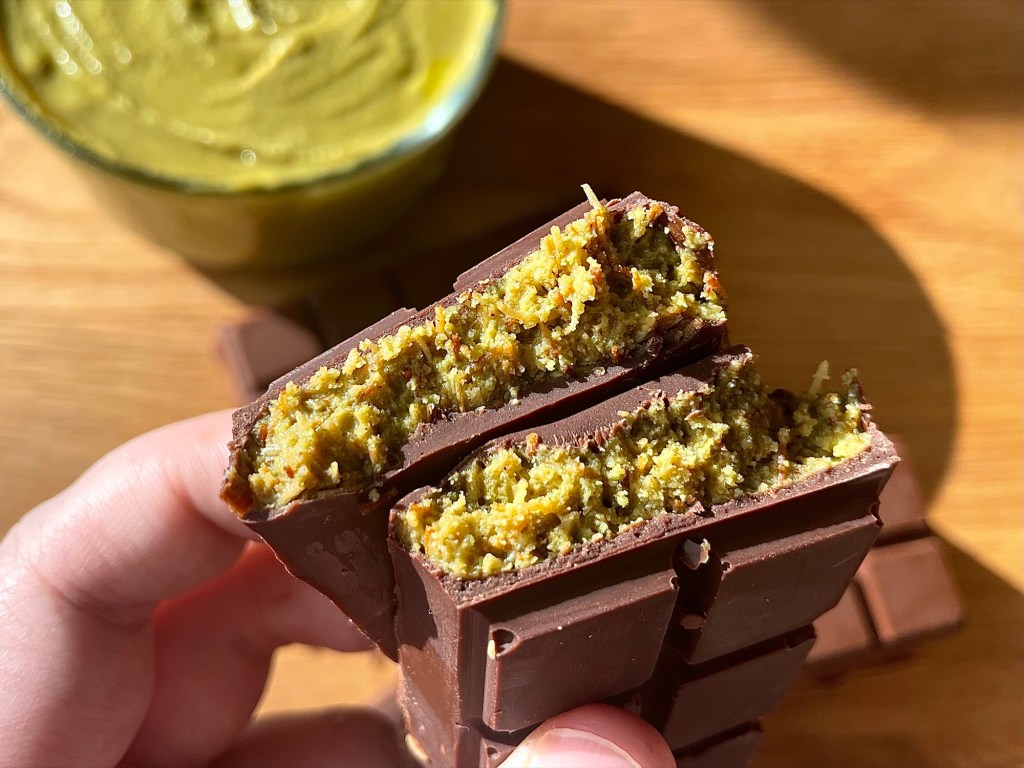
A Dubai Chocolate Bar is a milk chocolate bar with a crunchy pistachio paste filling. After some googling, I found a few vague copycat recipes and decided to try my own hand at it. It was a messy process (when is it ever not when working with melted chocolate 🥲) but after a few tweaks and portioning, it came out perfect! I had some leftover store-bought $16 Dubai Chocolate Bar and compared it with my own homemade version and in a blind taste test, Toby picked my version! 😁 I’d say that’s a pretty big win. So here I am, sharing the recipe with you all!
Some tools you’ll need:
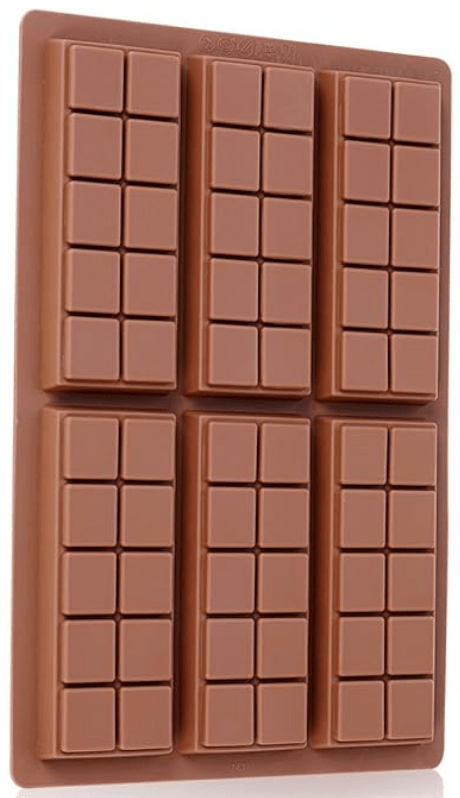
Chocolate mold – you can use any kind of silicon chocolate mold you wish. I used this one from Amazon which makes 6 medium-sized bars at a time. If you choose to use a larger mold to make larger chocolate bars, keep in mind that you will have to increase the portions in the recipe to account for the difference.
Metal rack – to allow for excess chocolate to drip out of your molds. Any kind of rack will do.
A Breakdown of the Ingredients:

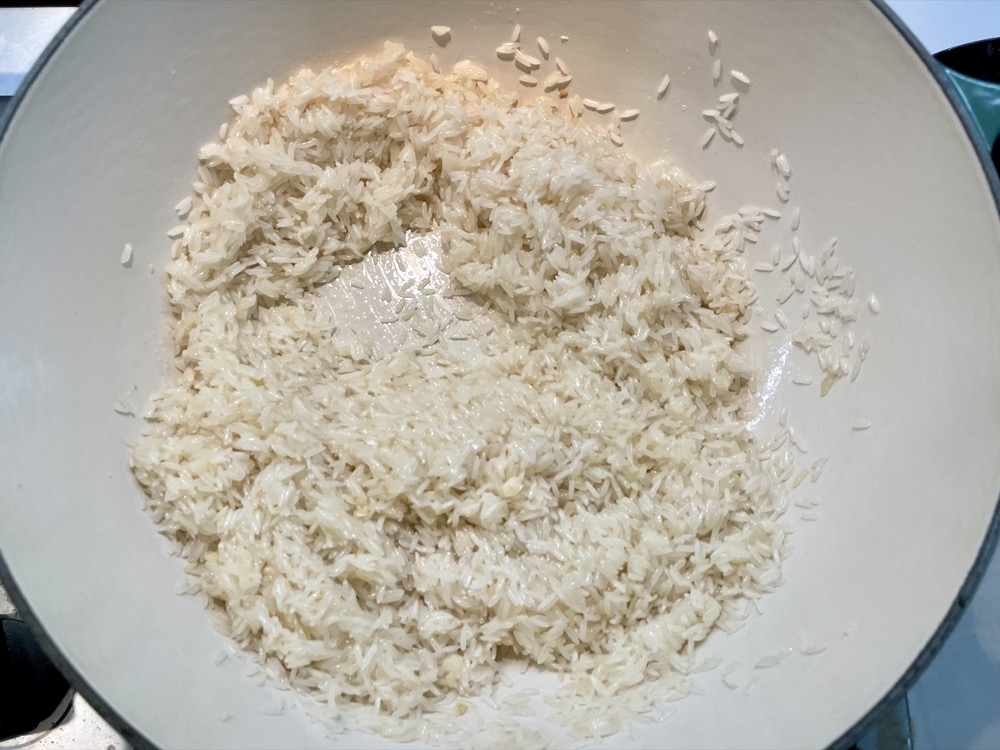
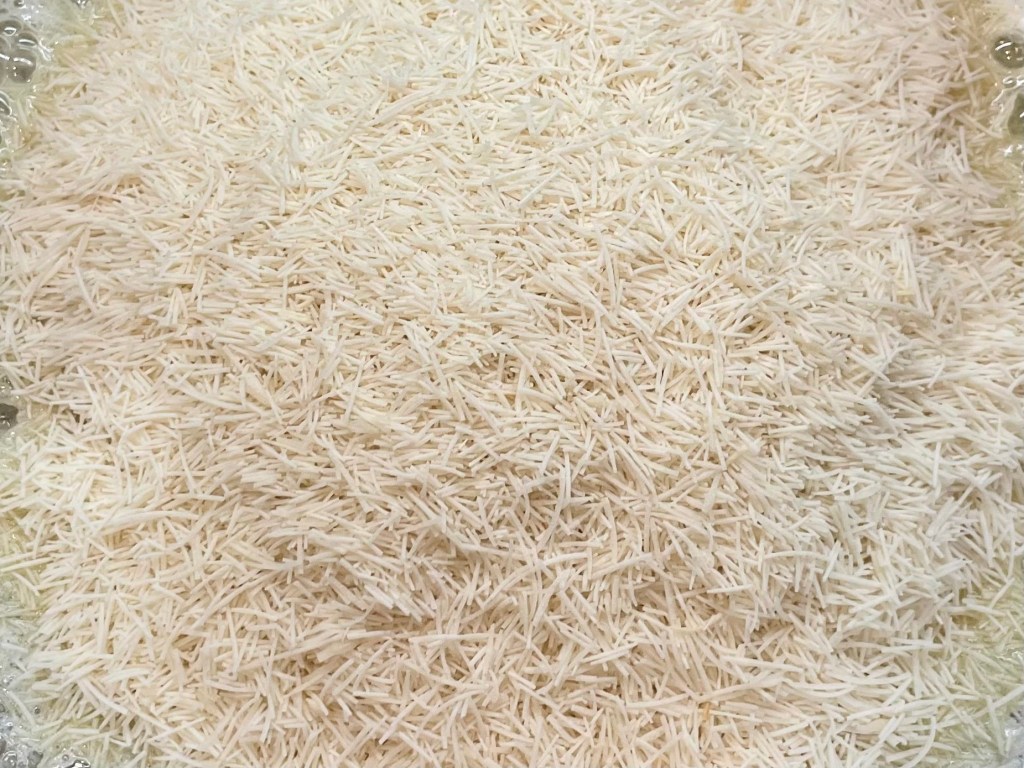
Kataifi pastry is essentially shredded or spun phyllo dough that gives a lovely crunch and holds its texture even when sitting within a paste for long periods of time. It actually looks just like dried rice vermicelli to me. It’s a common ingredient used in Middle Eastern desserts and can be found in specialty grocery stores. I used the Alkis brand that can be found here.
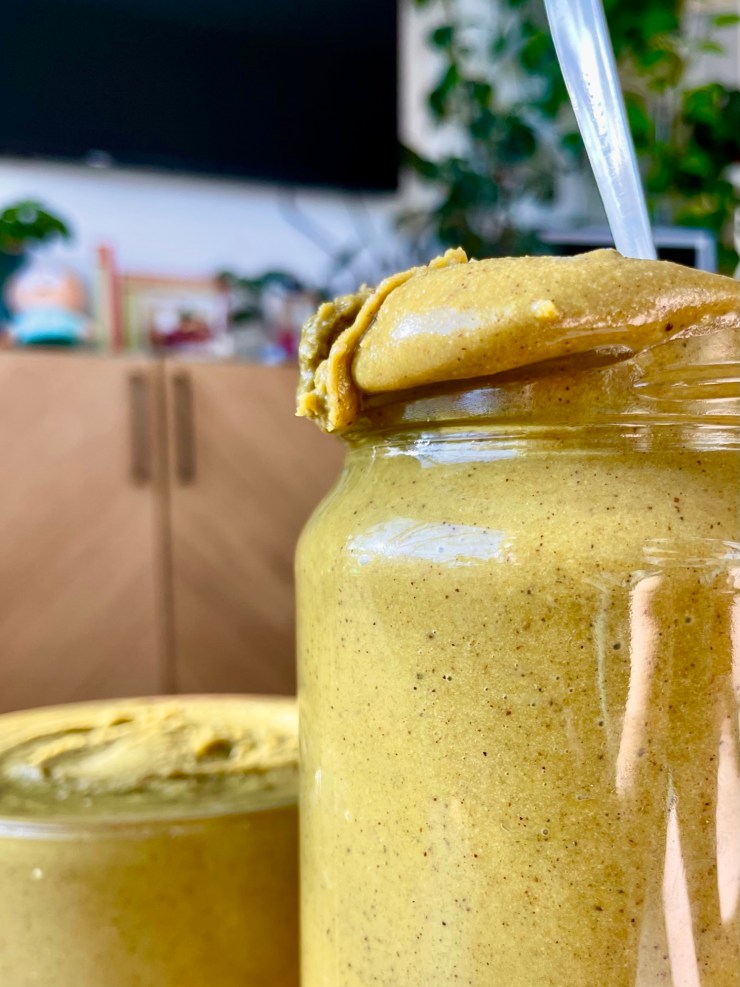
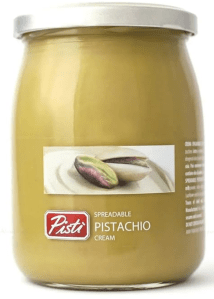
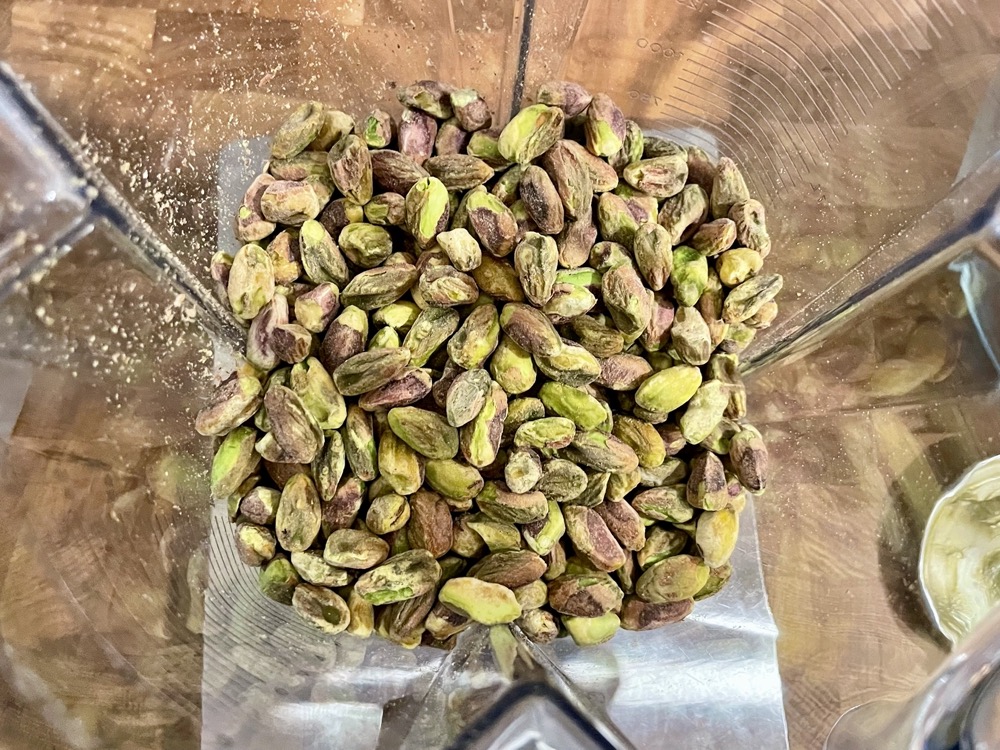
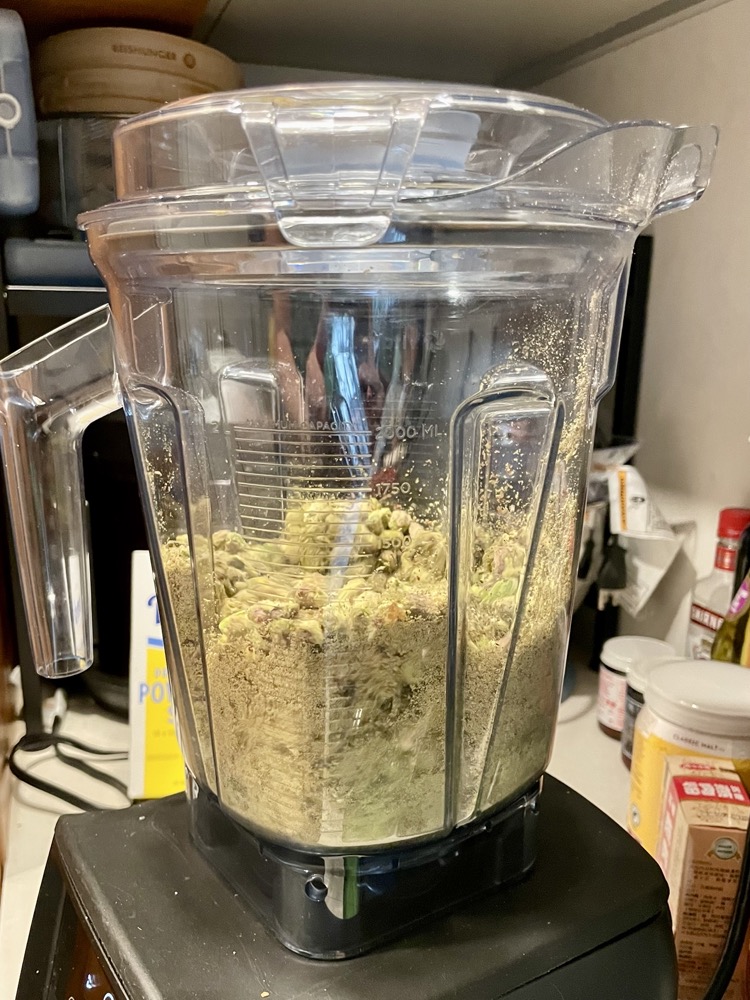
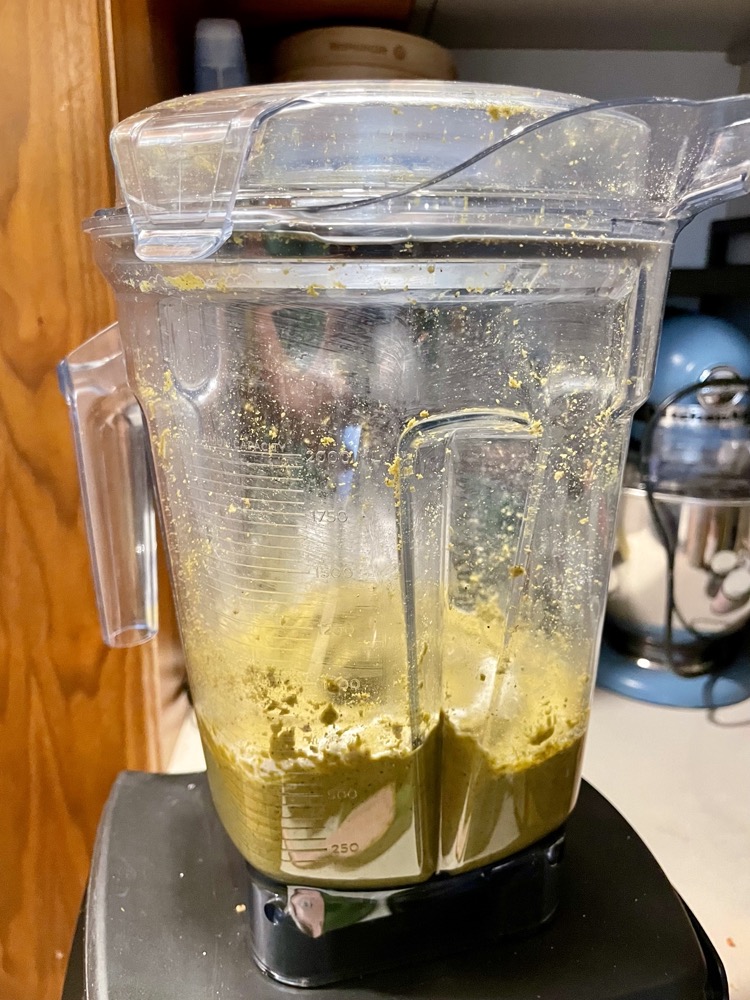
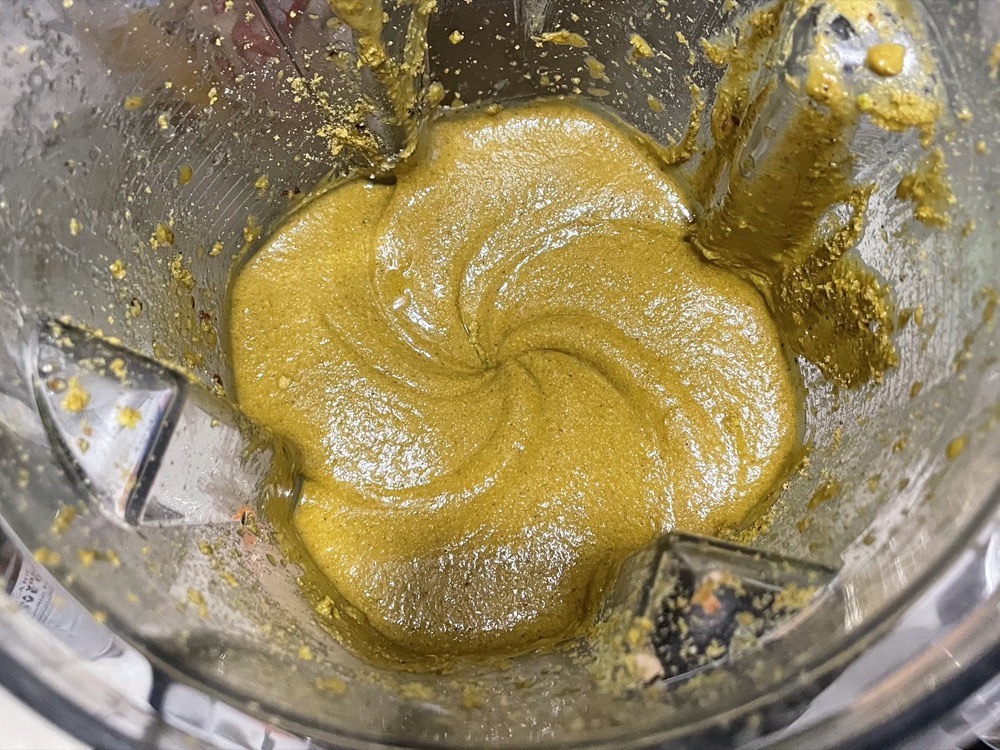
Pistachio Cream or Pistachio Spread is blended pistachios in a paste form with added ingredients to make it smooth and creamy. I like to use the Pisti Pistachio Cream that’s imported from Italy, but sometimes this can be a bit hard to find so I’ve also shared a recipe to make your own that can be found here. It’s not quite the same but will yield equally delicious results. Whichever kind of pistachio cream you use, make sure it’s good quality that’s strong in pistachio flavour.
Milk Chocolate – whatever brand you choose, treat yourself and get a higher grade milk chocolate. You can use chocolate chips, but I prefer chocolate melts for easier melting. My go-to brand for this recipe is the Ghirardelli milk chocolate wafers – it tends to be more expensive but it’s soooo good 😬.
Tahini is a paste made from sesame seeds. It’s used in this recipe to add extra richness and fluidity of the filling due to the natural oils from the sesame seeds. It can be found in most grocery stores these days but if you can’t seem to find it, you can make it yourself by blending up toasted white sesame seeds with a neutral oil in a 2:1 ratio with a pinch of salt in a high speed blender until you get a smooth paste.
Anyways, without further ado, here’s the recipe! If you have any comments or suggestions, I’d love to hear from you in the comment section! You can follow me on instagram, youtube and facebook to see all the recipes I post!
Happy cooking!
Tools you’ll need:
- Chocolate mold – I use this one
- Cooling rack with a tray below
Ingredients you’ll need:
- 50g of kataifi pastry – I use this one
- 20g unsalted butter
- 400g of milk chocolate – I use this one
- Pinch of salt
- 120g Pistachio cream or spread – I use this one or you can make your own here
- 7g tahini
Directions:
Prepare the kataifi pastry:
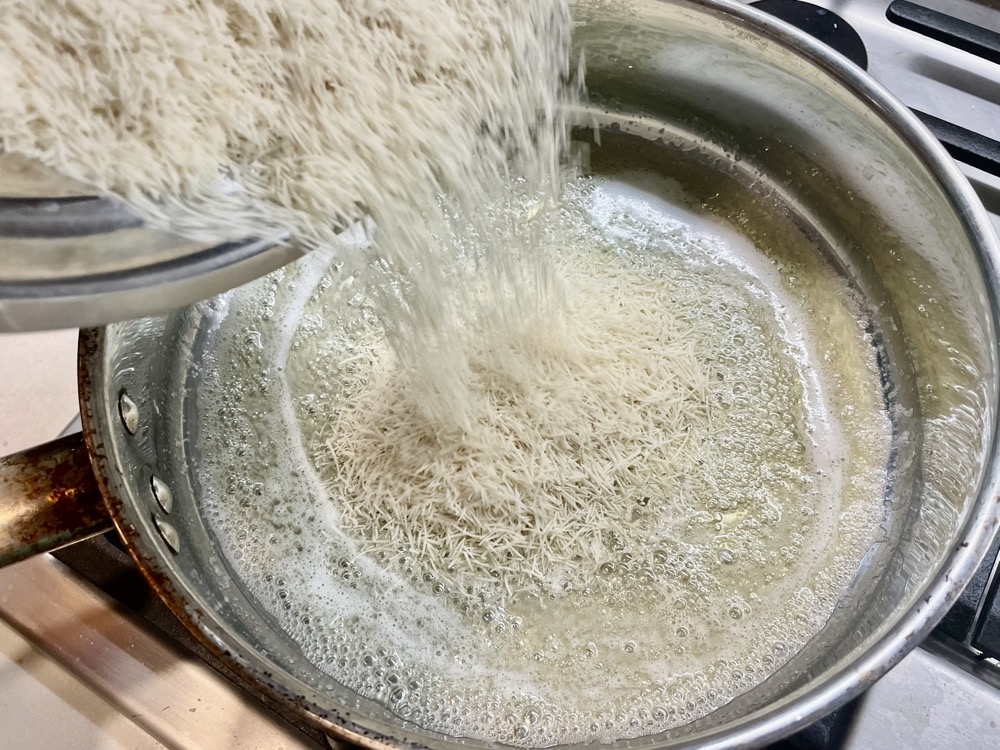
Place the kataifi pastry in a bowl and crush it by hand until you have small pieces, roughly 3mm long.

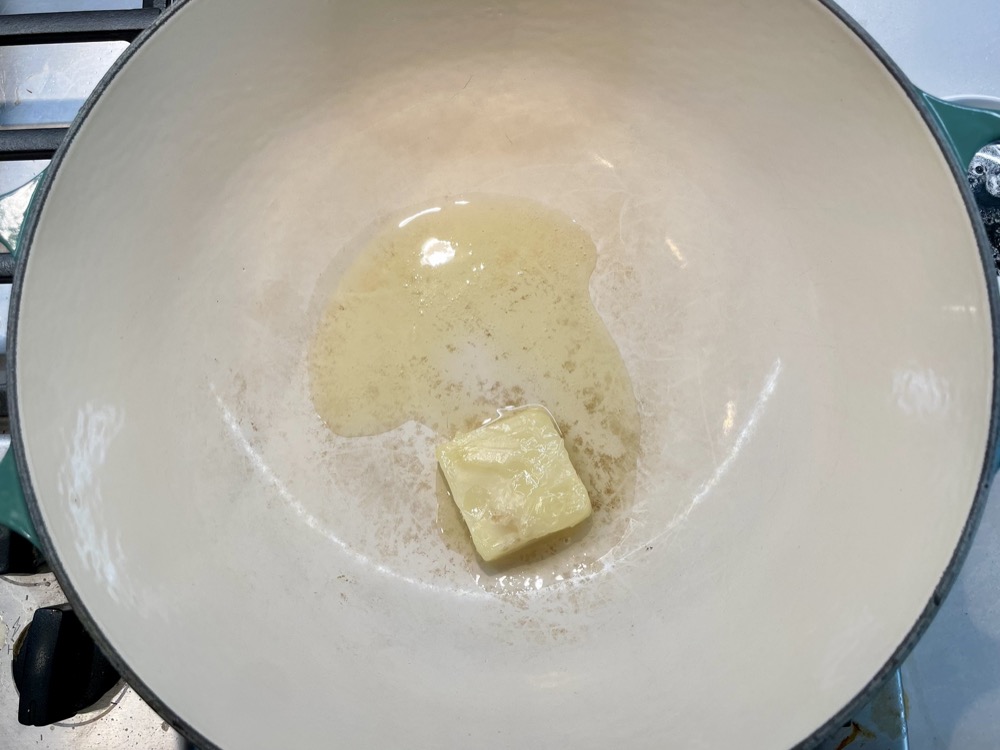
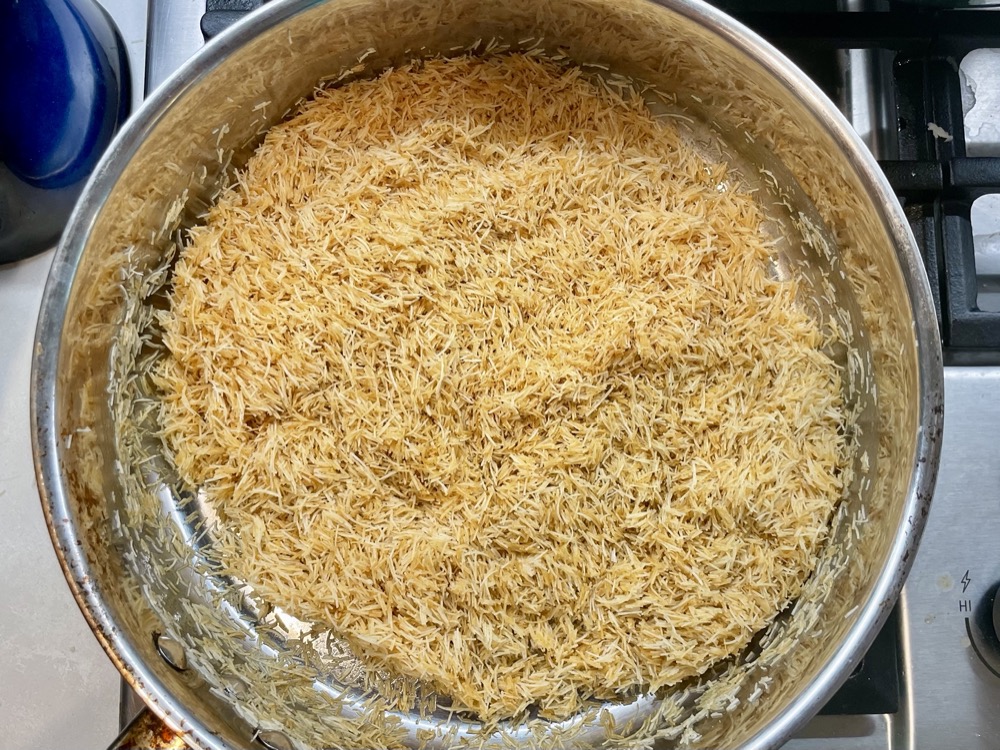
Melt the 20g of butter in a pan on MED heat and add in the kataifi pastry. Stir and toast the pastry until golden brown (~5 mins). Turn off the heat and place the toasted pastry in a bowl until cooled and ready to use.


Prepare the chocolate mold:
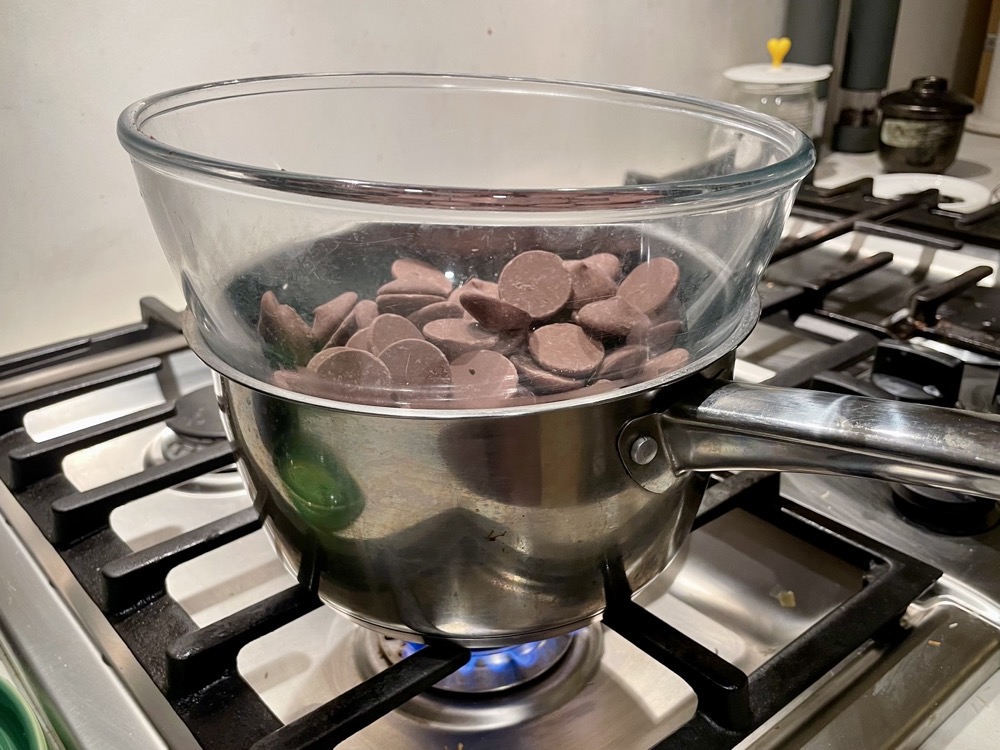
Melt/temper the chocolate by putting it on a double boiler: In a small sauce pan, fill up 1/3 of the pan with water and let it come to a boil. Fit a glass or heat-proof bowl over top the boiling water and add in the chocolate. Whisk until the chocolate has completely melted and it reaches 100˚F/38˚C.


Alternatively, you can also microwave the chocolate 30 seconds at a time until it reaches 100˚F/38˚C.
Pour chocolate into the molds, making sure you cover all edges and the sides as well.
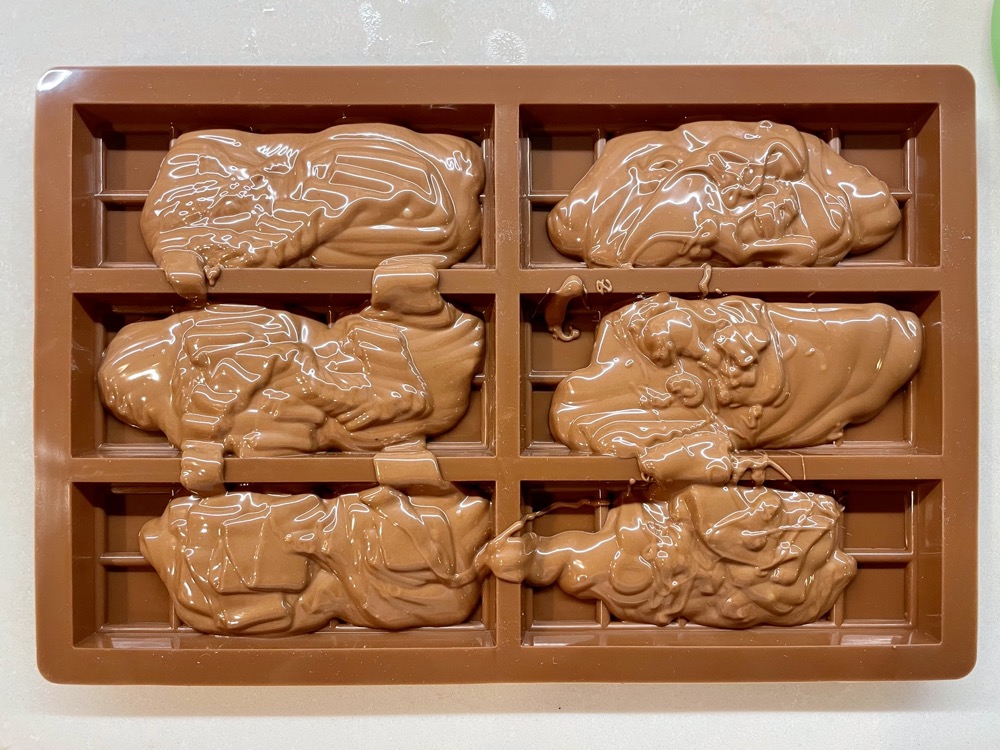


Prepare a clean rack over a tray and flip the chocolate-coated mold upside down on the rack to let the excess chocolate drip out. Let it drip for a few minutes then turn back over. Keep the excess chocolate for the final step.


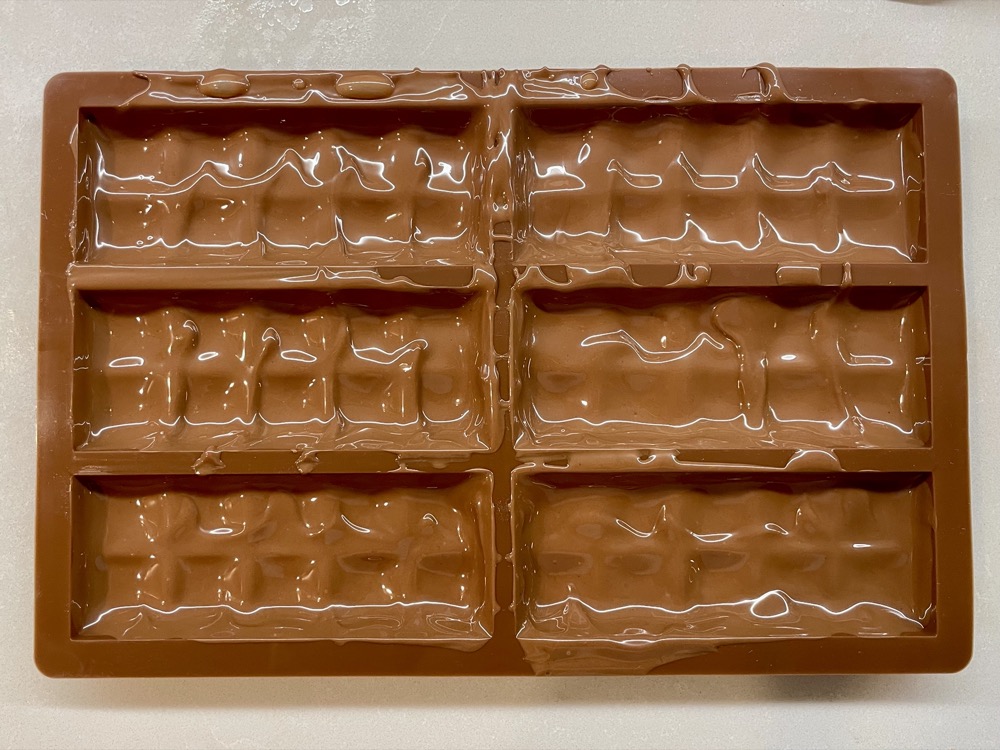
Let the chocolate set in the fridge for 10-15 minutes until solidified.

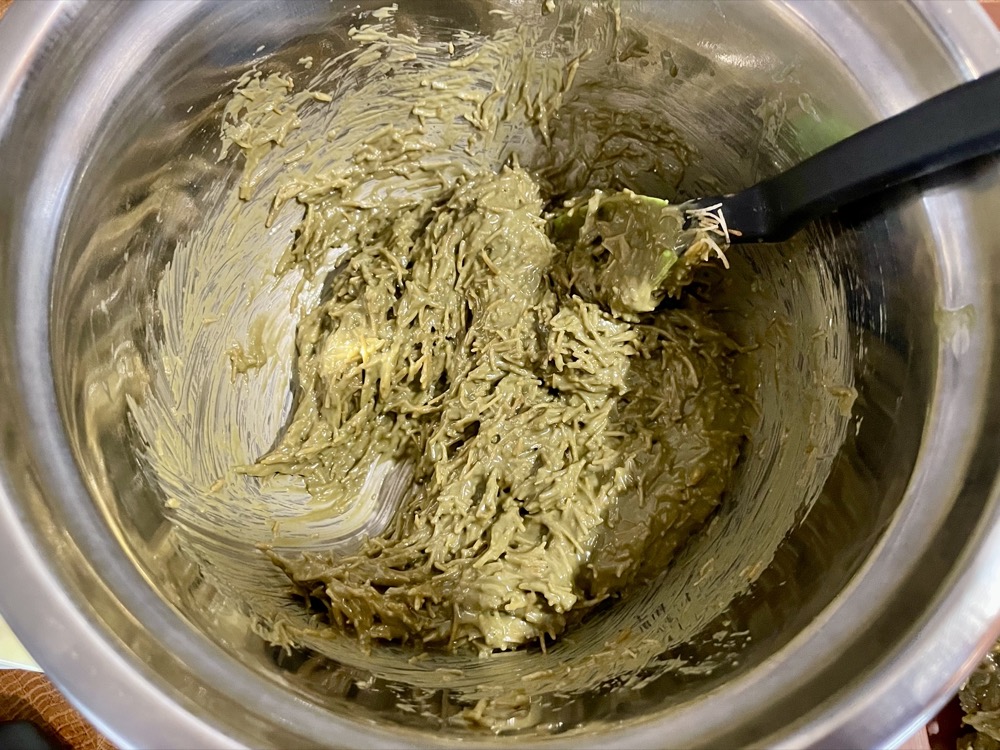
Make the filling: In a mixing bowl, mix together the pistachio cream, tahini, and a pinch of salt. Then add in the cooled toasted kataifi pastry. Mix thoroughly.


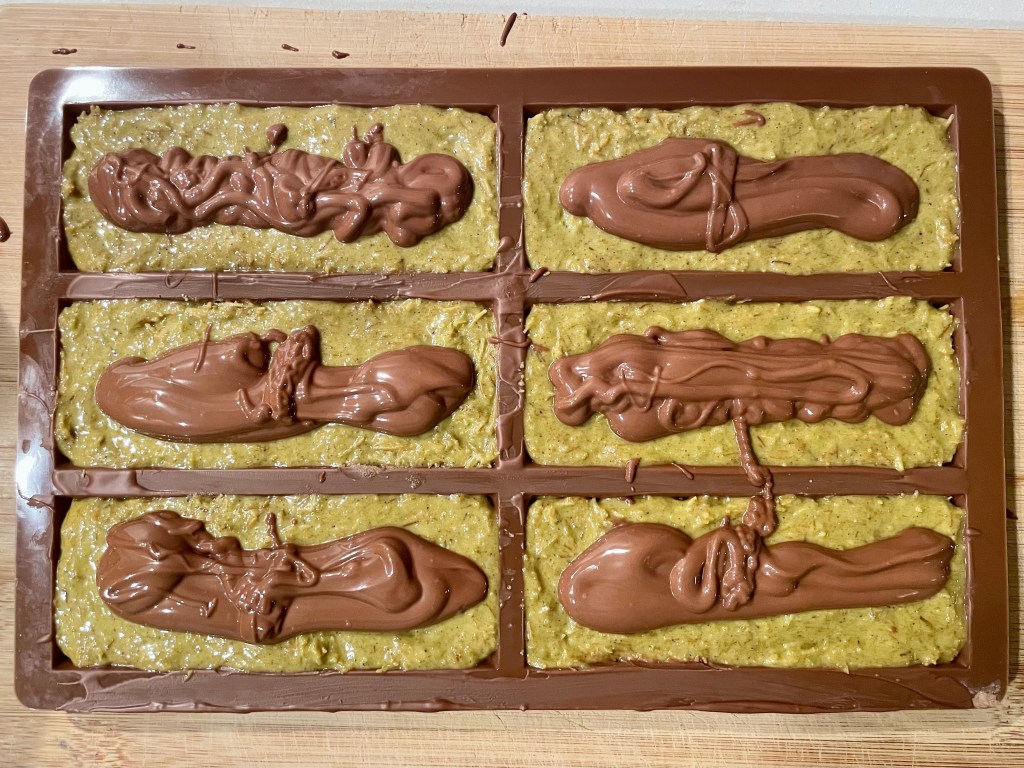
Spoon the filling into the solidified chocolate molds, spreading it evenly to the edges.


Melt/temper the excess chocolate (from step 2) again by either putting it on a double boiler or microwave 30 seconds at a time until it reaches 100˚F/38˚C. Pour it into the mold over the filling and spread out evenly. Lightly bang the mold on the table to release any air bubbles, then refrigerate until solid. (20-25mins).
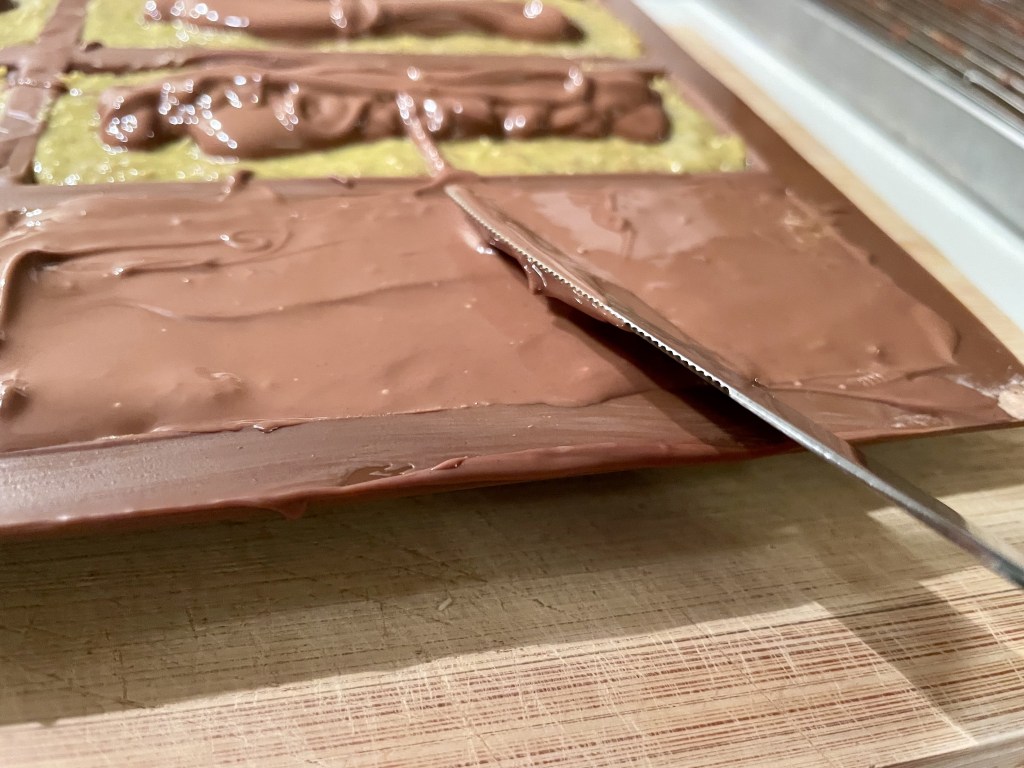


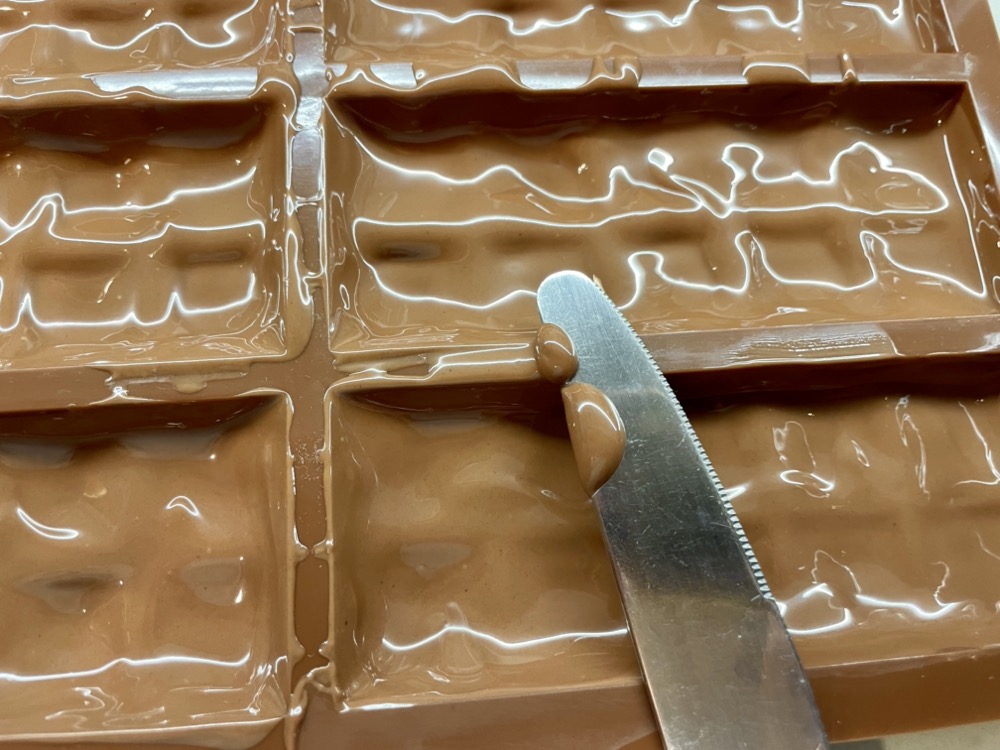
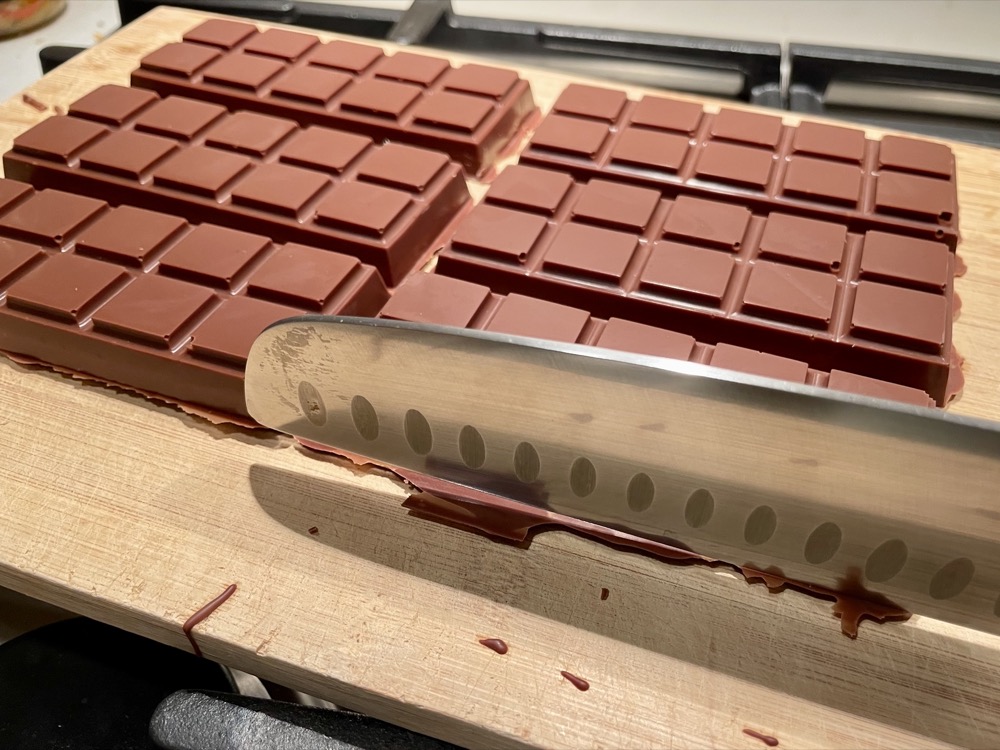
Once the chocolate has solidified, gently remove them from the molds. Clean up any edges with a knife.

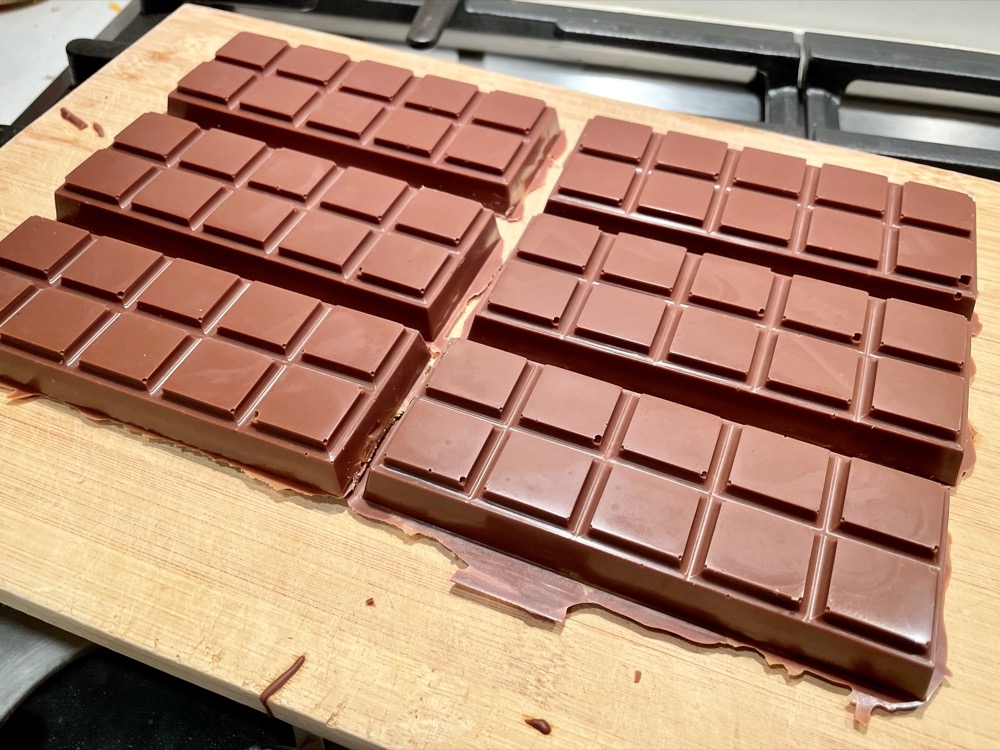
Done! Eat immediately or keep refrigerated.


Summarized Recipe:
Dubai Chocolate Bars
Date Published: April 6th, 2025 | Last Updated: April 6th, 2025
Author: Abby |Category: snacks, dessert
Makes: 6 chocolate bars (in the specified molds) | Prep time: 15 mins | Total time: 1 hour
Tools you’ll need:
- Chocolate mold – I use this one
- Cooling rack with a tray below
Ingredients:
- 50g of kataifi pastry – I use this one
- 20g unsalted butter
- 400g of milk chocolate – I use this one
- Pinch of salt
- 120g Pistachio cream or spread – I use this one or you can make your own here
- 7g tahini
Directions:
- Prepare the kataifi pastry: Place the kataifi pastry in a bowl and crush it by hand until you have small pieces, roughly 3mm long. Melt the butter in a pan on MED heat and add in the kataifi pastry. Stir and toast the pastry until golden brown (~5 mins). Turn off the heat and place the toasted pastry in a bowl until cooled and ready to use.
- Prepare the chocolate mold:
- Melt/temper the chocolate by either putting it on a double boiler or microwave 30 seconds at a time until it reaches 100˚F/38˚C.
- Pour chocolate into the molds, making sure you cover all edges and the sides as well. Bang the mold on the table to release any bubbles and to ensure even distribution.
- Prepare a clean rack over a tray and flip the chocolate-coated mold upside down on the rack to let the excess chocolate drip out. Let it drip for a few minutes then turn back over. Keep the excess chocolate for the final step.
- Let the chocolate set in the fridge for 10-15 minutes until solidified.
- Make the filling: In a mixing bowl, mix together the pistachio cream, tahini, and a pinch of salt. Then add in the cooled toasted kataifi pastry. Mix thoroughly.
- Spoon the filling into the solidified chocolate molds, spreading it evenly to the edges.
- Melt/temper the excess chocolate (from step 2) again by either putting it on a double boiler or microwave 30 seconds at a time until it reaches 100˚F/38˚C. Pour it into the mold over the filling and spread out evenly. Lightly bang the mold on the table to release any air bubbles, then refrigerate until solid. (20-25mins).
- Once the chocolate has solidified, gently remove them from the molds. Done! Eat immediately or keep refrigerated.