Date Published: May 28th, 2024 | Last Updated: May 28th, 2024
Author: Abby |Category: mains, Czech, easy
Serves: 4 | Prep time: 15 mins | Cook time: 45 mins
Jump to recipe |
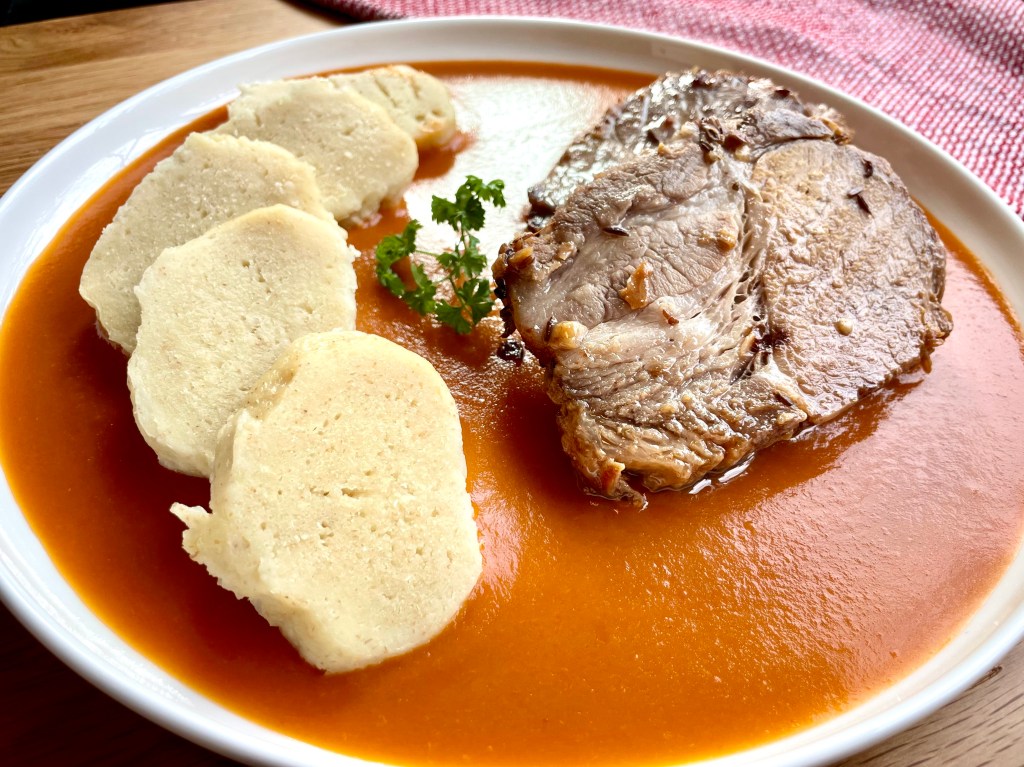
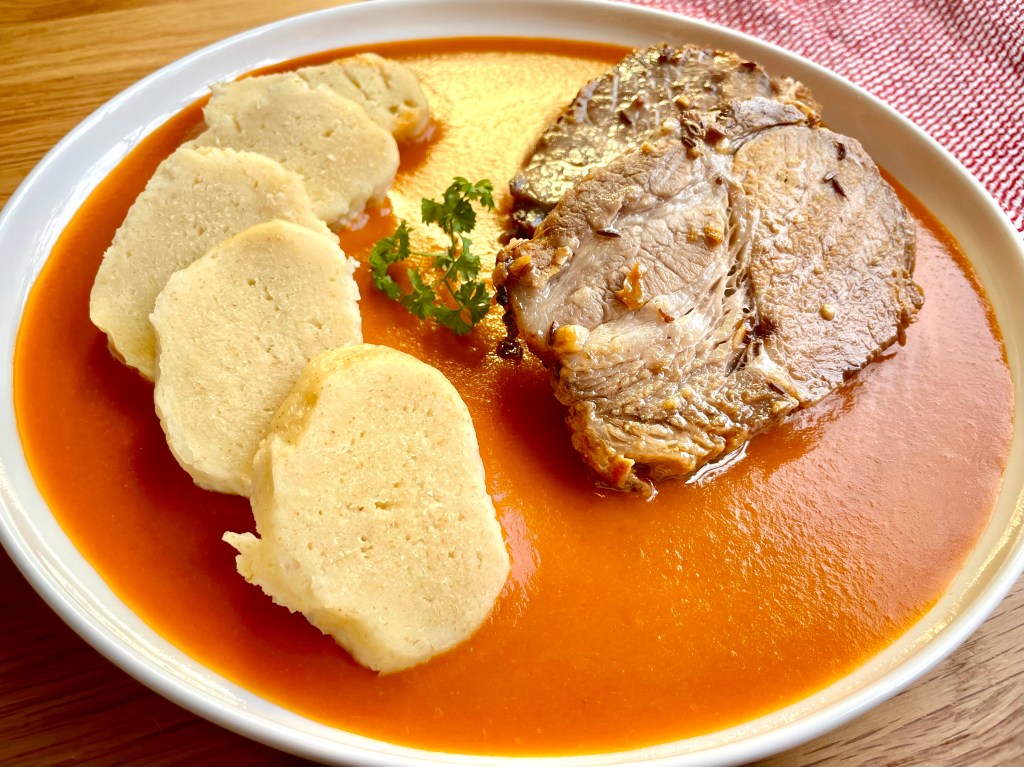
I’m told that “Rajská Omáčka” (pronounced: rays-ka oma-ch-ka) directly translates to “tomato sauce”. This is one of Toby’s childhood dishes that his grandmother used to make him. Every time he says it, all I hear is “racecar” 😅. To me, this sauce pretty much tastes like a tomato soup without the herbs, but it’s served over slices of beef or pork and some knedliky (Czech dumplings – potato or bread). There are other versions of this sauce that vary in tartness and sweetness (like my original attempts), but I’ve written this recipe to be as similar to babička’s as possible.

To be honest, this is not my favourite dish, but its got nostalgic value for Toby so I set out to try and make it for him. After a couple of attempts from online and cookbook recipes, he said it “just wasn’t like babička’s” but he couldn’t tell me what was wrong with it 😒. So I put it on the back burner up until our recent trip to Czech a couple weeks ago and we asked babička to show us how she makes it. Her version was a little less tomato-y than the versions I made and although it’s still not my favourite dish, seeing Toby’s happy face slurping down his second helping of the tomato sauce was enough reason for me to add this recipe to the collection.
This recipe is easy and cooks up quickly. You can pair the sauce with whatever meat you wish including a vepro, but for a quick lunch or dinner with minimal effort, I’ve included the instructions to cook a rump roast in a pressure cooker in 30 minutes and it’ll be ready around the same time as the sauce.
Anyways, without further ado, here’s the recipe! If you have any comments or suggestions, I’d love to hear from you in the comment section! You can follow me on instagram, youtube and facebook to see all the recipes I post!
Happy cooking!
Recipes that pair well together with this sauce:


Ingredients you’ll need:
- Beef:
- 900g (2 lbs) rump roast/chuck steak
- 1/2 Tbsp salt
- Enough water to cover the beef
- Sauce:
- 1 Tbsp pork lard
- 2 medium (~800g) onions, diced
- 1 large can (793g/28oz) diced tomatoes
- 1/4 cup all-purpose flour
- 4 cups (1L) beef broth
- 1 tsp salt
- 1.5 Tbsps granulated sugar
- 5 black peppercorns
- 3 allspice berries
- 2 bay leaves
- 2-4 Tbsps heavy cream (to taste)
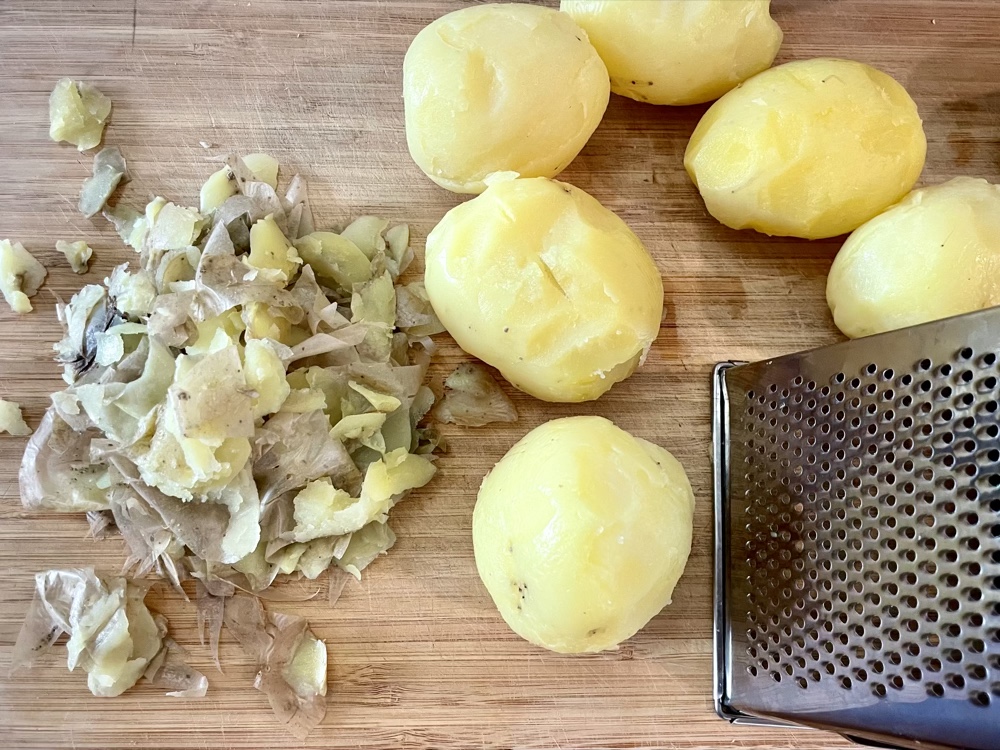
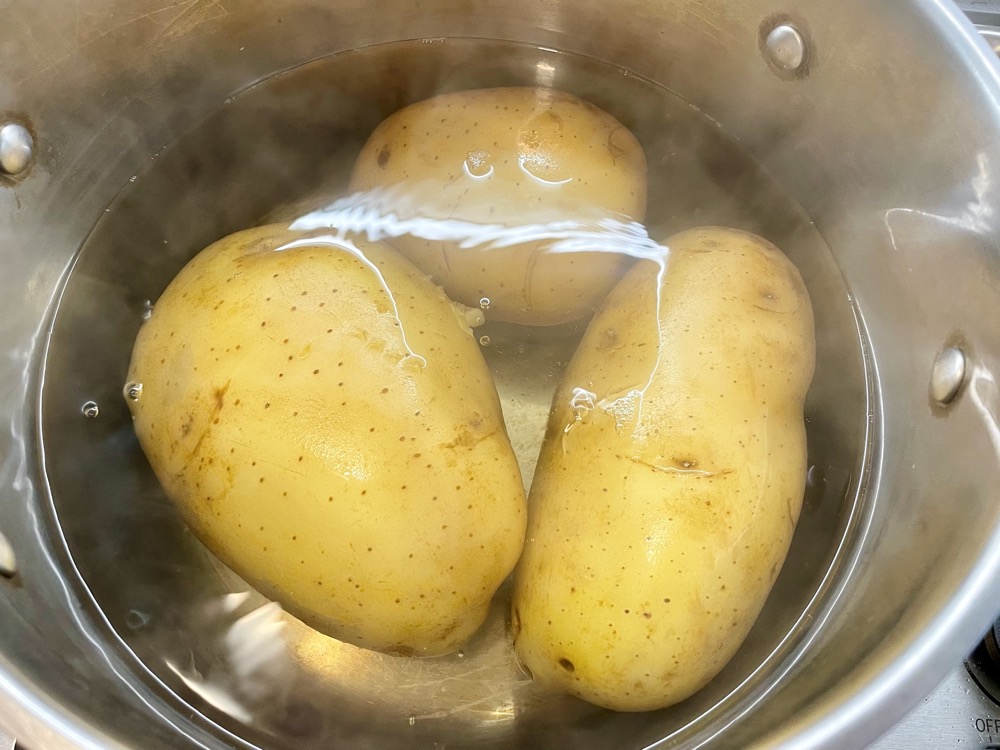
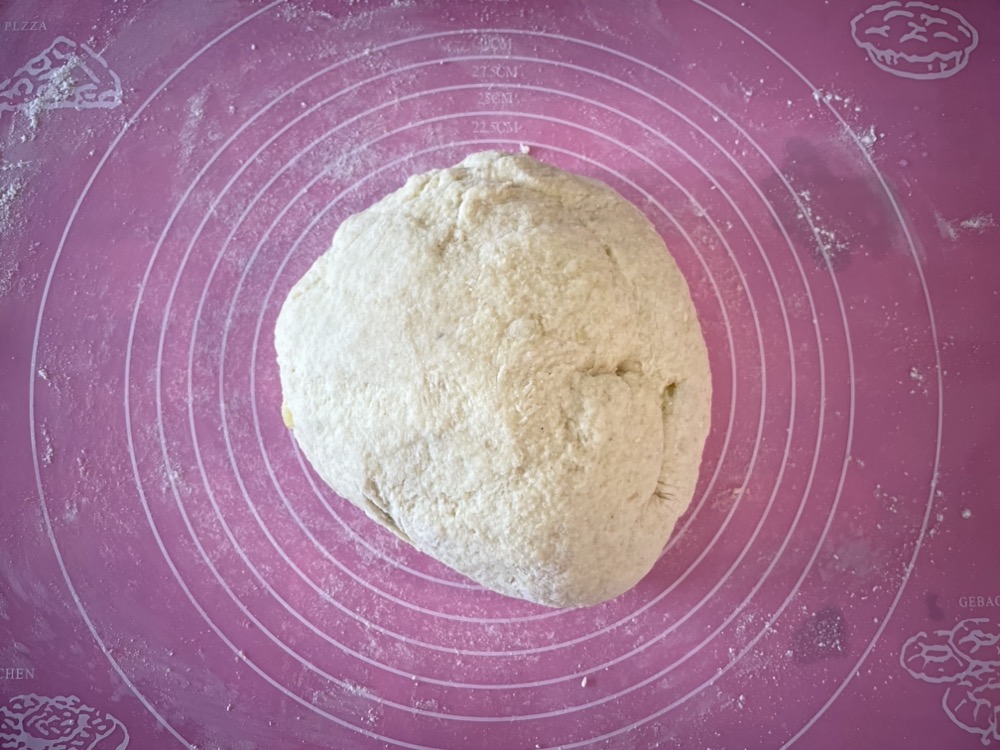
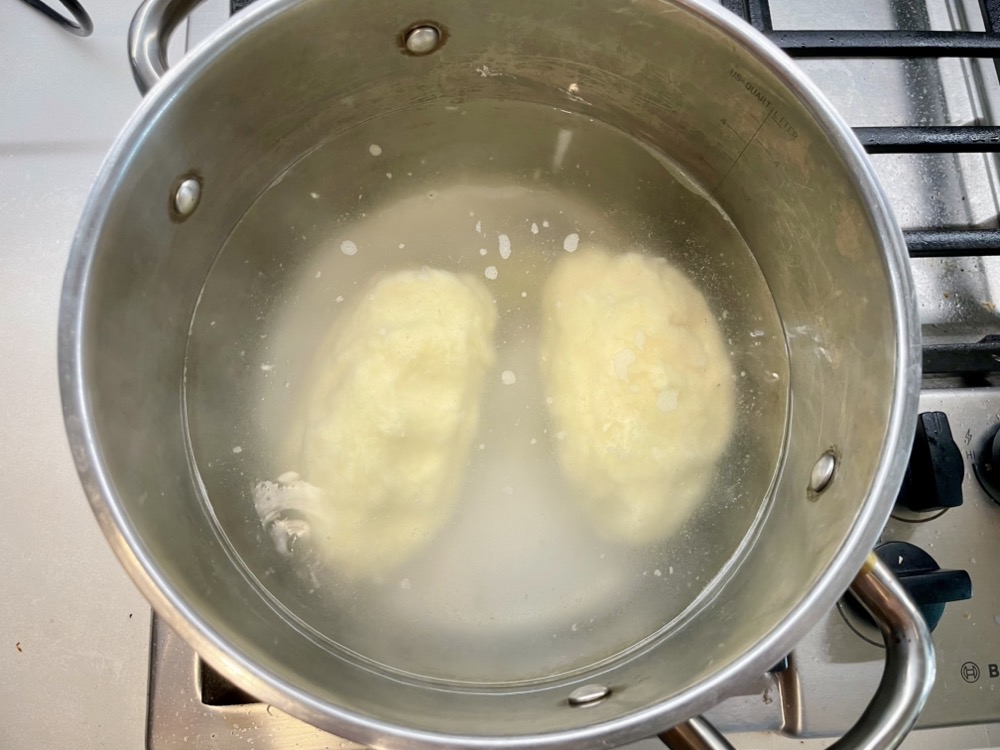
- To serve: with slices of knedliky/Czech dumplings (potato or bread)
Directions:
A. Cook the beef: in a pressure cooker/instant pot: *This step is optional. You can serve this tomato sauce with whatever type of meat you like, but if you’re looking for a quick cooked beef, the instant pot will be the fastest.
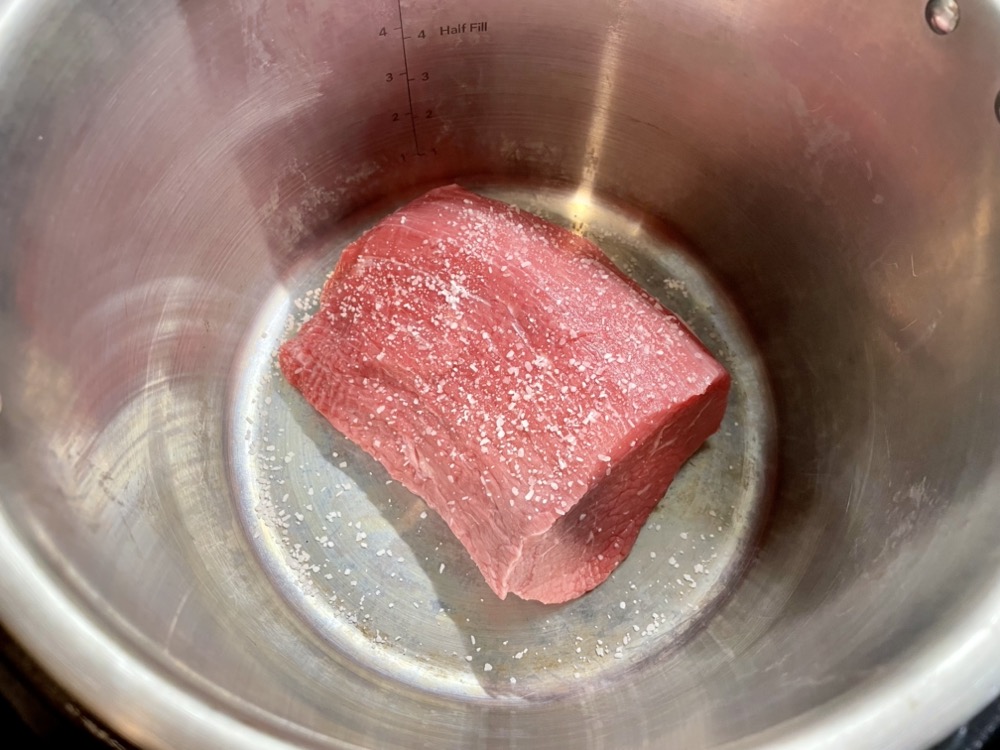
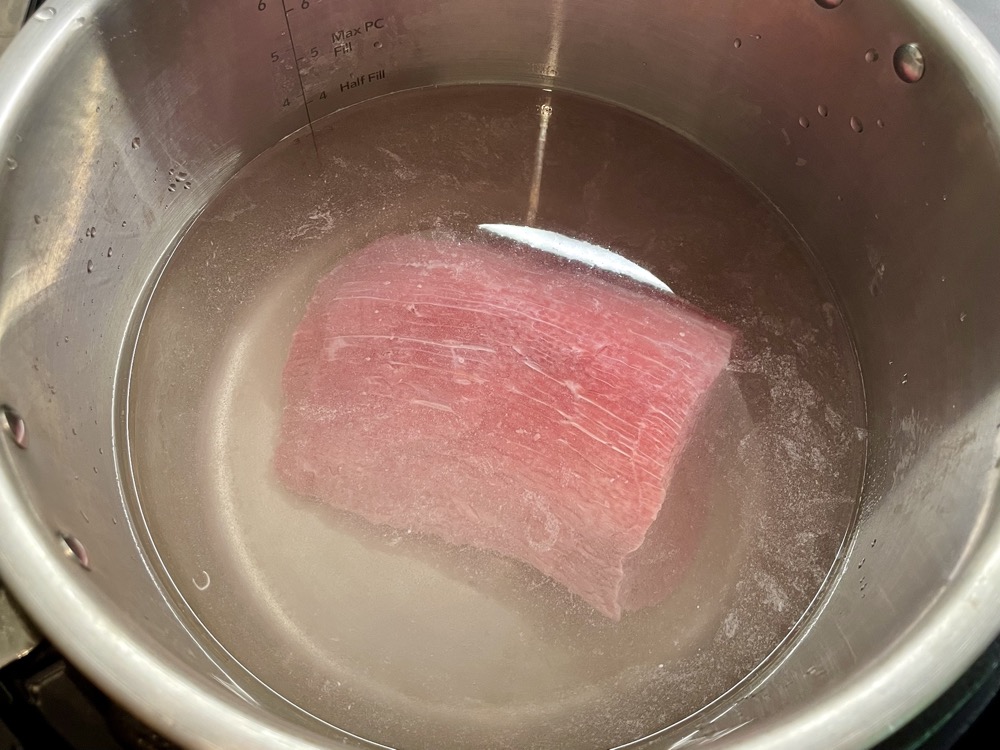


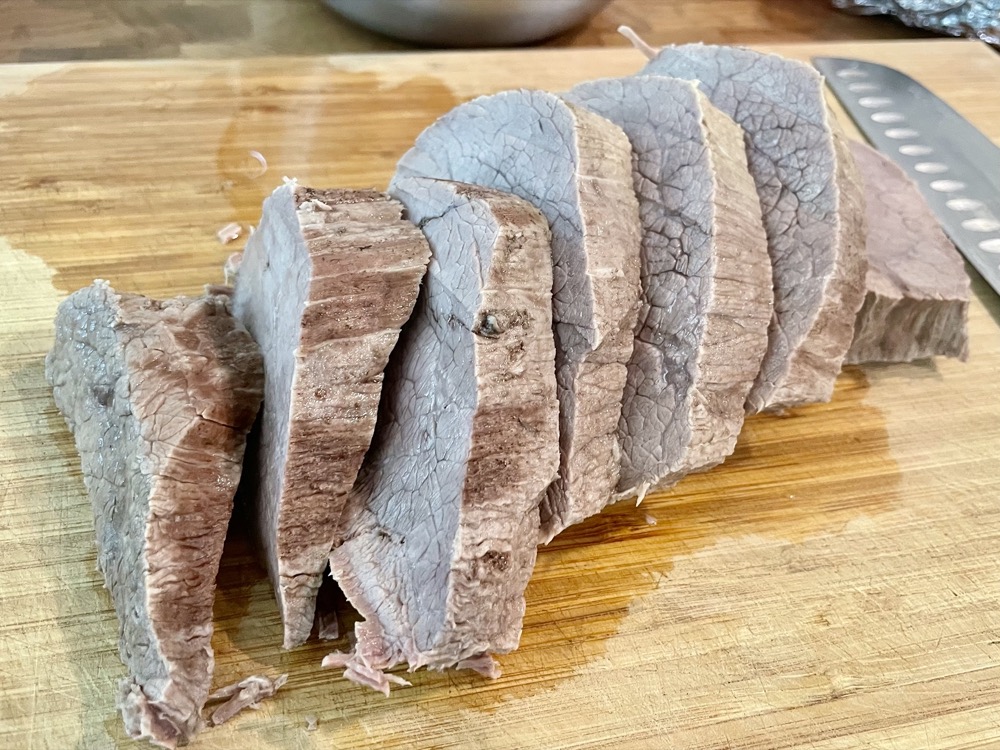
Add the beef, salt and enough water to cover the meat. Put the lid on and cook on HIGH PRESSURE for 30 minutes, then quick release. Remove the beef from the liquid and let it rest for 10 mins before slicing.
- Alternatively if you don’t have a pressure cooker, you can boil the beef in water over the stove until the beef is tender. This will take about 2 hours.
B. Make the sauce while the beef is cooking:
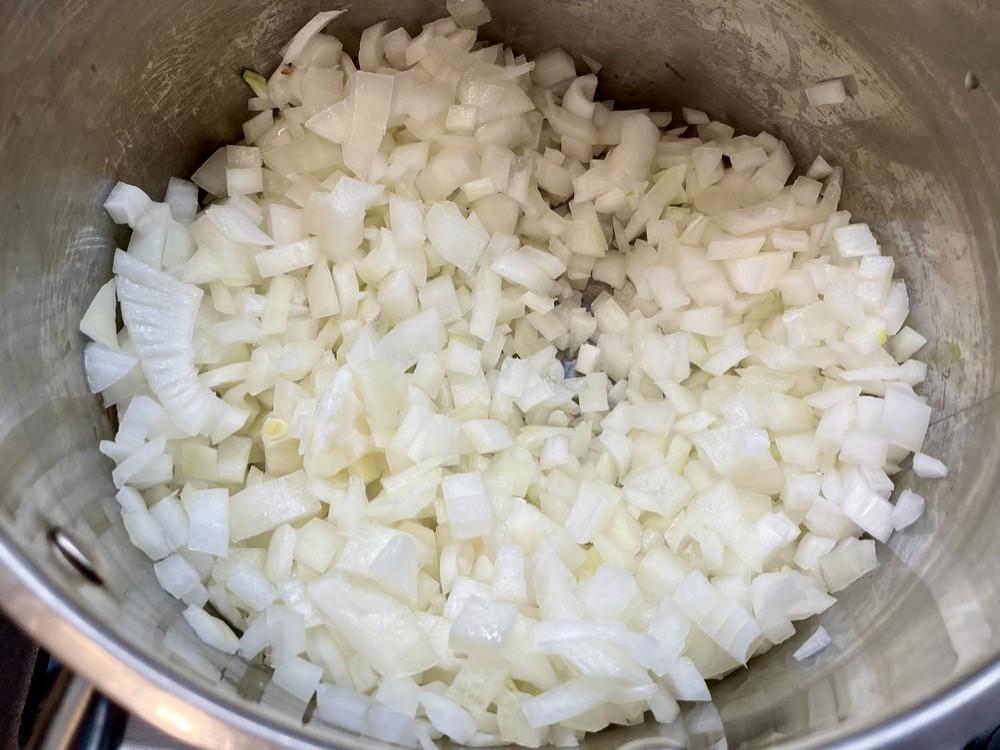

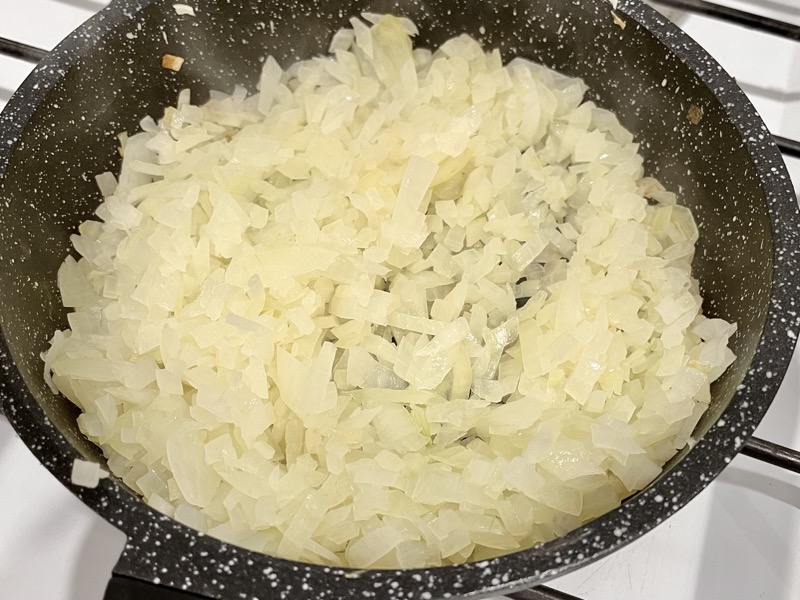
In a small pot on MED-HIGH heat, melt the pork lard and sauté the onions for 5-8 minutes until softened.
Add the salt, sugar, black peppercorns, allspice berries, and bay leaves. Stir for 2 mins until the sugar has fully dissolved.

Next, add in the flour and stir for 2 minutes until well incorporated and the flour cooks a little. Make sure to scrape the bottom of the pan so nothing sticks.

Pour in the beef broth and stir everything together. Bring the heat up to HIGH to let it come to a boil then back down to MED heat and let it boil for 8-10 minutes until the sauce thickens into a gravy-like consistency.


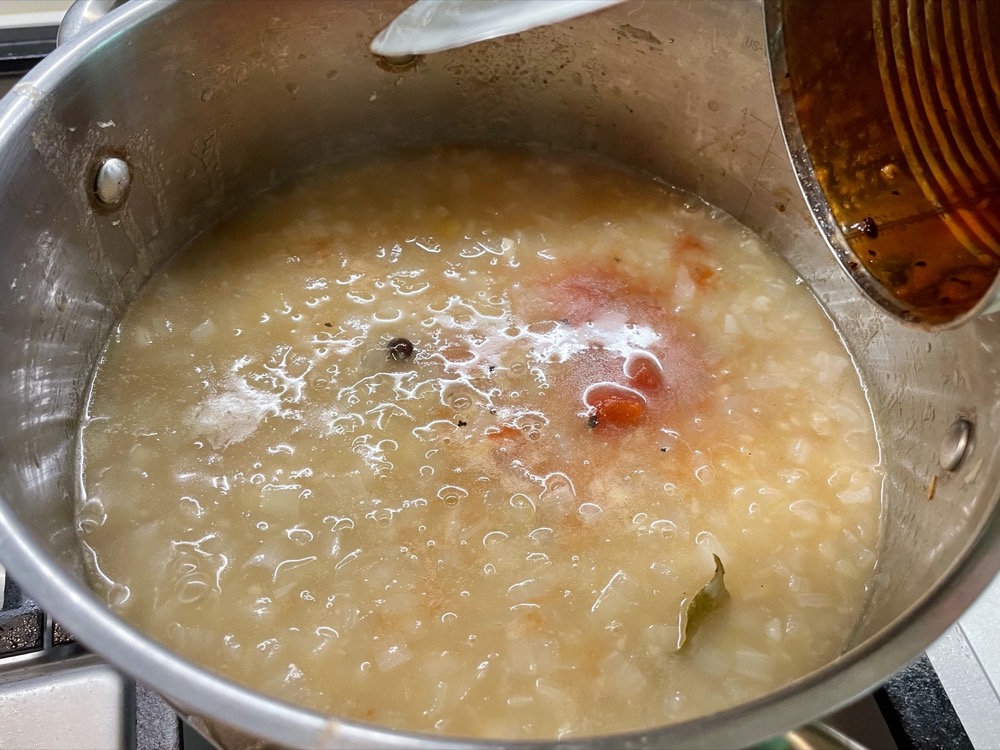
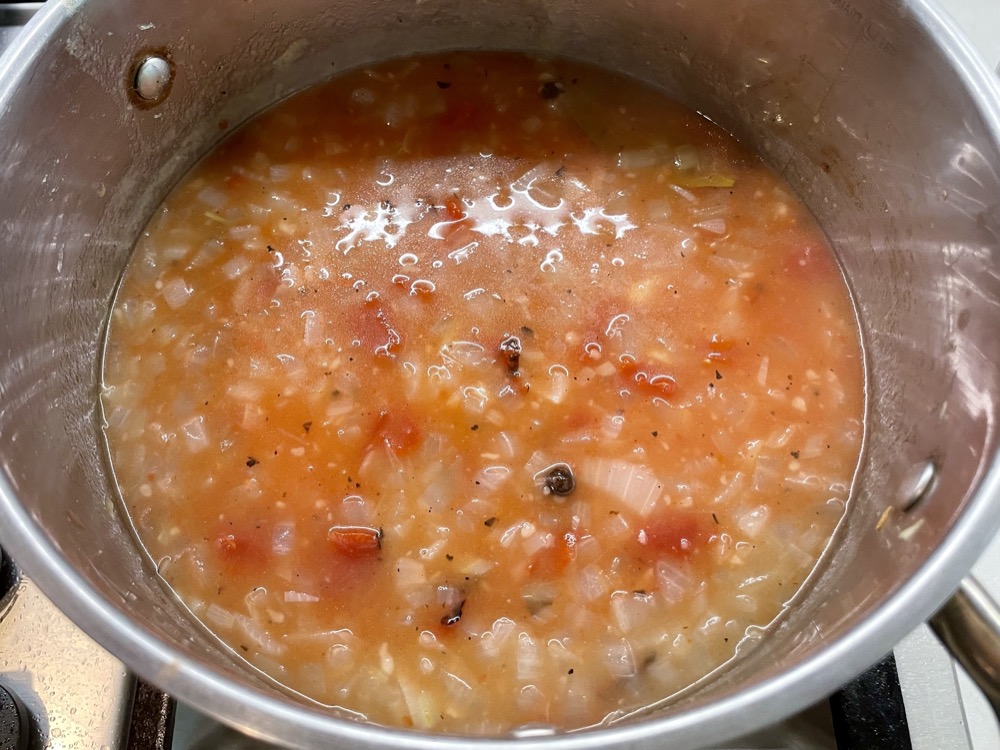
Once it has thickened, pour in the can of diced tomatoes including all of the liquid. Bring the sauce to a boil again, then simmer on MED heat for 20 minutes.
Note: Make sure to stir and scrape the bottom of the pot every few minutes so nothing sticks to the bottom.

After 20 minutes, turn off the heat and discard the bay leaves and all spice berries.

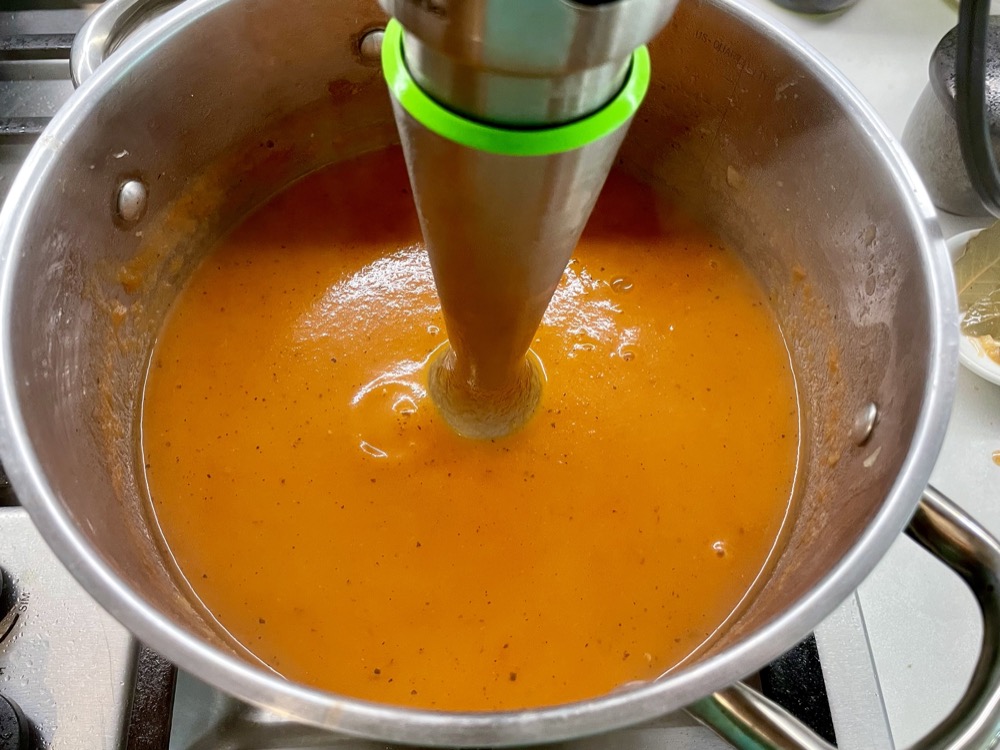
Next, use a stick blender (or transfer the sauce to a blender) and blend the sauce until you get a smooth texture. If you want an extra smooth sauce, strain it through a fine sieve.
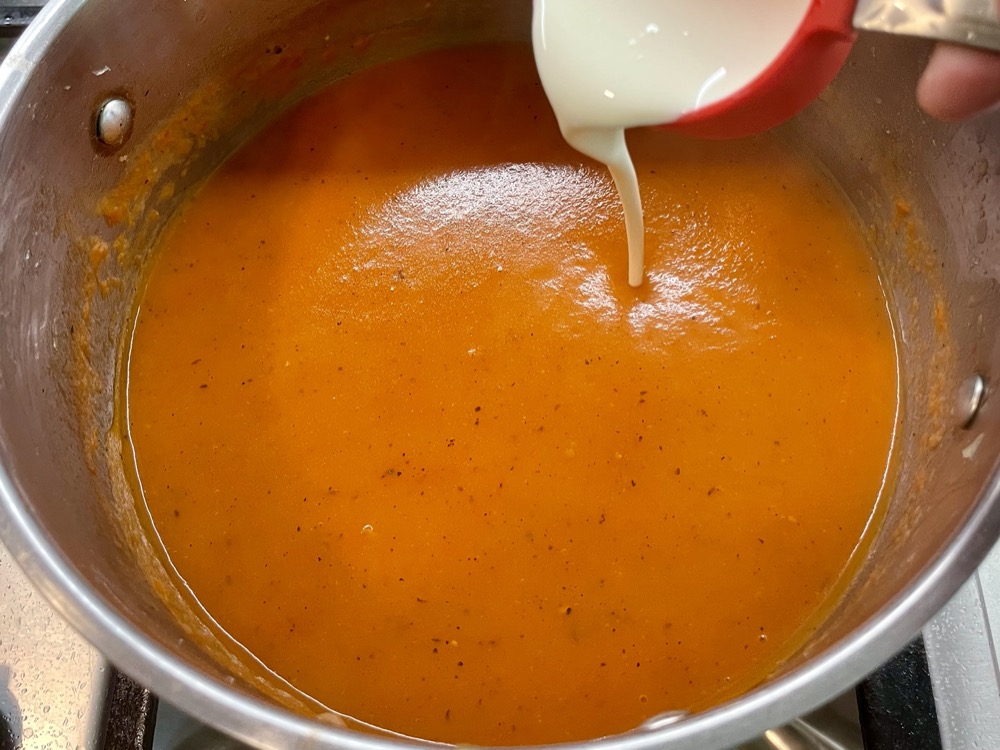

Add 2 Tbsps of heavy cream then taste and adjust salt, sugar, or more heavy cream as needed. (Babička will sometimes add in some ketchup if she wants it more tart and tomato-y 🤫.)
Serve the sauce ladled over the cooked sliced beef and a few knedliky. Enjoy!


Summarized Recipe:
Czech Tomato Gravy (over Sliced Beef) – Rajská Omáčka
Date Published: May 28th, 2024 | Last Updated: May 28th, 2024
Author: Abby |Category: mains, Czech, easy
Serves: 4 | Prep time: 15 mins | Cook time: 45 mins
Ingredients:
- Beef:
- 900g (2 lbs) rump roast/chuck steak
- 1/2 Tbsp salt
- Enough water to cover the beef
- Sauce:
- 1 Tbsp pork lard
- 2 medium (~800g) onions, diced
- 1 large can (793g/28oz) diced tomatoes
- 1/4 cup all-purpose flour
- 4 cups (1L) beef broth
- 1 tsp salt
- 1.5 Tbsps granulated sugar
- 5 black peppercorns
- 3 allspice berries
- 2 bay leaves
- 2-4 Tbsps heavy cream (to taste)
- To serve: with slices of knedliky/Czech dumplings (potato or bread)
Directions:
A. Cook the beef: in a pressure cooker/instant pot: Add the beef, salt and enough water to cover the meat. Put the lid on and cook on HIGH PRESSURE for 30 minutes, then quick release. Remove the beef from the liquid and let it rest for 10 mins before slicing.
- Alternatively if you don’t have a pressure cooker, you can boil the beef in water over the stove until the beef is tender. This will take about 2 hours.
- *This step is optional. You can serve this tomato sauce with whatever type of meat you like, but if you’re looking for a quick cooked beef, the instant pot will be the fastest.
B. Make the sauce while the beef is cooking:
- In a small pot on MED-HIGH heat, melt the pork lard and sauté the onions for 5-8 minutes until softened.
- Add the salt, sugar, black peppercorns, allspice berries, and bay leaves. Stir for 2 mins until the sugar has fully dissolved.
- Next, add in the flour and stir for 2 minutes until well incorporated and the flour cooks a little. Make sure to scrape the bottom of the pan so nothing sticks.
- Pour in the beef broth and stir everything together. Bring the heat up to HIGH to let it come to a boil then back down to MED heat and let it boil for 8-10 minutes until the sauce thickens into a gravy-like consistency.
- Once it has thickened, pour in the can of diced tomatoes including all of the liquid. Bring the sauce to a boil again, then simmer on MED heat for 20 minutes.
- Note: Make sure to stir and scrape the bottom of the pot every few minutes so nothing sticks to the bottom.
- After 20 minutes, turn off the heat and discard the bay leaves and all spice berries. Next, use a stick blender (or transfer the sauce to a blender) and blend the sauce until you get a smooth texture. If you want an extra smooth sauce, strain it through a fine sieve.
- Add 2 Tbsps of heavy cream then taste and adjust salt, sugar, or more heavy cream as needed. (Babička will sometimes add in some ketchup if she wants it more tart and tomato-y 🤫.)
Serve the sauce ladled over the cooked sliced beef and a few knedliky. Enjoy!