Date Published: Sept 2nd, 2025 | Last Updated: Sept 11th, 2025
Author: Abby | Category: Travel, USA
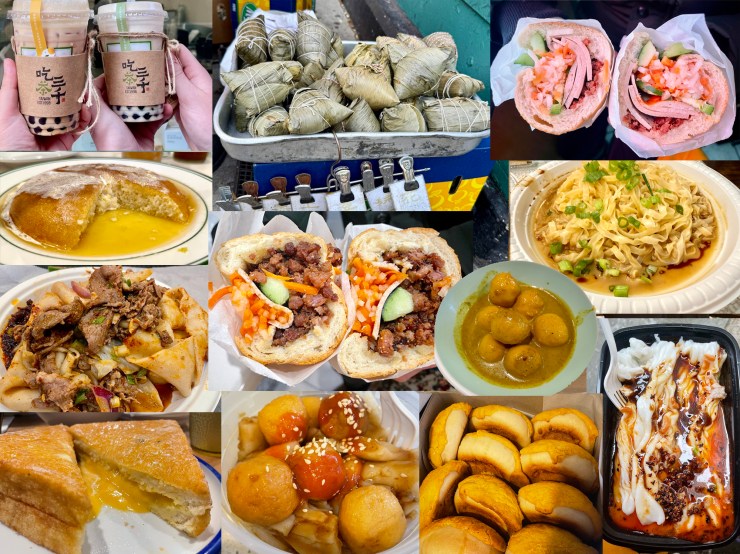
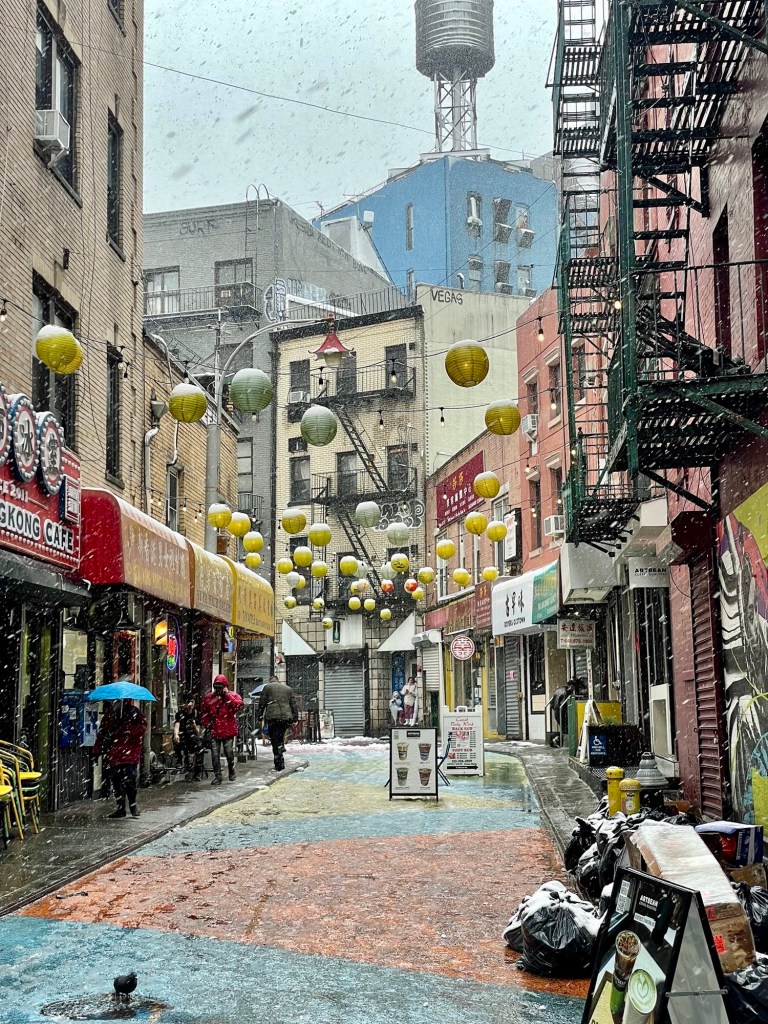
Manhattan Chinatown is full of amazing authentic Asian food but in a neighbourhood full of Chinese signage and shop keepers that barely speak English, it can be daunting to find the best food spots amongst the literal hundreds of restaurants in this neighbourhood. This food guide highlights some of my favourite places to eat in Chinatown including local must-have items! Many of these places are known for only 1 or 2 items on their menu, so we often like to jump from restaurant to restaurant, ordering only a couple things at each place to sample our way through Chinatown. Come hungry as you journey through this food crawl with me!
Contents:
- Before you head to Chinatown, here are a few tips to follow to ensure a good time
- Where is Manhattan Chinatown?
- My favourite Manhattan Chinatown eateries:
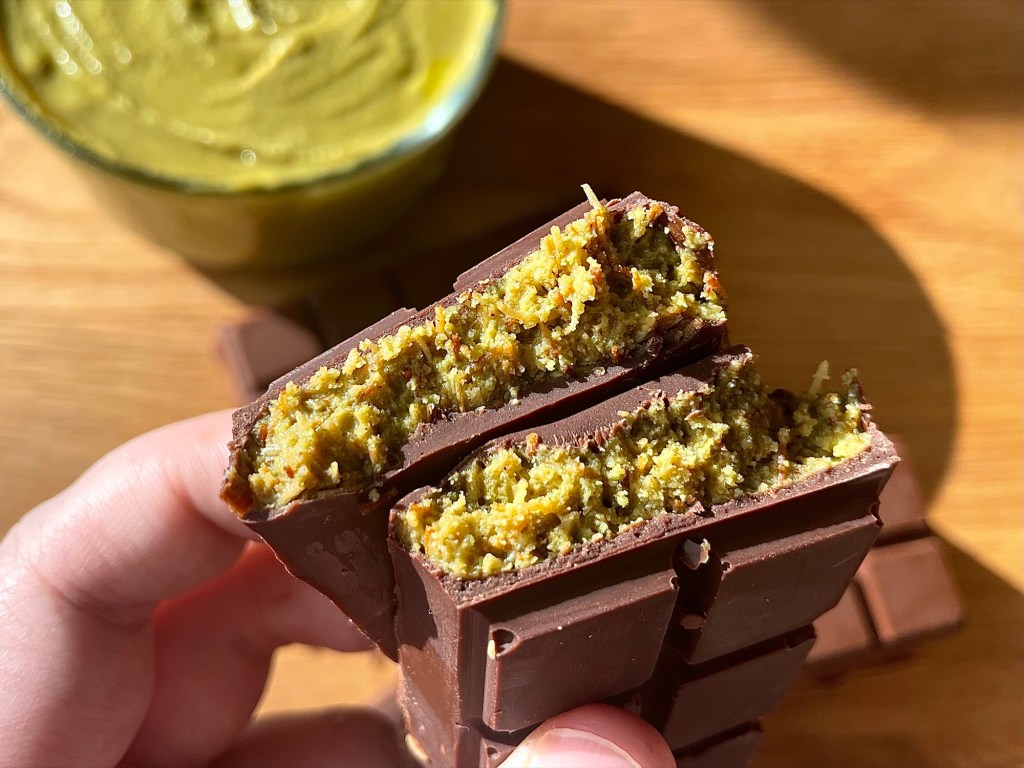
- Matcha Cafe Maiko (the best matcha soft serve we’ve ever had)
- Sanmiwago (a Taiwanese spot with great dumplings)
- Xi’an Famous Foods (great spot for cumin lamb and noodles)
- ChiCha San Chen (the best bubble tea we’ve had)
- Kong Sihk Tong (Hong Kong street food)
- Bánh Mì Saigon (a damn good Banh Mi)
- Saigon Vietnamese Sandwich Deli (another damn good Banh Mi)
- Tonii’s Fresh Rice Noodle (the best rice noodles I’ve ever had)
- Mei Lai Wah (the best pineapple BBQ pork bun you’ll ever have)
- Chang Lai Fishballs Noodles (a place for fishballs and rice noodles)
- The Original Chinatown Ice Cream Factory (ice cream with Asian flavours)
- Double Crispy Bakery (great steam buns and egg tarts)
- Shu Jiao FuZhou Cuisine (cheap peanut noodles)
- The ZongZi/Bah-Chang lady outside of Grand Street Station
- Mee Sum Cafe (a breakfast joint with reputable Zongzi)
- Golden Diner (honey butter pancakes)

Before you head to Chinatown, here are a few tips to follow to ensure a good time:
- Always bring cash. Many of these hole-in-the-wall joints only take cash and most won’t have ATMs on site. Even if they do take card, often there’ll be a discount if you pay in cash!
- Don’t hold up the line. Chinatown operates like many hustle and bustle places in Asia. It’s often about speed and high turnover in many of these OG places. Try and figure out what you want before you get in line (the lines can move very quickly!) or take a photo of the menu and step to the side to take your time deciding what you want to avoid holding up the line.
- Don’t expect good service. Time and time again so many fantastic authentic Chinese food joints get poor ratings due to poor service. In Asia, many of these authentic hole-in-the-wall eateries and old school joints are about serving up food quick and cheap and turning over as many tables as they can, street-style. Don’t expect table service, don’t expect niceties, just go in and expect good food and the rest is a bonus. Don’t take it personally, it’s just a way of life that has been ingrained in our cultures. If you prefer a good sit down service, then I’d recommend finding a larger fancy Chinese restaurant – but I have none in the recommendations below, this post is all about quick, cheap, delicious food.
- Be prepared to stand or take away. Not exclusive to Chinatown, many food shops in NYC are standing room only or takeaway only, so be prepared to do either. Keep this in mind especially if you’re coming from a day of walking or exploring the city and you’re looking for a place to sit for lunch.

Where is Manhattan Chinatown?
There are a few Chinatowns around NYC (ie Flushing and Bay Ridge), but there’s only one in Manhattan. A quick Google search will show you the outline of this neighbourhood that borders Little Italy. I’ve highlighted the neighbourhood in the maps below.
If you’re feeling like exploring the city and working up an appetite before lunch, my favourite morning route that we take visiting guests is to walk across the Brooklyn Bridge from DUMBO in Brooklyn, walk around the Financial District/Wall Street area, then head up towards Chinatown for lunch. Afterwards you could walk through Little Italy then up to SOHO. You can also consider doing a day of exploring the Statue of Liberty and Ellis Island then have dinner in Chinatown afterwards.
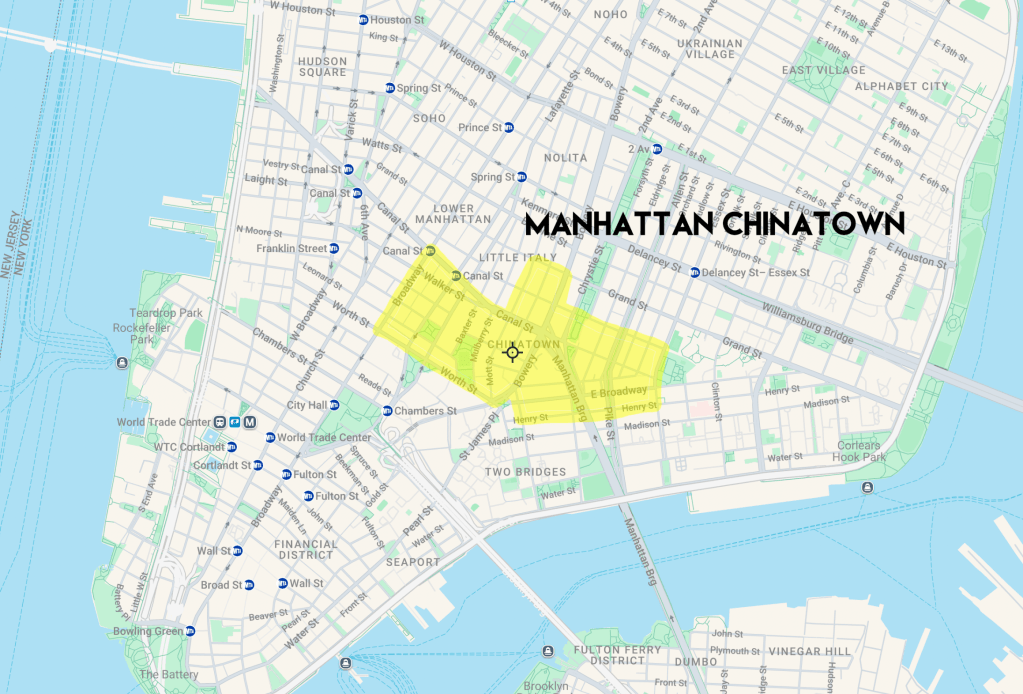


Although Chinatown spans a relatively large area, many of the popular eateries are concentrated around Grand Street, Bayard Street, and Bowery. I’ve mapped out the eateries in this post below to give you an idea of where these places are located (I’m a visual learner – I like maps to orient myself when planning 😊).
- 123 Madison St, New York, NY, United States
- 250 Grand St, New York, NY, United States
- 295 Grand St, New York, NY, United States
- 230 Grand St, New York, NY, United States
- 65 Bayard St, New York, NY, United States
- 55 Bayard St, New York, NY, United States
- 41 Mott St, New York, NY, United States
- 83 Bayard St, New York, NY, United States
- 198 Grand St, New York, NY, United States
- 369 Broome St, New York, NY, United States
- 72 Bayard St, New York, NY, United States
- 45 Bayard St, New York, NY, United States
- 90 Bowery, New York, NY, United States
- 132 Bowery, New York, NY, United States
My favourite Manhattan Chinatown eateries:
Without further ado, here’s a list of my favourite Chinatown eateries in Manhattan. Let me know in the comments if I’ve missed something you think should be included here!
Matcha Cafe Maiko (the best matcha soft serve we’ve ever had)
Address: 132 Bowery, New York, NY 10013 (multiple locations)
Hours: 12pm-10pm, daily
Website: https://www.matchacafe-maiko.com/eng/
Average spend per person: $5-$15
What to order: matcha and hojicha soft serve
When we first moved to New York, we stayed at an AirBnb for a few weeks until we were able to find an apartment. Matcha Cafe Maiko just happened to be right below our AirBnb. They have some of the best matcha and hojicha soft serves we’ve ever had! Matcha Cafe Maiko uses high quality matcha that allows the strong flavours to come through in all of their desserts. Highly recommend! (Although not a “Chinatown eatery”, this place is so good that I just had to include it in this post!)


Sanmiwago (a Taiwanese spot with great dumplings)
Address: 90 Bowery, New York, NY 10013
Hours: 9am-2am, daily
Website: https://sanmiwagomeals.com/menu
Average spend per person: $10-$20
What to order: signature pork and chives pan-fried dumplings
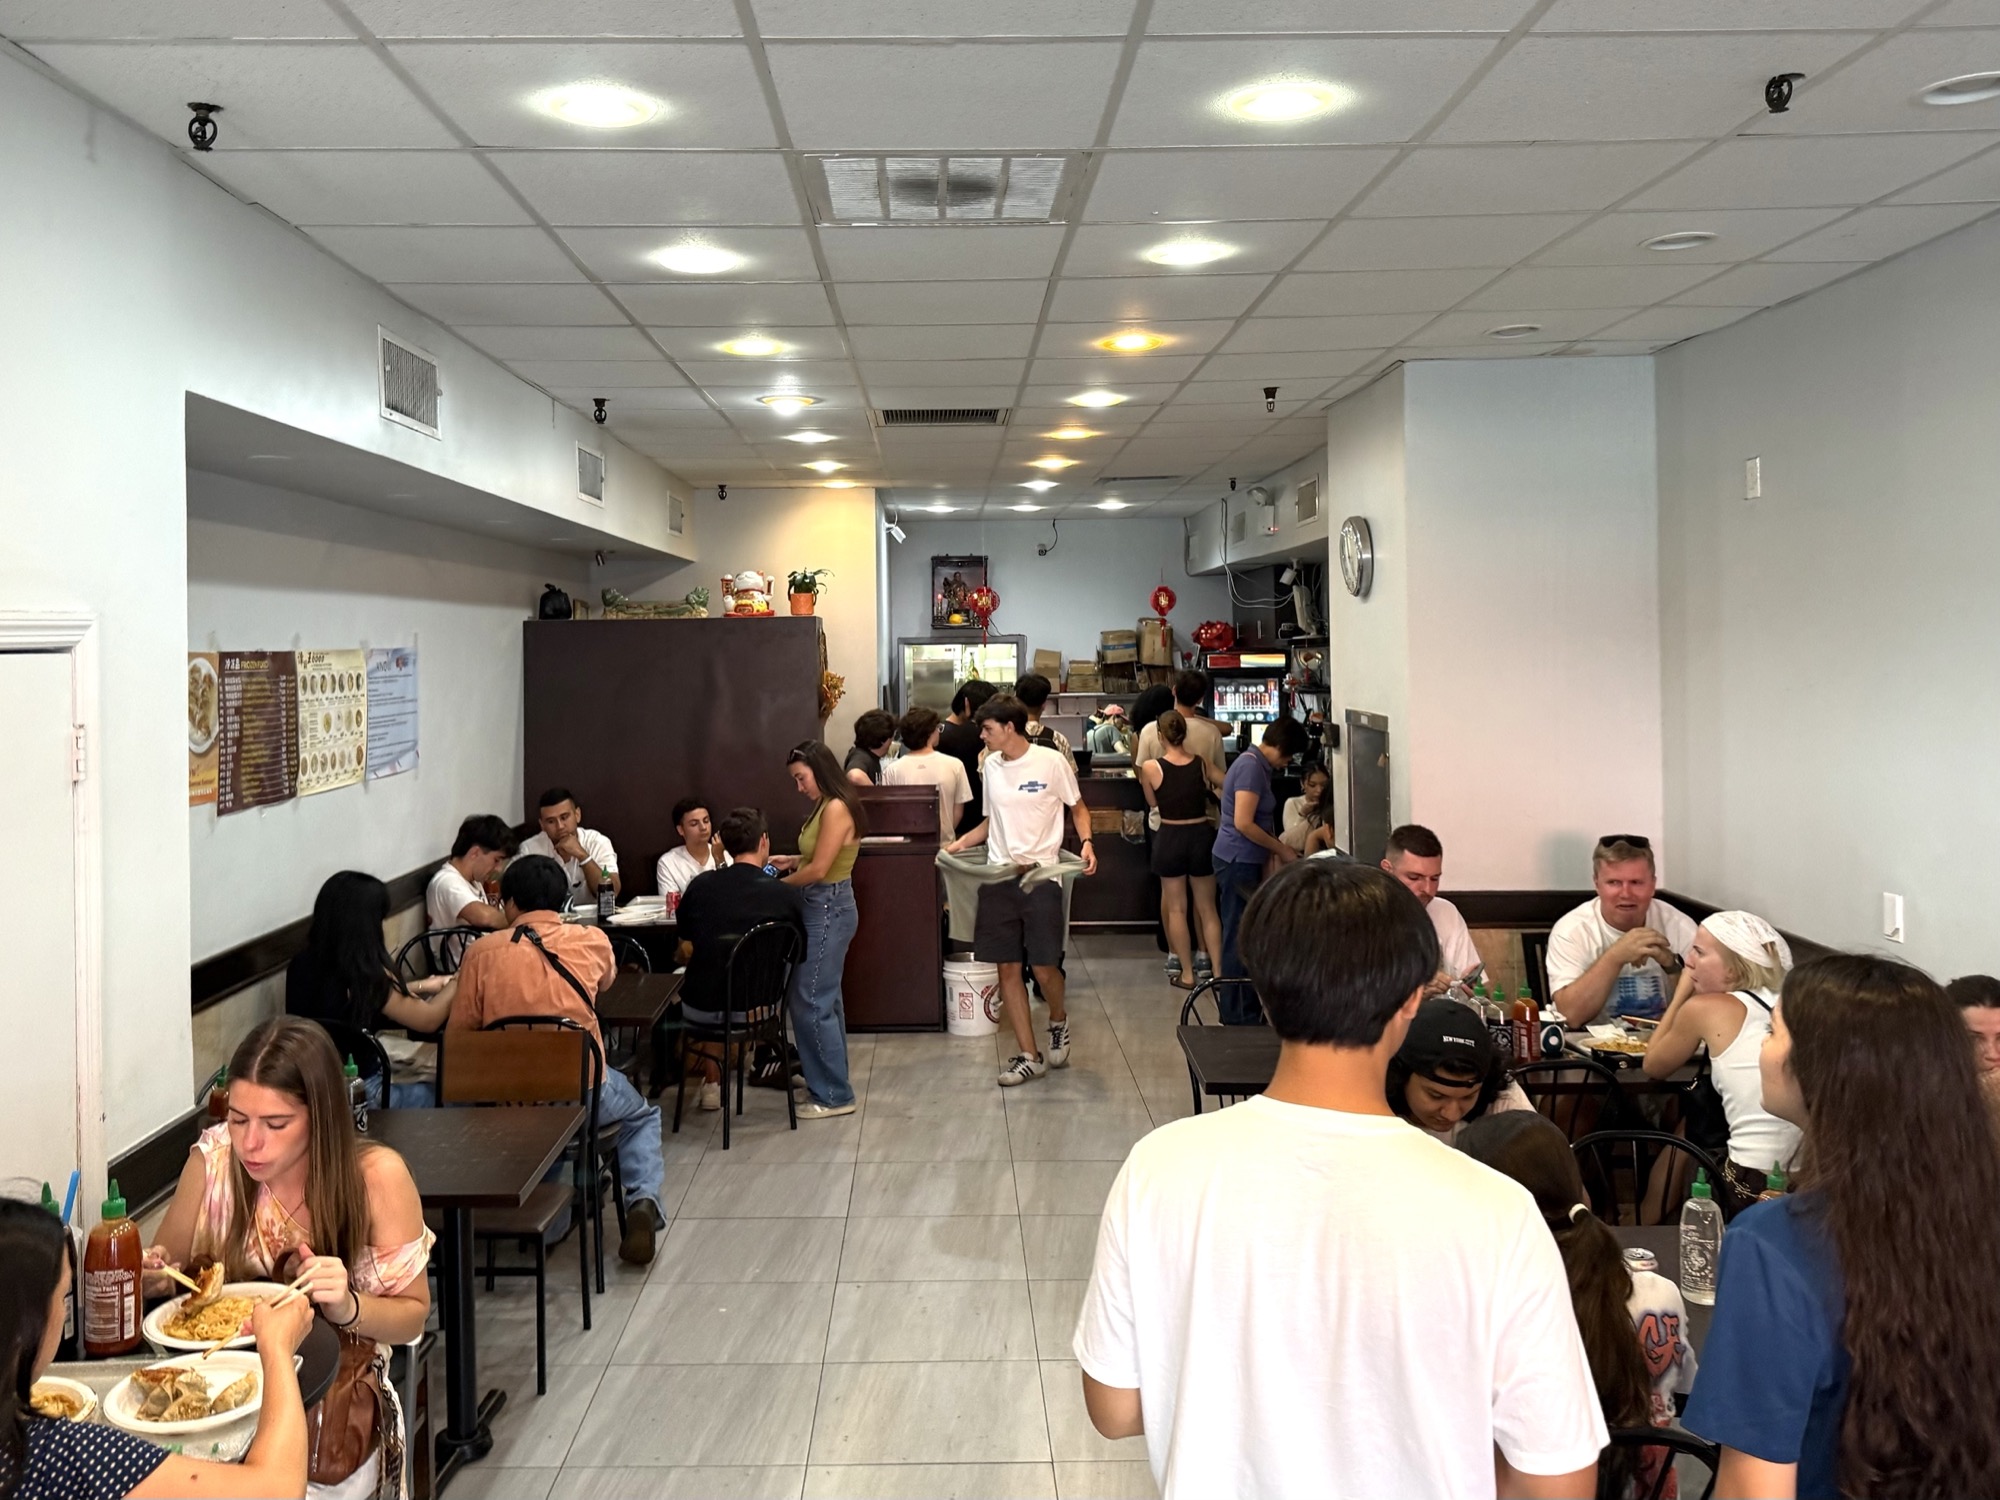
We found this place randomly because we were super hungry and it was around the corner from our AirBnb at the time. They advertise themselves as Taiwanese food which was what attracted me to them in the first place, but there are items on the menu that can be from other areas of Asia. It was a small shop and food came out quickly, I honestly can’t even remember everything we ordered, but I remembered that their signature pan-friend pork and chive dumplings were really good!


Xi’an Famous Foods (great spot for cumin lamb and noodles)
Address: 45 Bayard St, New York, NY 10013 (multiple locations)
Hours: 11am-9pm, daily
Website: http://xianfoods.com/
Average spend per person: $10-$20
What to order: spicy cumin lamb noodles, cumin lamb burger
Xi’an Famous Foods serves up delicious food with unique flavours from the Xi’an province of China (read: spicy & lots of cumin). They originally started off in a tiny hole in the wall shop and grew such a large following that they now have 16 locations across the city! A large part of their success can be attributed to a visit from Anthony Bourdain in an episode of No Reservations. Xi’an Famous Foods is known for their spicy cumin lamb noodles and the spicy cumin lamb burger. Both dishes are similar in flavour (one has the cumin lamb served over noodles and the other has the lamb stuffed inside a bun). The noodles are fresh and hand-pulled with the perfect texture so I prefer it over the burger. There’s also a side table with self-serve sauces – I would HIGHLY recommend slapping on their chilli oil and then buy a couple jars to take home. It has a great smokey flavour without being too spicy.
I first came here about 10 years ago and I’m happy to report that although their meat portions in the burger have gotten much smaller, the flavour of the food is just as delicious.


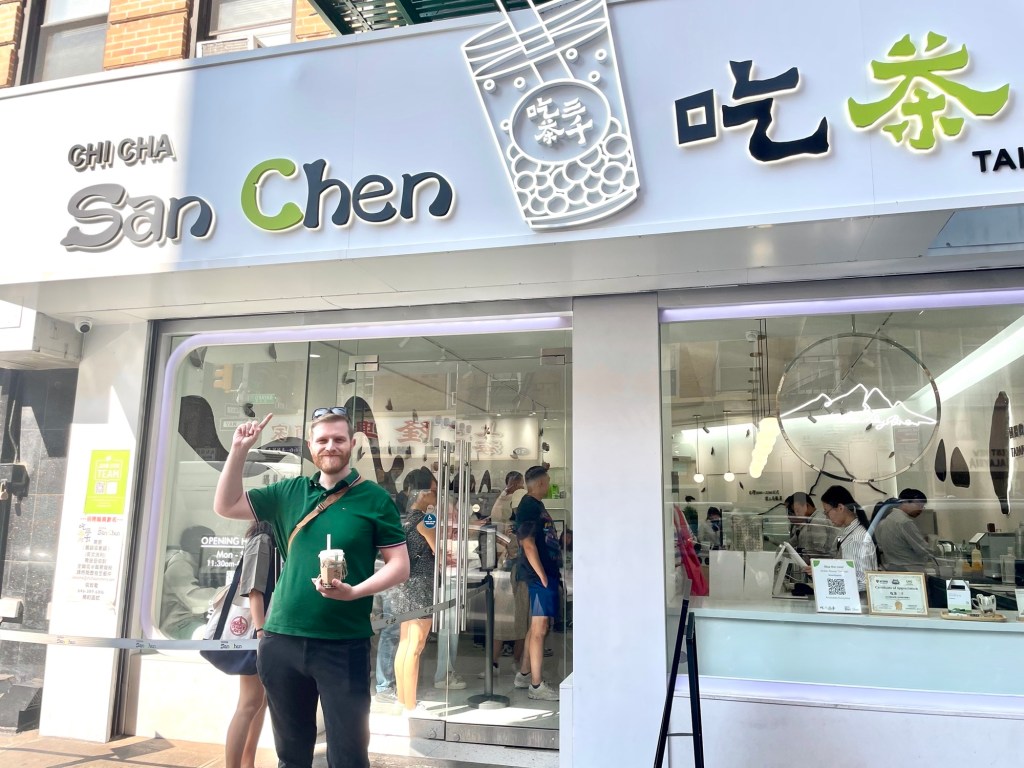
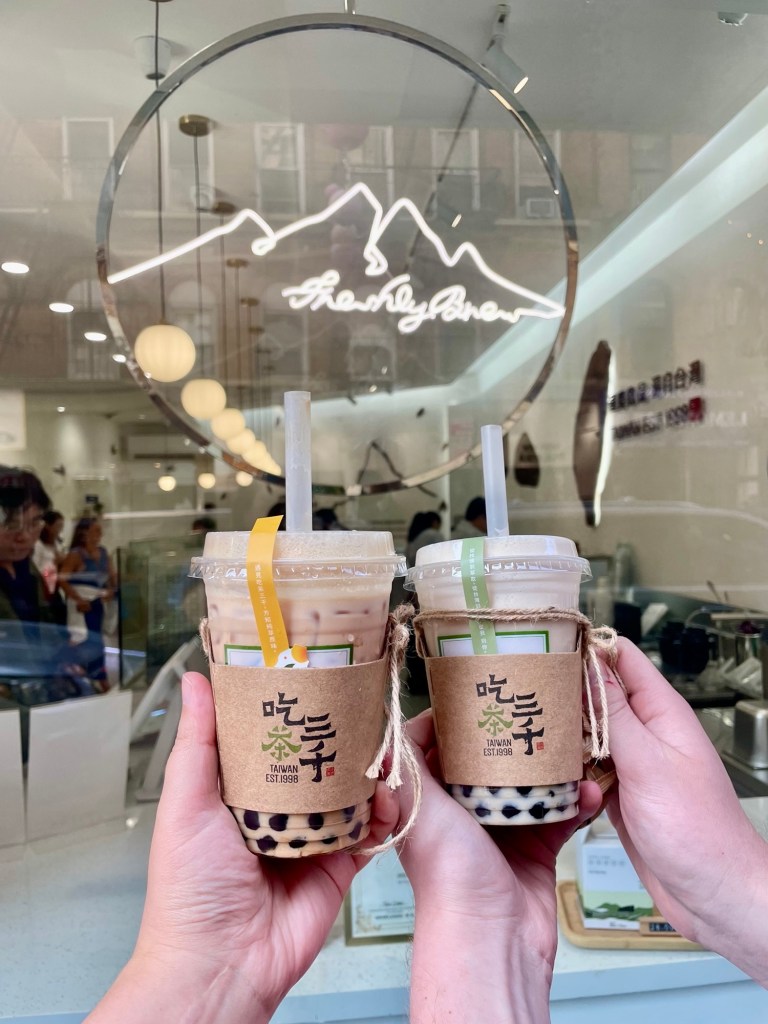
ChiCha San Chen (the best bubble tea we’ve had)
Address: 72-74 Bayard St, New York, NY 10013
Hours: 11:30am-9:30pm daily
Website: https://chichasanchenny.com/
Average spend per person: $8-$12
What to order: bubble milk tea, dong ding oolong tea latte
This is a pretty new spot in Chinatown that only opened in May 2024. It’s a Taiwanese bubble tea company known for their high quality teas and strong flavours and they have a pretty strong fan base. As a Taiwanese person from the land of bubble teas, I’ve had more than my fair share of bubble tea so I’ve got some pretty high standards. At first glance, it’s a fancy looking shop decorated with the theme of marketing high quality Taiwanese tea. The menu is small compared to many bubble tea shops but I didn’t mind because it helps to avoid choice paralysis. We ordered the ding dong oolong tea latte and the bubble milk tea. It was pretty expensive, at about $10 per drink and only comes in the medium size. It took a while for us to get our drink but as we sat there waiting, you can appreciate how much care they take into brewing each cup of tea. The end result paid off. It was indeed one of the most tea-heavy flavourful bubble teas we’ve ever had. If you’re into quality tea, I’d highly recommend checking this place out, but be prepared to wait (it was about 15-20 minutes before we got our drink) and spend $10 per drink.
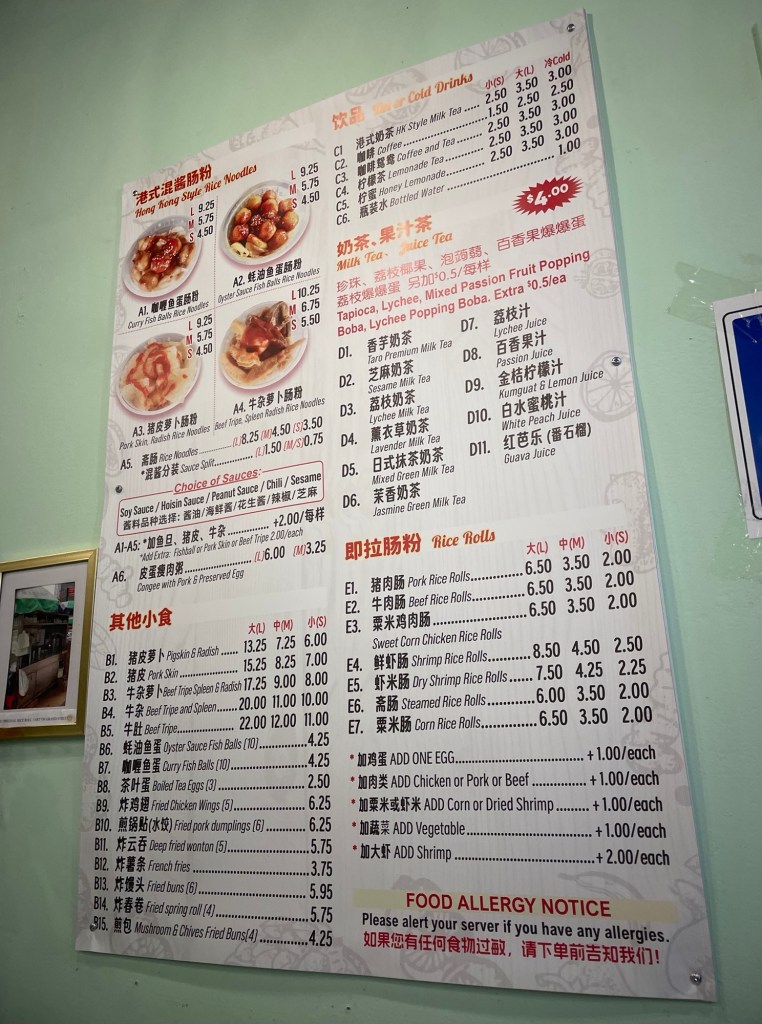
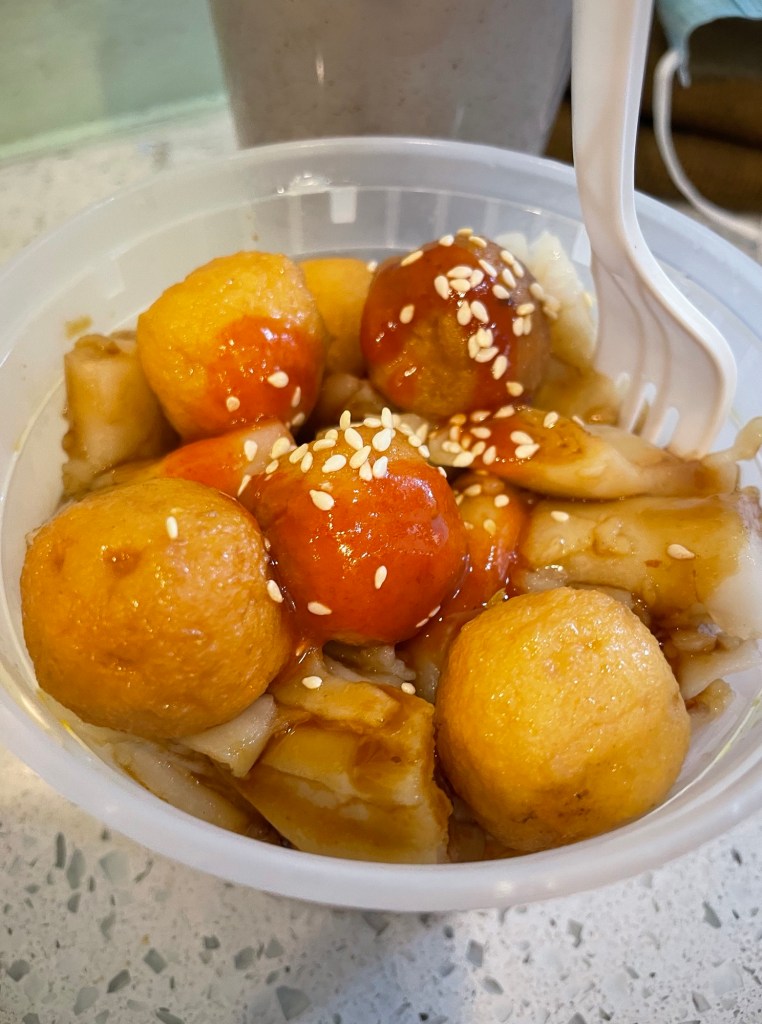
Kong Sihk Tong (Hong Kong street food)
Address: 65 Bayard St, New York, NY 10013
Hours: 8am-9pm Sun-Thurs, 8am-10pm Fri-Sat
Website: https://kongsihktong.com/
Average spend per person: $10-$20
What to order: Golden lava French toast, beef chowfun in brown sauce, baked rice
Kong Sihk Tong is a place known for serving up Hong Kong style street/fast food. We came here for the first time based on online recommendations. Food was overall average (some fantastic, some just okay) but the prices were great and the service was fast (as you’d expect from a Chinatown joint). There’s a large menu and they take cash only. We went during winter around 11:30am and we were able to be seated right away. Some reviews say that there are often lines out the door in the summer!
We got a few dishes:
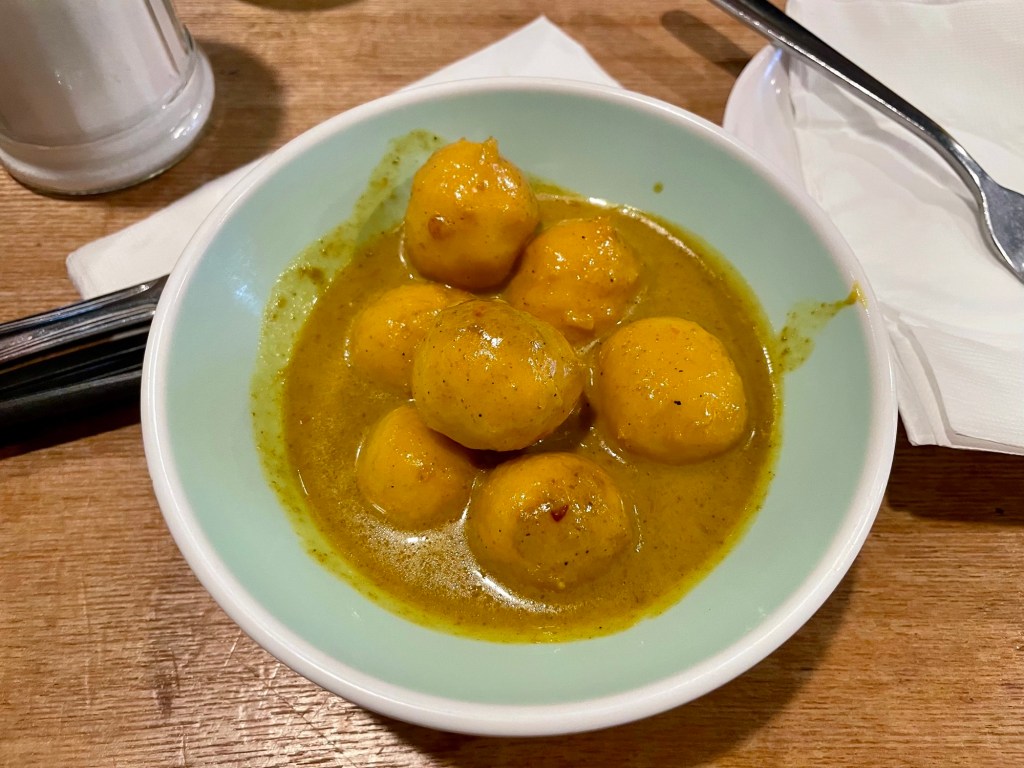
- Curry fish balls: One of their most highly reviewed dishes. It was decent, but similar to the other curry fish balls you can find in Chinatown so I didn’t feel like it was anything special.
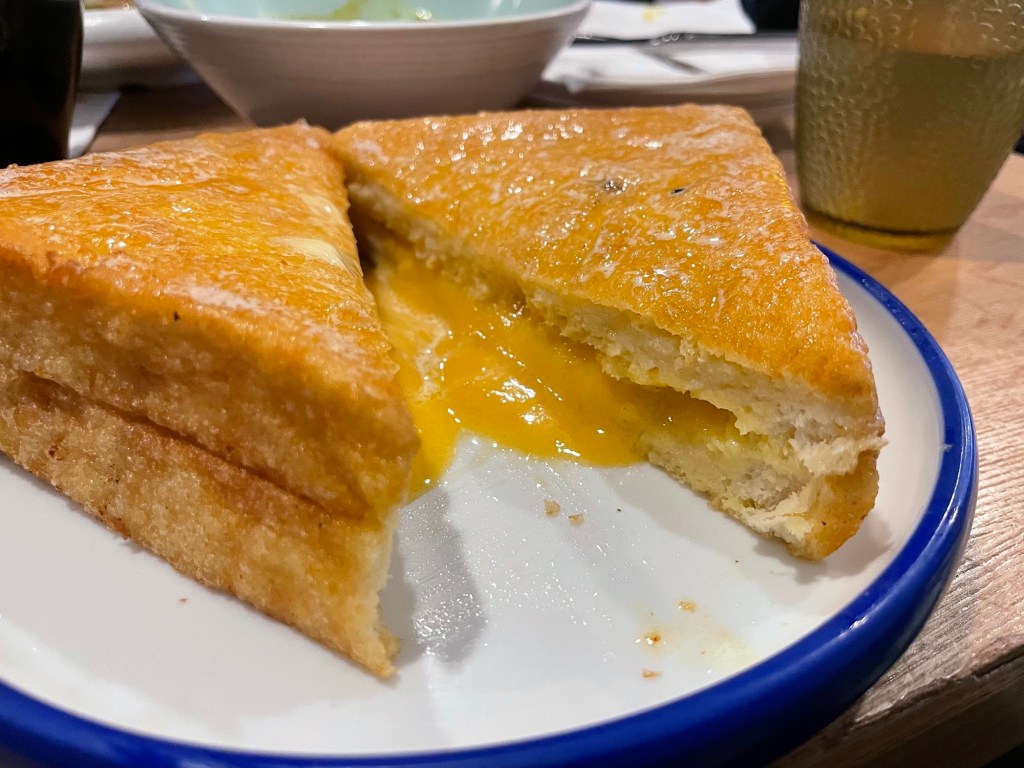
- Golden lava French toast: Another popular item on the menu. It tasted great, but it was definitely on the sweet side. It’s better eaten as a dessert rather than breakfast.
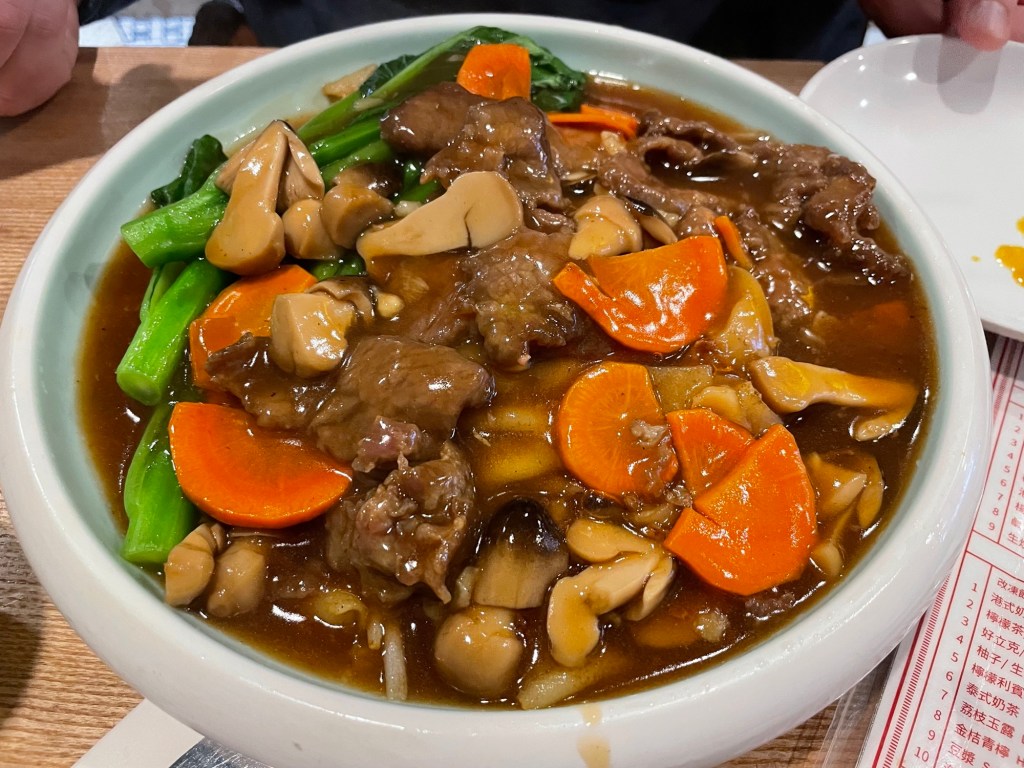
- Beef chow fun in brown sauce: Fantastic. Great wok hei flavour. It was Toby’s favourite dish of the meal.
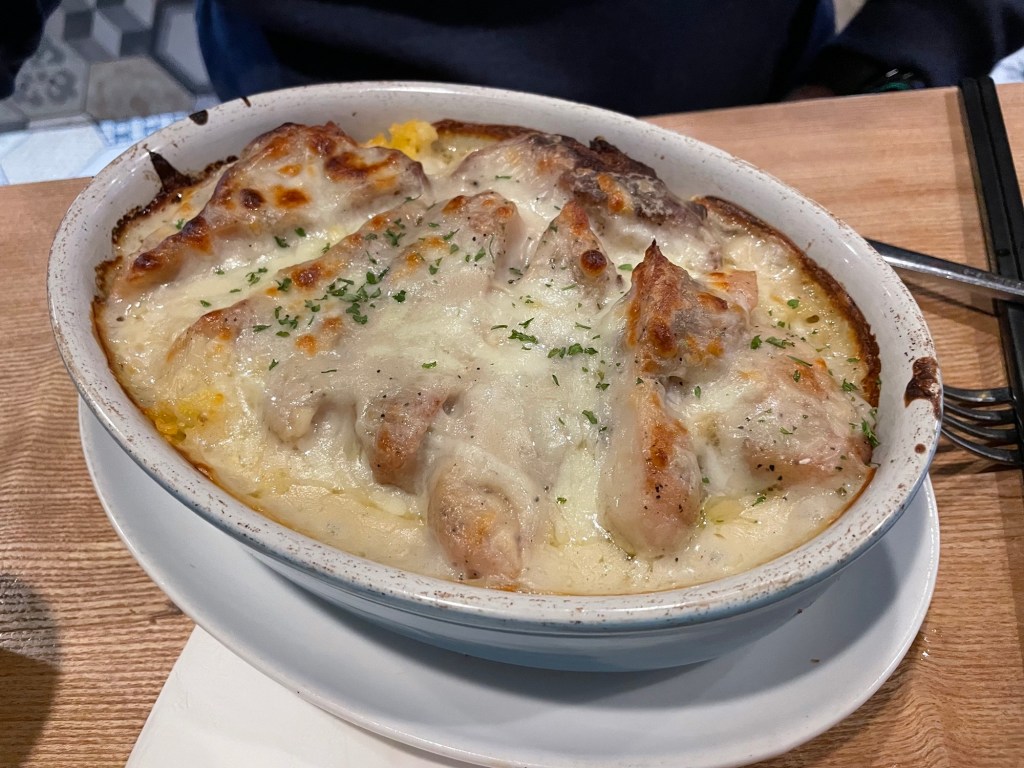
- Baked rice with pork chop: You have an option of 3 sauces: cream, tomato, or black pepper. I ordered the cream base for nostalgia, but was pretty disappointed. I’ve definitely had way better. The pork chop in it was pretty good though! I saw many people order the baked rice – perhaps I’ll try a different sauce base last time since the waitress said it was one of their more popular dishes.
Overall, some dishes were great, some were just okay, but they’ve got a huge menu and we’re open to coming back and trying some of their other dishes!


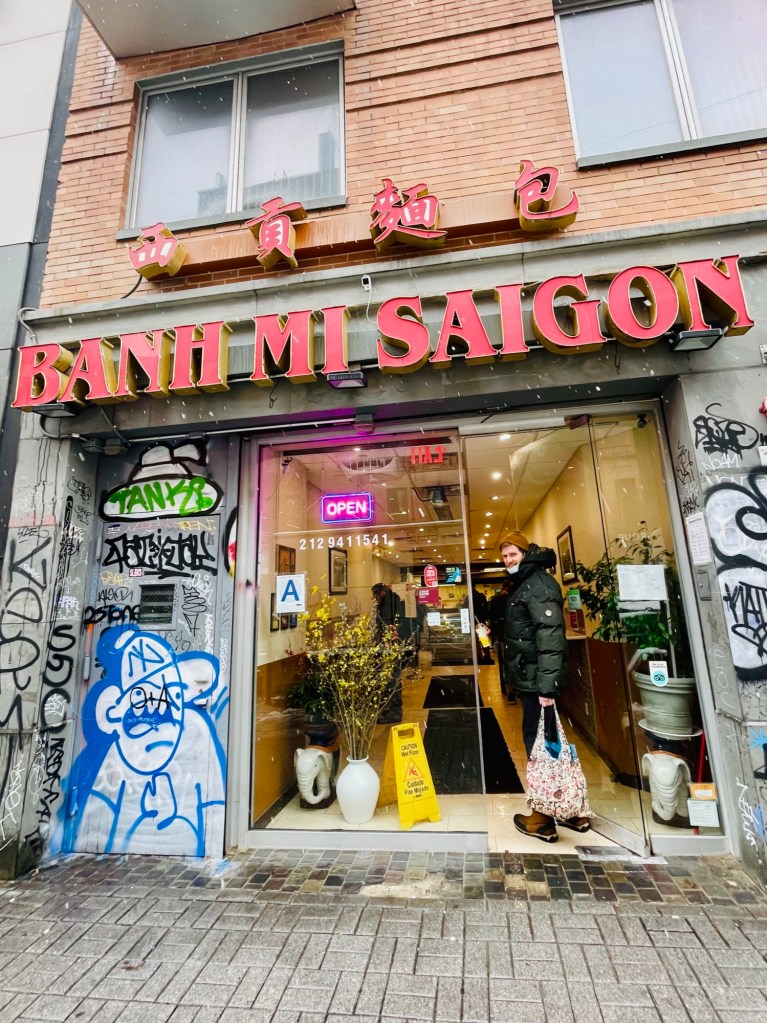
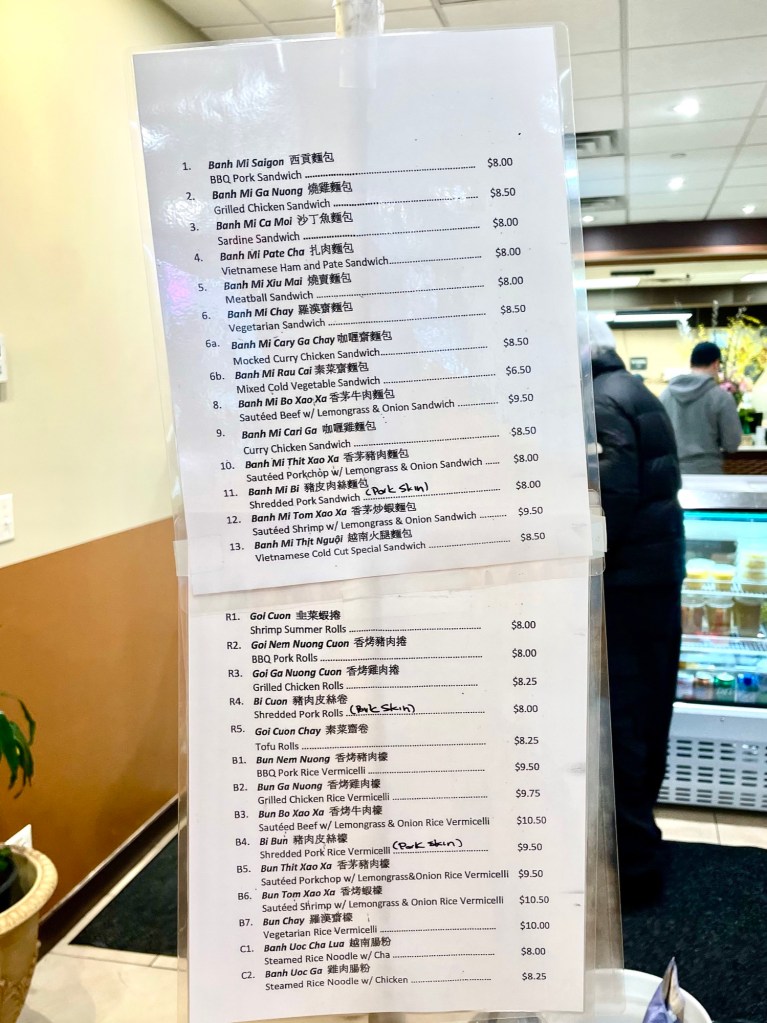
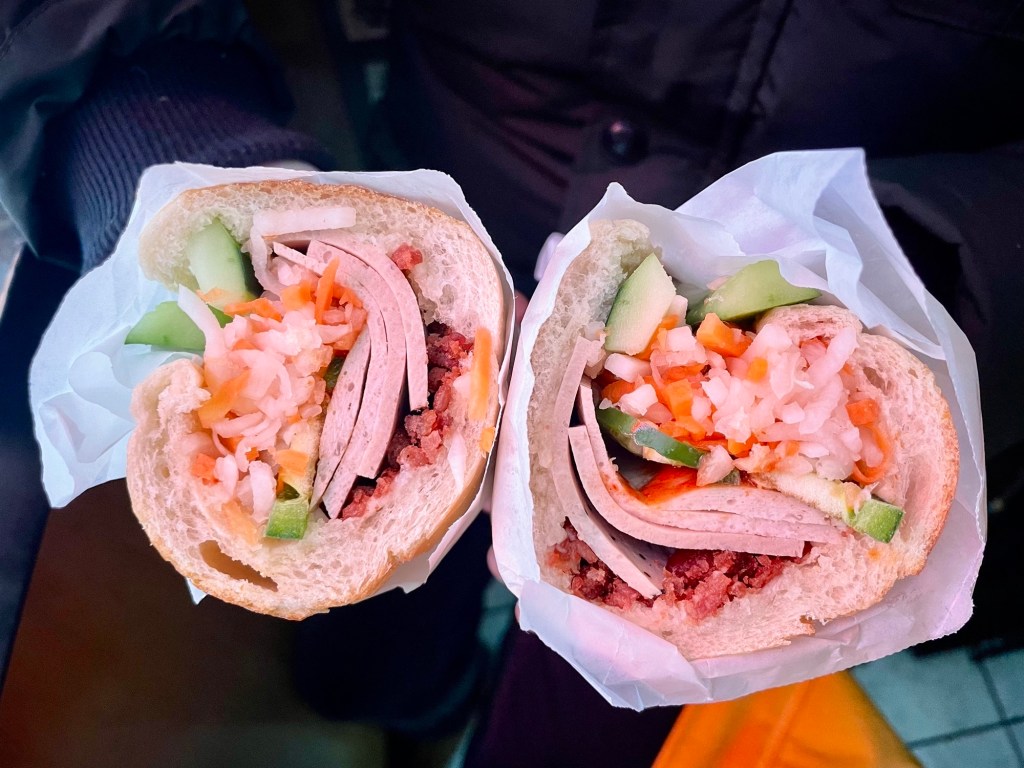
Bánh Mì Saigon (a damn good Banh Mi)
Address: 198 Grand St, New York, NY 10013
Hours: 10am -5:30pm, Tues – Sun (closed Mondays)
Website: https://banh-mi-saigon.restaurants-world.com/
Average spend per person: $6 – $10
What to order: Banh Mi Saigon (BBQ Pork sandwich)
If you’re looking for Banh Mi in NYC, you’ll be met with countless options. In the search to find the best Banh Mi NYC has to offer, two places kept popping up in my research time and time again: Bánh Mì Saigon and Saigon Vietnamese Sandwich Deli (see below).
For those that are unfamiliar what a Banh Mi is, it is a Vietnamese sandwich made with a French-style baguette-like crusty bread that is filled with a myriad of ingredients that include pickled vegetables, paté, and an option of different meats (no cilantro on mine please). This flavourful combination make it a staple in many Vietnamese restaurants in NYC.
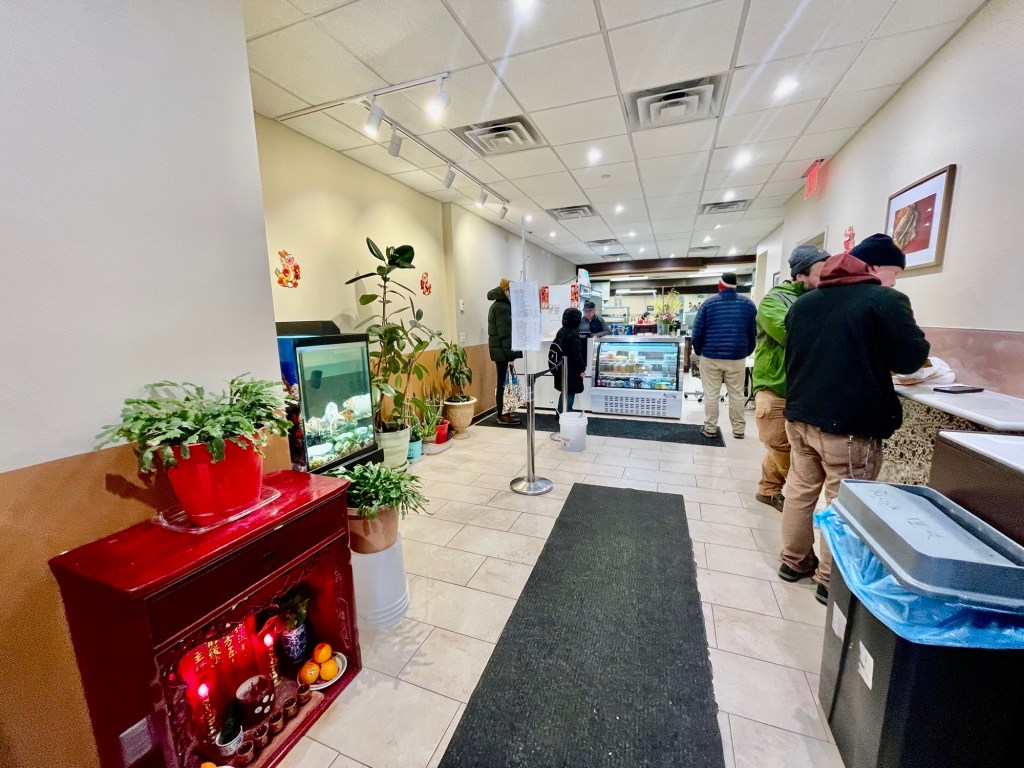
Between the two shops, Bánh Mì Saigon is a larger shop that’s brightly lit with lots of standing room, but no place to sit. Their most popular is the “#1 Banh Mi Saigon” which includes BBQ Pork as the protein. It’s only $8 for a decent sized sandwich. They had by far the best Banh Mi bread I’ve ever had. It has such a perfect crust and texture. and there was a good balance of flavours. Highly recommend!

Saigon Vietnamese Sandwich Deli (another damn good Banh Mi)
Address: 369 Broome St, New York, NY 10013
Hours: 7am – 7pm Tues – Sat, 7am – 5pm Sun, closed Mon
Website: https://www.saigonvietnamesesandwichdeli.com/
Average spend per person: $10 – $12
What to order: #1 House Special (Grilled Pork, Vietnamese Salami, Vietnamese Ham)
Saigon Vietnamese Sandwich Deli is a much smaller shop compared to Banh Mi Saigon. This tiny shop has just enough room for their ordering counter and a large fridge with cold drinks and unlike most Chinatown shops, they actually have a small table by the window and 2 chairs for sitting. Their specialty sandwich is the “No. 1 House Special (grilled pork with Vietnamese ham and Vietnamese salami)”. Although the bread is not as perfect as the bread at Banh Mi Saigon, their filling was really flavourful. My favourite part was the Vietnamese ham 😋. Also highly recommend!


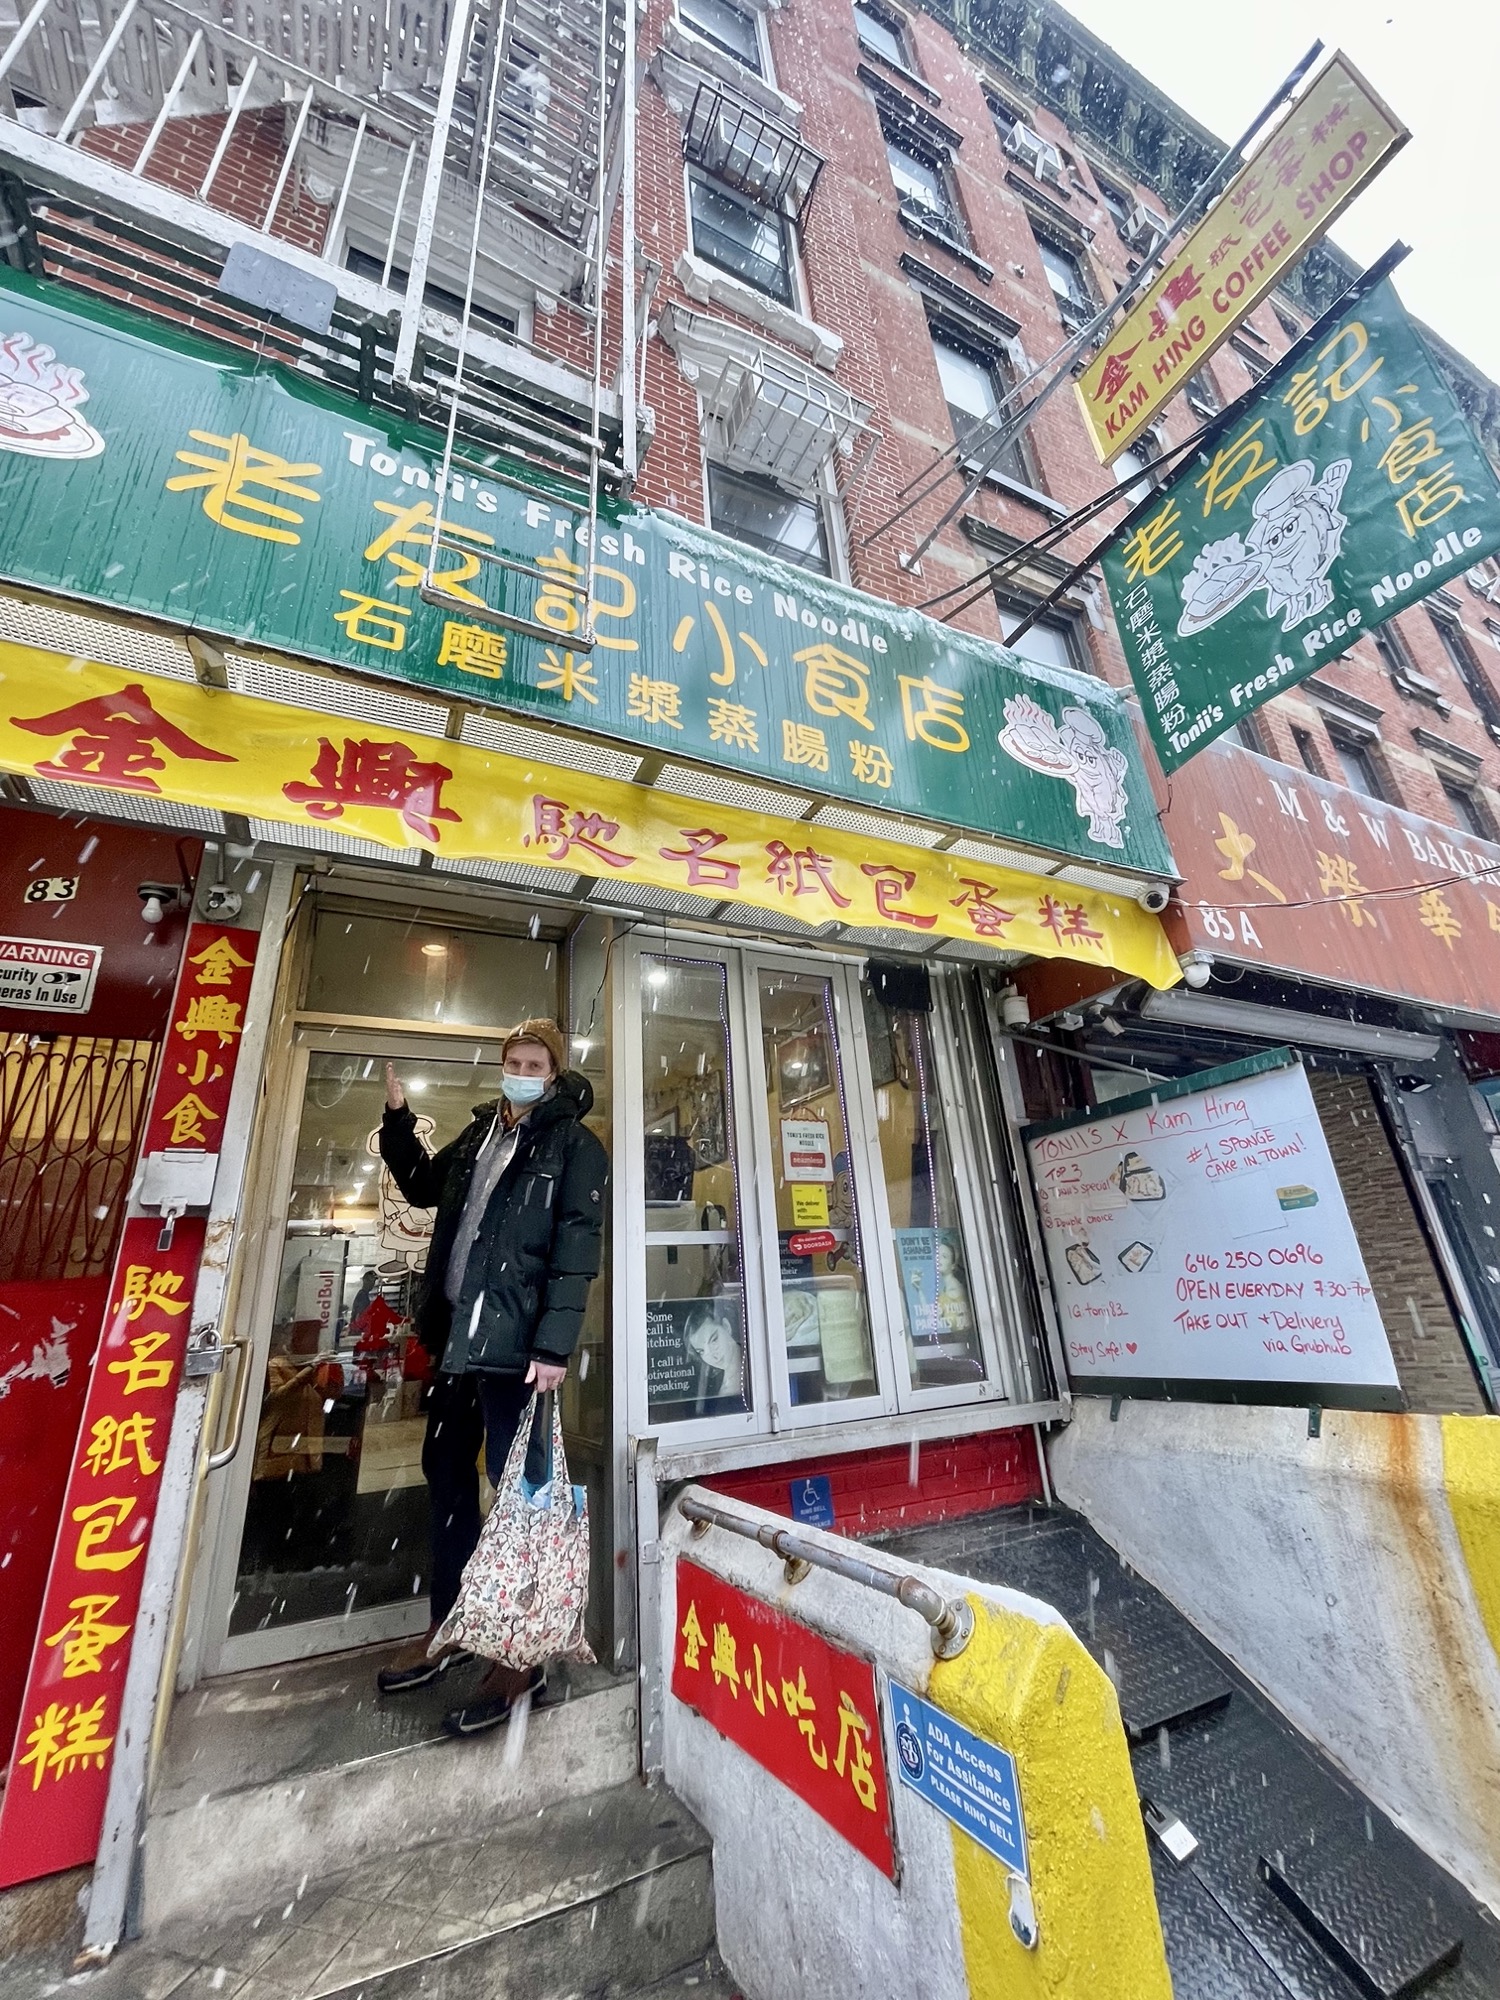
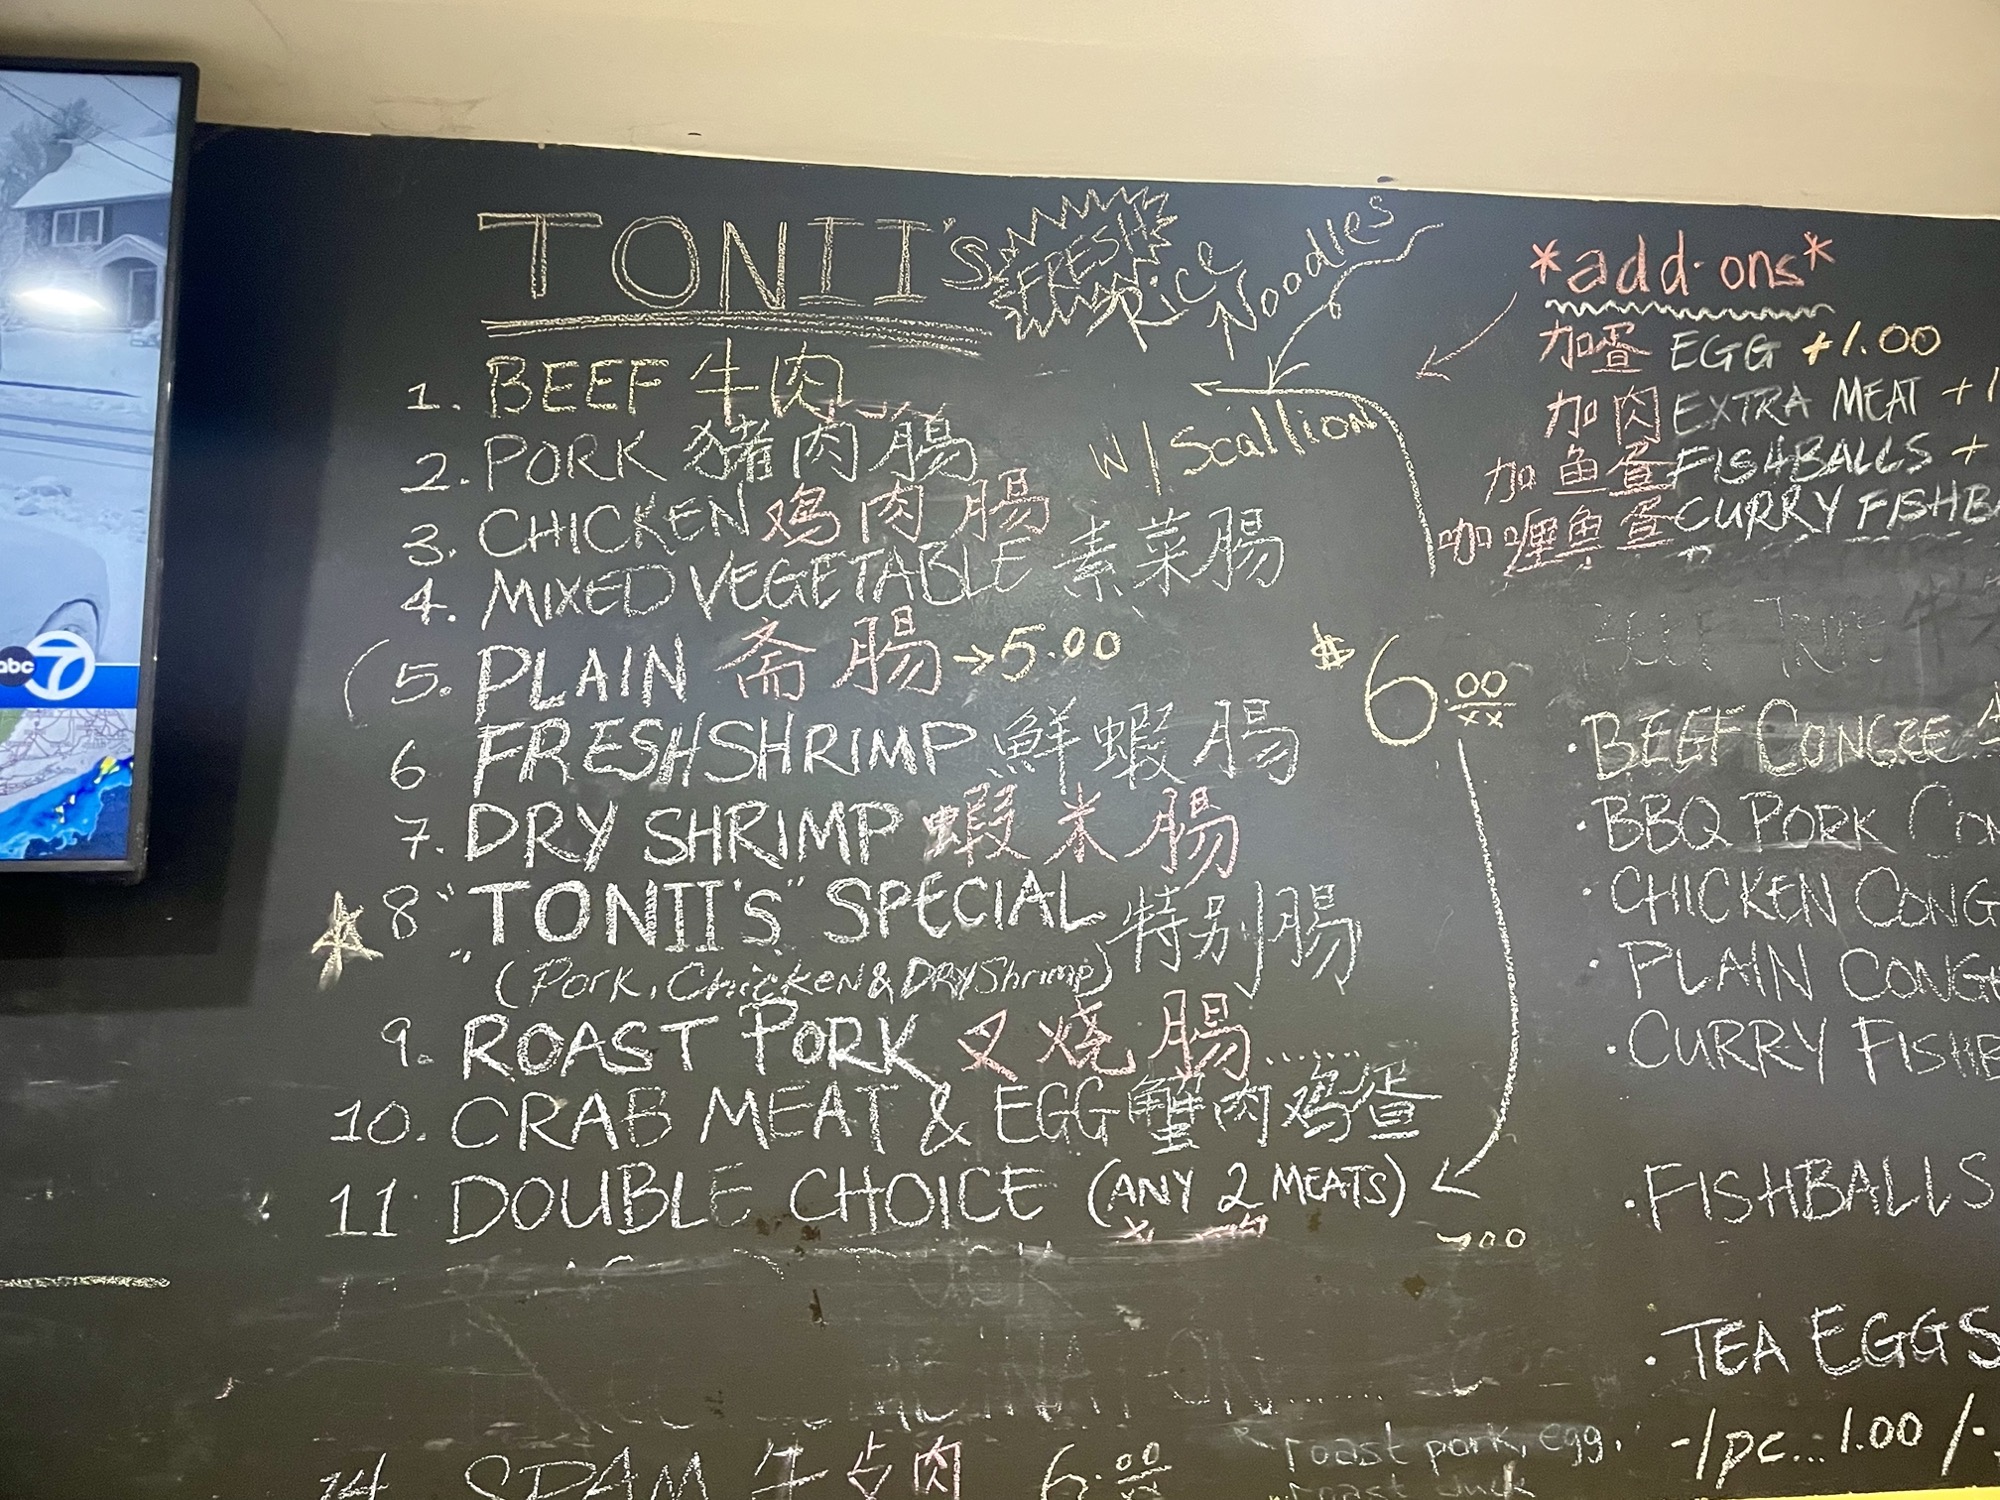
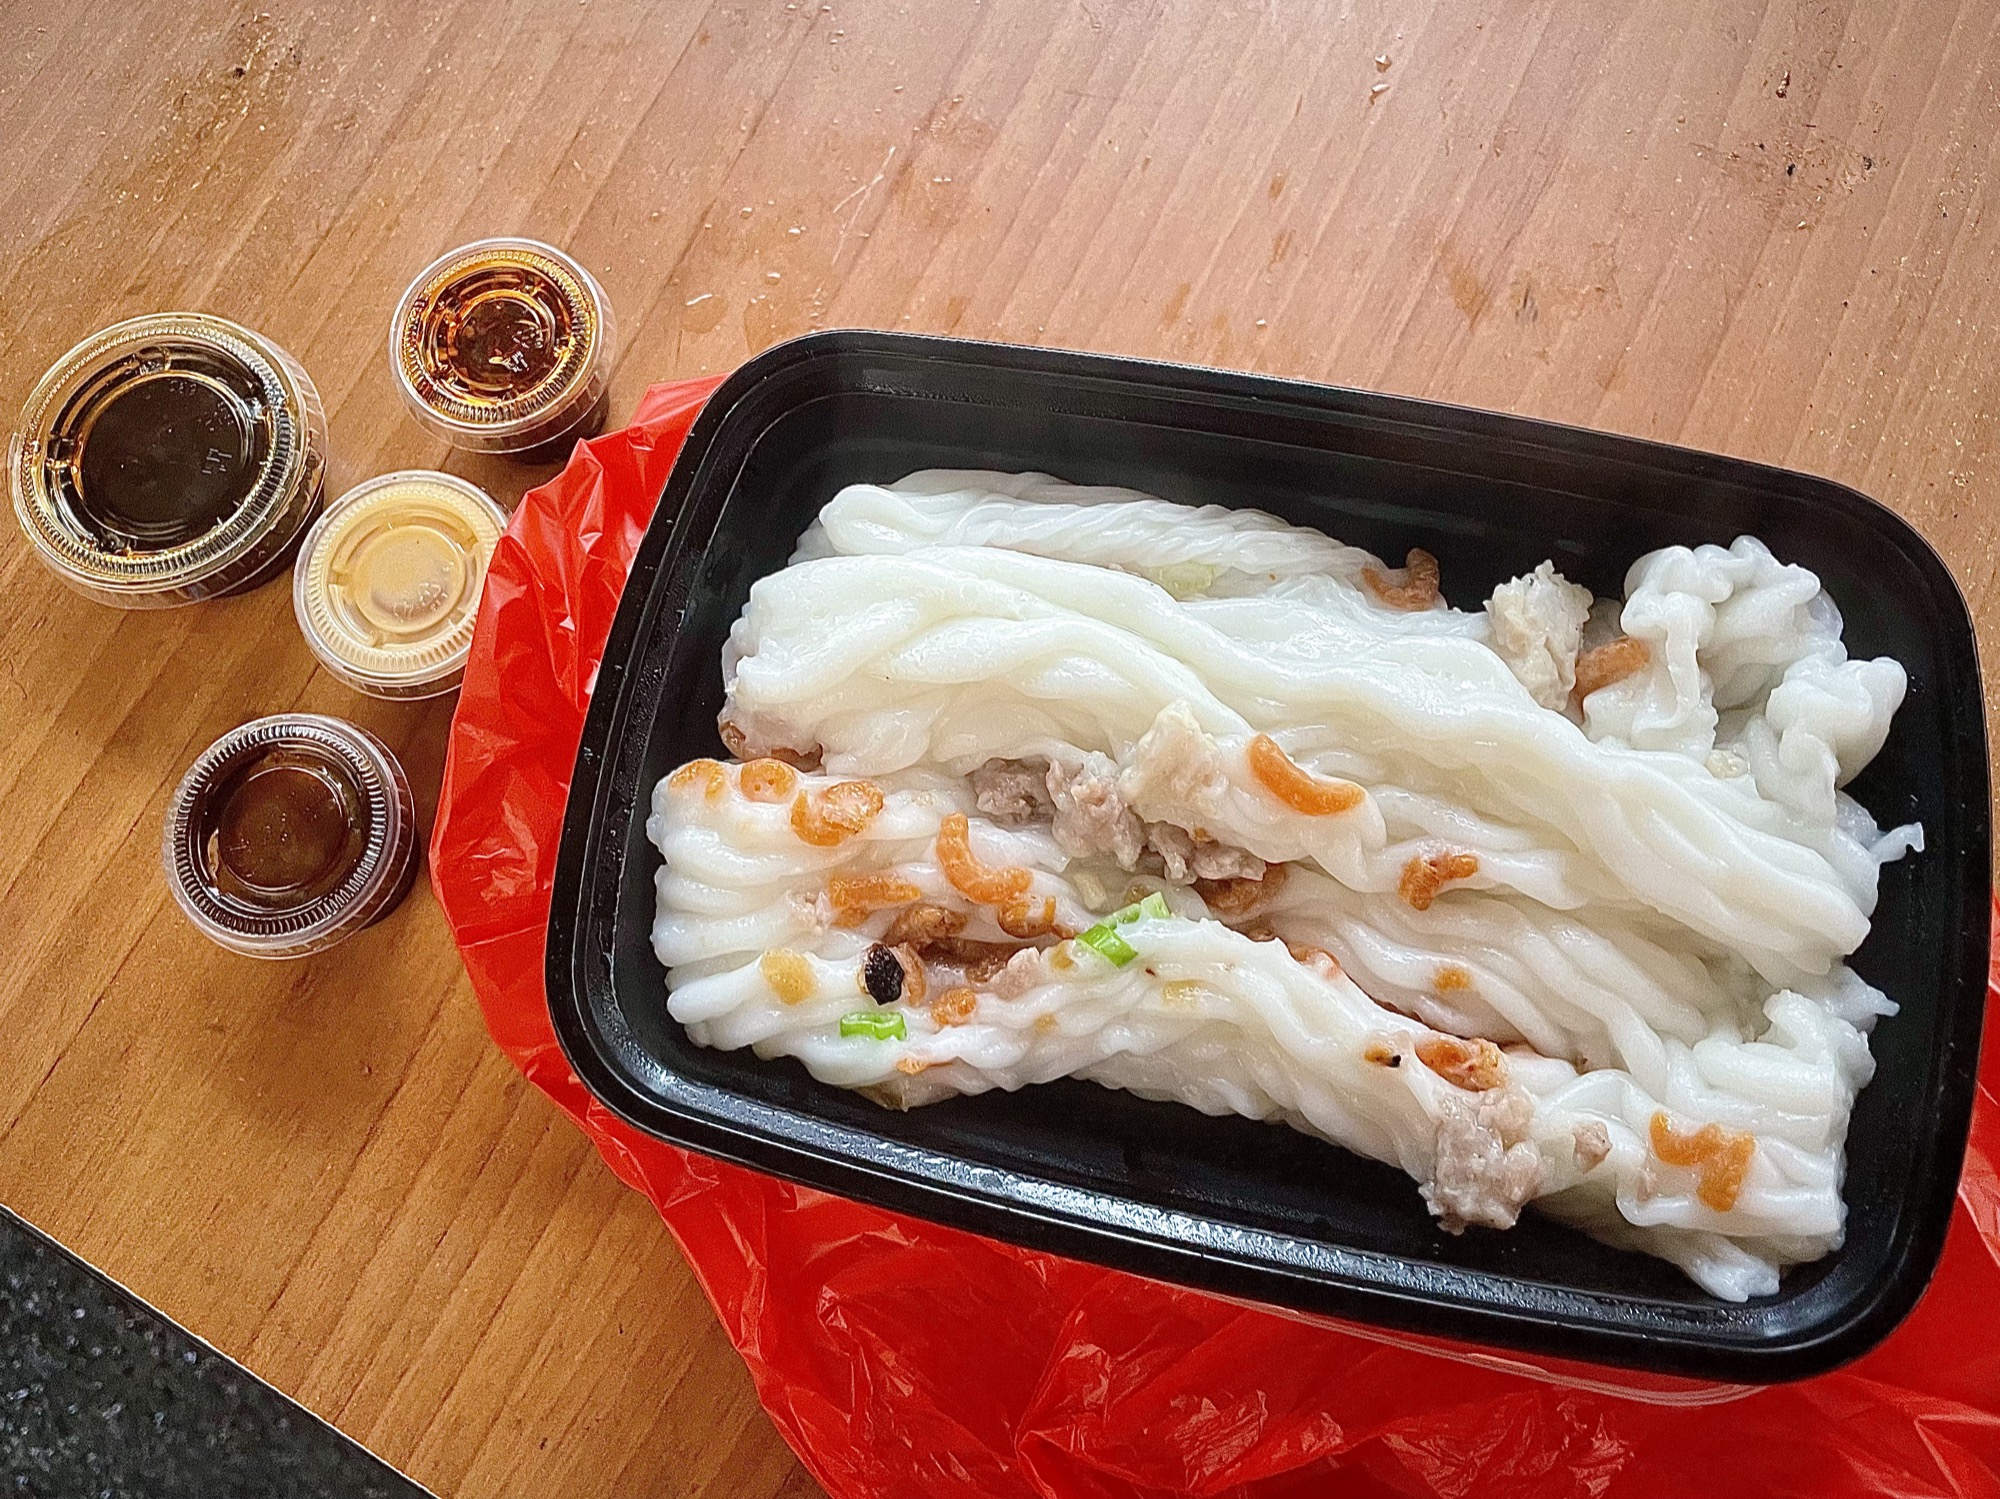
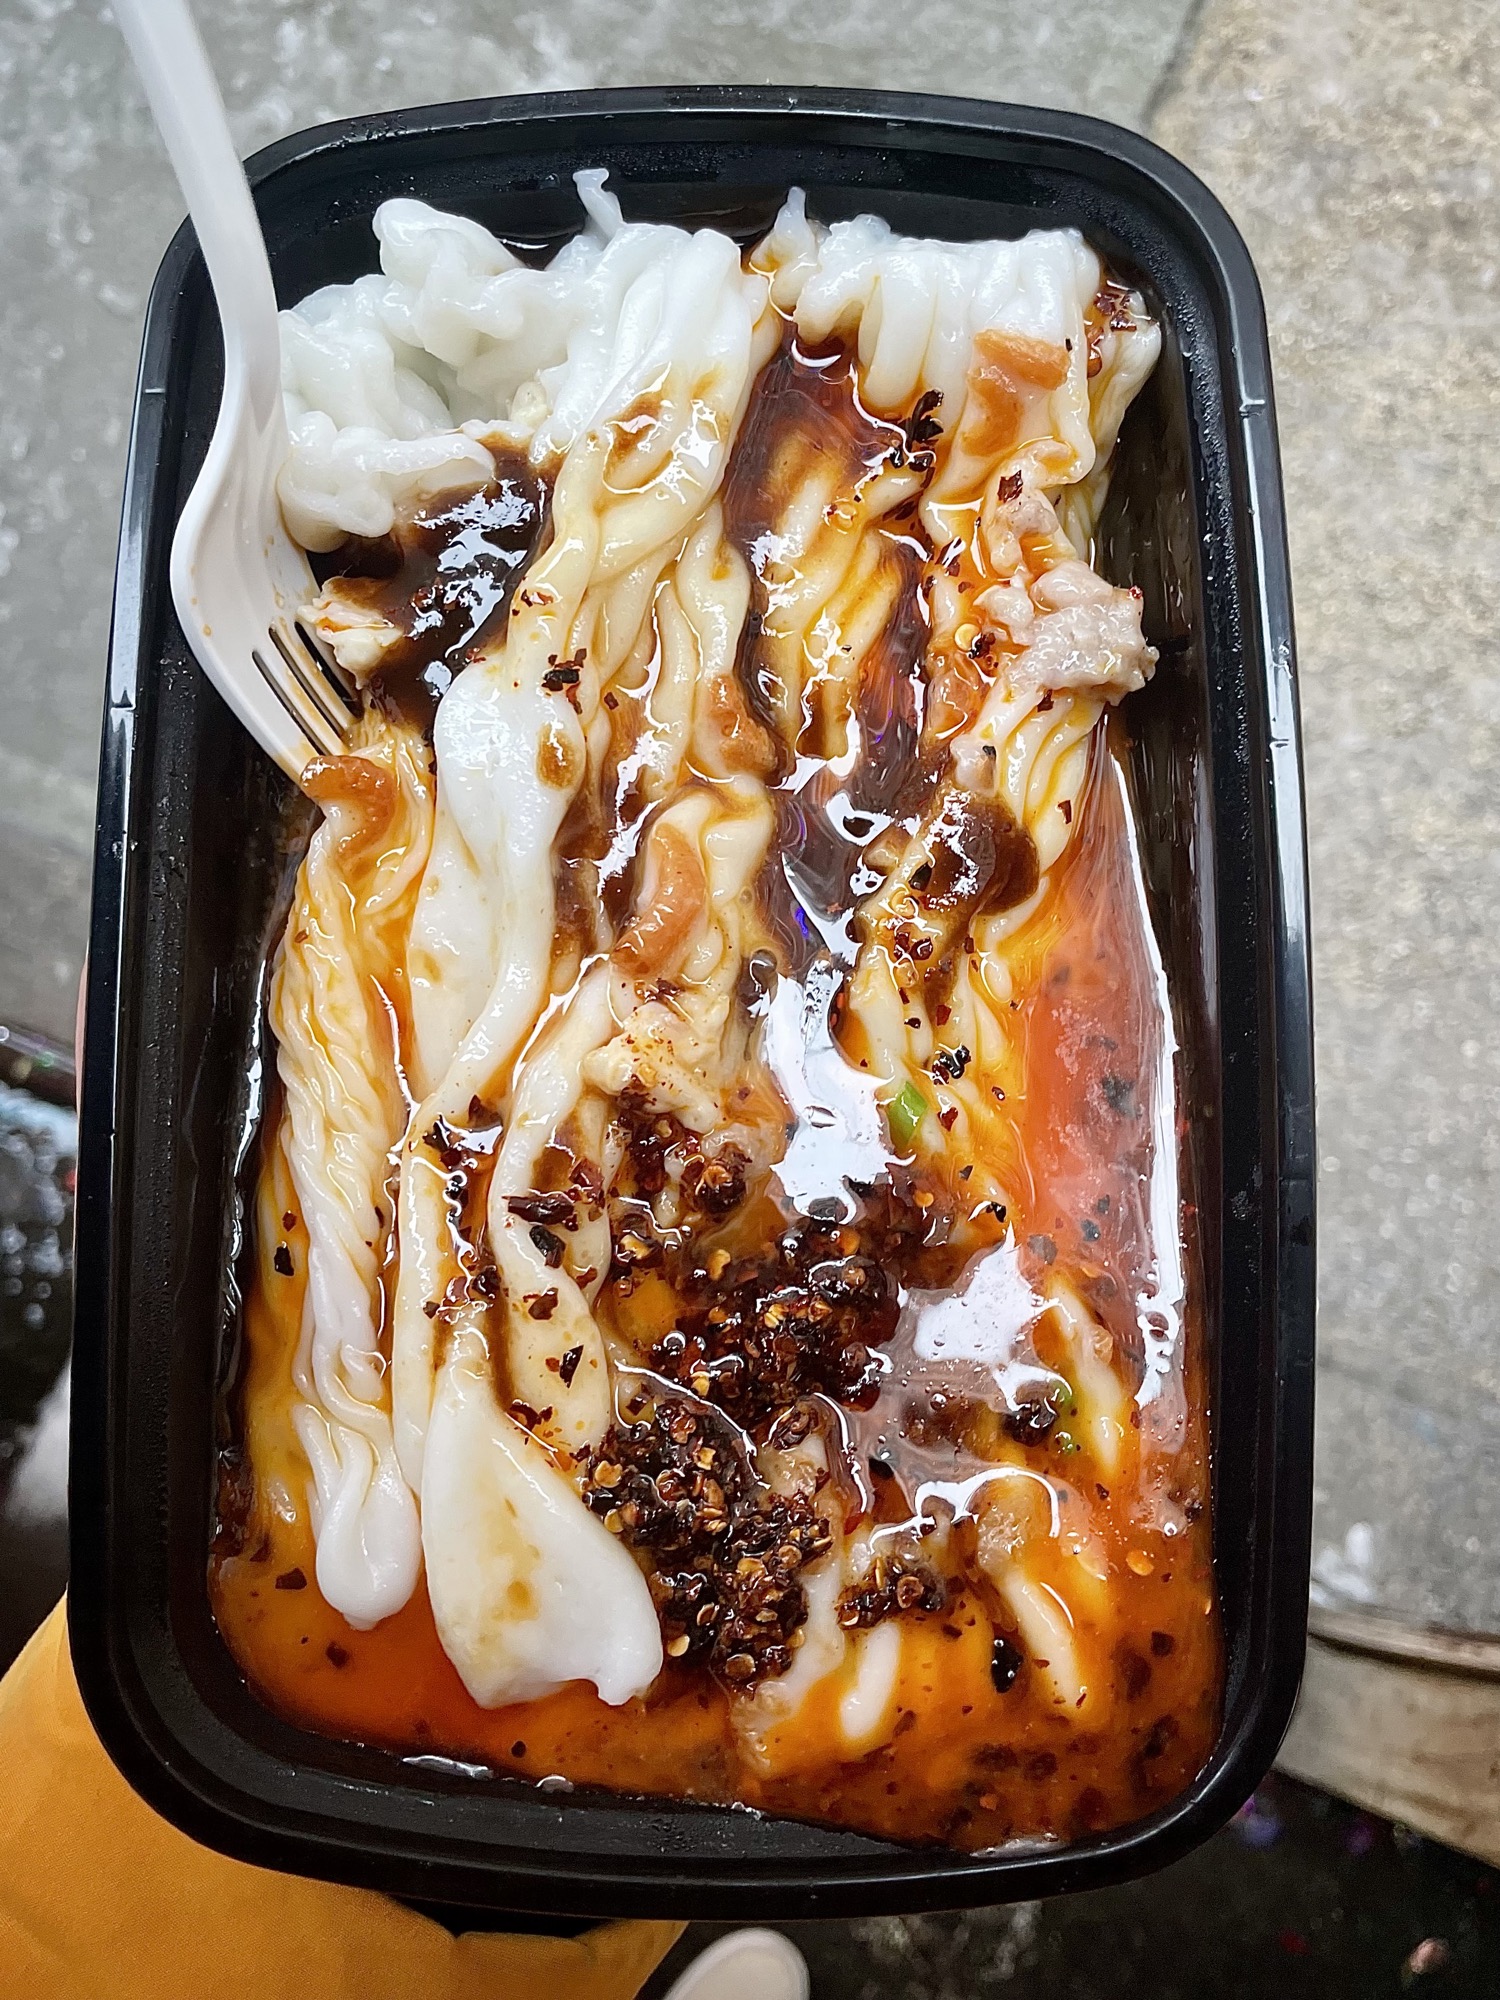
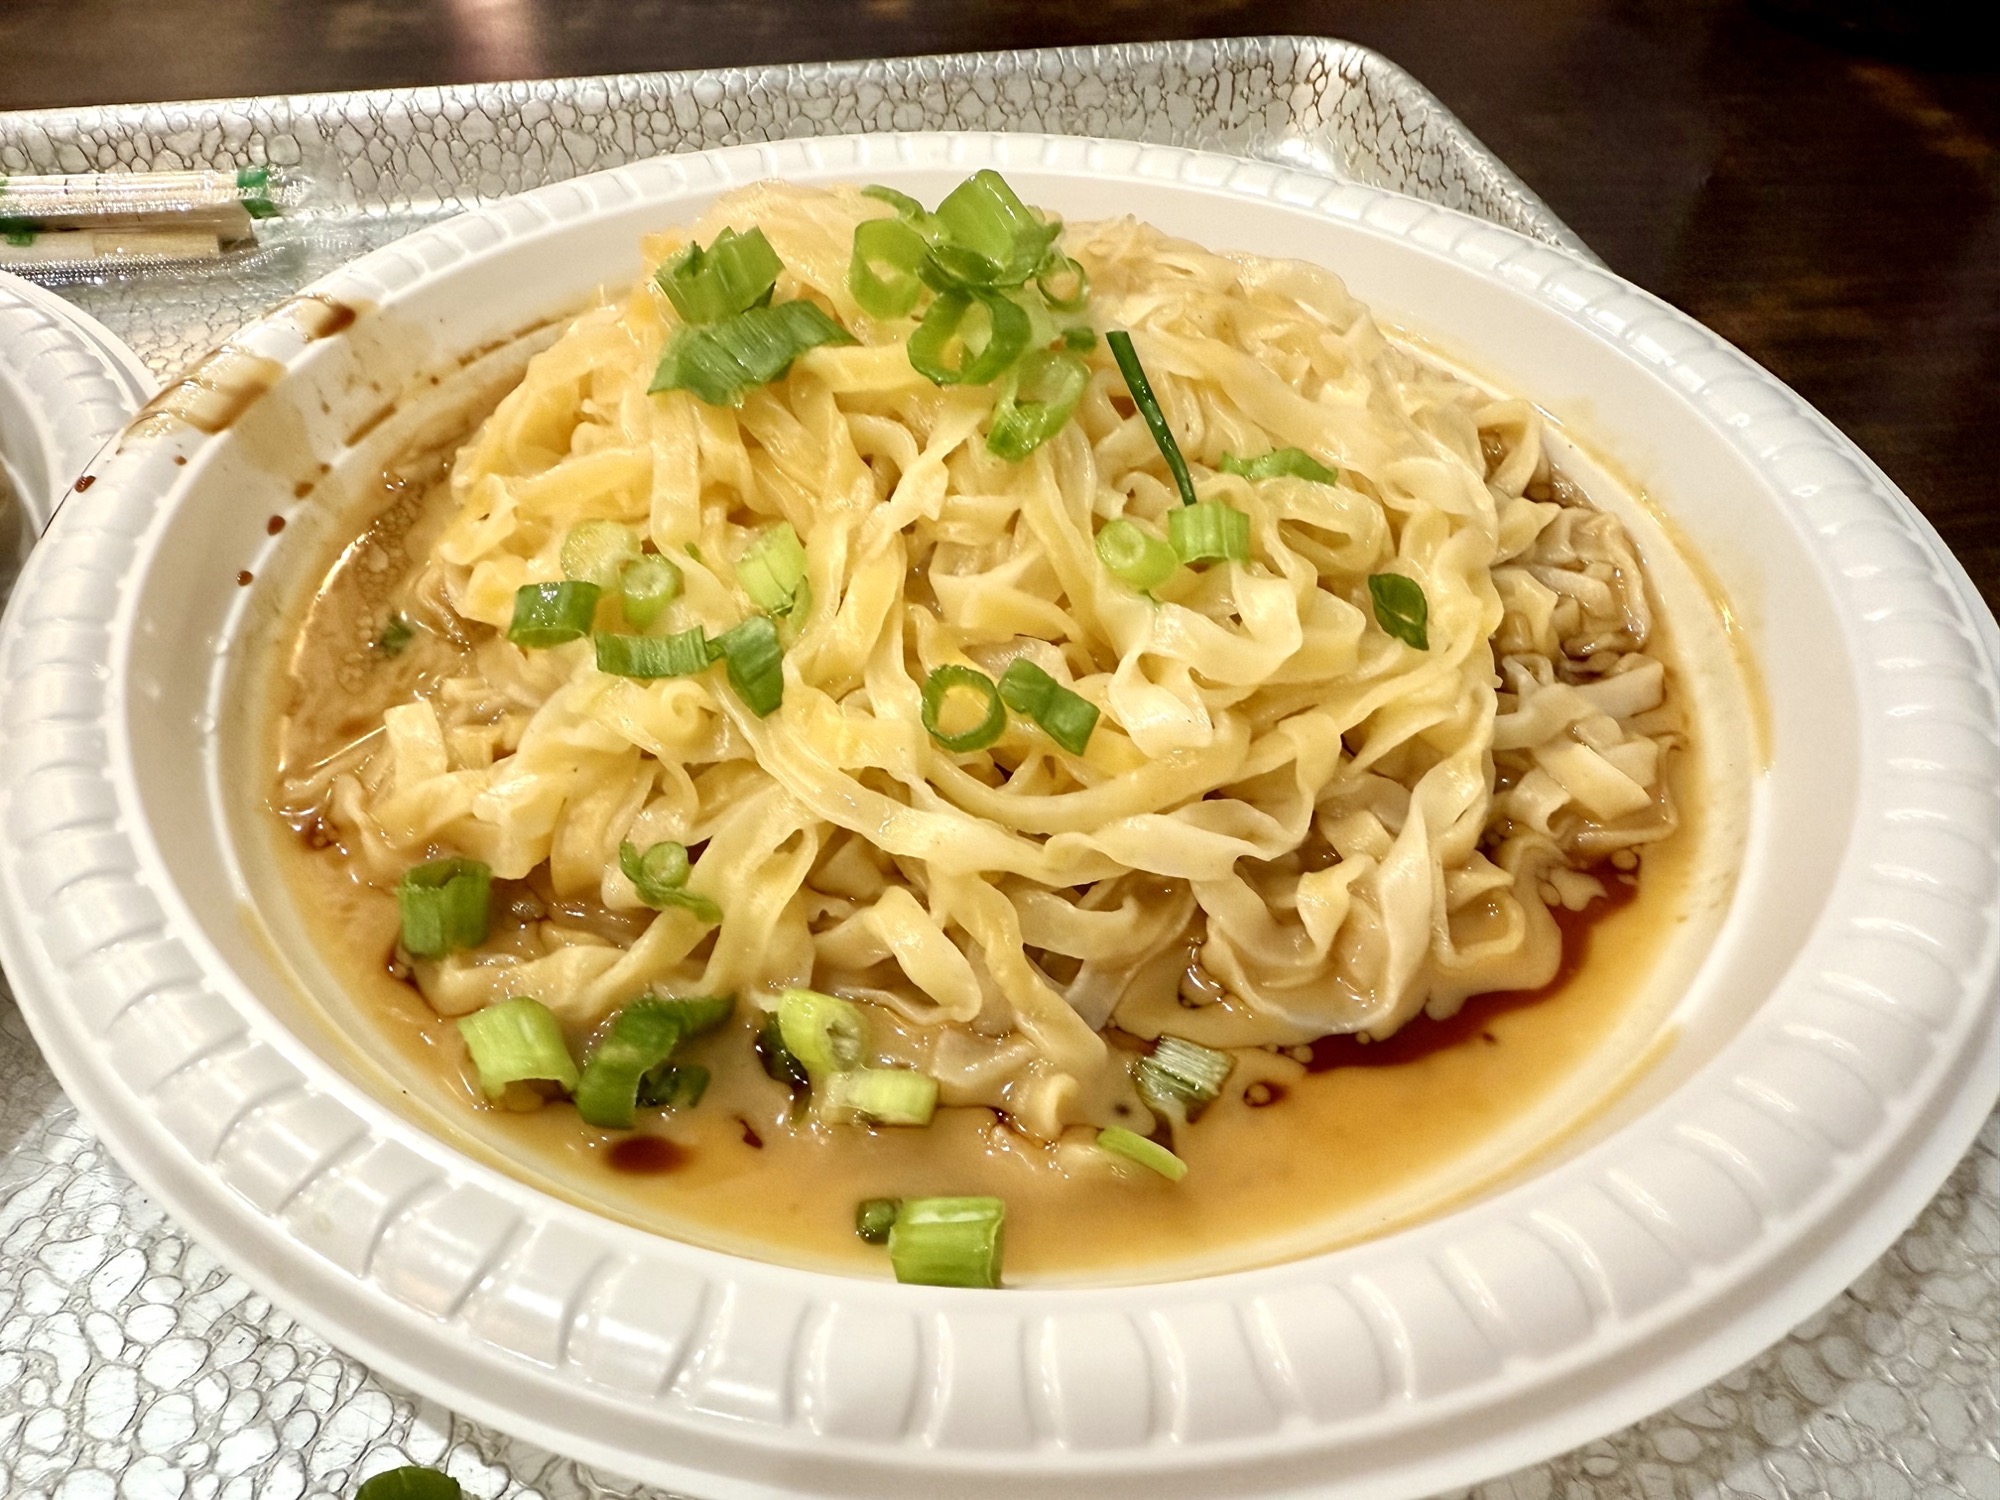
Tonii’s Fresh Rice Noodle (the best rice noodles I’ve ever had)
Address: 83 Bayard St, New York, NY 10013
Hours: 7:30am – 6:30pm
Website: none
Average spend per person:
What to order: Tonii’s special rice noodles (pork, chicken, and dry shrimp) with all the sauces
ChangFun or rice noodles are something I’ve only ever had at dim sum places. It’s usually a rolled up long white noodle dish with a protein wrapped inside and soy sauce drizzled overtop. I had never had fresh rice noodles until coming to New York and Tonii’s (yes, with 2 i’s) blew my mind! At first glance, this hole-in-the-wall shop has no seating and the inside looks a bit suss. There’s a crappy half-fallen down outdoor area with a couple of old chairs and tables that you can maybe clean off yourself if you want to sit and eat, but all the food is packaged as takeaway. I was skeptical, but upon first bite, I was in love! The fresh rice noodles here are so much softer than any dim sum place I’ve ever had. They offer a few different protein options, but their most popular (and my favourite) is the ‘Tonii’s special’ which has pork, chicken and dry shrimp. The rice noodles comes with 4 sauces that are packaged separately and you pour it on yourself: chili oil crisp, sweet soy sauce, hoisin sauce, and peanut sauce. I would highly recommend adding all 4 sauces and mix it all up. It’s seriously delicious and one of my favourite chinatown gems!


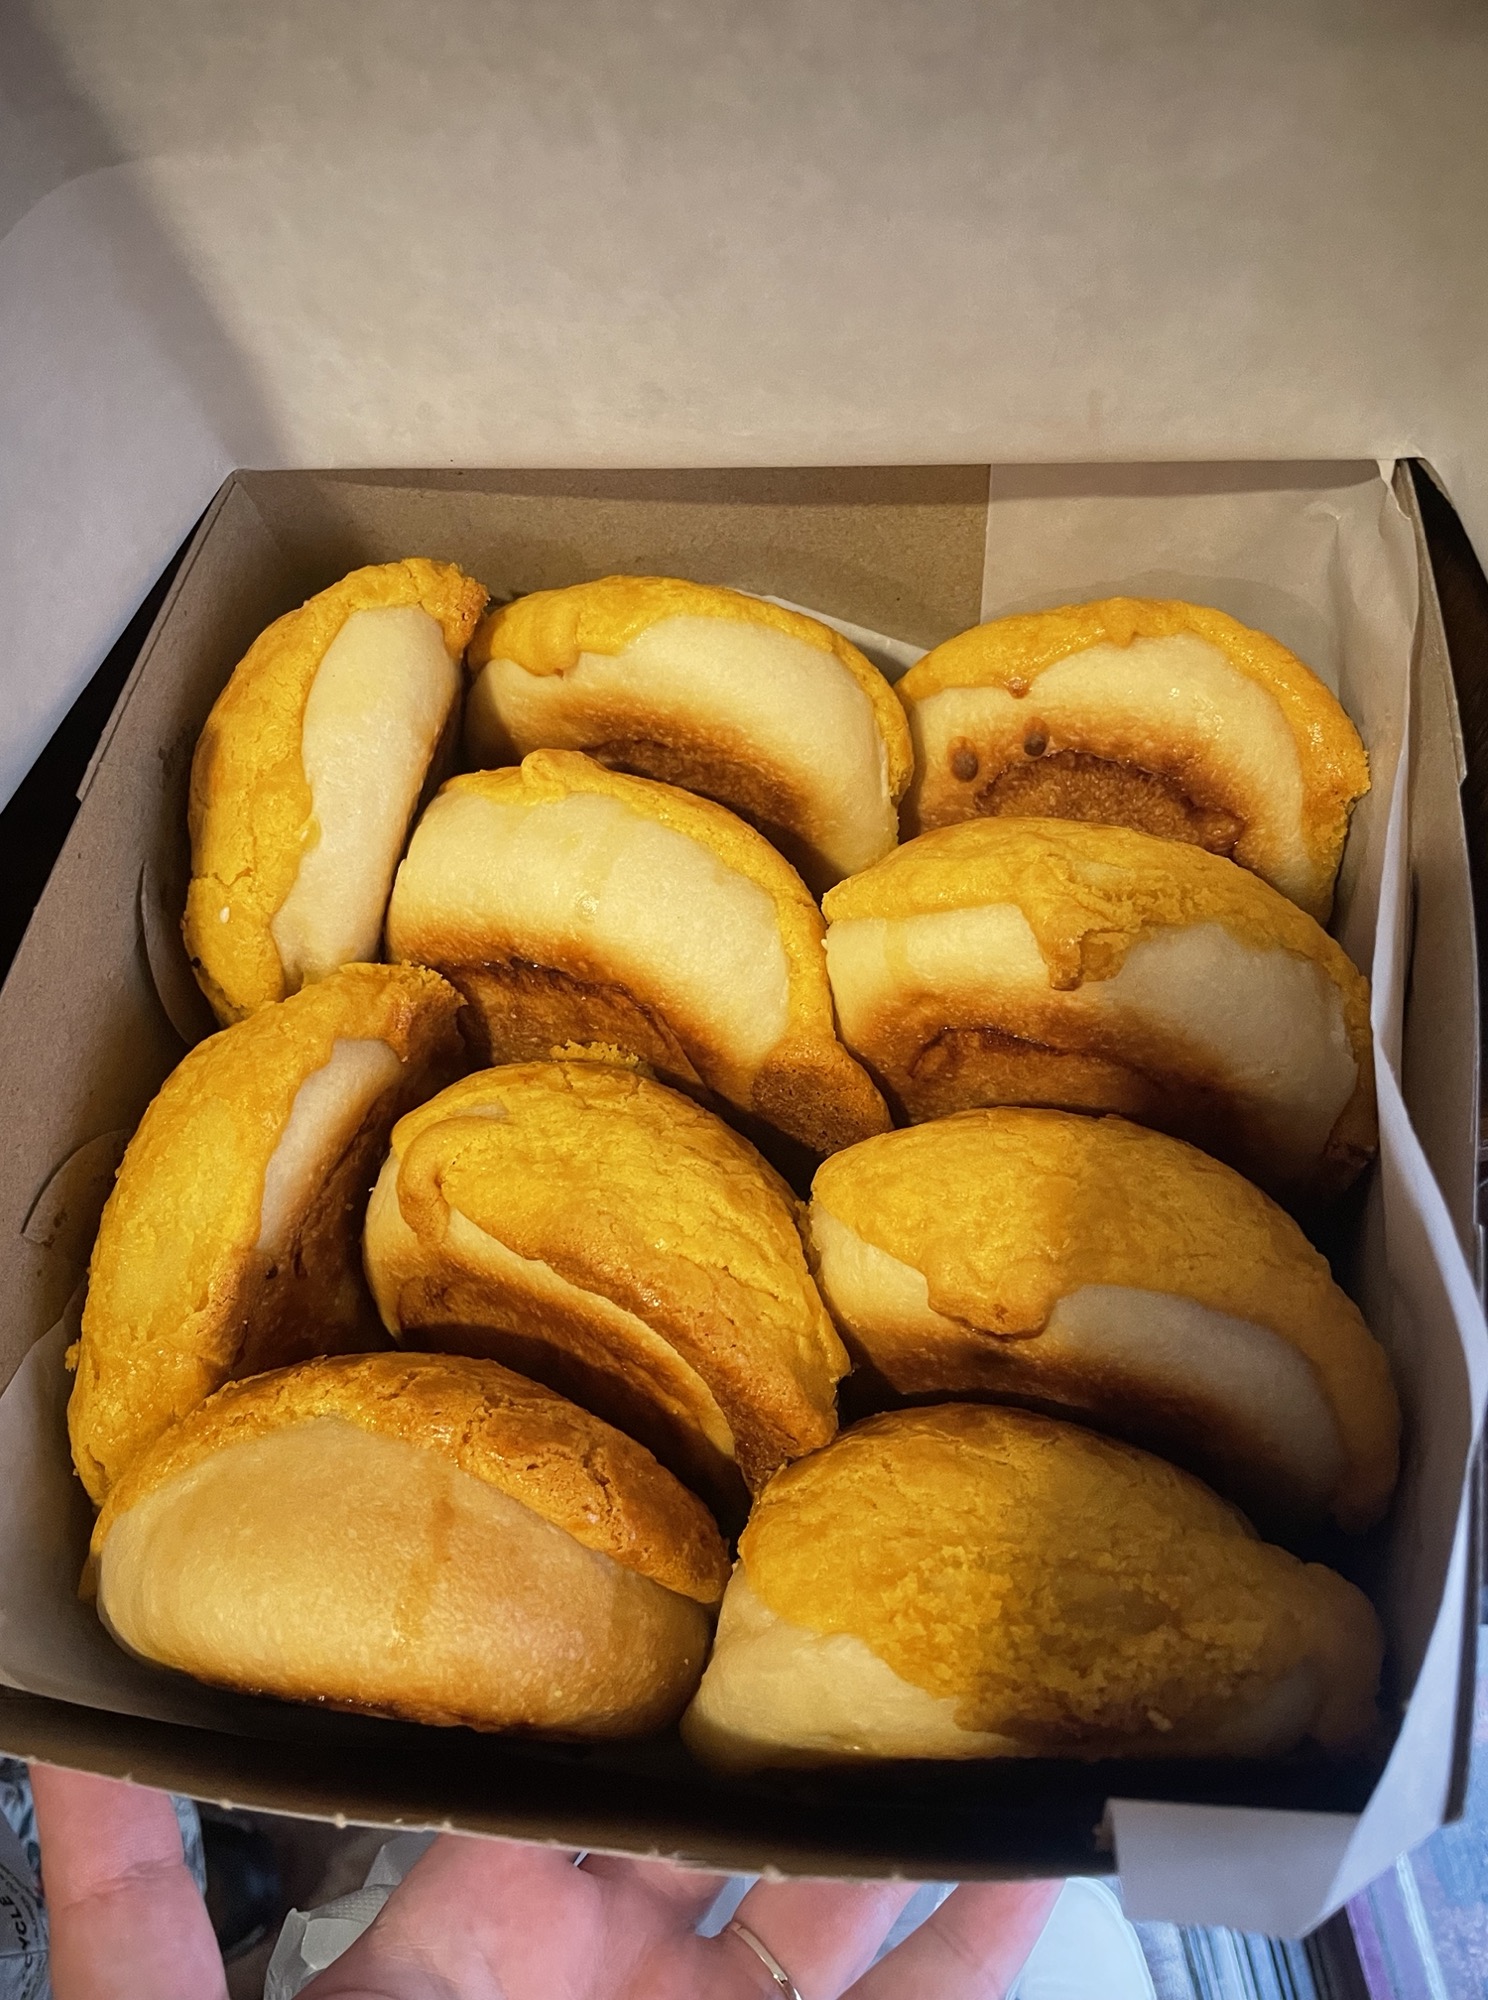
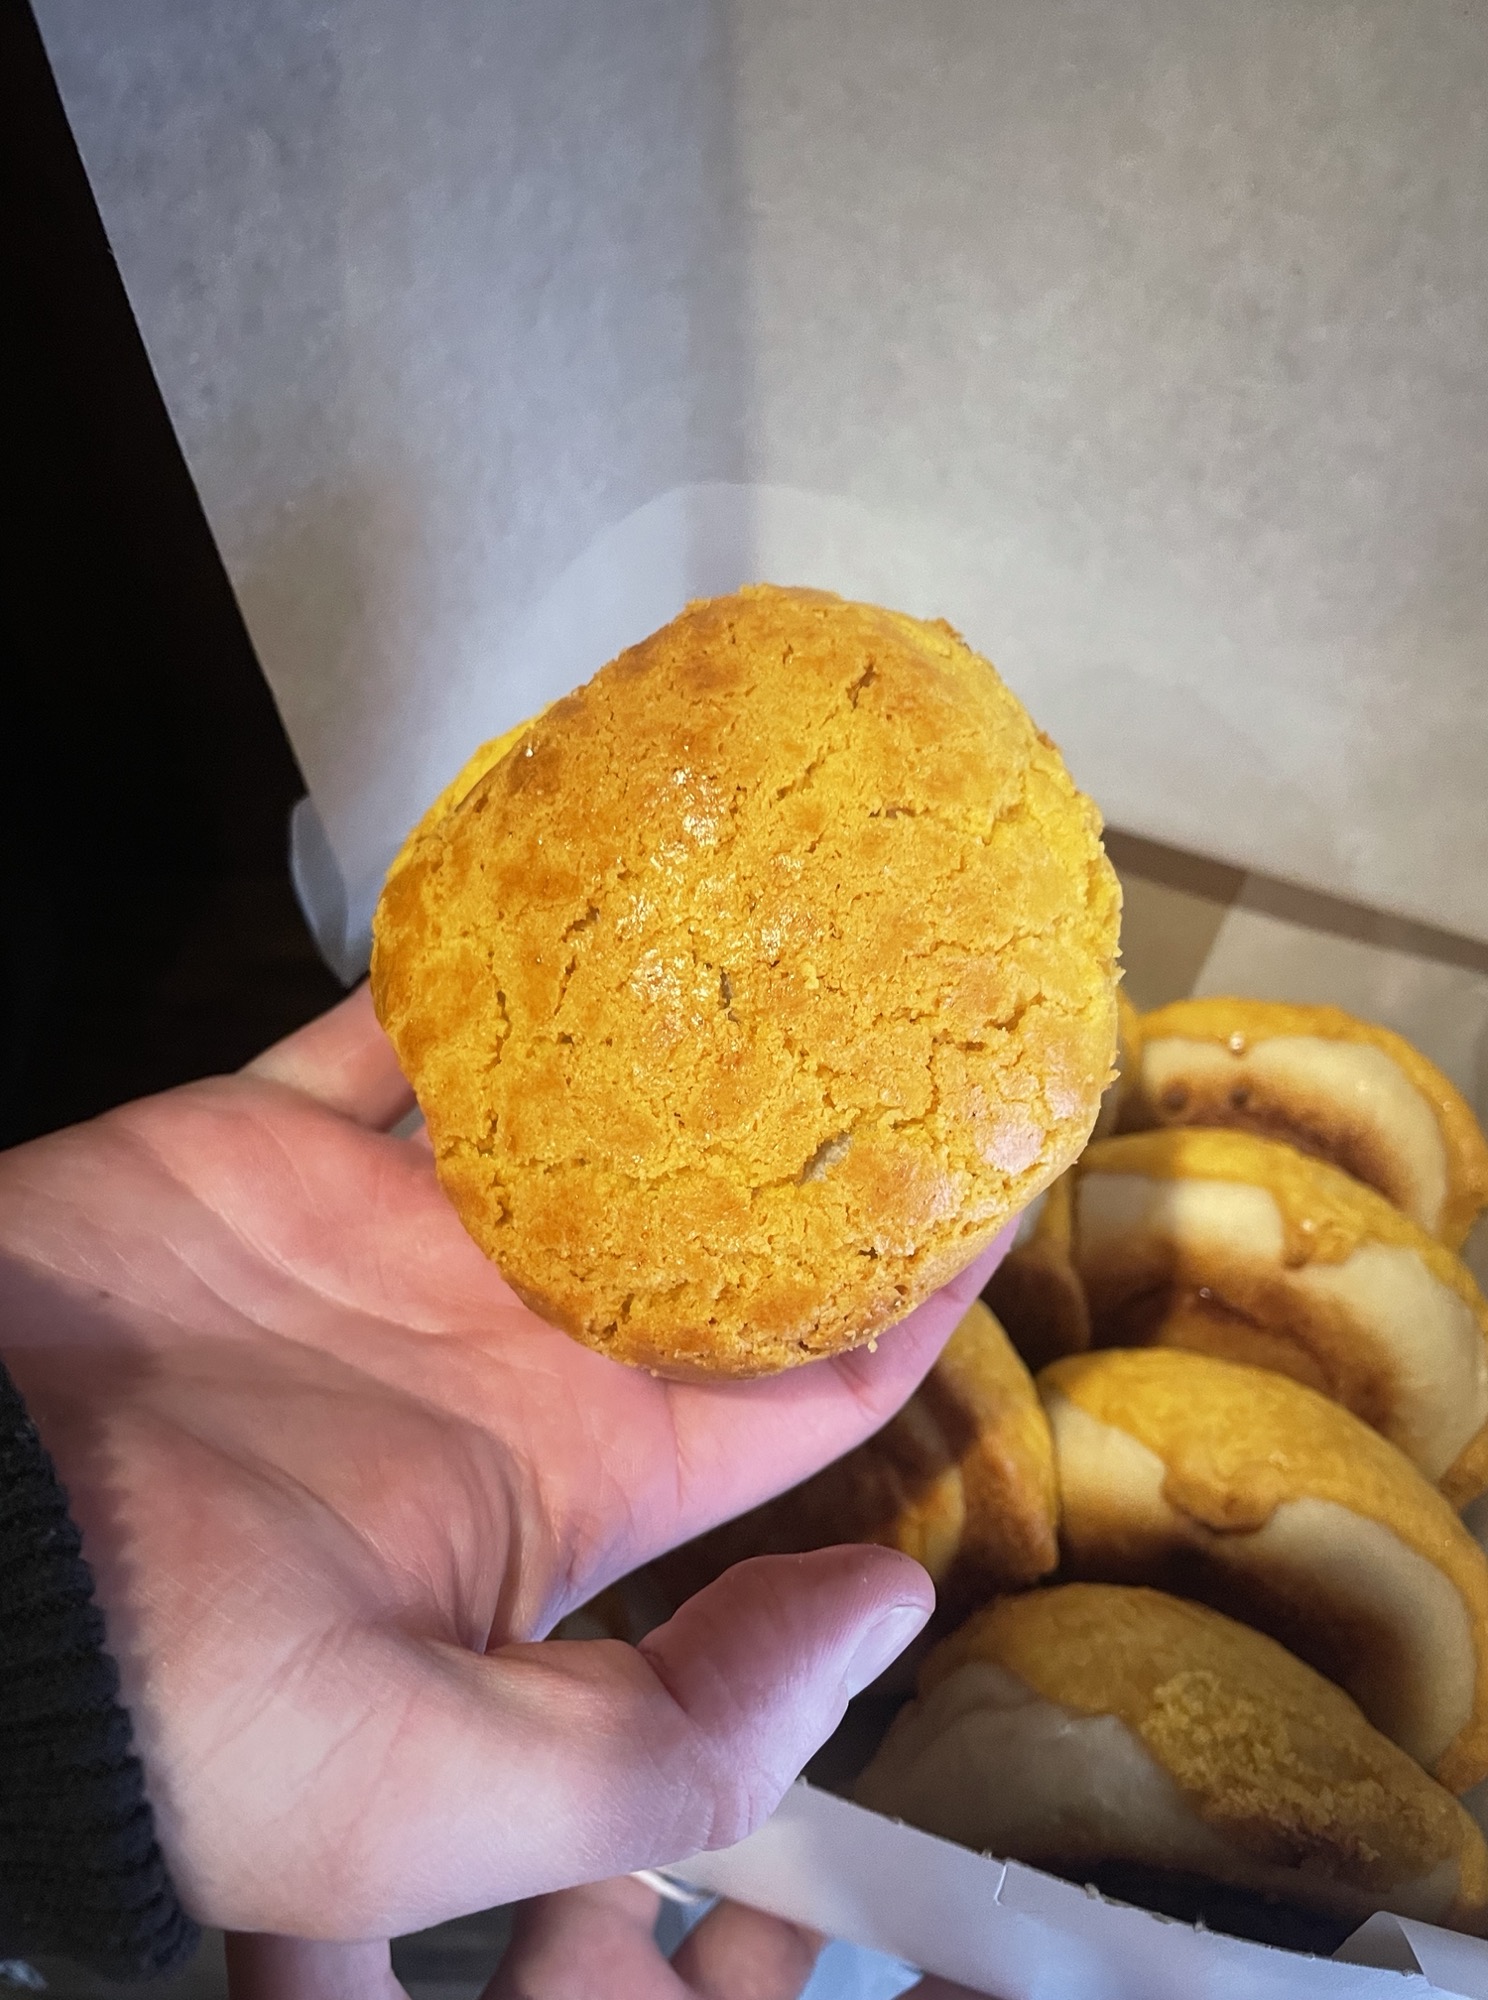
Mei Lai Wah (the best pineapple BBQ pork bun you’ll ever have)
Address: 41 Mott St, New York, NY 10013
Hours: 8:30am – 7:30pm
Website: http://meilaiwah.com/
Average spend per person: $3 – $10
What to order: Pineapple BBQ Pork Bun
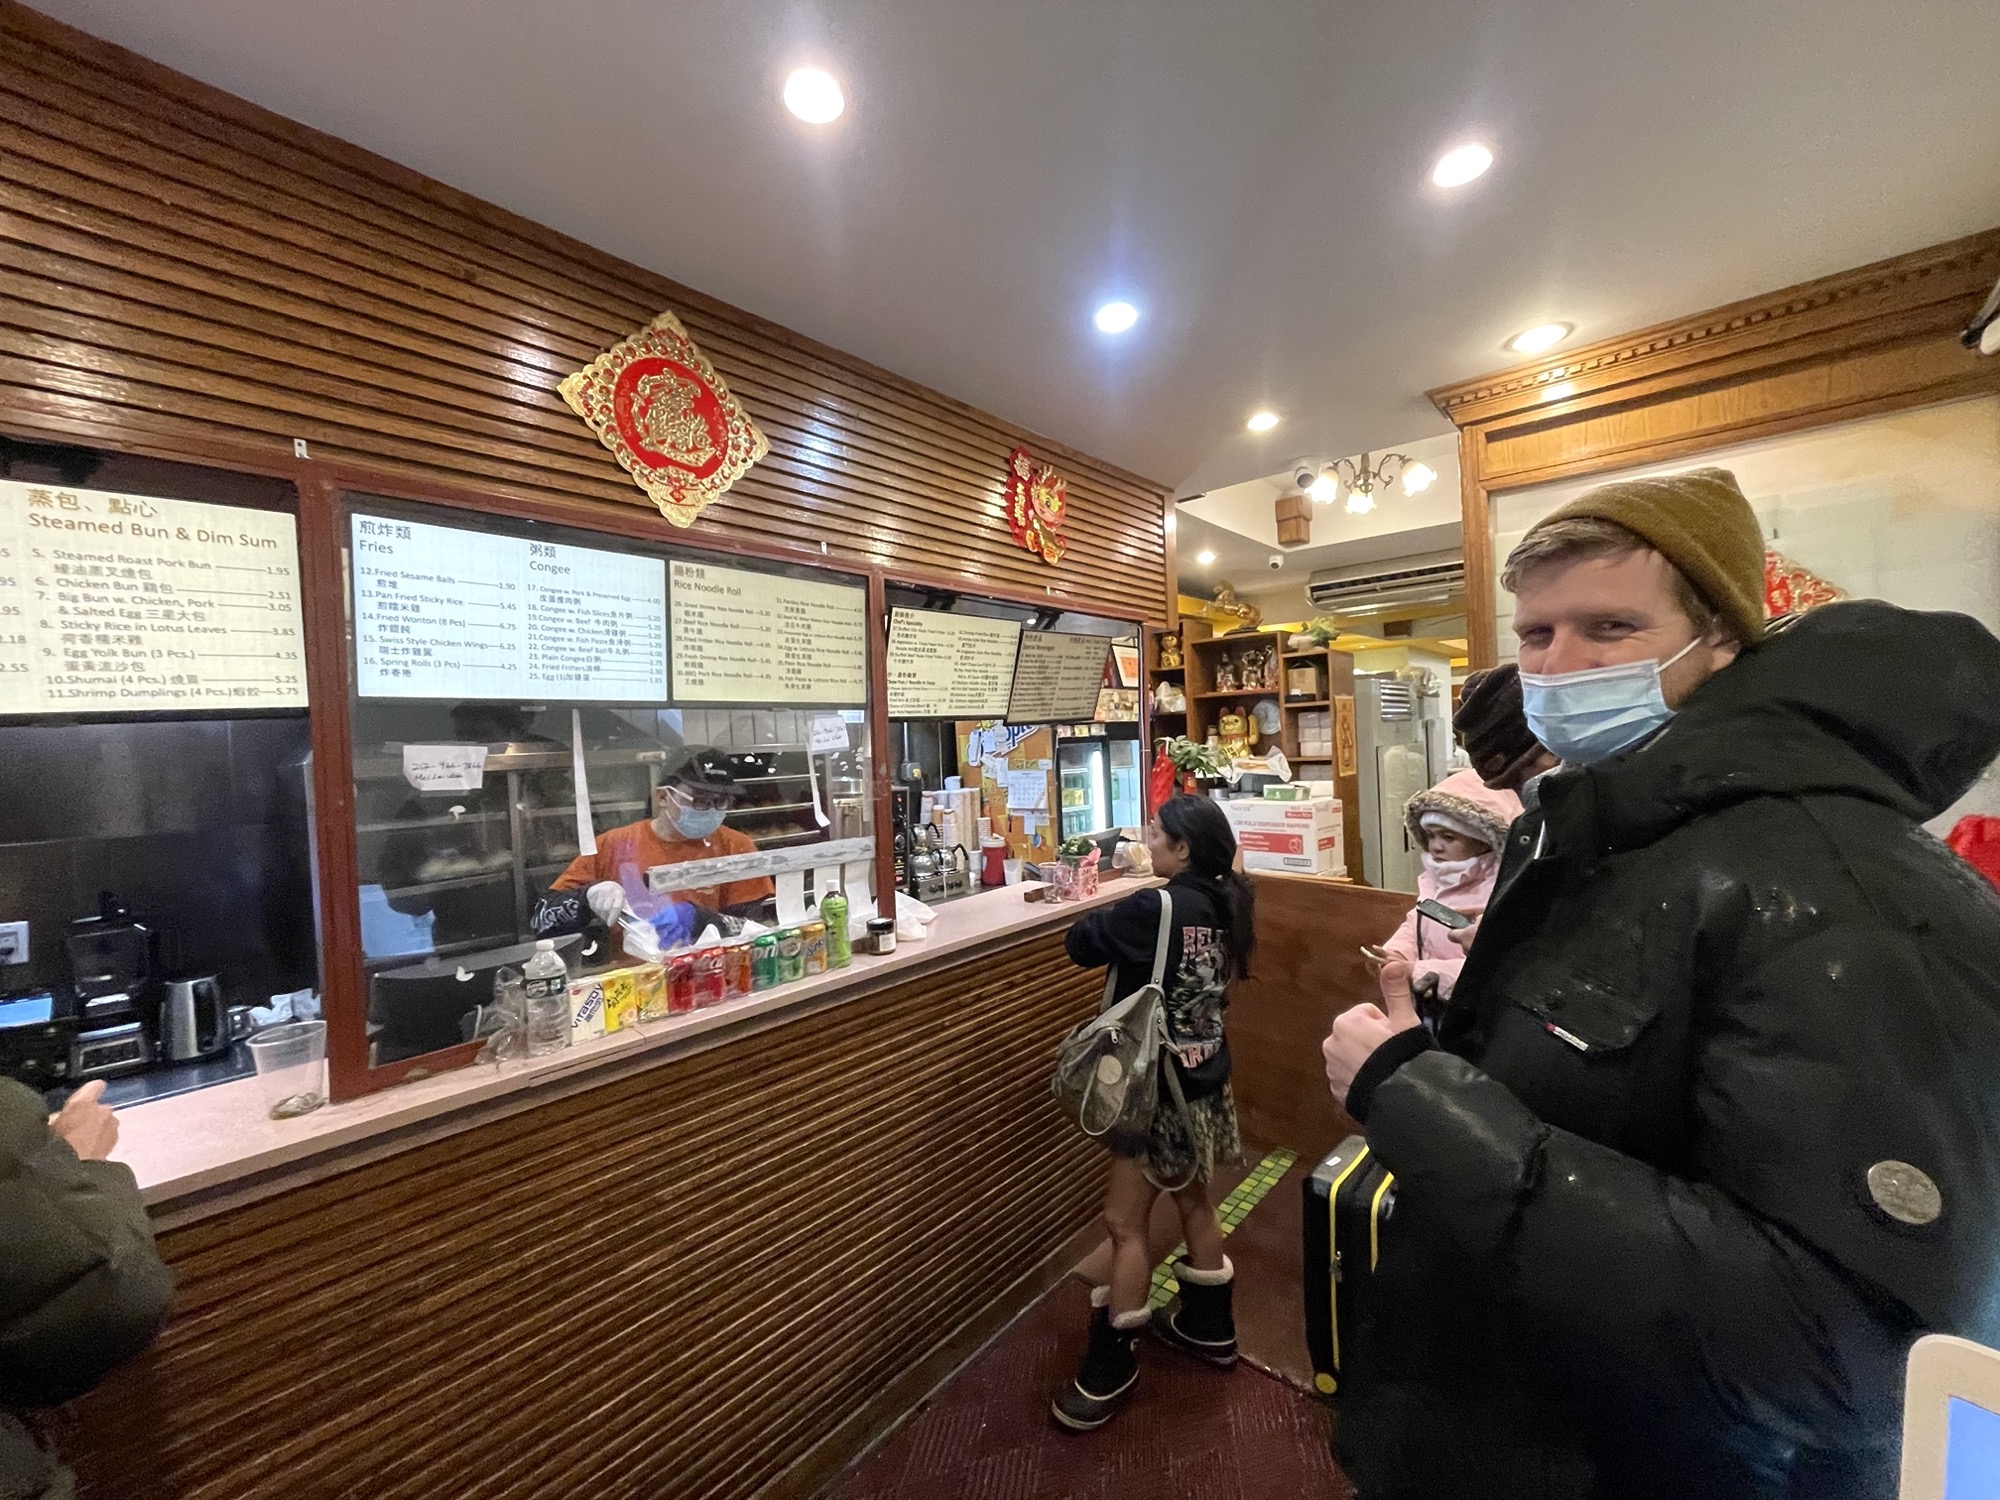
Mei Lai Wah has hands down THE best BBQ pork buns (charsiu bao) in the city. They come in a regular bun or pineapple bun. The pineapple bun is a misnomer and is named due to the buttery crackled crust on top of the bun that resembles the pattern of the side of a pineapple, but has no pineapple flavour at all. I’d highly recommend getting the pineapple BBQ pork bun – it’s their number one seller. The sweet buttery topping paired with the fatty savoury charsiu pork filling is out of this world!
This place if often very busy with a line up out the door, but the line moves quickly. There’s usually 2 lines, one for cash only and the other for card payment. The cash line is usually much shorter and you can often walk right in to the counter. The shop is quite small, with very limited space and can fit about 5 or 6 people in the store at one time and it’s takeaway only. The buns are baked fresh and served right away, piping hot!

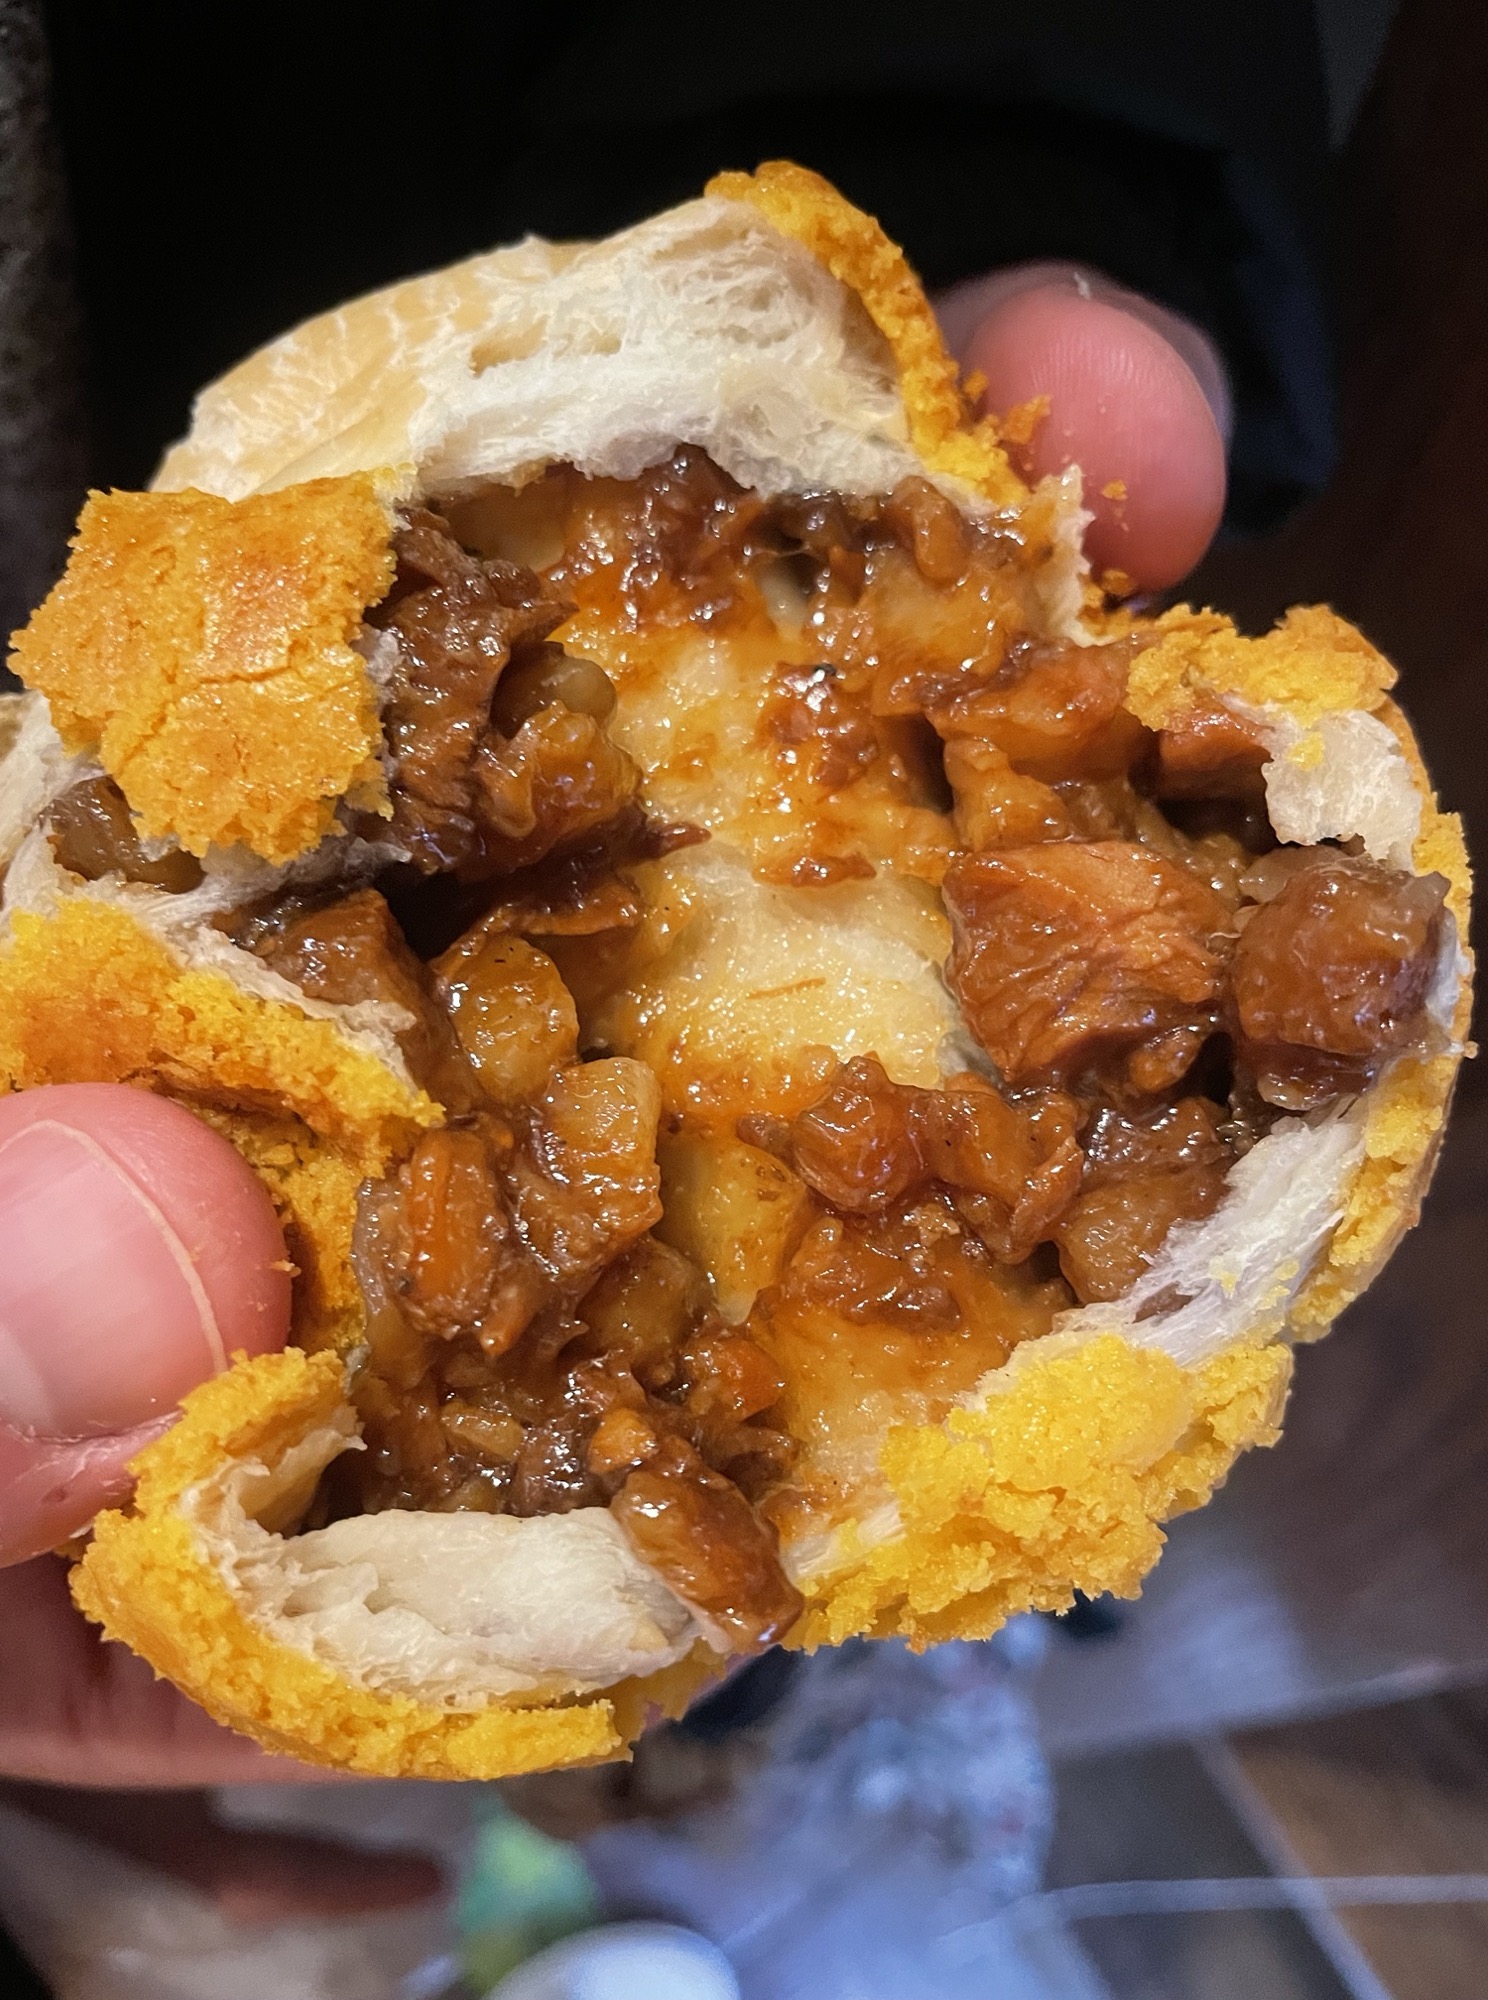
Chang Lai Fishballs Noodles (a place for fishballs and rice noodles)
Address: 55 Bayard St Store B, New York, NY 10013
Hours: 8am – 5:30pm, daily
Website: https://changlaifishballnoodles.dine.online/locations/6703032?fulfillment=pickup
Average spend per person: $10 – $15
What to order: A1. Curry fishballs with rice noodles
This fishballs and noodles shop started off as a food cart and operated on Grand Street for 30 years and only recently opened up this location in 2023. It’s run by a lovely husband and wife (?) team that are so proud of their food and so friendly. Their most popular item on the menu is the “A1 curry fishballs with rice noodles”. I thought the fishballs were just okay but Toby loved them. The rice noodles were my favourite. They’re rolled up and cut into small pieces and mixed with a combination of 4 or 5 sauces that’s a perfect portion for a snack. This is a small shop with limited seating, enough for about 3-4 people.

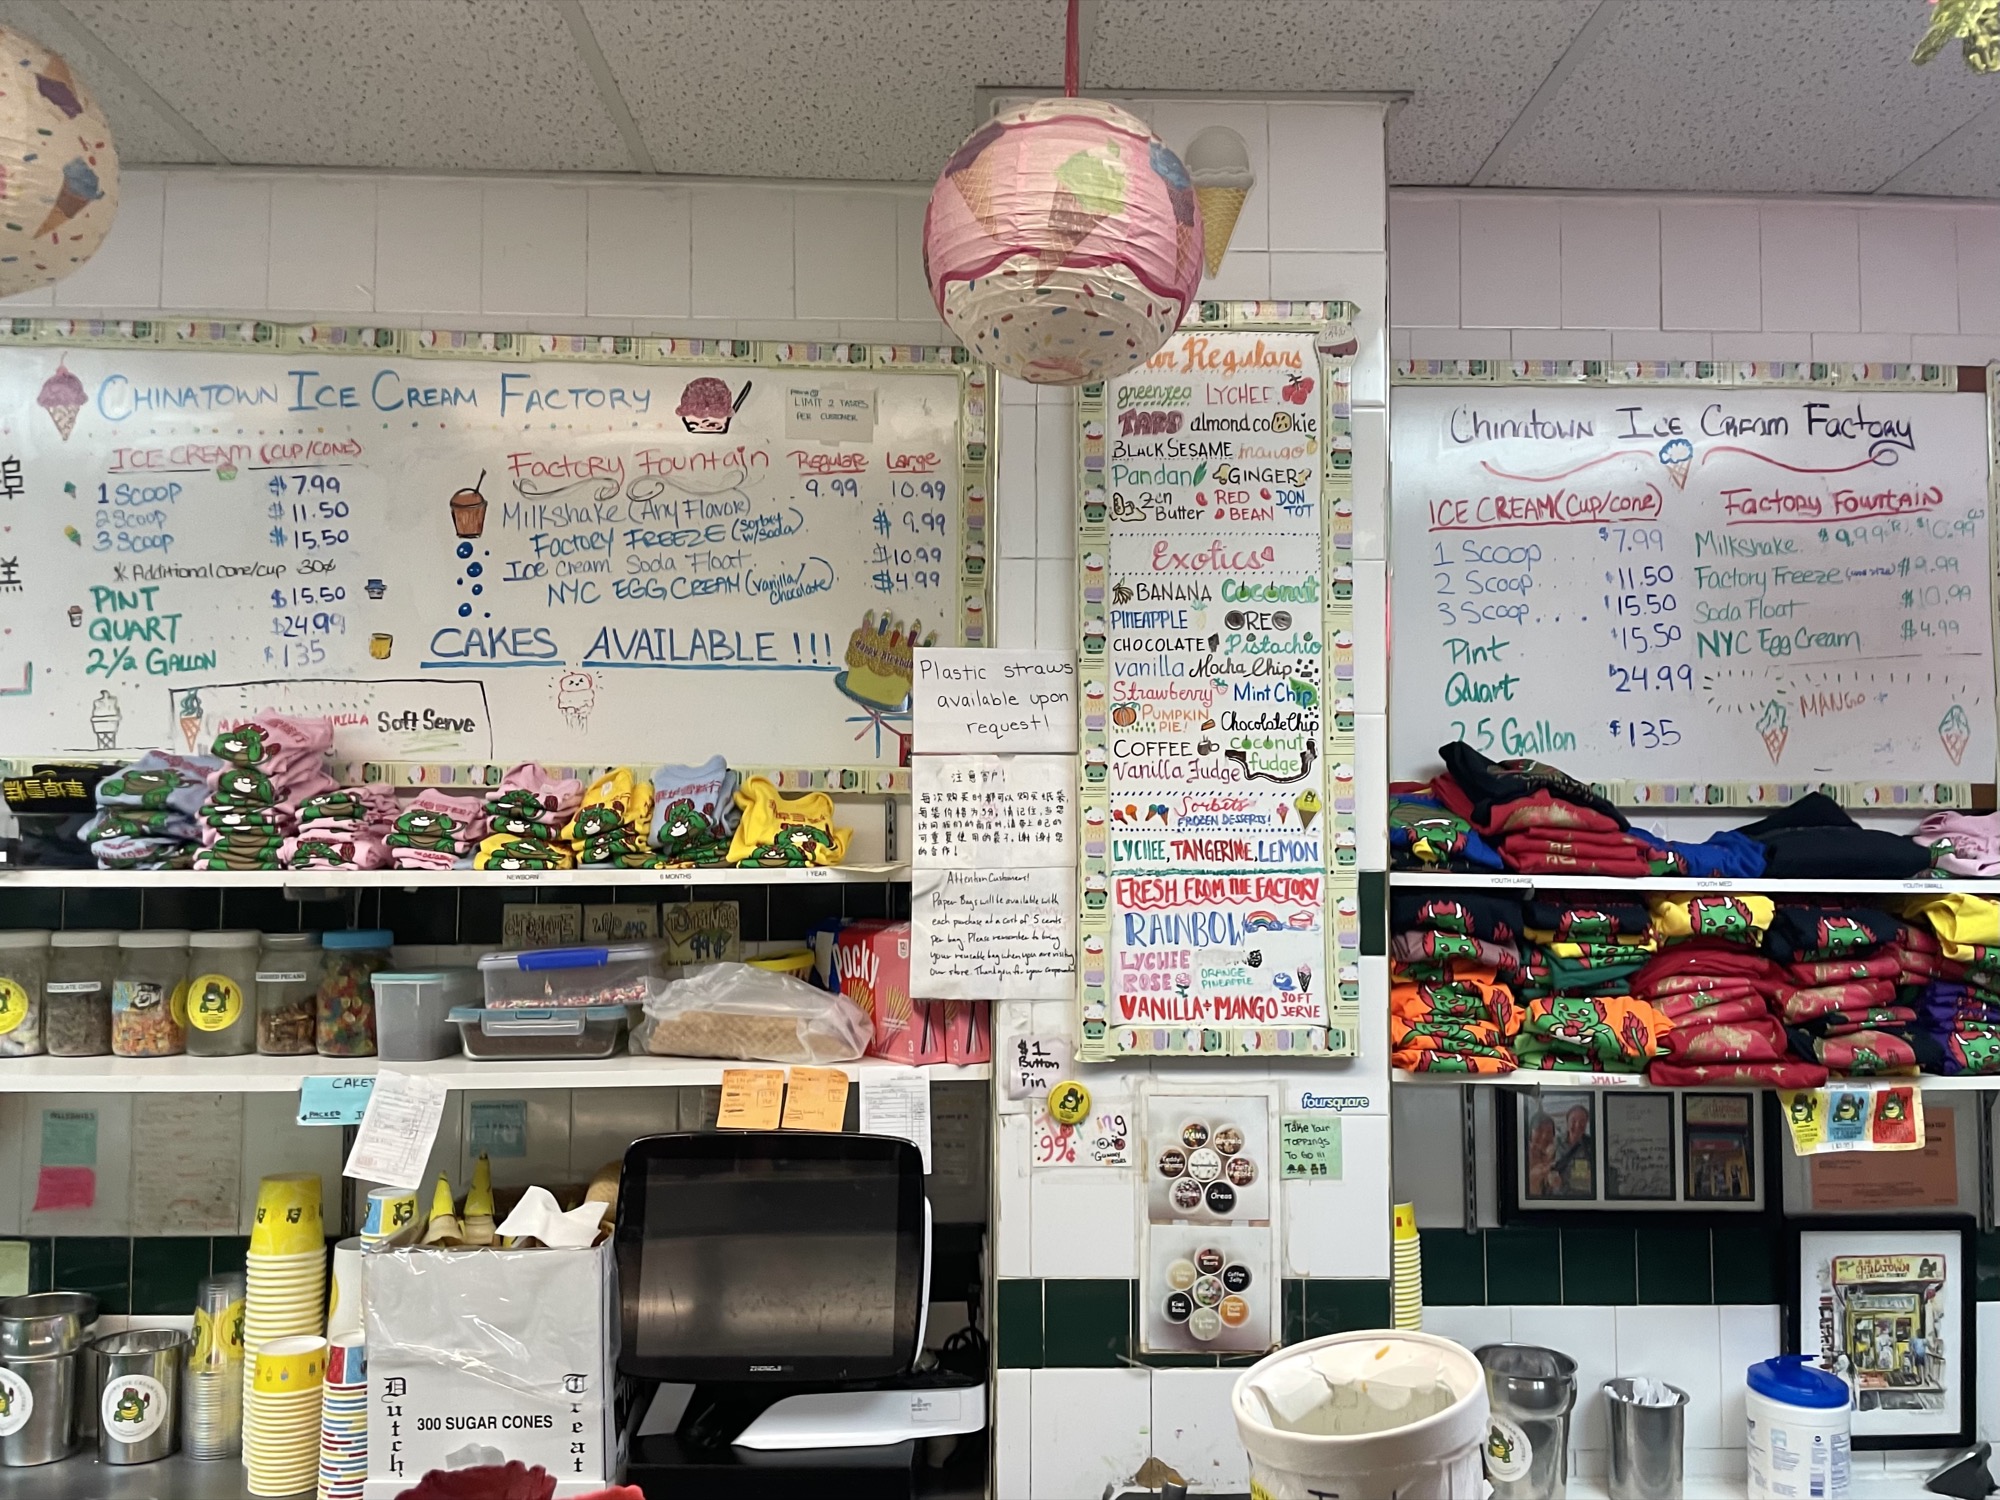
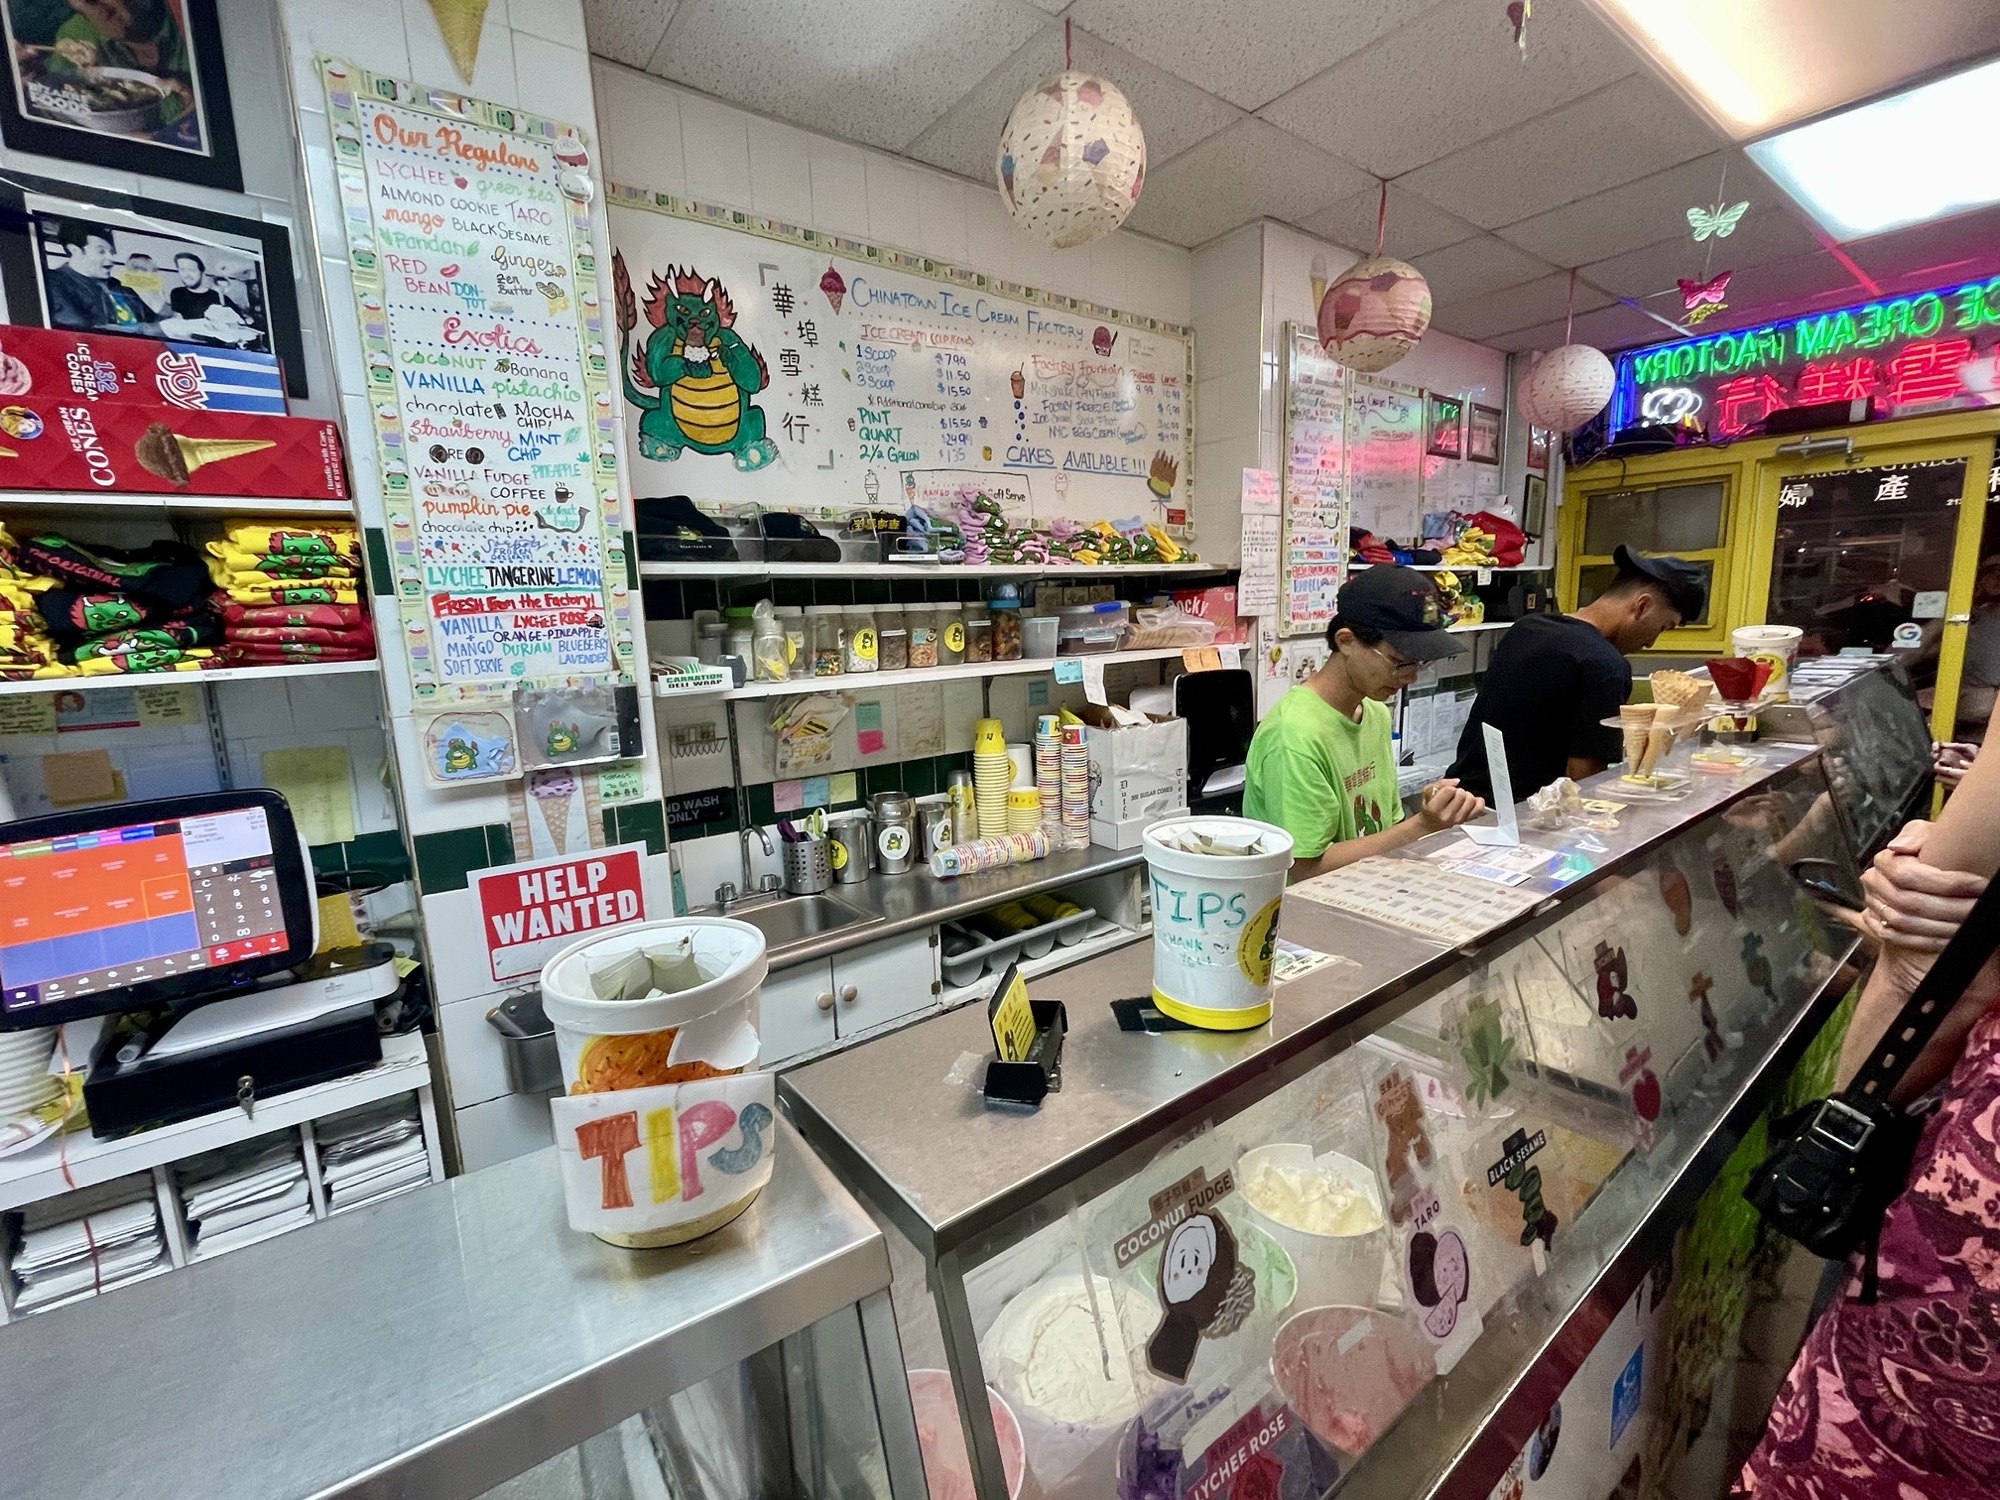
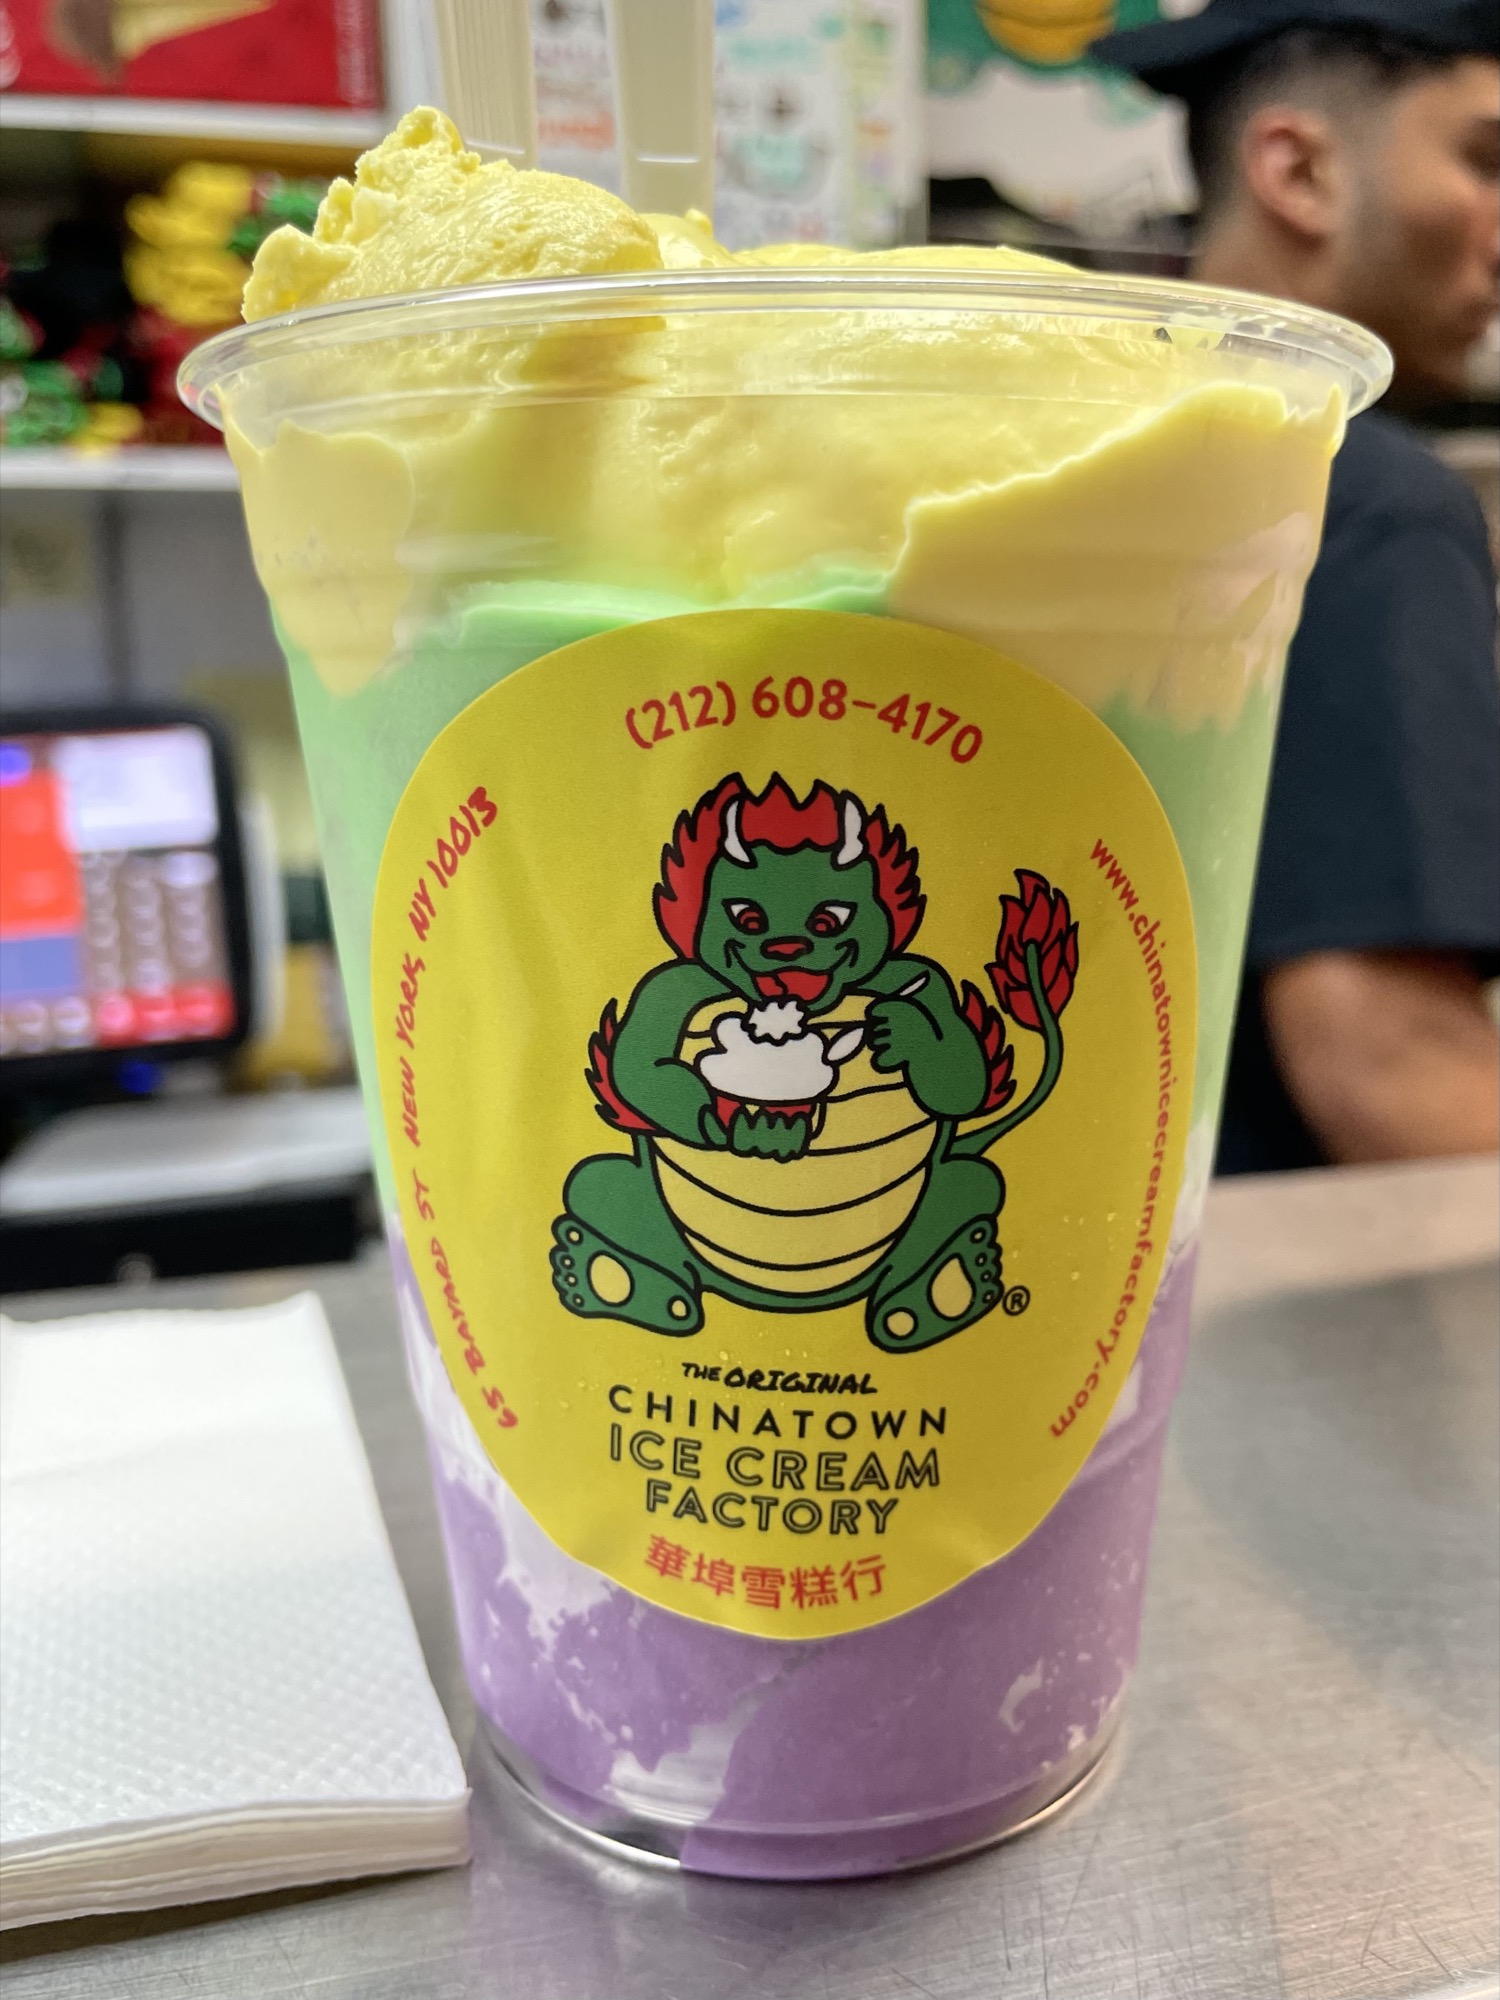
The Original Chinatown Ice Cream Factory (ice cream with Asian flavours)
Address: 65 Bayard St, New York, NY 10013
Hours: 11am – 10pm daily
Website: http://www.chinatownicecreamfactory.com/
Average spend per person: $8 – 16
What to order: anything! Free samples of their ice cream – popular flavours are pandan and black sesame
Chinatown Ice Cream Factory is a small shop on Bayard Street that serves, you guessed it, ice cream! There are a TON of ice cream shops throughout NYC but nowhere else will you find unique Asian ice cream flavours such as durian, black sesame, matcha, pandan, lychee, ginger, red bean – that’s just to name a few. There’s usually a small line out the door in the evenings, however it moves quickly. There’s only enough room for about 5-6 people in the shop at one time and there’s no seating available. You can sample as many flavours as you like but note that popular flavours can run out earlier in the evening, so I’d recommend coming earlier if you’ve got your eyes set on something. Although a bit pricey at $8 a scoop and $11.50 for two scoops, their portions are quite generous.
We’ve been here twice now and although there’s no doubt better quality ice cream elsewhere with a creamier texture, the flavours they infuse into their ice cream knocks it out of the park and keeps us coming back.


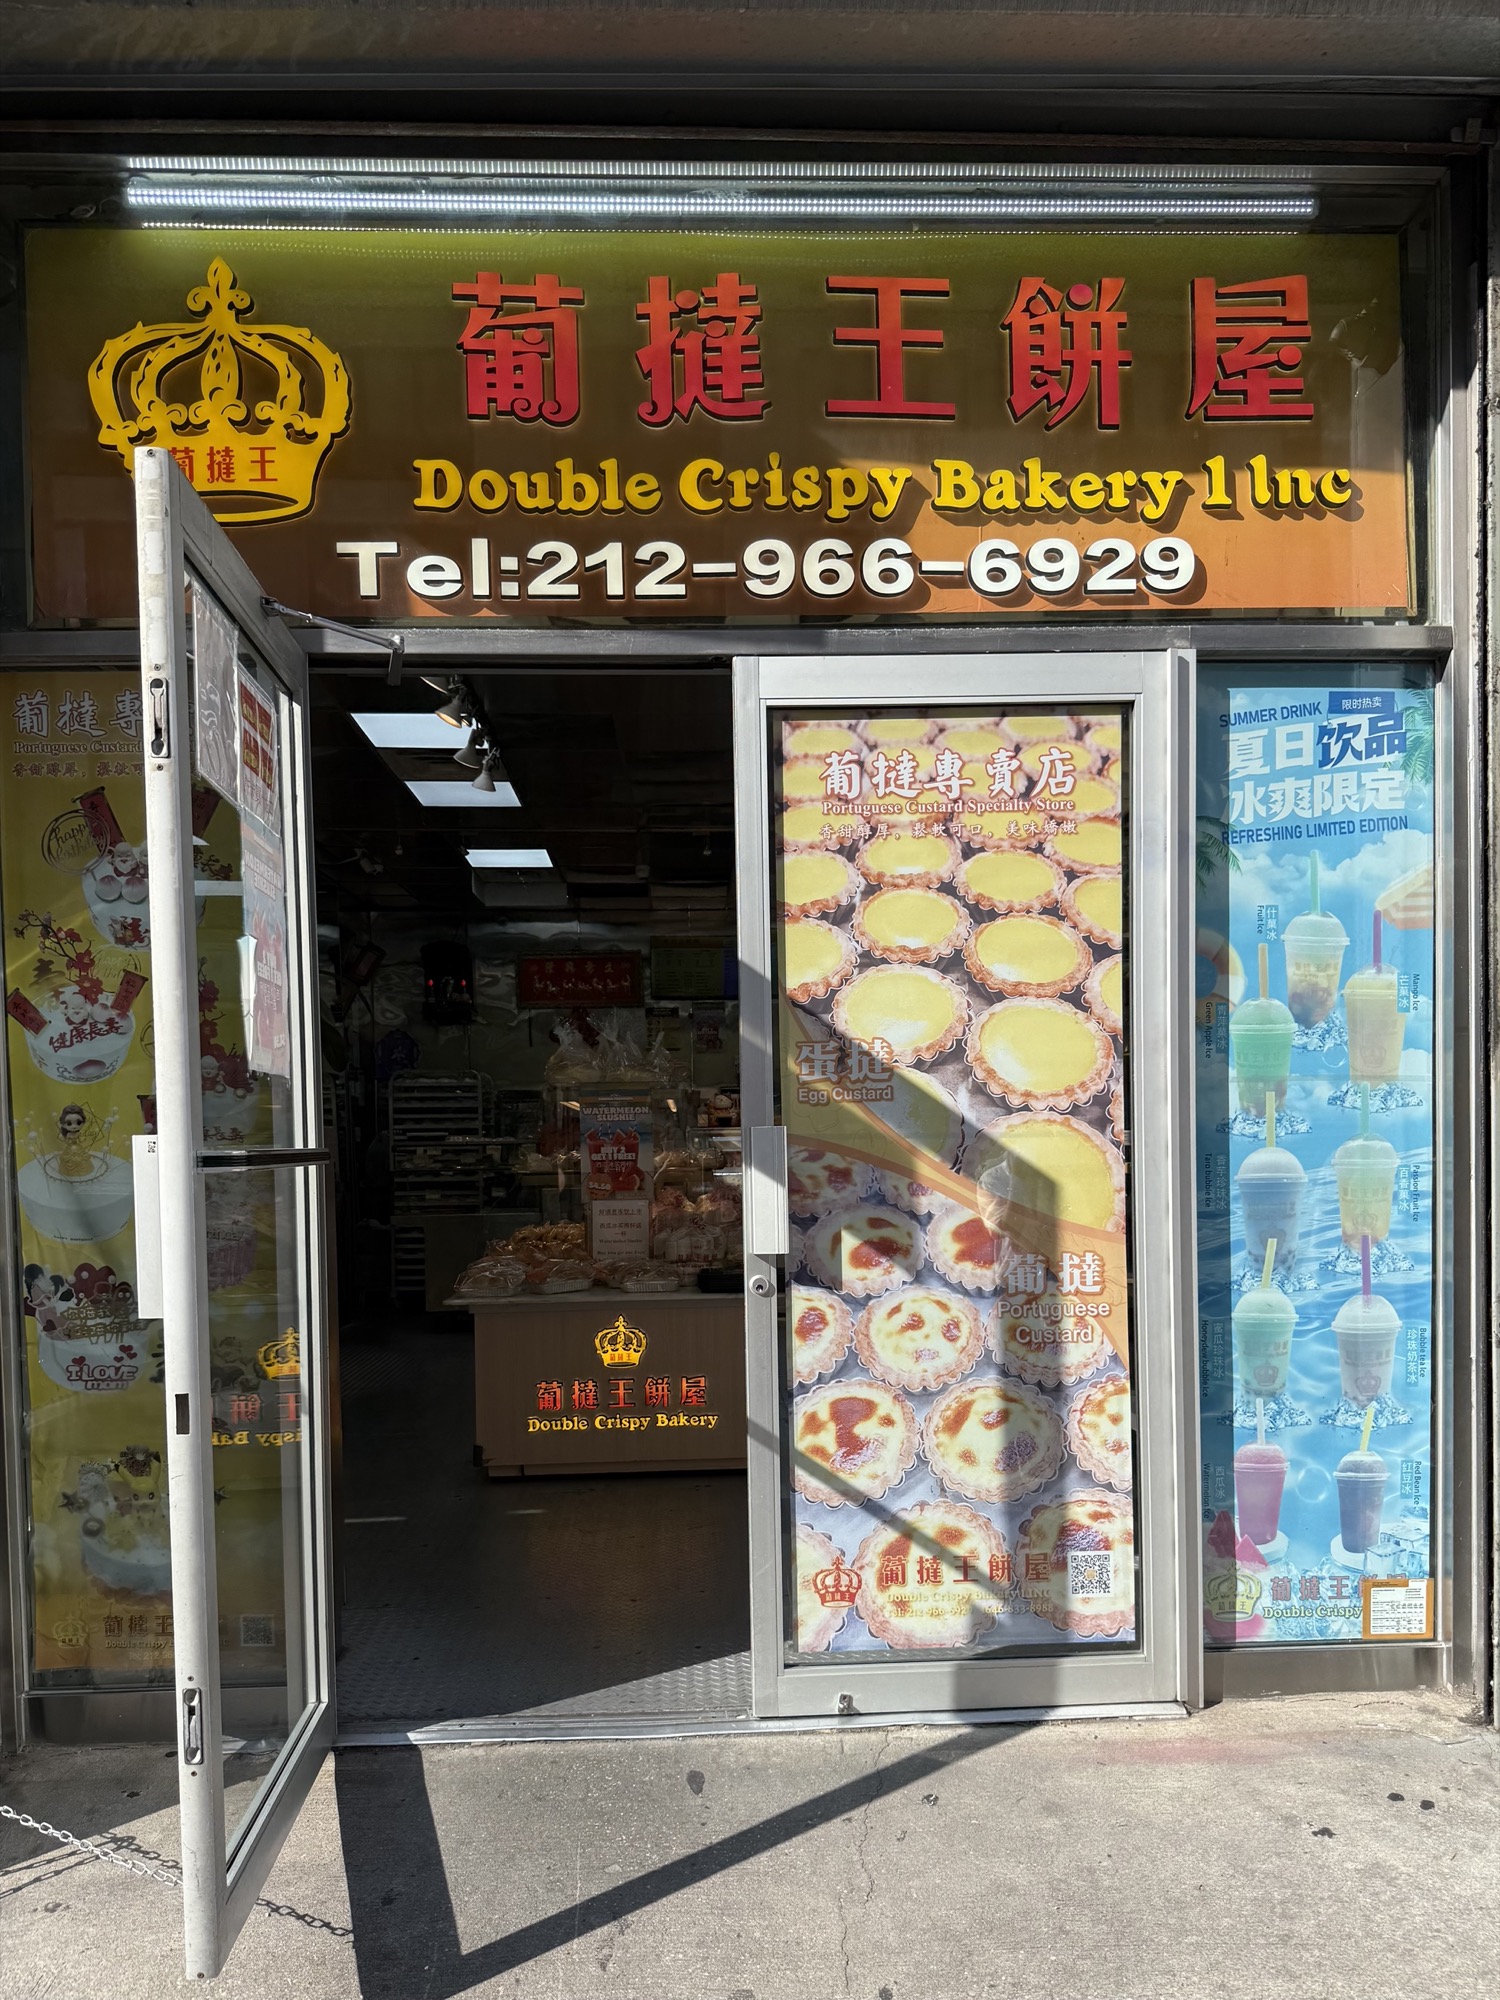
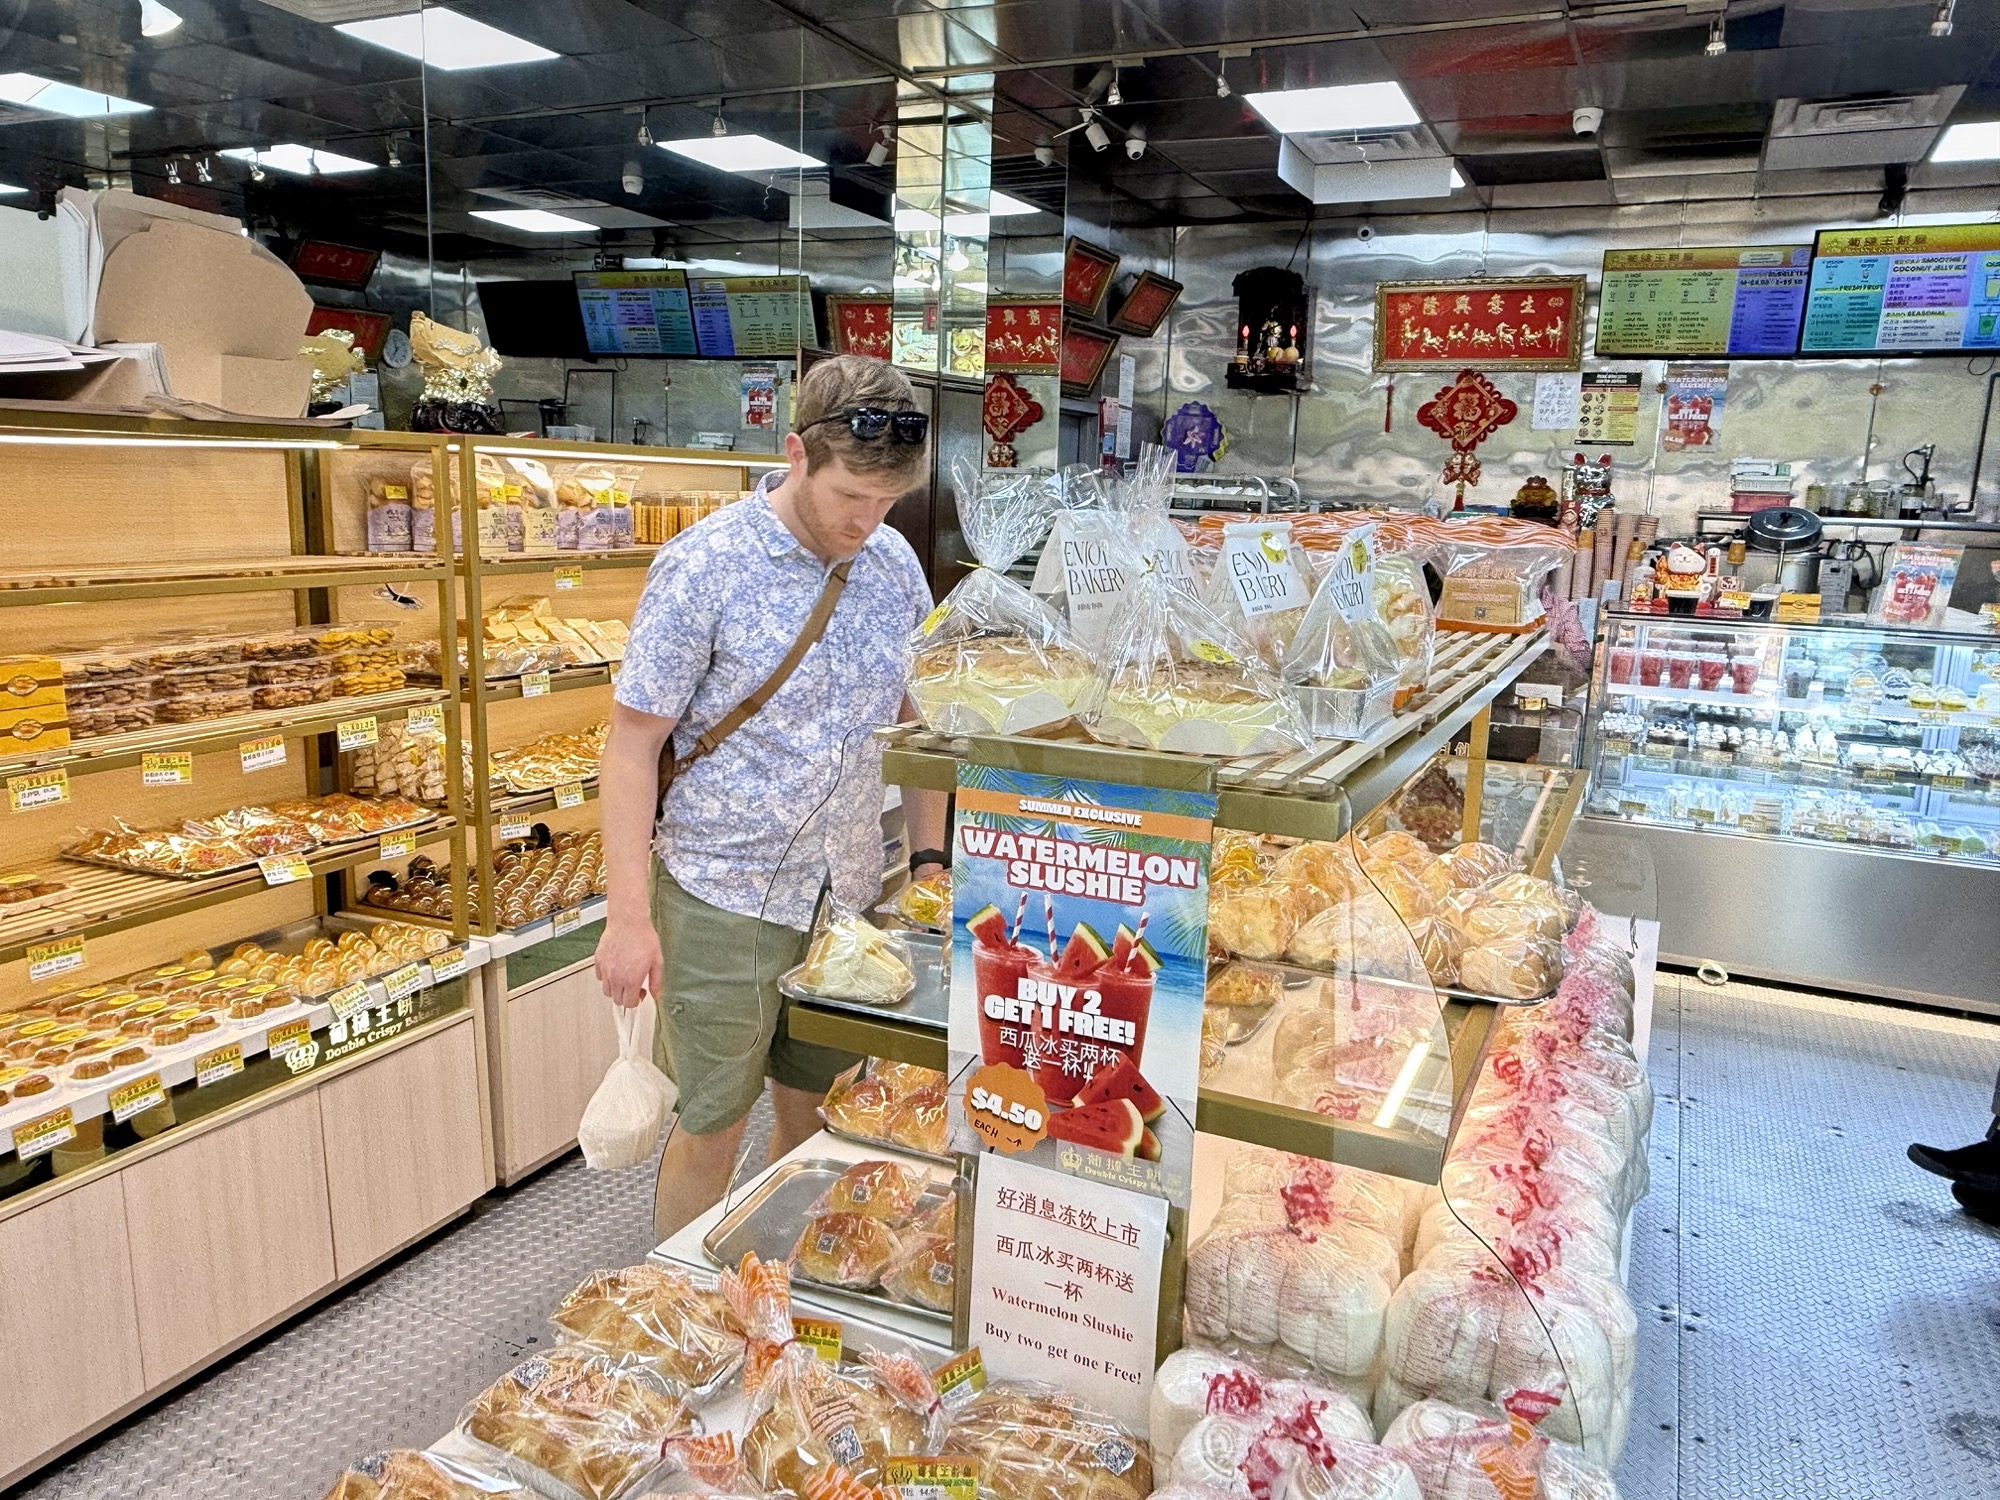
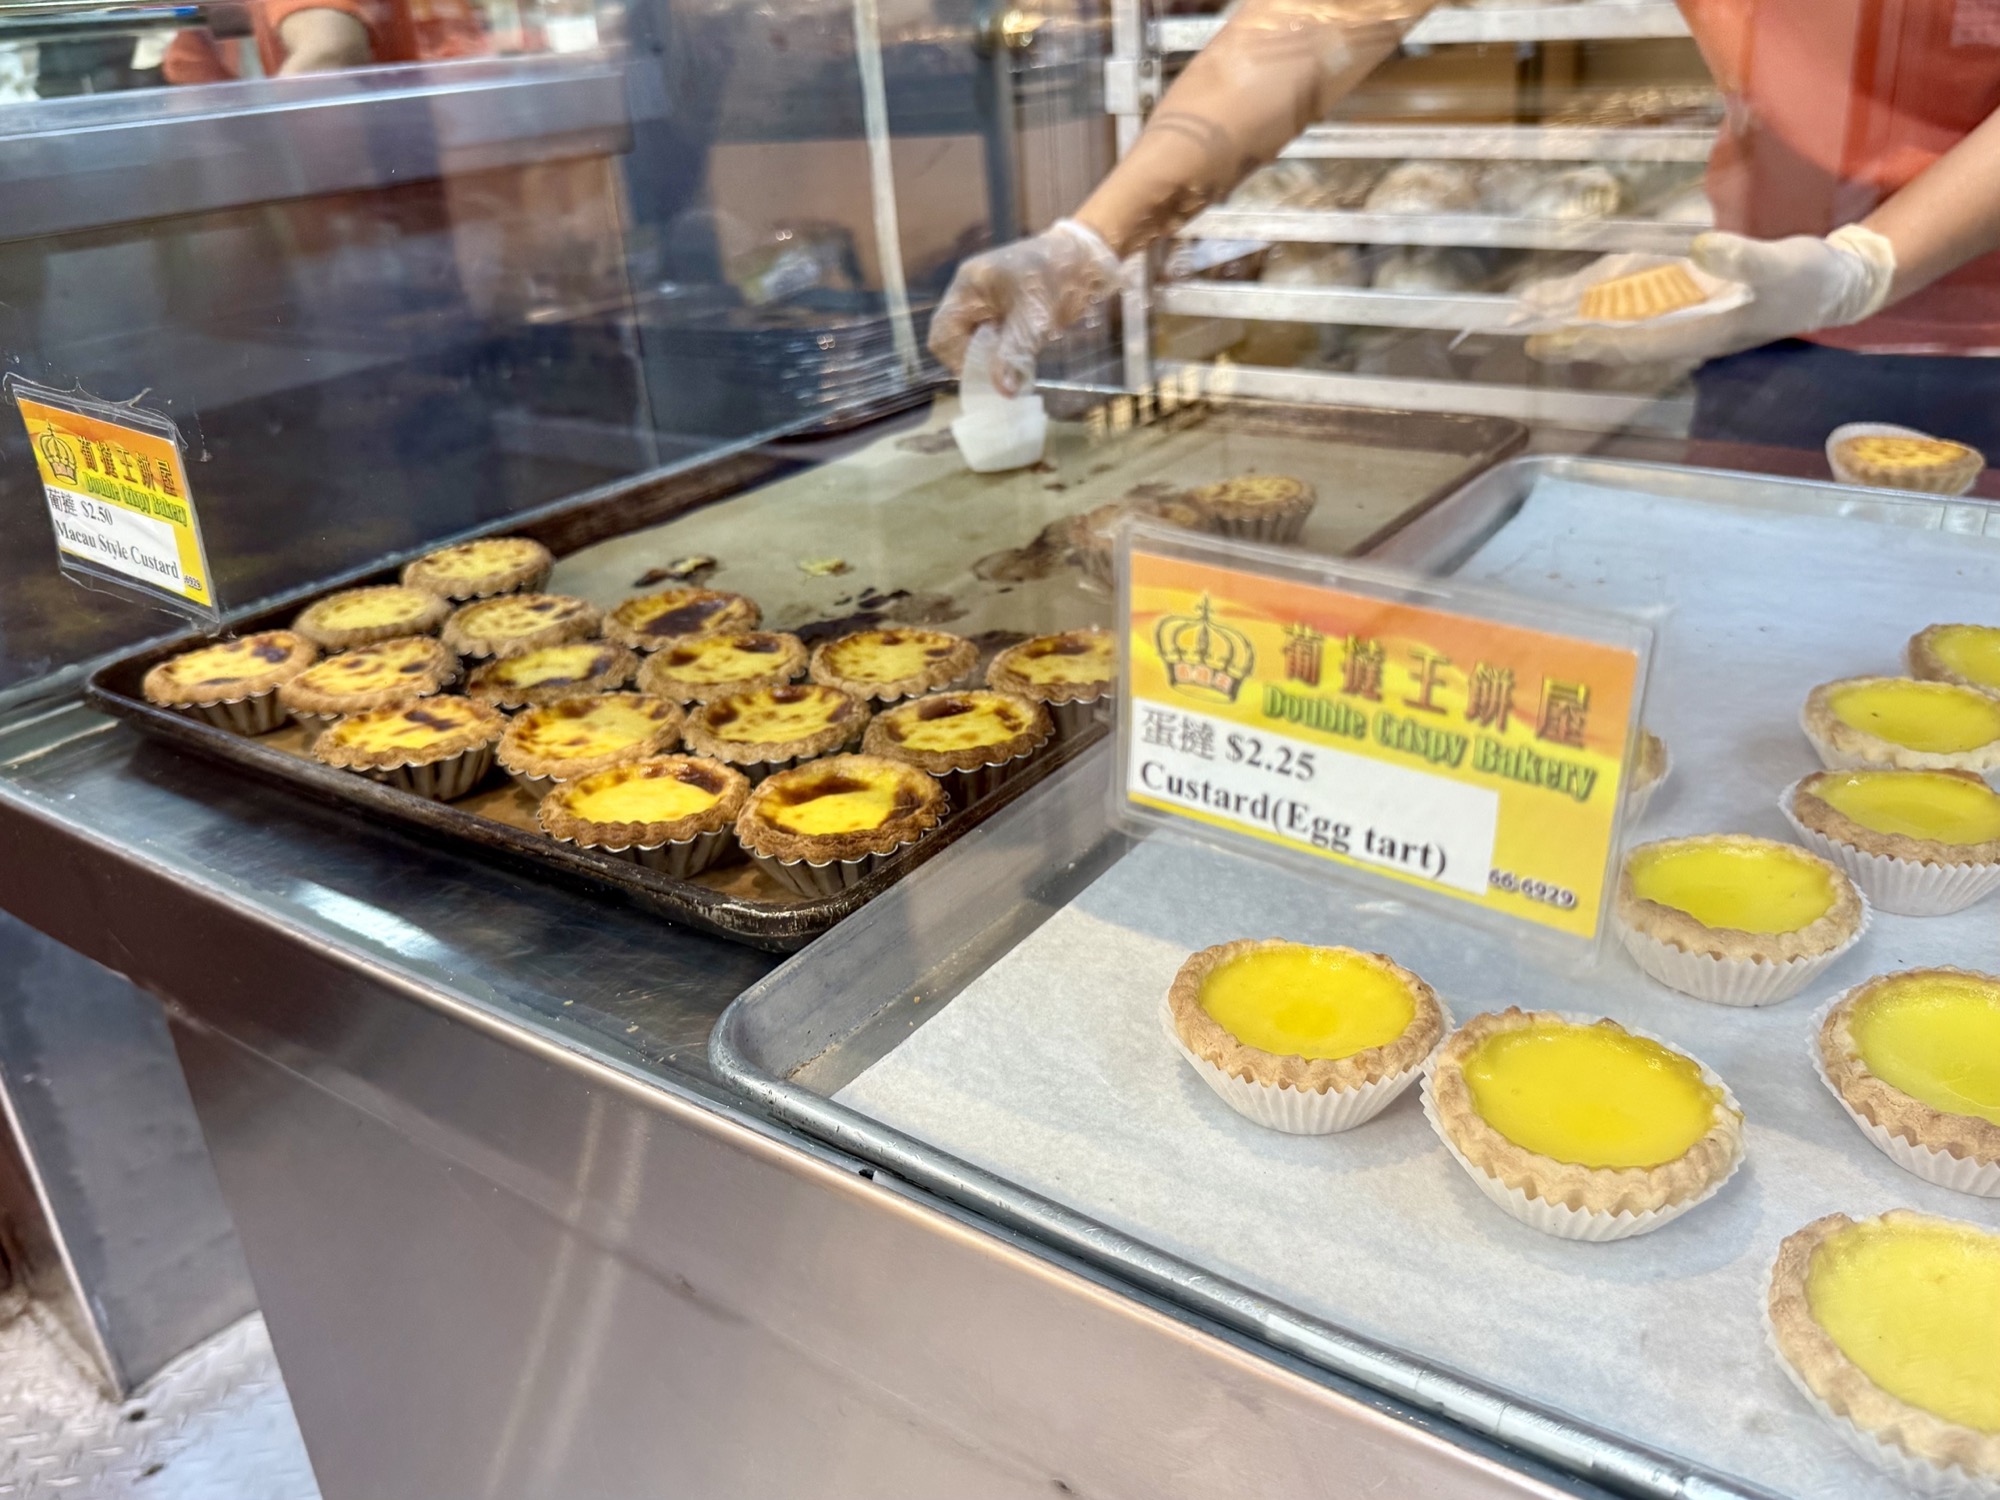
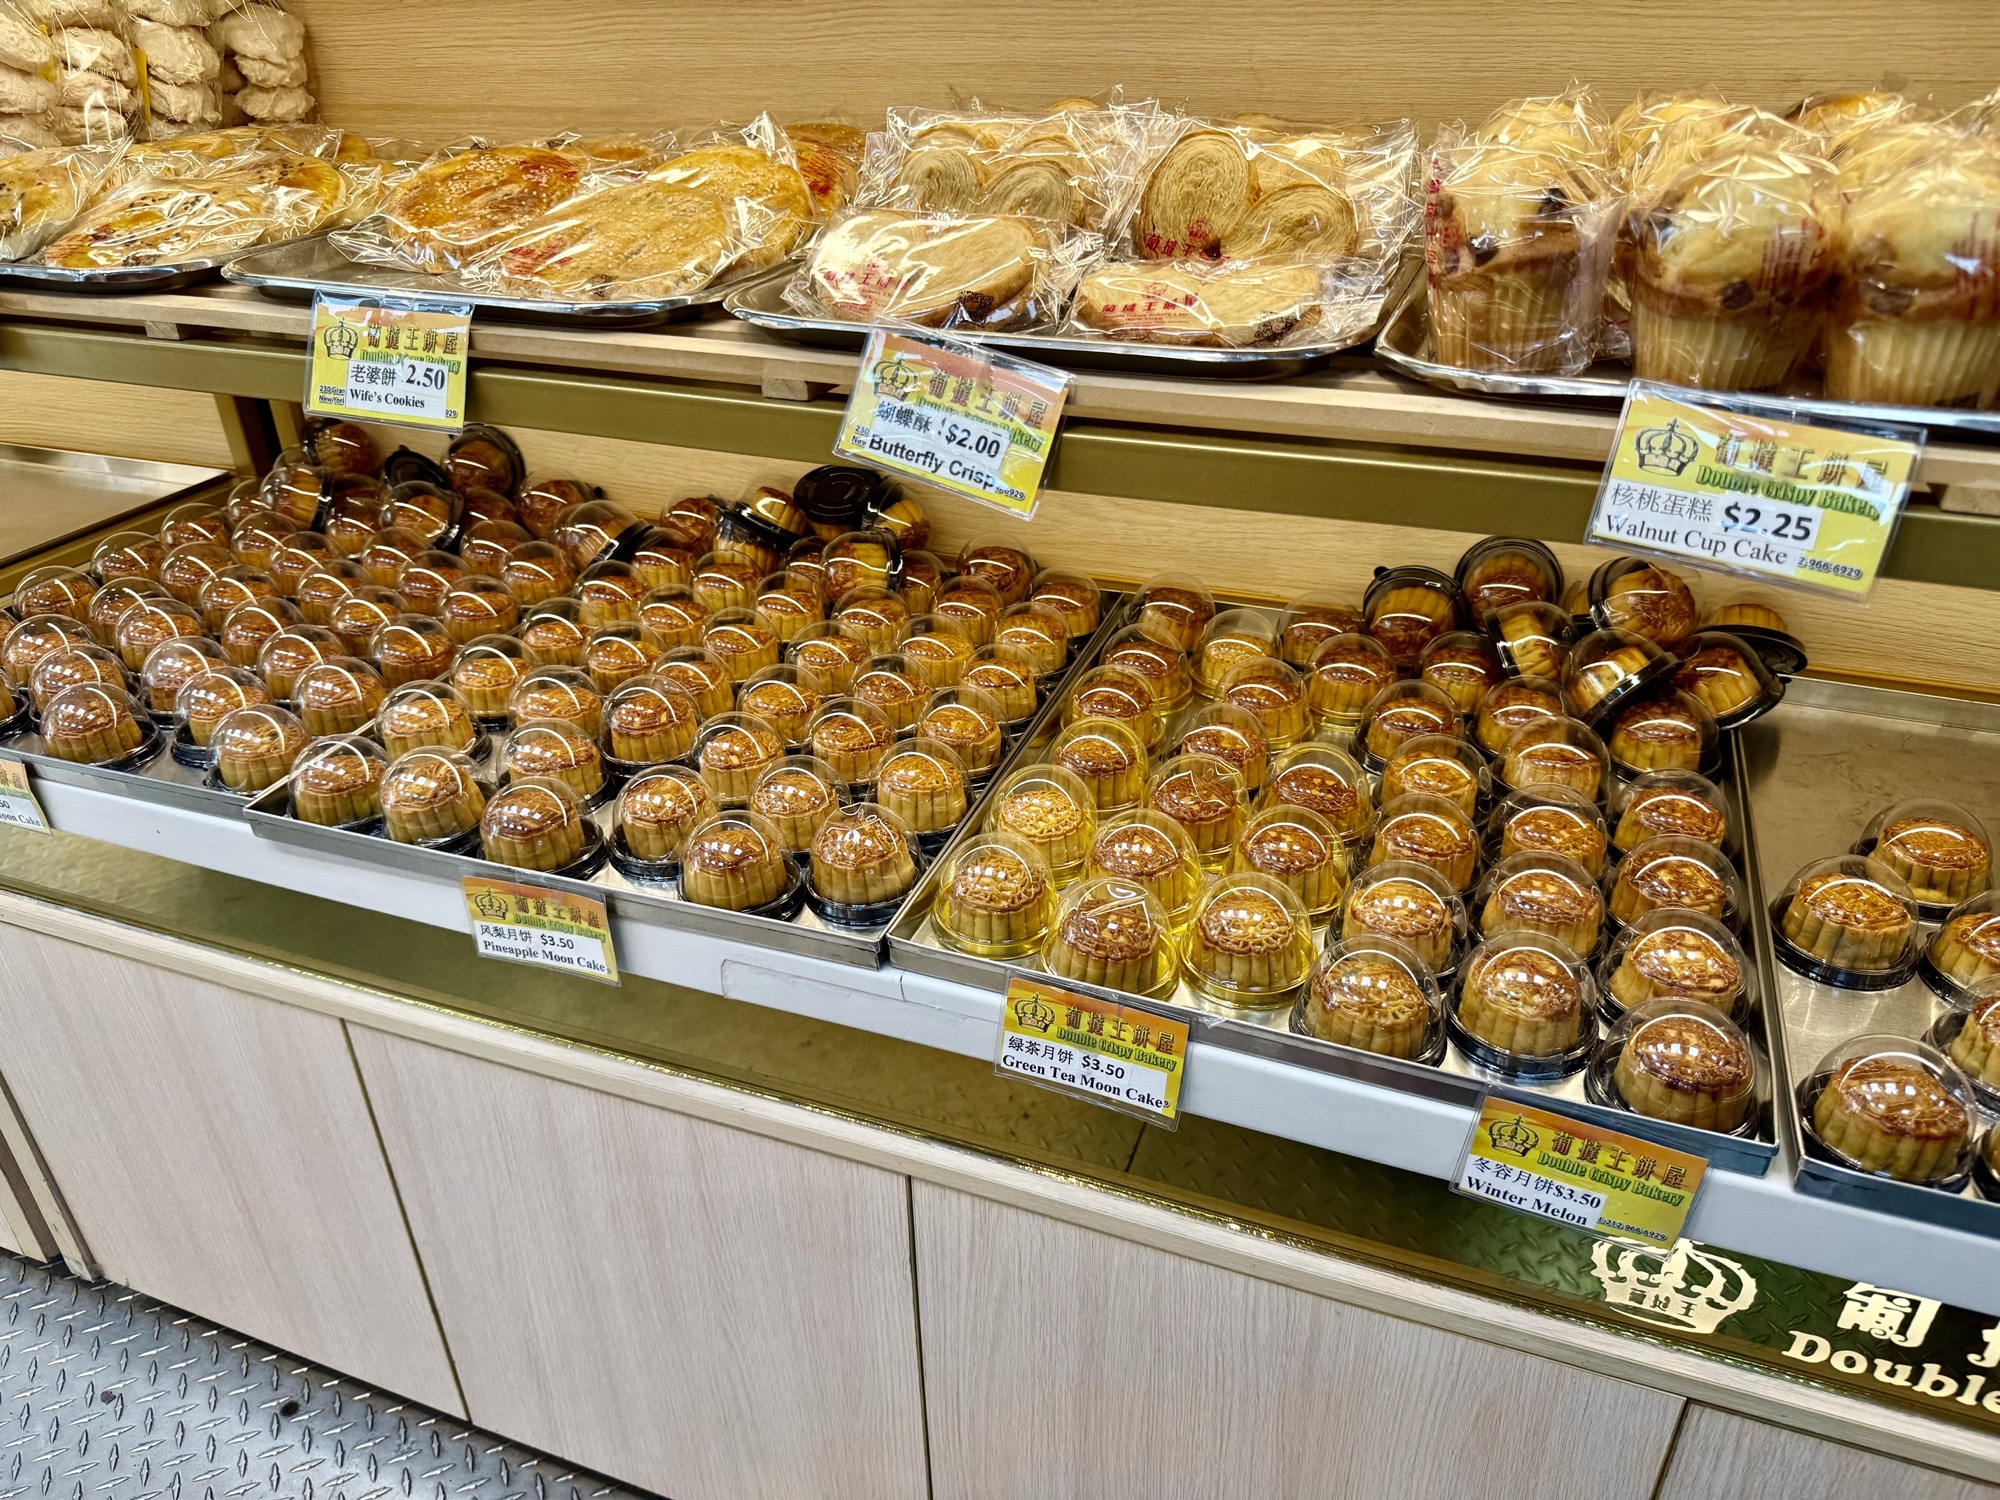
Double Crispy Bakery (great steam buns and egg tarts)
Address: 230 Grand St, New York, NY 10013
Hours: 7am – 7pm, every day
Website: none
Average spend per person: $5 – $10
What to order: egg tarts (2 kinds), pineapple bun, mooncakes
I’m always on the hunt for a great egg tart. Double Crispy Bakery was recommended by a coworker of mine who’s a born and bred local. This bakery offers egg tarts in two different types: a “Custard egg tart” which is more traditionally Chinese with a formed crumbly crust and an intact gelatin-like eggy center, and the other a “Macau style egg tart” which is similar to the Portuguese egg tart, pastel de nata, that has a flaky crispy crust with a softer creamier eggy center. Both were delicious. The custard filling had great flavour with a boost of vanilla, but the flaky crispy crust of the “Macau-style” was preferable for me. Although not my favourite egg tart shop (that’s in Bay Ridge), it’s still pretty good here!
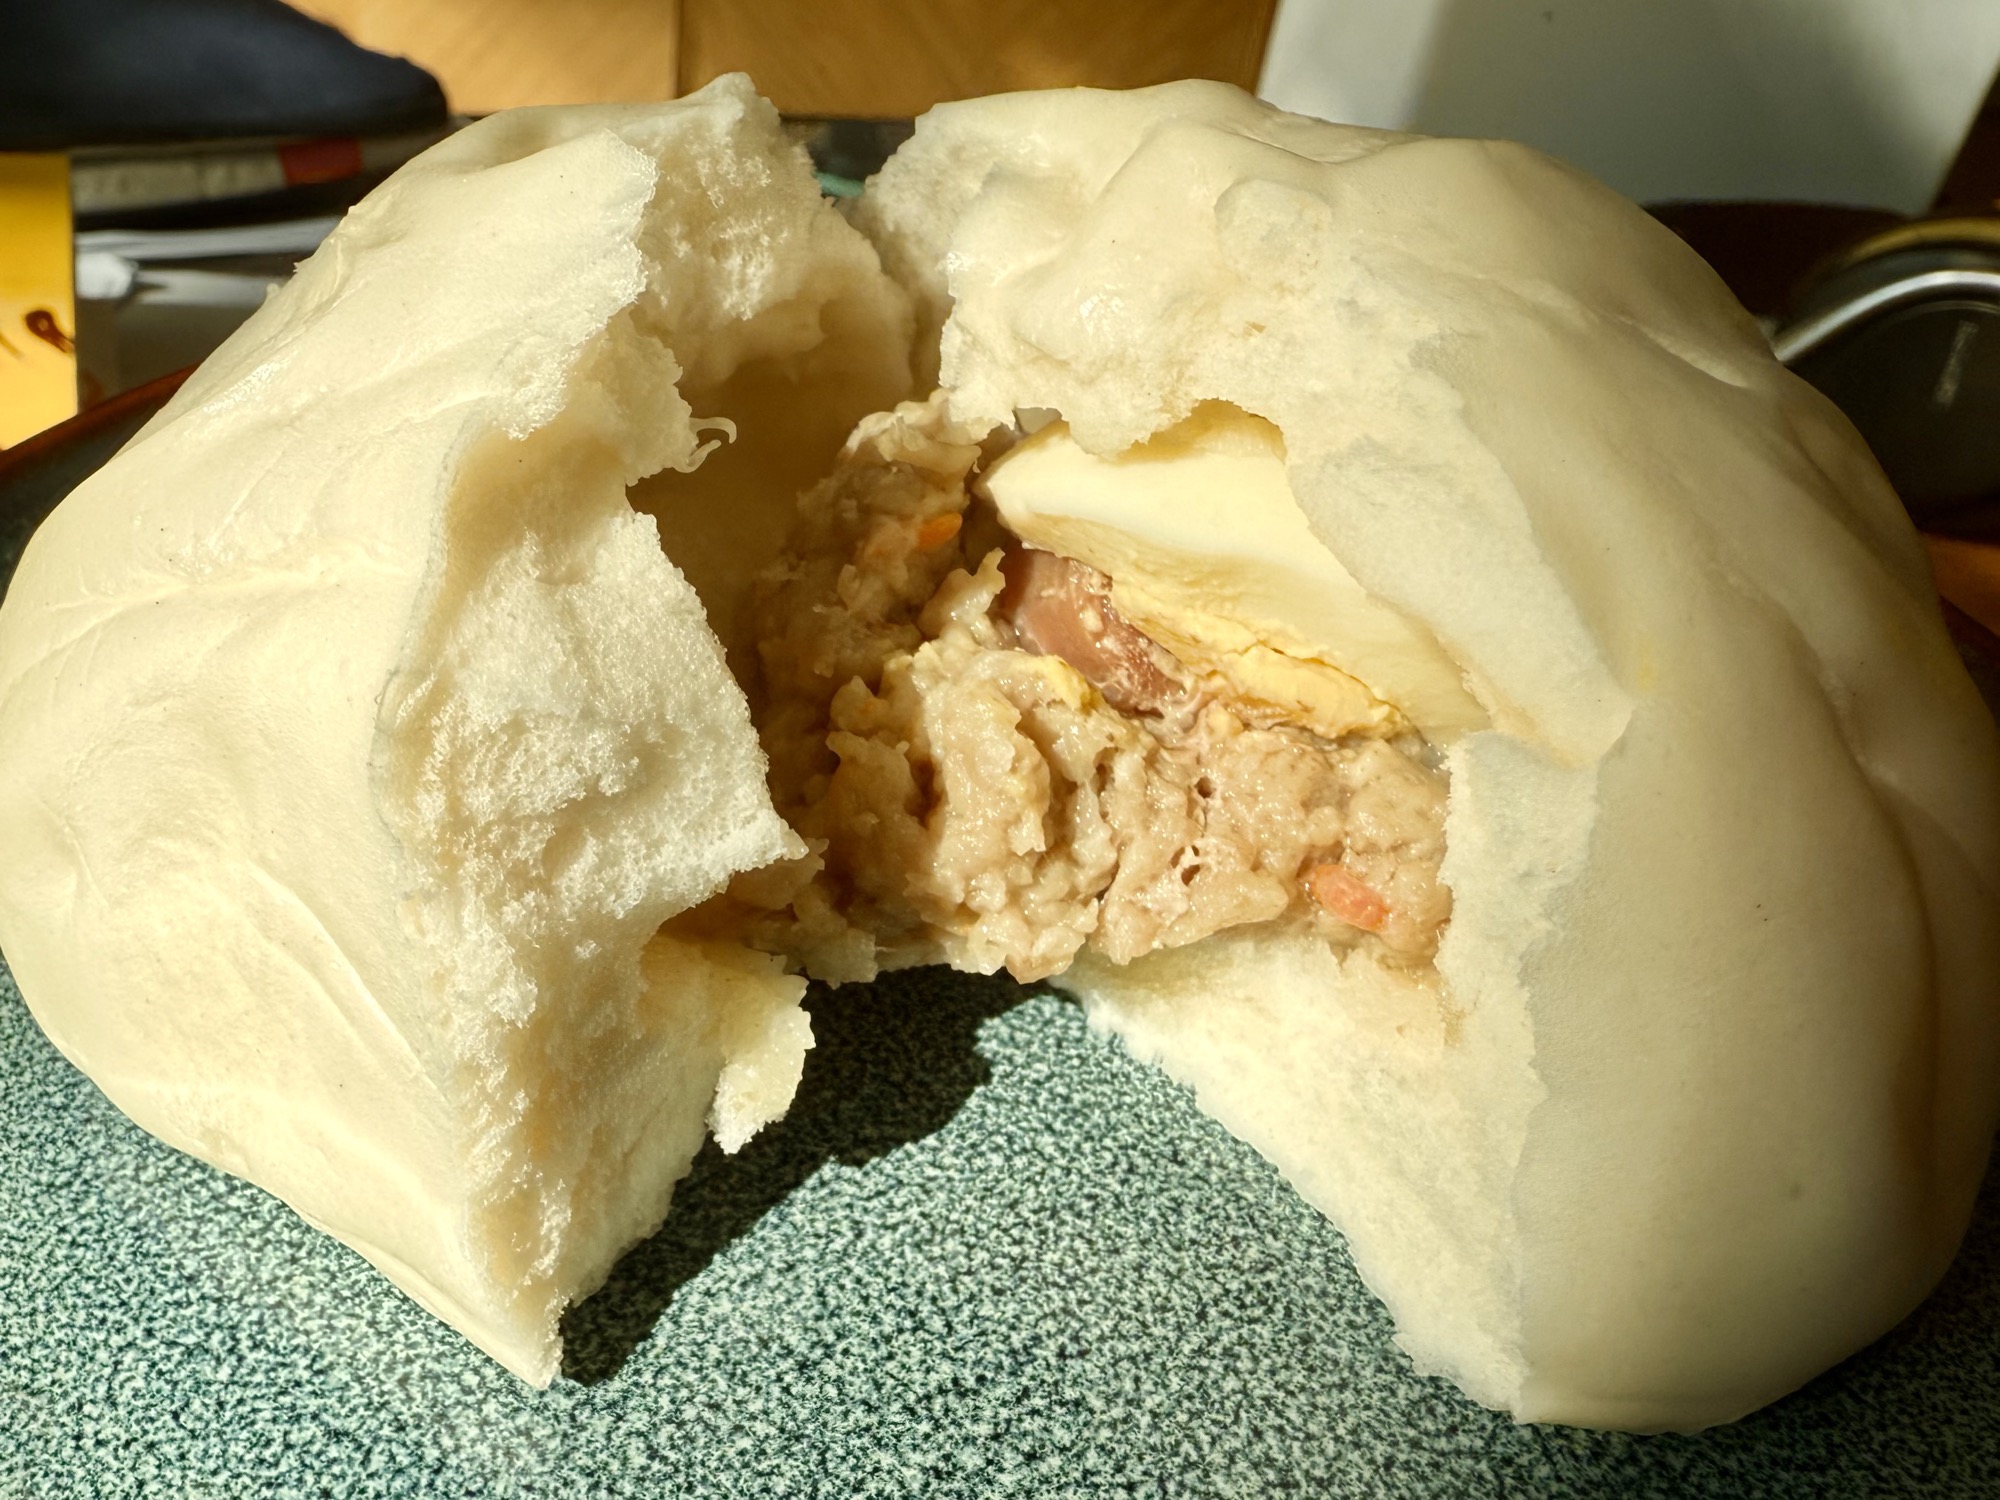
They also have a good pineapple bun (a misnomer that’s named for its flaky sweet crust that resembles a pineapple, but actually has no pineapple flavour at all) and mooncakes year-round in a few flavours (I don’t love mooncakes, so you can be the judge). Their large steam buns behind the counter are also pretty decent and are filled with savoury pork, egg, and Chinese sausage.

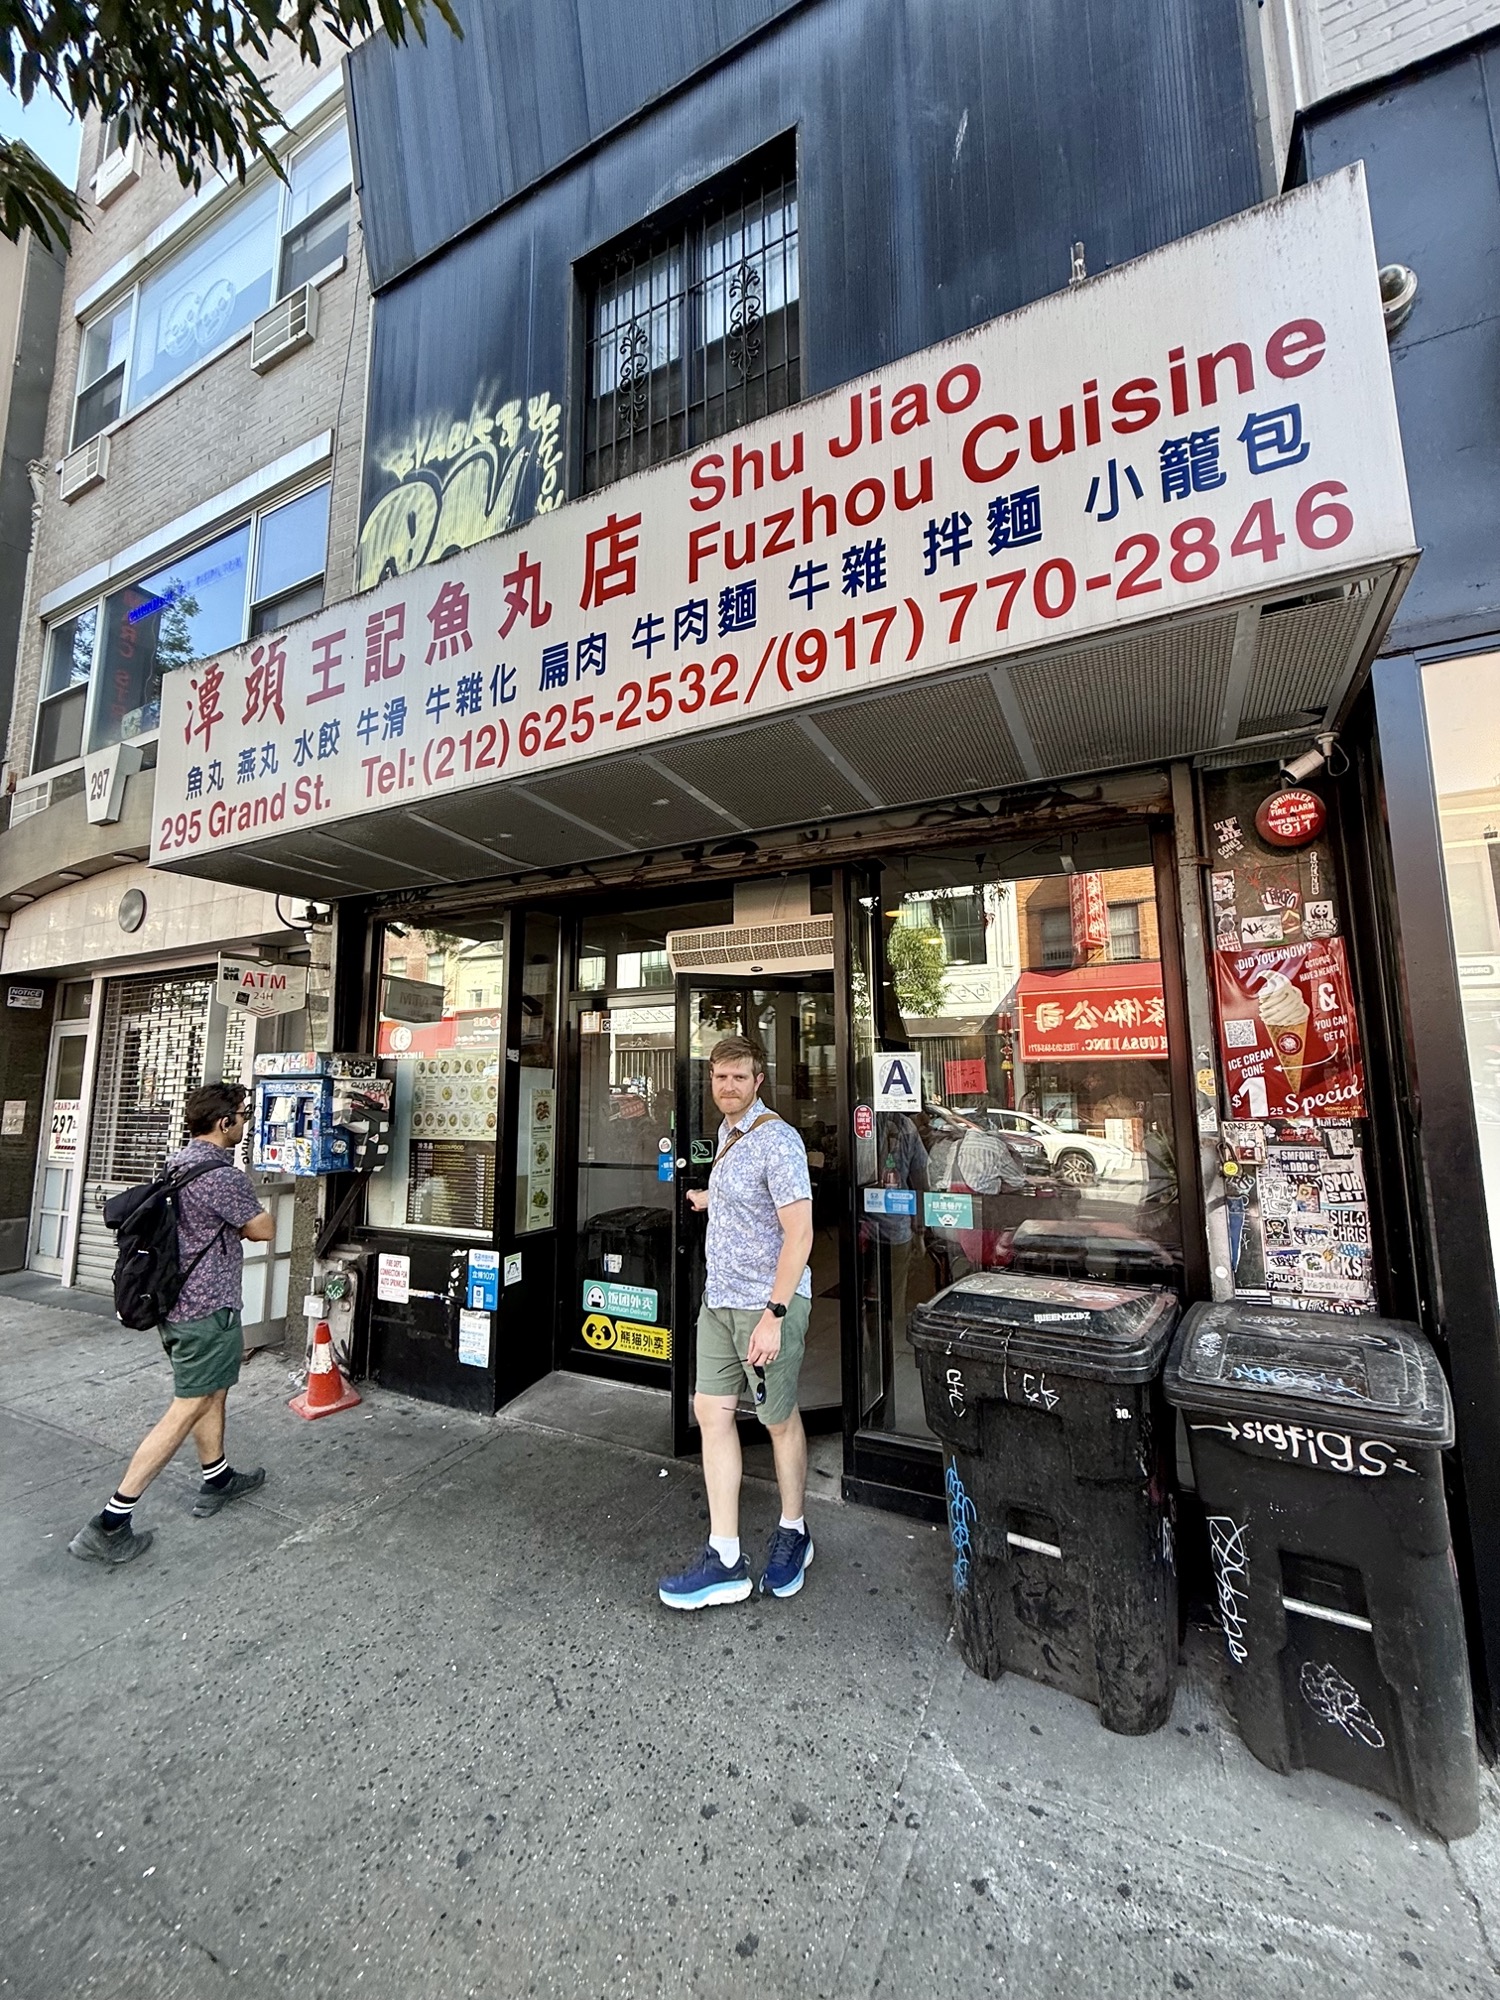
Shu Jiao FuZhou Cuisine (cheap peanut noodles)
Address: 295 Grand St, New York, NY 10002
Hours: 8am-8pm, 7 days a week
Website: none
Average spend per person: $3-$10
What to order: No. 5 peanut noodles, fried dumplings, fish ball soup
If you’re looking for great cheap Asian food in Chinatown, look no further than Shu Jiao FuZhou Cuisine. This no-flare restaurant offers street food items served at lightning fast speeds (seriously, the food was literally ready within 1 minute of us paying!) and nothing was over $6. Their most popular dish is the “No. 5 peanut noodles 拌面” for $3.25. It’s a generous portion of well-cooked soft wheat noodles over a peanut sauce mixture – no meat, no toppings, just noodles and sauce. I had my reservations when I first walked in and every other person in the restaurant was not Asian, but I love a good peanut noodle dish so I couldn’t resist. The peanut noodles are simple but indeed delicious and worth the visit! The cashier also recommended the fried dumplings (I thought was just okay, but Toby loved it), and the fish ball soup (which I also thought was okay but Toby enjoyed the vinegar addition to this classic soup). If you’re looking for a seriously quick and cheap place for decent food, check this place out!


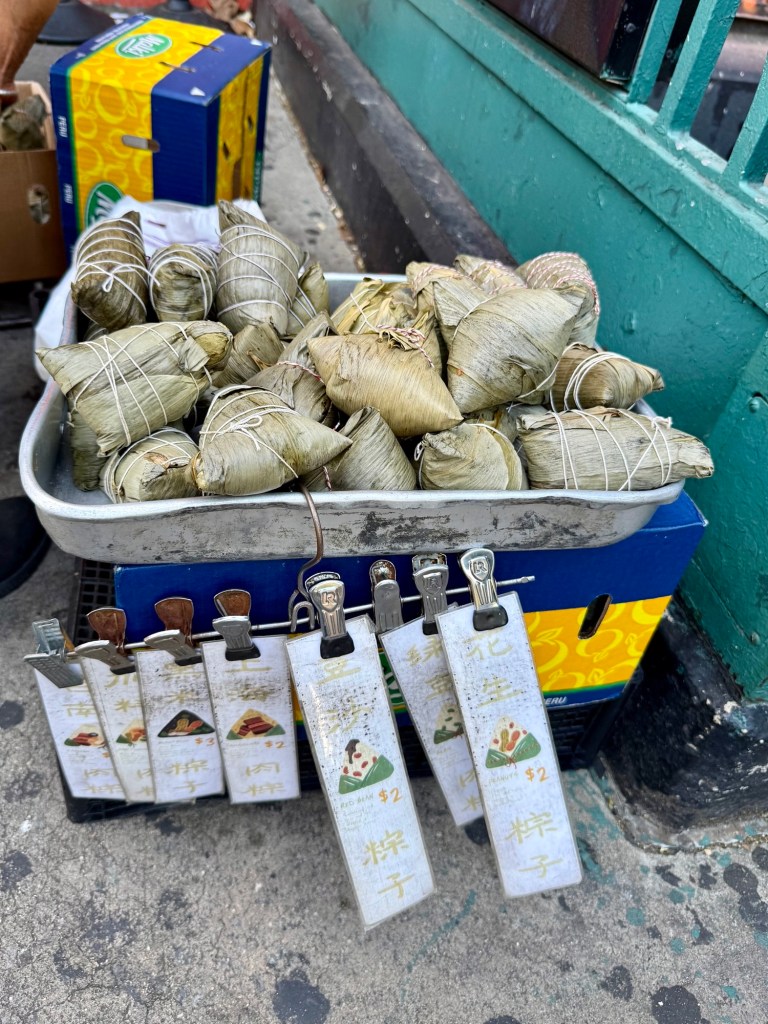
The ZongZi/Bah-Chang lady outside of Grand Street Station
Address: Outside of Grand Street subway station (intersection of Grand Street & Christie Street) – just listen for her call of “Baaaah-chang”!
Hours: Usually 2pm-5pm most days
Website: https://maps.app.goo.gl/pVKw4RUNyq7avchf8
Average spend per person: $2-$3
What to order: Taiwan-style zongzi/”rice dumpling”
If you’re unfamiliar with the classic Chinese staple food, Zongzi (or also known as Bah-chang in the hokkien dialect) is glutinous/sticky rice filled with a choice different ingredients all wrapped in bamboo leaves in the shape of a triangle prism. The fillings can be savoury (commonly pork belly, egg yolk, mushroom, peanuts) or sweet (commonly red bean or mung bean). The Zongzi should be warmed prior to eating – most commonly via steaming, but you can also unwrap it and microwave it if you’re feeling lazy to bust out the steamer.
Like a character from a studio Ghibli movie, the beloved elderly Zongzi/Bah-chang lady has been selling zongzi for over 2 decades outside of the Grand Street subway station at the intersection of Grand and Christie. Her husband and daughter in law makes the zongzi and she sells them. You can hear her siren call of “Baaaaah-chang!” rain or shine.
Her most popular savoury zongzi is the Taiwan style (represent!) and the most popular sweet zongzi is the red bean. She sells them at a great price at $3 per meat-filled zongi and $2 for the others. Cash only!
We first heard of this lady when we first moved to New York in early 2023 and stayed in an AirBnB a few blocks away from the Grand Street station and would often hear her “Baaah-Chang” call. Unfortunately our AirBnb wasn’t equipped with a kitchen so we never had a chance to try them until recently! I bought her two most popular types and they were indeed pretty good. There was a decent amount of filling and the texture of the sticky rice was perfect. Although I’ve had better, for the price she charges and the quality of the filling, it’s a pretty good Zongzi.
Here’s a Youtube interview I found if you want to find out more about her story: https://www.youtube.com/watch?v=cJCbypba4kM&t=386s


Mee Sum Cafe (a breakfast joint with reputable Zongzi)
Address: 26 Pell St, New York, NY 10013
Hours: 5:30am – 5pm, daily
Website: none
Average spend per person: $10-$20 per person
What to order: dim sum, zong zi
Mee Sum Cafe is known as an OG local breakfast spot, open at 5:30am every single day and serves up traditional Chinese dishes including dim sum. If you’re looking for more Zong Zi (glutinous rice dumplings wrapped in leaves) recommendations, Mee Sum Cafe has a reputation for some great ones, offering up 7 different fillings. Unfortunately when we went, they only had 3 of their 7 kinds left, with the most popular ones sold out 😔. We didn’t have time to eat here so I bought a few frozen ones to go and tried it at home – it was just okay. Perhaps the ones that were sold out are much more worthy of their reputation 🤷🏻♀️. I debated whether or not to include them in this post since all I had was their Zongzi and wasn’t blown away, but due to their long standing reputation as an old school breakfast spot, I decided to include it so the rest of you can make your own decision on Mee Sum Cafe and also as a place marker to remind me to go back 🙃.


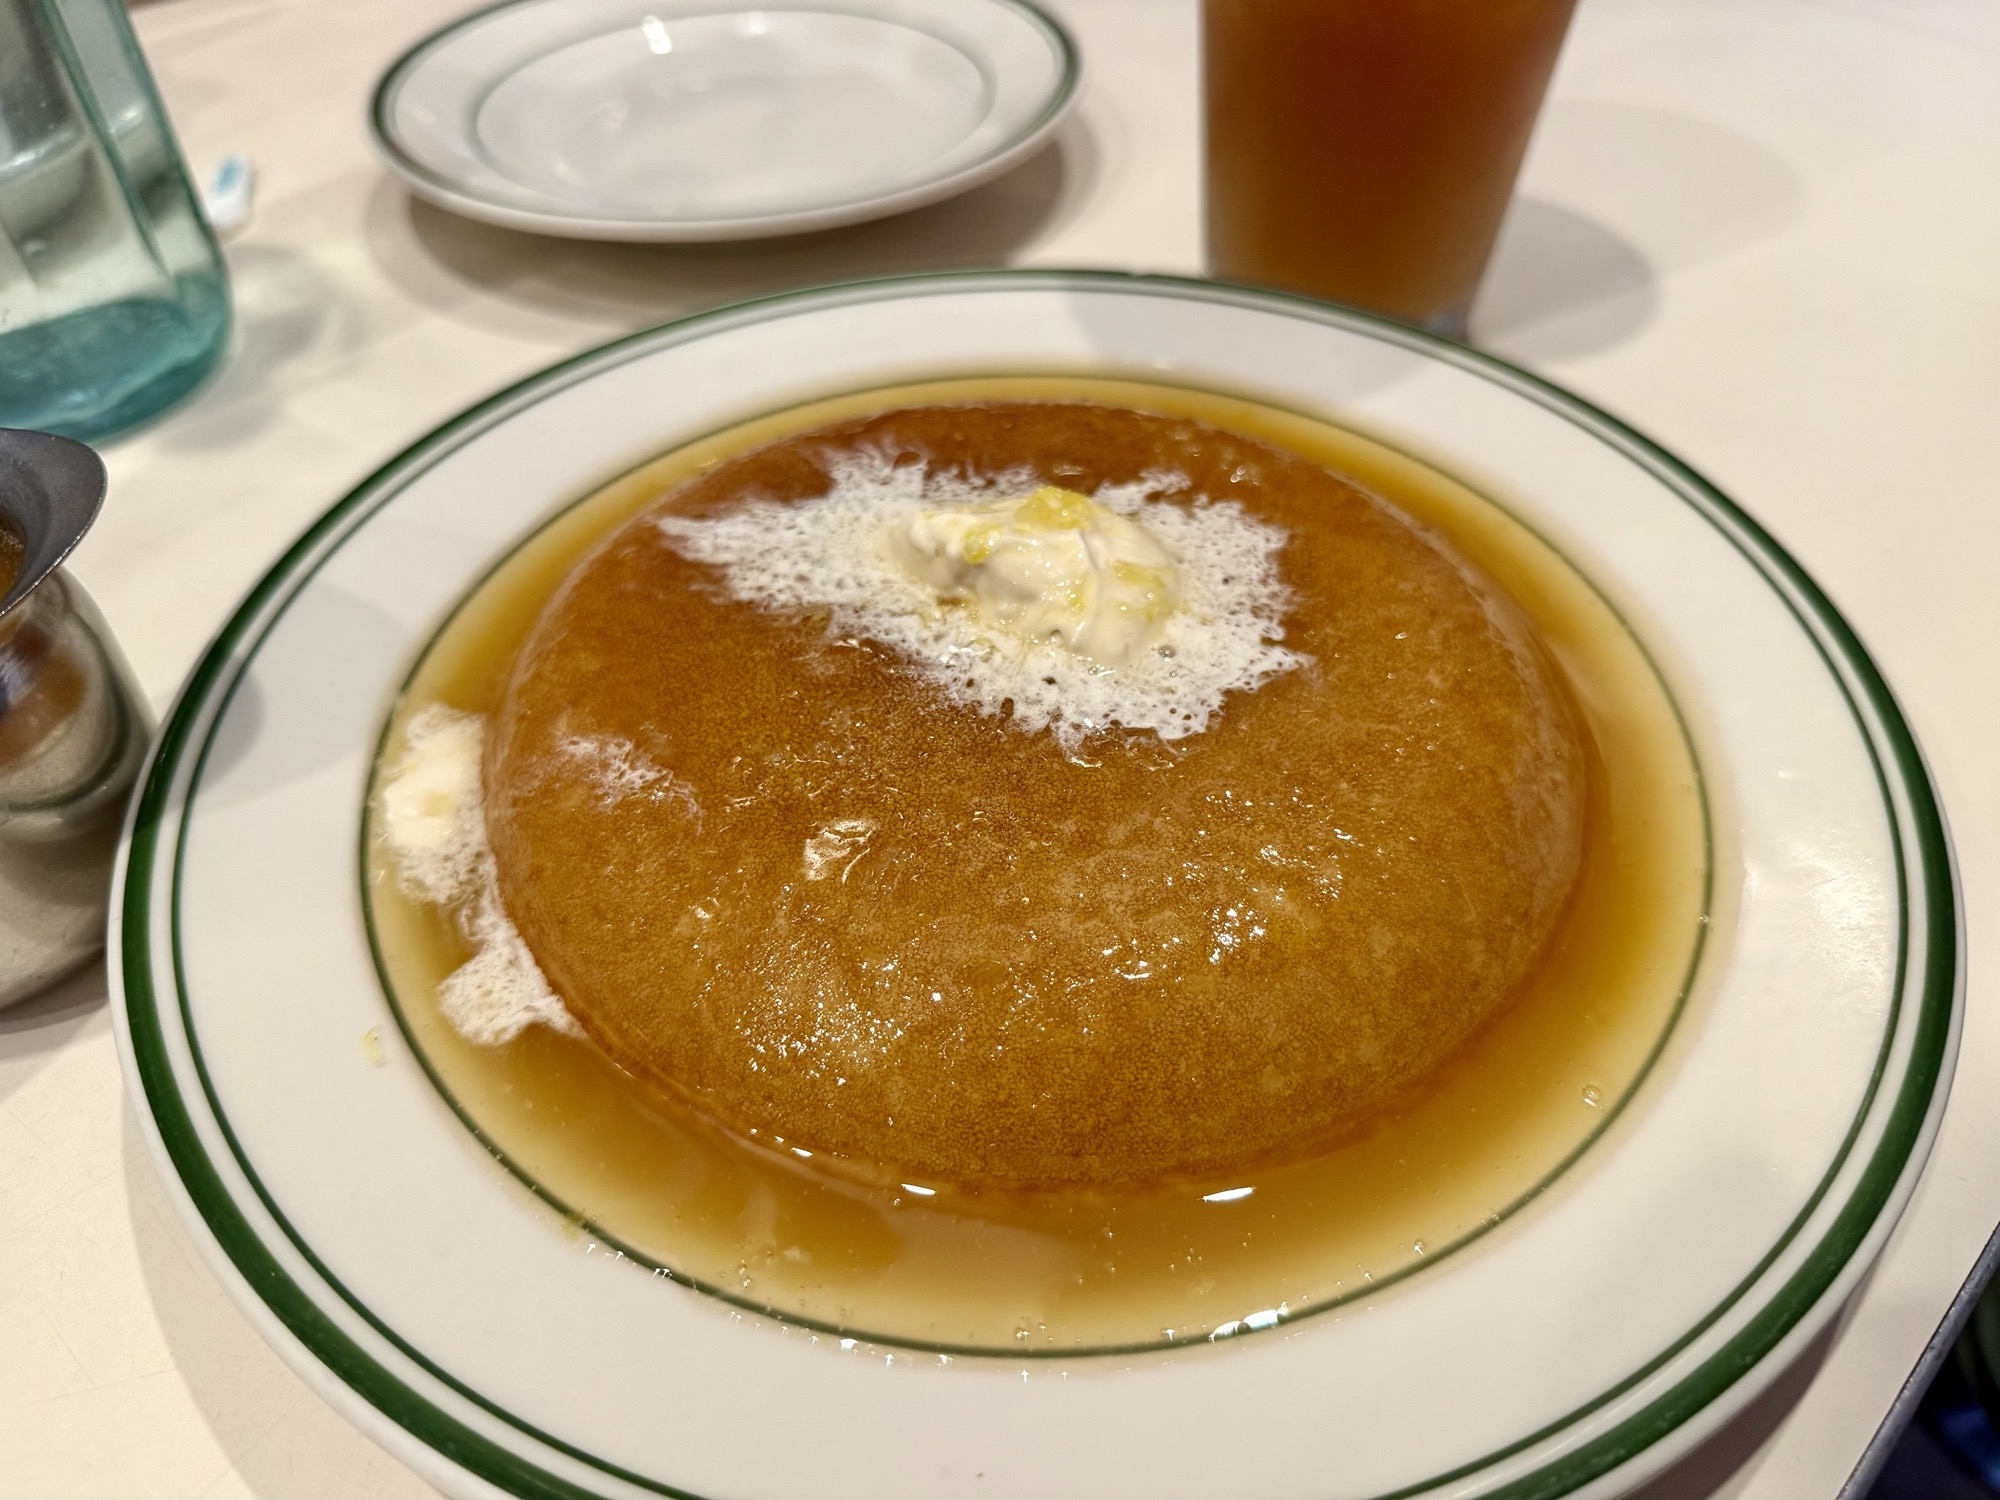
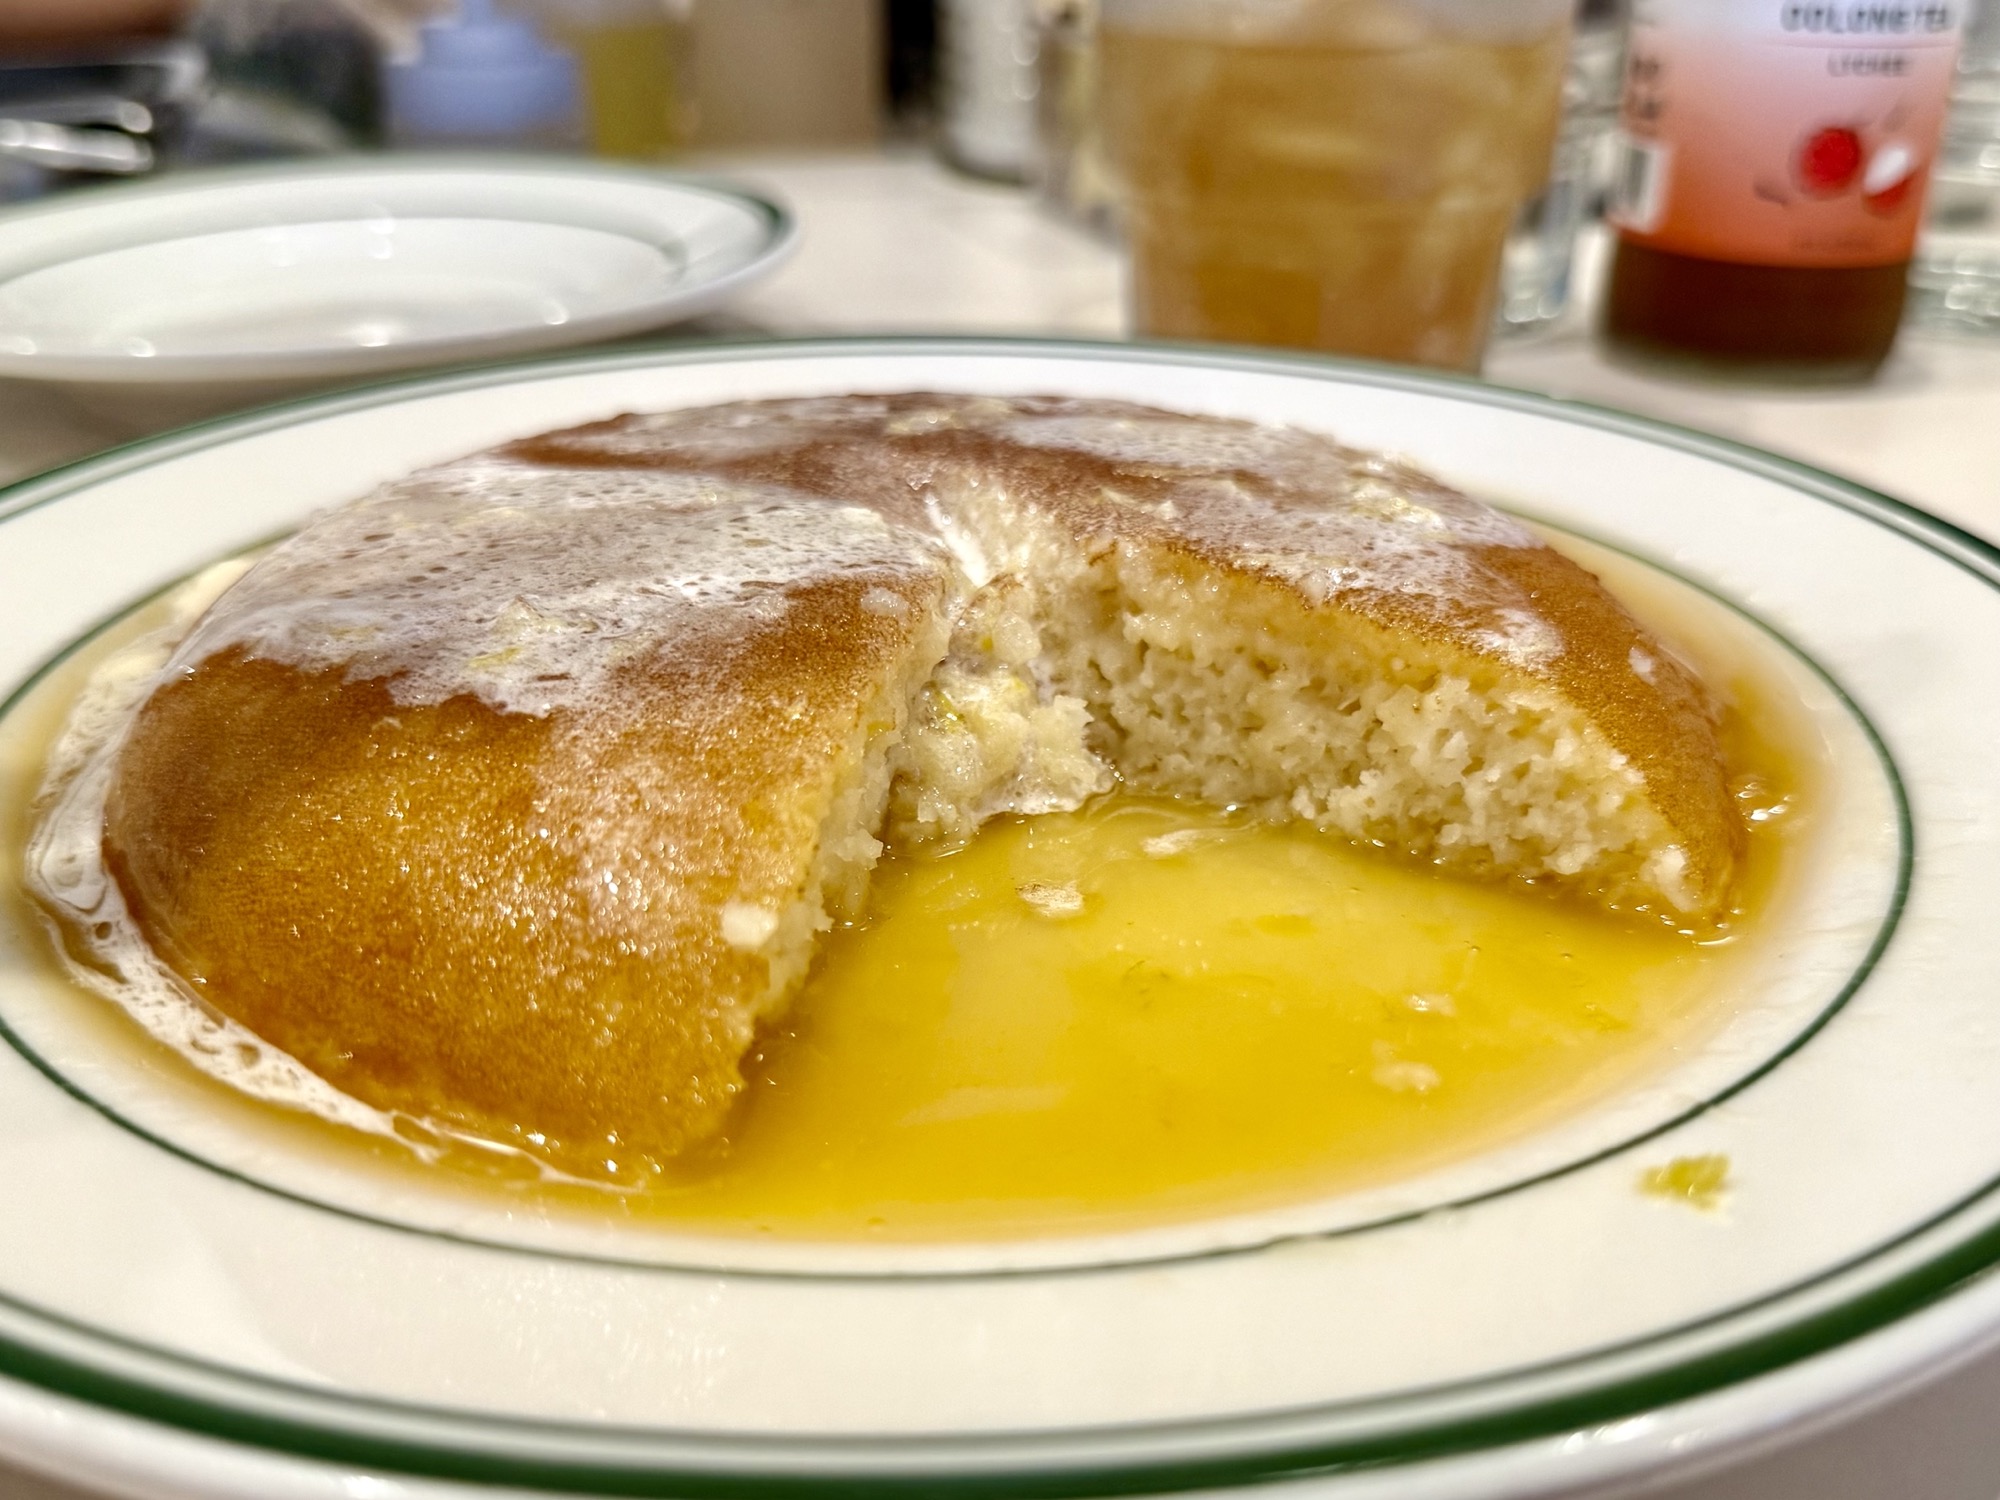
Golden Diner (honey butter pancakes)
Address: 123 Madison St, New York, NY 10002
Hours: 10am – 10pm most days (10am – 3pm on Thursdays) – make reservations ahead!
Website: http://www.goldendinerny.com/
Average spend per person: $20-$30 per person
What to order: Honey Butter Pancakes

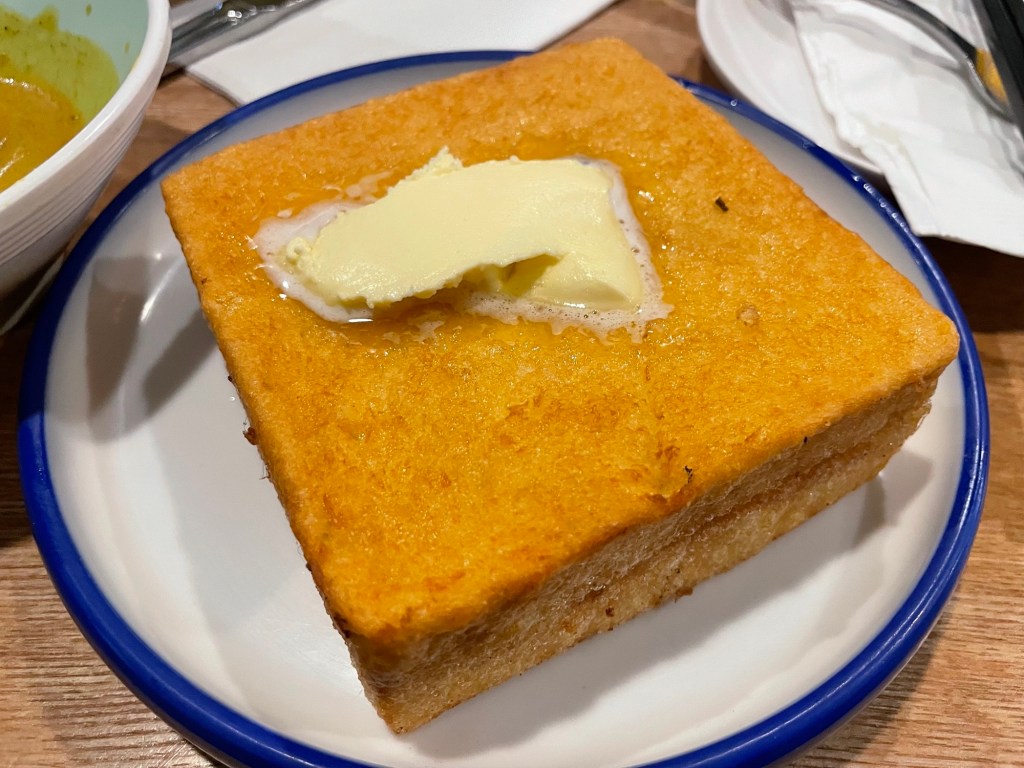
Tucked away deep into the non-touristy parts of Chinatown where you need to speak some type of Chinese dialect to order food, Golden Diner is an American-Asian fusion diner that adds a twist to classic comfort foods. You may have seen this diner featured on many Tik Tok and Instagram videos lately showcasing their viral Honey Butter Pancakes – a friend of mine from Canada actually sent me a video of this place which is how we came to find it. I’m not overly excited about pancakes in general, but I am OBSESSED with honey butter chips so of course we had to come and try it. It took two trains to get to this prickly part the lower east side and without reservations, it was a 1.5 hour wait for a table at the bar. I’m glad to report that their Honey Butter Pancakes were indeed worth it. The honey butter syrup really does taste just like the chips and the thick and fluffy pancakes was the perfect light texture to carry the heavy syrup. It comes in a single or double serving. I’d recommend the single – it’s quite heavy and after a while it can be a bit much if you don’t have a sweet tooth.
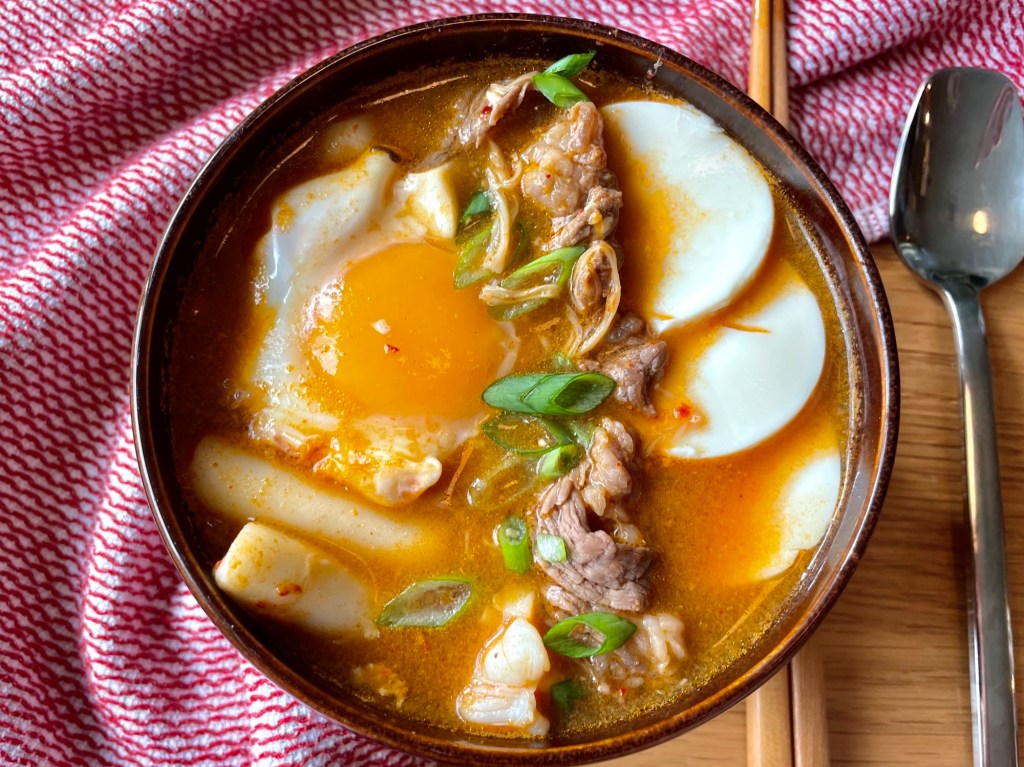
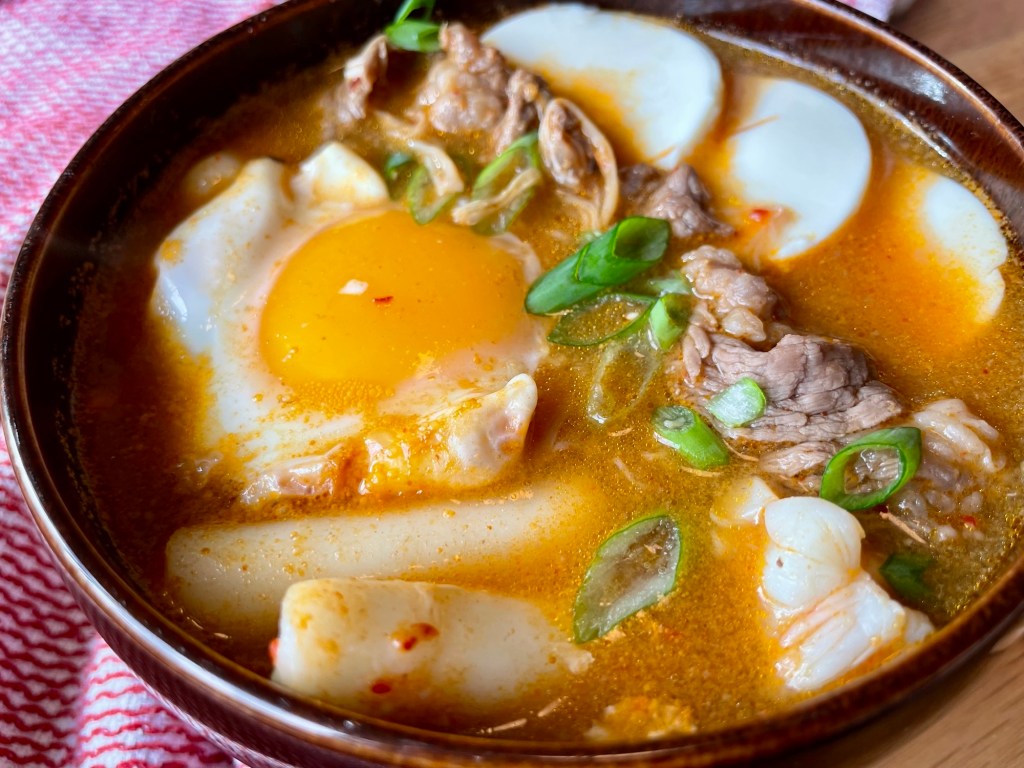
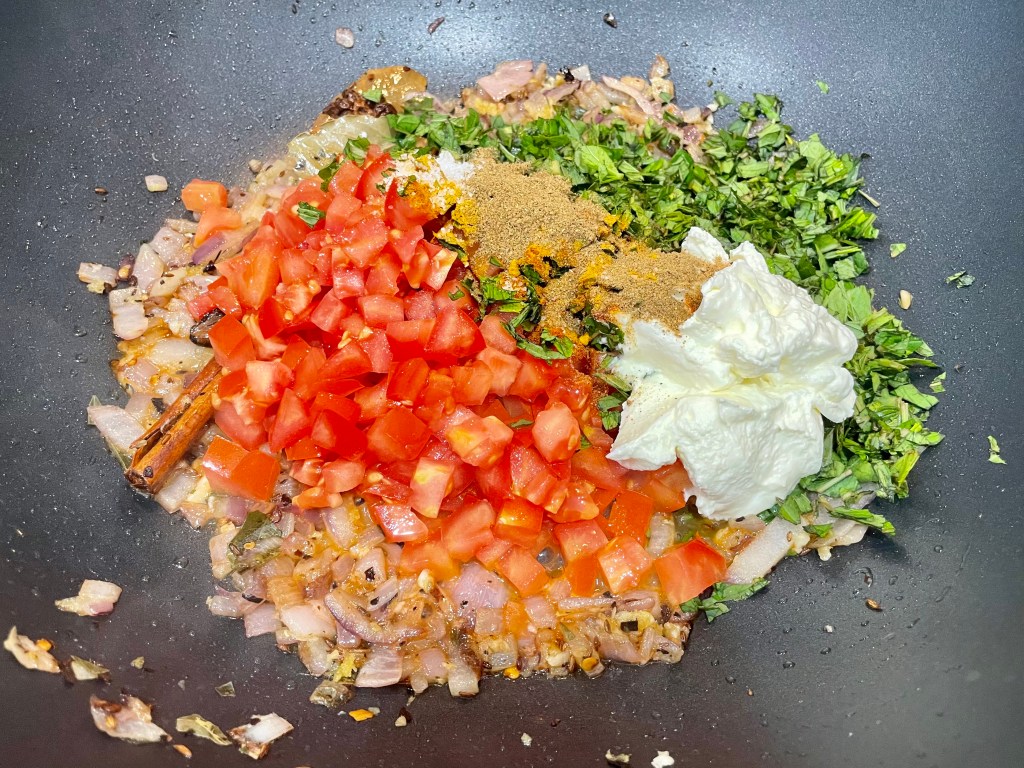
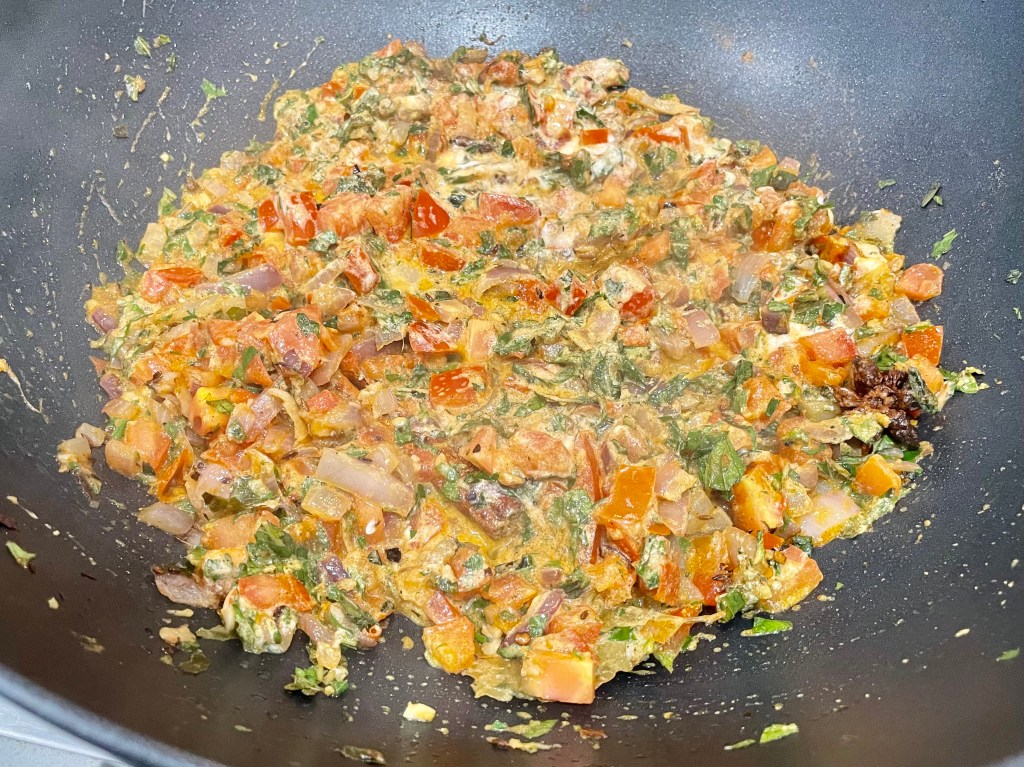
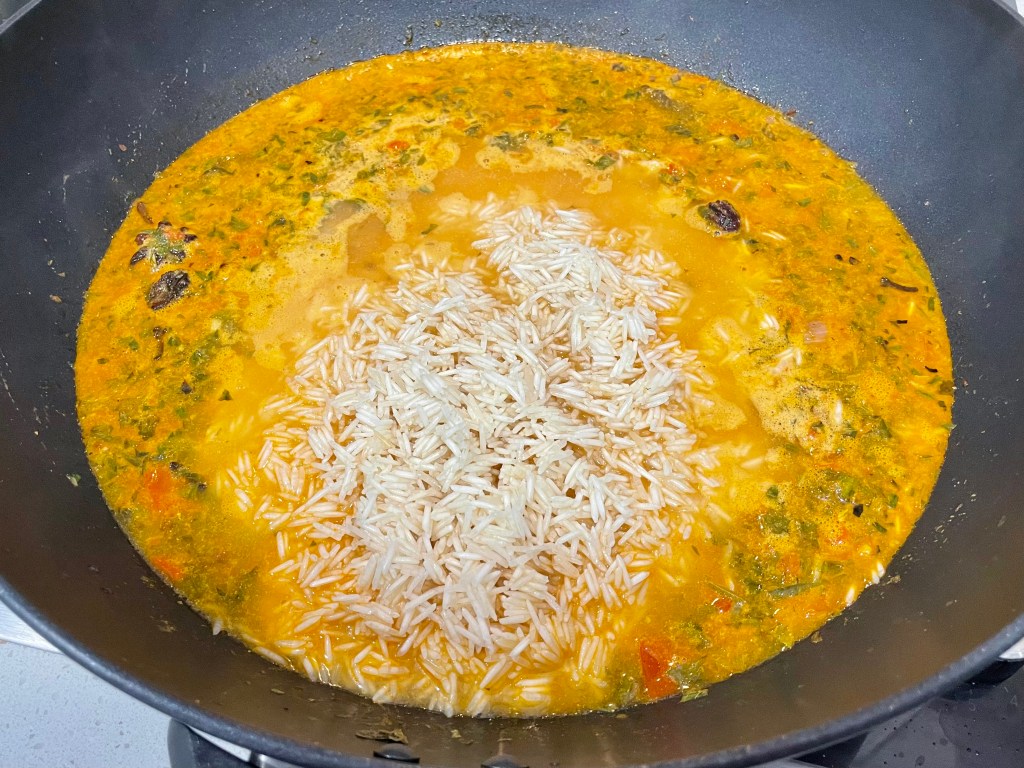
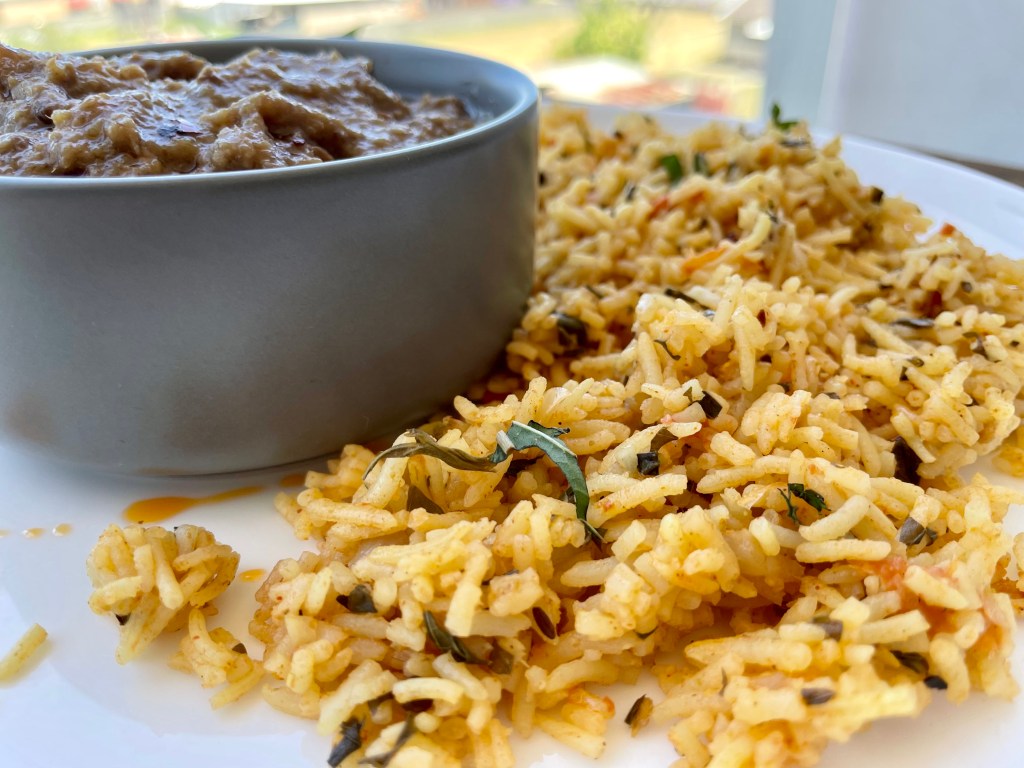
I’ve written up the recipe for these pancakes that you can check out below:

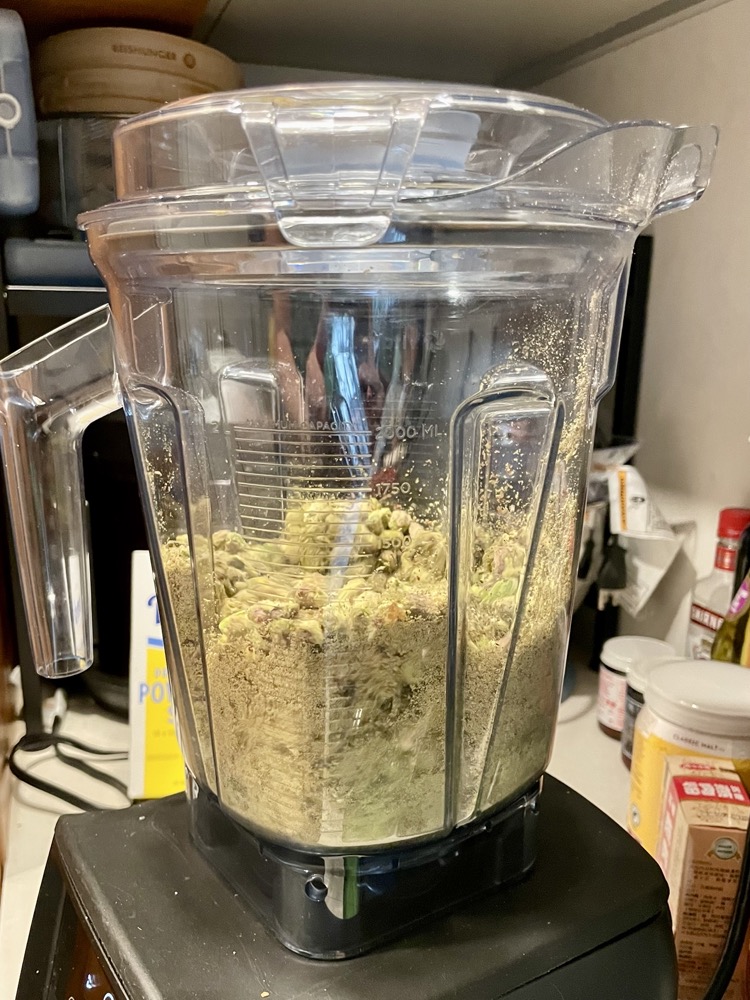
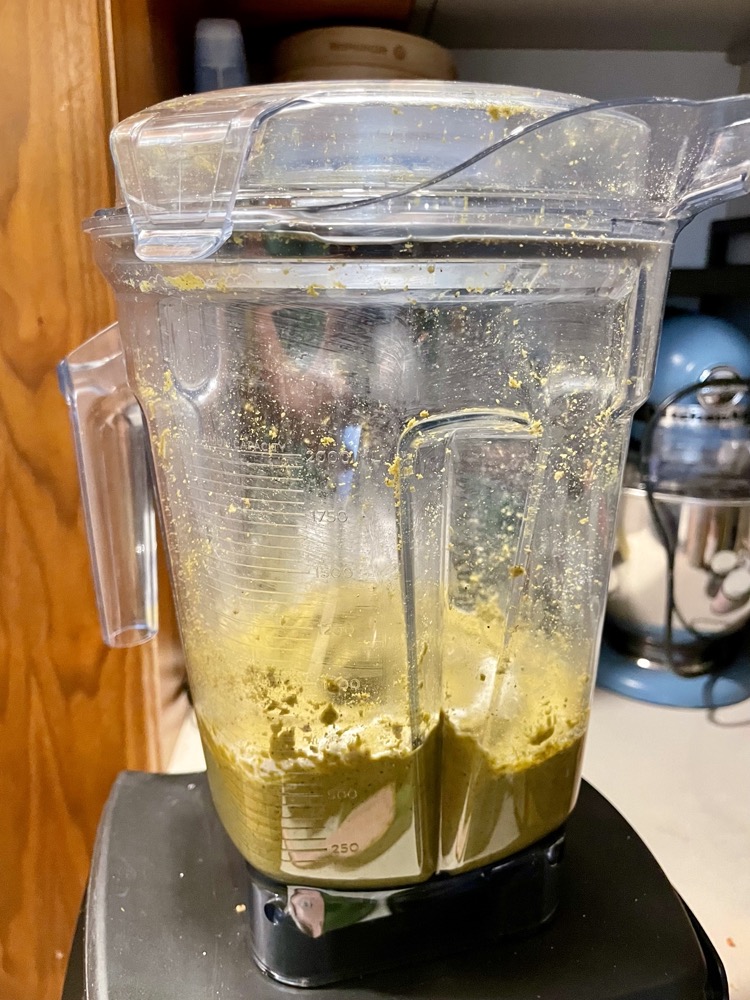
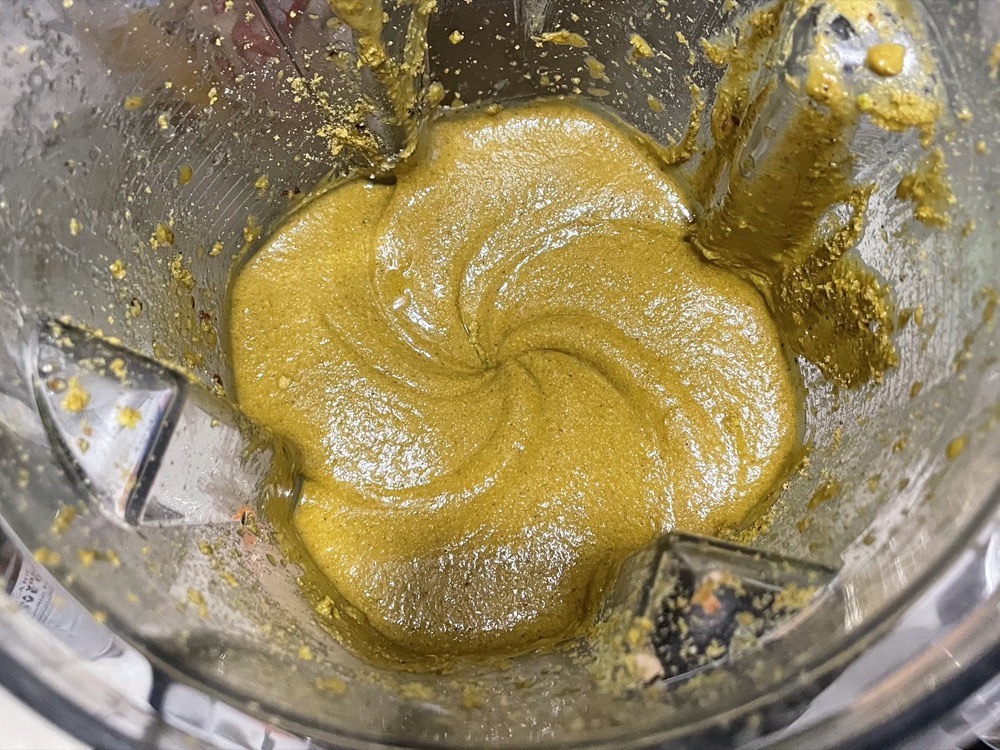
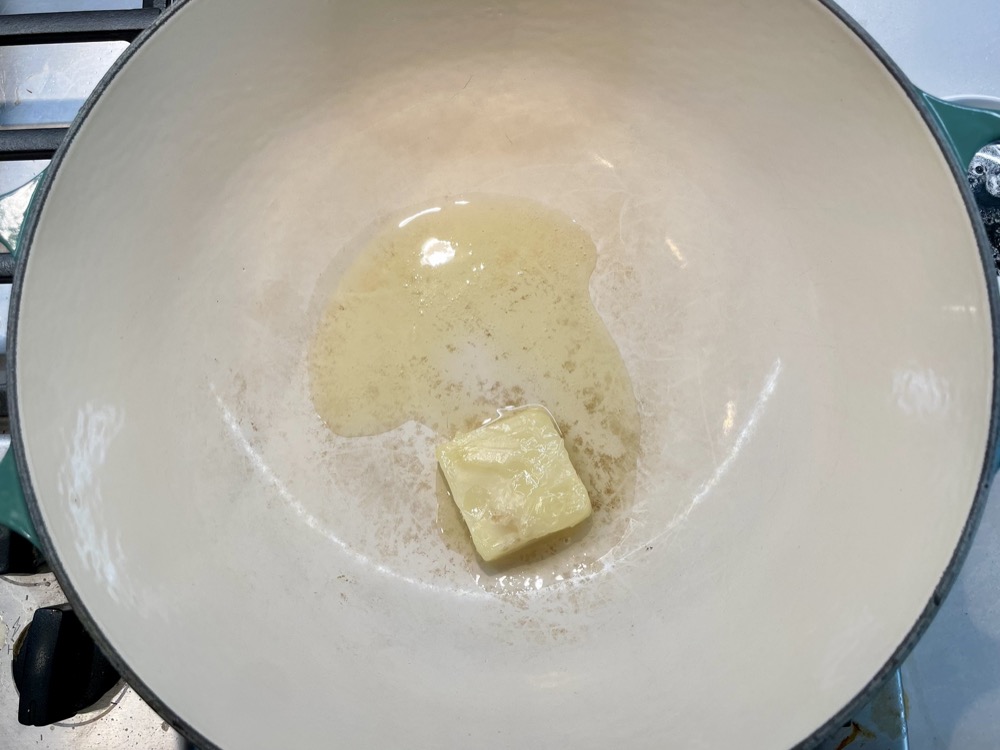
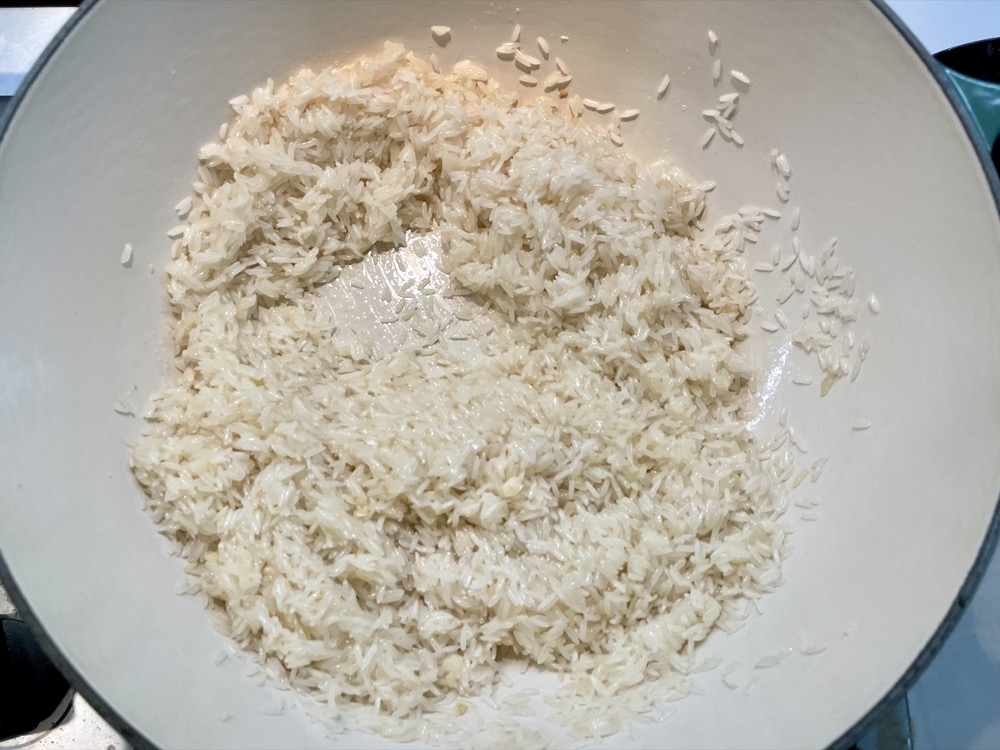
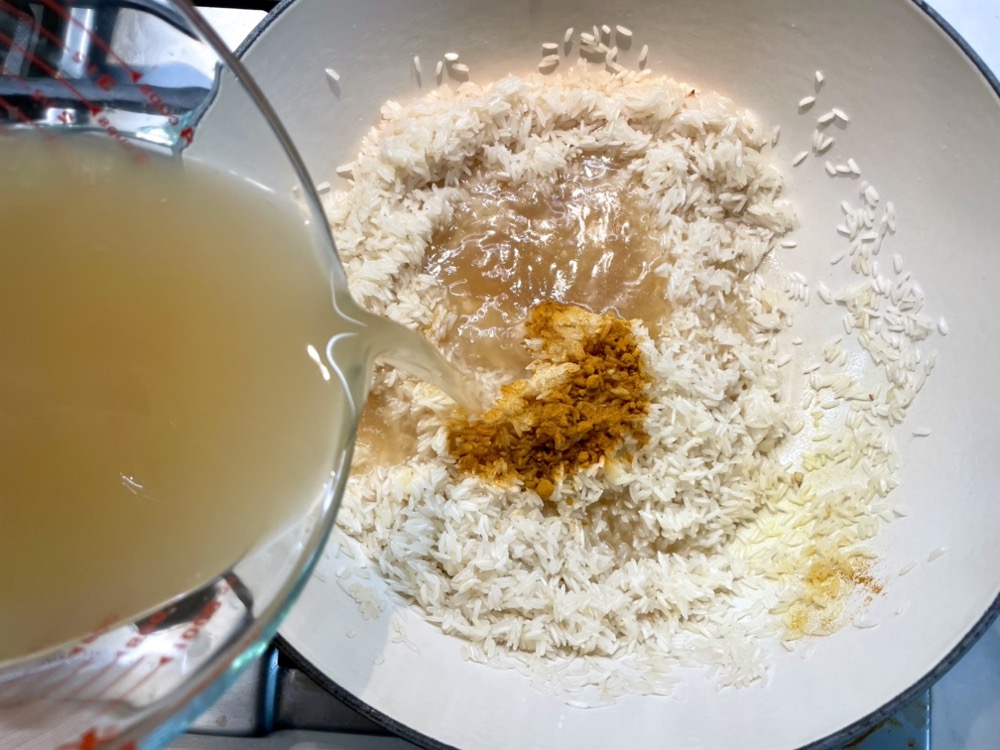
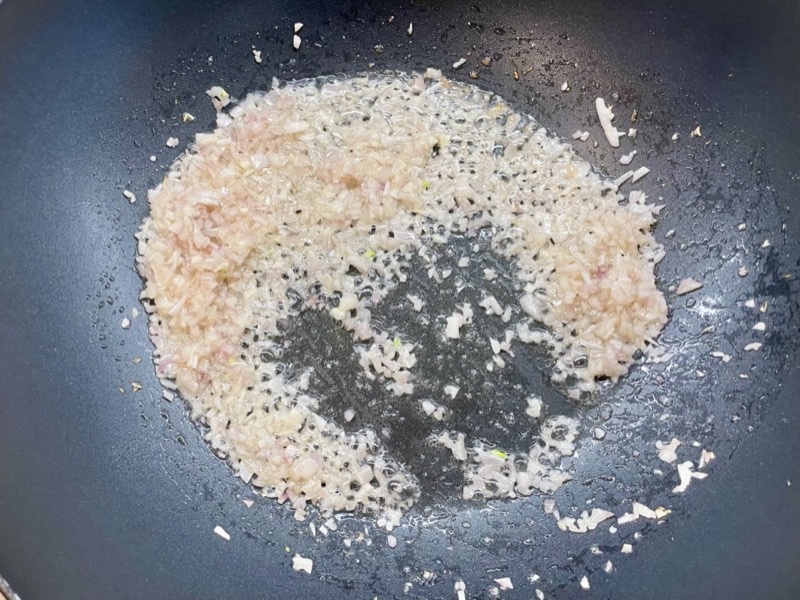
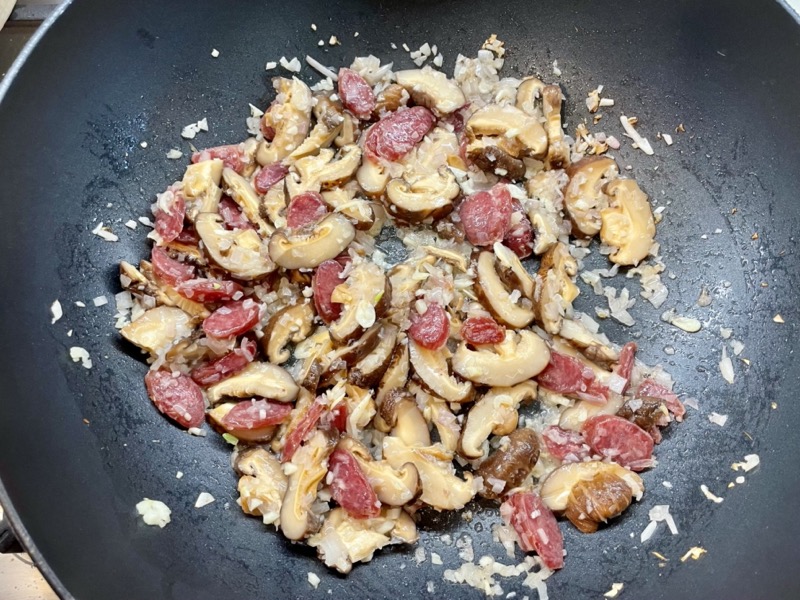
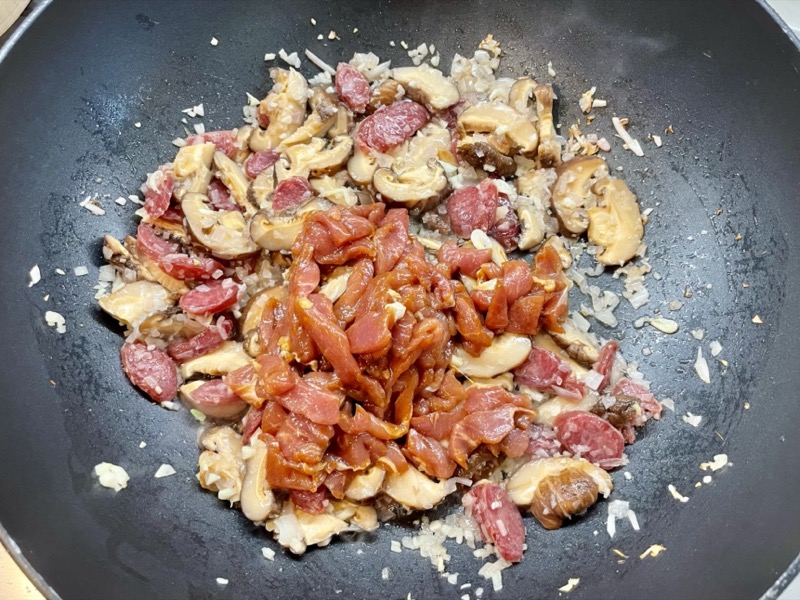
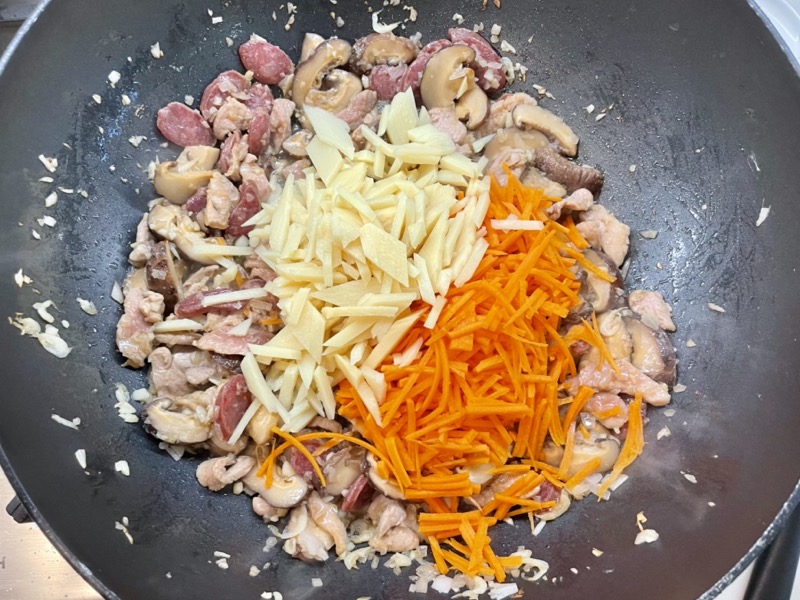
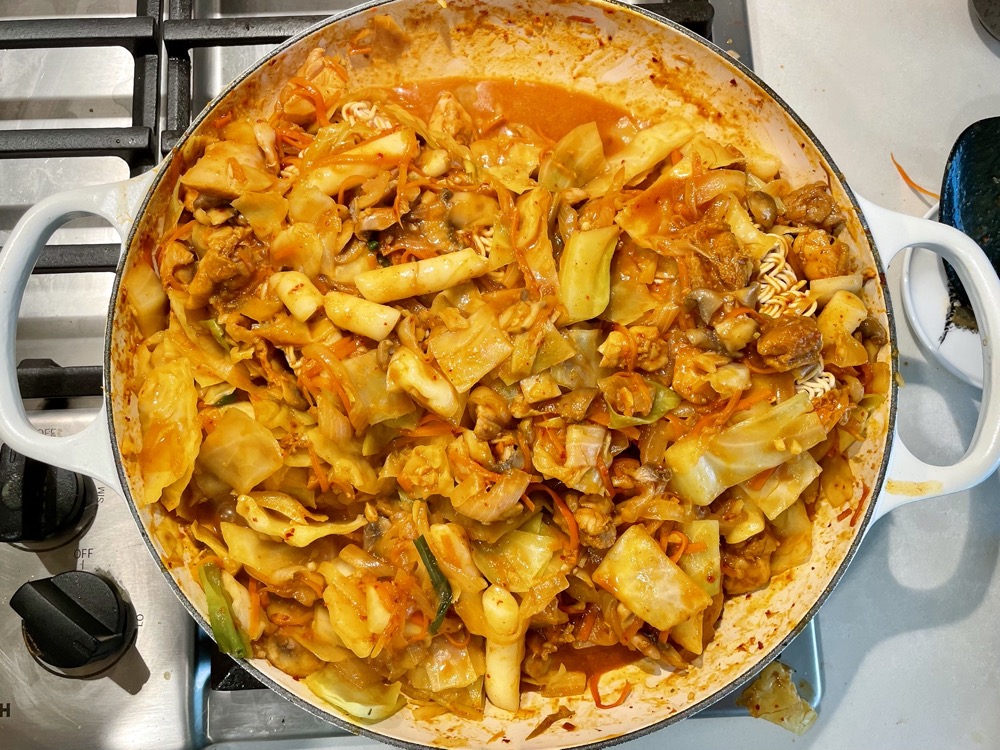
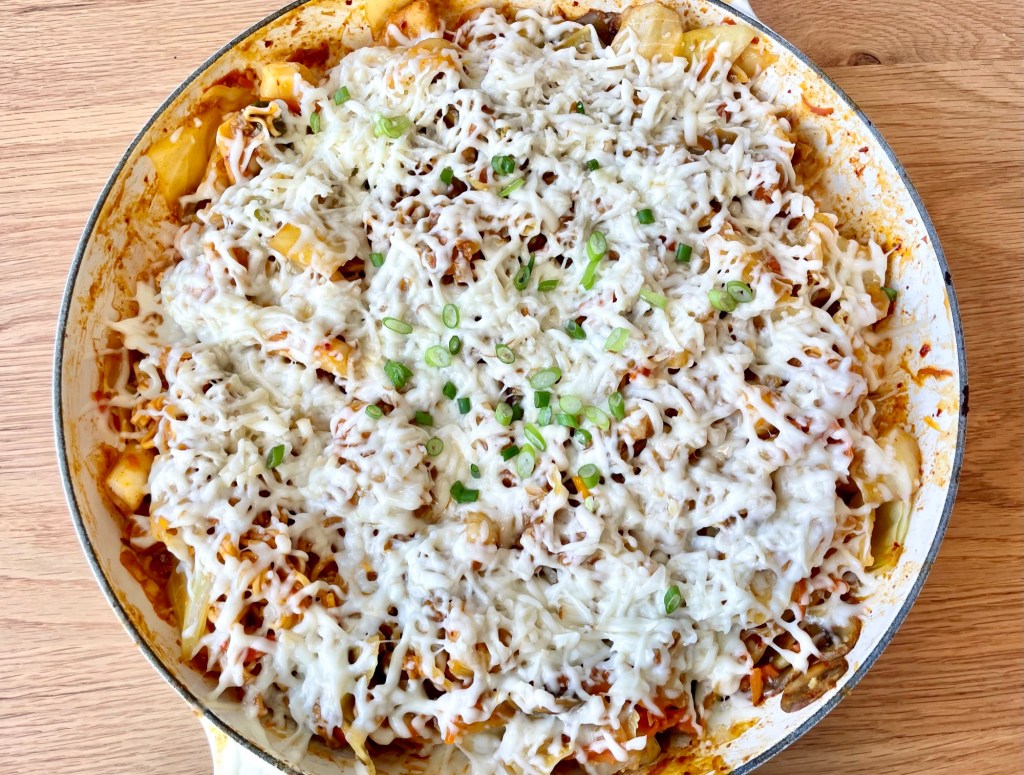
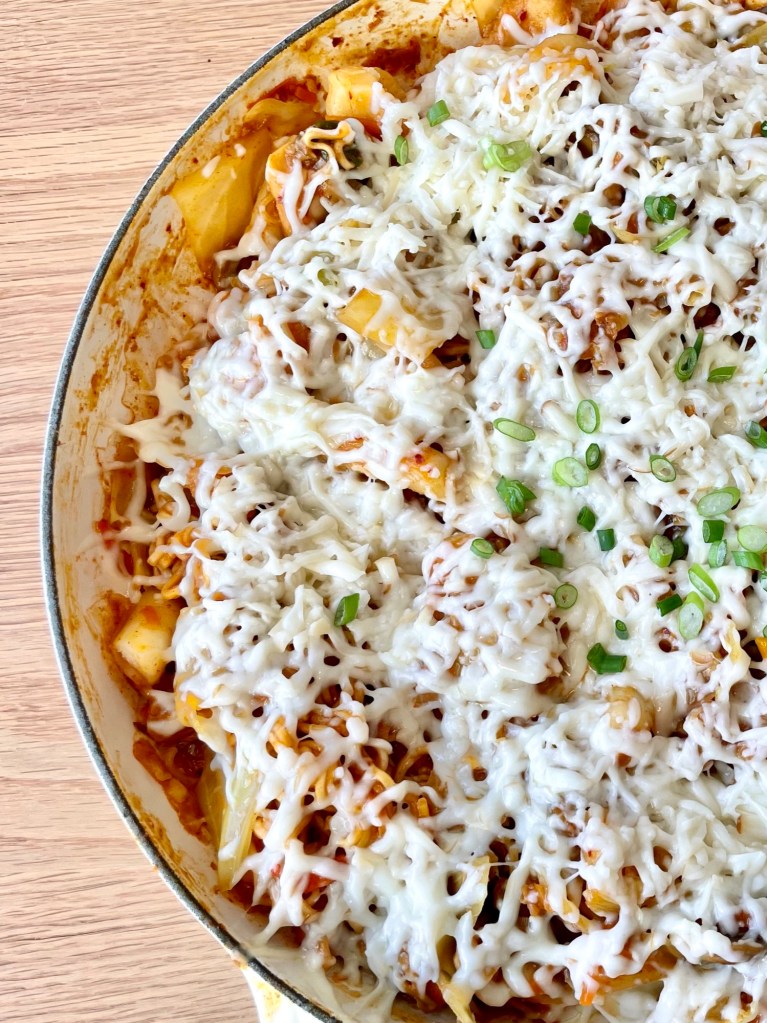
Golden Diner Honey Butter Pancakes
The Honey Butter Pancakes from Golden Diner in Manhattan are the latest viral sensation! This recipe shows you how to recreate these fluffy pancakes with the unique umami honey butter sauce and a berry compote. Be warned – these heavy but luxurious pancakes may send you into a food coma!
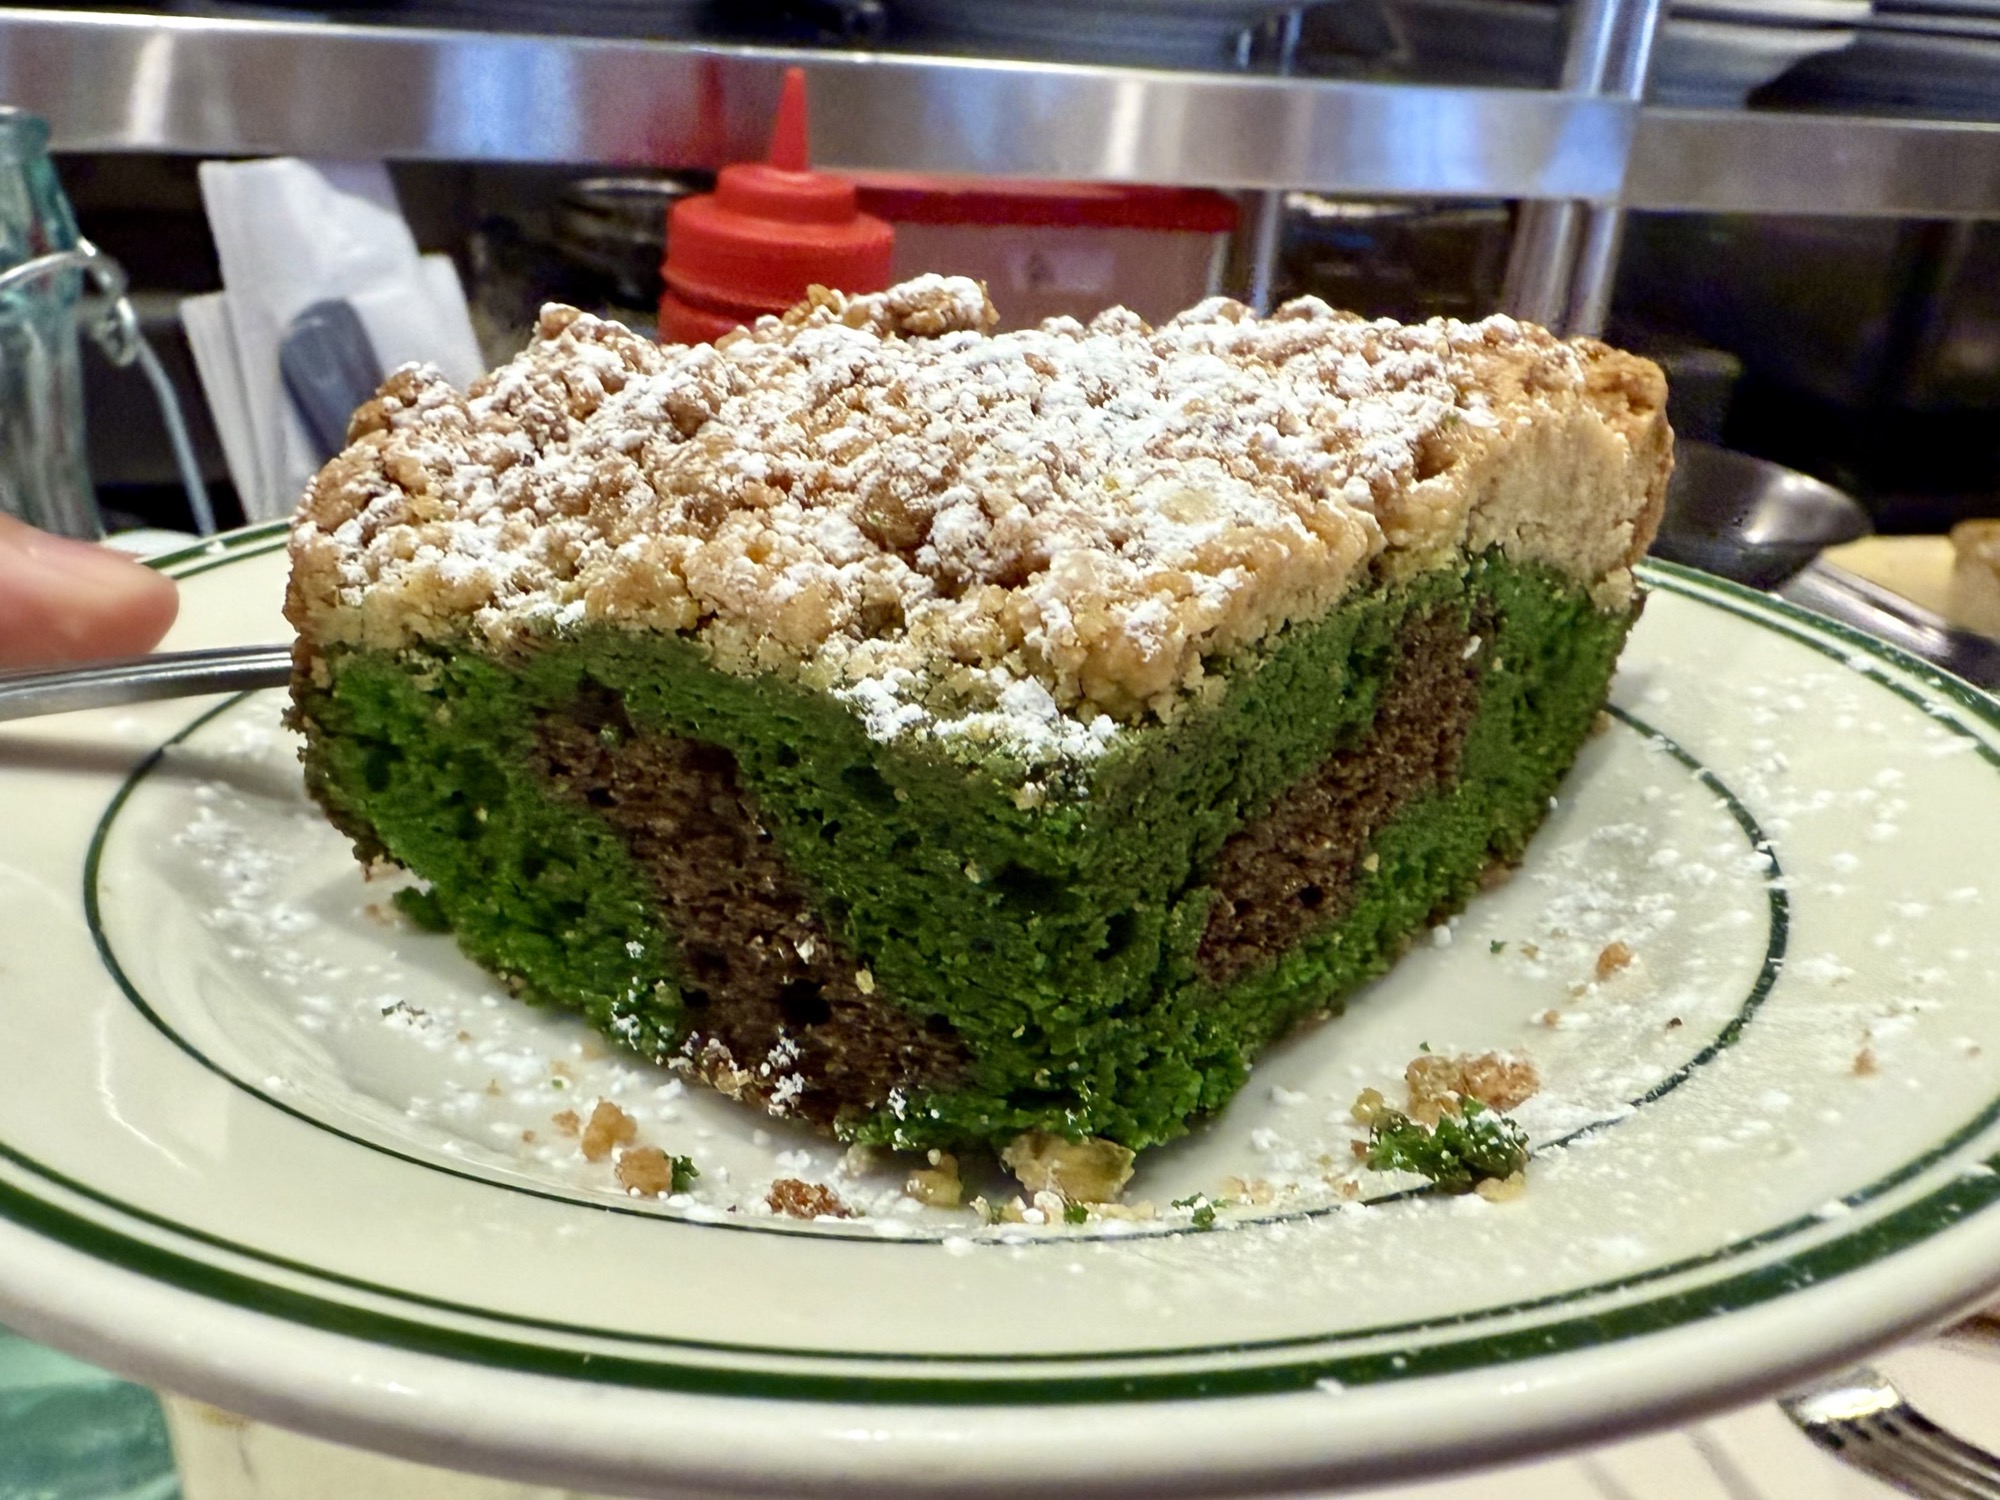
We ordered a few other things here that unfortunately fell short. We had their special of the day which was a asian/cumin fried chicken wings with waffles – way too much cumin and the waffles were dry, and the matcha/hojicha coffee cake which had good flavour, but unfortunately was also very dry.
All-in-all, the pancakes were definitely worth it if you like honey-butter chips, but the rest of the things we ordered fell short. If you plan on visiting, make sure you make a booking, or else it could be over an hour wait for a table!


I hope you enjoyed my list of Chinatown eats! Let me know in the comments if there’s a place you think I should include on this list!
Happy eating!
Abby
Looking For More Ultimate Food Guides? Check out these below!

Best Places for Crab Cakes in Maryland: A Complete Guide to Local Favourites
Unleash your inner seafood lover with Maryland’s iconic crab cakes! Follow this post for a review of the top local favourites in Maryland, from Pappa’s to Kocos!

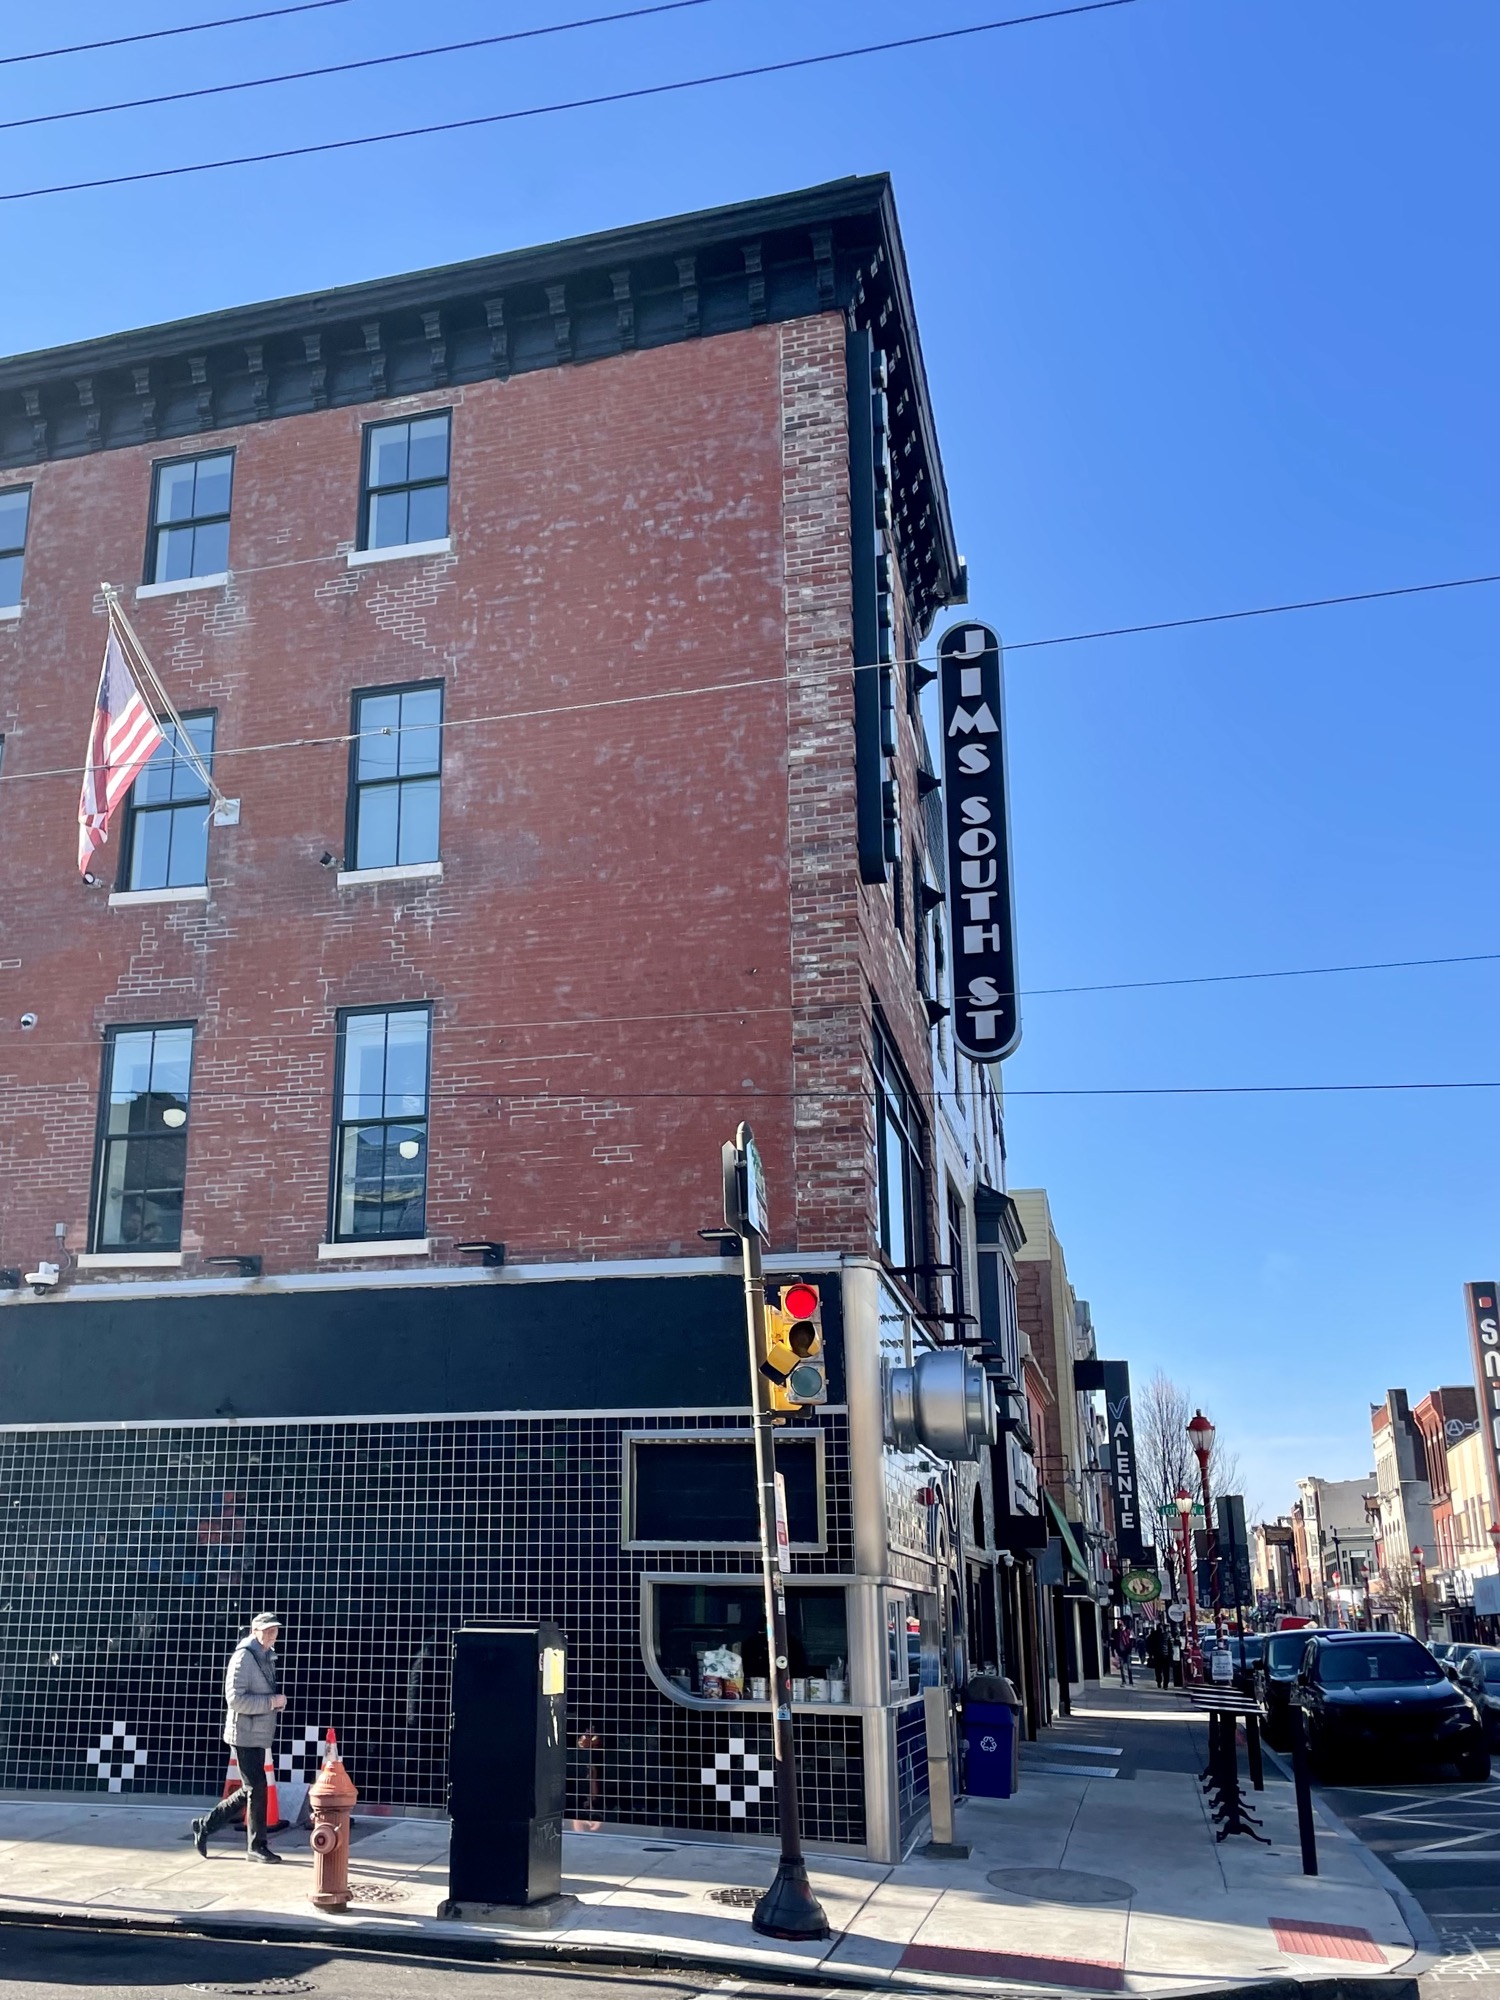
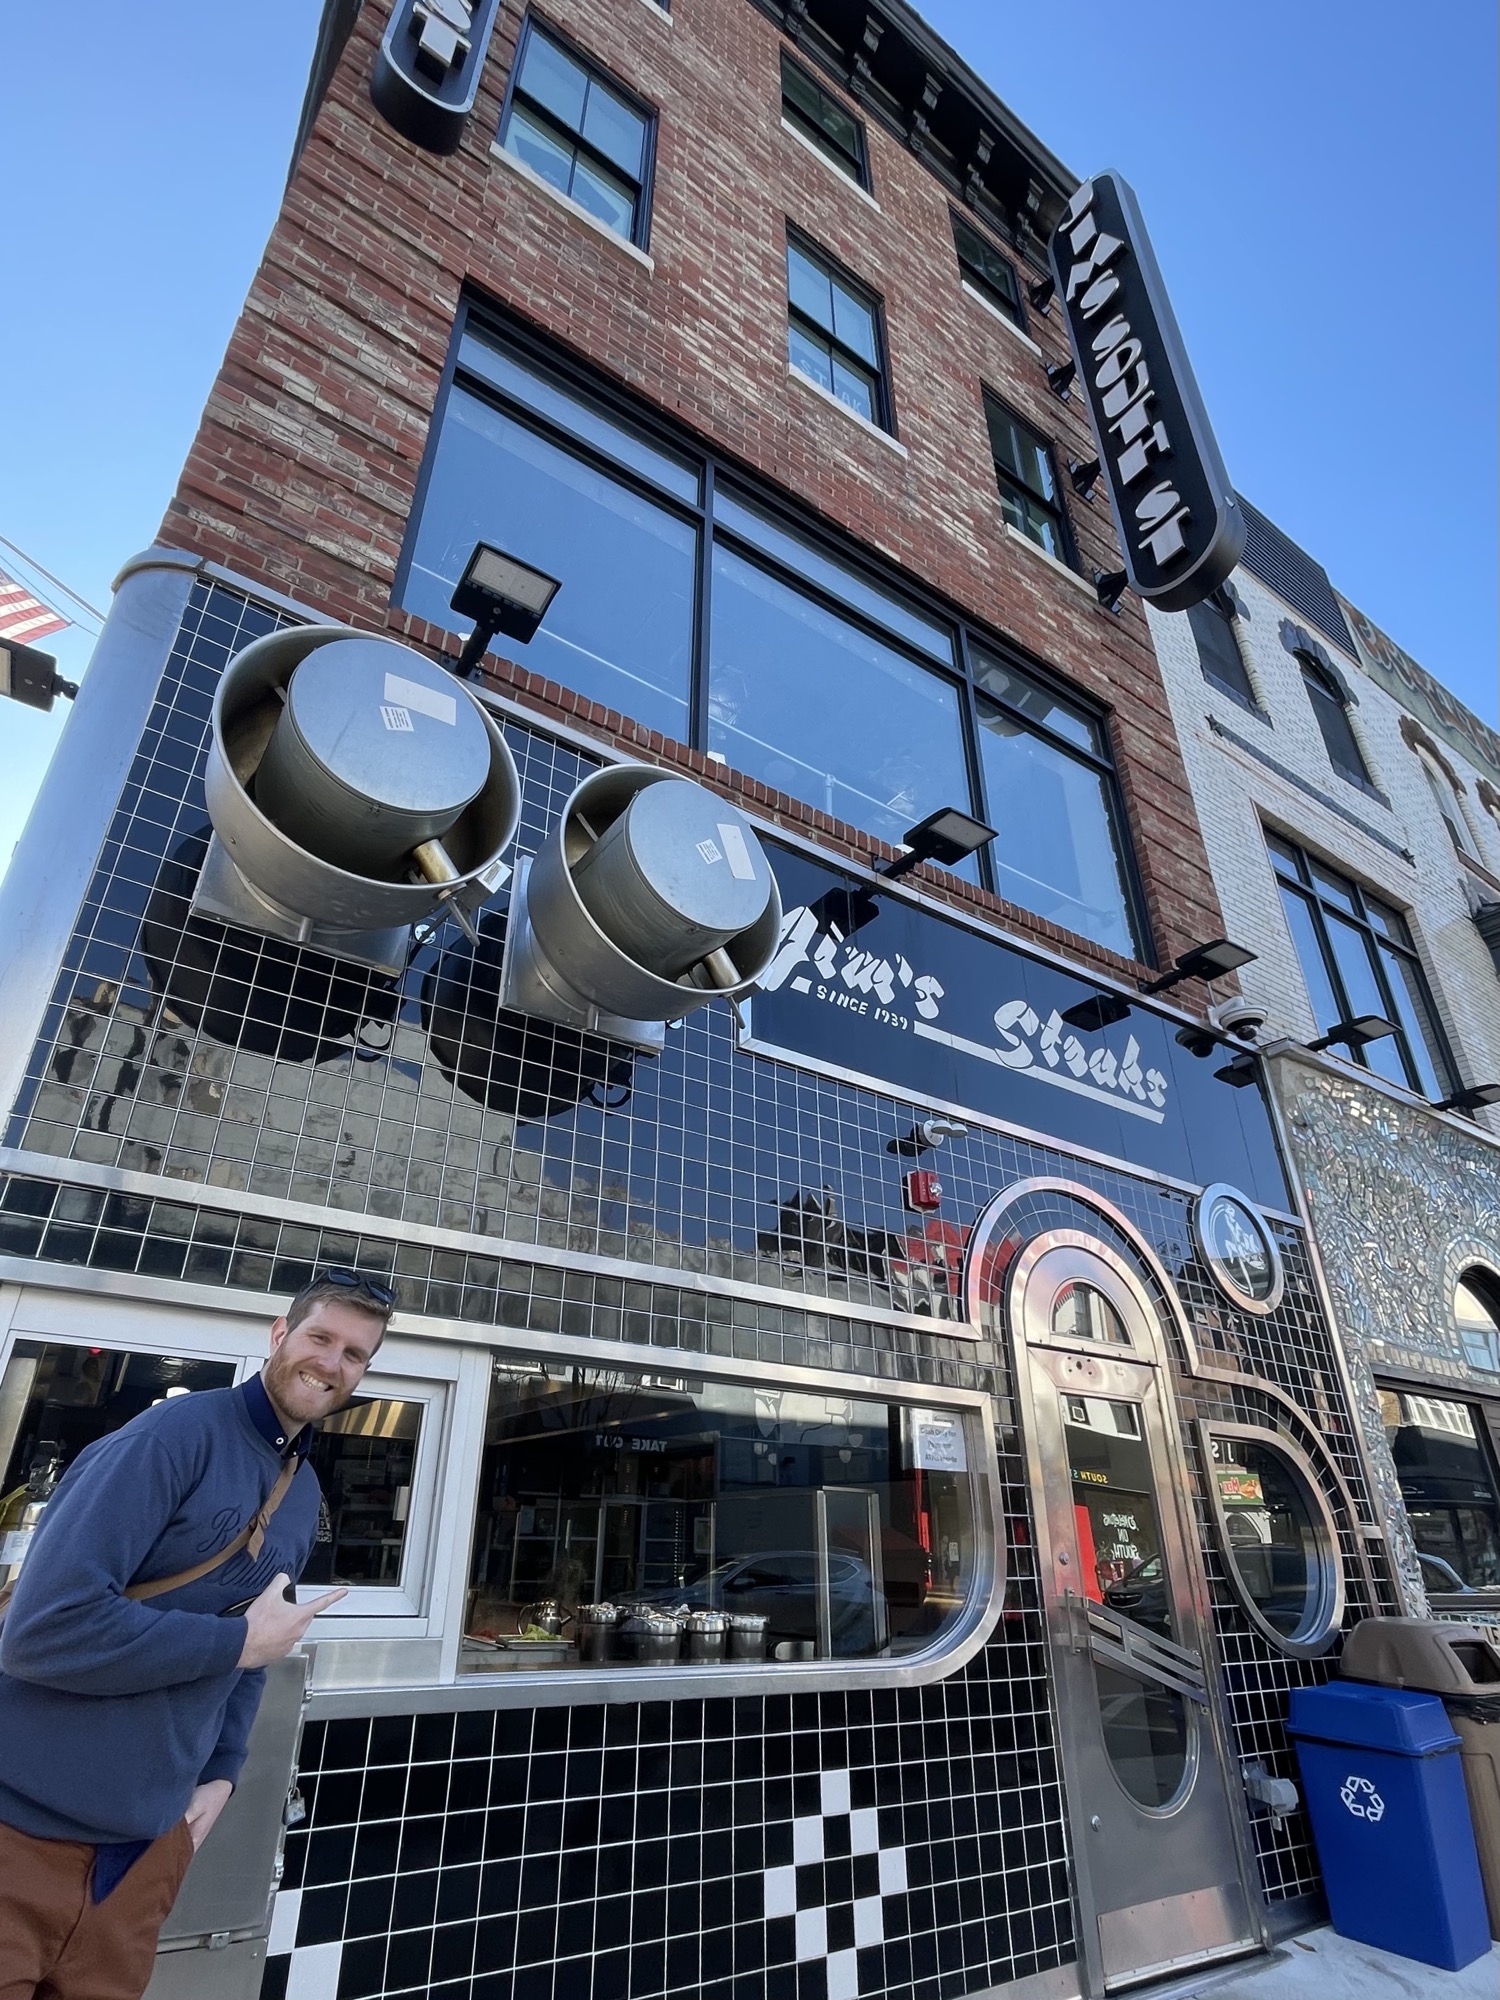
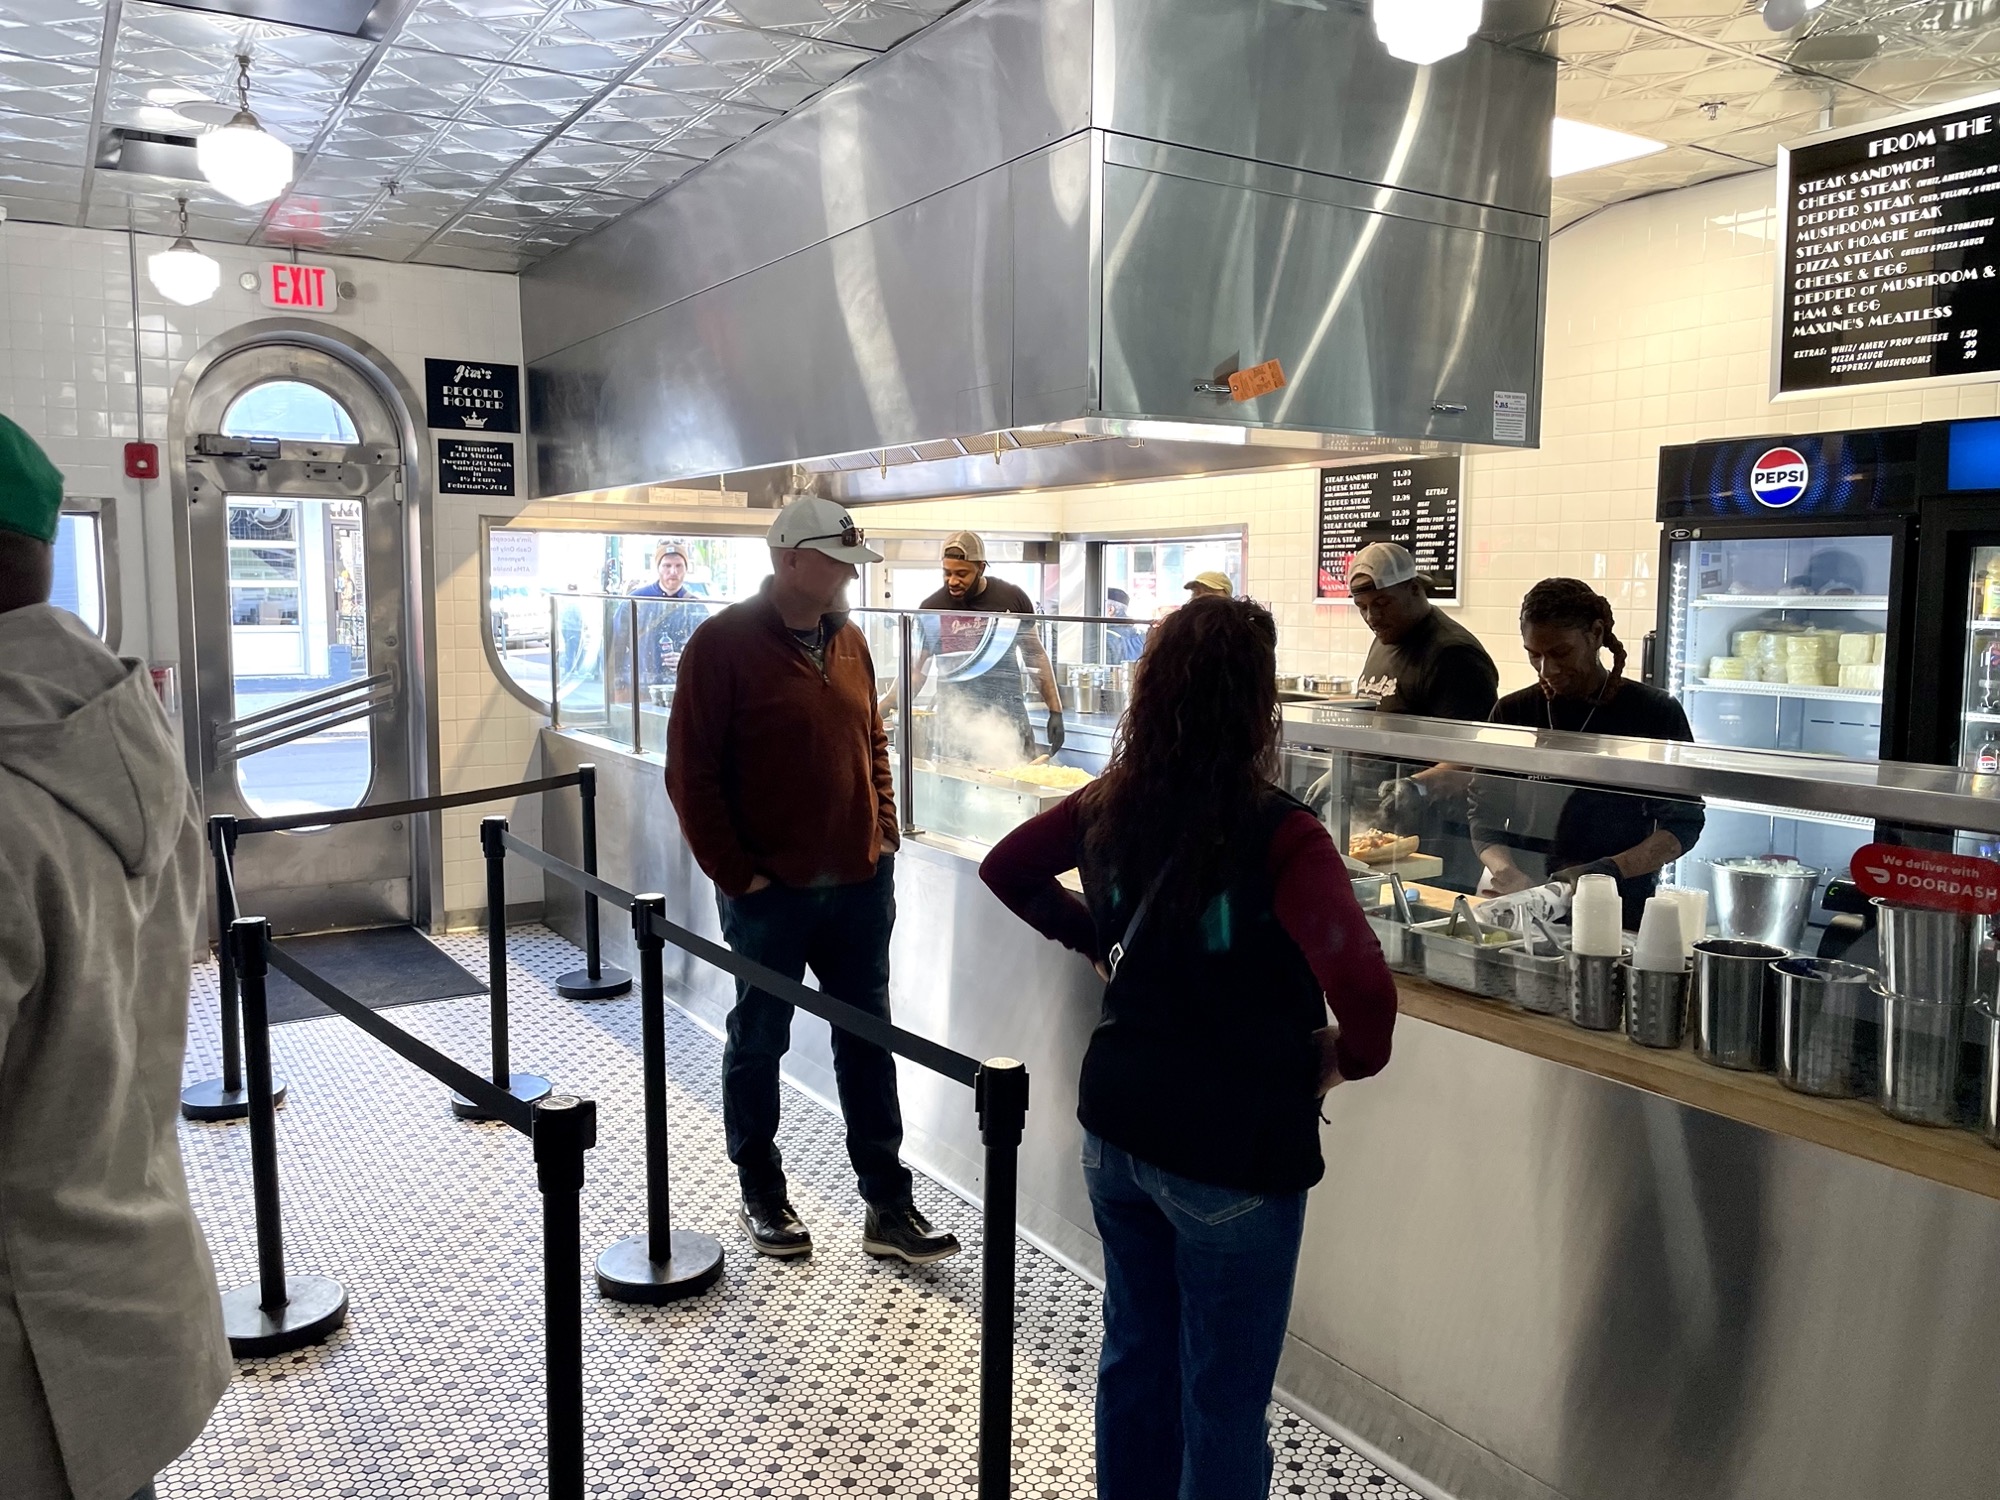
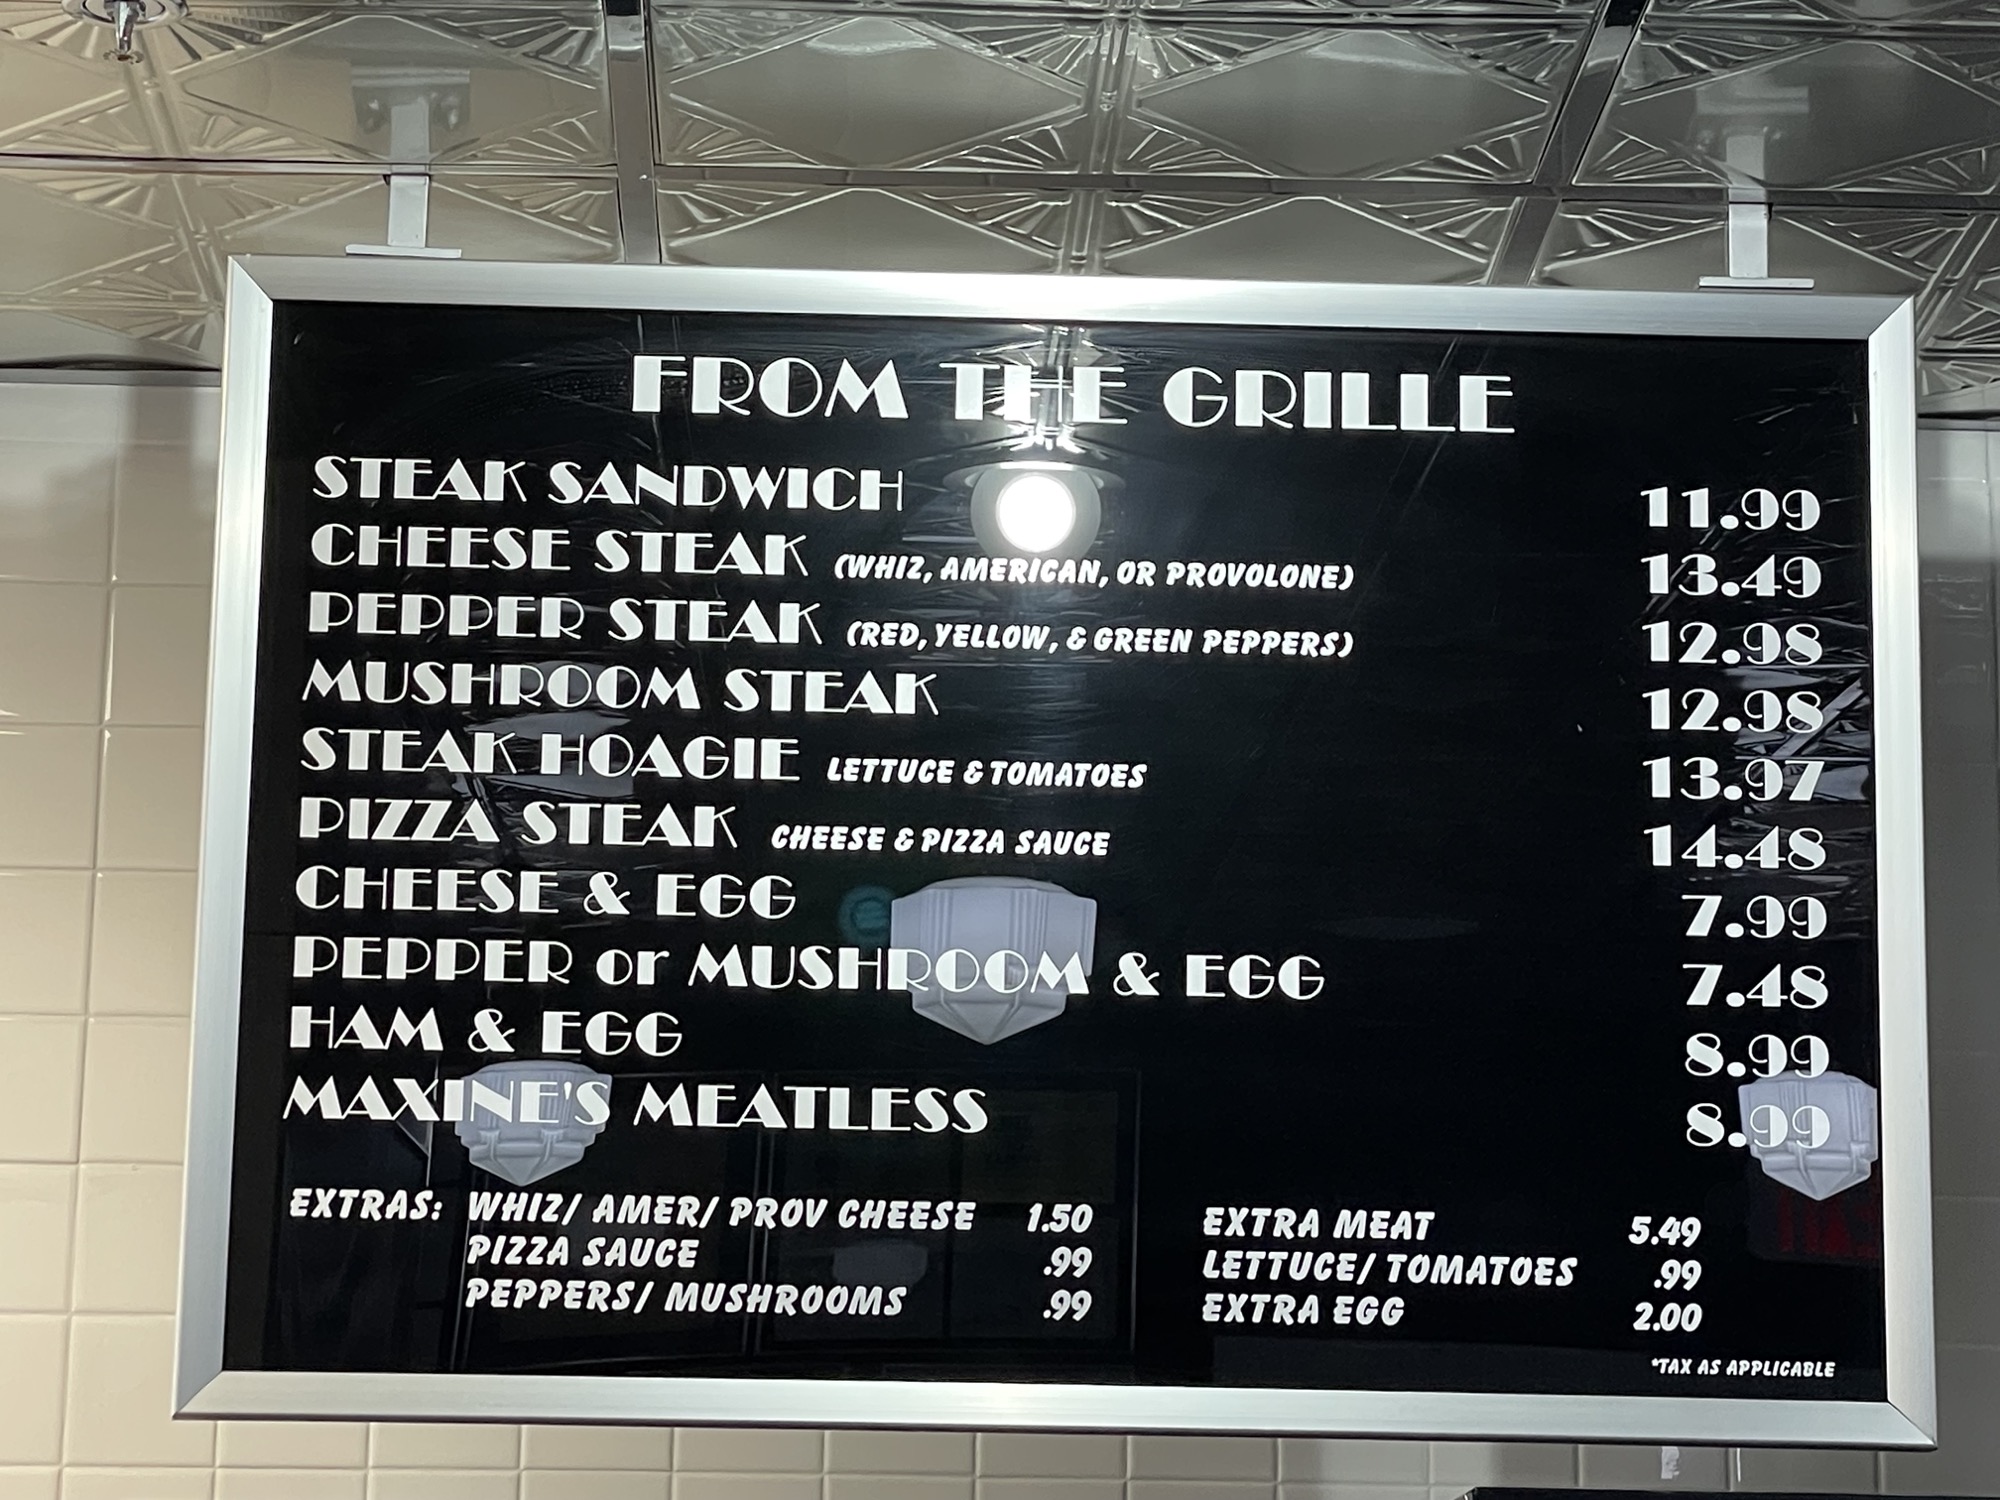
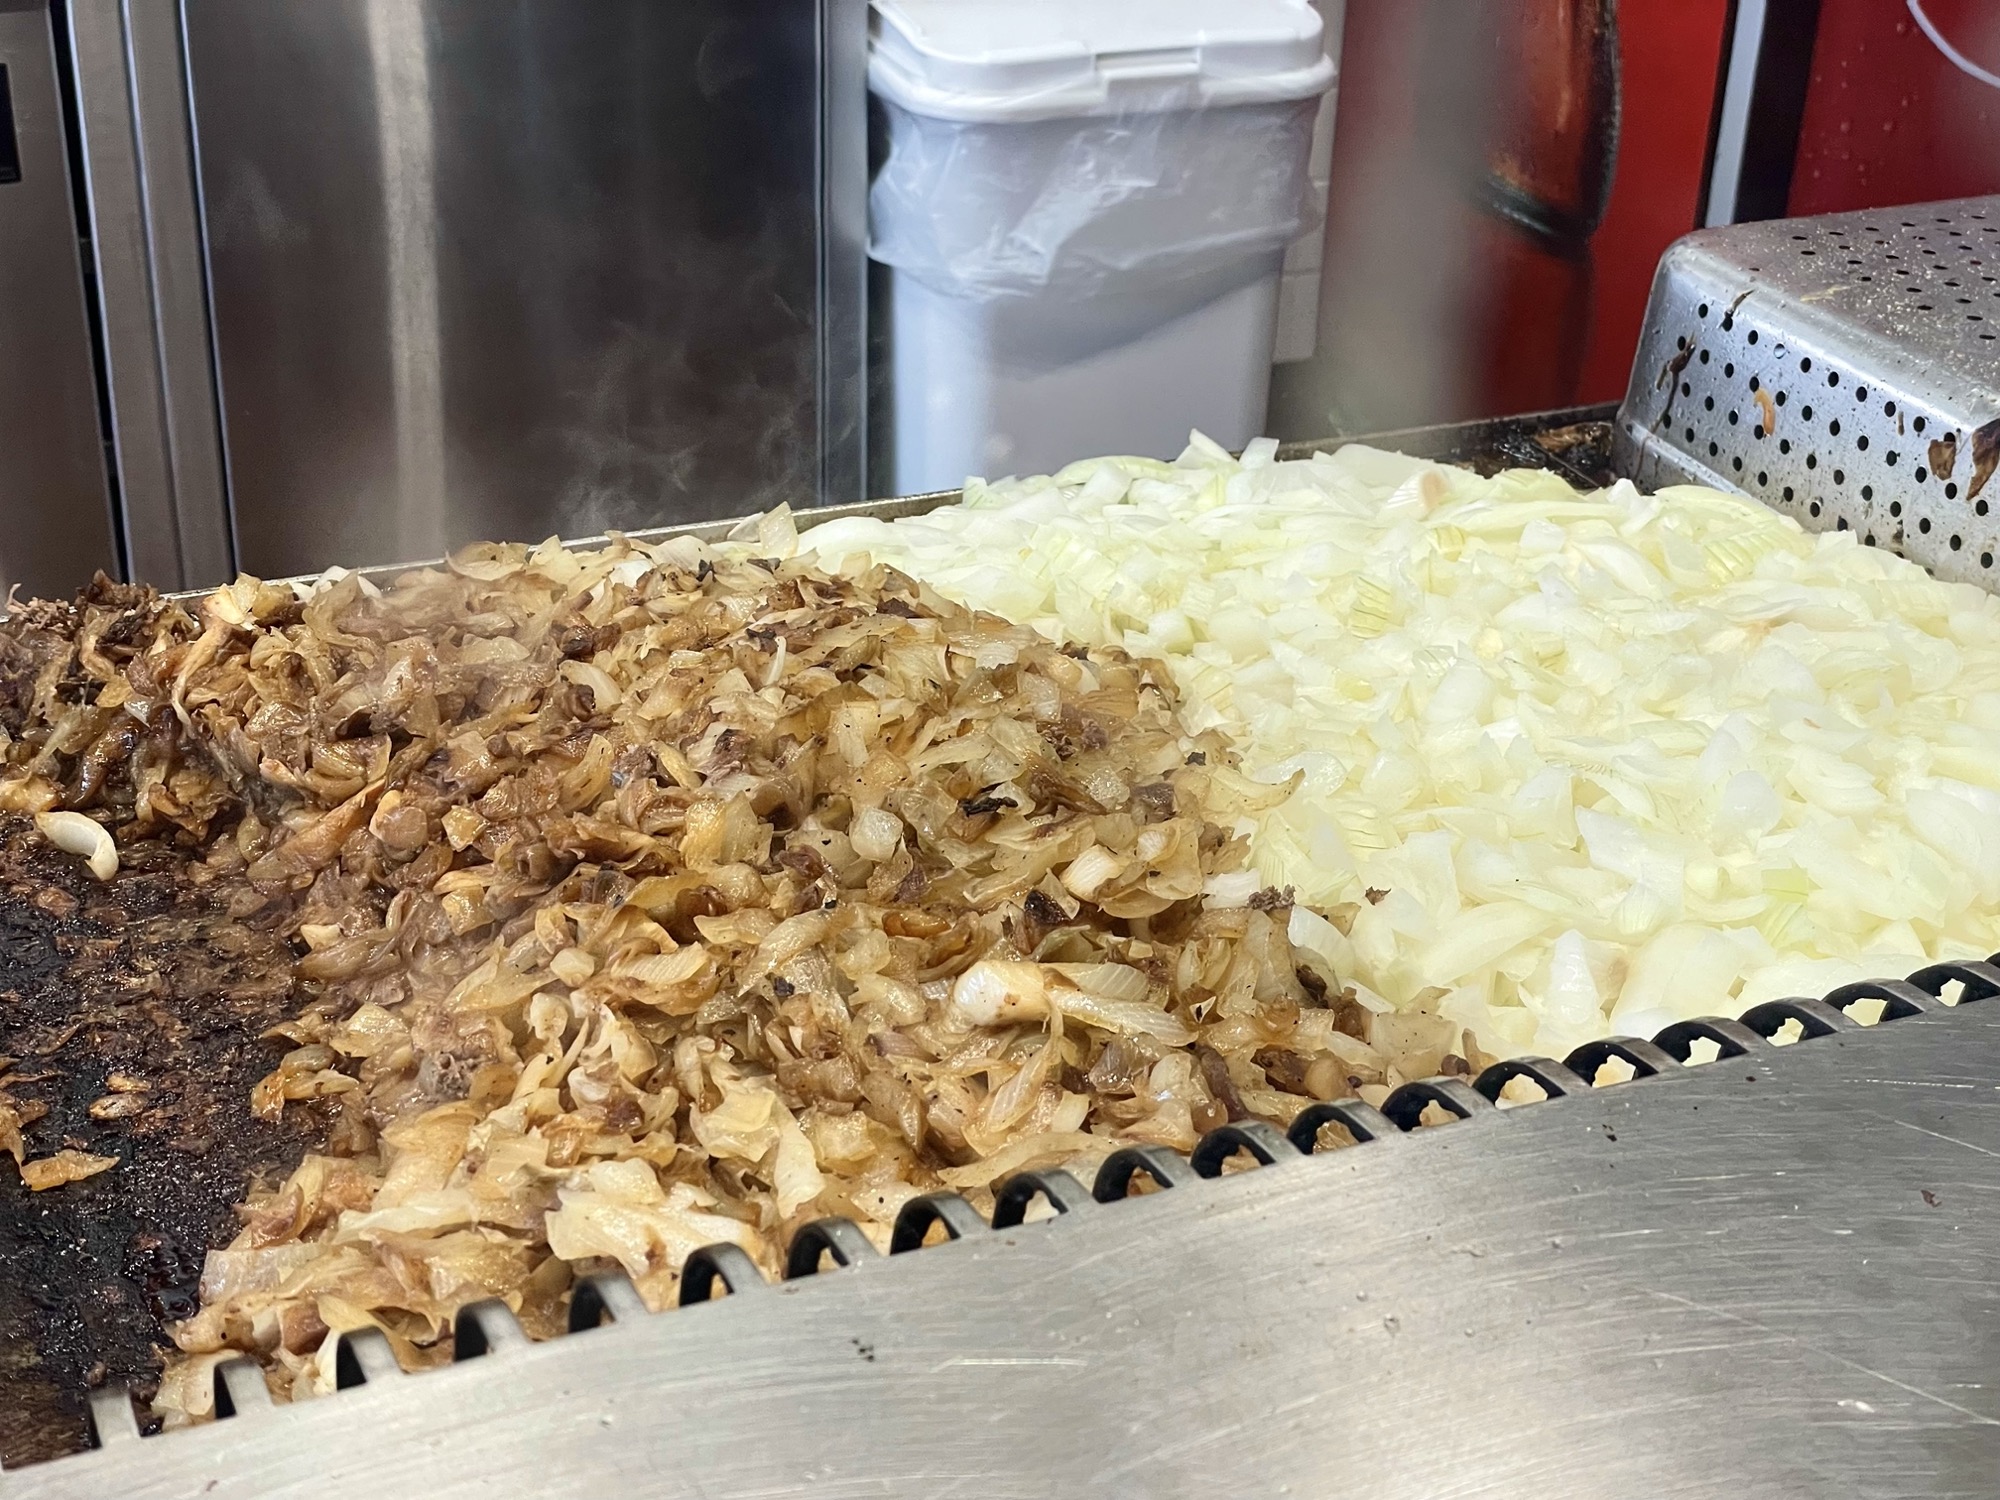
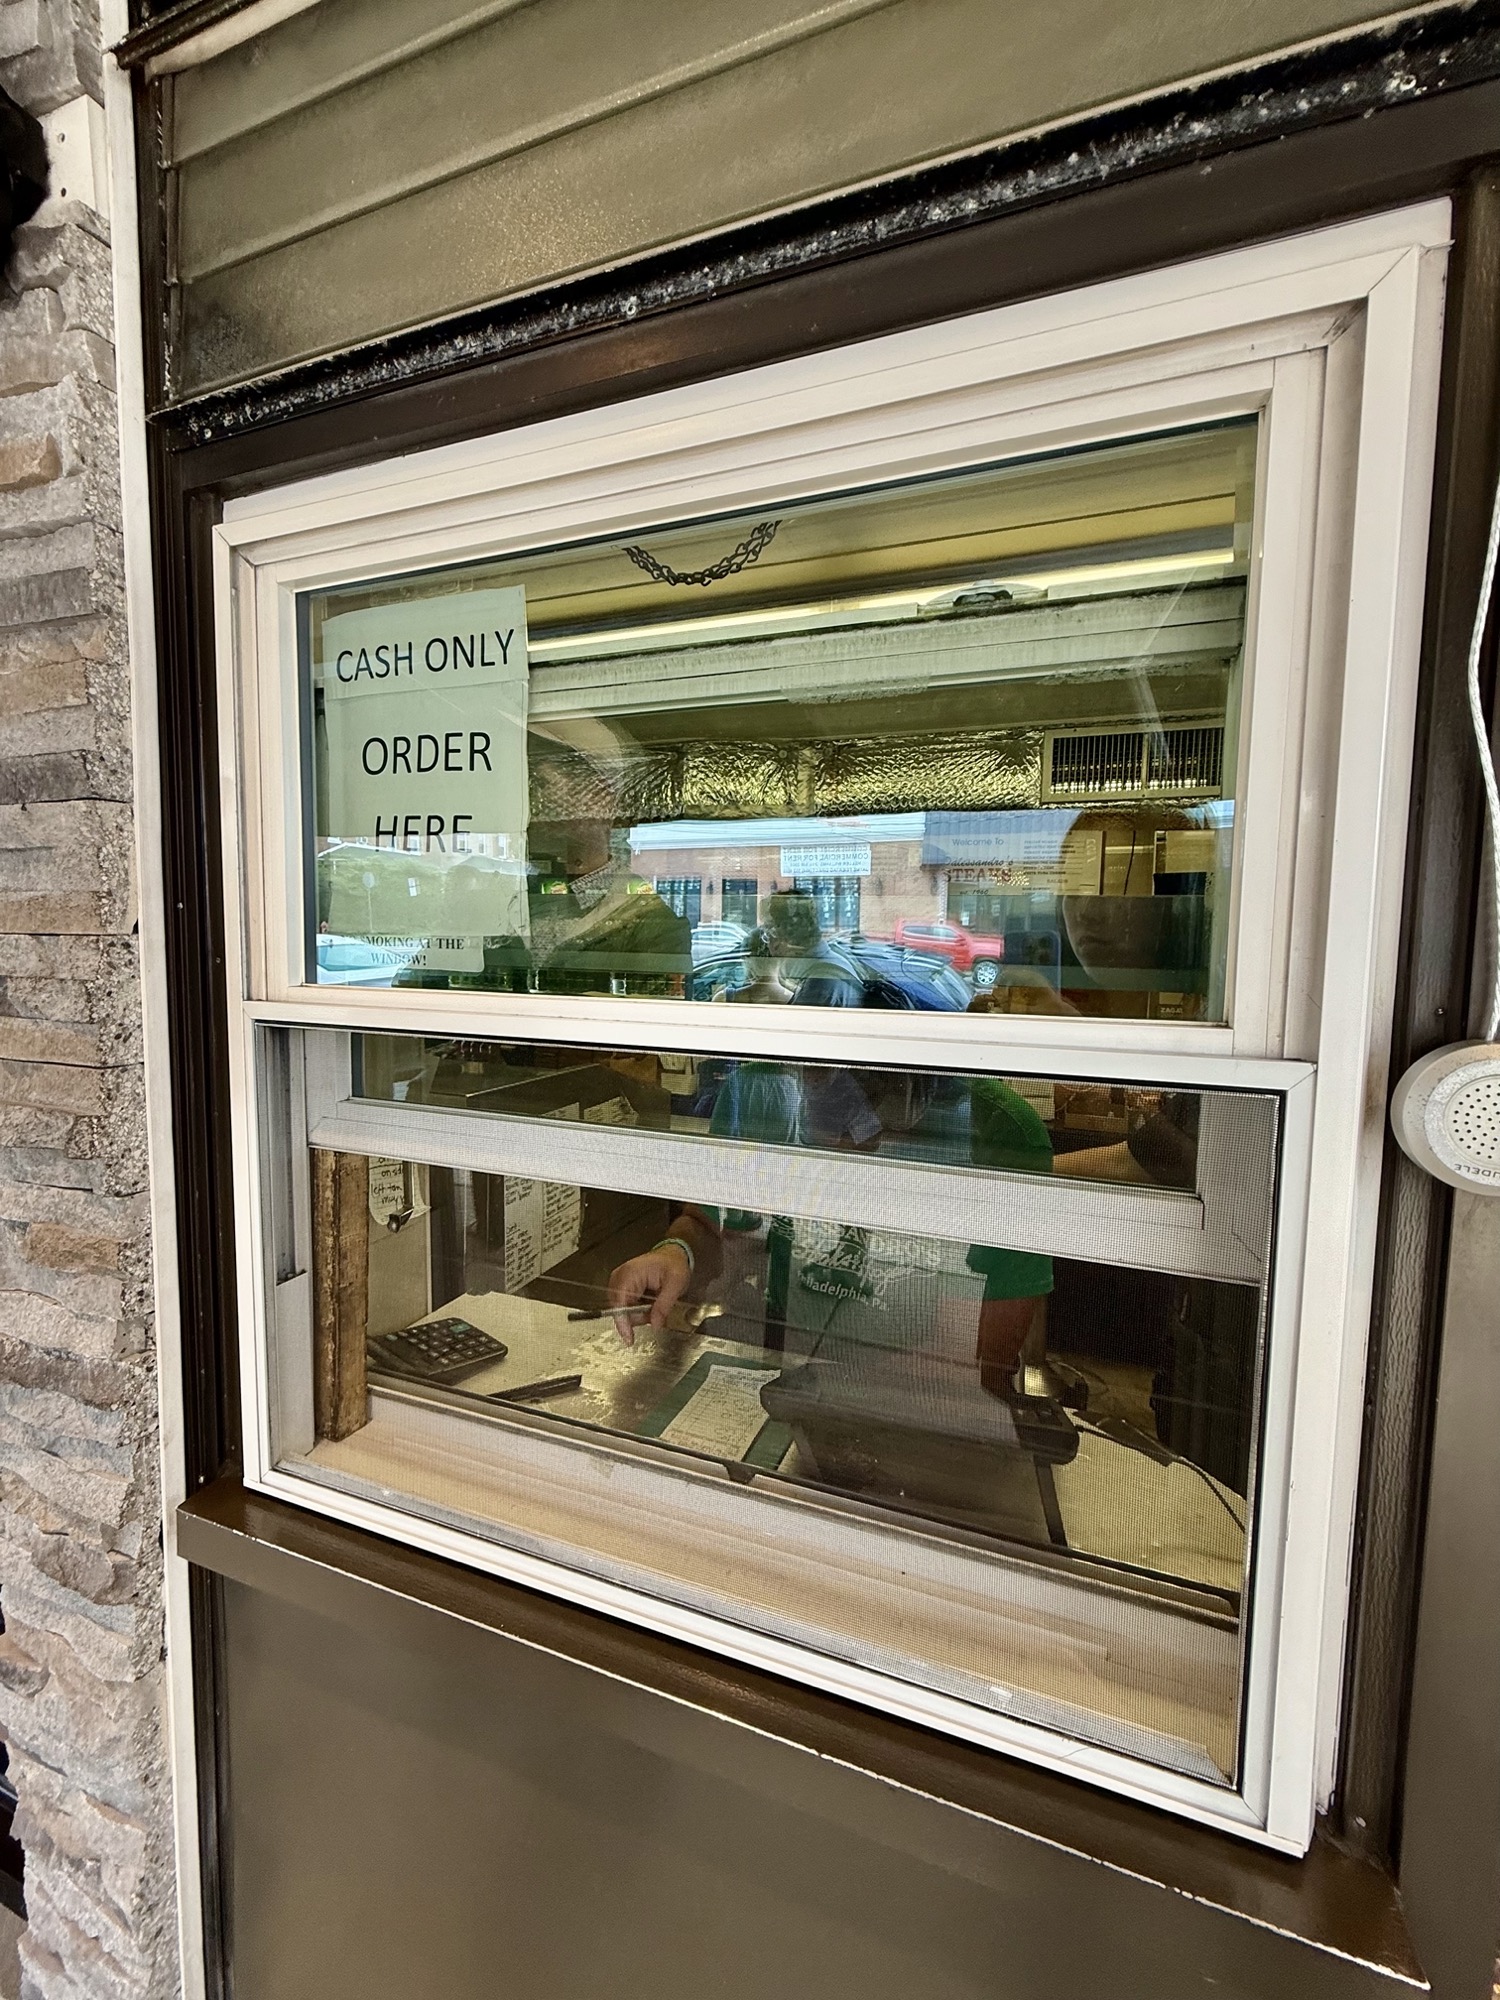
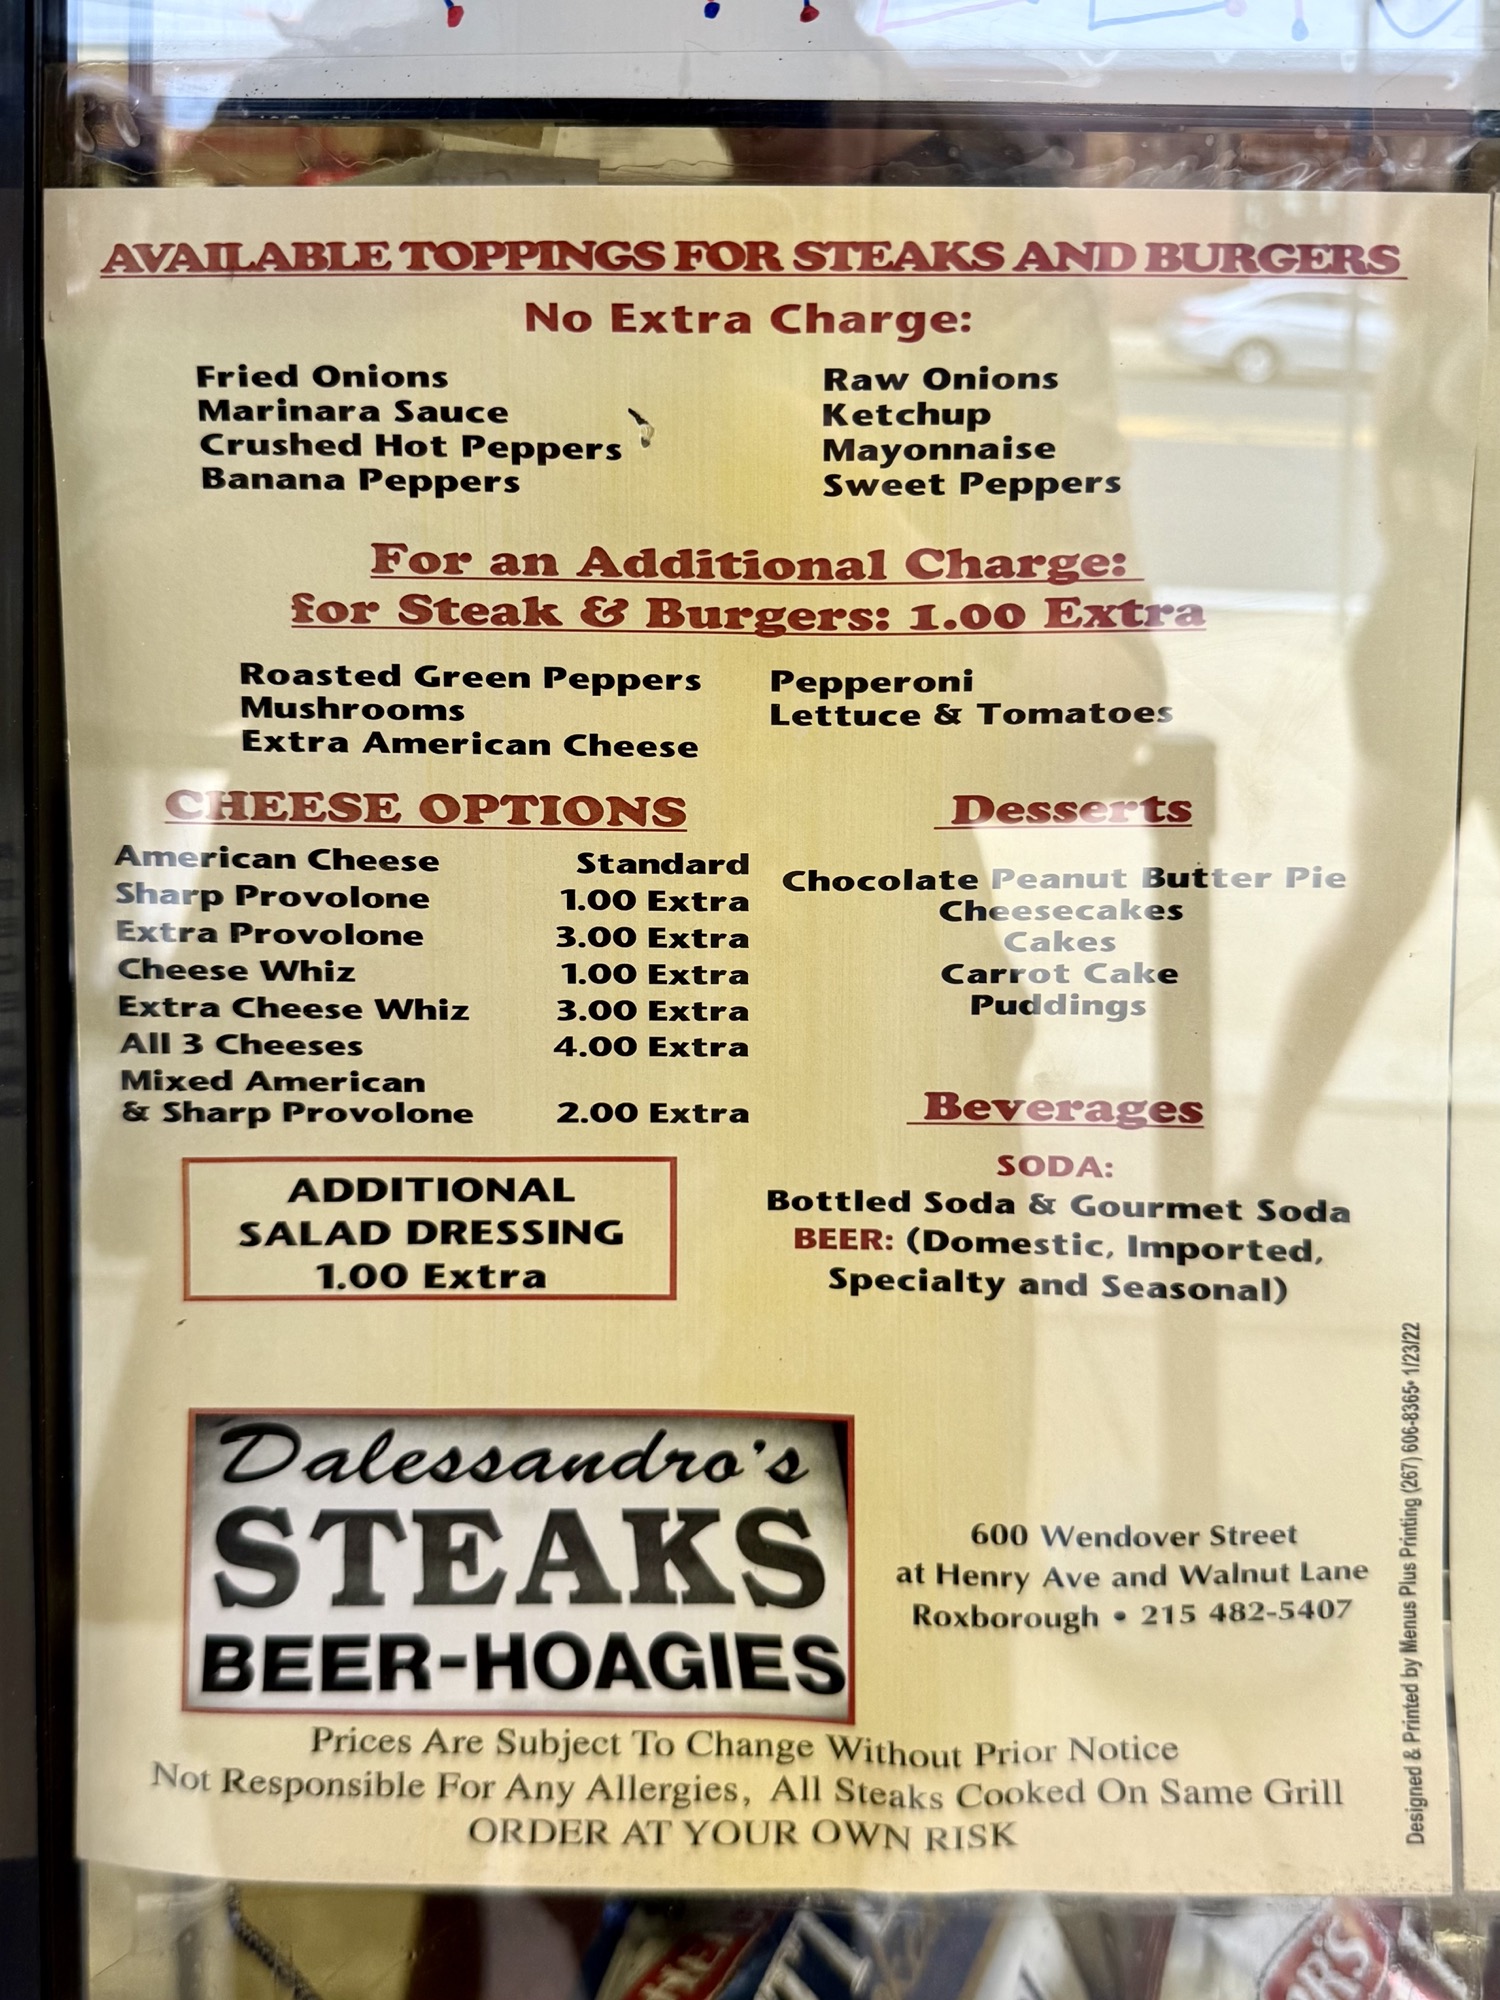
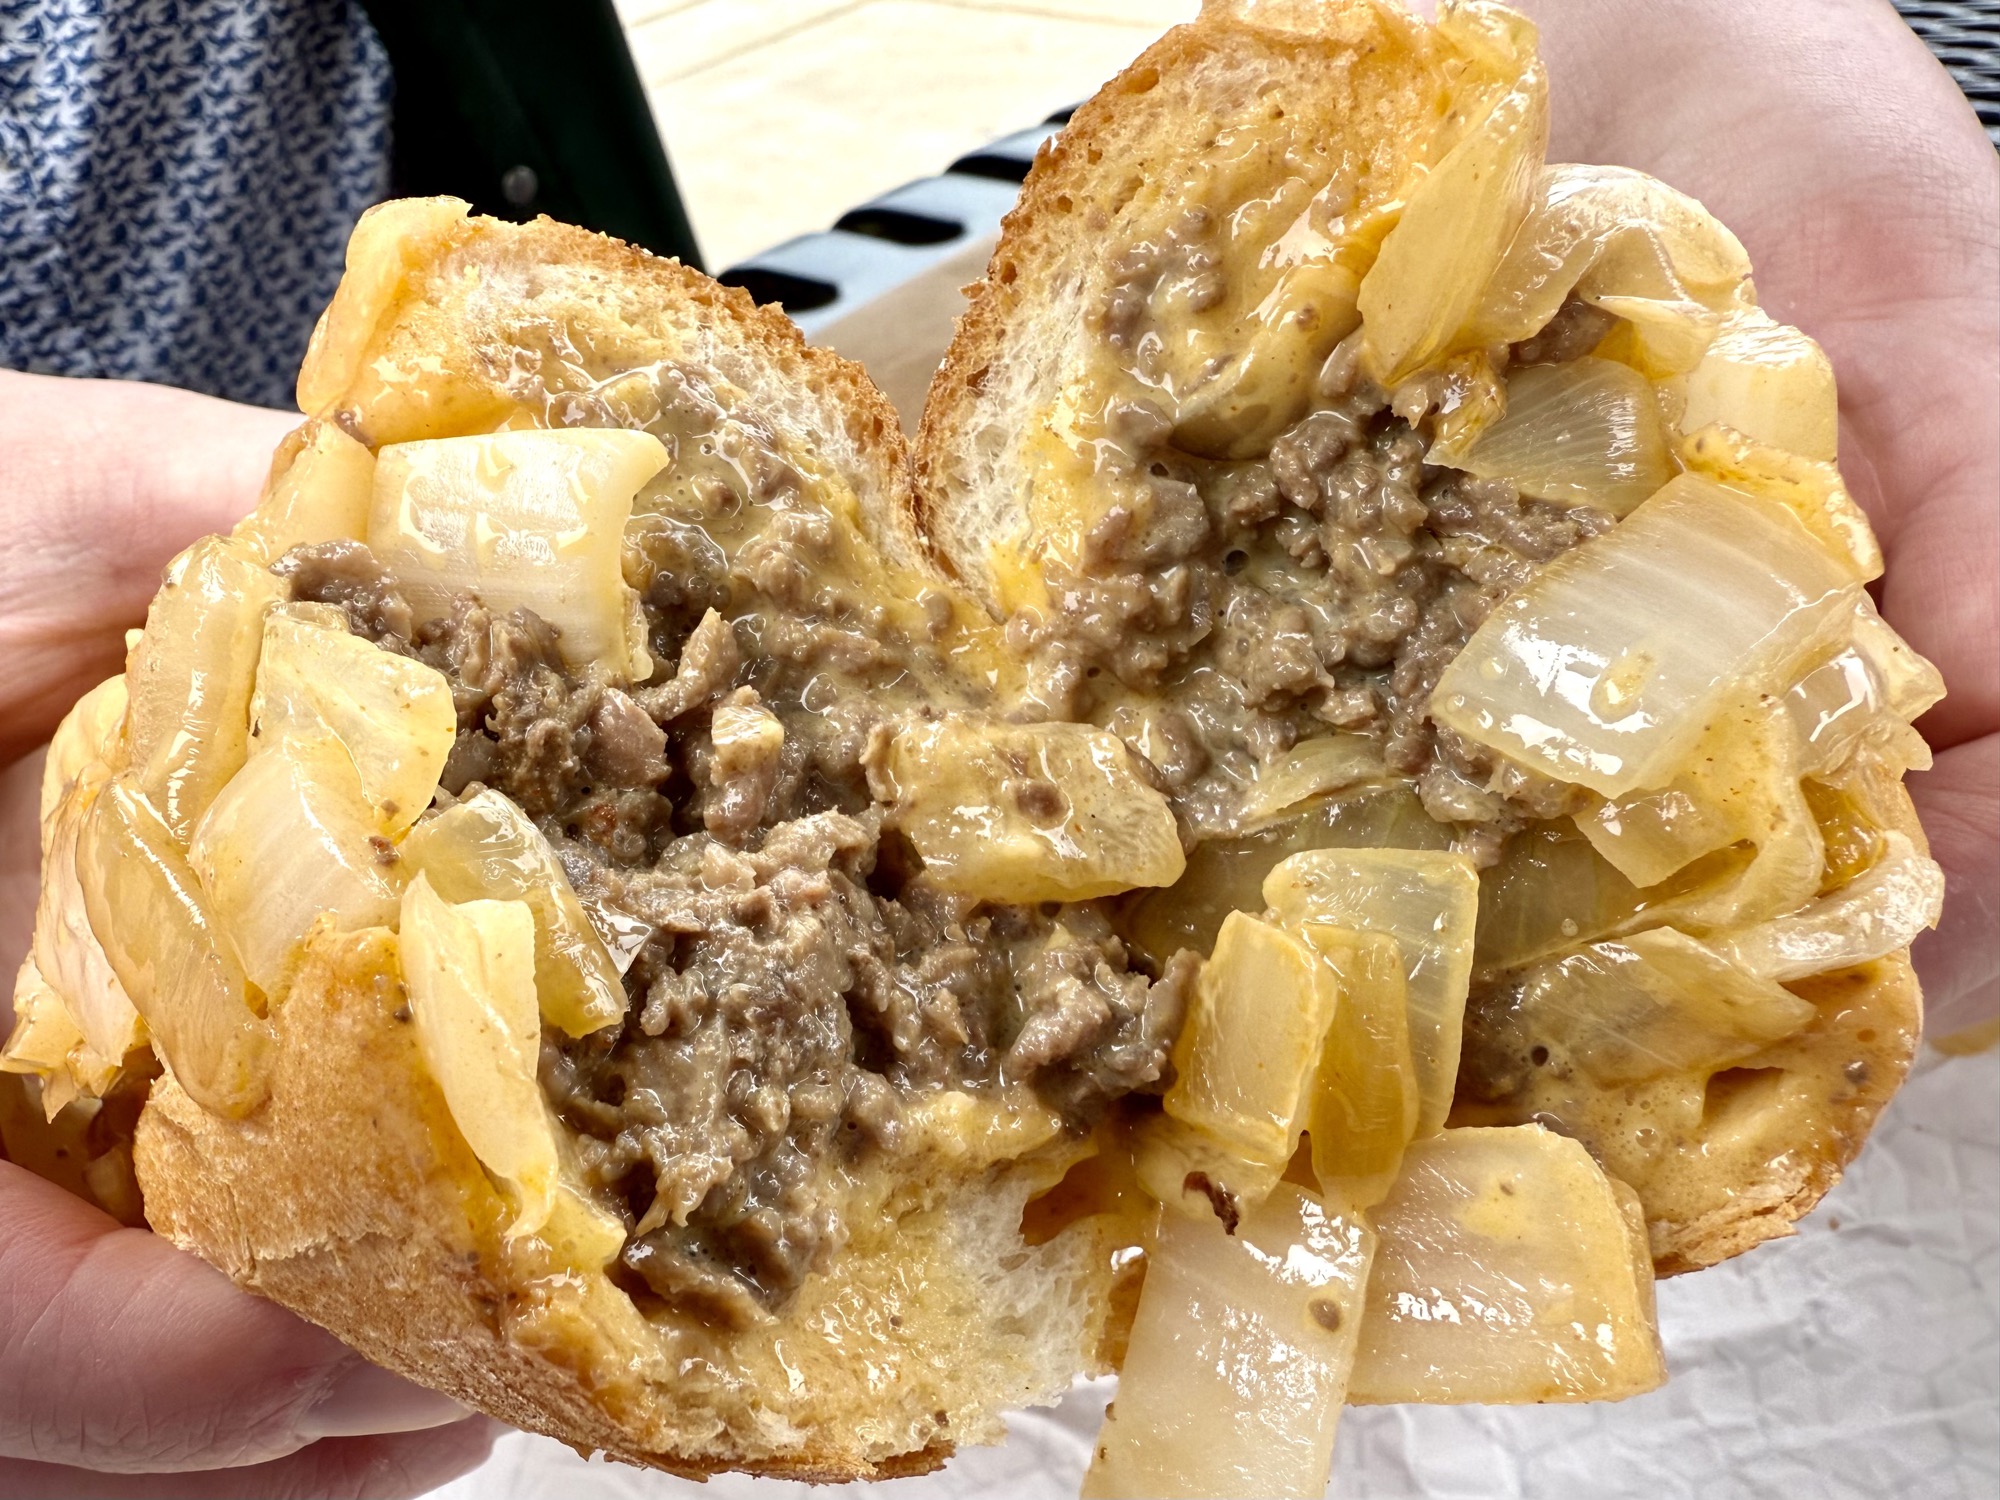
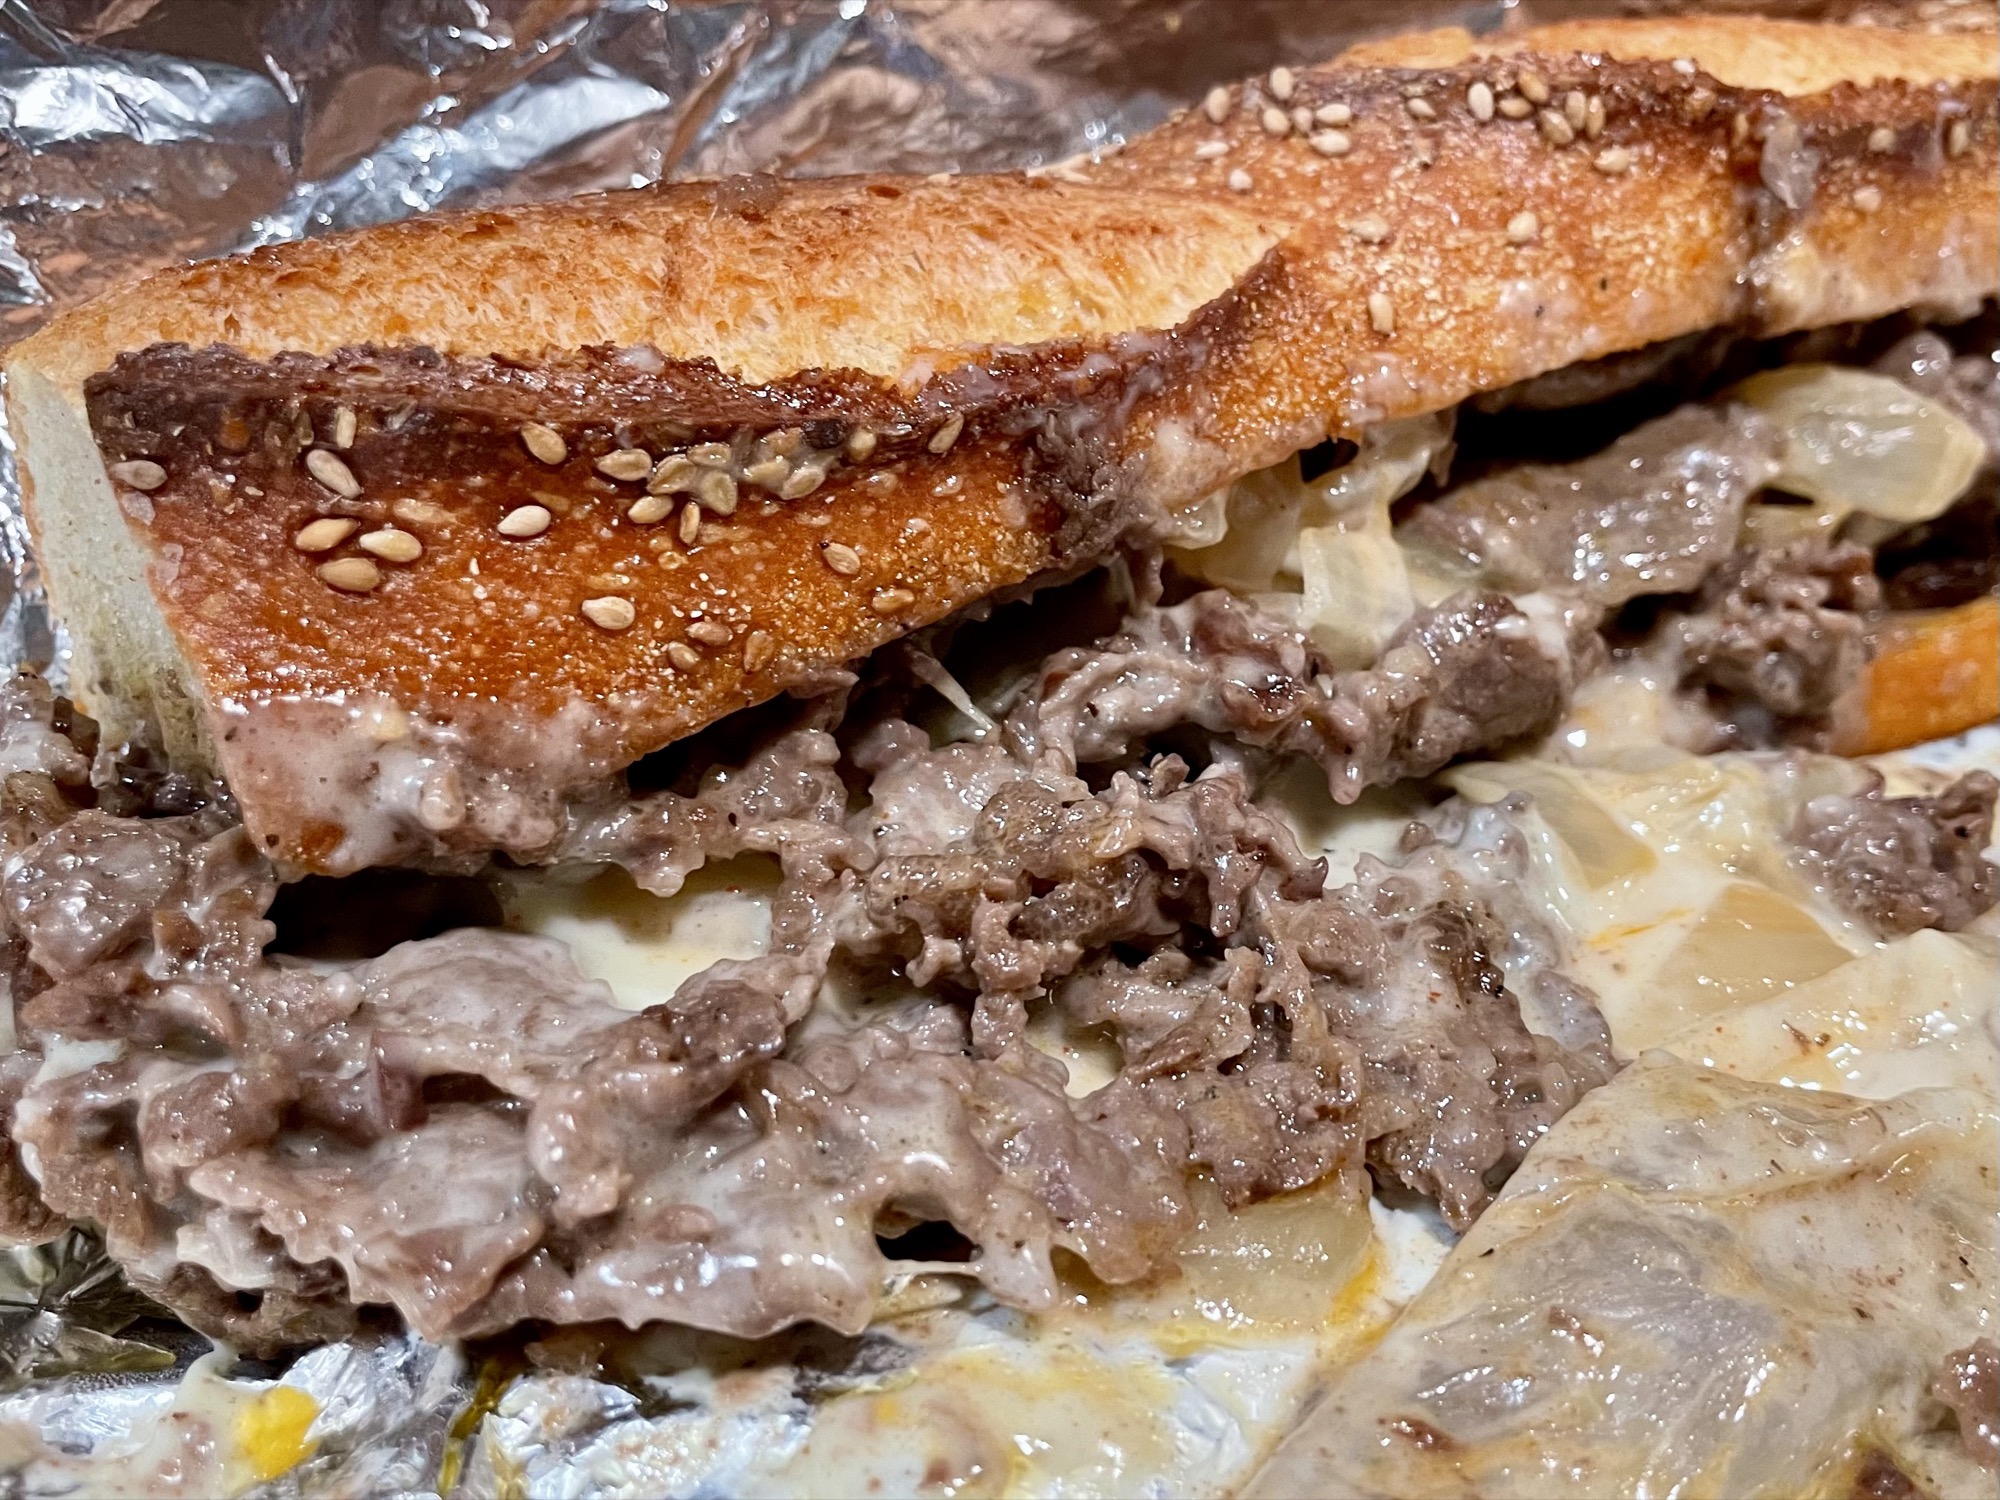
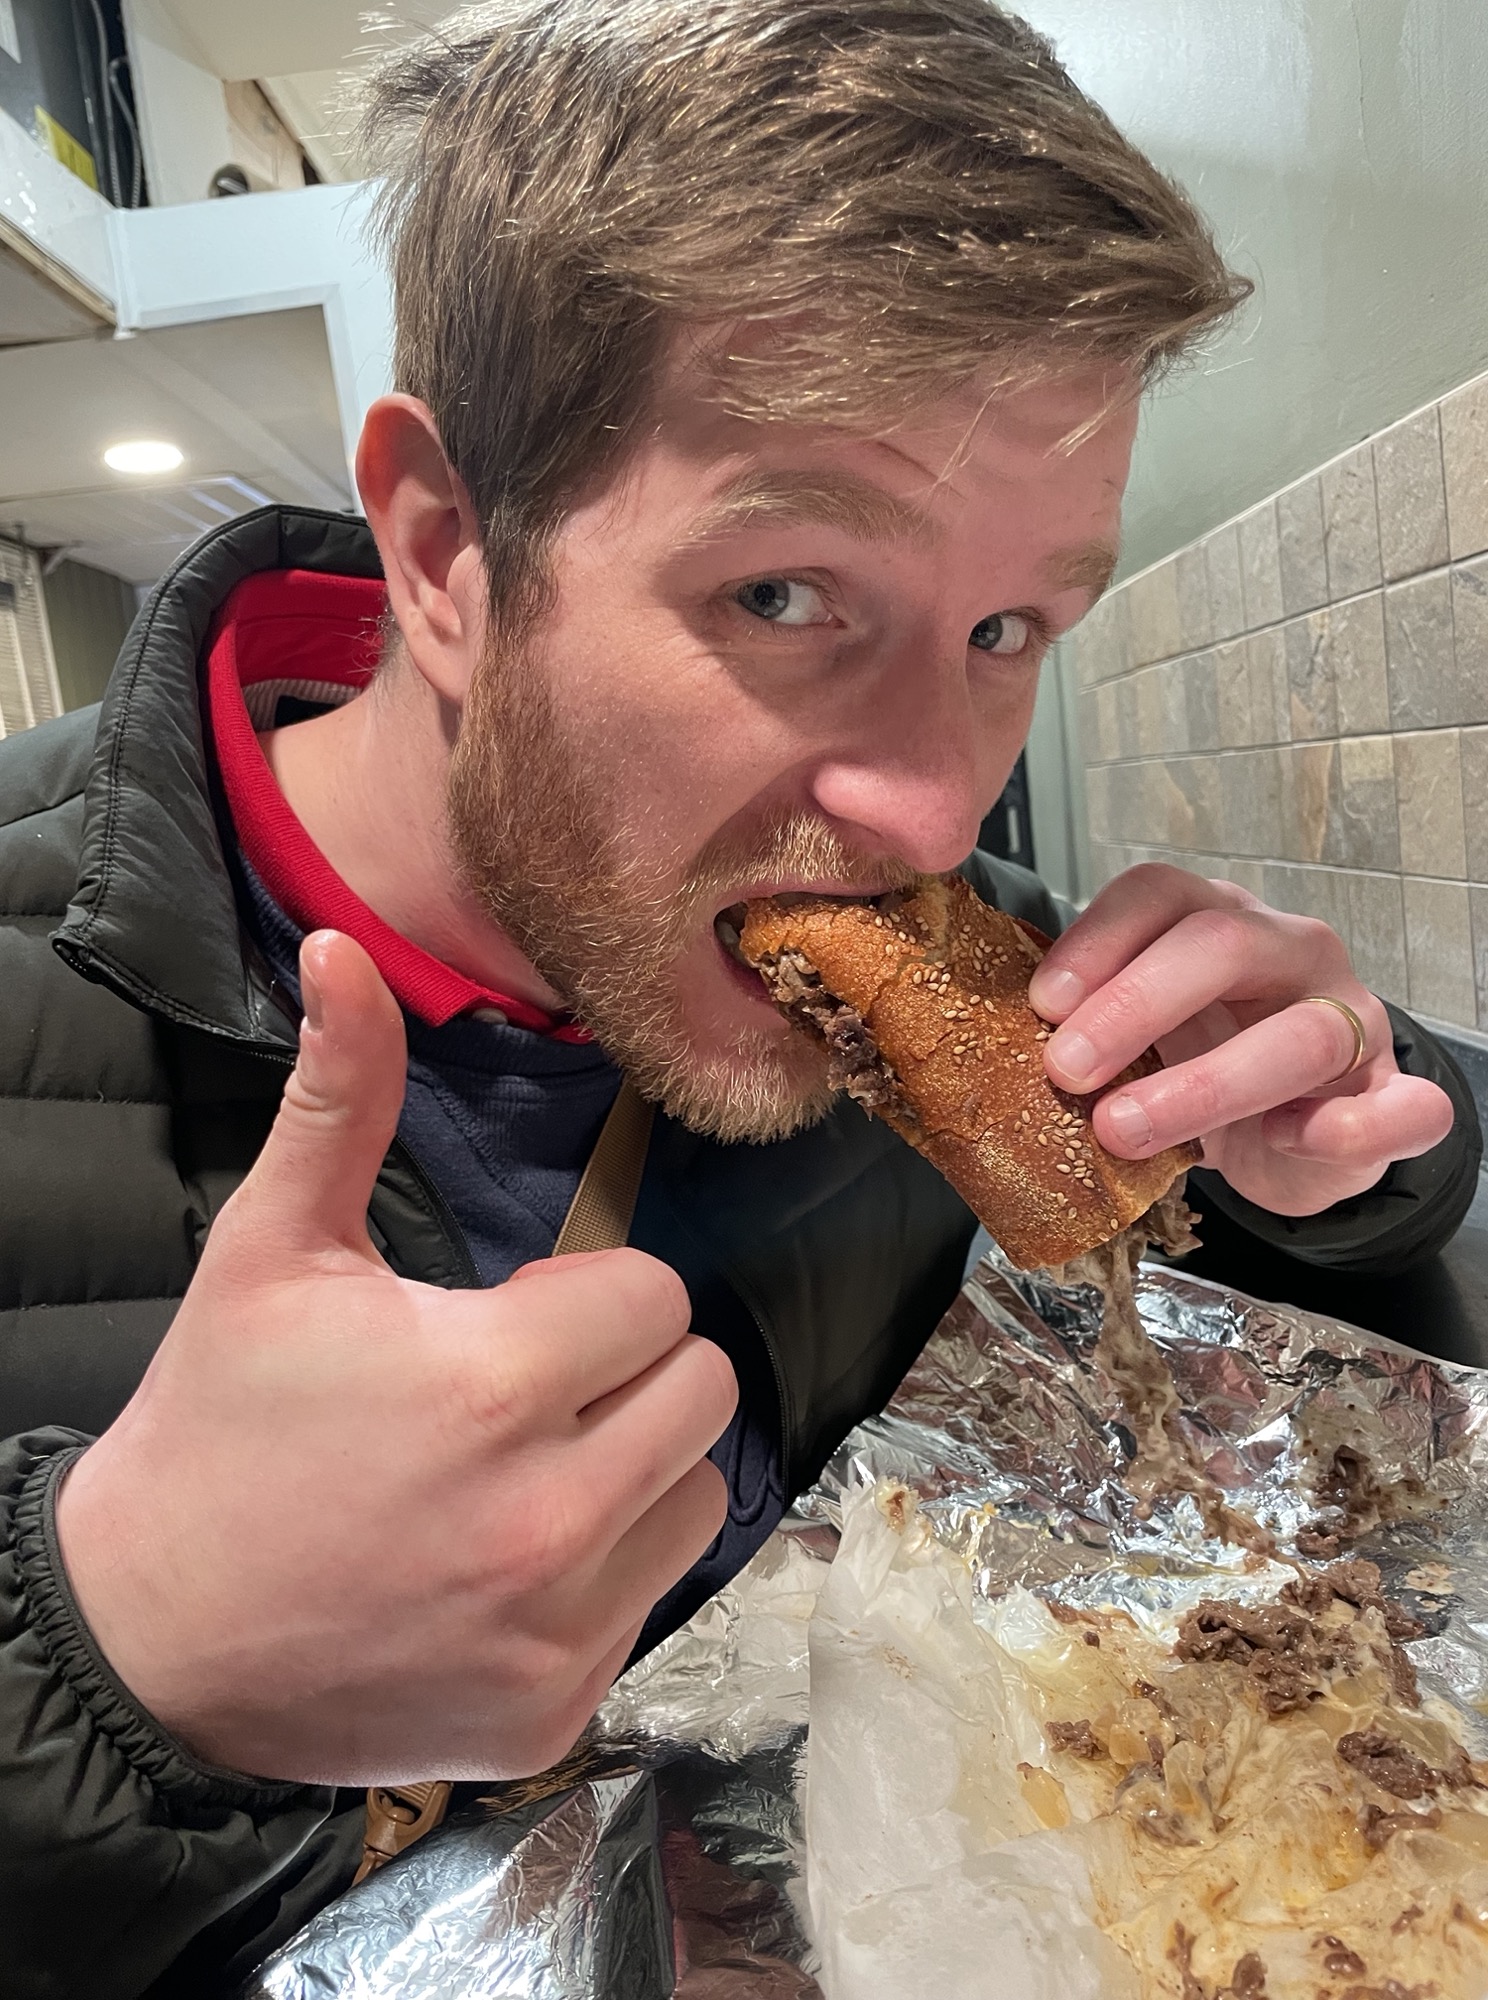
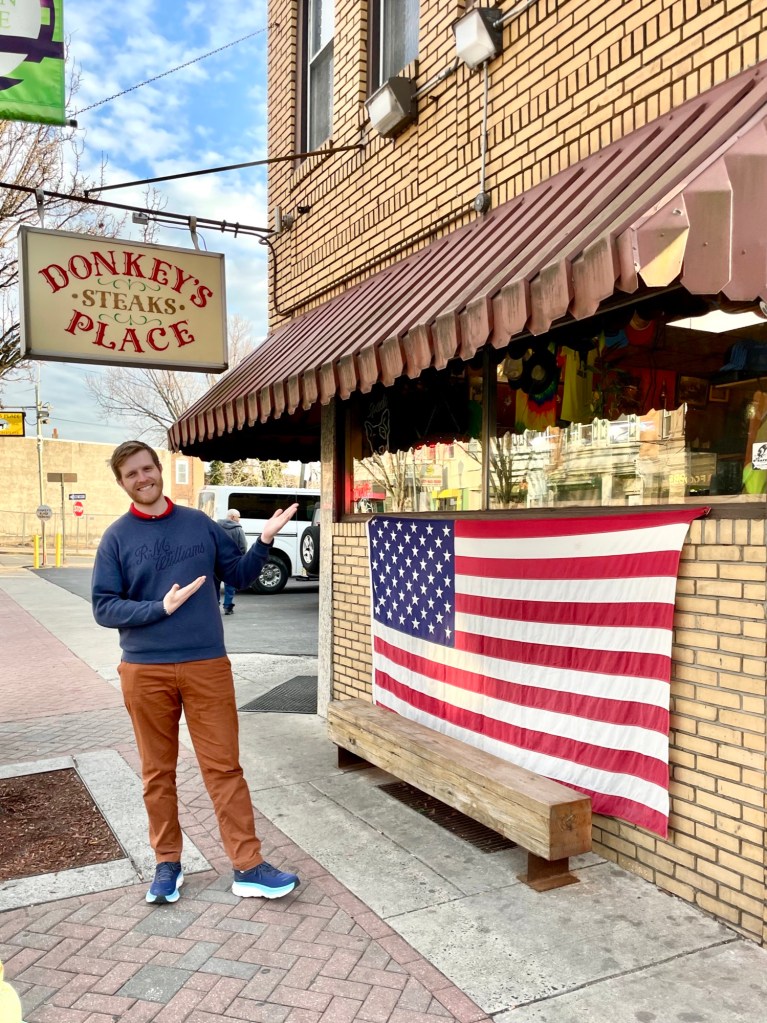
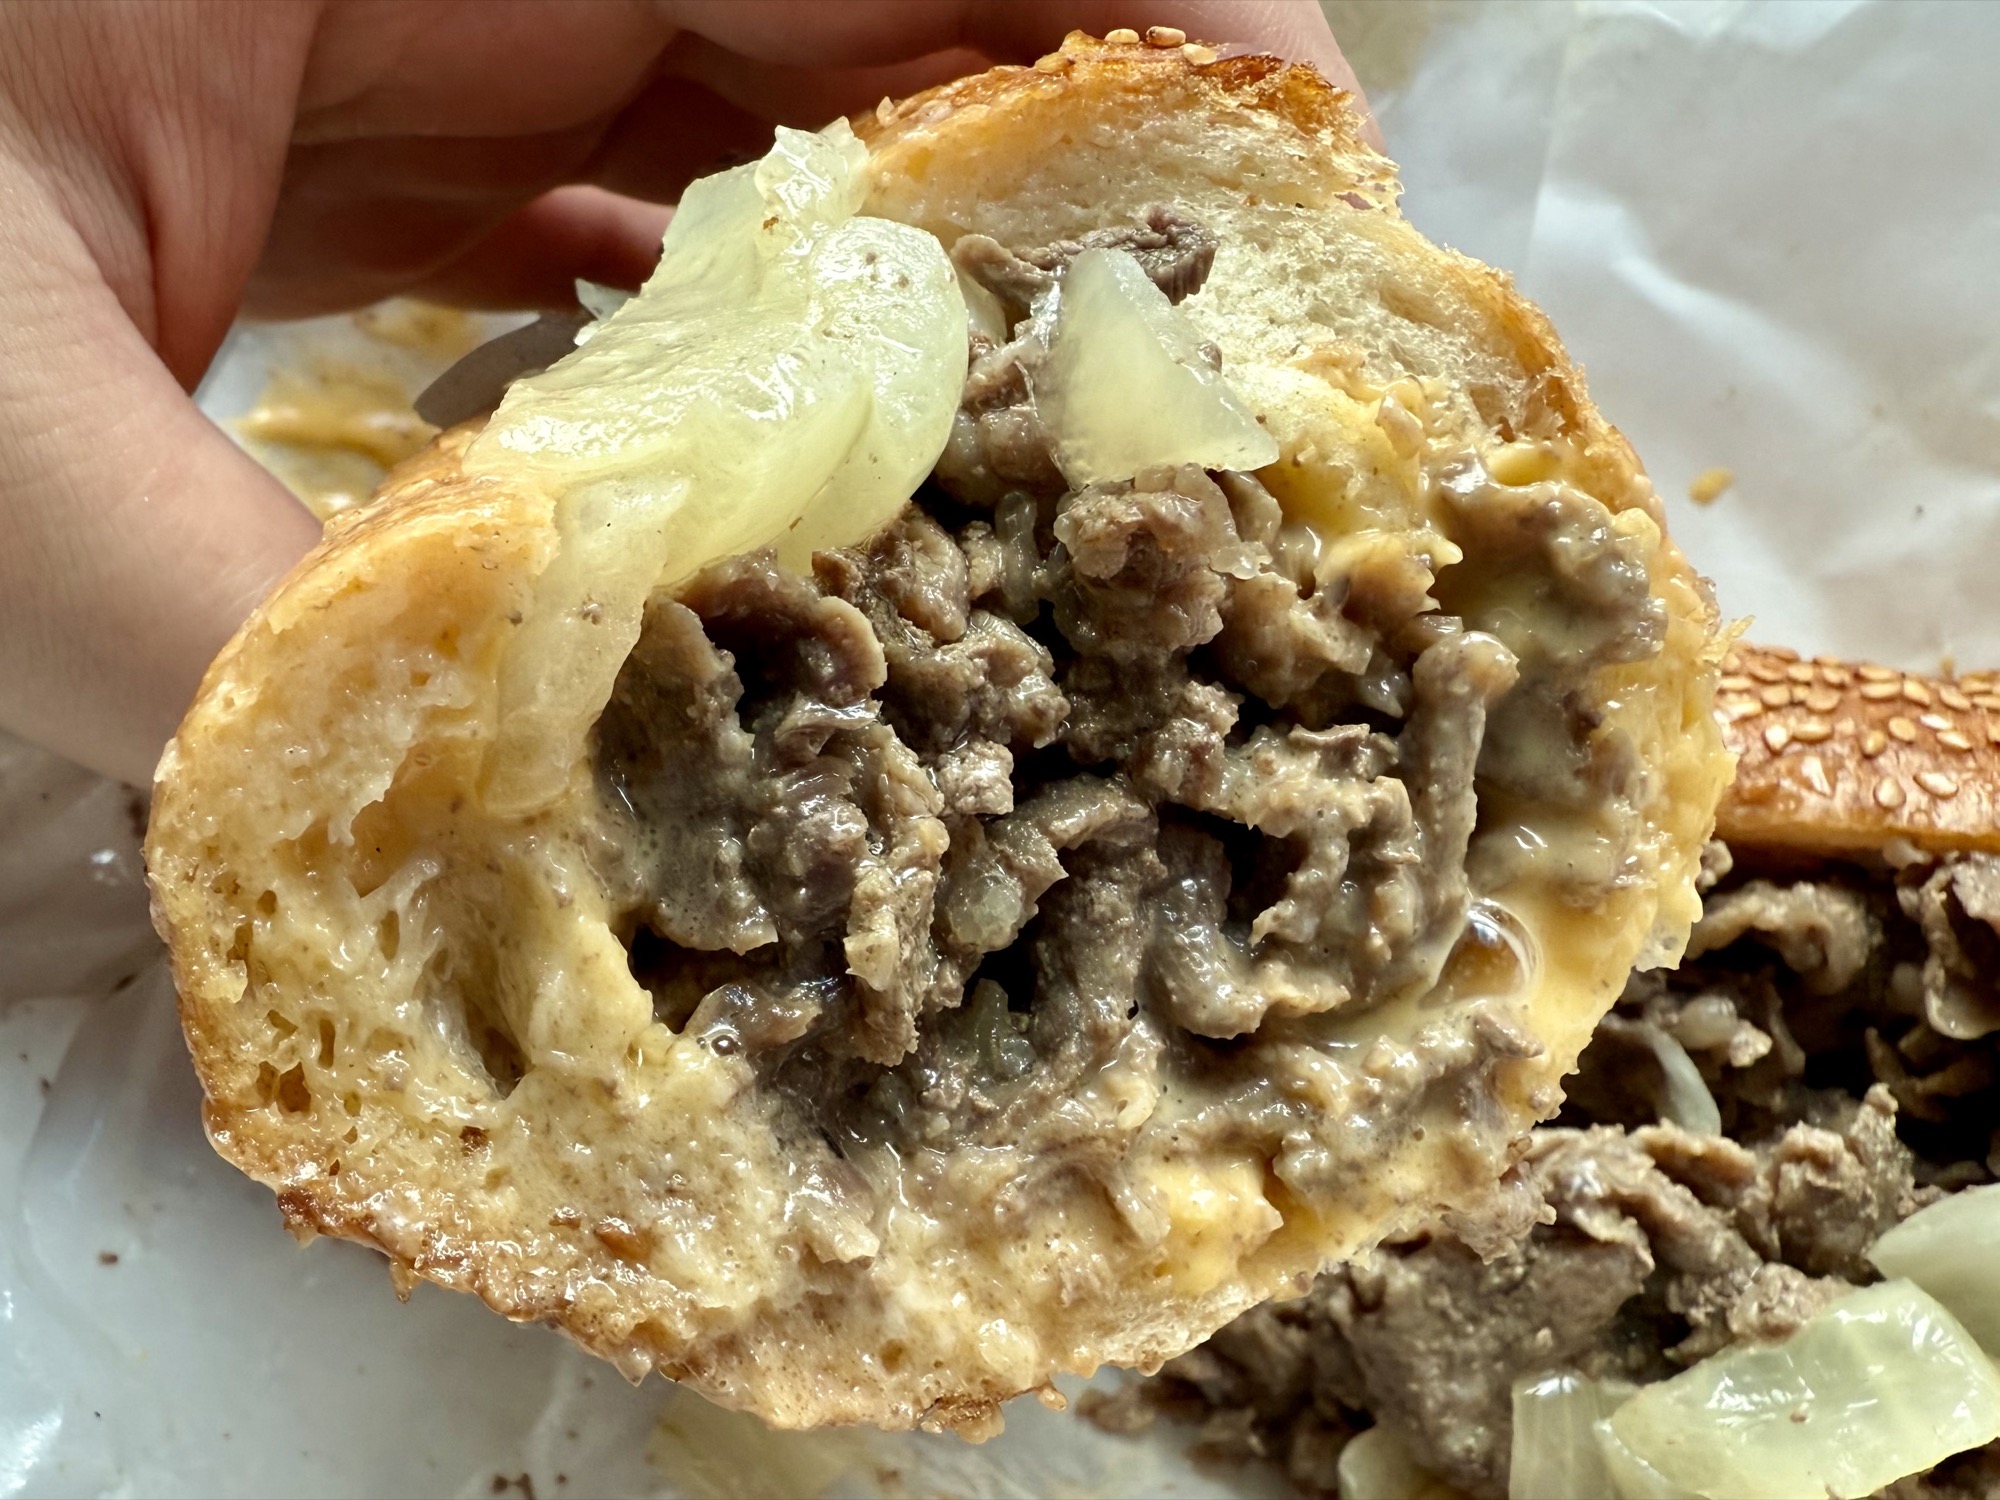
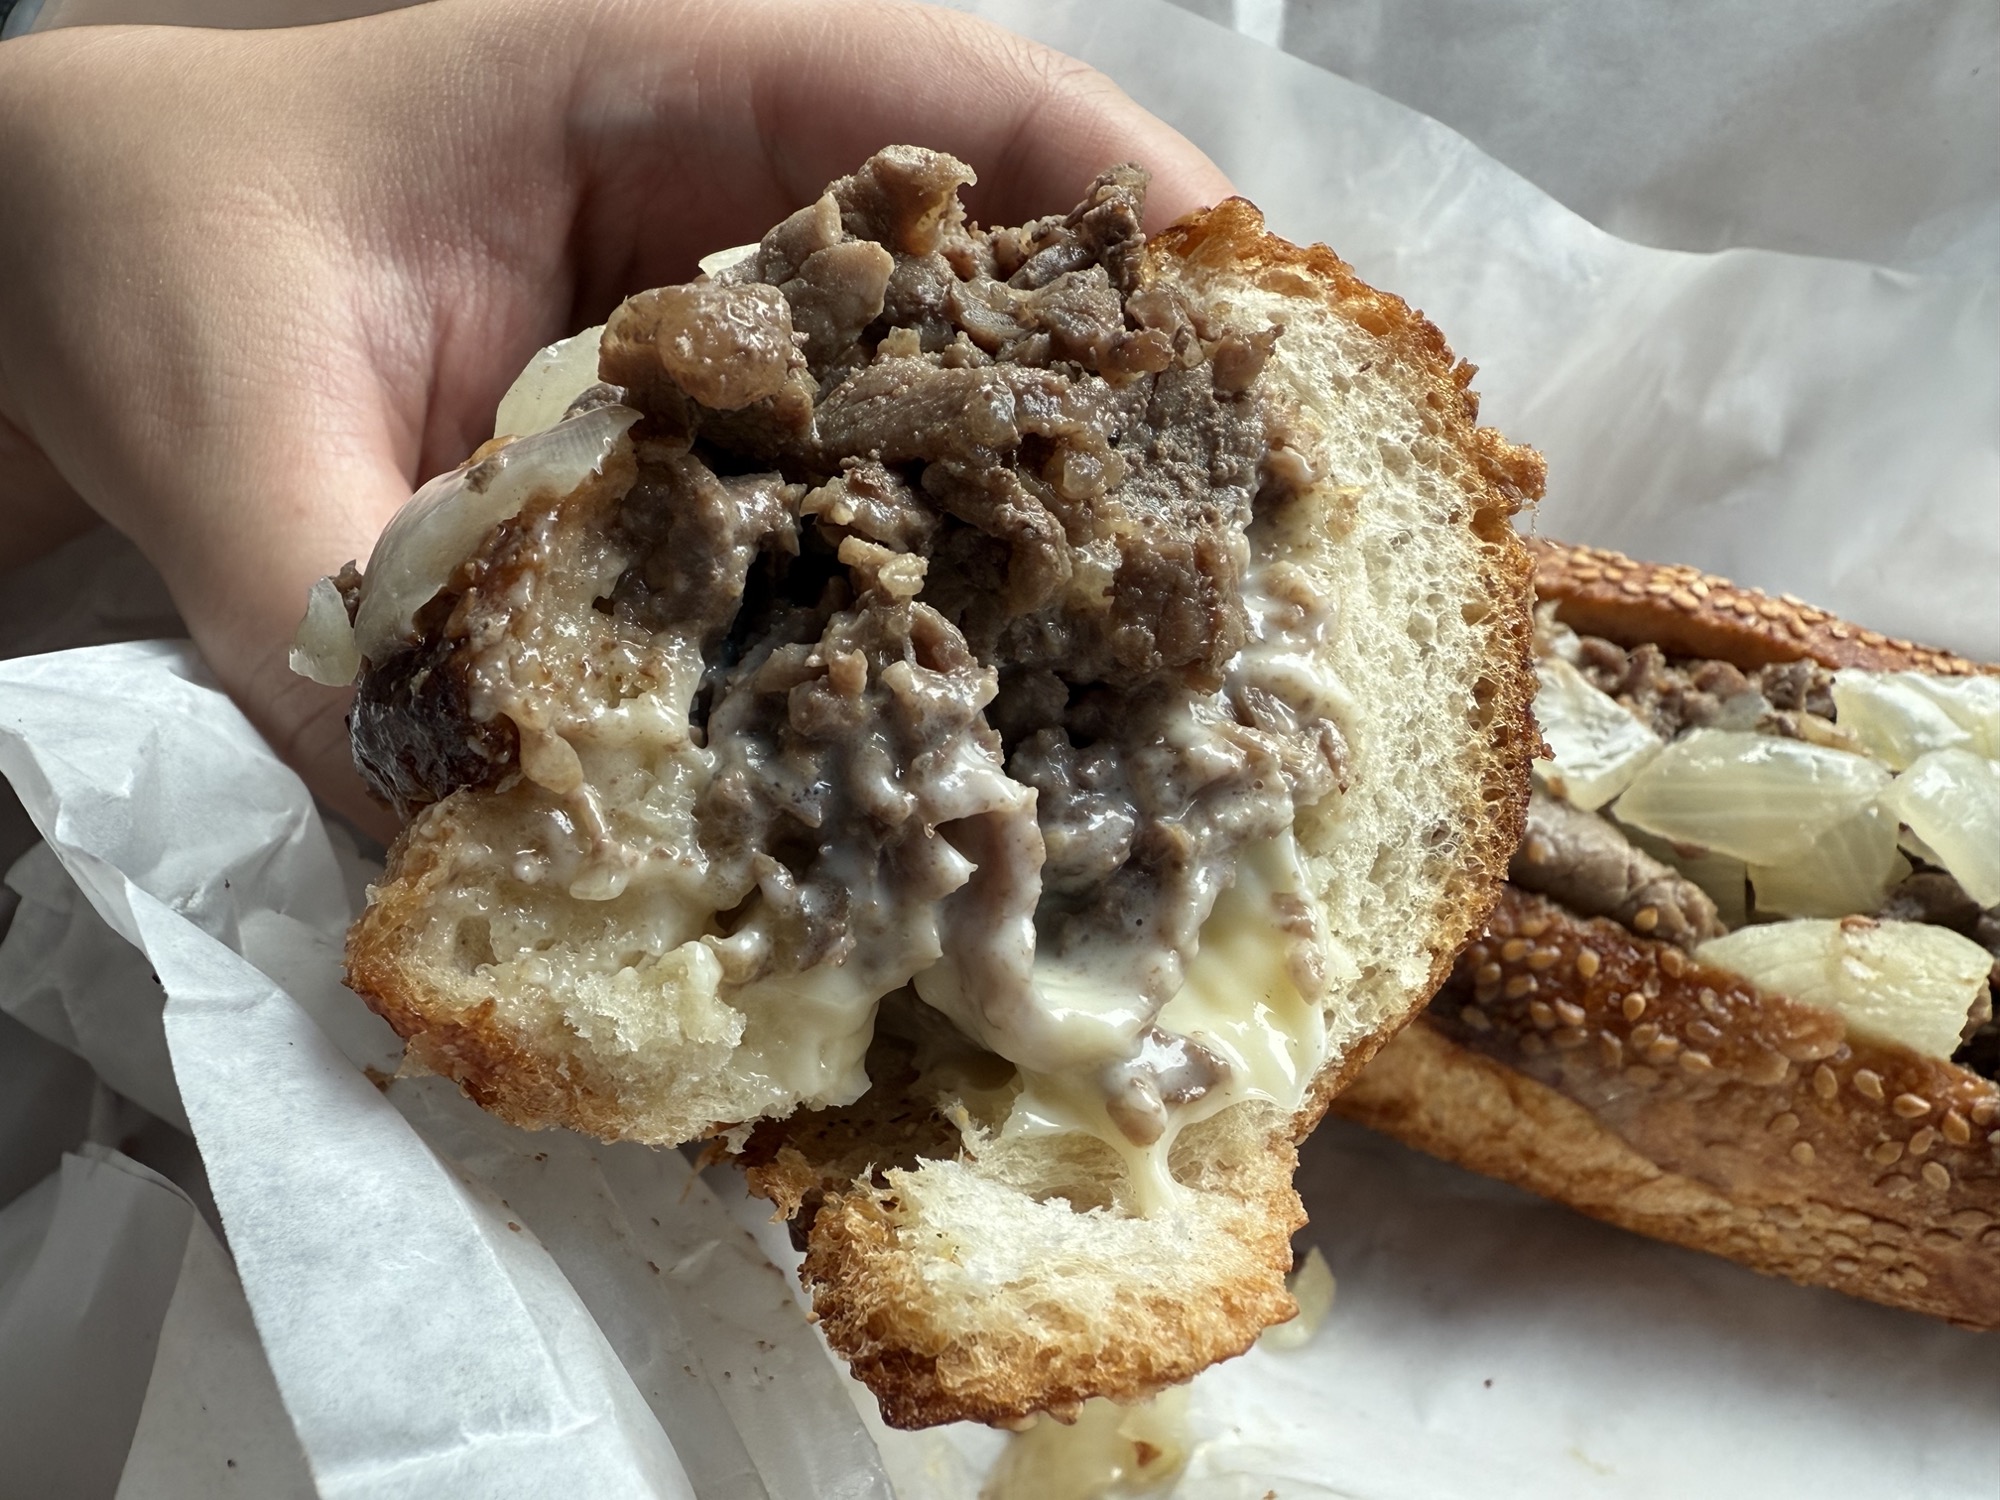
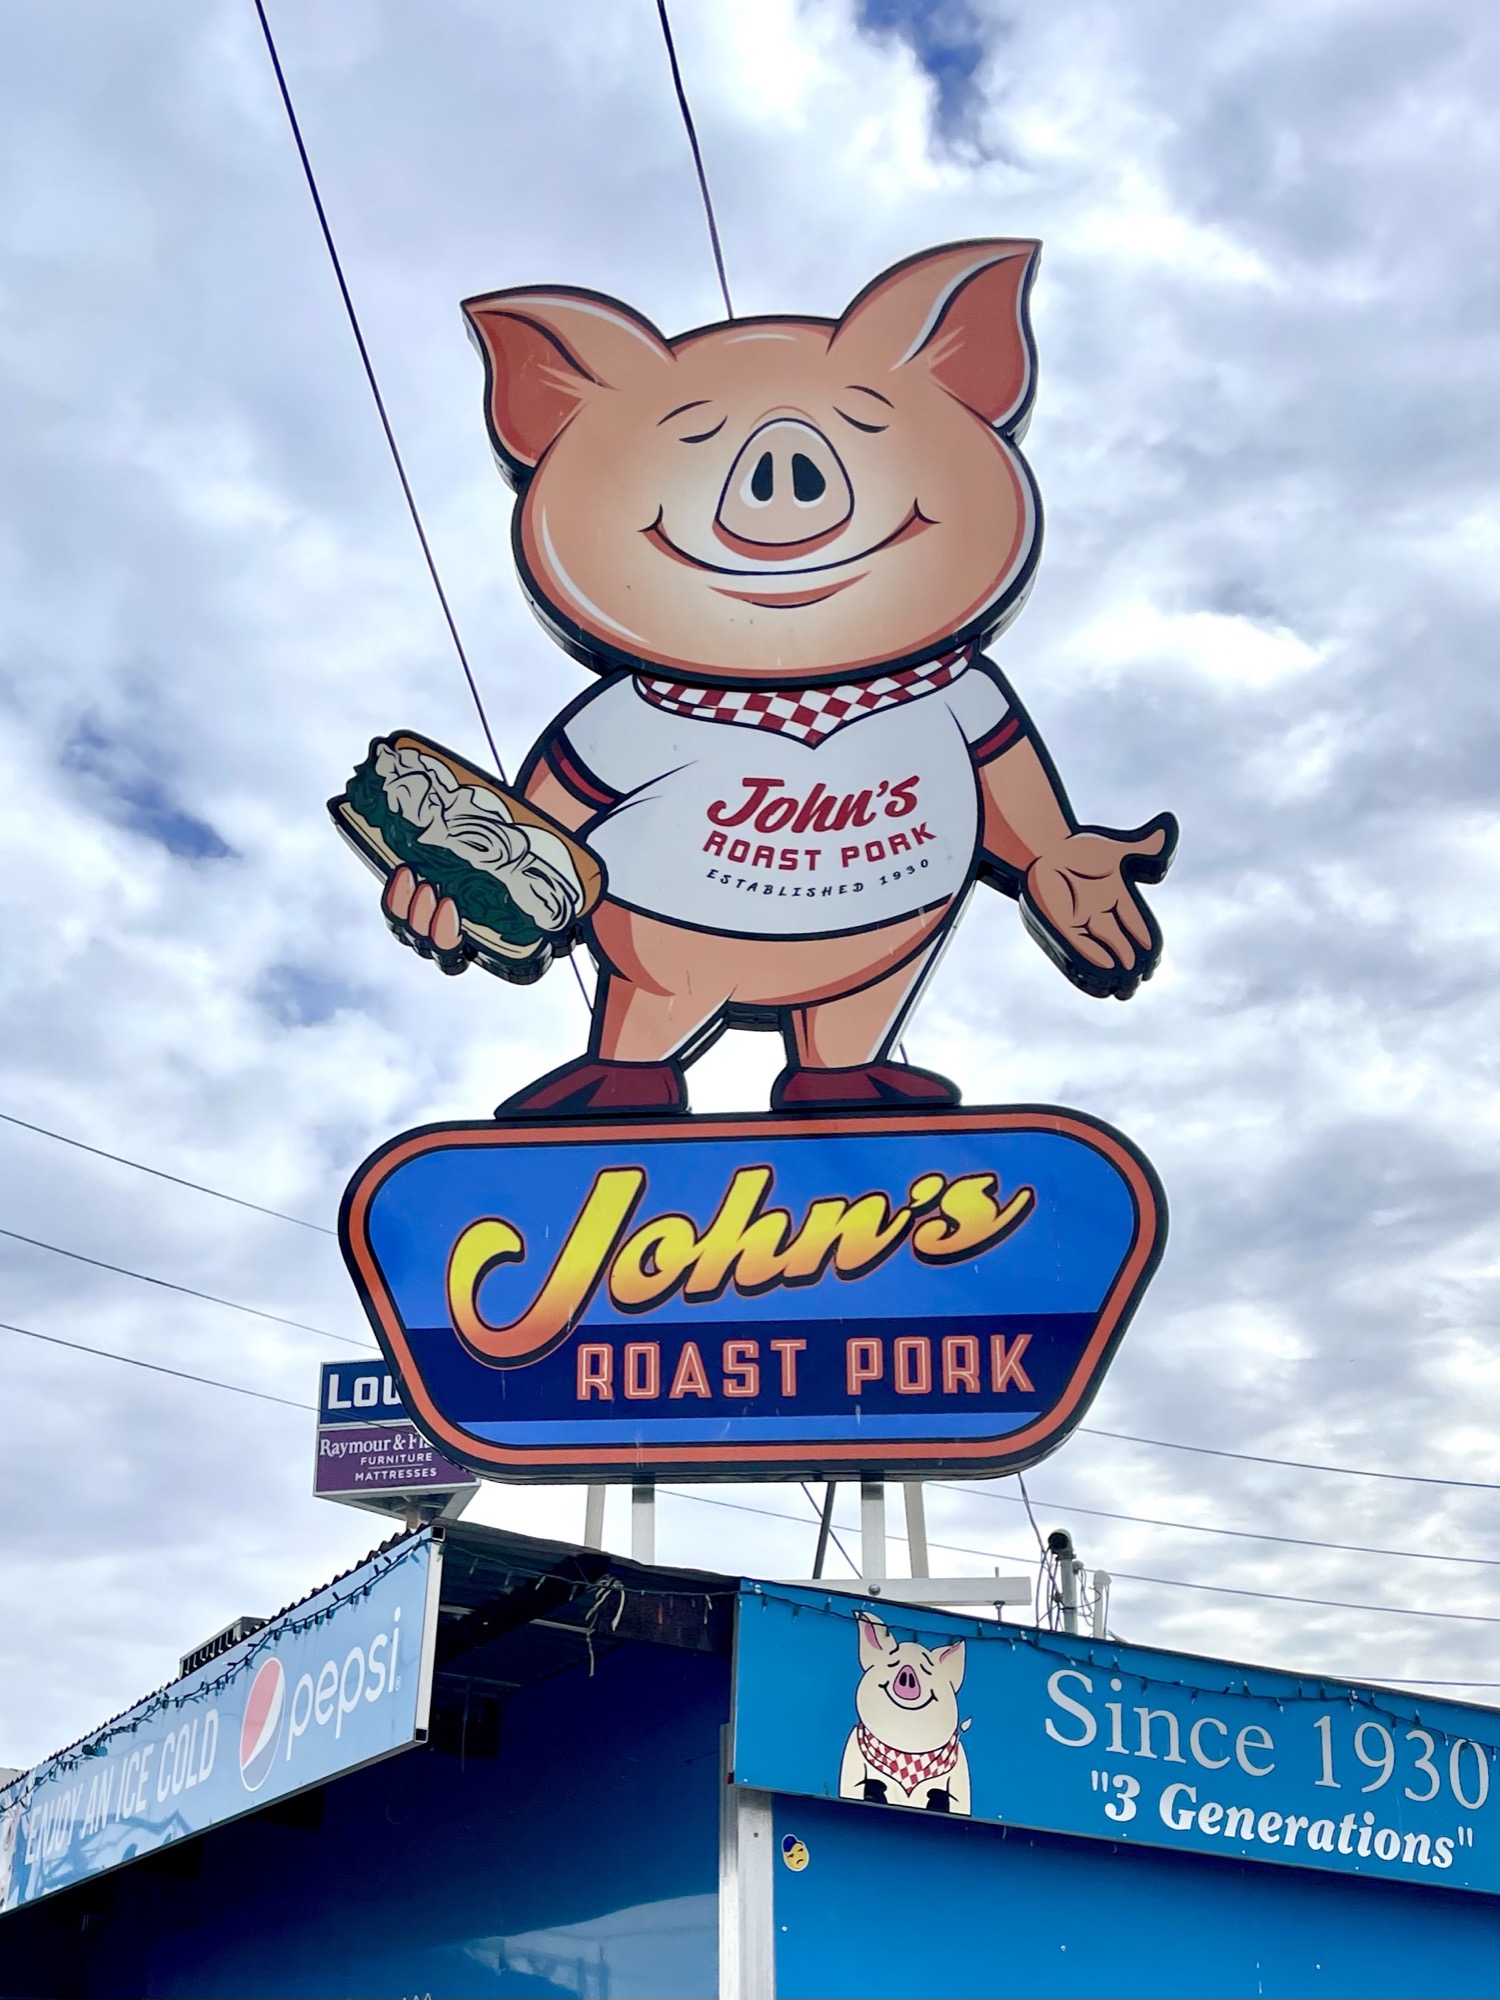
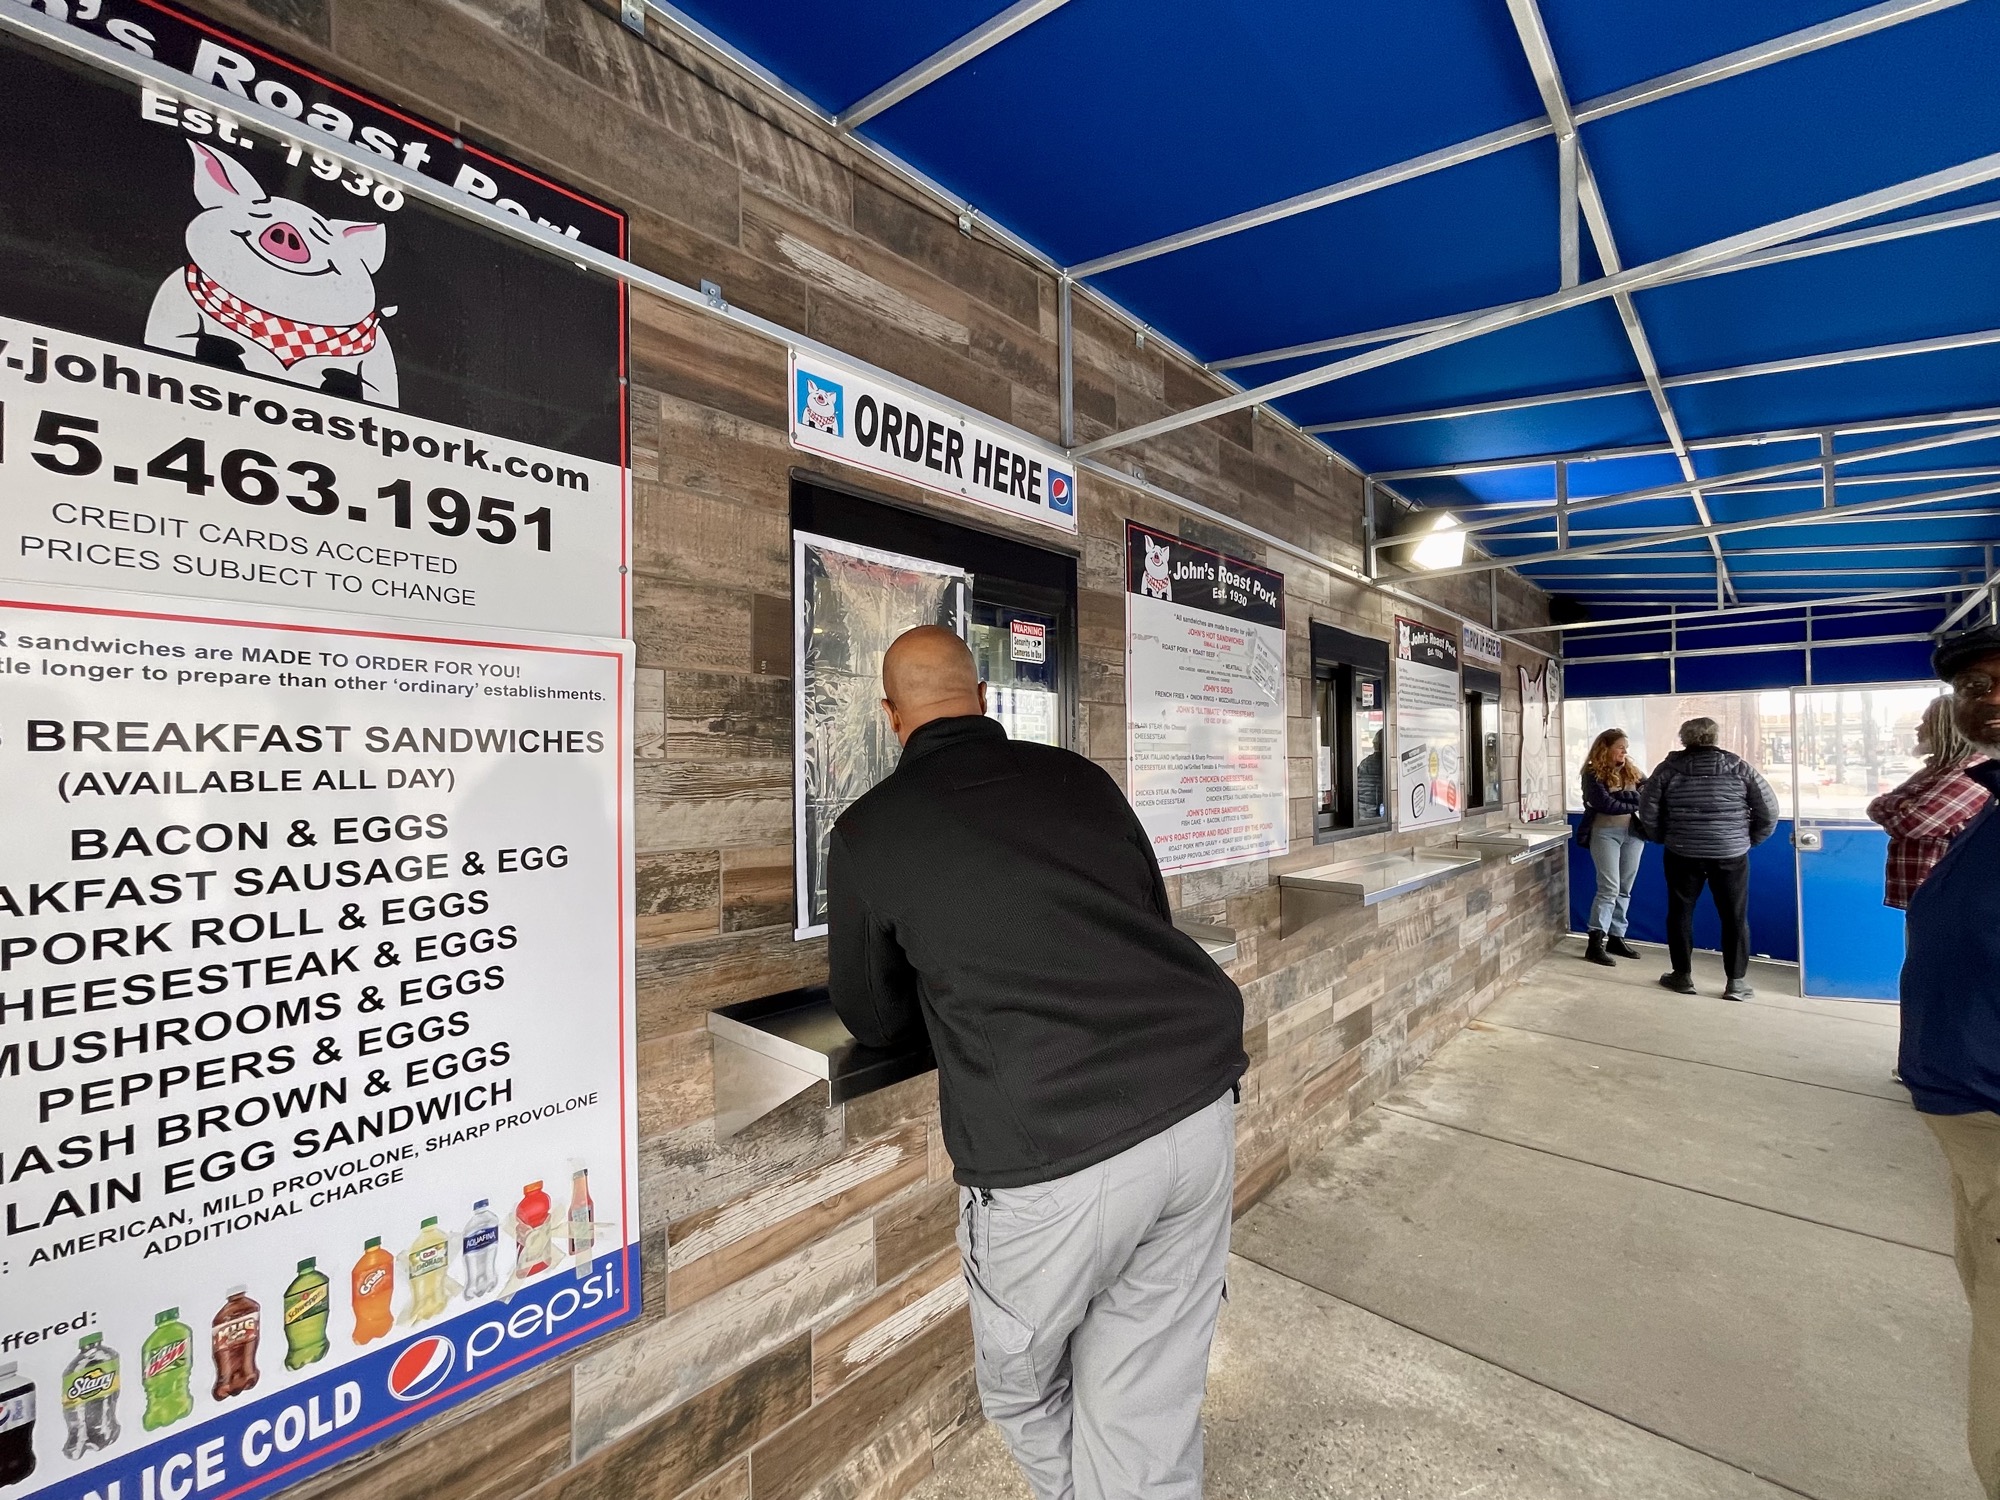
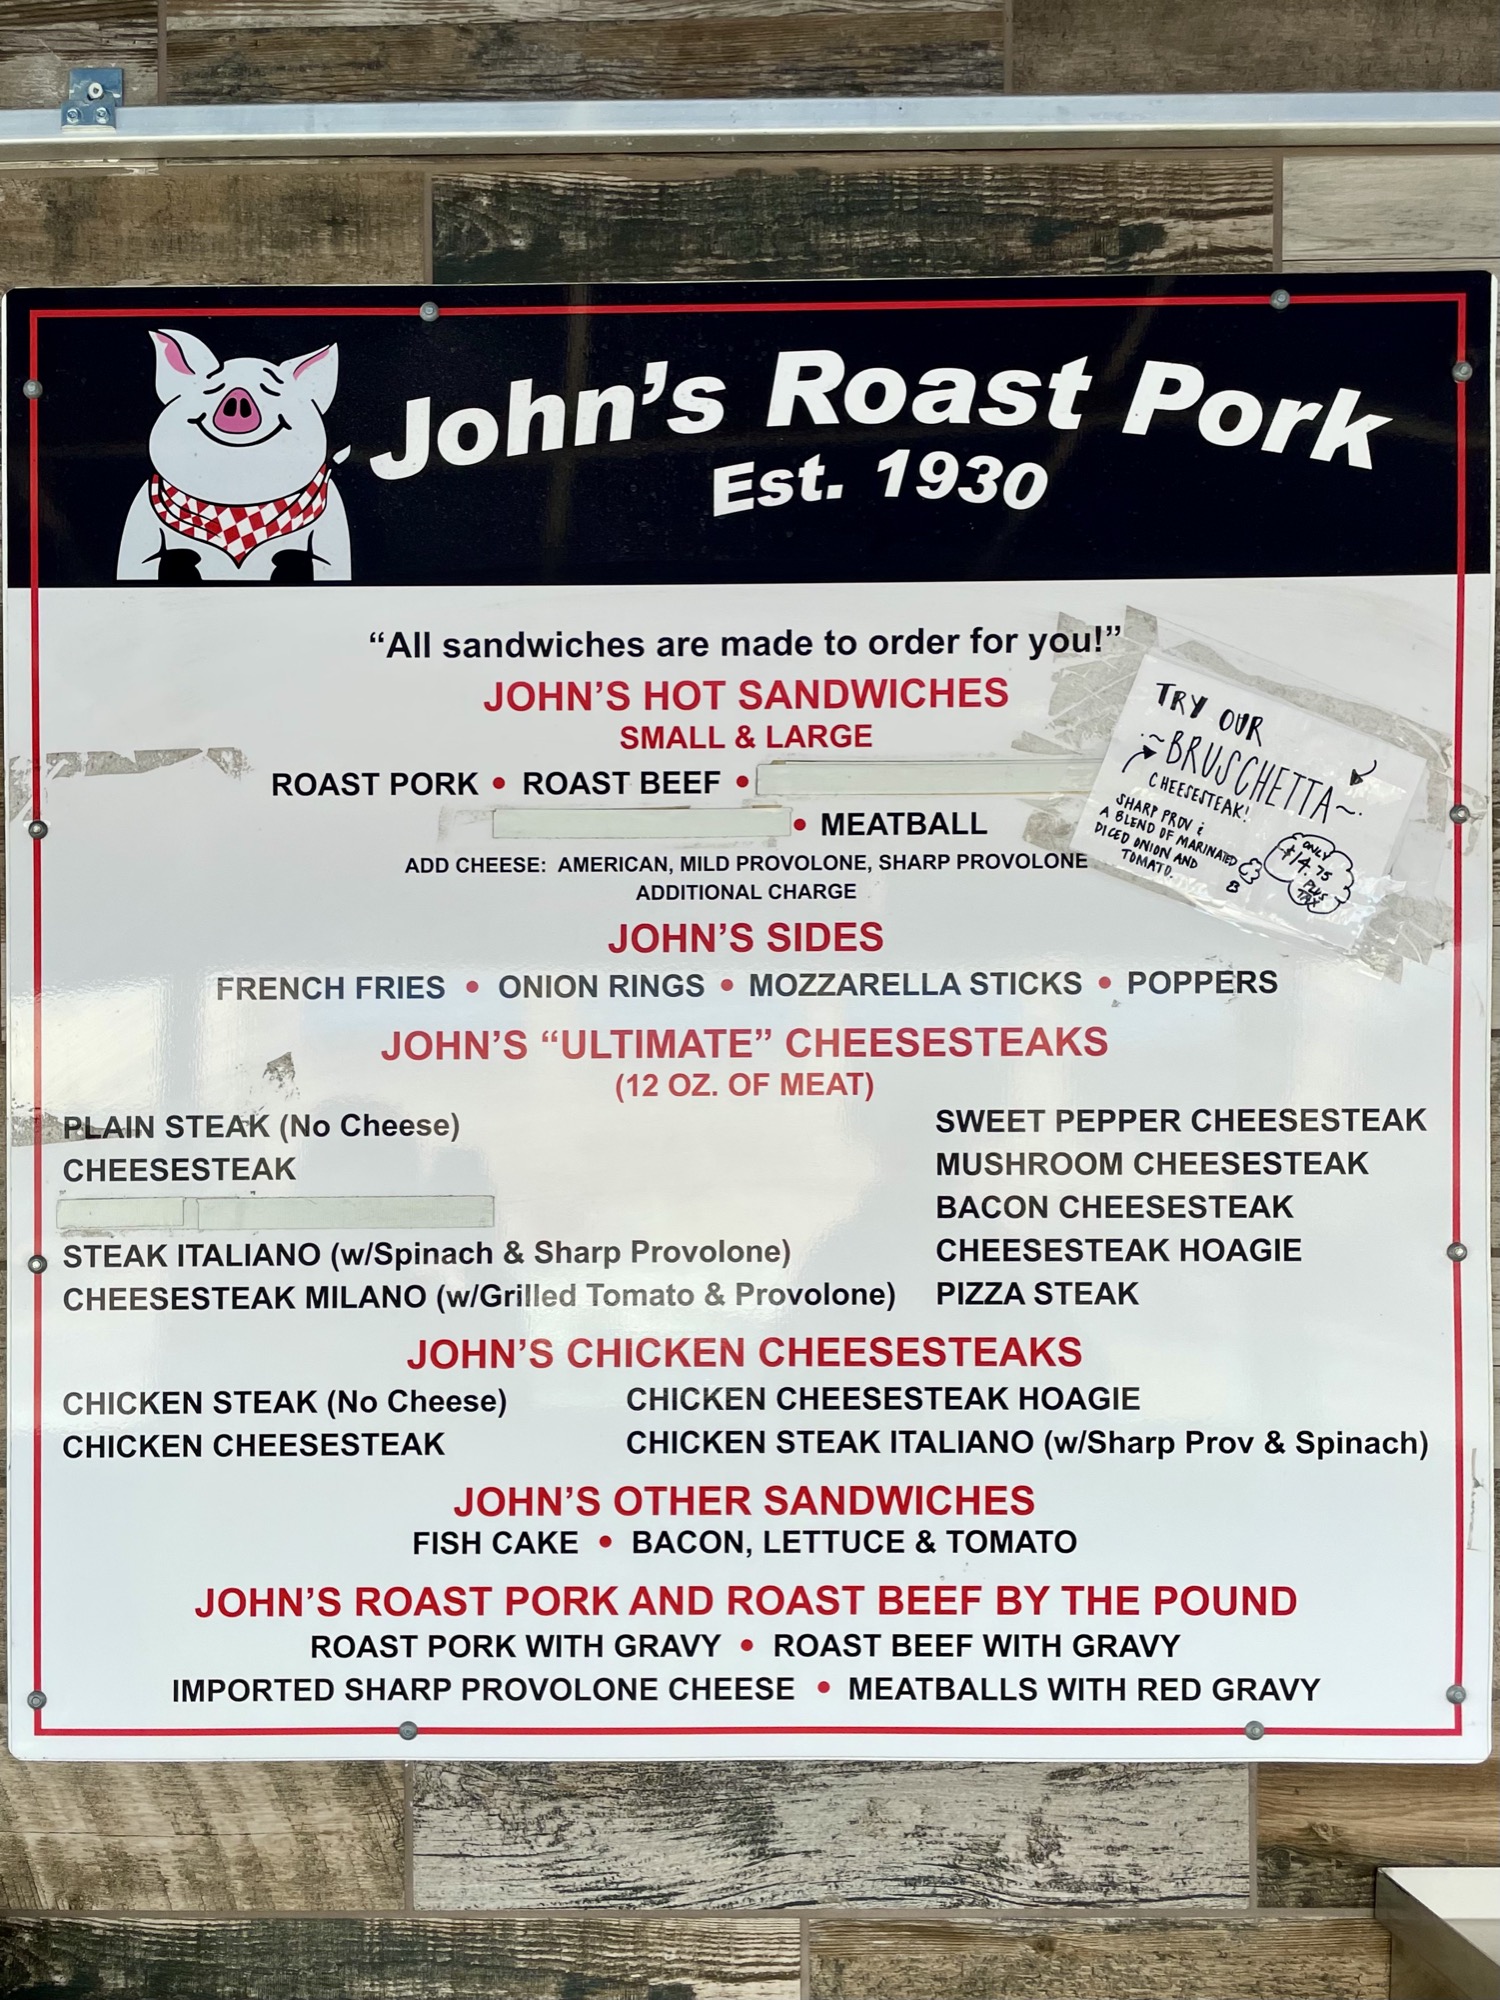
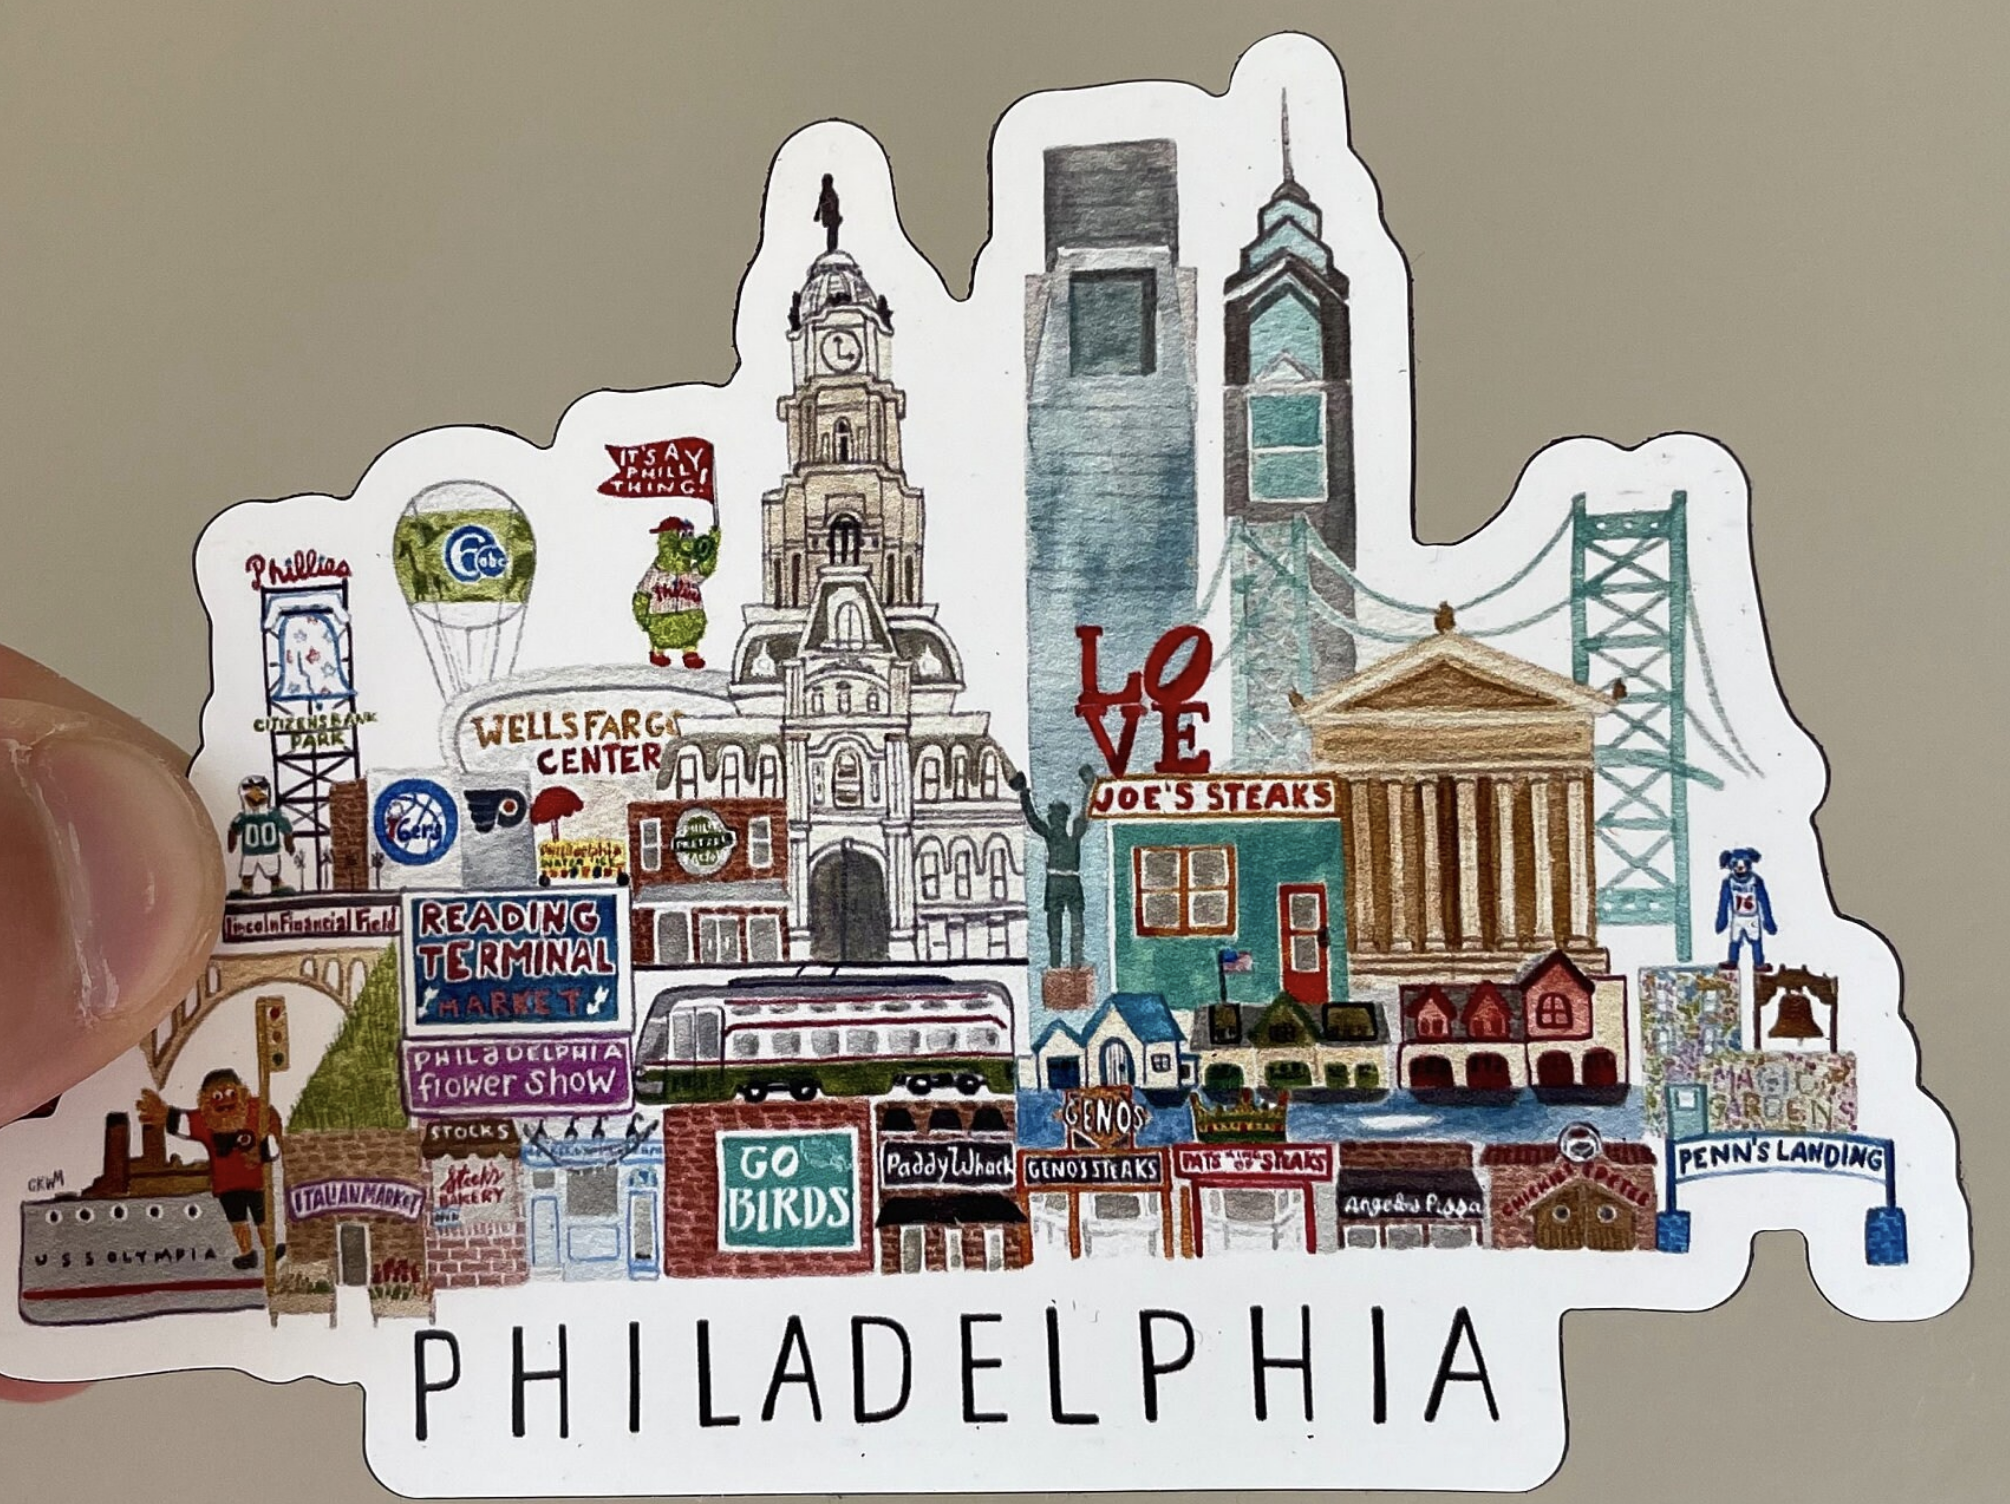
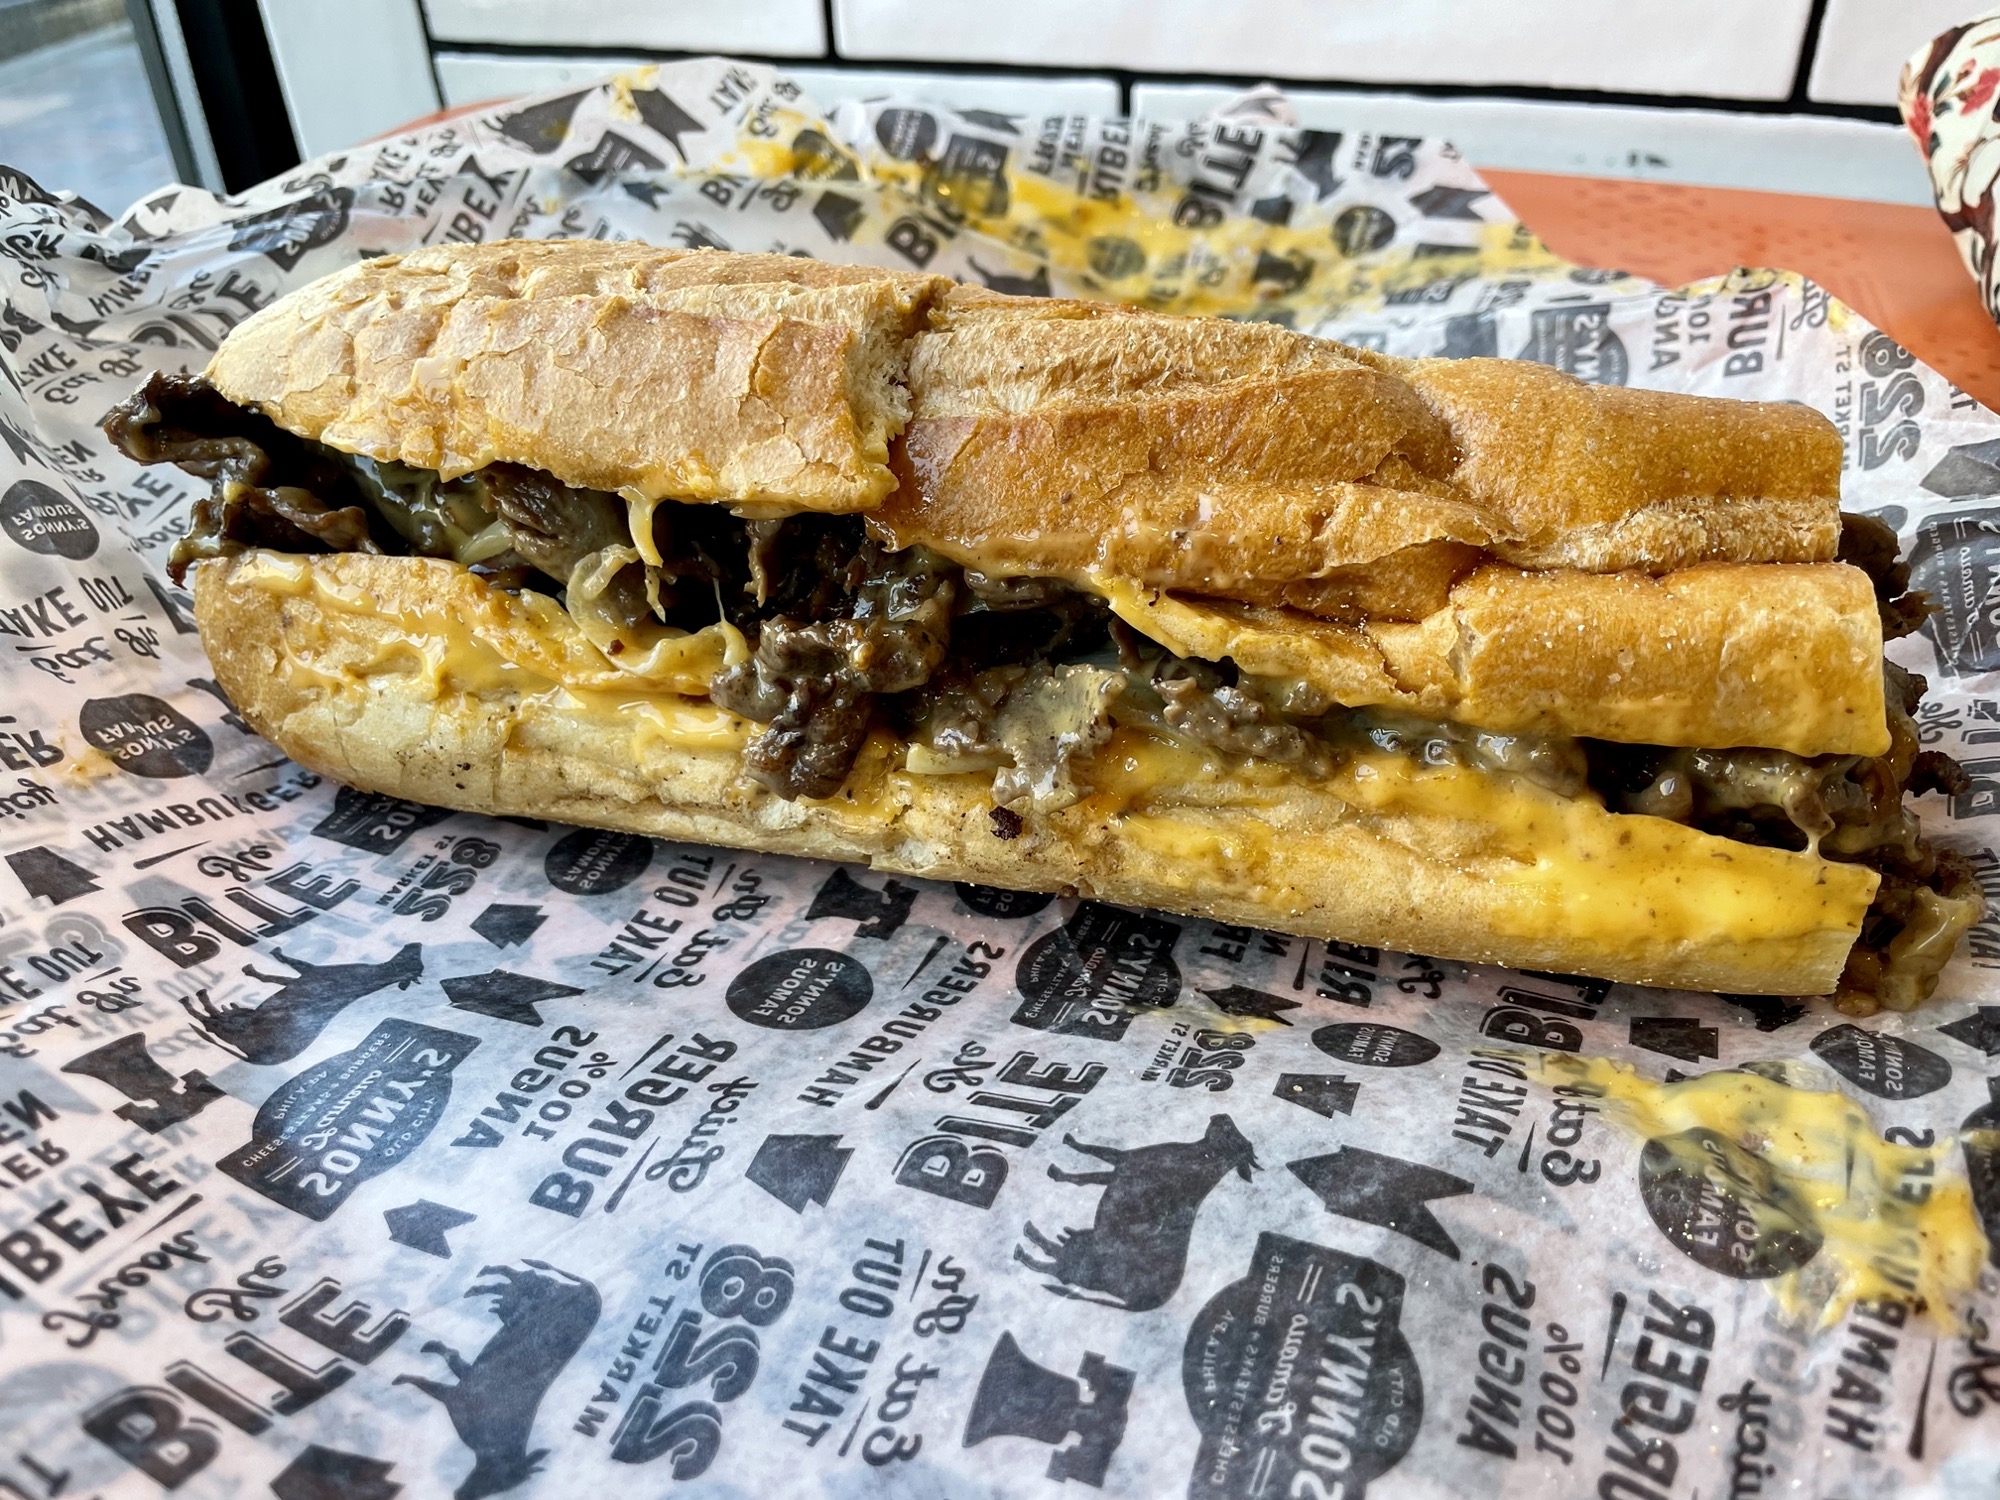
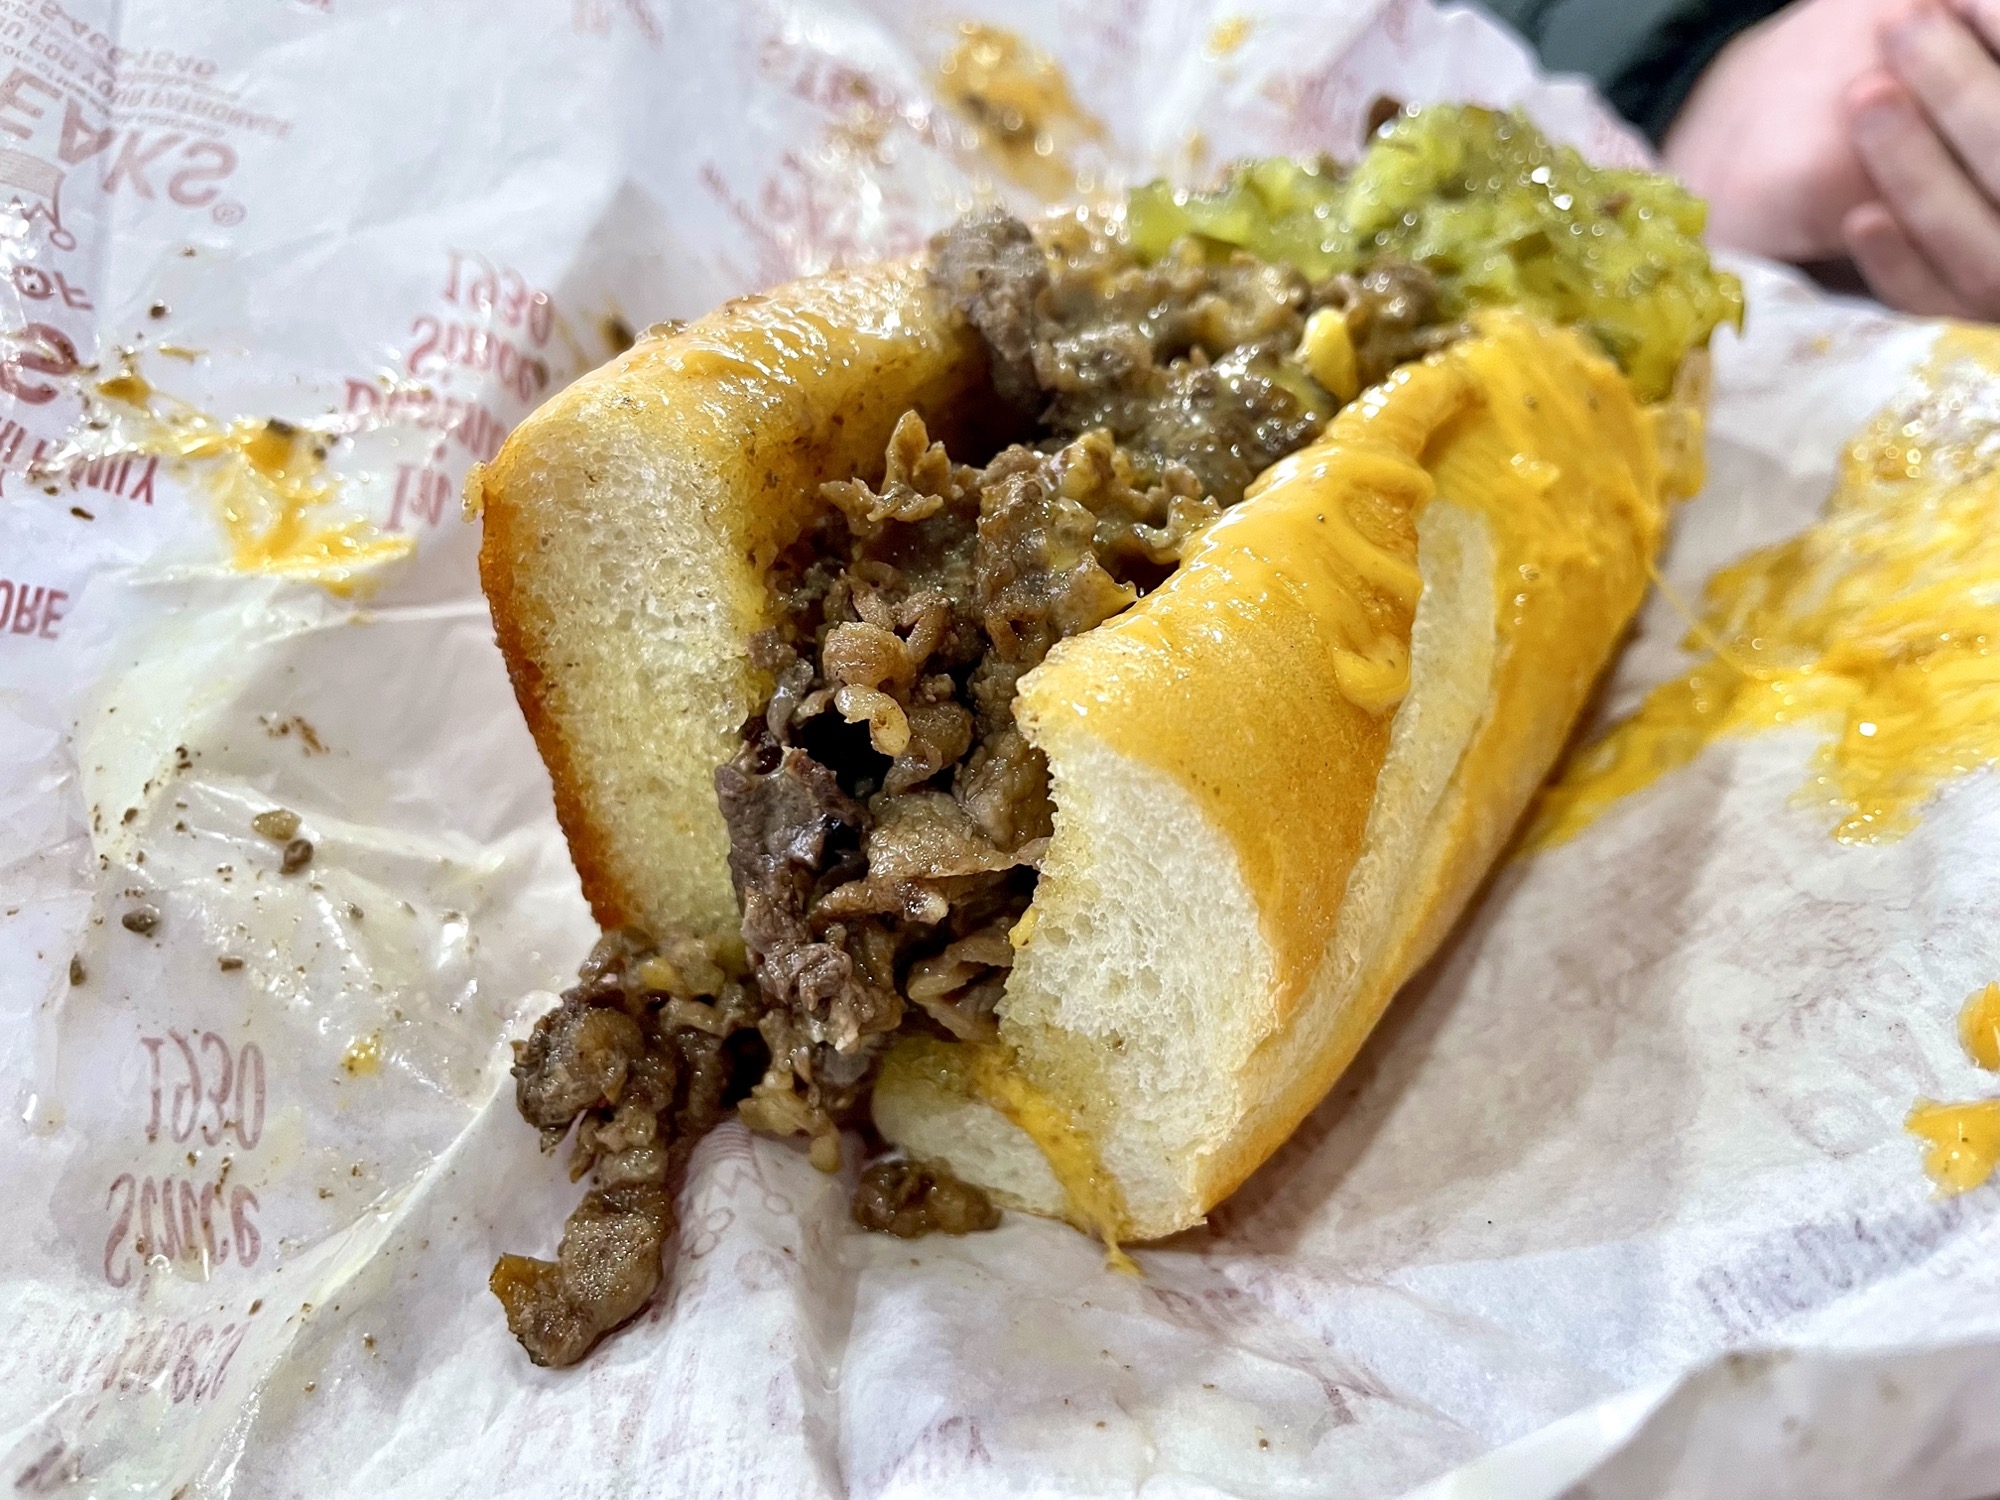
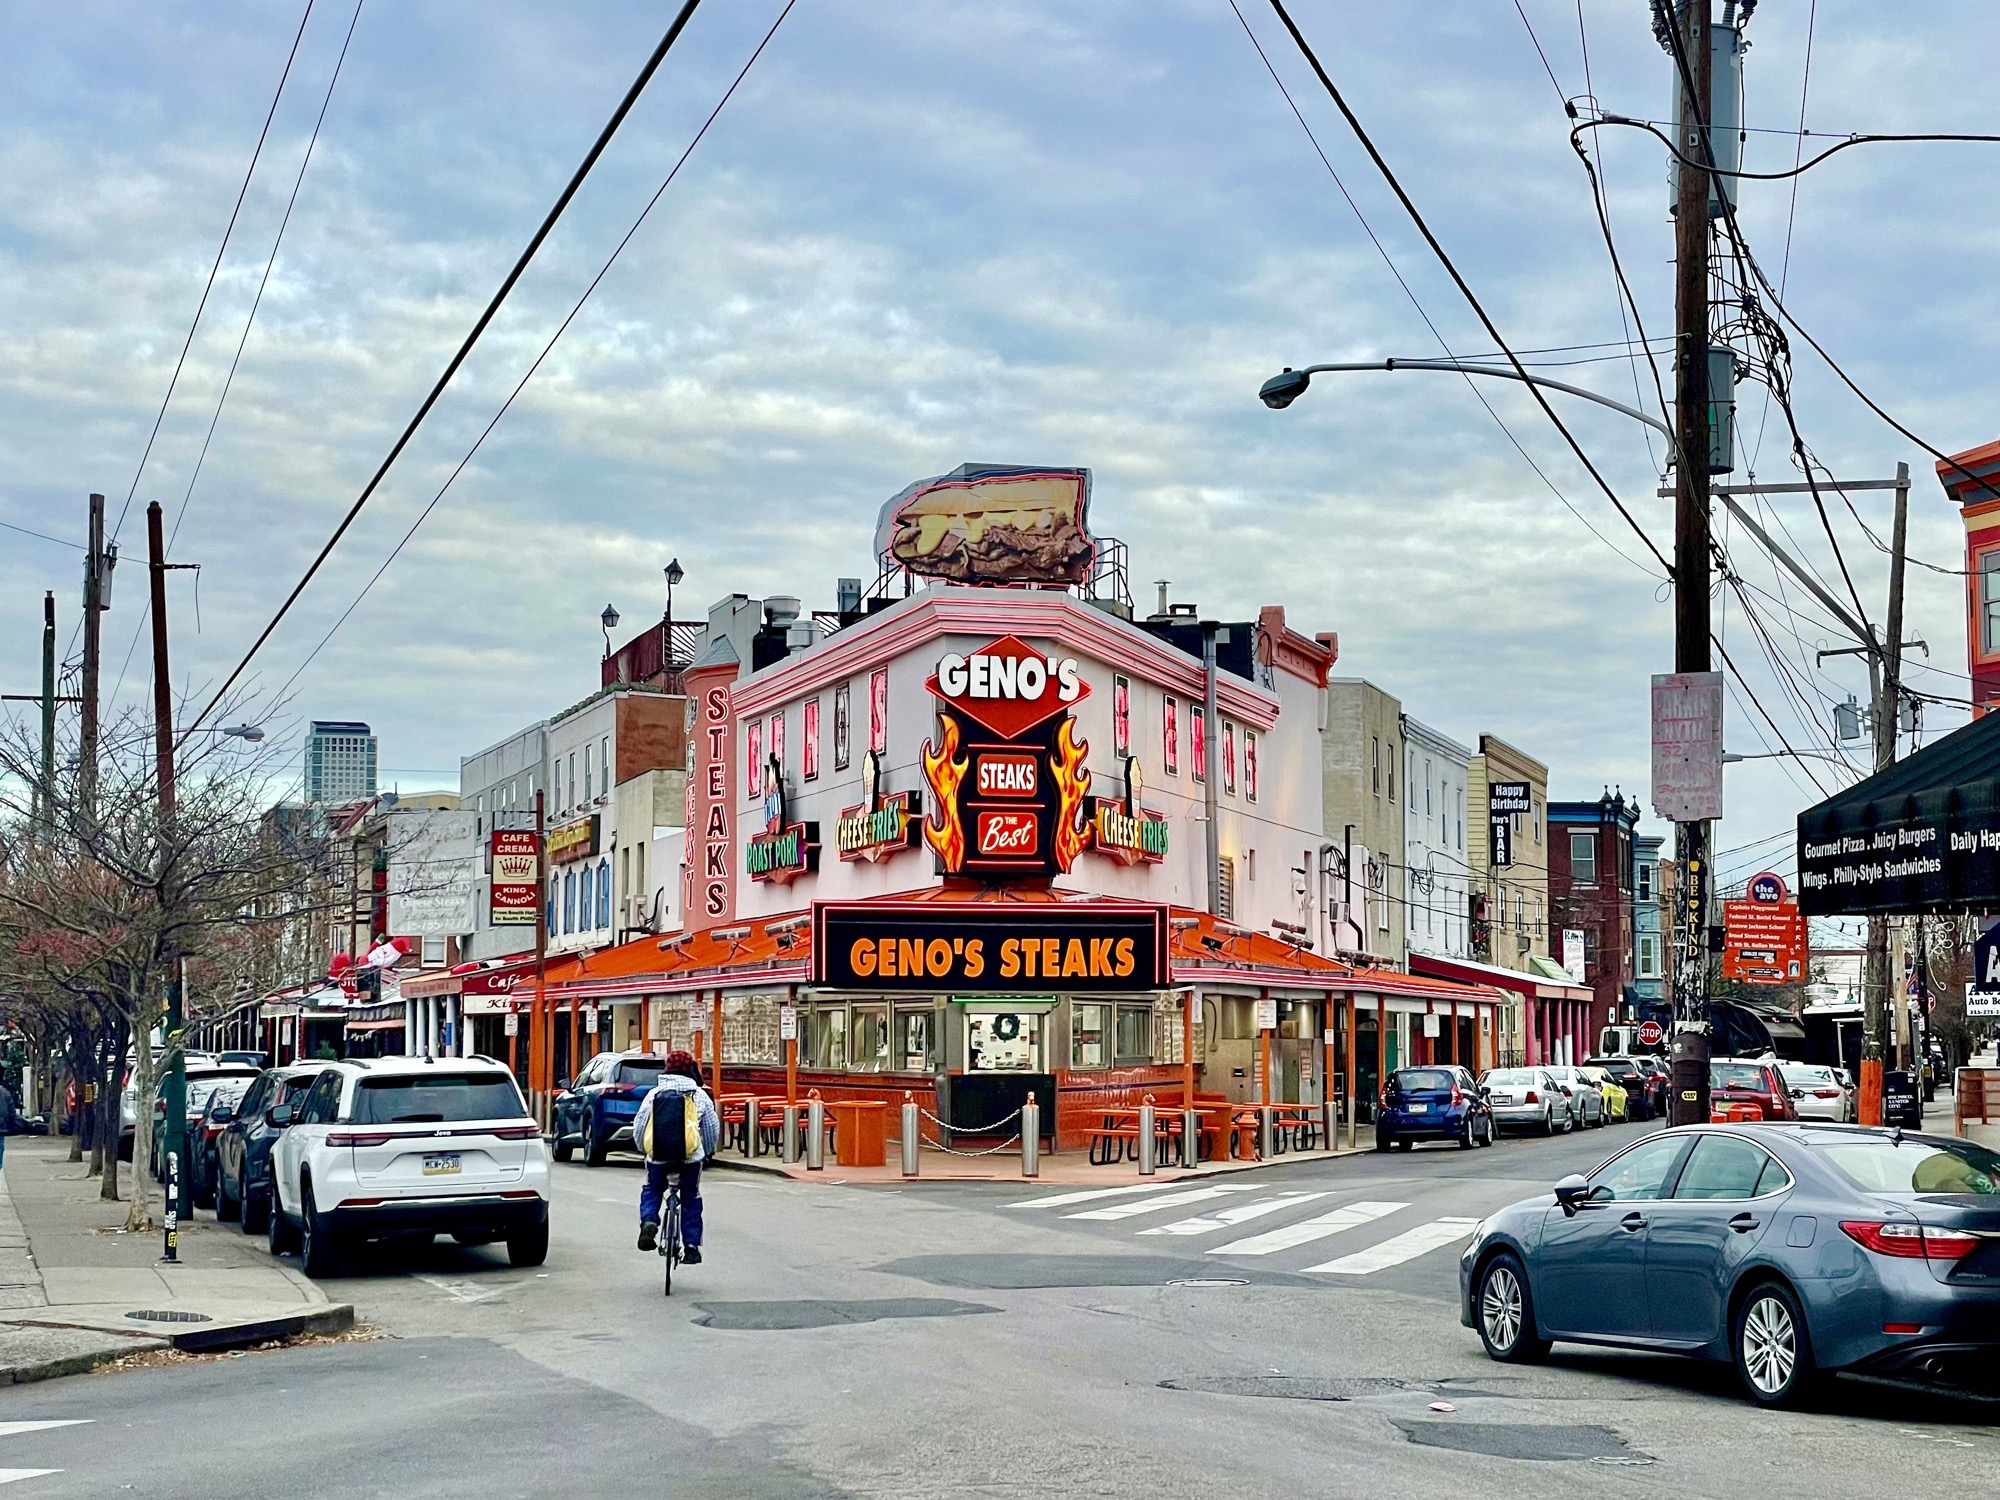
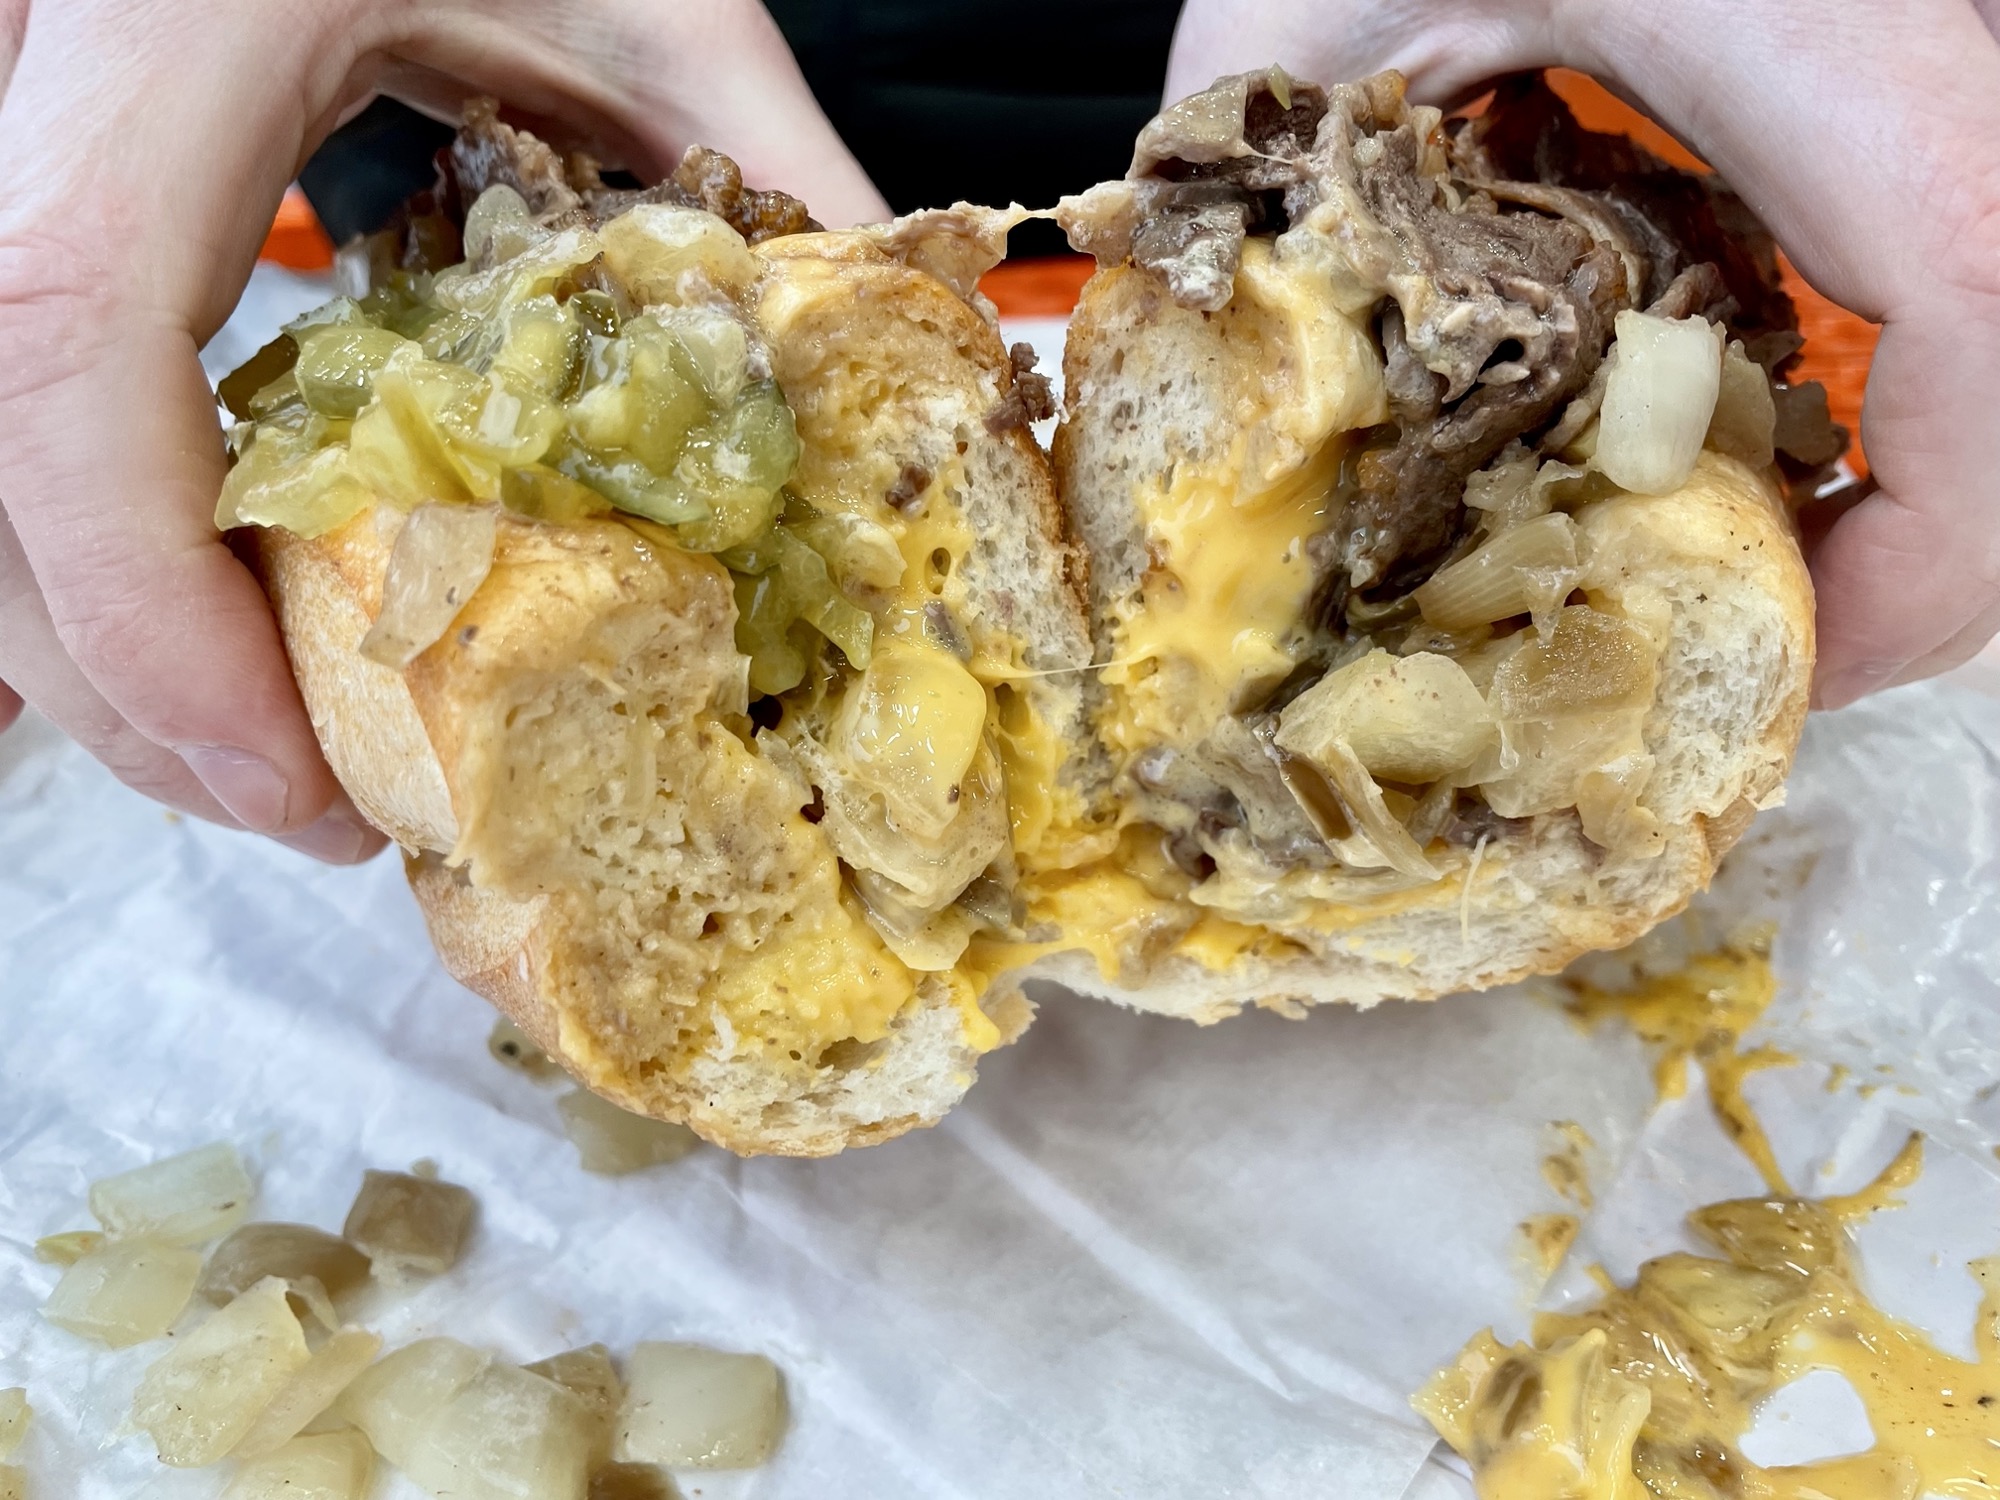
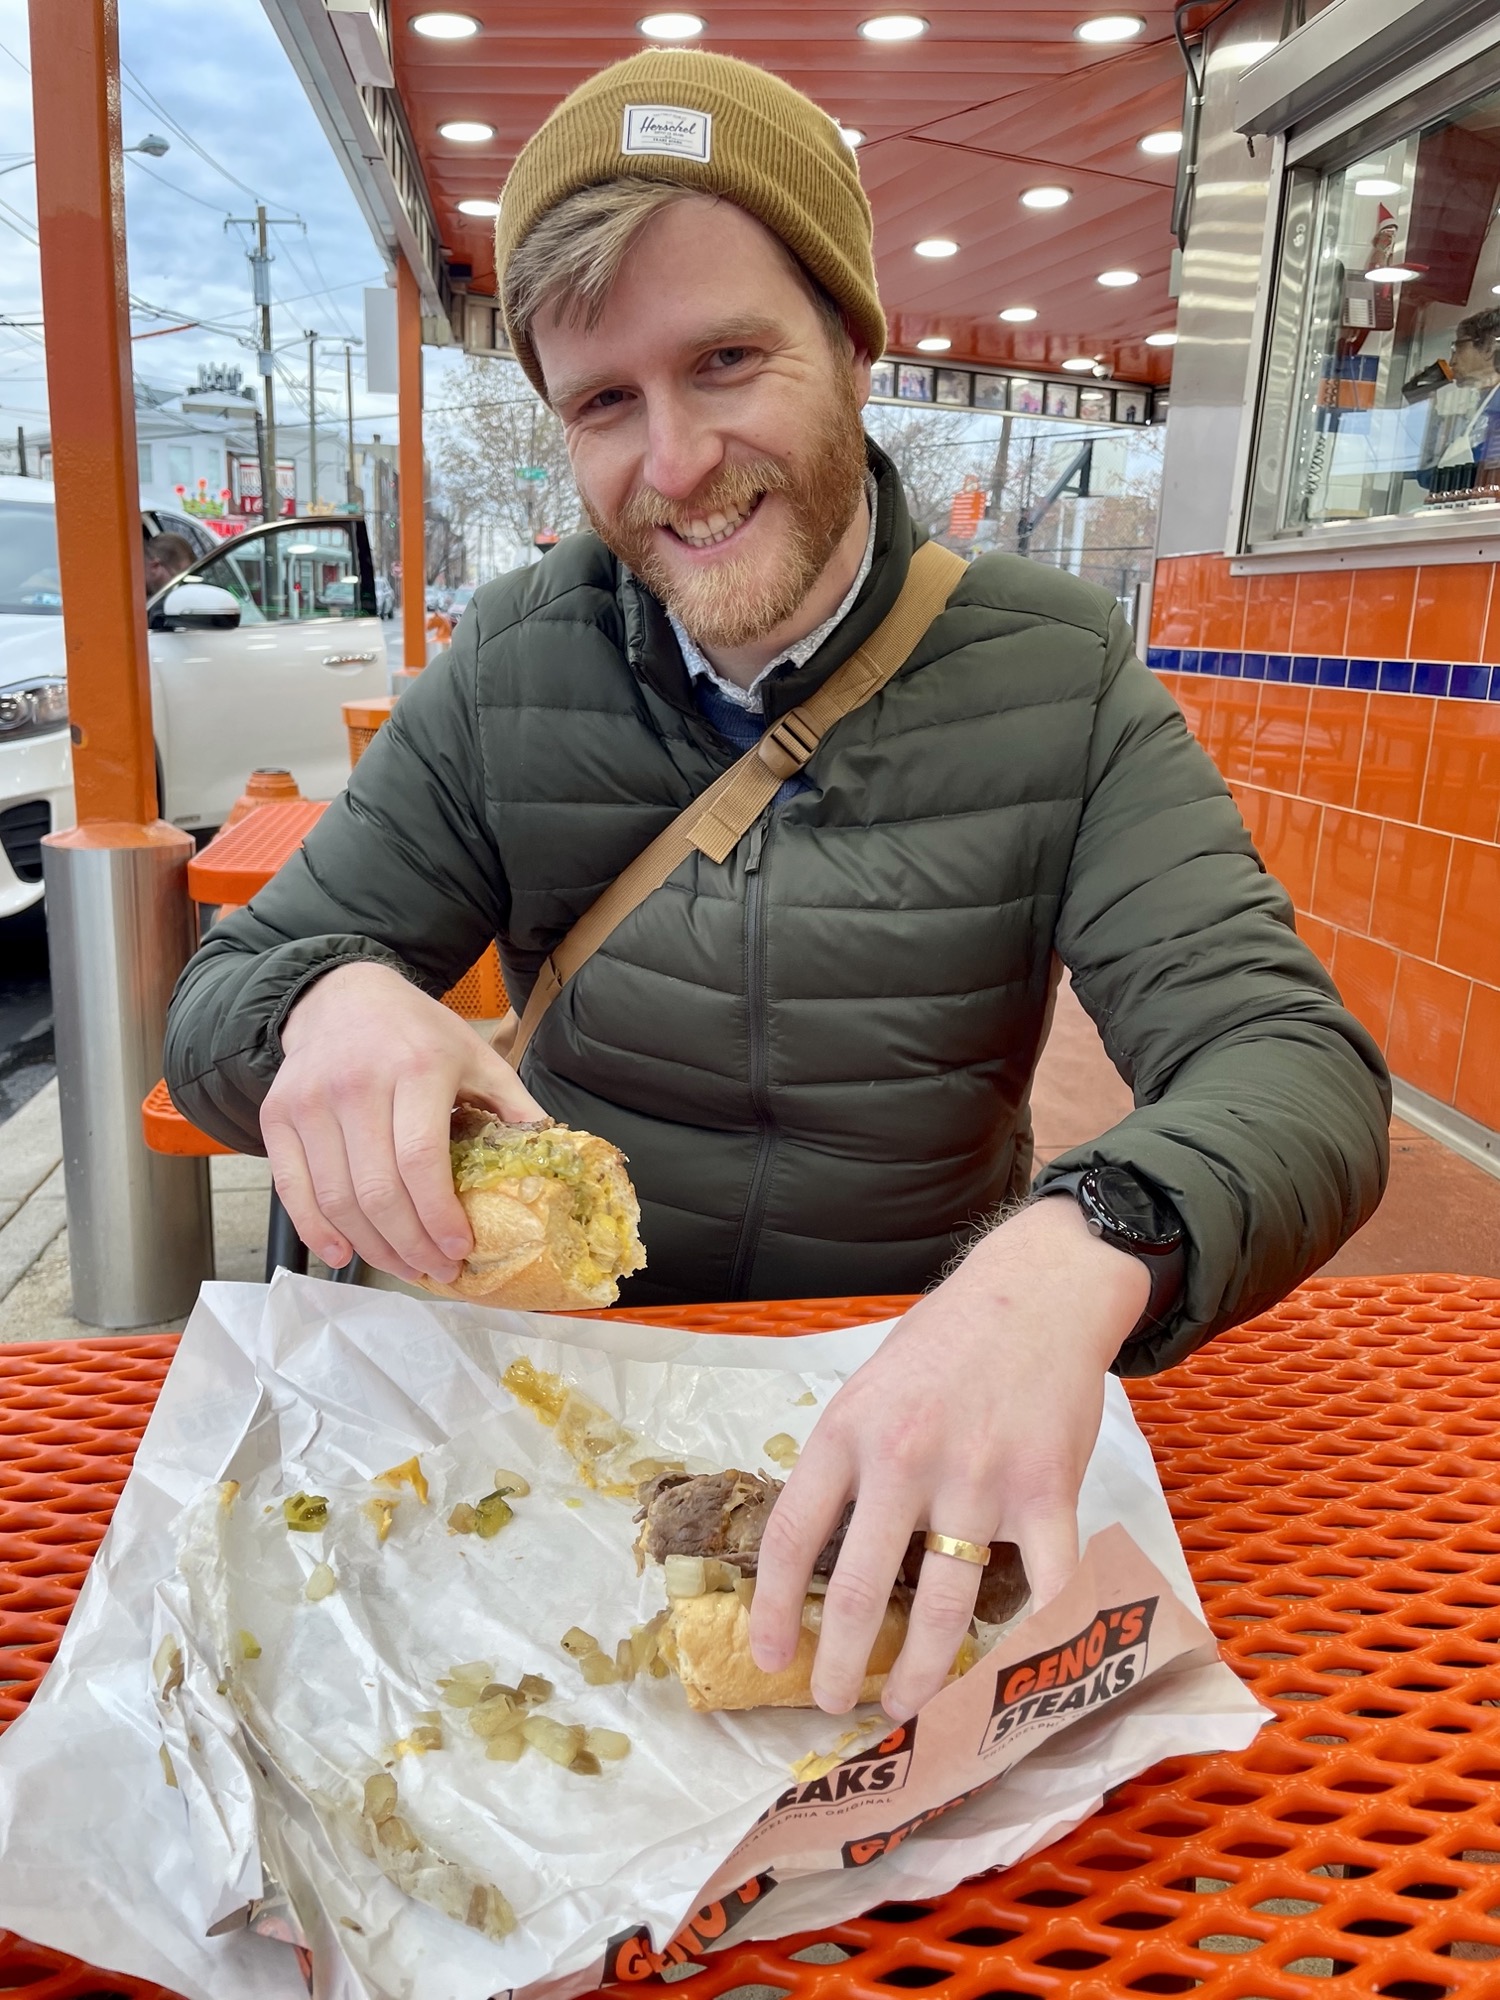
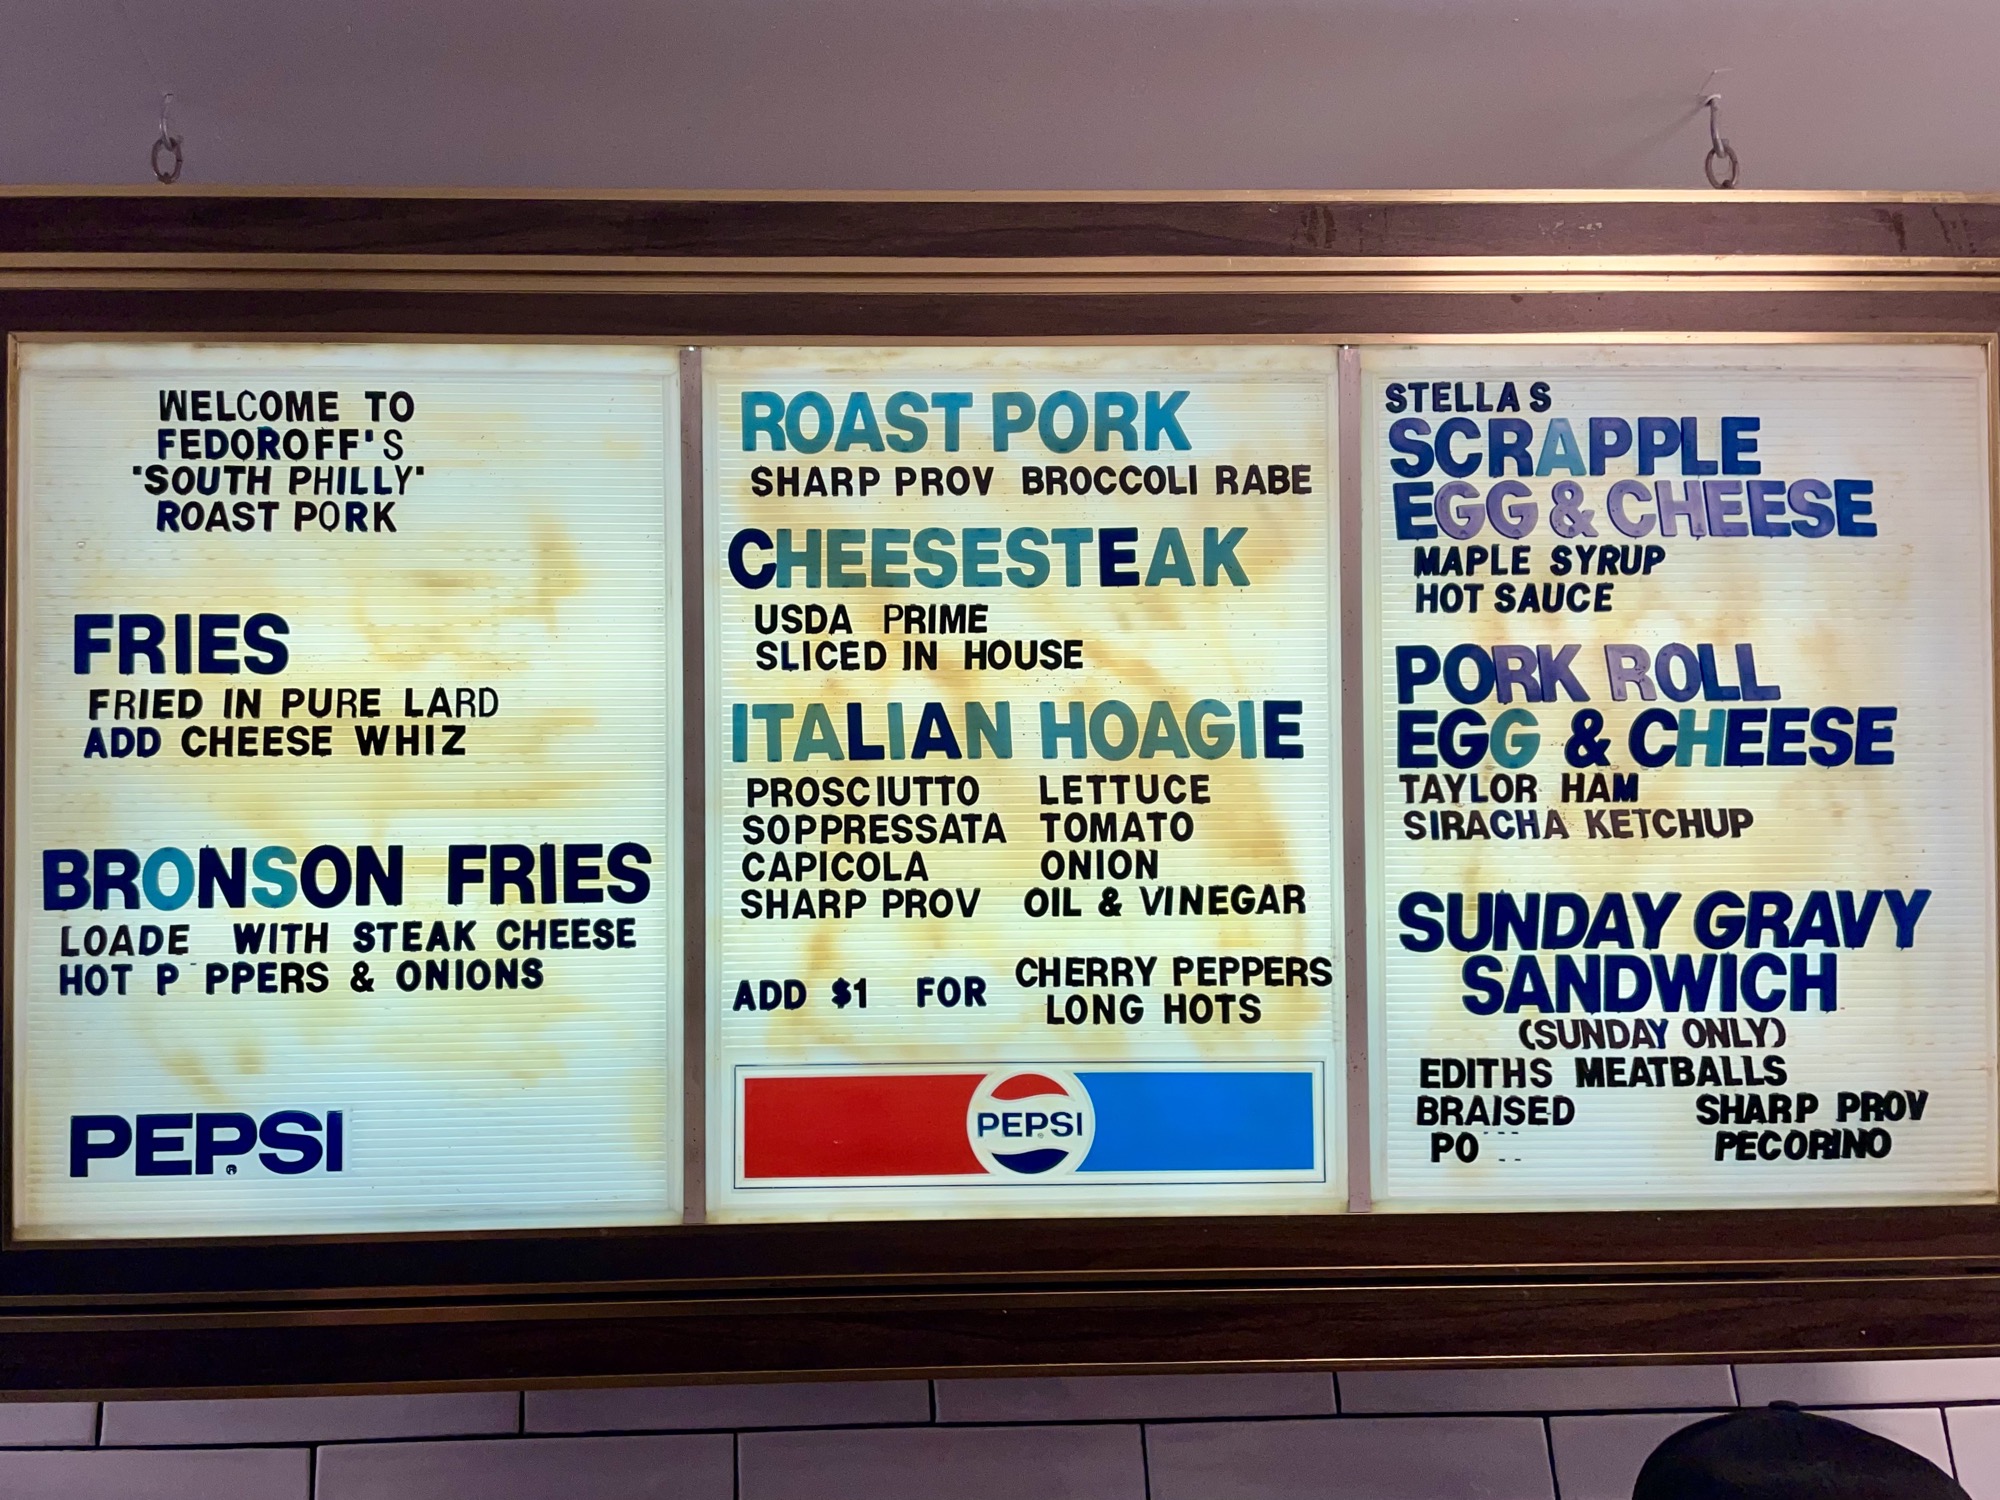
The Ultimate Guide to Top Philly Cheesesteak Spots
This is my ultimate guide to Philly Cheesesteaks in Philadelphia! I’ve made it my personal mission to try as many popular cheesesteak spots as I can find through online research, word of mouth, and local reviews. This post is my personal take on these popular spots!