Date Published: Aug 9th, 2022 | Last Updated: Aug 9th, 2022
Author: Abby |Category: < 15mins, appetizers, easy, healthy, low-cal, mains, quick and easy, snacks
Serves: 24 meatballs | Prep time: 15 mins | Cook time: 20 mins
Jump to recipe |
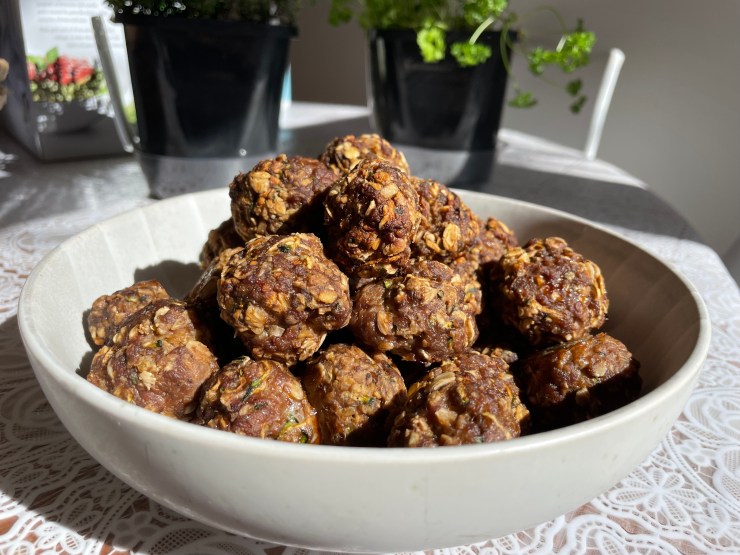
This meatball recipe will probably not be the best meatballs you’ve ever had, but they will probably be the most healthy and without compromising on flavour! High cholesterol runs in my family so I’m always looking for ways to lower fat, cut the grease, and sneak in some veg or oats – this meatball recipe does just that, by incorporating zucchinis, rolled oats, and 95% lean beef mince as the bulk of the meatball.
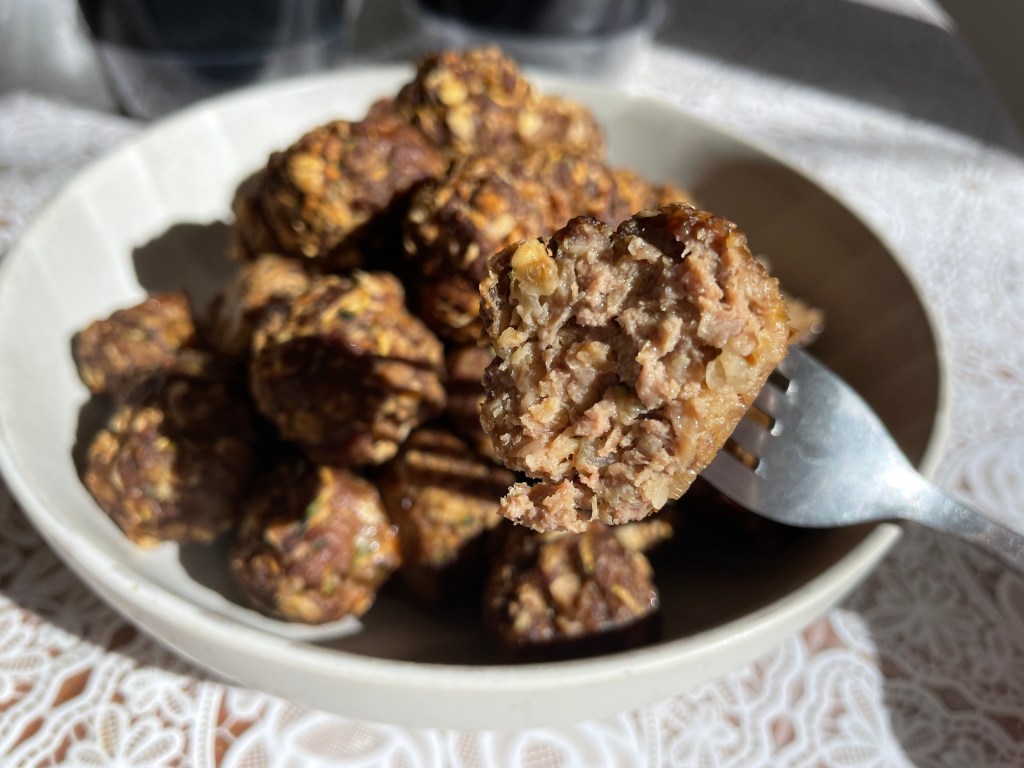
The one down side about a healthy minimal fat meatball is that it has a tendency to become dry when cooled, therefore they must be served asap when hot or tossed in a sauce or soup to absorb extra moisture. I like to add it to a pasta sauce and serve it with zoodles (zucchini noodles).
Anyways, without further ado, here’s the recipe! If you have any comments or suggestions, I’d love to hear from you in the comment section! You can follow me on instagram, youtube and facebook to see all the recipes I post!
Happy cooking!
Ingredients you’ll need:
- French Onion Seasoning:
- 1/4 cup onion flakes
- 1/2 tsp onion powder
- 1/2 tsp garlic powder
- 1 beef bouillon cube, crushed into a powder
- 1/2 tsp dried parsley
- 1/4 tsp celery salt
- 1/4 tsp black pepper
- 1 cup rolled oats
- 500g extra lean beef mince (95%)
- 1 egg
- 1 zucchini, grated with liquid squeezed out
Directions:
Preheat oven to 180˚C.


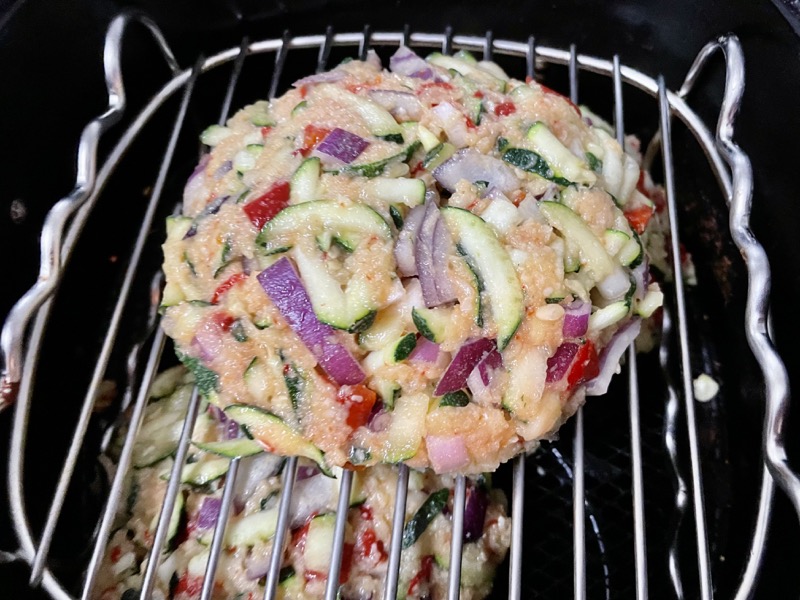
In a mixing bowl, mix together the seasoning ingredients (onion flakes, onion powder, garlic, beef bouillon, dried parsley, celery salt, black pepper). Next add in the rolled oats, beef mince, egg, and zucchini to the bowl and combine.
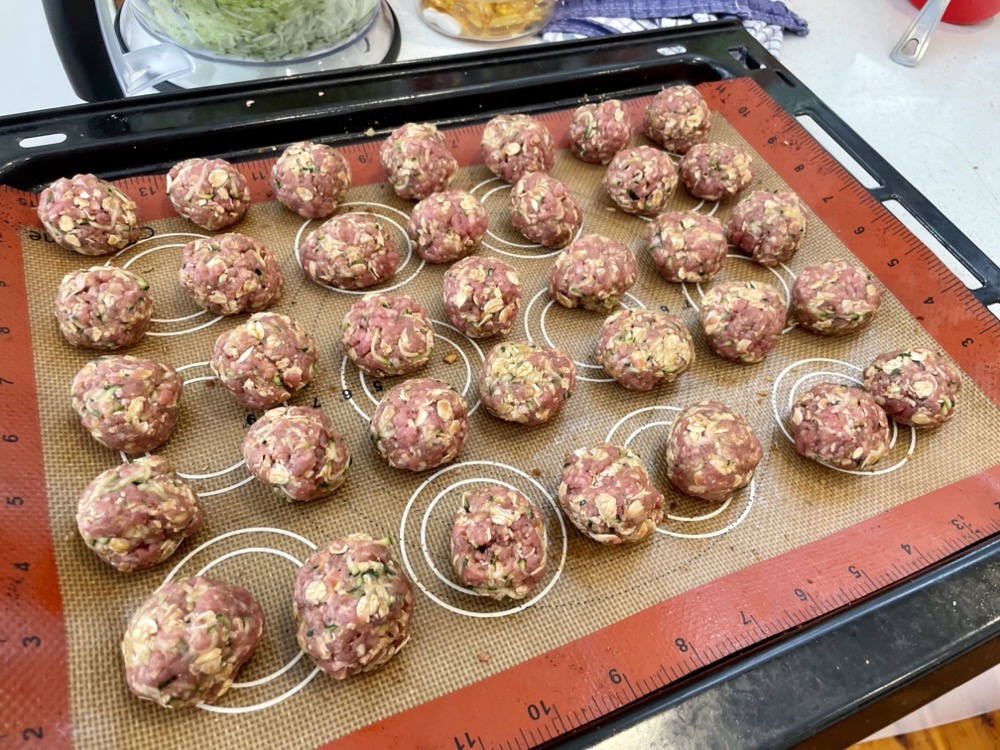

Form the mixture into even-sized meatballs – any size you like, as long as they’re all the same size. Makes about 50 x 3cm meatballs, or 24 x 5cm meatballs. Arrange the meatballs on a lined baking sheet and bake in the preheated oven for 15-20mins or until cooked (the timing will depend on how large your meatballs are). Serve immediately, toss in a sauce, or add into a soup.


Summarized Recipe:
Easy Healthy French Onion Meatballs
Date Published: Aug 9th, 2022 | Last Updated: Aug 9th, 2022
Author: Abby |Category: < 15mins, appetizers, easy, healthy, low-cal, mains, quick and easy, snacks
Serves: 24 meatballs | Prep time: 15 mins | Cook time: 20 mins
Ingredients:
- French Onion Seasoning:
- 1/4 cup onion flakes
- 1/2 tsp onion powder
- 1/2 tsp garlic powder
- 1 beef bouillon cube, crushed into a powder
- 1/2 tsp dried parsley
- 1/4 tsp celery salt
- 1/4 tsp black pepper
- 1 cup rolled oats
- 500g extra lean beef mince (95%)
- 1 egg
- 1 zucchini, grated with liquid squeezed out
Directions:
- Preheat oven to 180˚C.
- In a mixing bowl, mix together the seasoning ingredients (onion flakes, onion powder, garlic, beef bouillon, dried parsley, celery salt, black pepper). Next add in the rolled oats, beef mince, egg, and zucchini to the bowl and combine.
- Form the mixture into even-sized meatballs – any size you like, as long as they’re all the same size.
- Makes about 50 x 3cm meatballs, or 24 x 5cm meatballs.
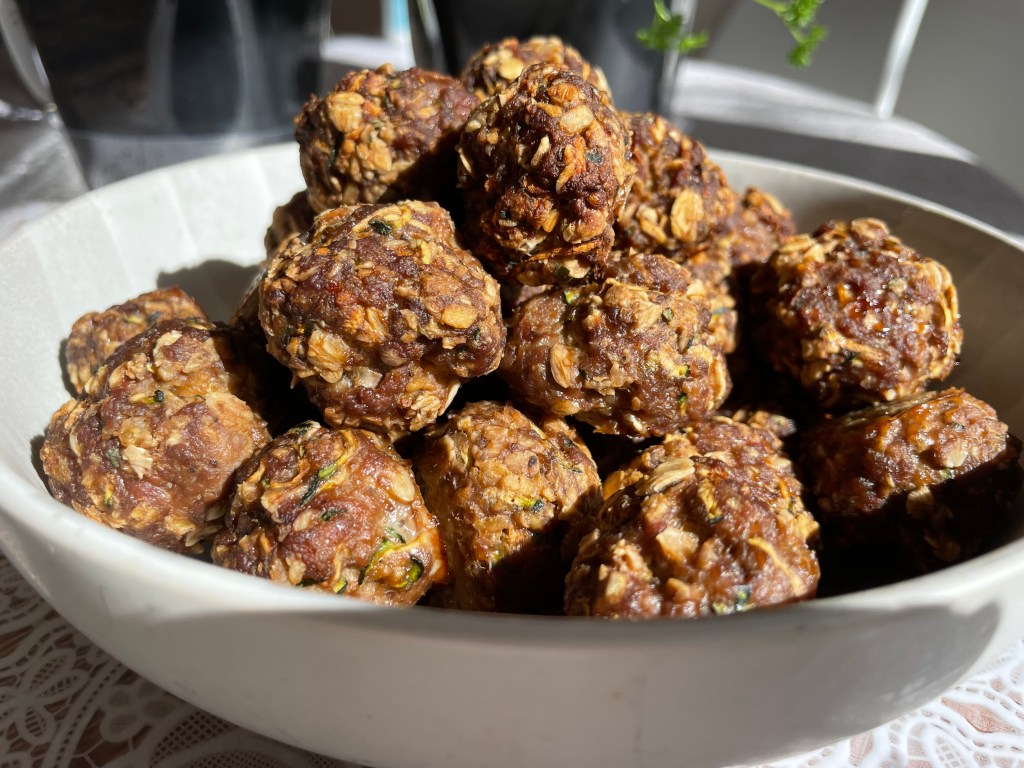
- Arrange the meatballs on a lined baking sheet and bake in the preheated oven for 15-20mins or until cooked (the timing will depend on how large your meatballs are). Serve immediately or toss in a sauce.