Date Published: Sept 5th, 2022 | Last Updated: Sept 5th, 2022
Author: Abby |Category: easy, <15mins, quick, healthy, low-cal, sauces
Serves: 4-6 | Prep time: 2 mins | Cook time: 5 mins
Jump to recipe |
KFC is one of the first fast foods I remember having when we first moved to Canada, and of course you HAVE to get the gravy when you have KFC. We were all obsessed with the gravy but my brother was the biggest fan of all. As the years went on and my older siblings moved away to uni, it was just my mom and I and we would occasionally get the Tuesday KFC deal at the food court in the mall near our house and the gravy has always been a staple. Now every time I have KFC gravy I’m transported back to the good ol’ family days of us huddled around a bucket with popcorn chicken. These days when Toby and I get KFC together, I always get a large popcorn chicken with not one, but TWO gravies because there’s only one gravy size in Australia and it’s never enough.
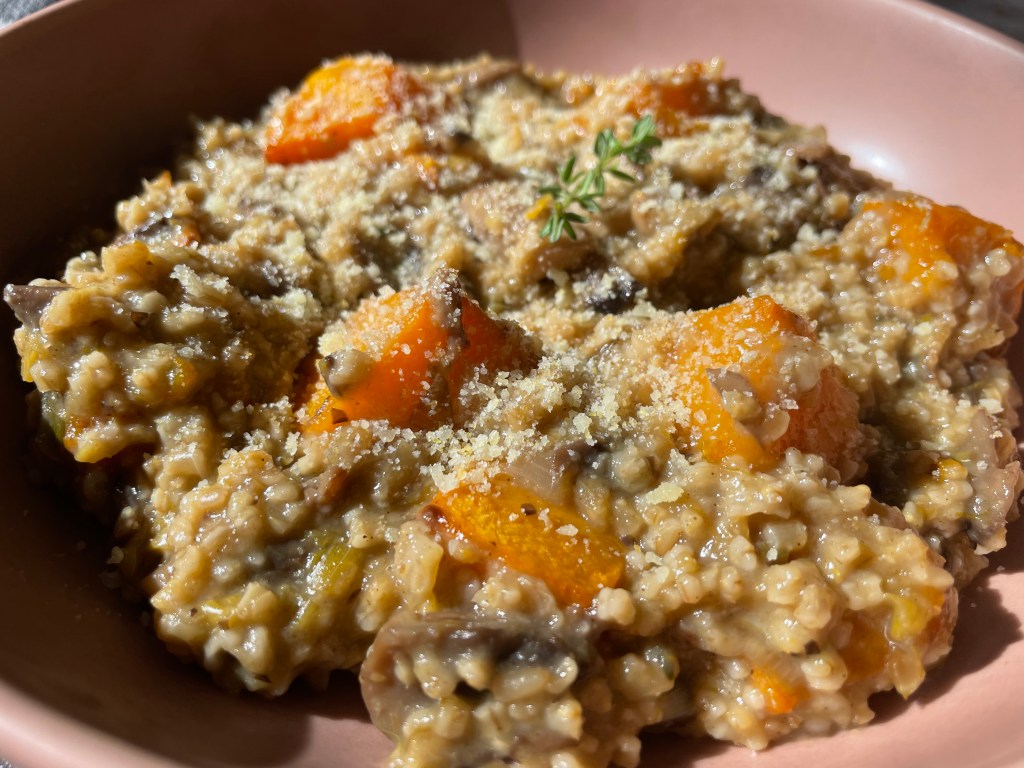
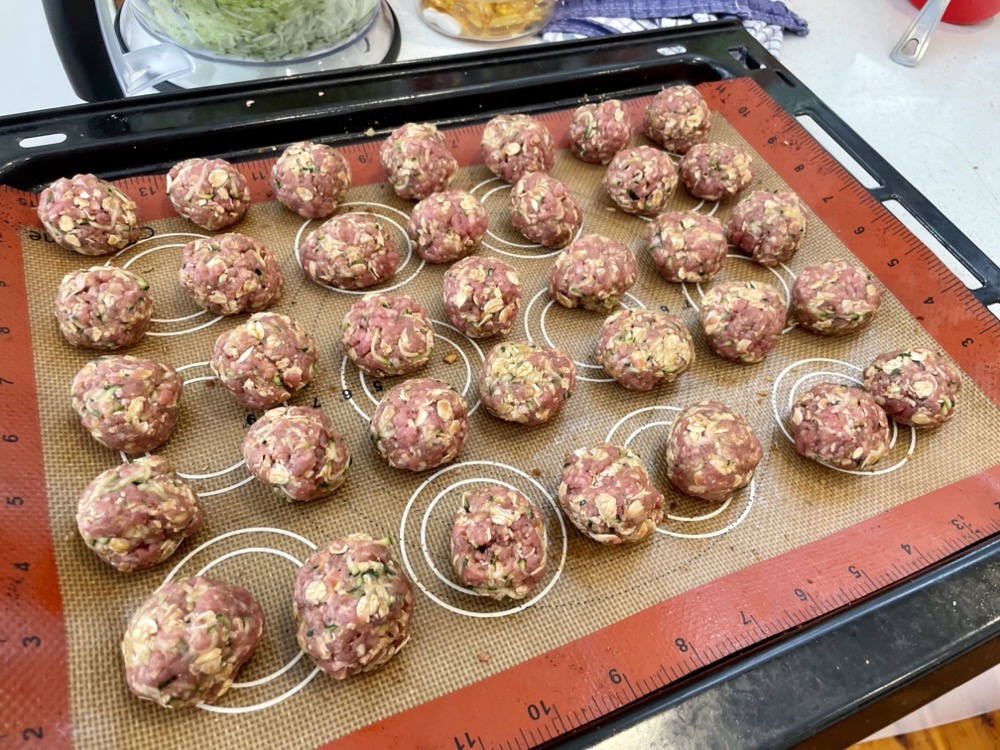
When I first came across this gravy recipe from RecipeTinEats, I was amazed by how quick and easy it was to make a copycat version of the KFC gravy and it’s also surprisingly low in calories. I’ve made it a bunch more times since with a few small tweaks. It goes amazing on everything, including these Healthy French Onion Meatballs.
Without further ado, here’s the recipe! If you have any comments or suggestions, I’d love to hear from you in the comment section! You can follow me on instagram, youtube and facebook to see all the recipes I post!
Happy cooking!
Ingredients you’ll need:
- 4 Tbsps plain flour
- 1/2 tsp onion powder
- 1/8 tsp garlic powder
- 1/4 tsp black pepper
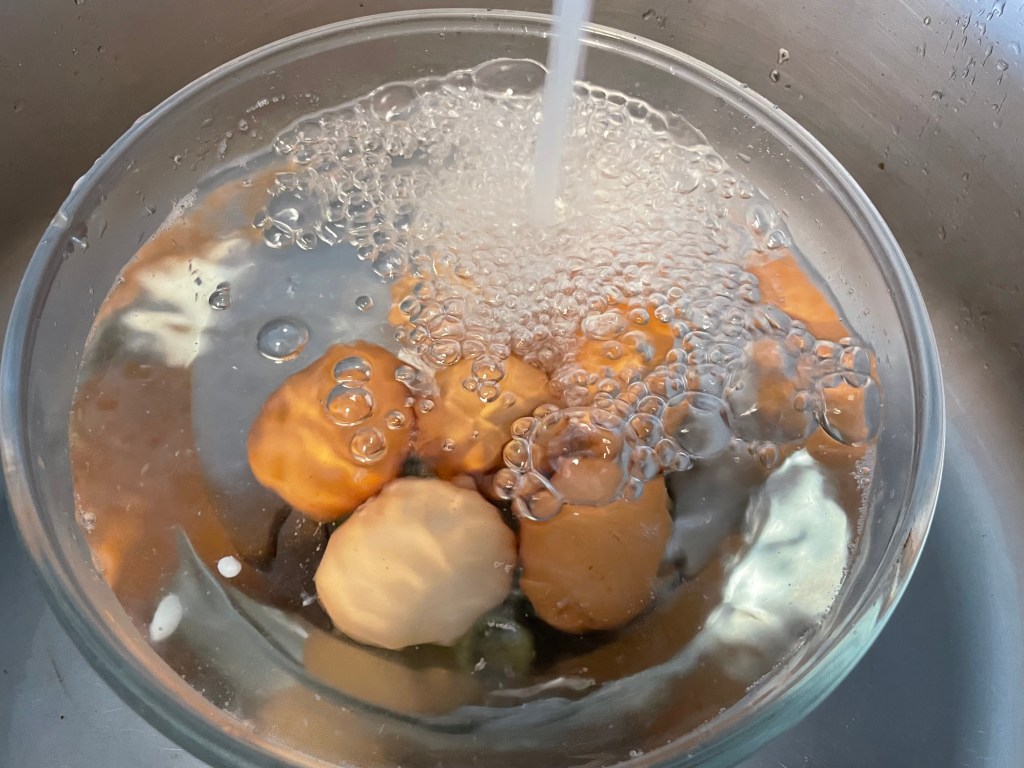
- 1 beef stock cube (concentration 1 cube = 1 cup)
- 1 chicken stock cube (concentration 1 cube = 1 cup)
- 2.25 cups (560ml) hot water
- 4 Tbsps (60g) unsalted butter
- Salt to taste
Directions:
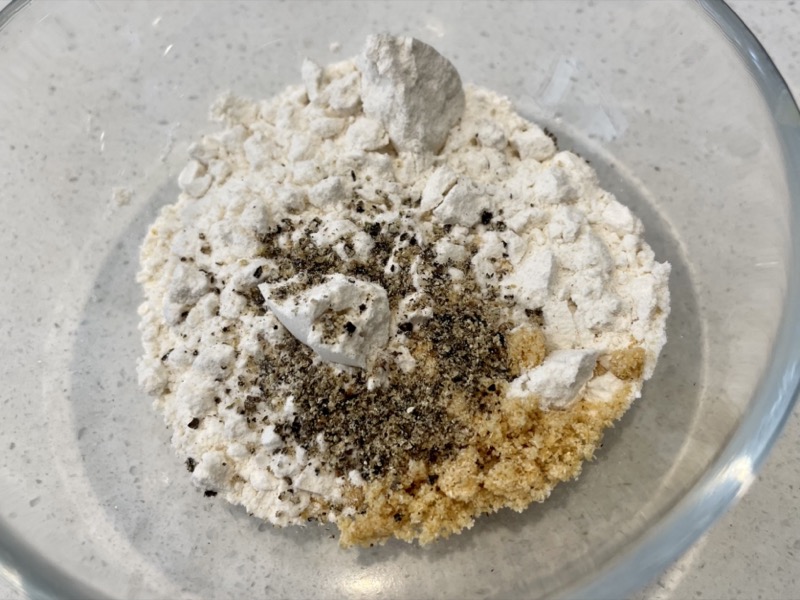
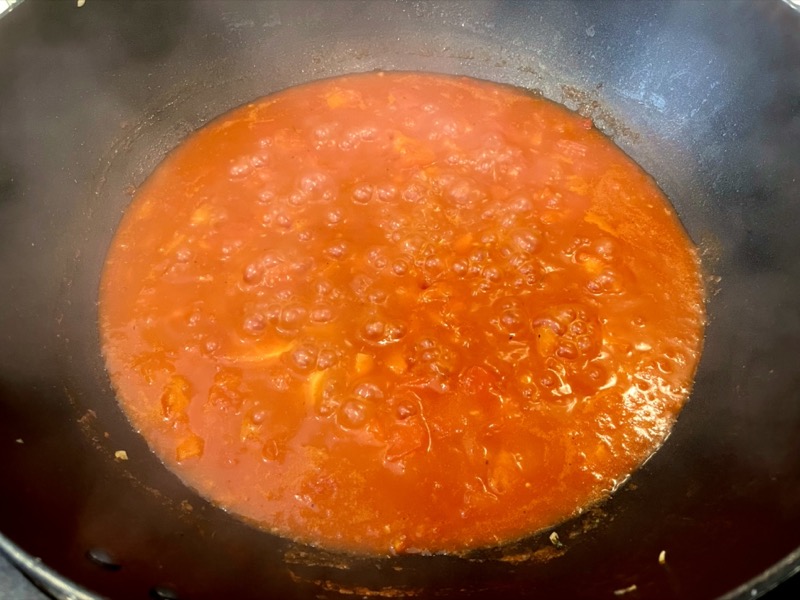
In a small bowl, combine the flour, onion powder, garlic powder, and black pepper. Set aside. In another bowl dissolve the beef stock cube and chicken stock cube in 2 cups of hot water. Set aside.

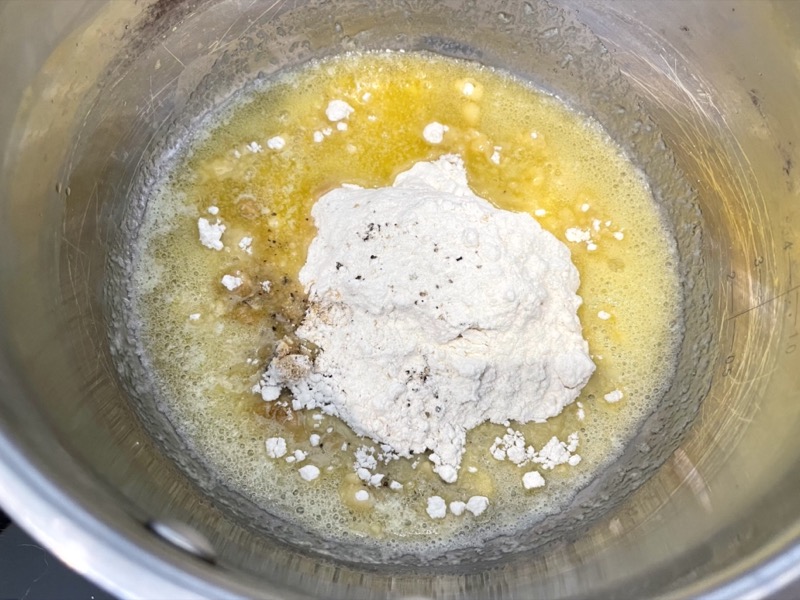
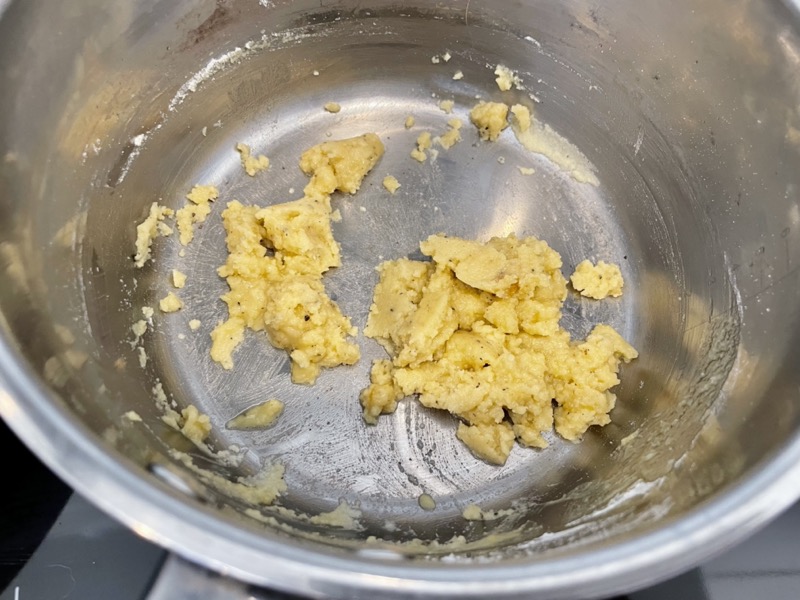
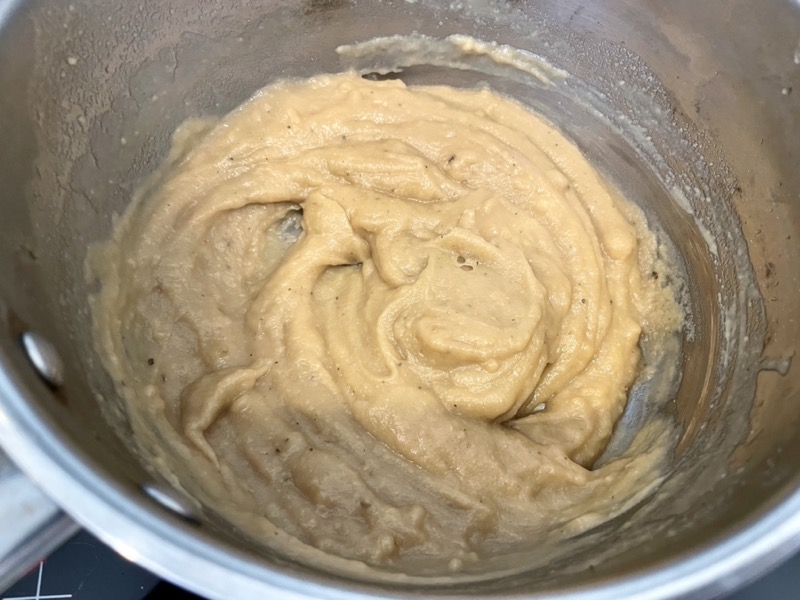

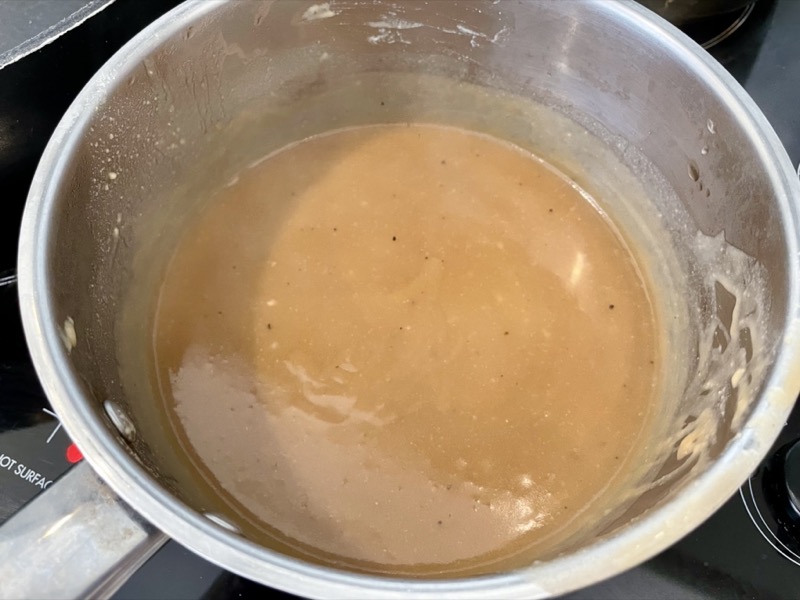
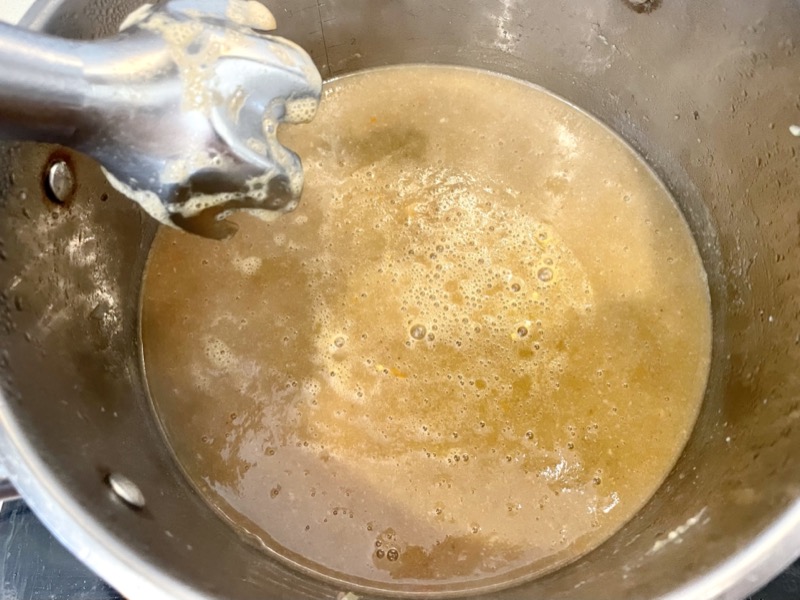
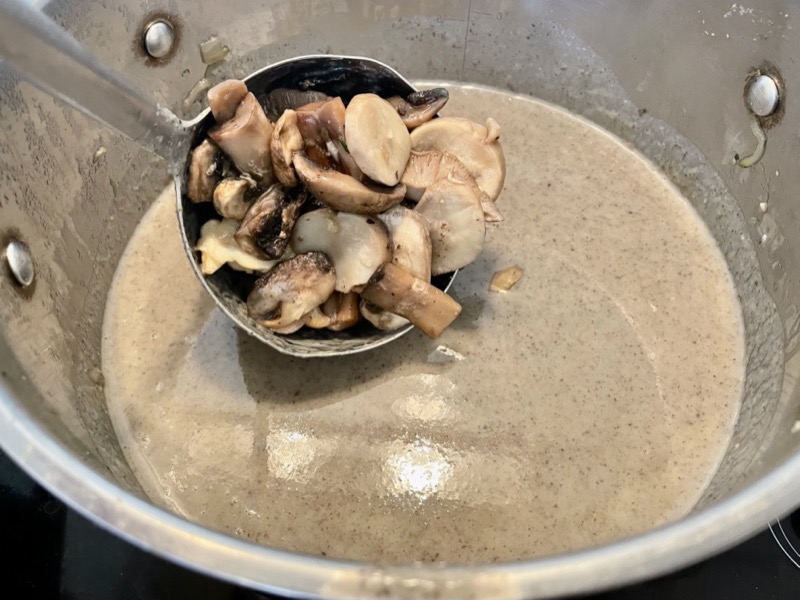
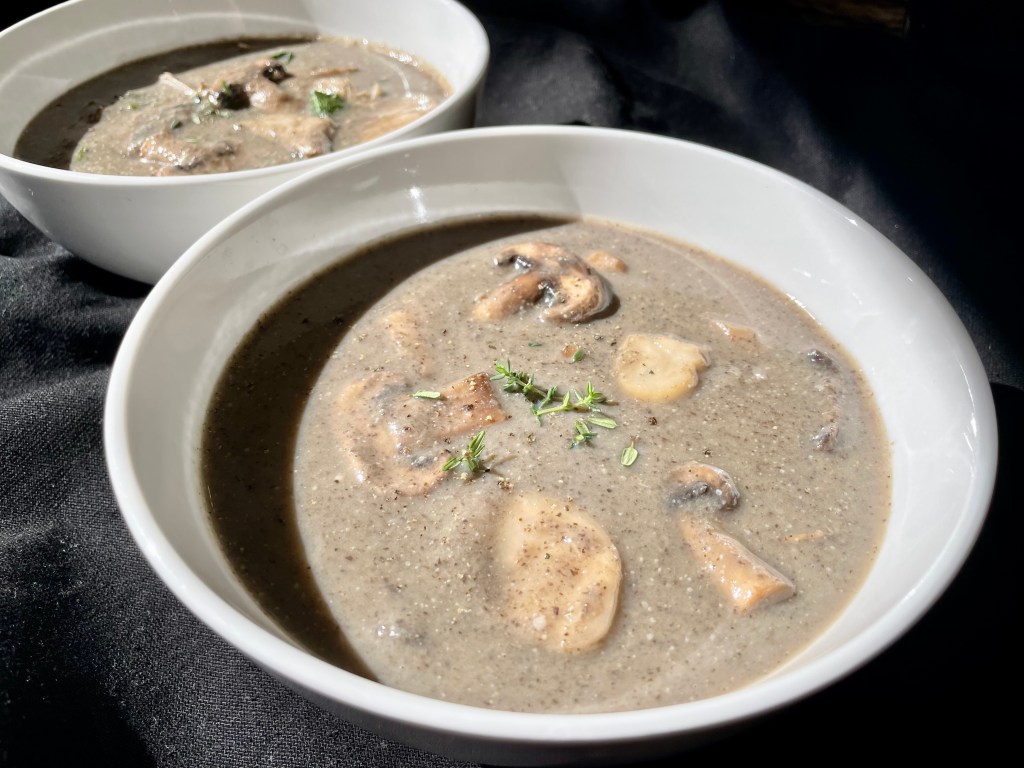
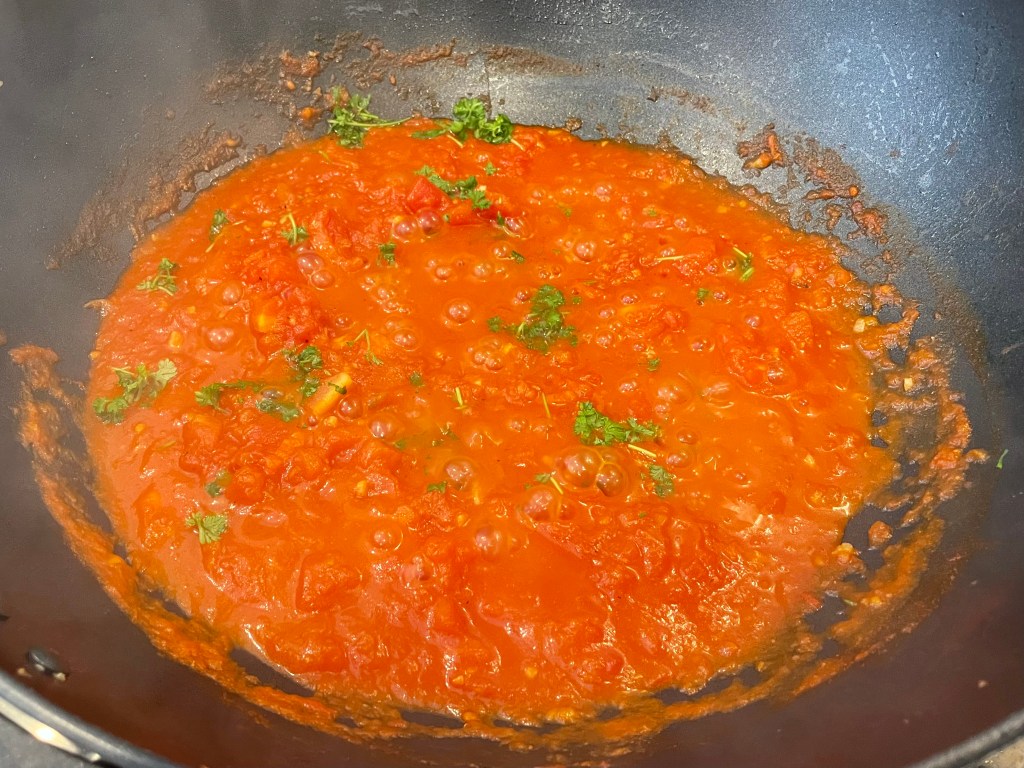
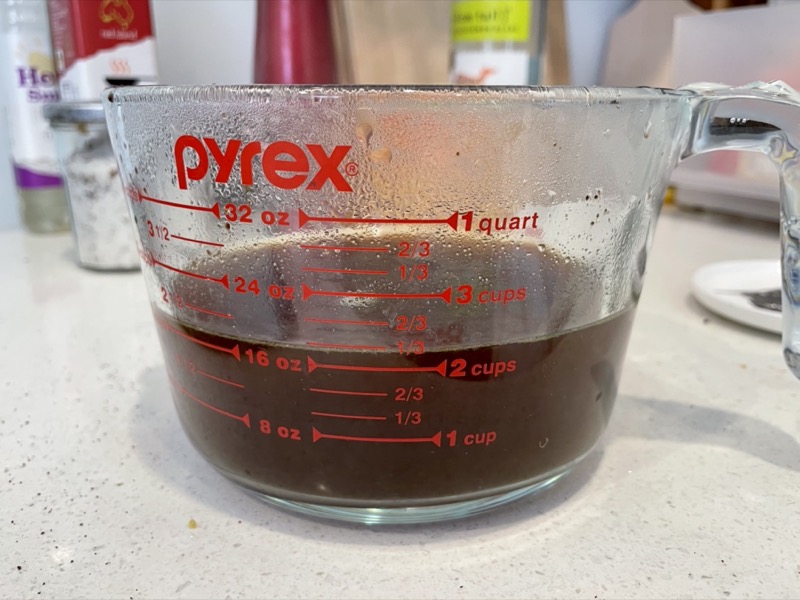
Put a saucepan on MED heat and dissolve the butter. Add in the flour mixture from step 1 to the butter and mix until combined. Add in a quarter cup of the stock at a time to the pan and mix thoroughly between each addition, making sure there are no clumps. Once you’ve finished adding all of the stock, taste and add salt if needed. Add more hot water if you prefer a runnier gravy. Turn off the heat and serve!


Summarized Recipe:
Copycat KFC Gravy (so easy and quick!)
Date Published: Sept 5th, 2022 | Last Updated: Sept 5th, 2022
Author: Abby |Category: easy, <15mins, quick, healthy, low-cal, sauces
Serves: 4-6 | Prep time: 2 mins | Cook time: 5 mins
Ingredients:
- 4 Tbsps plain flour
- 1/2 tsp onion powder
- 1/8 tsp garlic powder
- 1/4 tsp black pepper
- 1 beef stock cube (concentration 1 cube = 1 cup)
- 1 chicken stock cube (concentration 1 cube = 1 cup)
- 2.25 cups (560ml) hot water
- 4 Tbsps (60g) unsalted butter
- Salt to taste
Directions
- In a small bowl, combine the flour, onion powder, garlic powder, and black pepper. Set aside.
- In another bowl dissolve the beef stock cube and chicken stock cube in 2 cups of hot water. Set aside.
- Put a saucepan on MED heat and dissolve the butter. Add in the flour mixture from step 1 to the butter and mix until combined. Add in a quarter cup of the stock at a time to the pan and mix thoroughly between each addition, making sure there are no clumps. Once you’ve finished adding all of the stock, taste and add salt if needed. Add more hot water if you prefer a runnier gravy. Turn off the heat and serve!