Date Published: Jan 1st, 2025 | Last Updated: Jan 1st, 2025
Author: Abby |Category: sides, vegetarian, easy
Serves: 8 (1 large bowl) | Prep time: 15 mins | Cook time: 40 mins
Jump to recipe |
Happy New Year everyone!!!!🥳 I hope everyone had a great 2024, if not, here’s to a better 2025! To kick off the new year, here’s a twist to an old staple.
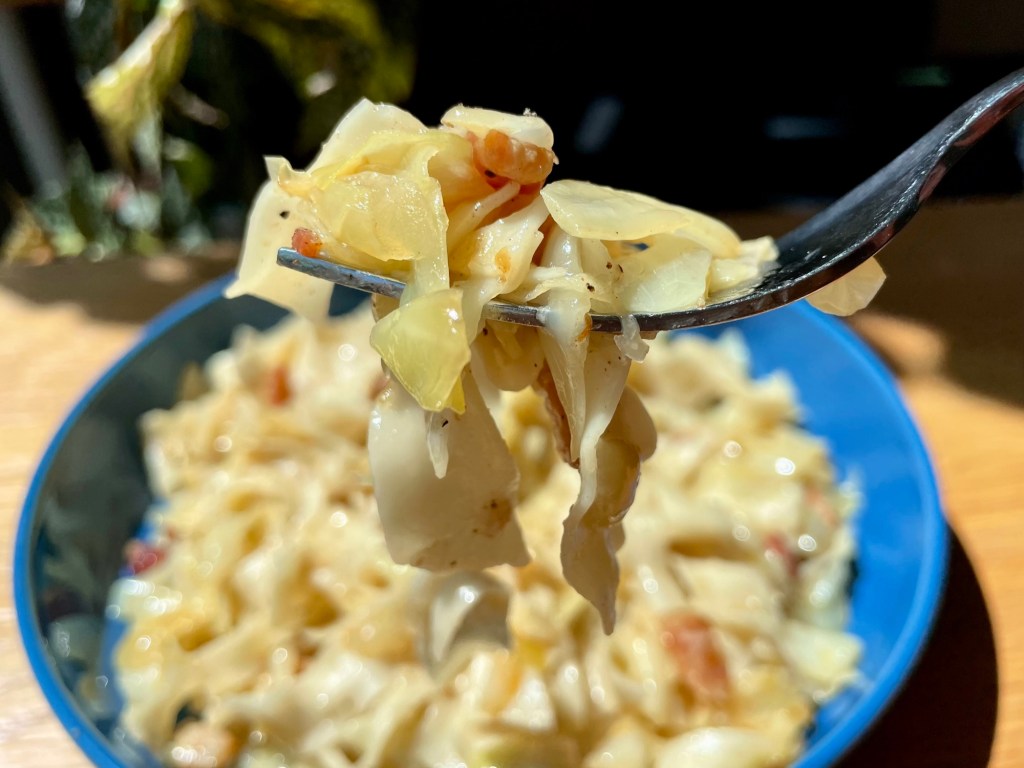
Colcannon is a traditional Irish mashed potato dish that incorporates kale (or cabbage). It sounds weird, but trust me, it actually works. Think of the kale as an excuse to pile on that butter. 😉
I learned of this dish when I found myself with a large bunch of kale taking up half the space in the vegetable drawer and some potatoes threatening to sprout. A quick search of these ingredients led me to this dish and now this is my go-to mashed potato dish to serve at any occasional to make an interesting twist to a classic.
Anyways, without further ado, here’s the recipe! If you have any comments or suggestions, I’d love to hear from you in the comment section! You can follow me on instagram, youtube and facebook to see all the recipes I post!
Happy cooking!
Ingredients you’ll need:
- 1kg Yukon gold potatoes, diced (peeled or unpeeled depending on how like it)
- 6 Tbsps (85g) unsalted butter
- 1 large bunch (~6-8 cups, semi-packed) of kale (curly or lacinato), stems removed and chopped small
- 3 cloves garlic, minced
- 3 spring onions, sliced
- 1/2 cup milk
- Salt & pepper to taste
Directions:
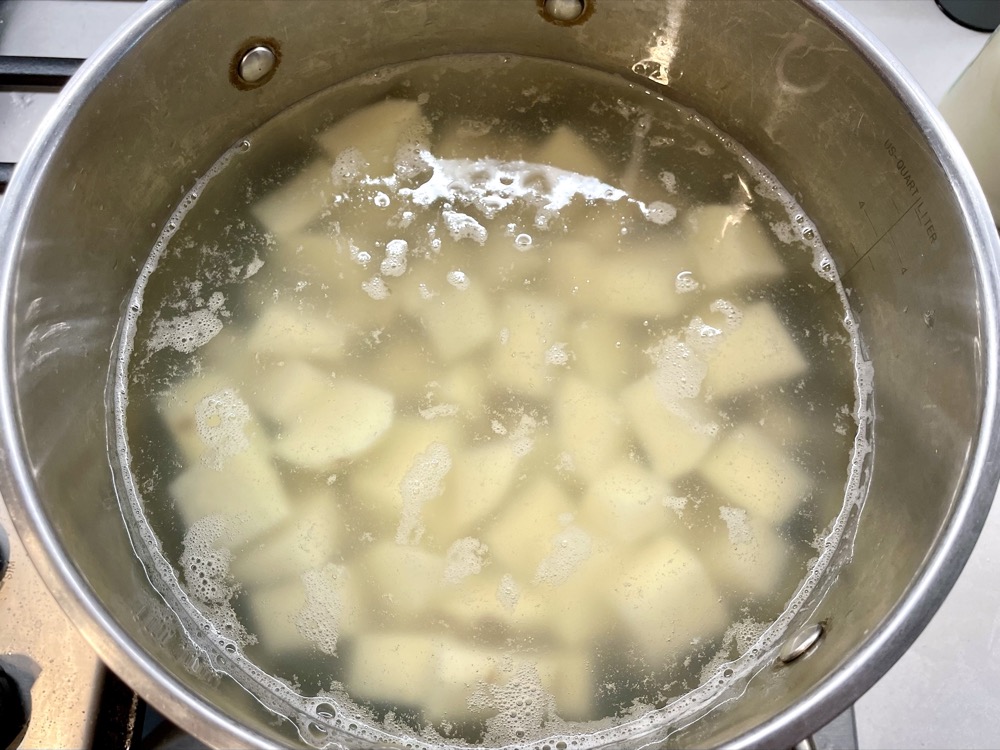

Place the potatoes in a pot and add enough water to cover and a sprinkle of salt. Bring the heat up to HIGH to let the water come to a boil, then turn it down to MED and continue to simmer until the potatoes are fork-tender (~15-20 mins). Drain and set aside.


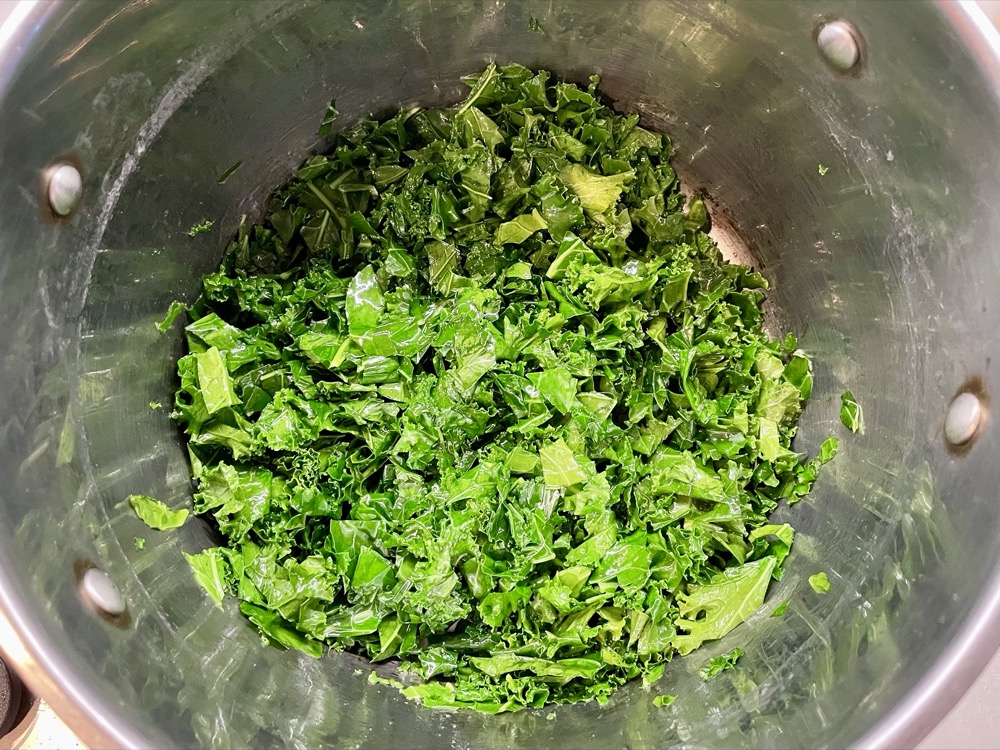
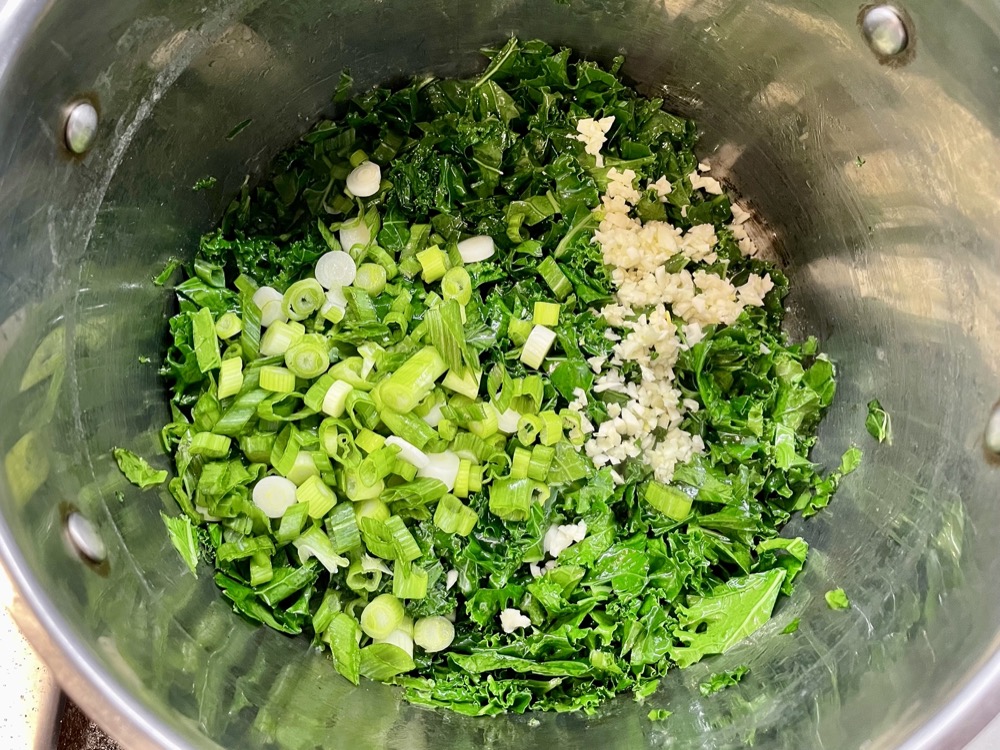
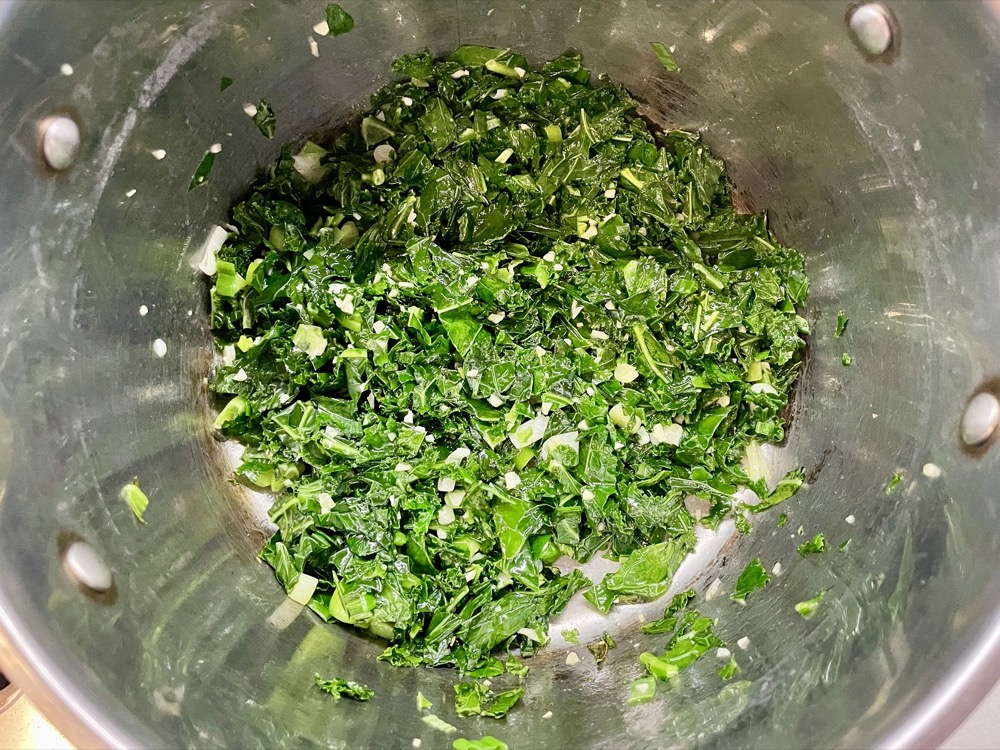
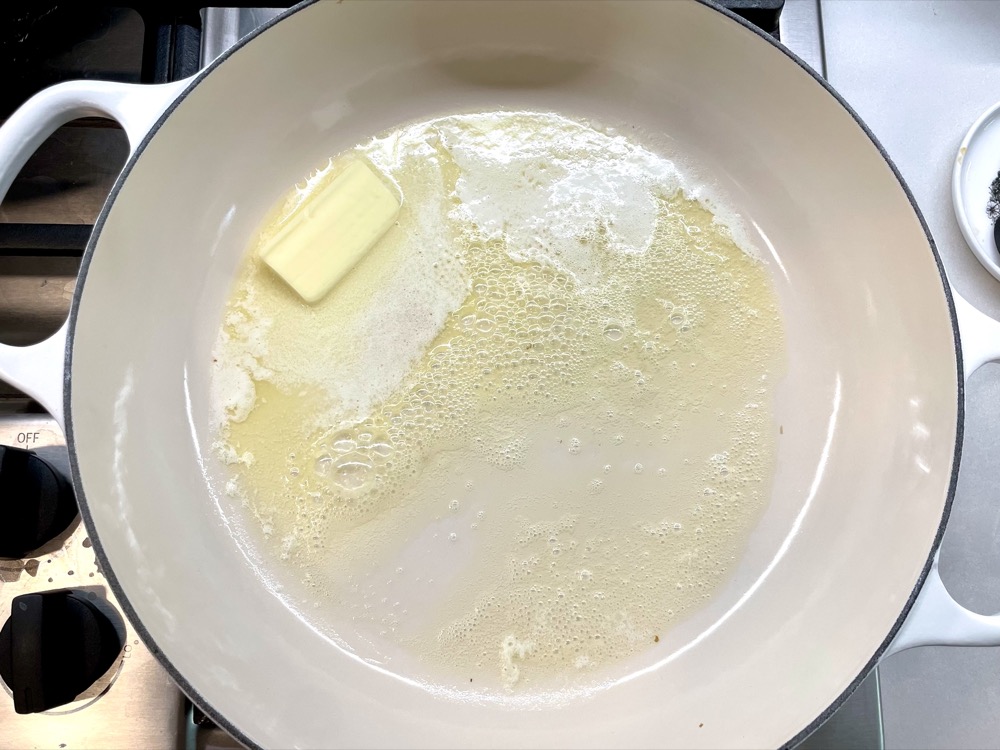
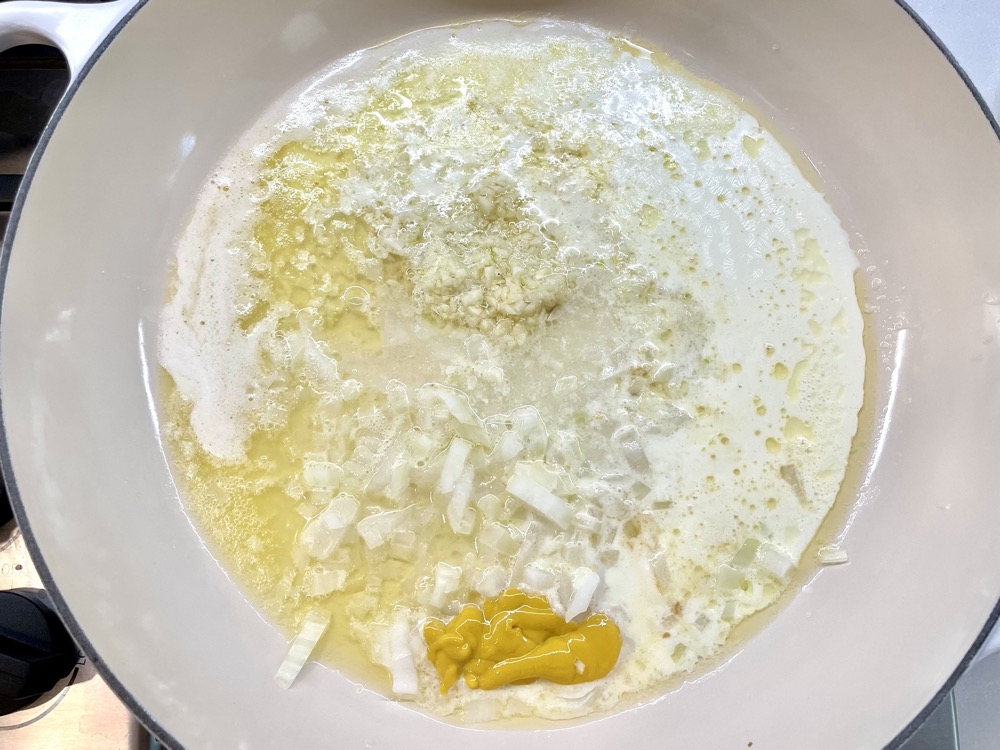
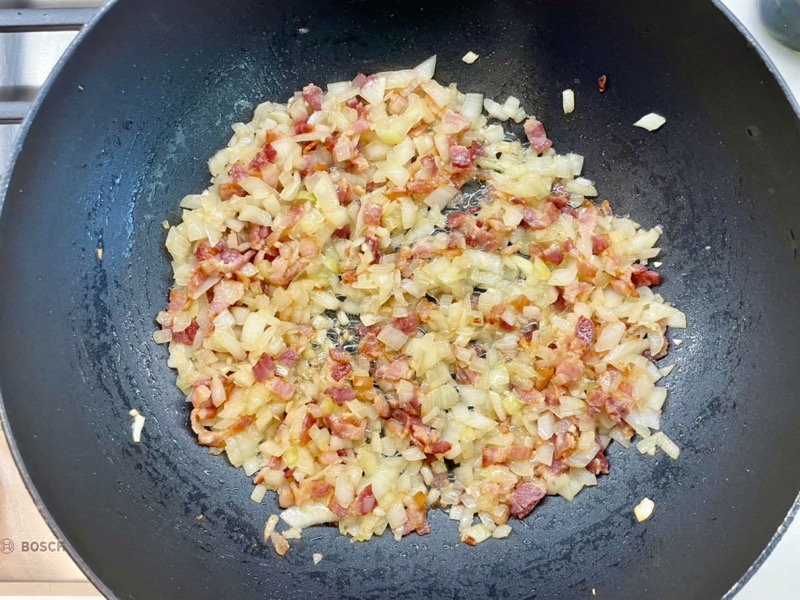
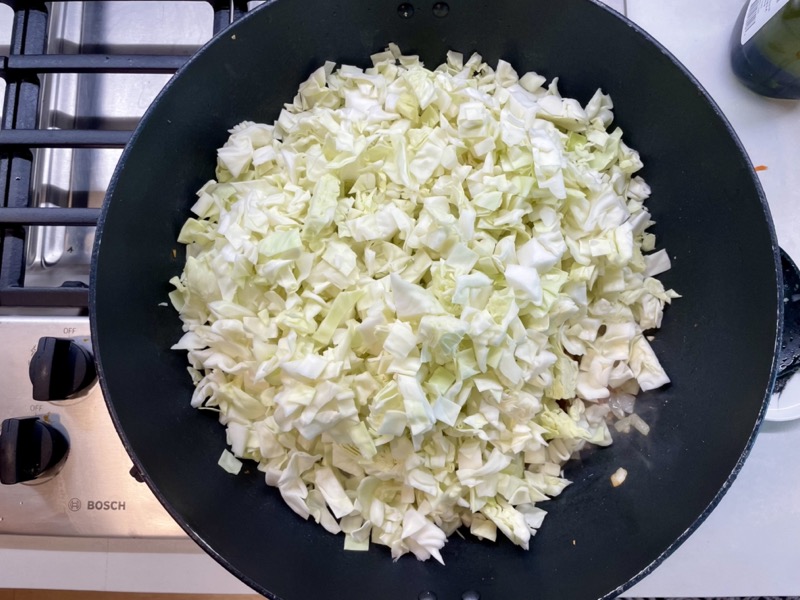
In a medium sized pot or deep pan on MED-HIGH heat, melt the butter and add in the kale. Sauté for a few minutes until the leaves are wilted. Add in the garlic and spring onions and continue to cook for another 2 minutes until fragrant and the spring onions have softened.
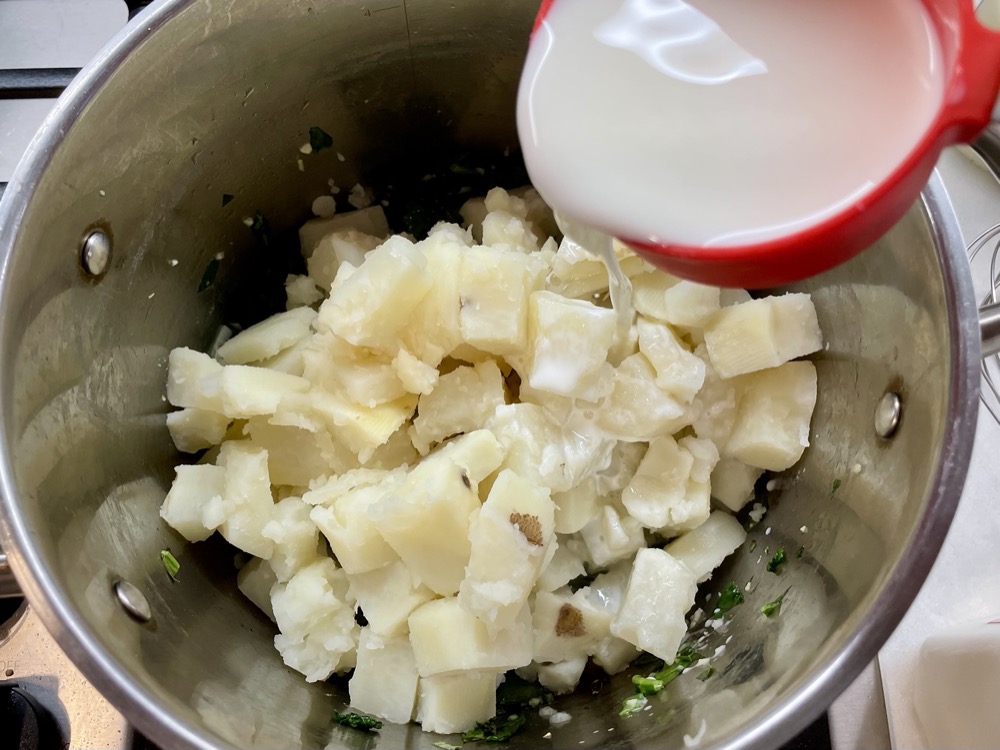

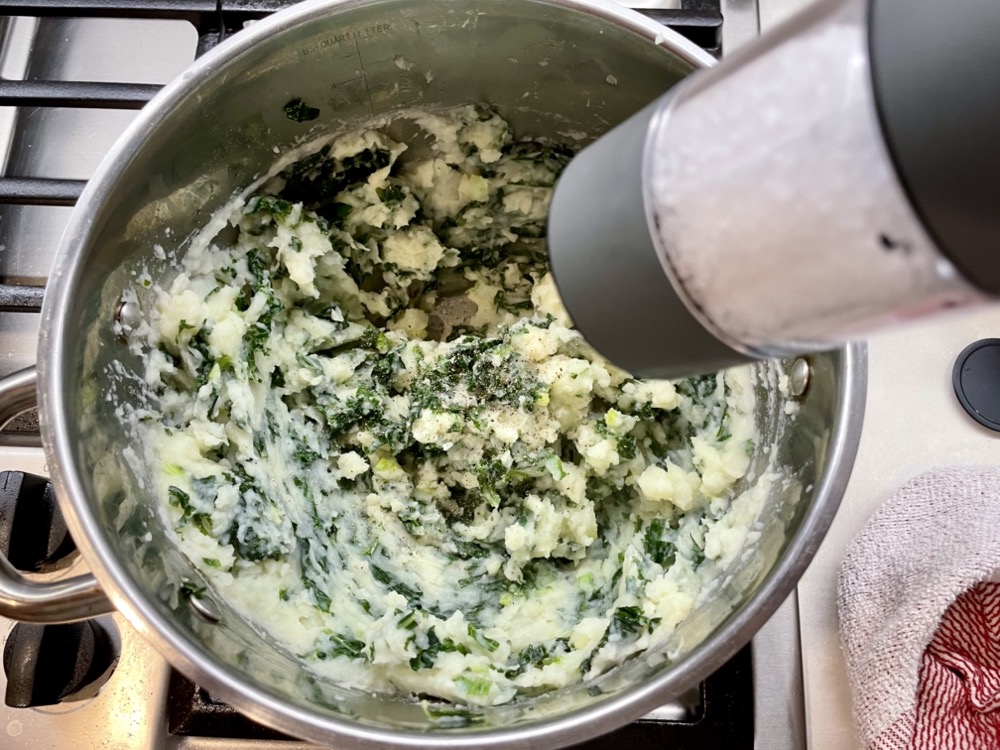
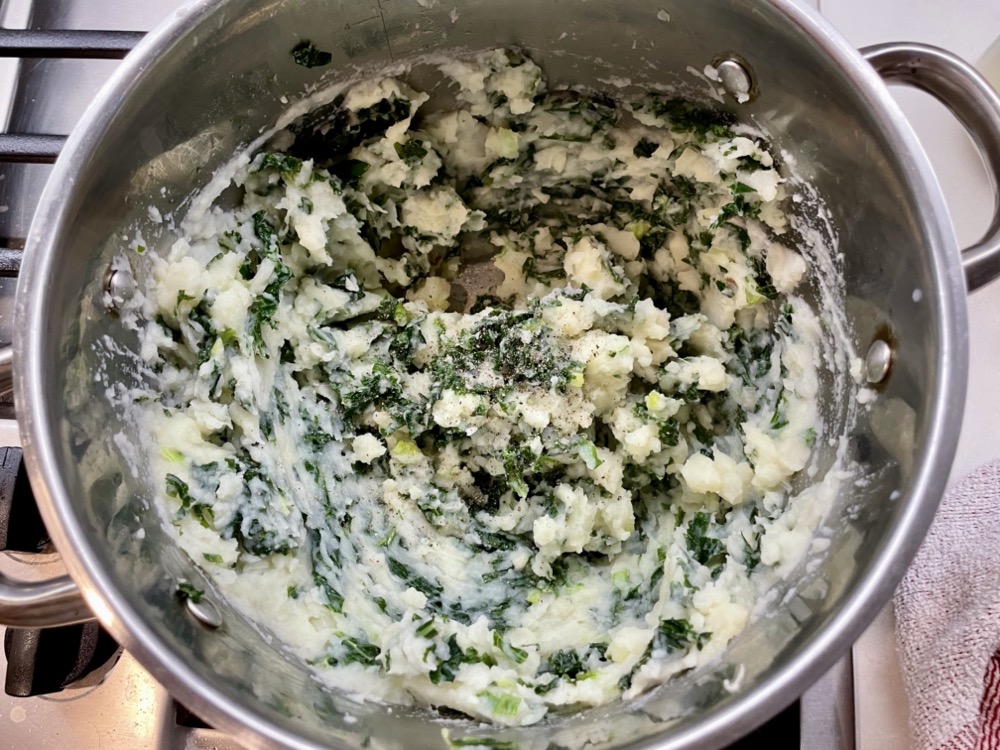
Add in the cooked potatoes (from step 1) and milk into the pan and mix it all together. Once everything is heated through, turn off the heat and mash the potatoes until smooth. Taste and adjust salt and pepper to your preference. Done!


Summarized Recipe:
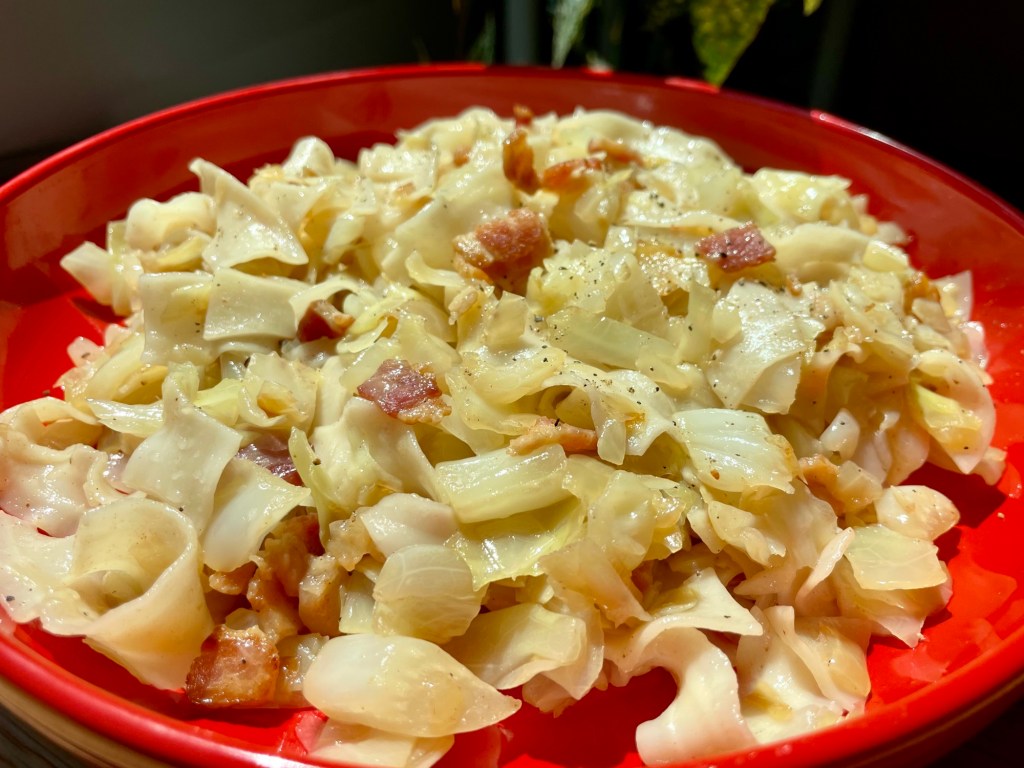
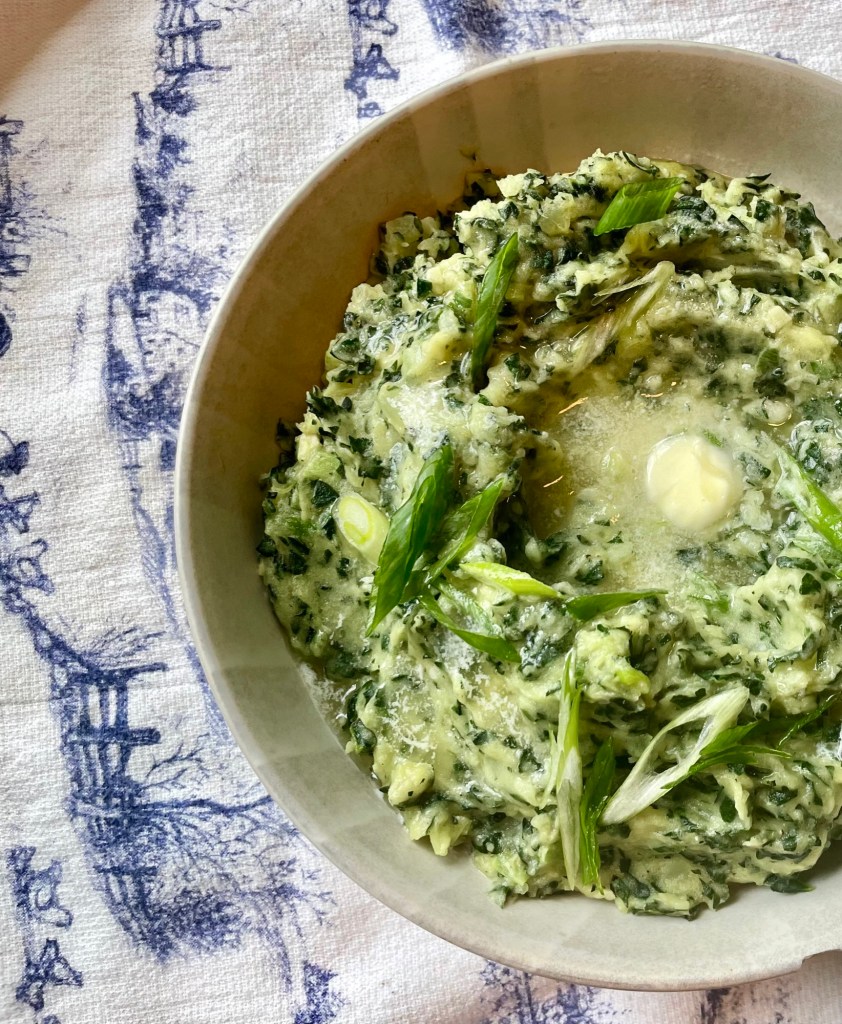
Colcannon (Irish Kale Mashed Potatoes)
Date Published: Jan 1st, 2025 | Last Updated: Jan 1st, 2025
Author: Abby |Category: sides, vegetarian, easy
Serves: 8 (1 large bowl) | Prep time: 15 mins | Cook time: 40 mins
Ingredients:
- 1kg Yukon gold potatoes, diced (peeled or unpeeled depending on how like it)
- 6 Tbsps (85g) unsalted butter
- 1 large bunch (~6-8 cups, semi-packed) of kale (curly or lacinato), stems removed and chopped small
- 3 cloves garlic, minced
- 3 spring onions, sliced
- 1/2 cup milk
- Salt & pepper to taste
Directions:
- Place the potatoes in a pot and add enough water to cover and a sprinkle of salt. Bring the heat up to HIGH to let the water come to a boil, then turn it down to MED and continue to simmer until the potatoes are fork-tender (~15-20 mins). Drain and set aside.
- In a medium sized pot or deep pan on MED-HIGH heat, melt the butter and add in the kale. Sauté for a few minutes until the leaves are wilted. Add in the garlic and spring onions and continue to cook for another 2 minutes until fragrant and the spring onions have softened.
- Add in the cooked potatoes (from step 1) and milk into the pan and mix it all together. Once everything is heated through, turn off the heat and mash the potatoes until smooth. Taste and adjust salt and pepper to your preference. Done!
- Melt 2 Tbsp of butter and drizzle on top with green onion garnish before serving.