Date Published: August 19th, 2020 | Last Updated: August 19th, 2020
Author: Abby |Category: sauces, dips, asian
Serves: 1/2 cup | Prep time: 10 mins | Mix time: 30 seconds
Jump to recipe |
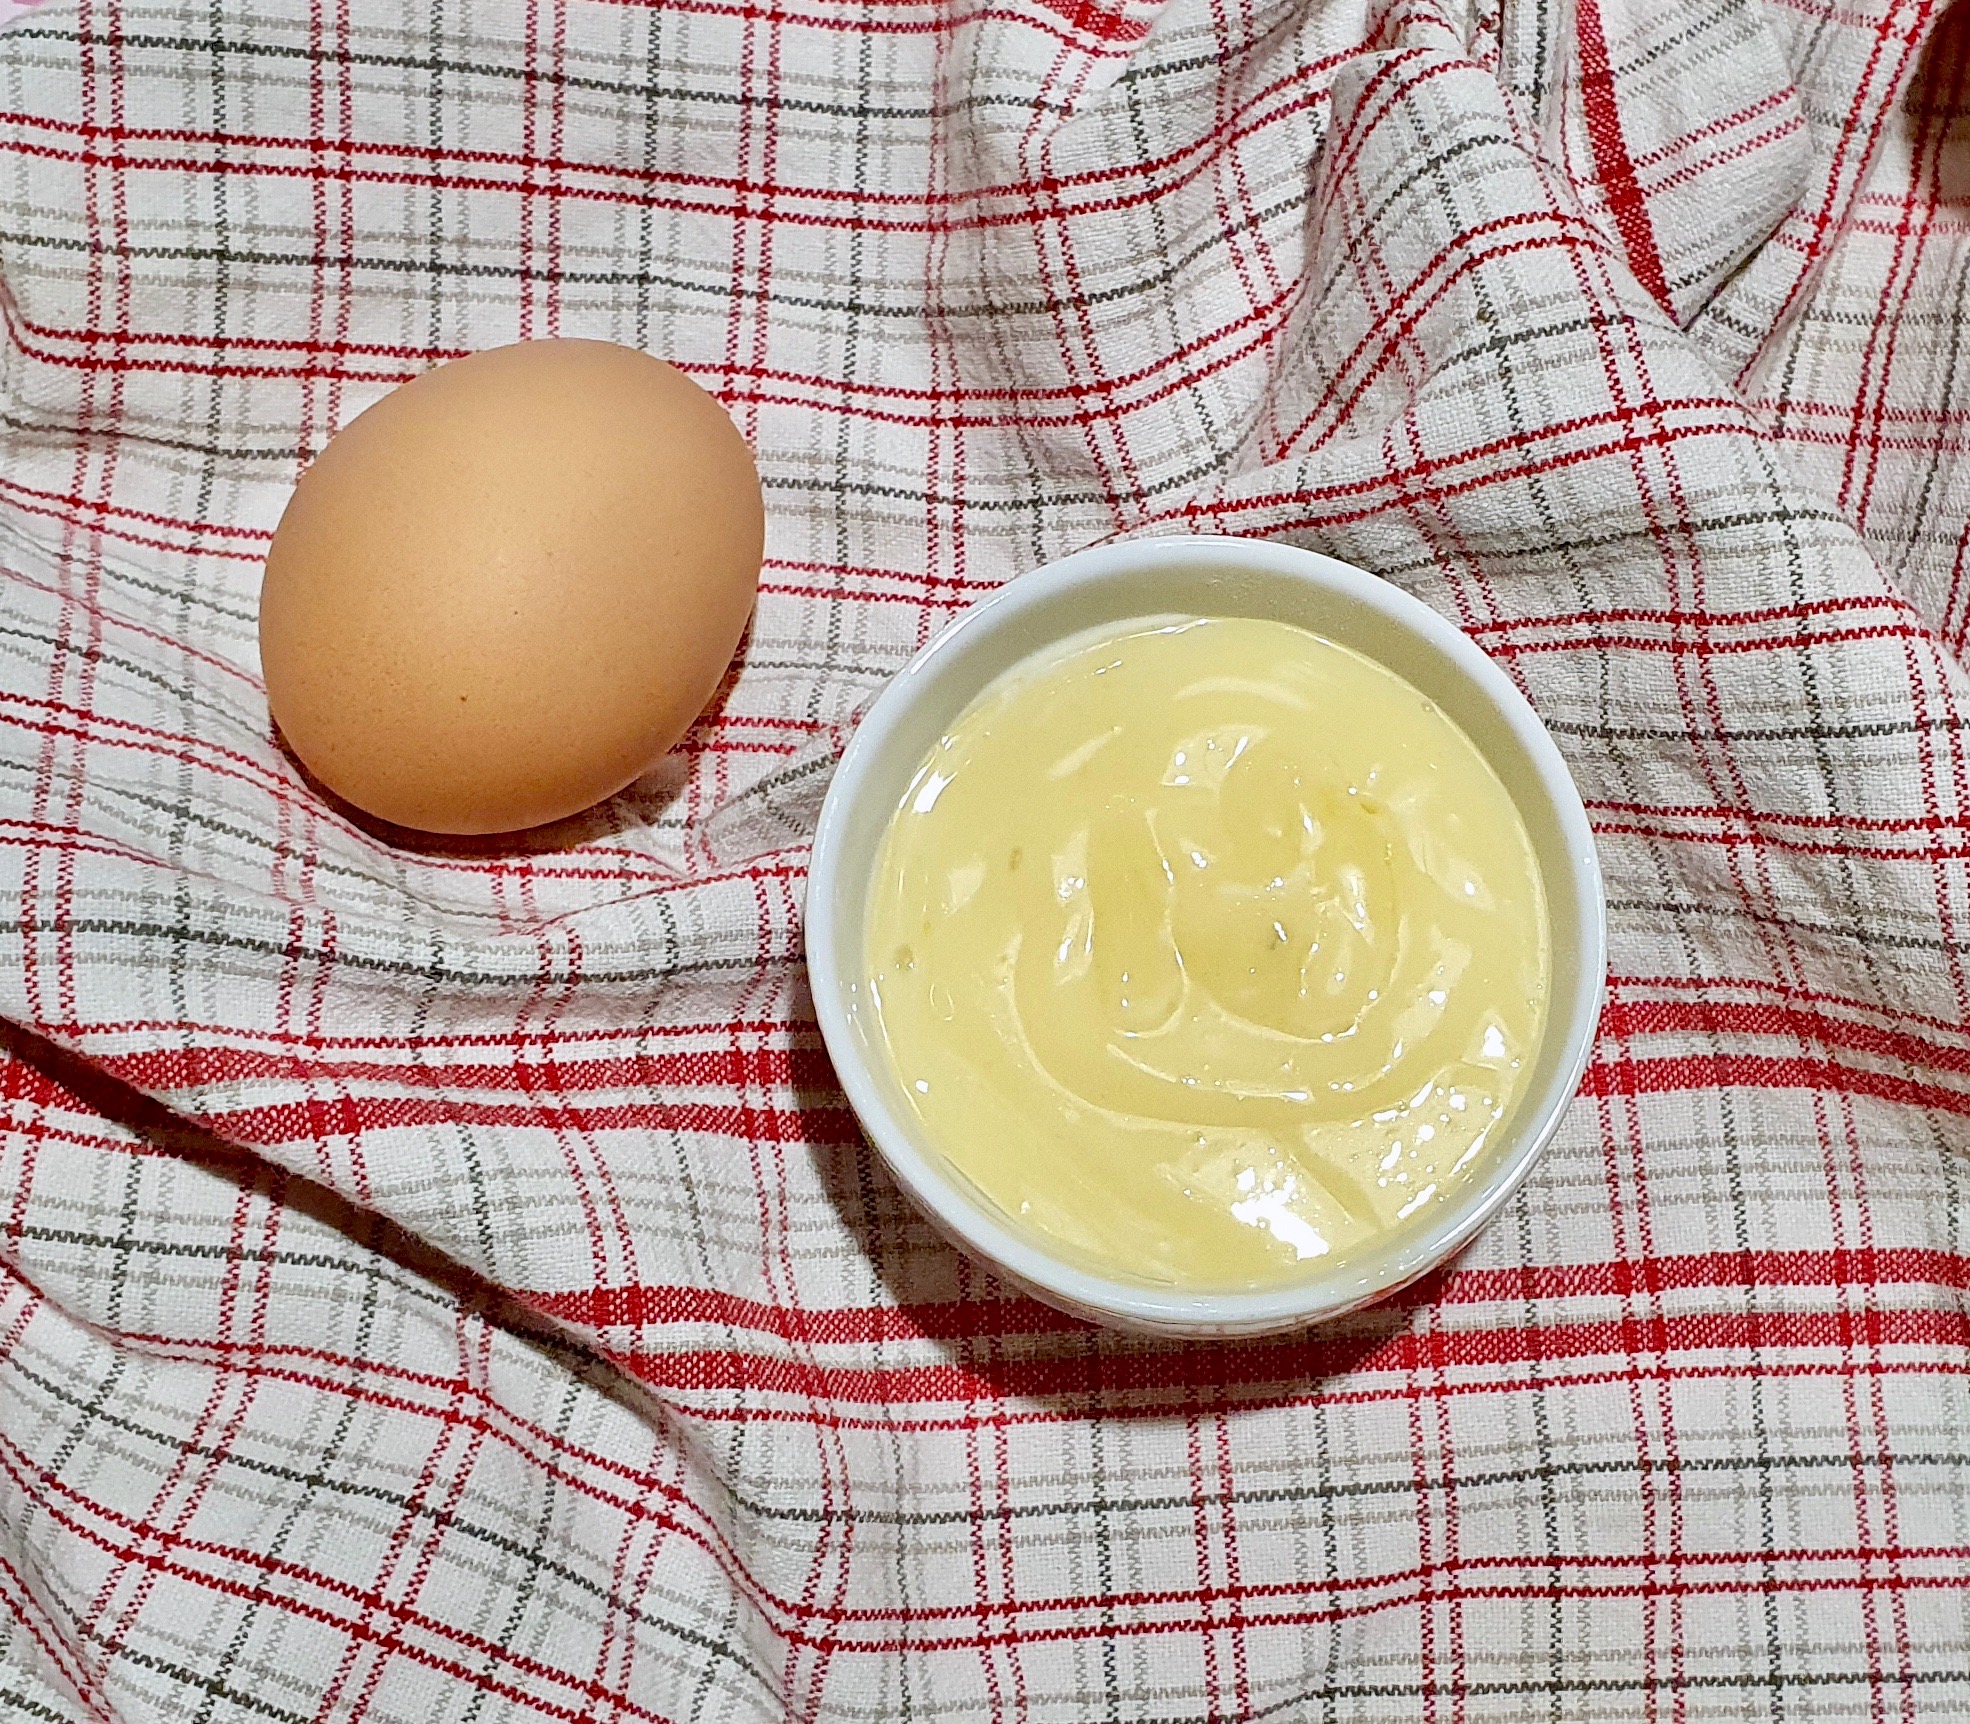
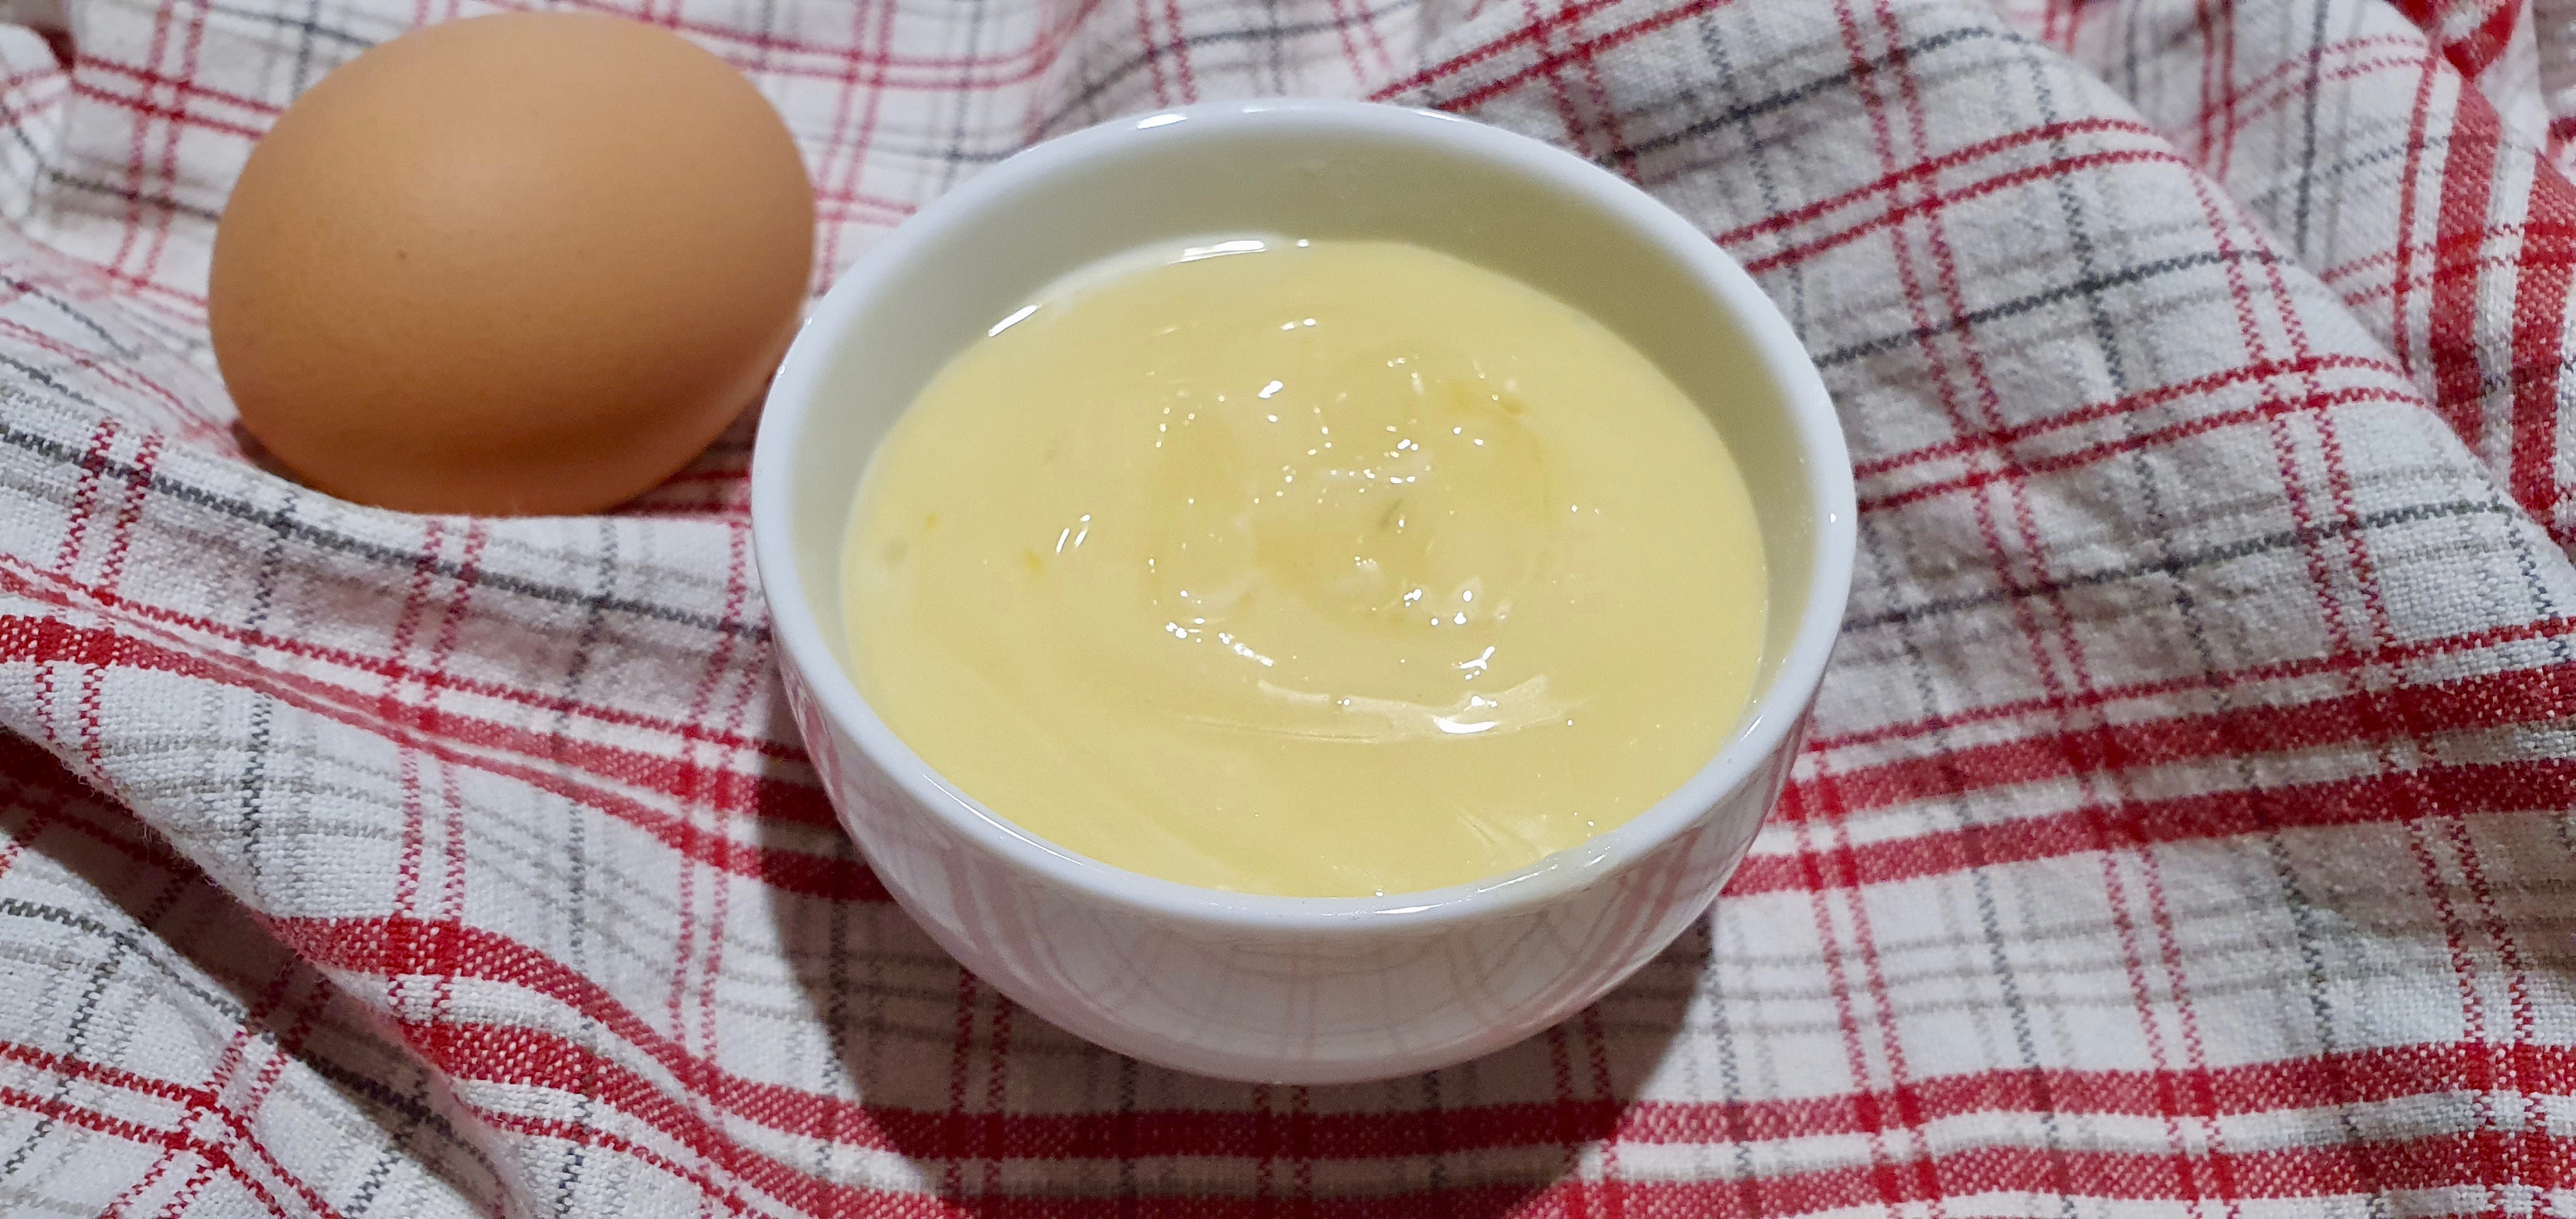
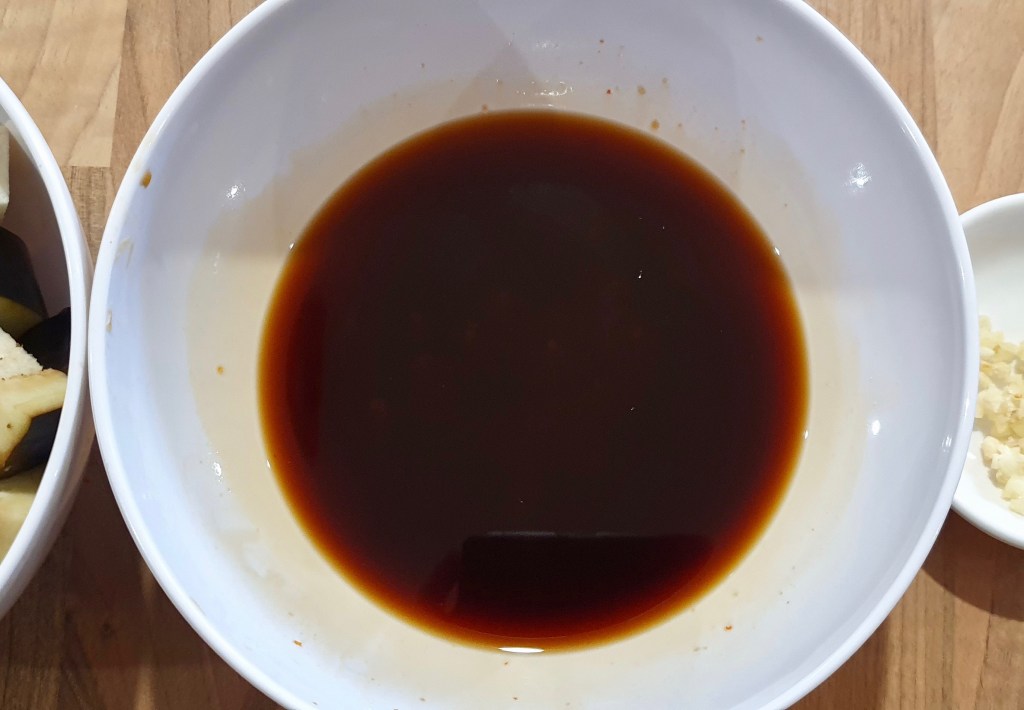
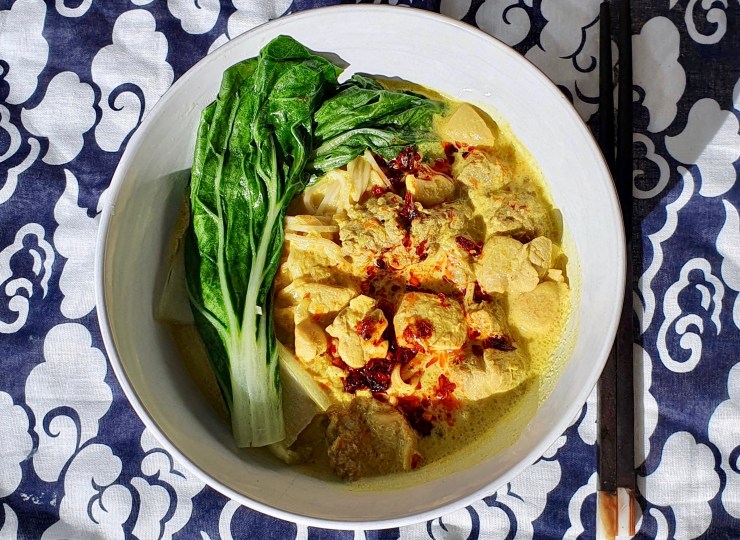
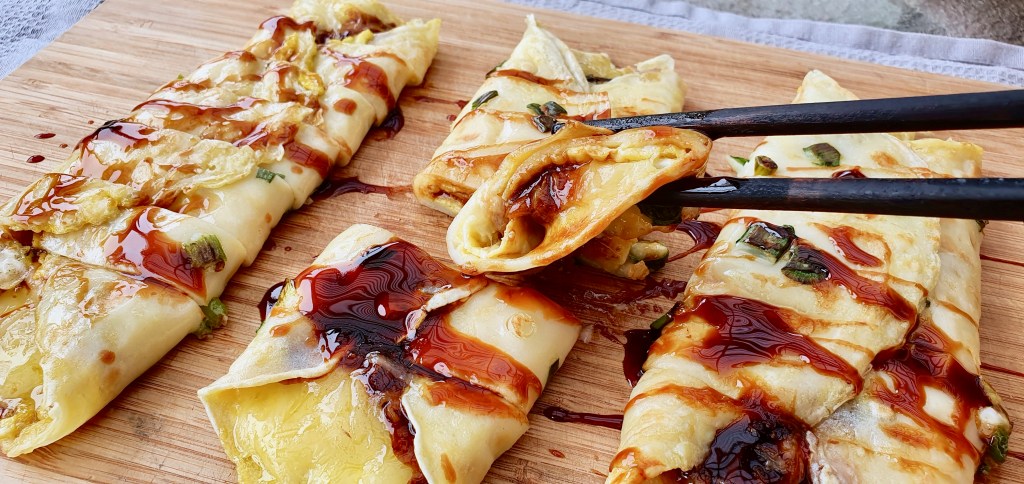
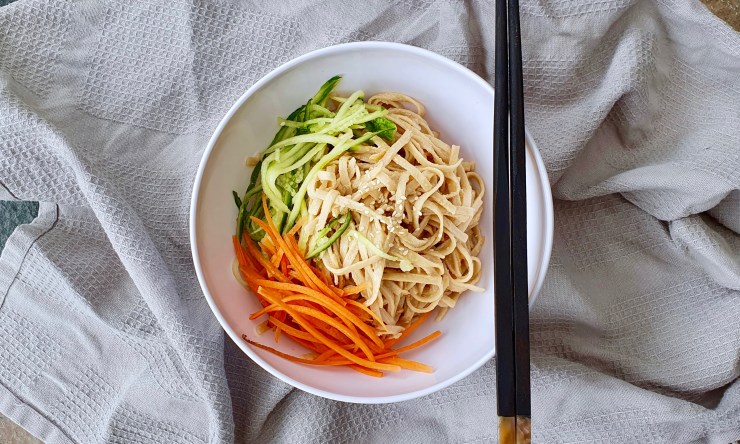
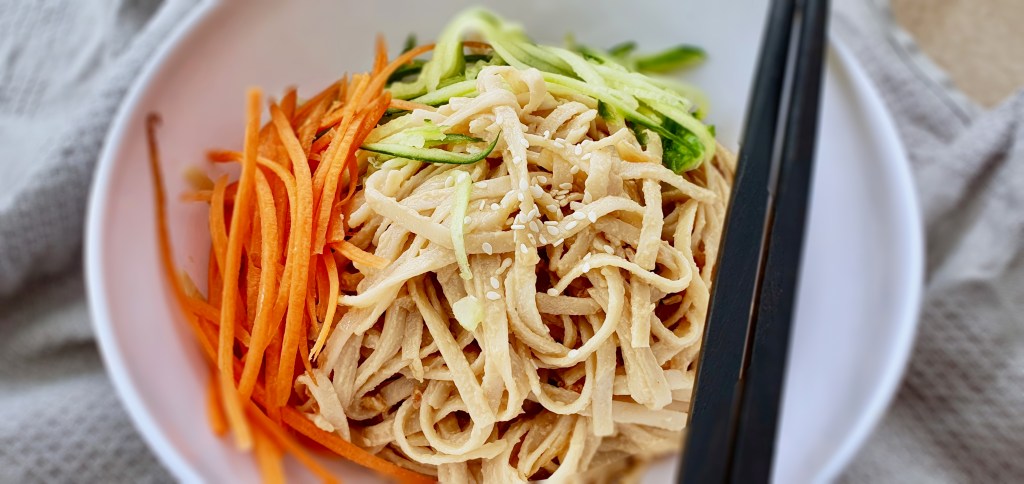
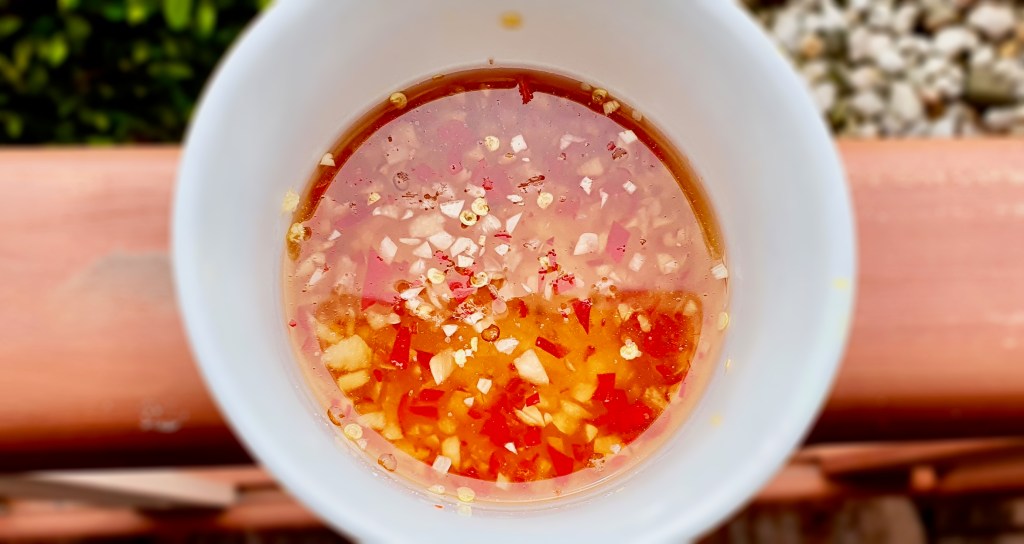
Nuoc mam is a staple in Vietnamese cuisine. You may also see it commonly referred to as “nuoc cham” in many restaurants. I’ve been told “nuoc cham” means ‘sauce’ in Vietnamese whereas “nuoc mam” is more specifically ‘fish sauce’ which would be more accurate in this case. Whichever name you call it, it is delicious. It’s a sauce made of sugar, garlic, lime, chillies, and fish sauce (shocker), giving it a salty, sweet, sour and a little spicy taste all in one sauce! It’s often used as a dipping sauce (think lemongrass pork, prawn spring rolls…mmmm) or as a dressing drizzled over a bowl of vermicelli with veg. If you’ve never had it before, it smells a little funky but adds SO much flavour to a dish. It’s so simple to make and because of the high acidity content of the ingredients, it keeps for a very long time in the fridge so you can make a buttload and always have some on hand for a quick meal.
Anyways, without further ado, here’s the recipe! If you have any comments or suggestions, I’d love to hear from you in the comment section! You can follow me on instagram, youtube and facebook to see all the recipes I post!
Happy cooking!
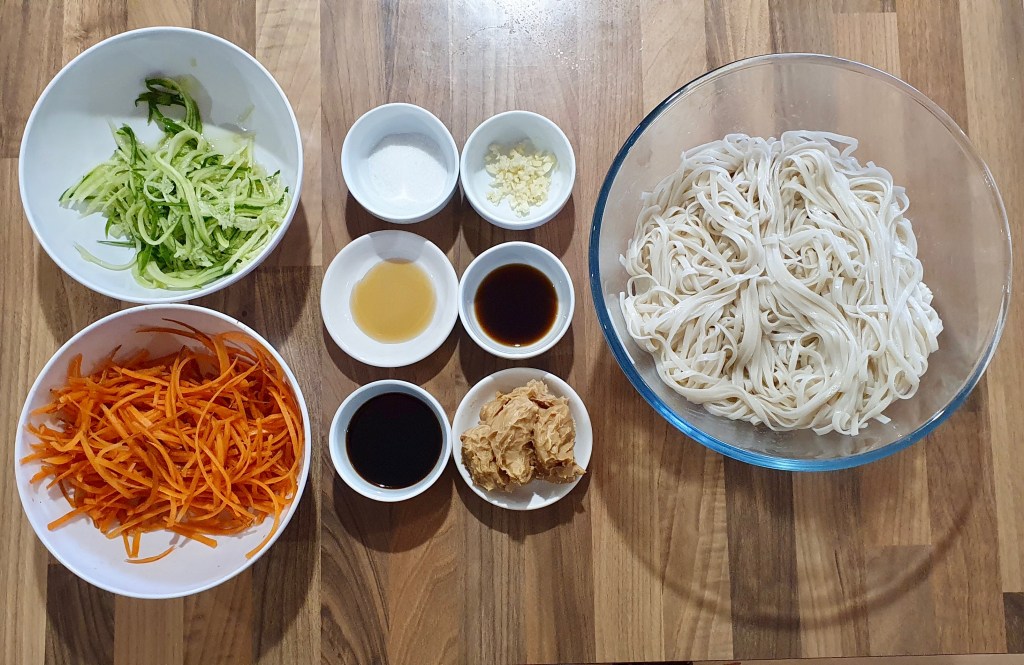
Ingredients you’ll need:

- 3 Tbsps warm water
- 1 Tbsp caster sugar
- 1 Tbsp lime juice (~1 lime)
- 2 Tbsps fish sauce
- 2 garlic cloves, minced
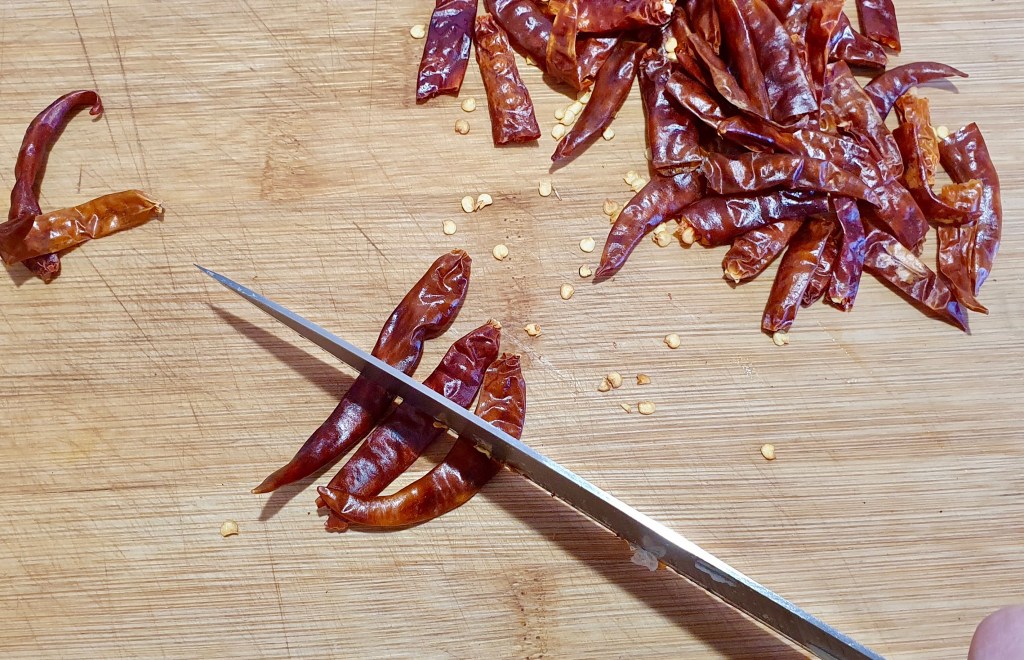
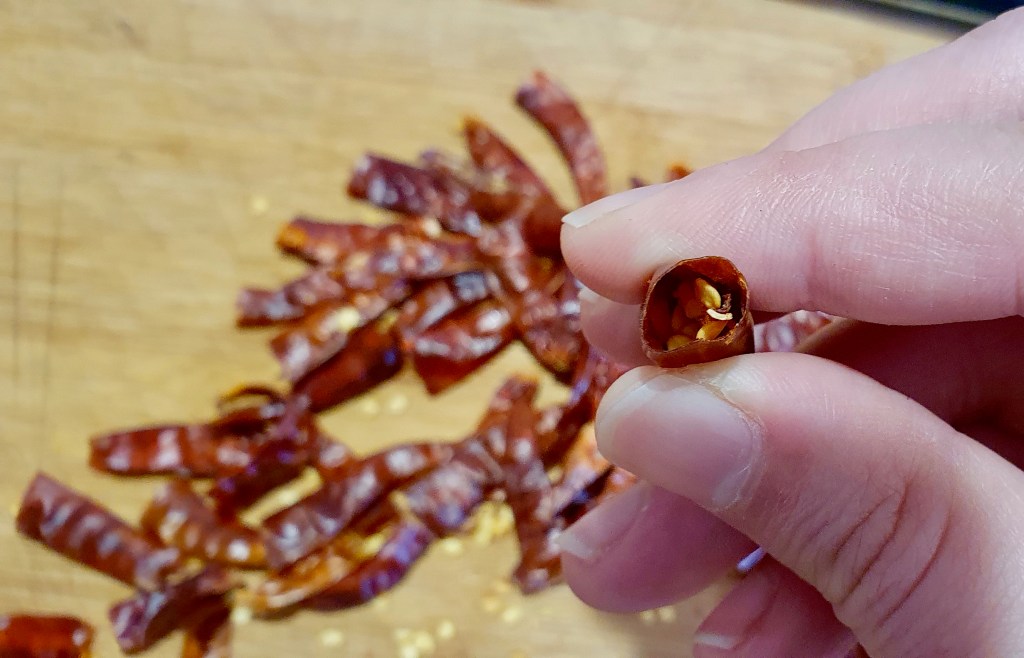
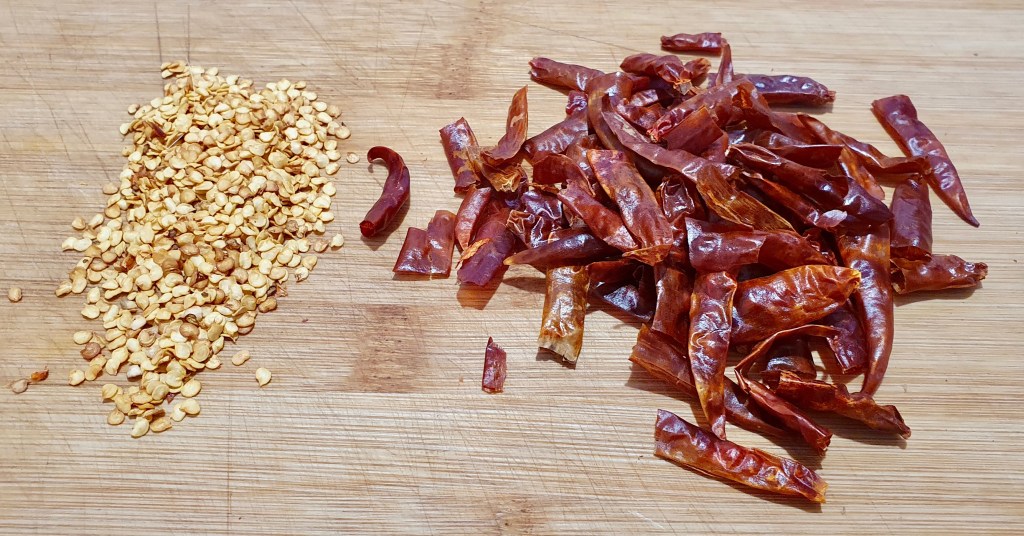
- 2 bird’s eye chillies, finely chopped
Directions:

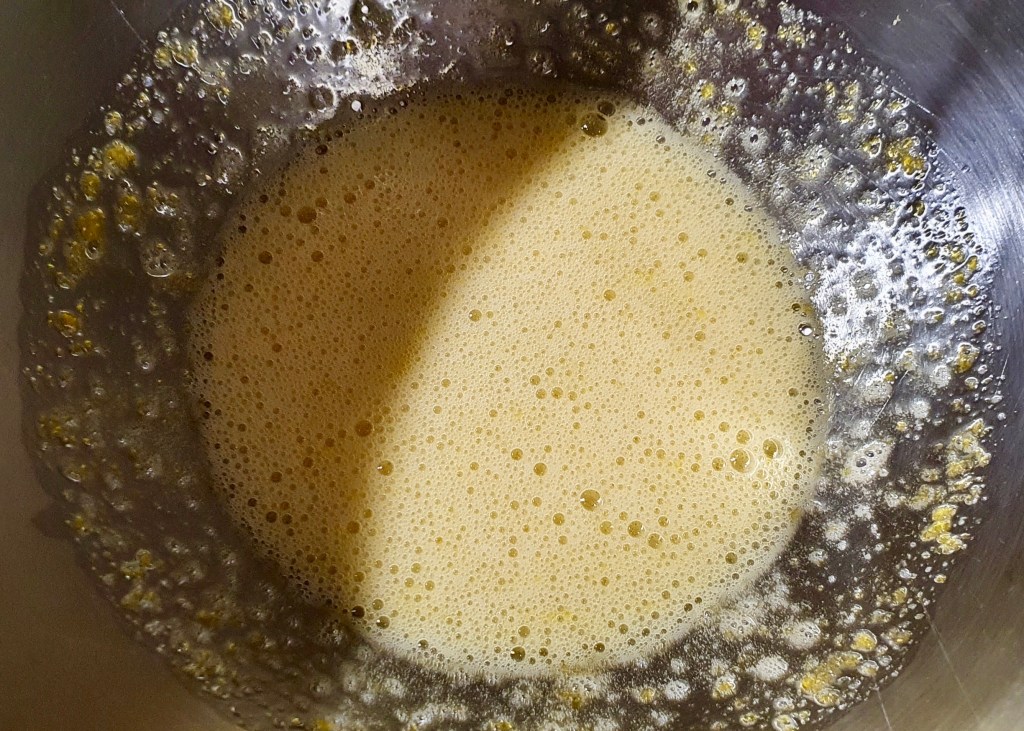
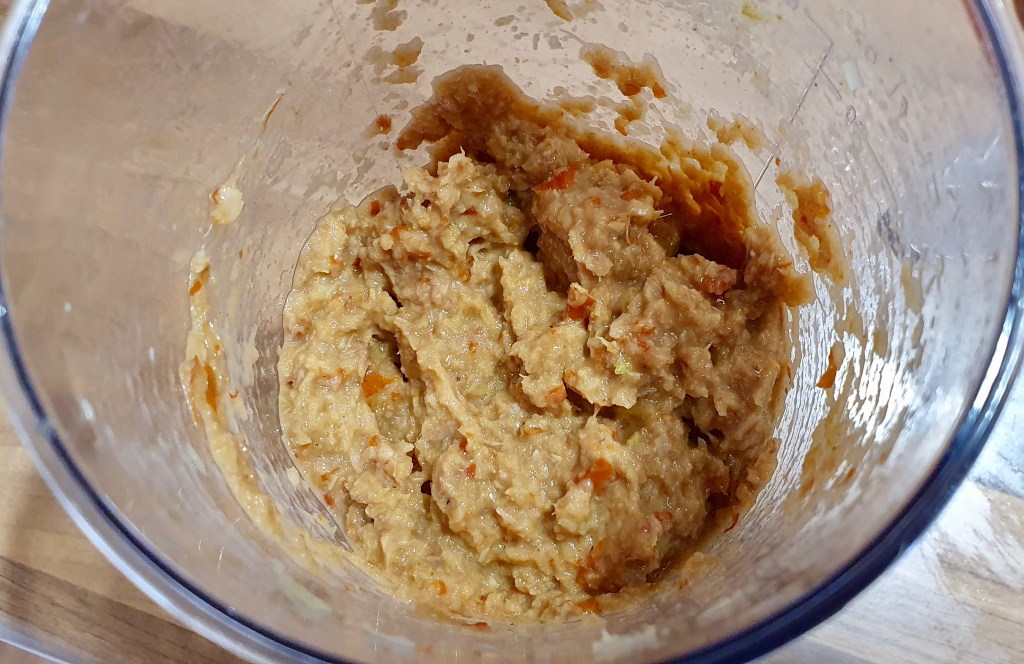
Dissolve the caster sugar in the warm water then add the rest of the ingredients to the bowl. Mix and taste. Adjust ingredients as needed. Done!
More sour = add more lime juice
More salty = add more fish sauce
More sweet = add more sugar
More spicy = more chillies

Summarized Recipe:
Vietnamese Fish Sauce (Nuoc mam)
Date Published: August 19th, 2020 | Last Updated: August 19th, 2020
Author: Abby |Category: sauces, dips, asian
Serves: 1/2 cup | Prep time: 10 mins | Mix time: 30 seconds
Ingredients:
- 3 Tbsps warm water
- 1 Tbsp caster sugar
- 1 Tbsp lime juice (~1 lime)
- 2 Tbsps fish sauce
- 2 garlic cloves, minced
- 2 bird’s eye chillies, finely chopped
Directions:
- In a bowl, dissolve the sugar in the warm water.
- Add the rest of the ingredients to the bowl and mix. Taste and adjust ingredients as needed. Done!
Feel free to make a buttload. It keeps really well.