Date Published: Dec 28th, 2022 | Last Updated: Dec 28th, 2022
Author: Abby |Category: < 30mins, easy, appetizers, mains
Serves: 2 as mains | Prep time: 10 mins | Cook time: 20 mins
Jump to recipe |
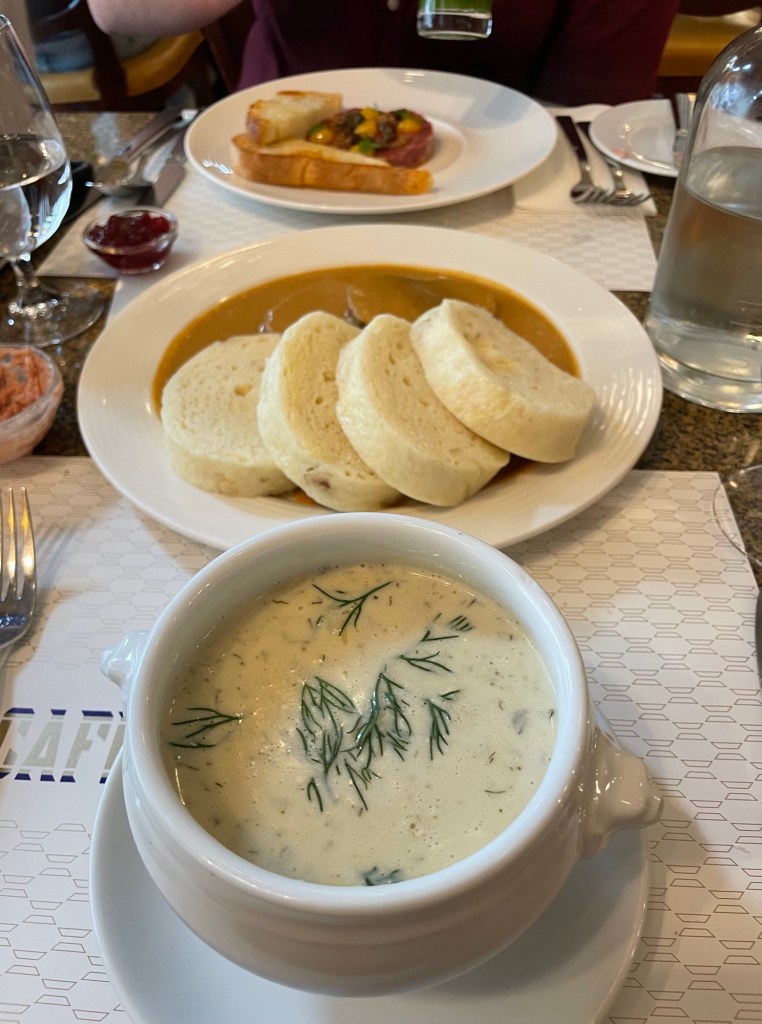
I LOVE mussels. I could eat them all day everyday. It is physically impossible for me to not order mussels if it’s on a menu. I prefer them in a white wine broth like this recipe, whereas Toby prefers it in the a tomato sauce base. Either way, mussels are one of my favourite seafood items and I could eat a whole kilo of them all on my own – ask Toby 😜. We’ve travelled around Australia and have tasted the freshest seafood available but my favourite is at the Queen Victoria Market mussel van where they have the plumpest mussels farmed in Port Arlington and they offer them cooked in a variety of flavours. You gotta try the blue cheese mussels. Seriously. (It’s on my to-do list to try and recreate them.)
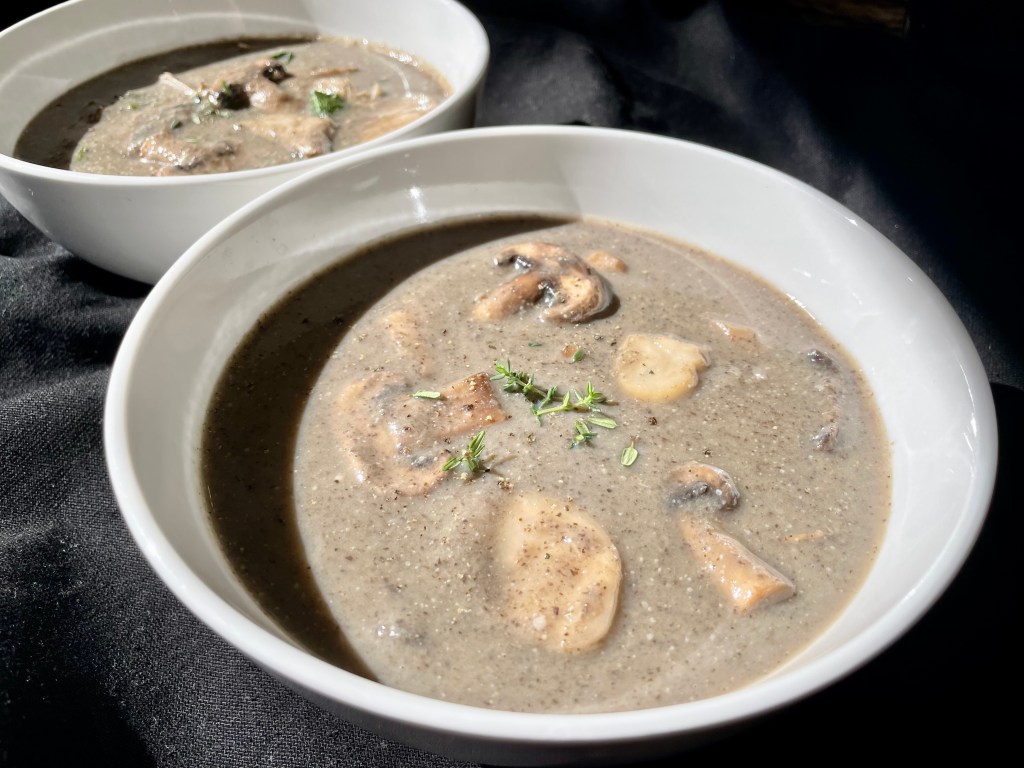
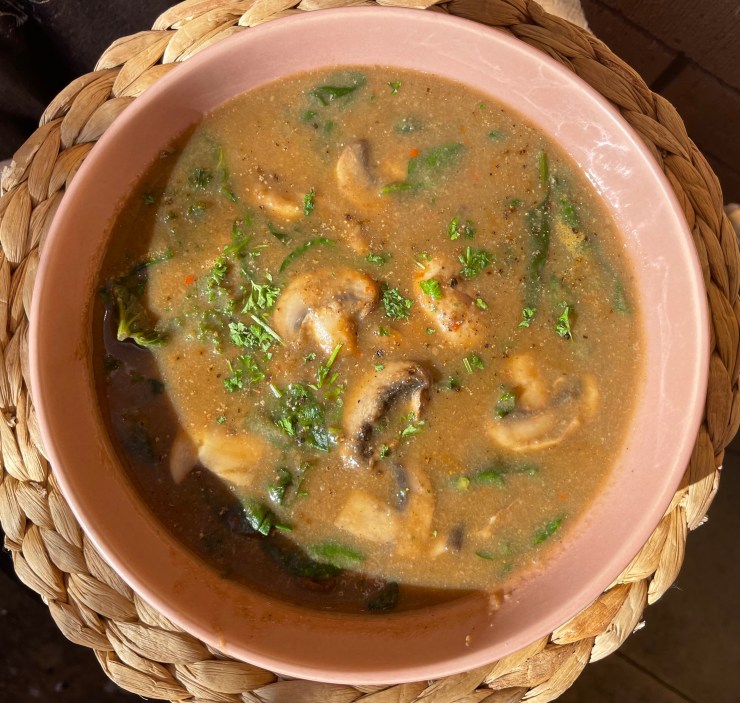
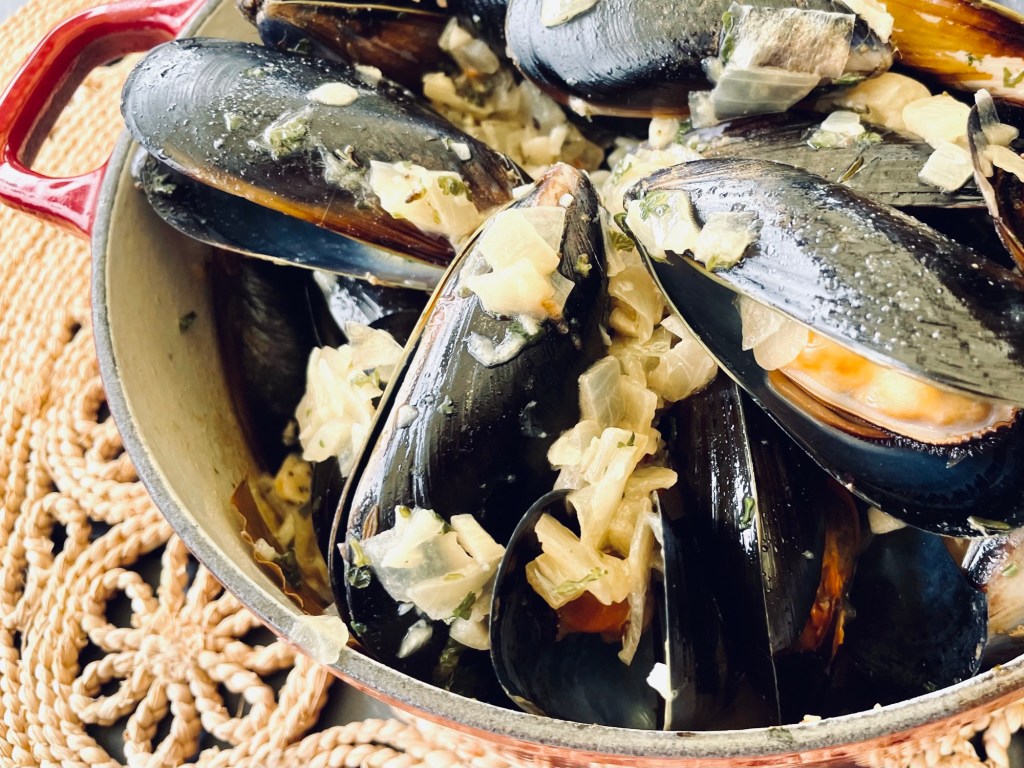
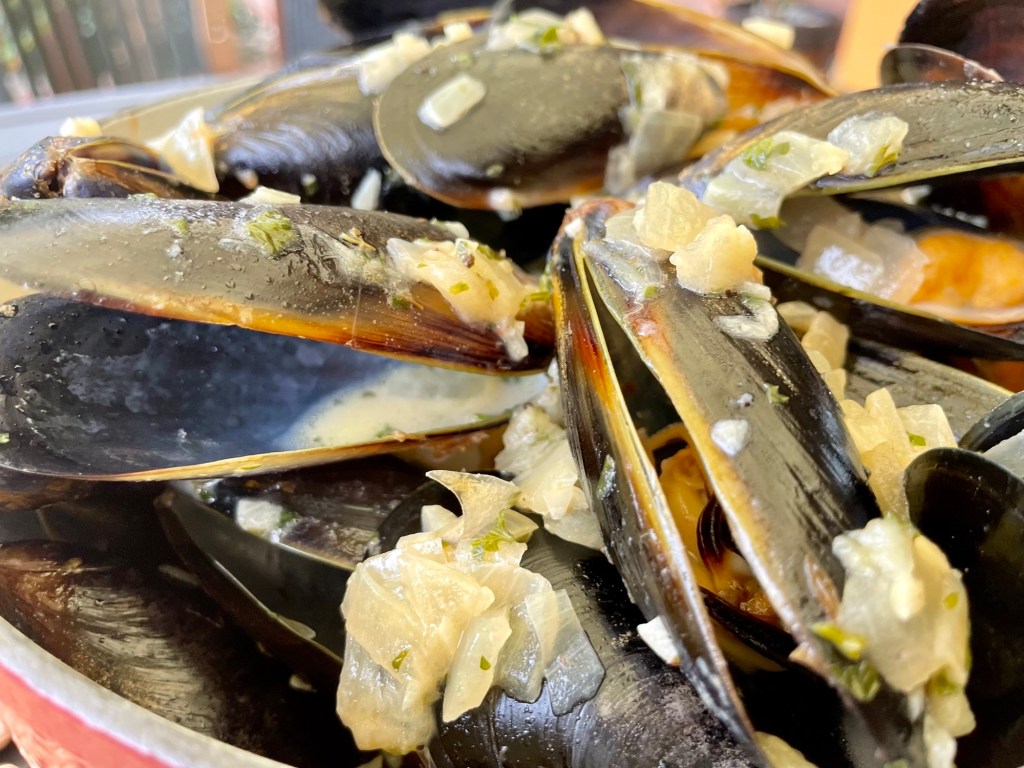
I’ve spent a few months trying to perfect this recipe and we’ve also tasted a lot of disappointing white wine garlic mussels in my research. I’m glad to finally be able to share my version of a classic mussel dish! This recipe has a buttery garlic and onion broth base and finished off simmering in cream for that perfectly flavourful indulgent broth. They’re a breeze to whip up and add a touch of fanciness to dinner parties.
Anyways, without further ado, here’s the recipe! If you have any comments or suggestions, I’d love to hear from you in the comment section! You can follow me on instagram, youtube and facebook to see all the recipes I post!
Happy cooking!
Ingredients you’ll need:
- 2 Tbsps + 1 Tbsp (43g) unsalted butter
- 3 cloves garlic, minced
- 1 medium onion, diced
- 1 dried bay leaf
- 1/4 cup parsley, chopped
- 1/4 tsp dried thyme
- 1 cup dry white wine (ie. sauvignon blanc – I’ve used Chinese cooking wine successfully as well 😅)
- 1/4 tsp ground black pepper
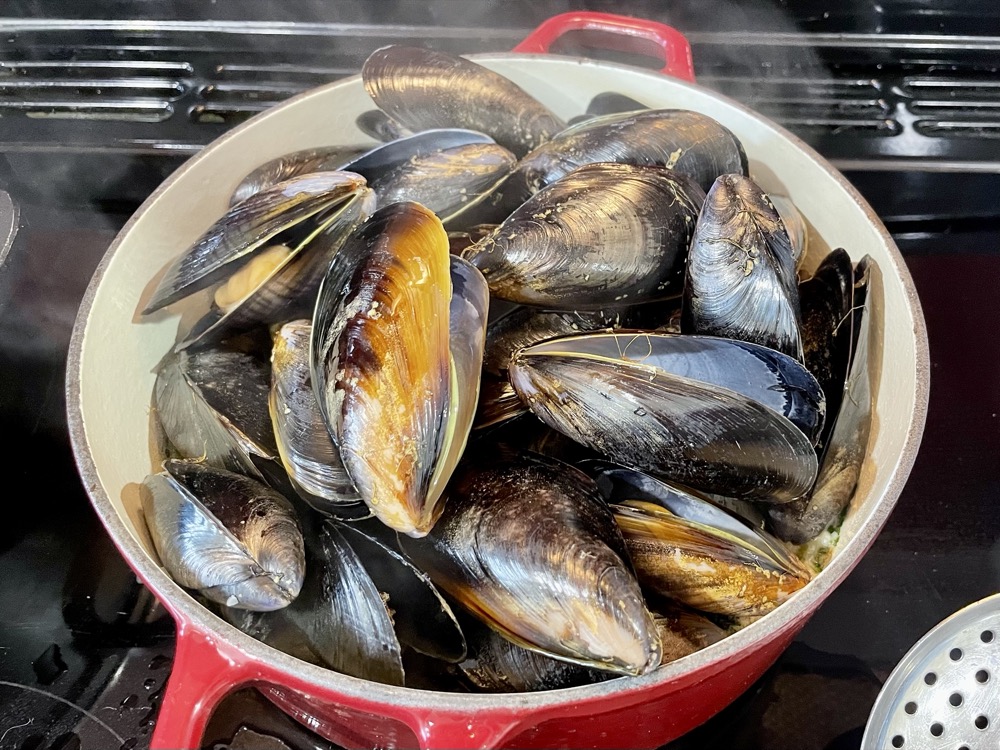
- 1 kg live mussels, washed and debearded
- 1/4 cup heavy cream
Directions:
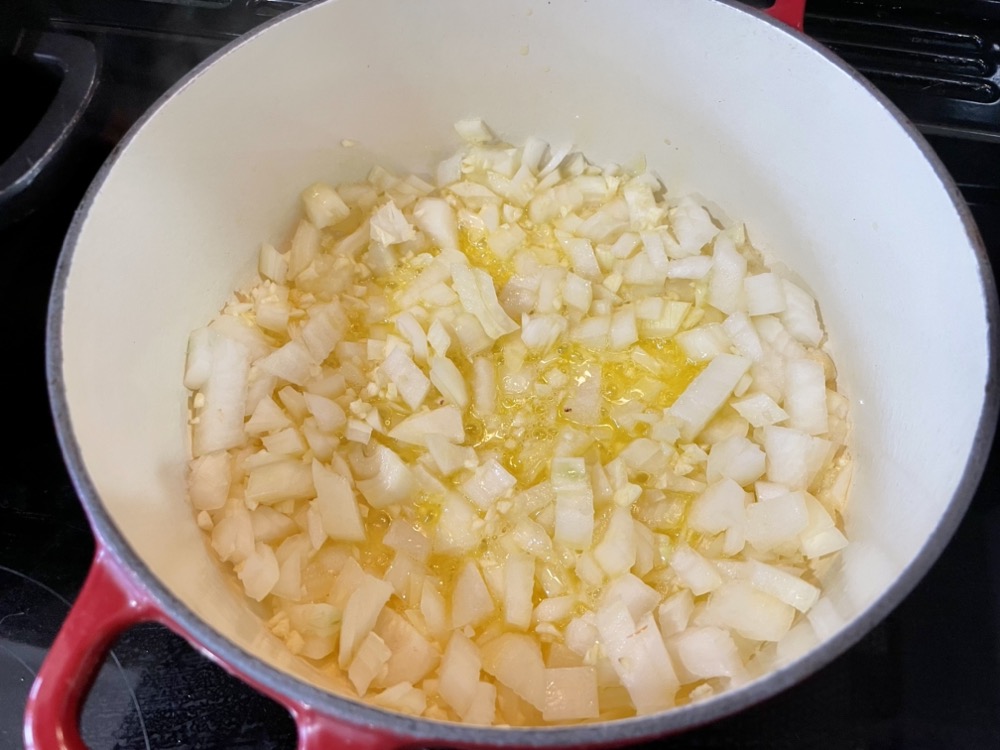

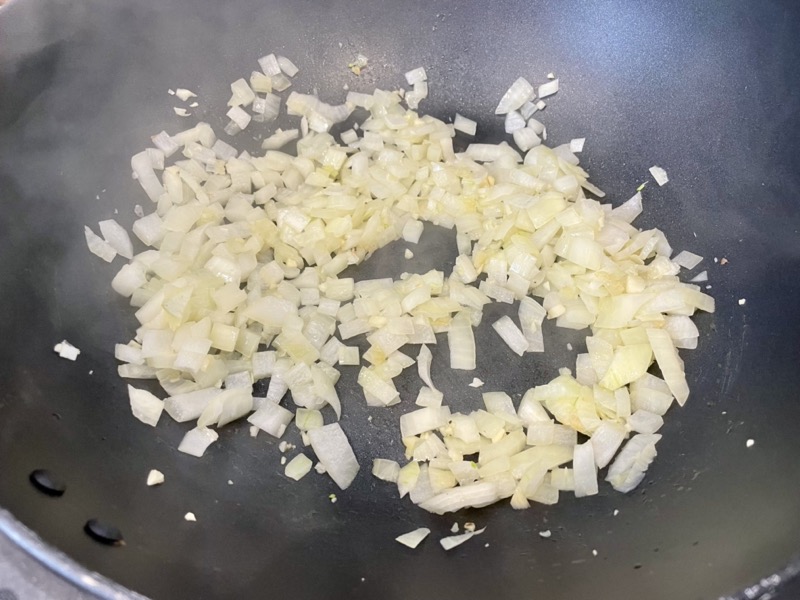
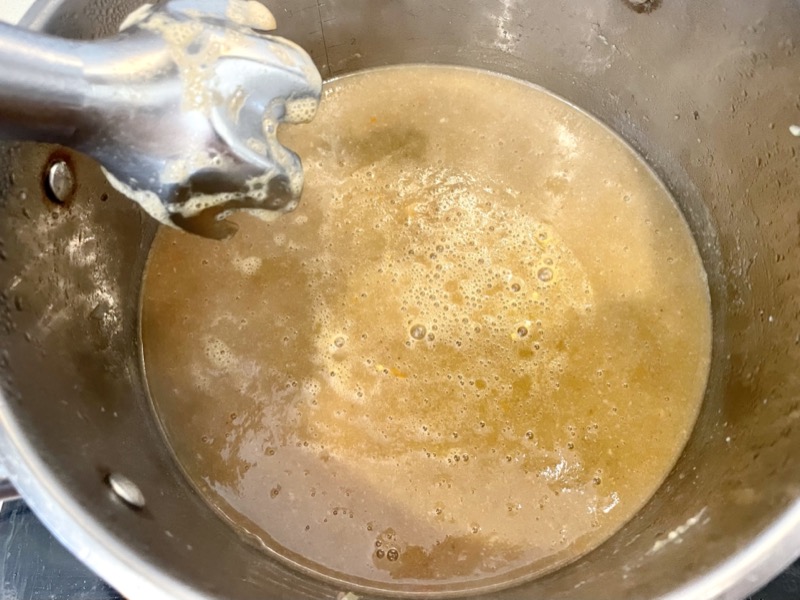
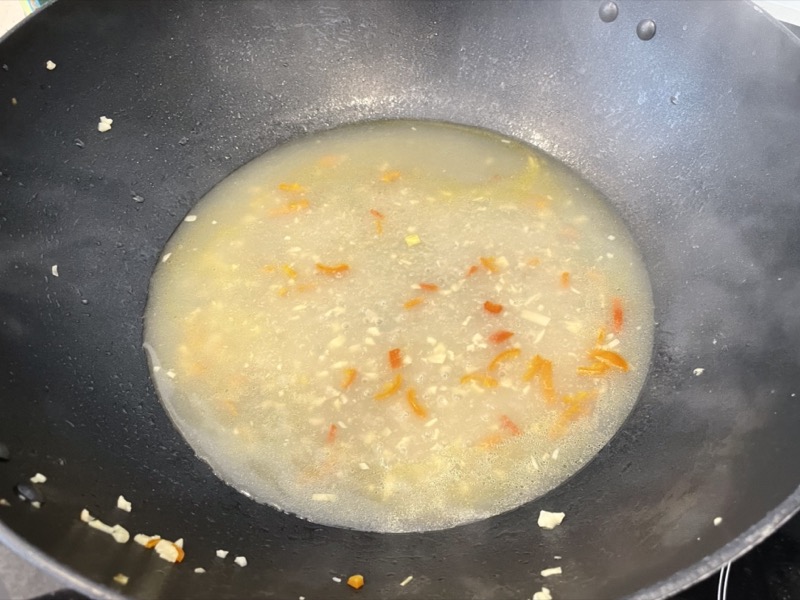
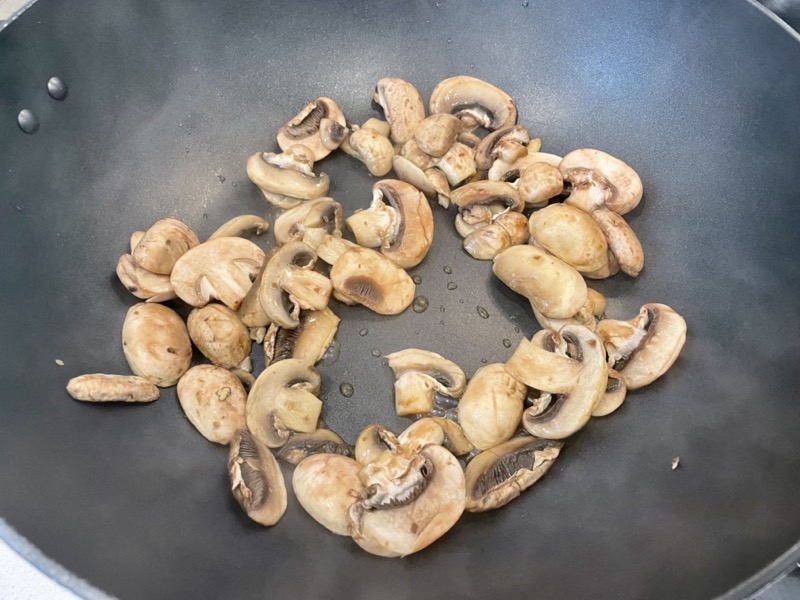
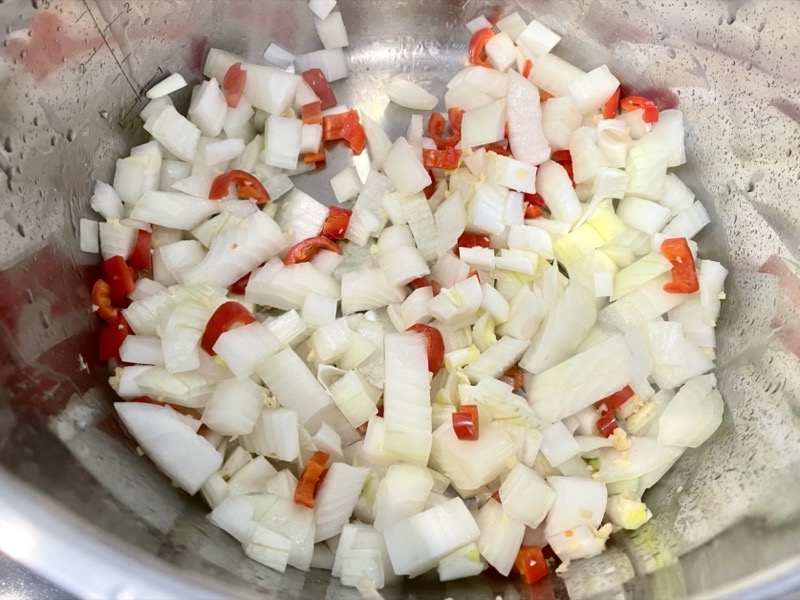
In a large pot on MED-HIGH heat, melt 2 Tbsps butter then add in the garlic and onion. Sauté until the onions are soft.
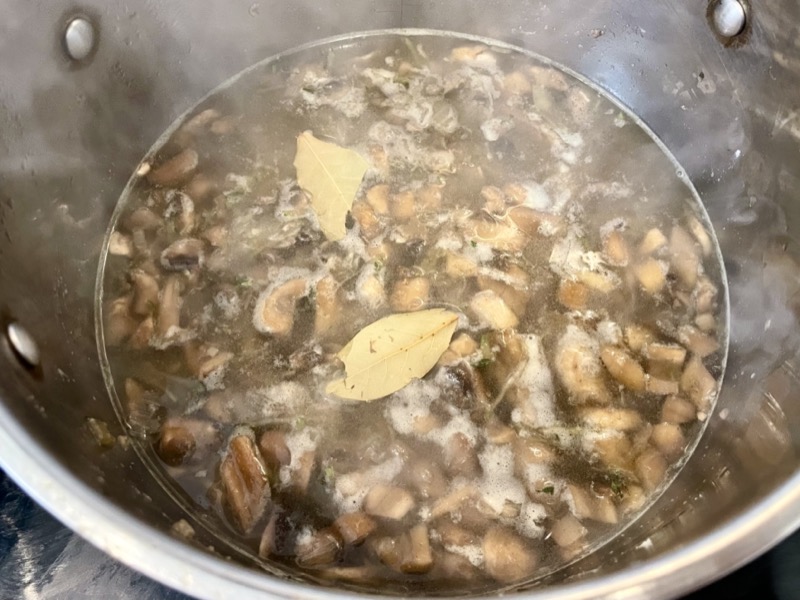
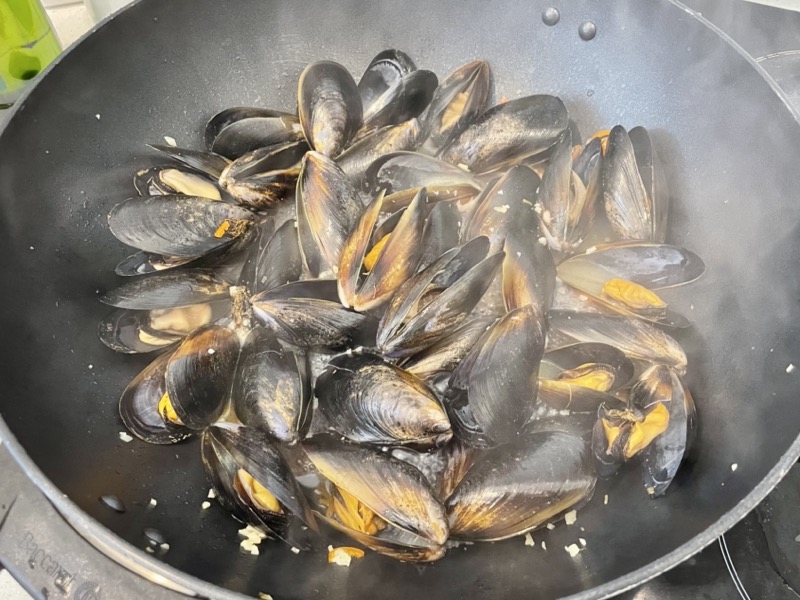
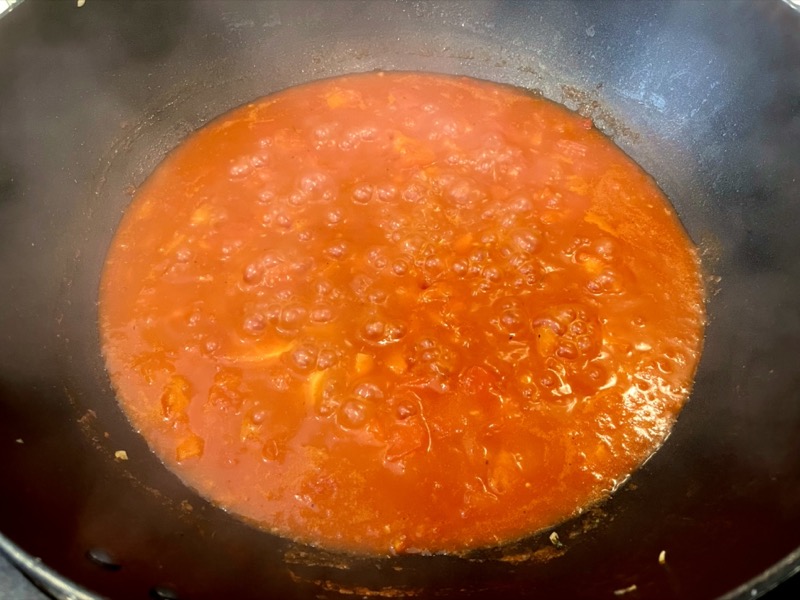
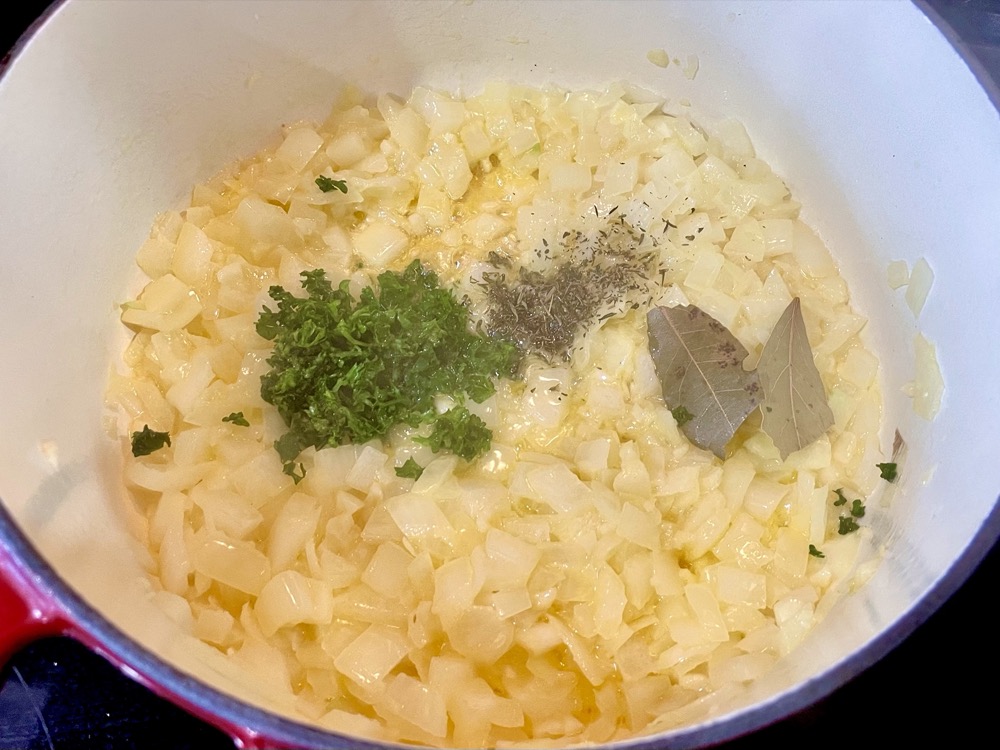
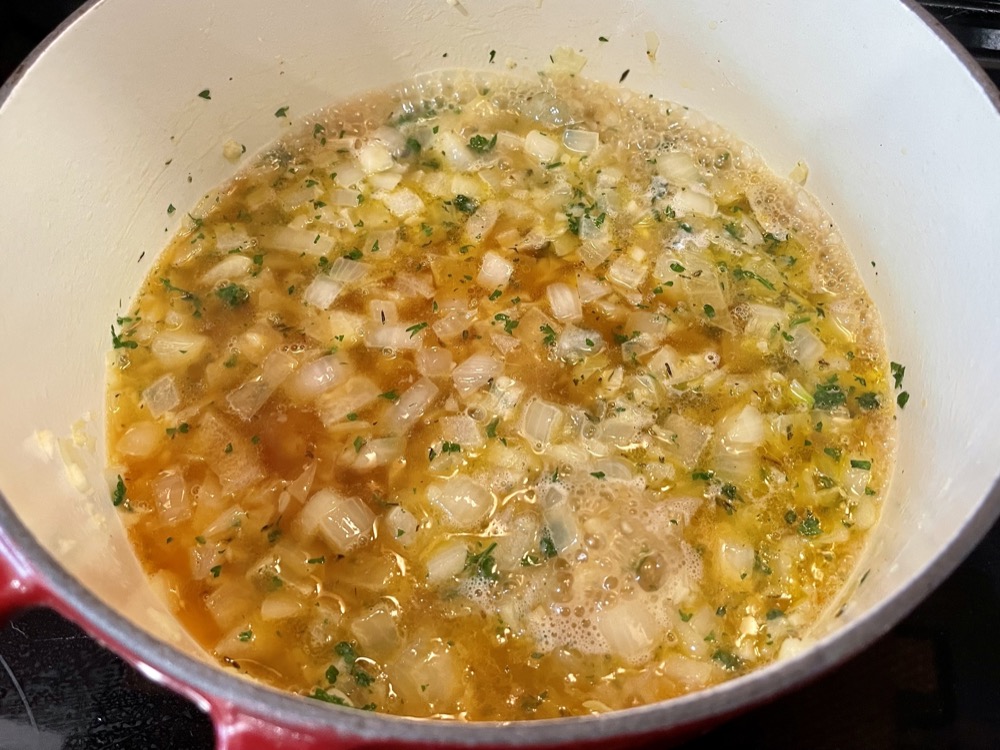
Add in the bay leaf, parsley, thyme, and white wine. Bring the sauce to a boil and then lower the heat and simmer for 2 minutes. Add in the mussels and stir. Put the lid on and cook for 5-7 minutes until the mussels all open up.
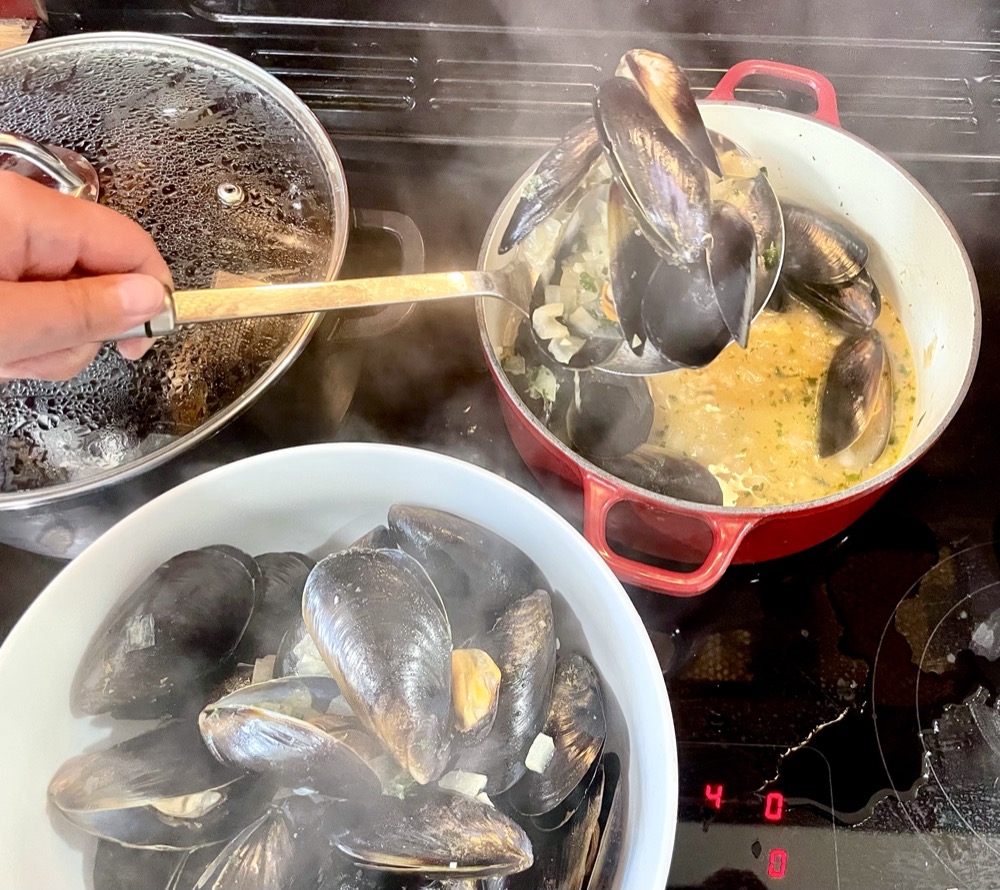

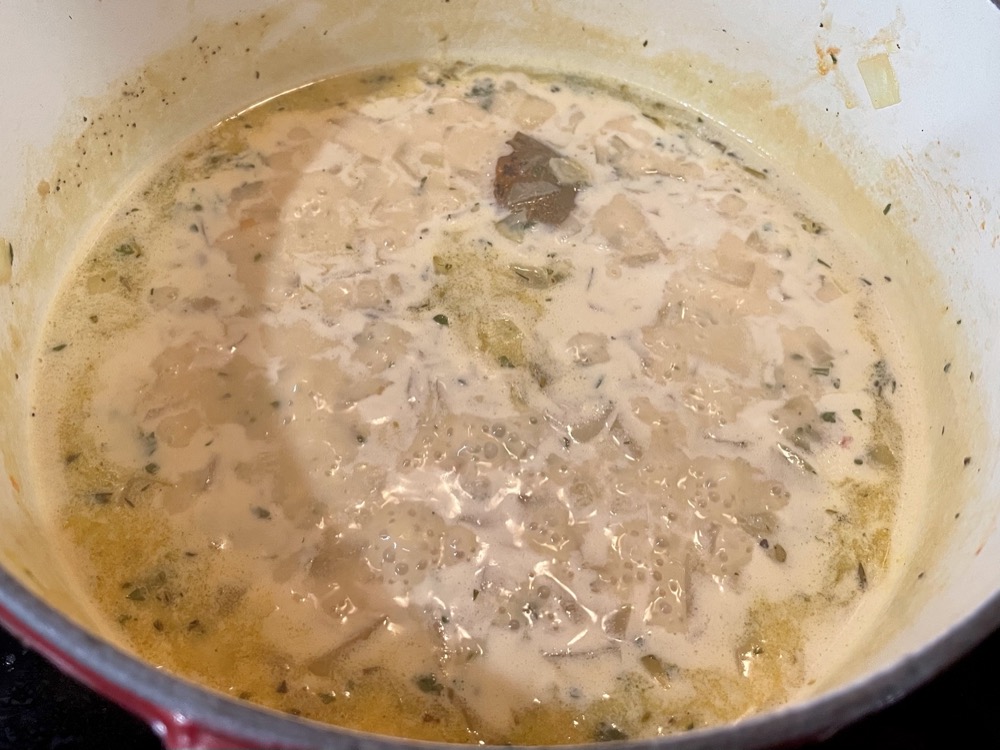
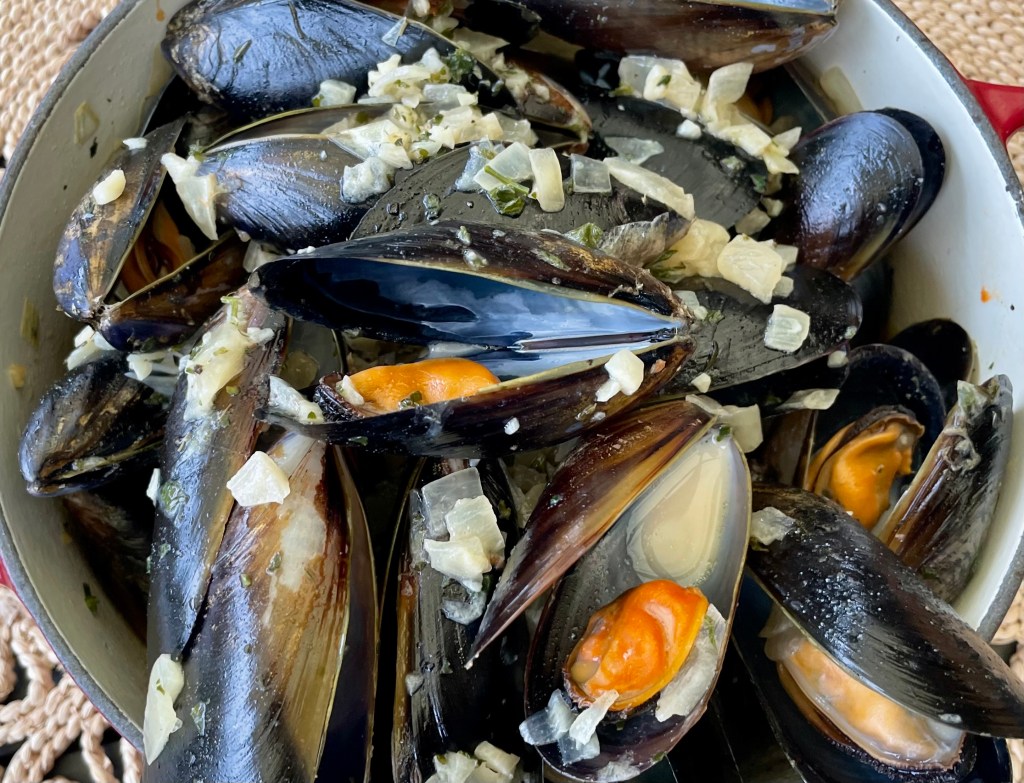
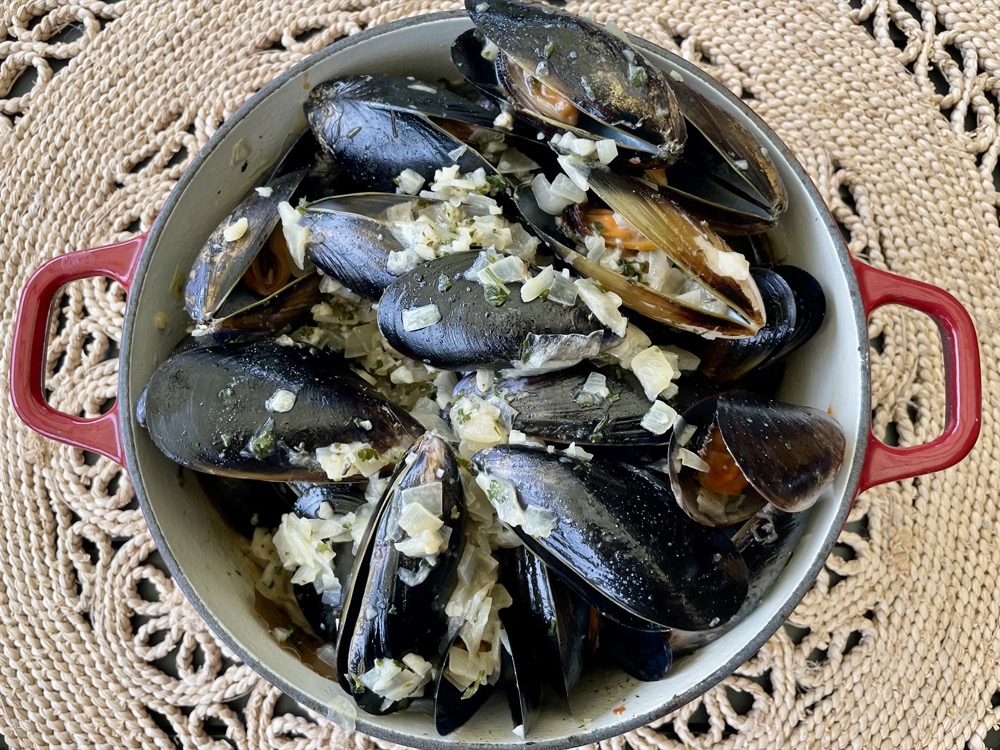
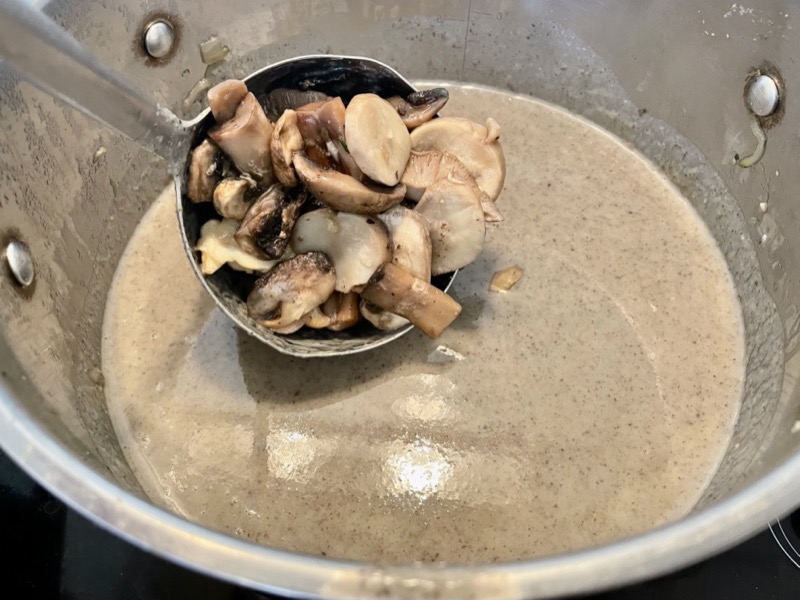
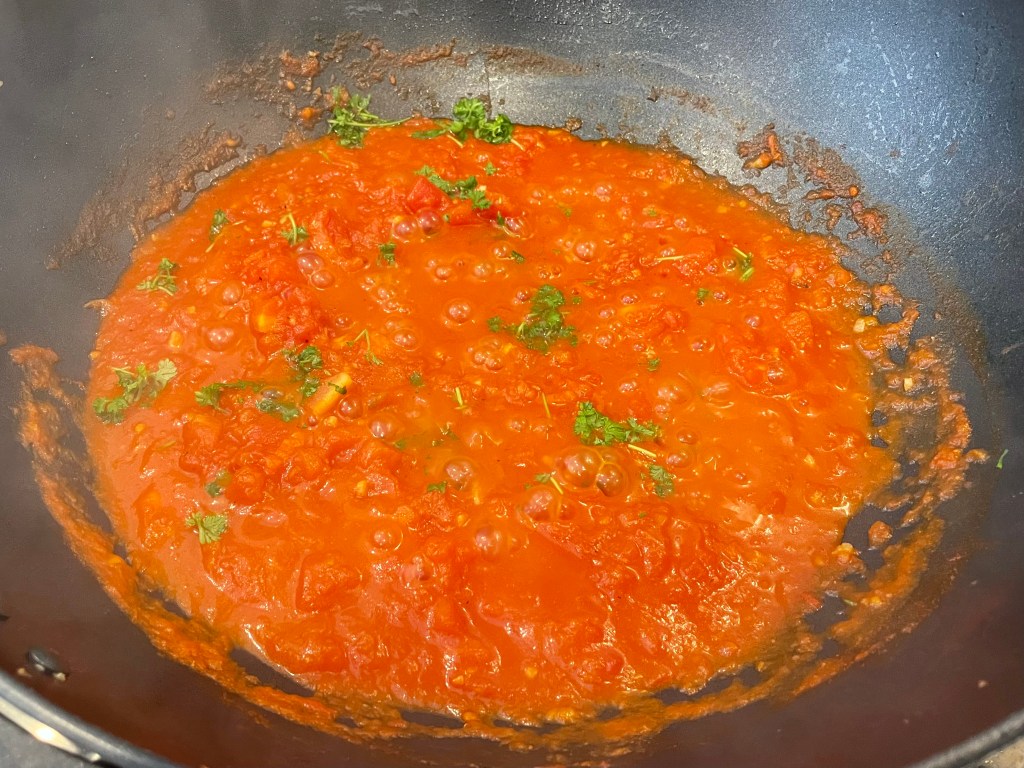
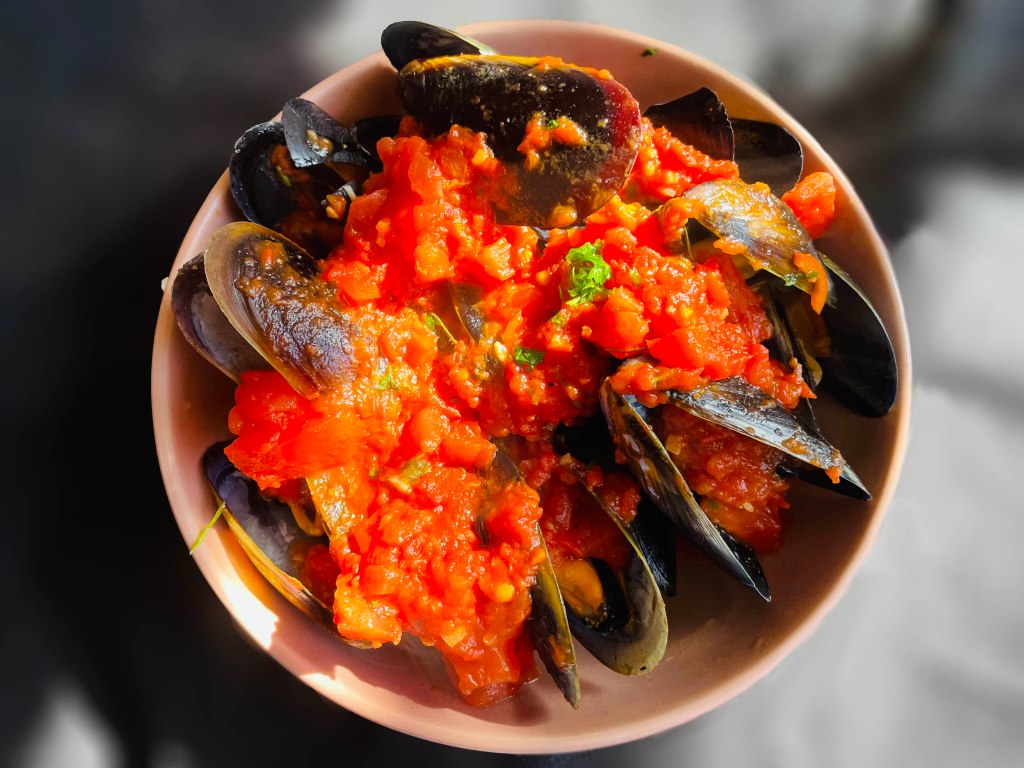
Once all the mussels have opened up, take them out with a slotted spoon and divide evenly amongst serving bowls. Leave the sauce in the pot and add in 1 Tbsp of butter and the heavy cream. Let it simmer for 10 mins to let the flavours infuse and until the sauce thickens a little. Turn off heat and pour sauce over the mussels. Serve with slices of toasted bread. Enjoy!


Other mussel recipes:

Summarized Recipe:
Creamy White Wine and Garlic Mussels
Date Published: Dec 28th, 2022 | Last Updated: Dec 28th, 2022
Author: Abby |Category: < 30mins, easy, appetizers, mains
Serves: 2 as mains | Prep time: 10 mins | Cook time: 20 mins
Ingredients:
- 2 Tbsps + 1 Tbsp (43g) unsalted butter
- 3 cloves garlic, minced
- 1 medium onion, diced
- 1 dried bay leaf
- 1/4 cup parsley, chopped
- 1/4 tsp dried thyme
- 1 cup dry white wine (ie. sauvignon blanc – I’ve used Chinese cooking wine successfully as well 😅)
- 1/4 tsp ground black pepper
- 1 kg live mussels, washed and debearded
- 1/4 cup heavy cream
Directions:
- In a large pot on MED-HIGH heat, melt 2 Tbsps butter then add in the garlic and onion. Sauté until the onions are soft.
- Add in the bay leaf, parsley, thyme, and white wine. Bring the sauce to a boil and then lower the heat and simmer for 2 minutes. Add in the mussels and stir. Put the lid on and cook for 5-7 minutes until the mussels all open up.
- Once all the mussels have opened up, take them out with a slotted spoon and divide evenly amongst serving bowls. Leave the sauce in the pot and add in 1 Tbsp of butter and the heavy cream. Let it simmer for 10 mins to let the flavours infuse and until the sauce thickens a little. Turn off heat and pour sauce over the mussels. Serve with slices of toasted bread. Enjoy!