Date Published: Feb 23rd, 2024 | Last Updated: Feb 23rd, 2024
Author: Abby |Category: sides, easy, healthy, low cal, vegetarian
Serves: 6 as a side | Prep time: 10 mins | Cook time: 30 mins
Jump to recipe |
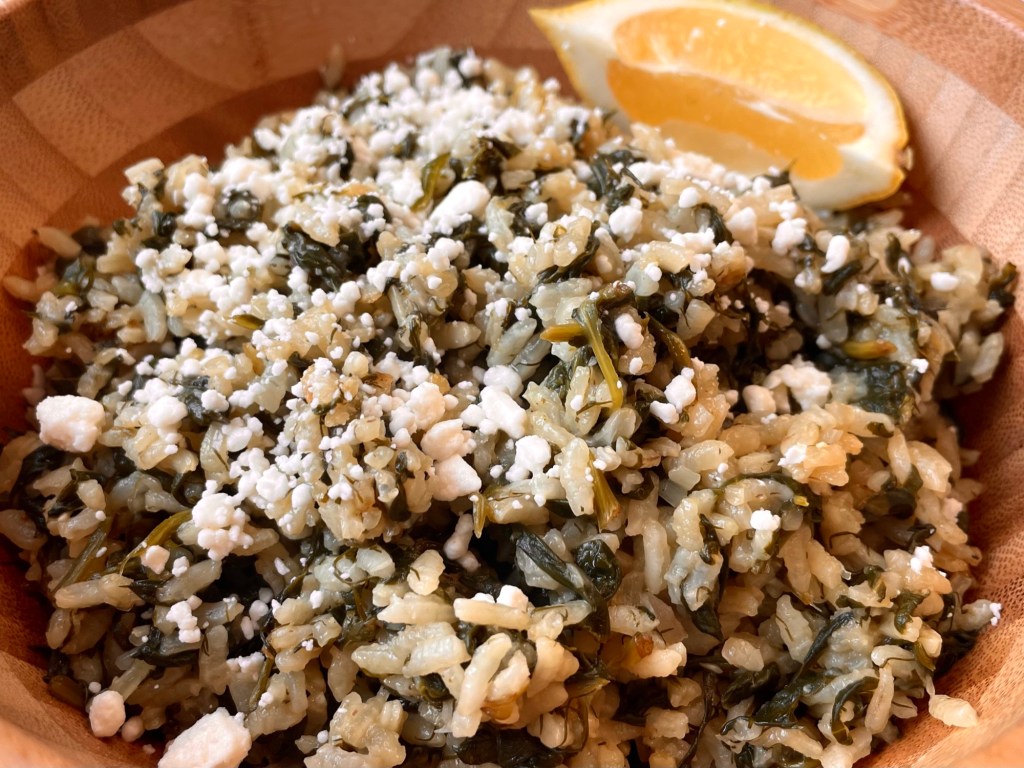
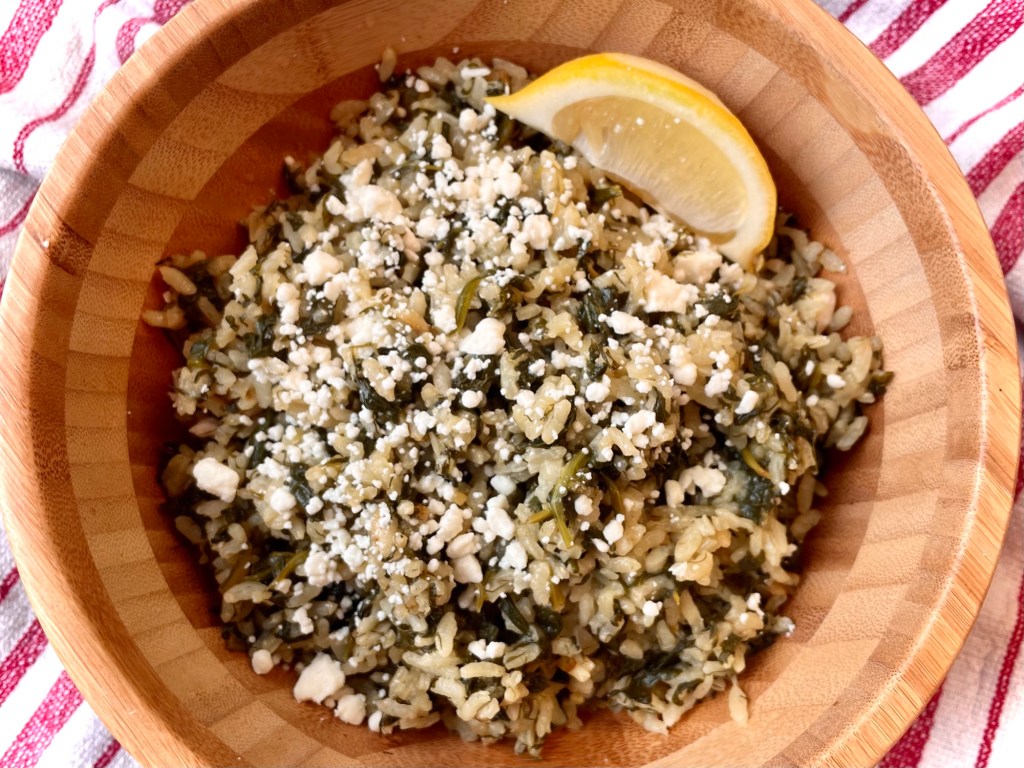
Spanakorizo is a traditional Greek spinach rice dish that is lemony and savoury with hints of salt from the feta crumbled on top. It’s flavourful enough on its own, but would pair well with a fish or pork roast. Alternatively, you can mix in some shredded rotisserie chicken and make it a complete meal!
I discovered this dish through my weekly email subscriptions of a foodie website and as soon I saw it, I knew I had to make it. I researched a few different recipes and most of them were very similar with a few differing factors, so I combined a couple of different recipes based on their reader reviews and came up with this one! (Through my research I also learned of a tomato version of a spanakorizo that looked just as good – you can check out the recipe here).


This recipe uses a LOT of spinach, which is perfect if you find yourself in abundance over the growing season. You can use regular mature spinach or baby spinach. It’s currently winter time in NYC and fresh mature spinach is hard to come by, so I bought the big box of baby spinach from Costco for this recipe – it’s actually the perfect amount!
This recipe does make quite a bit, so if you’re only cooking for 2-3 people, I’d recommend halving the recipe.
Anyways, without further ado, here’s the recipe! If you have any comments or suggestions, I’d love to hear from you in the comment section! You can follow me on instagram, youtube and facebook to see all the recipes I post!
Happy cooking!
Ingredients you’ll need:
- 1 lemon
- 2 cloves garlic, minced
- 1 medium onion, diced small
- 1.5 cups (290g) medium-grain white rice, rinsed and drained
- 1/2 cup packed (23g) fresh dill leaves, finely chopped
- 1/2 cup packed (20g) fresh mint leaves, finely chopped
- 1 tsp kosher salt
- 1/4 tsp freshly ground black pepper
- 450g (1 lb) of fresh spinach, chopped coarsely – I used the big box of baby spinach leaves from Costco, but if you’re using mature spinach, make sure to chop it into smaller pieces so you don’t get stringy cooked spinach in the end
- 2.25 cups (560ml) chicken or vegetable stock, or more as needed
- 1/3 cup feta cheese, or more for sprinkling
Directions:


Remove lemon zest in large wide strips using a peeler or paring knife. Set aside.
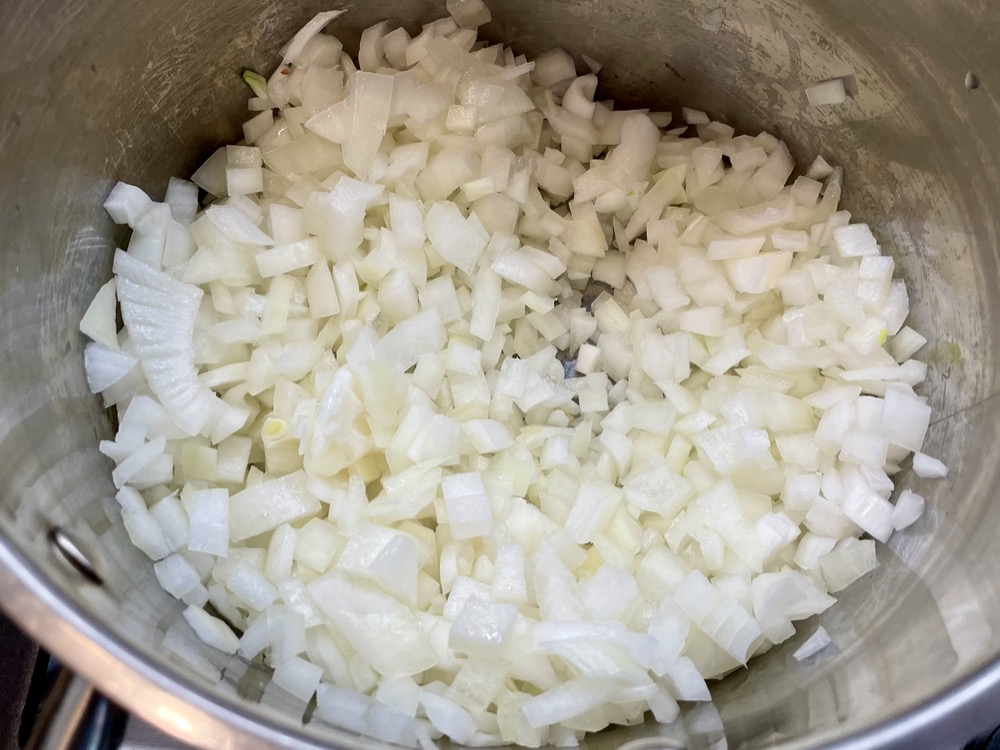
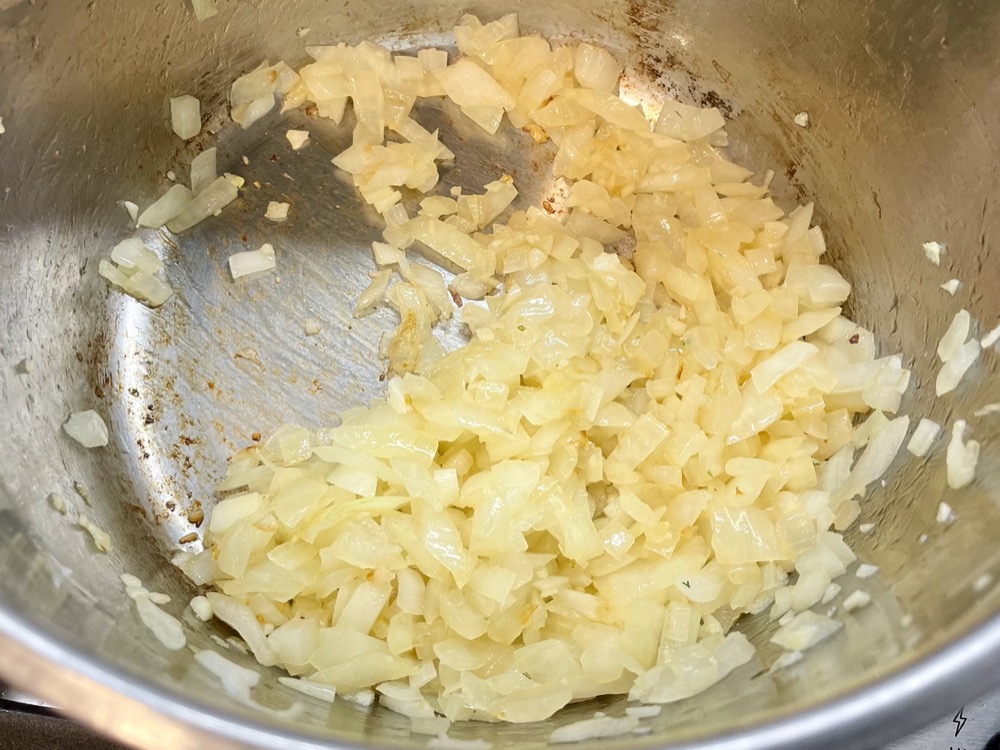
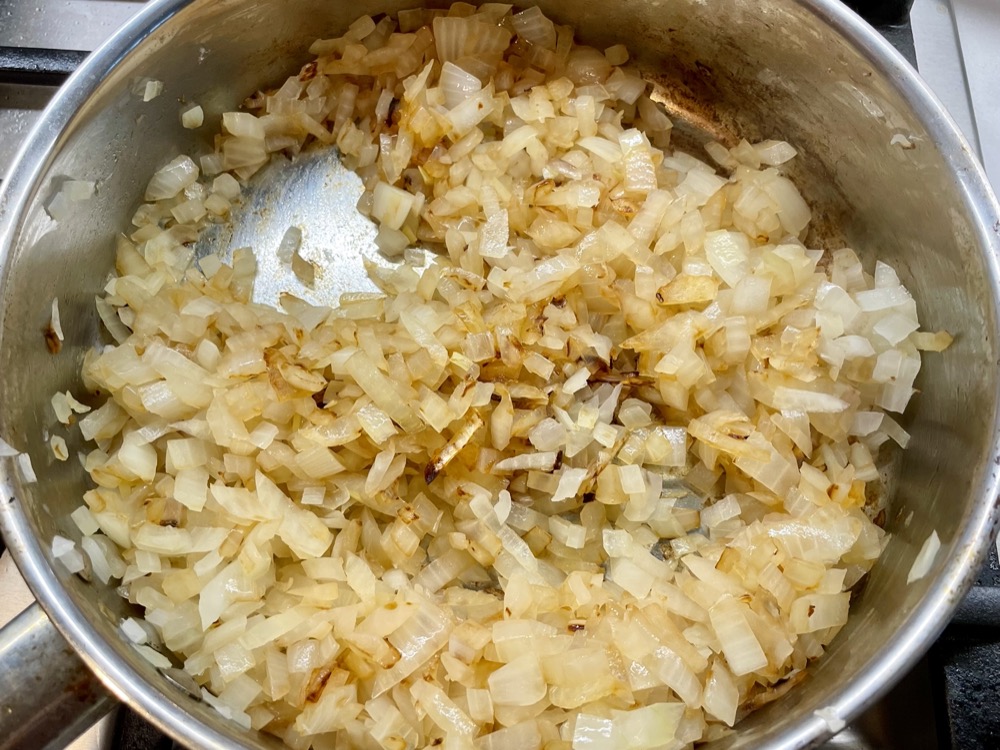
In a large pot on MED heat, add a drizzle of olive oil and sauté the garlic and onion together until the onions are soft.


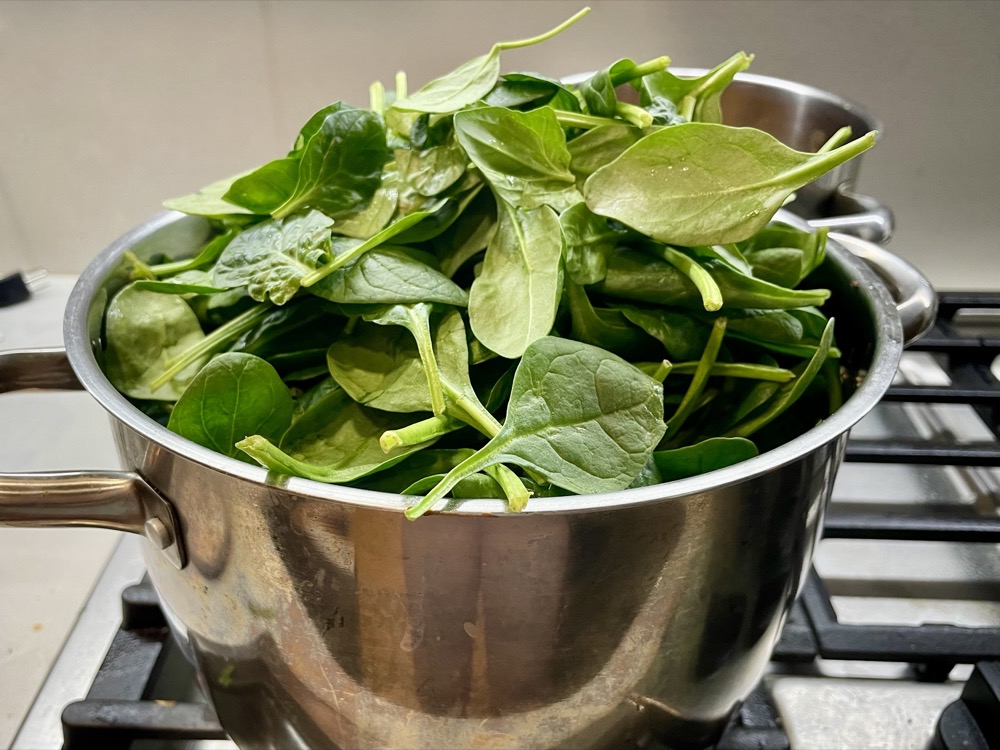

Next, add in the rice, lemon zest (from step 1), dill, mint, salt and pepper. Sauté for 30 seconds, then add in the spinach and chicken broth. It will seem like a LOT of spinach at this stage, but continue to stir it through and the spinach will wilt down. Once the spinach has all wilted, let the liquid come to a boil them simmer on LOW heat for 25 minutes with the lid on.


After 25 minutes, take off the lid and stir it around. Taste and if the rice is a bit under, add a splash of chicken broth and cook a little longer with the lid on until cooked. When the rice is cooked, turn off the heat and use a fork to fluff up the rice. Remove the pieces of lemon zest and let the rice sit without the lid for 5 mins to absorb any remaining liquids. Drizzle a bit of fresh lemon juice and a sprinkling of feta cheese over before serving. Taste and adjust salt as needed. Enjoy!


Summarized Recipe:
Lemon Spanakorizo – Greek Spinach Rice
Date Published: Feb 23rd, 2024 | Last Updated: Feb 23rd, 2024
Author: Abby |Category: sides, easy, healthy, low cal, vegetarian
Serves: 6 as a side | Prep time: 10 mins | Cook time: 45 mins
Ingredients:
- 1 lemon
- 2 cloves garlic, minced
- 1 medium onion, diced small
- 1.5 cups (290g) medium-grain white rice, rinsed and drained
- 1/2 cup packed (23g) fresh dill leaves, finely chopped
- 1/2 cup packed (20g) fresh mint leaves, finely chopped
- 1 tsp kosher salt
- 1/4 tsp freshly ground black pepper
- 450g (1 lb) of fresh spinach, chopped coarsely – I used the big box of baby spinach leaves from Costco, but if you’re using mature spinach, make sure to chop it into smaller pieces so you don’t get stringy cooked spinach in the end
- 2.25 cups (560ml) chicken or vegetable stock, or more as needed
- 1/3 cup feta cheese, or more for sprinkling
Directions:
- Remove lemon zest in large wide strips using a peeler or paring knife. Set aside.
- In a large pot on MED heat, add a drizzle of olive oil and sauté the garlic and onion together until the onions are soft.
- Next, add in the rice, lemon zest (from step 1), dill, mint, salt and pepper. Sauté for 30 seconds, then add in the spinach and chicken broth. It will seem like a LOT of spinach at this stage, but continue to stir it through and the spinach will wilt down. Once the spinach has all wilted, let the liquid come to a boil them simmer on LOW heat for 25 minutes with the lid on. After 25 minutes, take off the lid and stir it around. Taste and if the rice is a bit under, add a splash of chicken broth and cook a little longer with the lid on until cooked.
- When the rice is cooked, turn off the heat and use a fork to fluff up the rice. Remove the pieces of lemon zest and let the rice sit without the lid for 5 mins to absorb any remaining liquids. Drizzle a bit of fresh lemon juice and a sprinkling of feta cheese over before serving. Taste and adjust salt as needed. Enjoy!