Date Published: Oct 21st, 2024 | Last Updated: Oct 21st, 2024
Author: Abby | Category: Travel, USA
Date of travel: Oct 12th, 2024
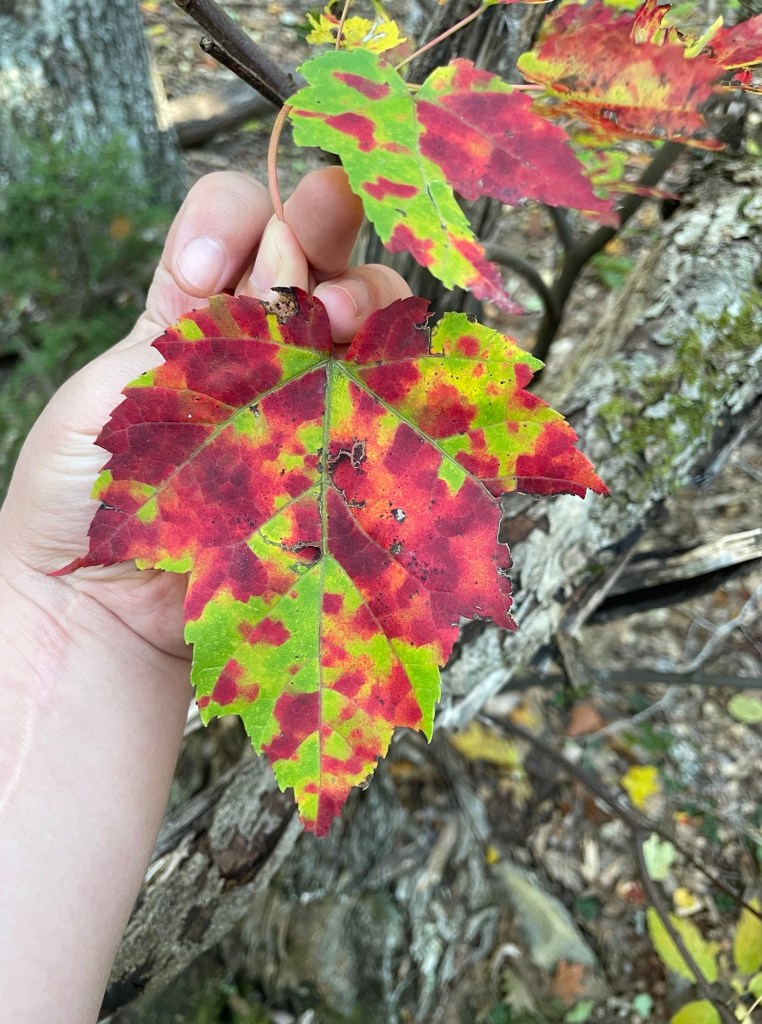
Camden Hills State Park sits just outside the small coastal town of Camden, Maine. This park has a number of hiking trails with the most popular ones being Mount Battie and Mount Megunticook. Both of these trails offer panoramic views of the ocean coast and sweeping colourful fall foliage trees below. If you’re driving through the area, these hikes are definitely worth making a stop for!
Location: Camden Hills State Park, Camden, Maine
Park opening hours: Open daily, 9am until sunset (some roads may be closed due to weather conditions, check the park website for more information.
Park website: https://www.maine.gov/dacf/parks/trail_activities/camden_trail_conditions.shtml
Park fees: $6.00 per adult ($4 for Maine residents), collected at the park entrance toll booth
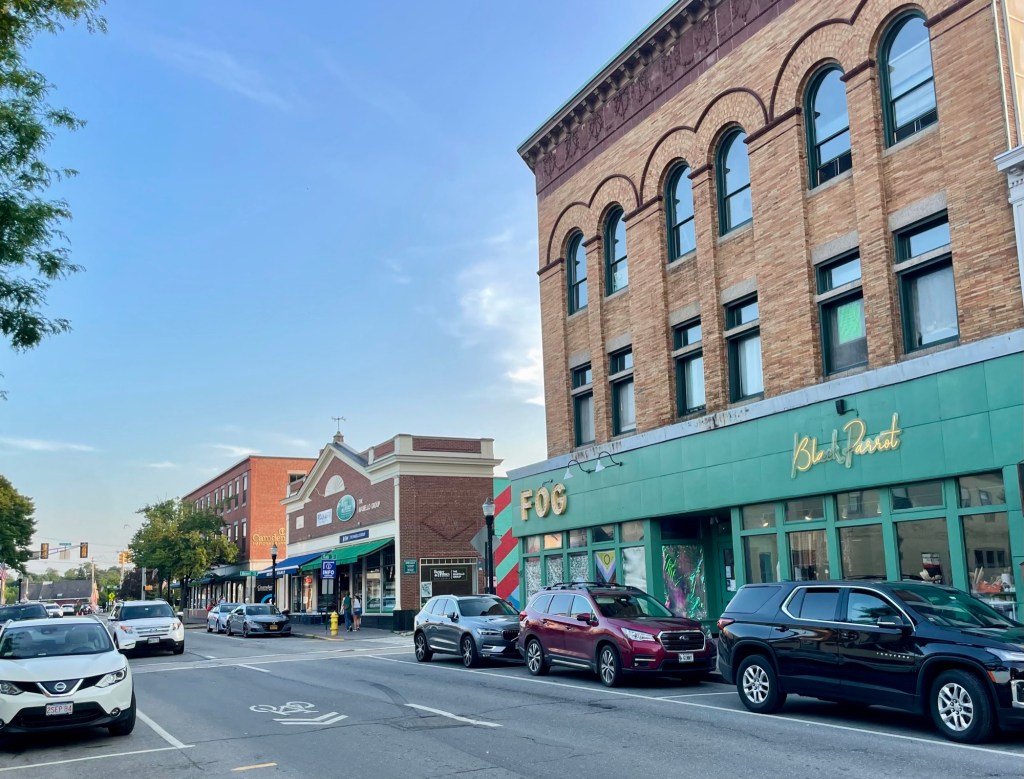
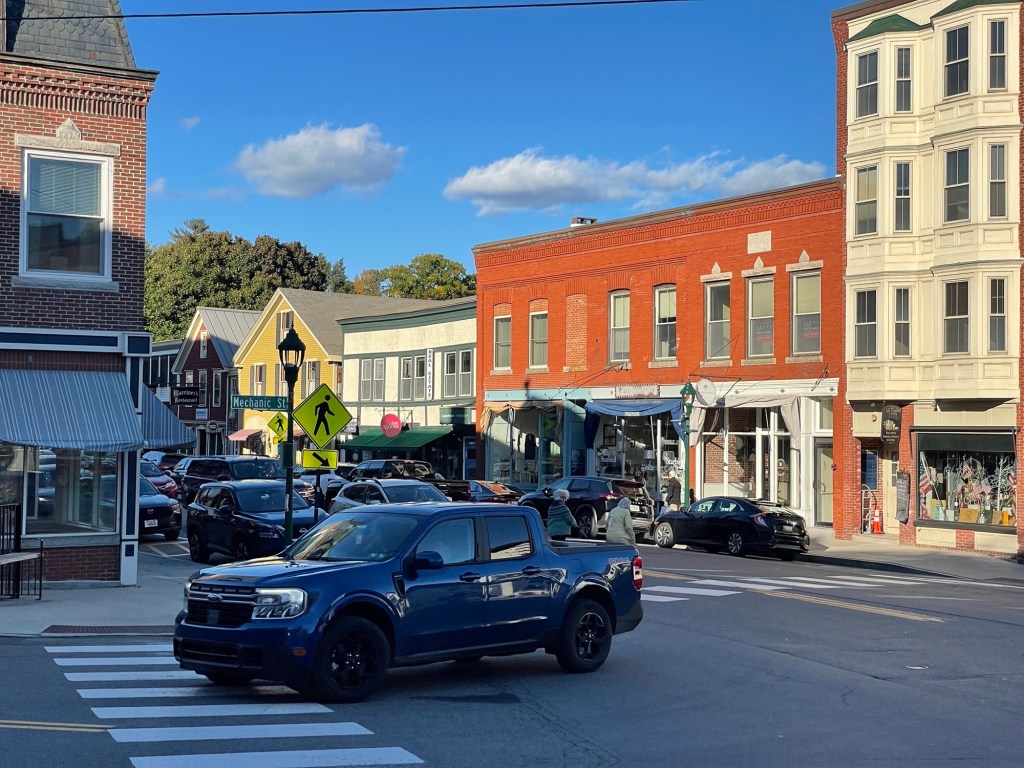
Camden, Maine
Camden is a cute small coastal town roughly 1 hour 45mins north of Portland, ME. I came across Camden Hills State Park while doing my research for the best hikes in Maine, and the town of Camden sits just outside of the park. Exploring this town wasn’t on my itinerary at all and we were on a bit of a time crunch due to driving 7 hours from Brooklyn that morning. However, we had forgotten to stock up on water before we left home so we stopped in a local grocery store to pick up a couple jugs before hitting the trails. Once we drove into town, we realized how quaint this place is and instantly regretted not allowing more time for us to explore this town. If you’ve got the time, I’d definitely recommending setting aside a few hours (or stay overnight) to explore Camden.
Camden Hills State Park
Located just outside of the town of Camden, there are multiple trails to follow at Camden Hills State Park. The two most popular are Mount Battie and Mount Megunticook for the their panoramic views of the town below. I’ve also included the Maiden Cliffs Trail on the map as well since it came up frequently in my research, but it didn’t look as scenic as the other two trails and we wouldn’t have had time to complete the trail before sun down anyway. Perhaps next time. More info on the Maiden Cliffs Trail: https://www.alltrails.com/trail/us/maine/maiden-cliff-trail.
One thing about the park that I did find disappointing is their lack of signage at the start of the trails. For a park that collects a fee, I was expecting it to be more organized. I’d recommending downloading or screenshotting a park map before you go.
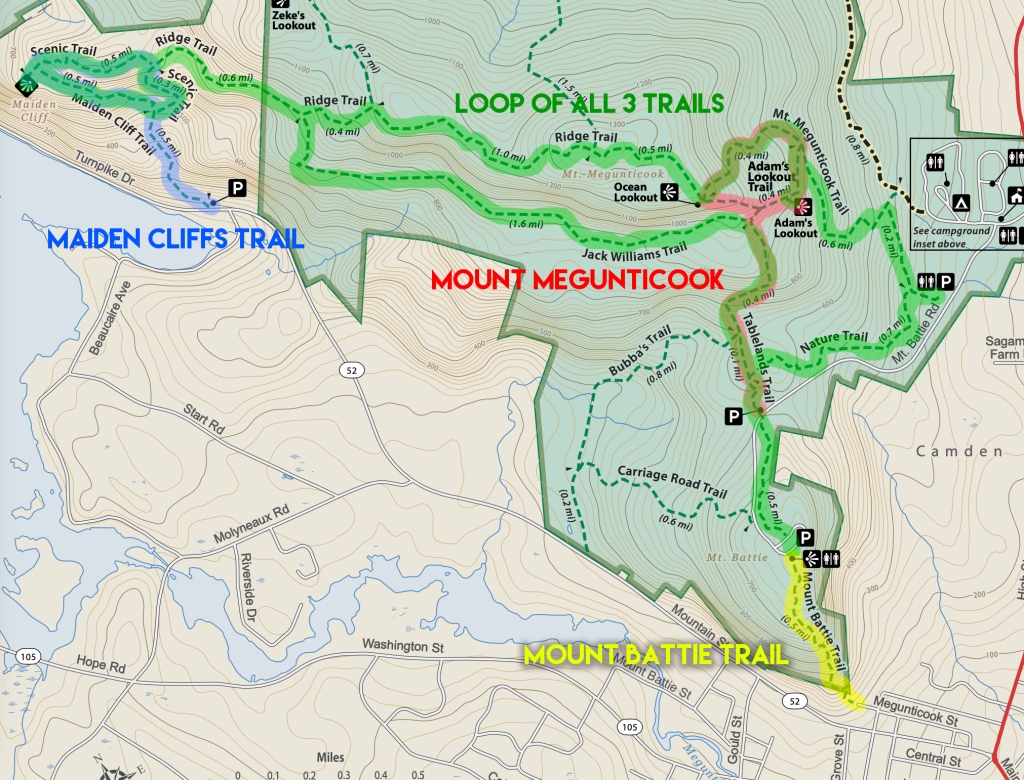
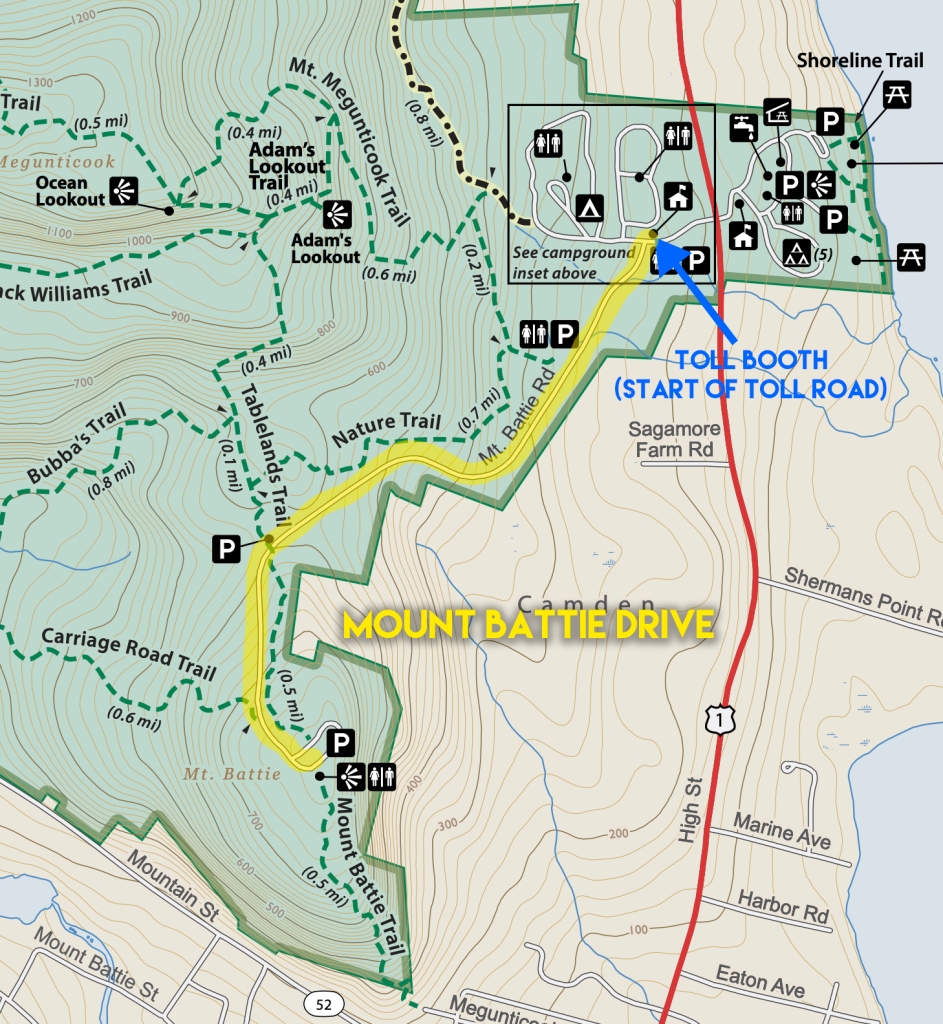
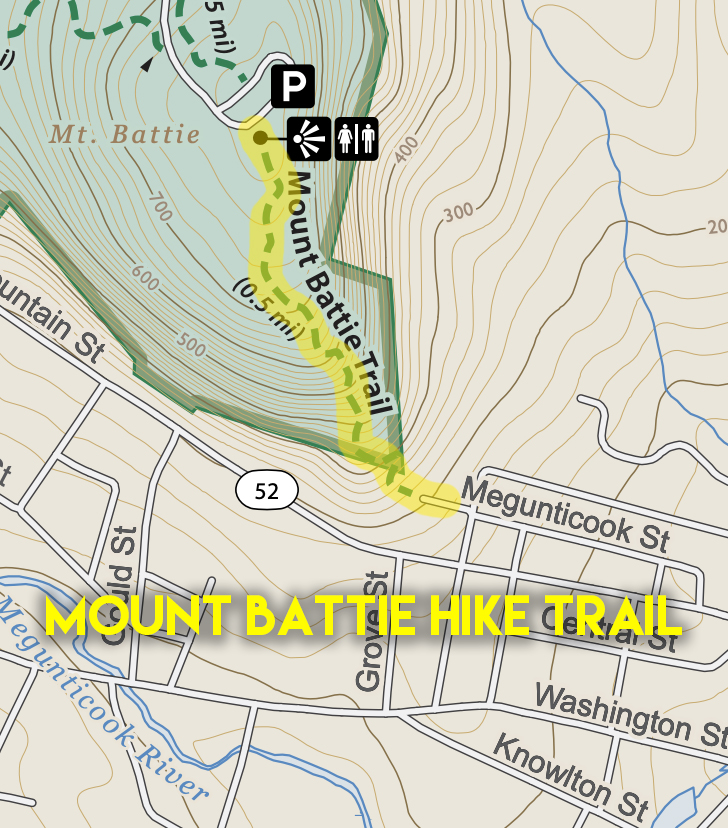
You can find the full park map on the park website here. I’ve highlighted the three trails in this image below to make it a little more clear on the path of these hikes since there are a few intersecting trails. Each hike starts at their own parking lot.

You can also connect all 3 hikes together in a loop and start at the Camden Hills State Park Campground, but it will take about 5 hours to complete, covering 13.8km (8.5mi). I’ve hightlighted that trail in green below. Here’s more info on this hike if you’re game: https://www.alltrails.com/trail/us/maine/mount-megunticook-maiden-cliff-and-mount-battie-loop
Mount Battie Trail
Mount Battie summit is the most popular summit in Camden Hills State Park because you can drive right up to the summit and enjoy the views without any effort, which is exactly what we did to save time in our packed schedule.
Length: 1.8km
Elevation Gain: 180m
Trail type: Out & back
Difficulty/Terrain: Moderate, rock scrambling and can be slippery
Estimated duration: 2 hours total
Starting point: Trail head is in downtown Camden on Megunticook Street (57 Megunticook St, Camden, ME 04843)
Things to bring: water bottle, sunscreen & hat (most of the trail is shaded with exposure at the top), good hiking shoes, tick/insect repellent depending on season, screenshot of the trail map
More Trail info: https://www.alltrails.com/trail/us/maine/mount-battie-trail
Driving option?: Yes! Set the maps to “Camden Hills State Park” (280 Belfast Rd, Camden, ME 04843) and there will be an entry with a manned toll booth. Hours are 9am until sunset, daily.
Driving to the summit:
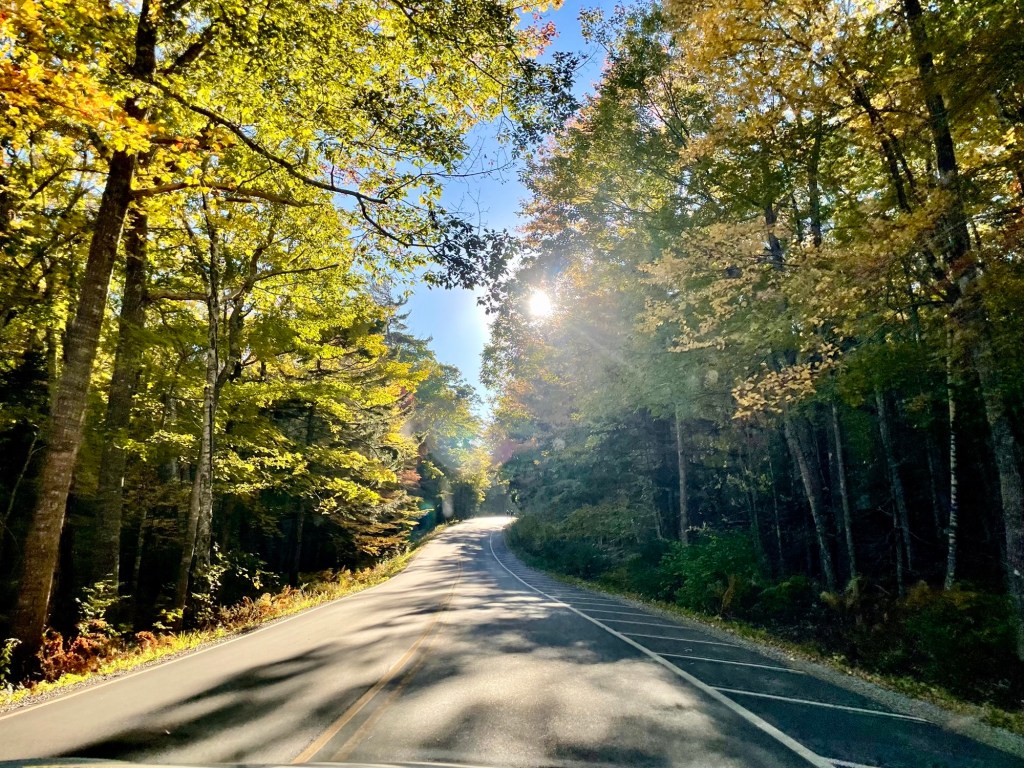
To drive to the summit, set the maps to Camden Hills State Park (280 Belfast Rd, Camden, ME 04843). Do not set it to Mount Battie like we did because it will take you to a closed entrance with a sign that redirects you to the correct place. Once you reach the state park entrance, there will be a small manned toll booth to get on the auto toll road (Mount Battie Road). It’s $6 per person ($4 if you’re a Maine resident). Pay attention to the gate closure time on the way in. They close the gate at sunset every day, so make sure you’re back down the mountain before then!
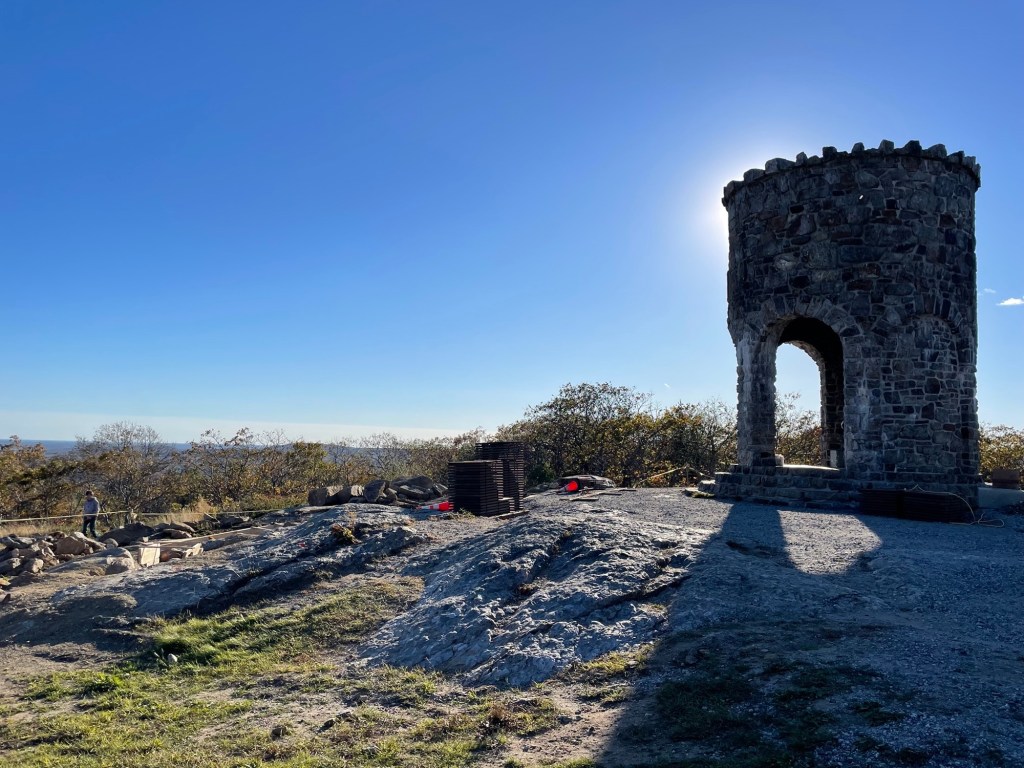
It was about a 10 minute drive to the top of Mount Battie with enough parking for about 30-ish cars. We arrived around 4pm and didn’t have any trouble finding parking. There’s no sign that says you’ve arrived, so when you’re at the top where the road ends and there are a bunch of other cars, you know you’re in the right spot. The views are only a few steps from the parking lot and you’re instantly rewarded with a beautiful panoramic view of the trees and the town of Camden below. There’s also a small tower that’s a WWII memorial that you can go inside, but when we were there it was under construction.


You really only need a couple minutes here, but it’s so lovely that you may want to spend longer just sitting and enjoying the views.


Hiking to the summit:
If you want to hike to the summit of Mount Battie, the trailhead starts in downtown Camden on Megunticook Street (maps to 57 Megunticook St, Camden, ME 04843). Although it’s only 1.8km, it’s a pretty steep ascent with scrambling rocks. If it has rained recently, it can get pretty slippery especially if there are leaves on the ground. Make sure you have a pair of decent hiking shoes with good traction! We drove and didn’t do the hike ourselves, but there are plenty of information and reviews on this trail on Alltrails.
Also an added bonus of doing the hike: because you’ll be parking in downtown Camden rather than driving up the auto toll road, you can avoid the park fees (however I’m not sure if there’s a fee to park in downtown Camden).
There is also an alternate route of hiking from the Camden Hills State Park Campground (where the toll road starts), however it will be a longer hike compared to starting in downtown, but less steep.
Mount Megunticook/Ocean Lookout (via Tablelands Trail)
Mount Megunticook is the highest peak in Camden Hills State Park. The hike is just over 4km and the average estimated time to complete this out and back loop is 1 hour 38mins. We arrived at Camden much later than expected and although we were lucky enough to unintentionally catch the sunset at the lookout point, we sadly had to hike back down in the dark scrambling through rocks and sliding on leaves which made it a 2 hour round trip hike for us. If you plan to catch the sunset here, make sure you bring a headlamp and definitely have a decent pair of hiking shoes with good traction to prepare for hiking back down in the dark. Hiking sticks won’t hurt either to help with balance getting back down the mountain over the uneven rocks.
Length: 4.3km
Elevation Gain: 250m
Trail type: Out & back
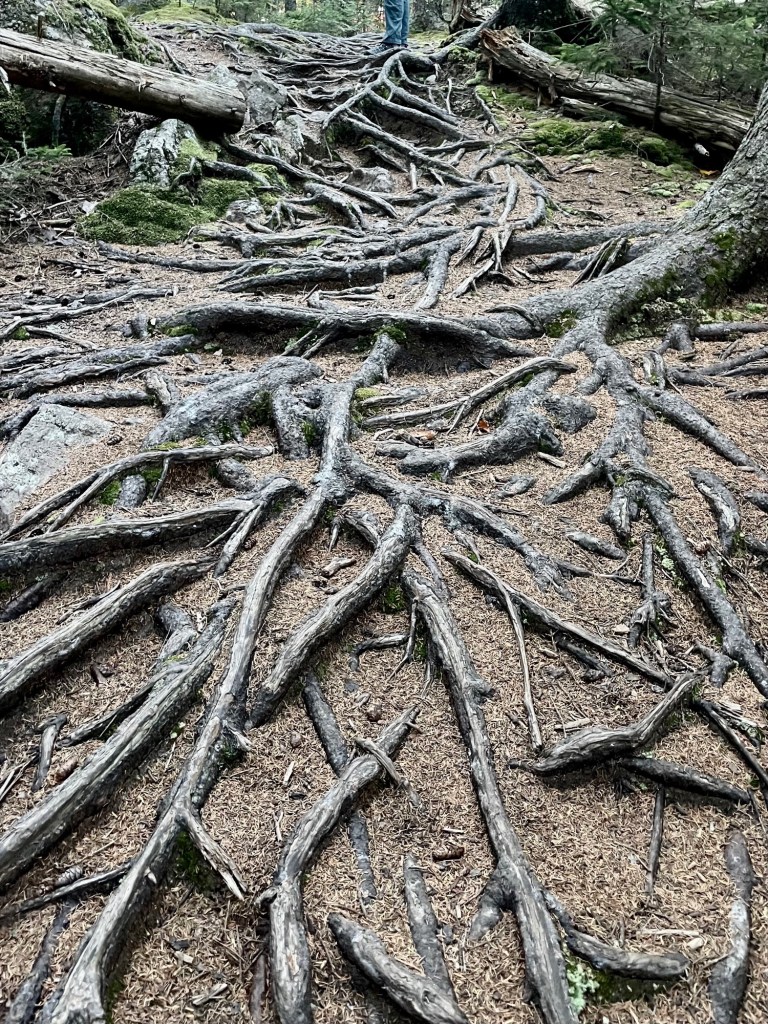
Difficulty/Terrain: moderate, lots of annoying rock scrambling and tree roots, can be slippery esp if wet
Estimated duration: 1 hour 38mins (we took a full 2 hours due to hiking back in the dark)
Starting point: Tablelands parking lot (the one right before the Mount Battie parking lot)
Things to bring: water bottle, sunscreen & hat (most of the trail is shaded with exposure at the top), good hiking shoes, tick/insect repellent depending on season, screenshot of the trail map
Could my mom do this?: with difficulty, lots of rocks to scramble and can be slippery
Driving option?: No
More Trail info: https://www.alltrails.com/trail/us/maine/tablelands-trail
Note: Although we are hiking Mount Megunticook, the views are at Ocean Lookout, not the actual summit. Therefore you can end your hike once you reach the views, but if you want to get to the summit, it’s an extra 500m (0.3mi) walk and you will be met by a pile of rocks with a sign that indicates you’re at the summit. There are no views here, you’re amongst the trees – wasn’t worth the extra walk to us. I’ve marked the summit walk on the map in purple to give you an idea of where the summit is.

There are multiple trails you can take that will lead you to Ocean Lookout, but the fastest and most direct one is via the Tablelands Track (highlighted in red on the map). You will start at the Tablelands parking lot (there’s not much signage here so it’s easy to miss – it’s the next parking lot from the Mount Battie lot). There’s enough parking for about 10 cars, we arrived at 4:30pm and there were only 2 other cars here.


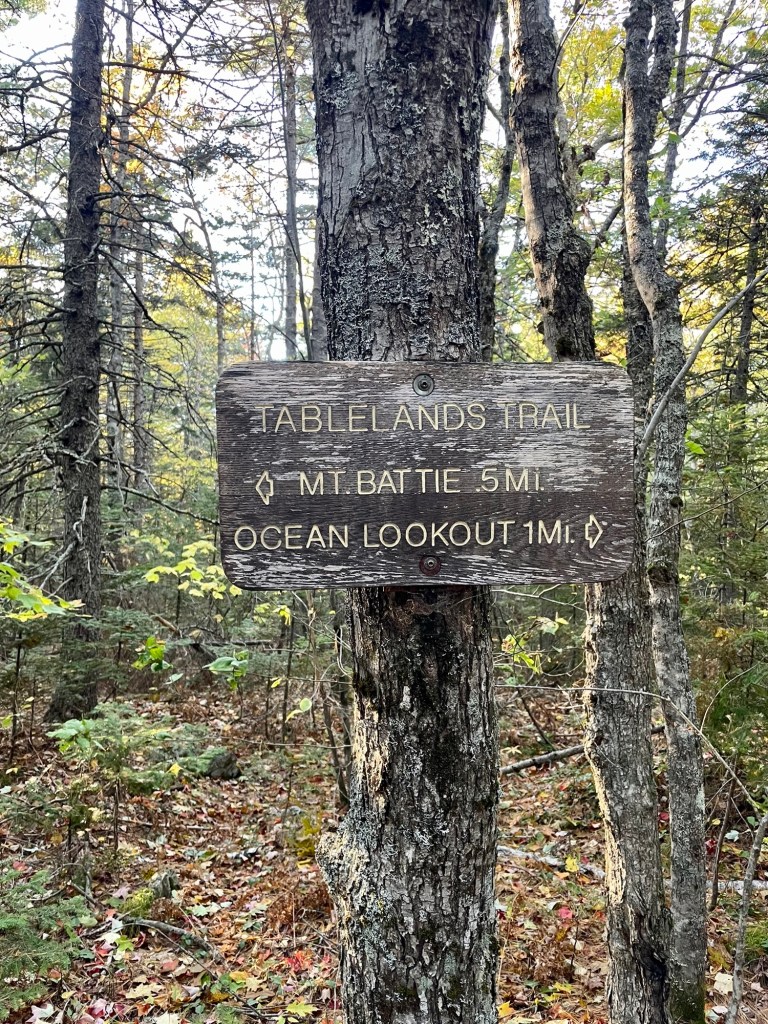
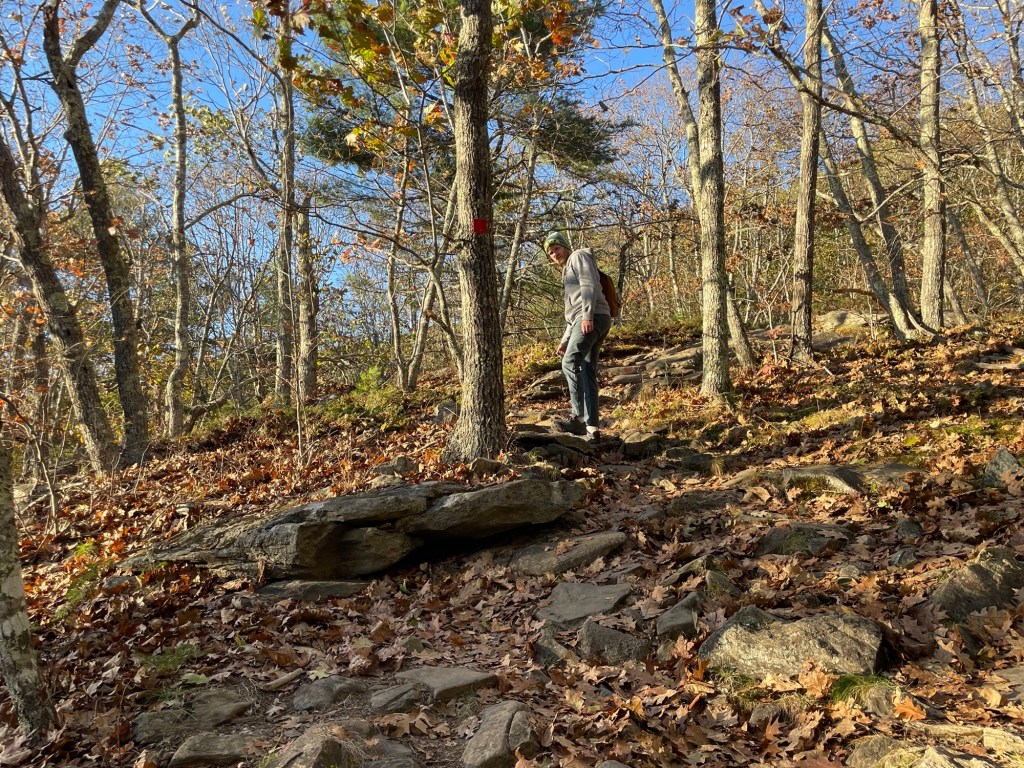
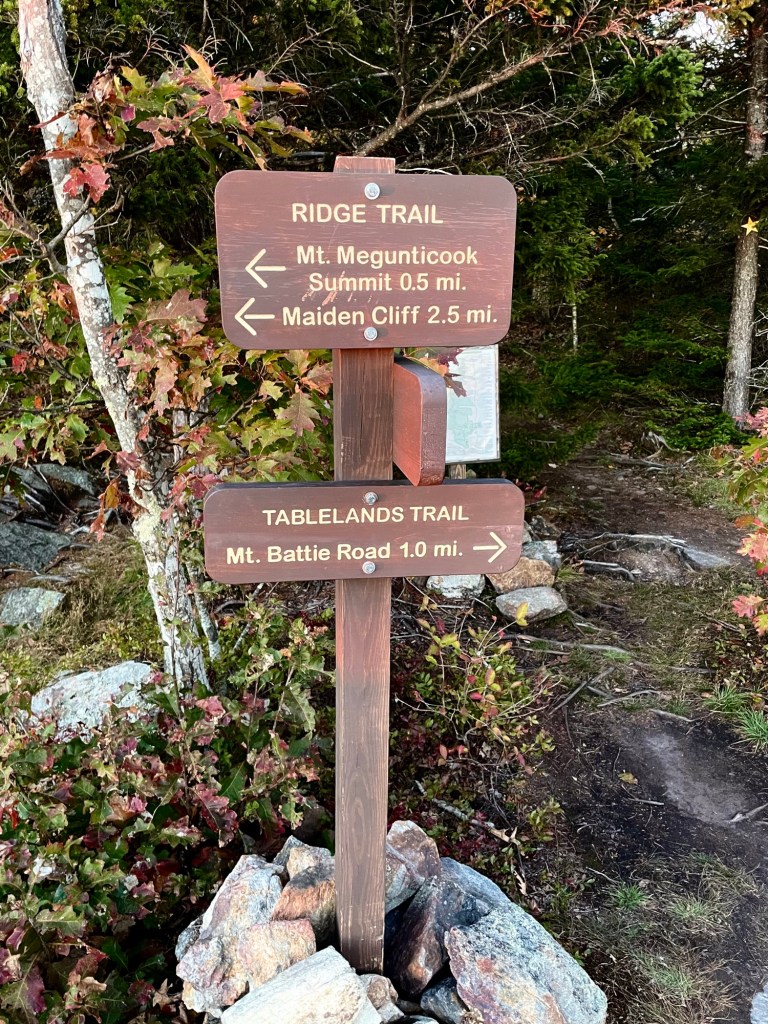
At the trail head, you’ll see a small wooden sign that says Tablelands Trail along with a small laminated inkjet printed paper map that has seen better days stuck to the post of the trail. It was disappointing that there wasn’t a larger map available and there were also no signs that pointed towards Mount Megunticook. At the time I didn’t know that the trail to Mount Megunticook was called Tablelands Trail, so we spent a good couple minutes squinting at the tiny paper map to figure out that we were on the right path. If you’re doing this hike, I highly suggest you either bring a map or a screenshot of the map and remember the trail names so you don’t get lost. You want to start at the Tablelands Trail –> Ridge Trail to Ocean Lookout. There is still wooden signage along the way, but the printed maps seemed to get more worn and illegible as the trail continues. There are blue and red trail markers along the way to follow.
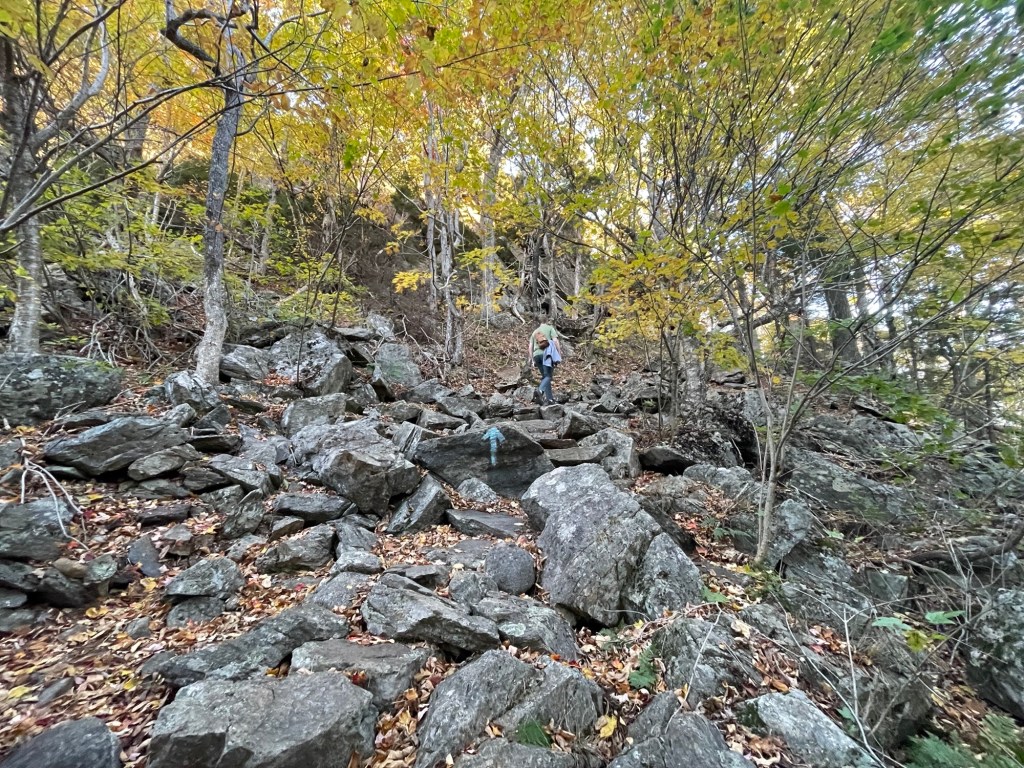
The entire hike is mainly shaded amongst the trees and opens up when you reach the views at Ocean Lookout. It starts off relatively flat for the first 10 minutes, then gets increasingly more steep with large rocks and boulders to hop/climb over. The ascent isn’t sharp but it is constant uphill near the second half of the hike.
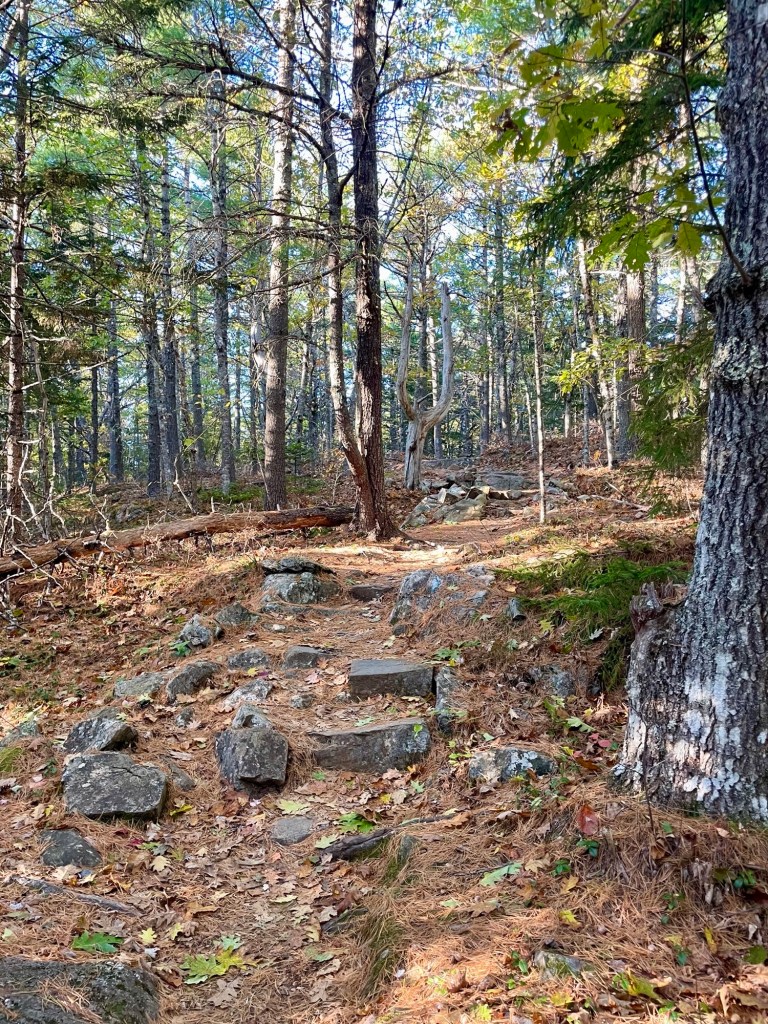

I’ll be honest and say that the hike itself wasn’t too enjoyable for me because most of it was on uneven ground with rocks and tree roots everywhere that were also partially buried by fallen leaves so we really had to watch our step. Rather than enjoying the hike, I was constantly watching the ground so I don’t trip or step on an uneven rock. I would highly recommend wearing a good pair of hiking shoes with ankle stability for this hike.


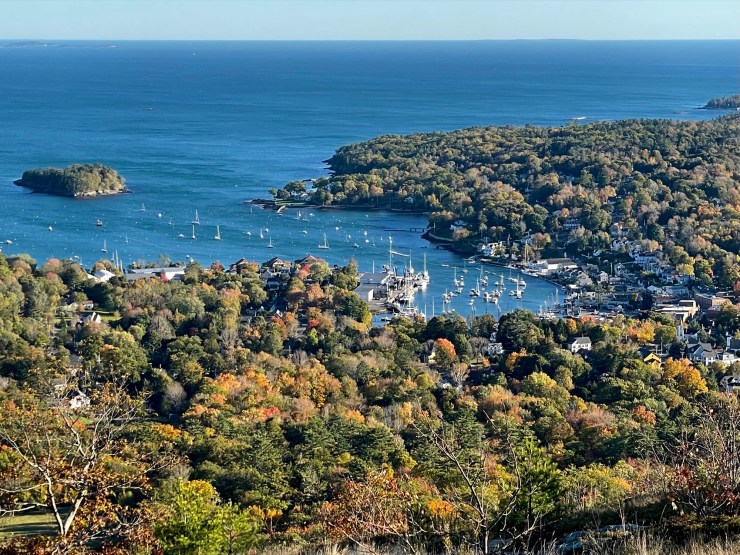
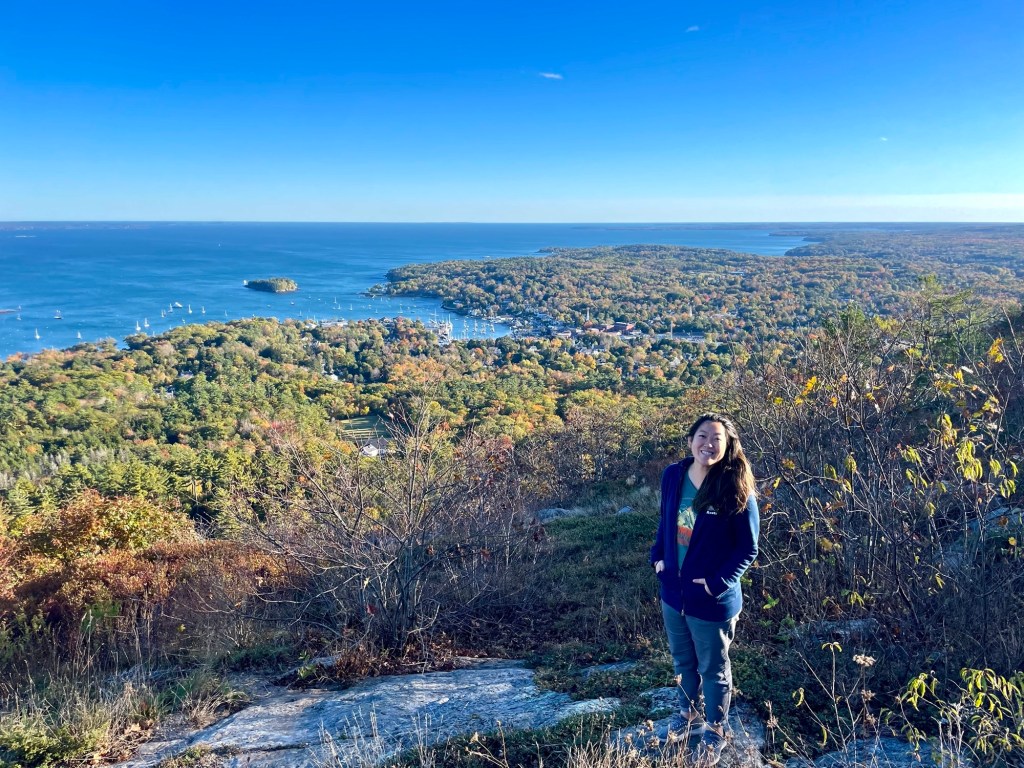
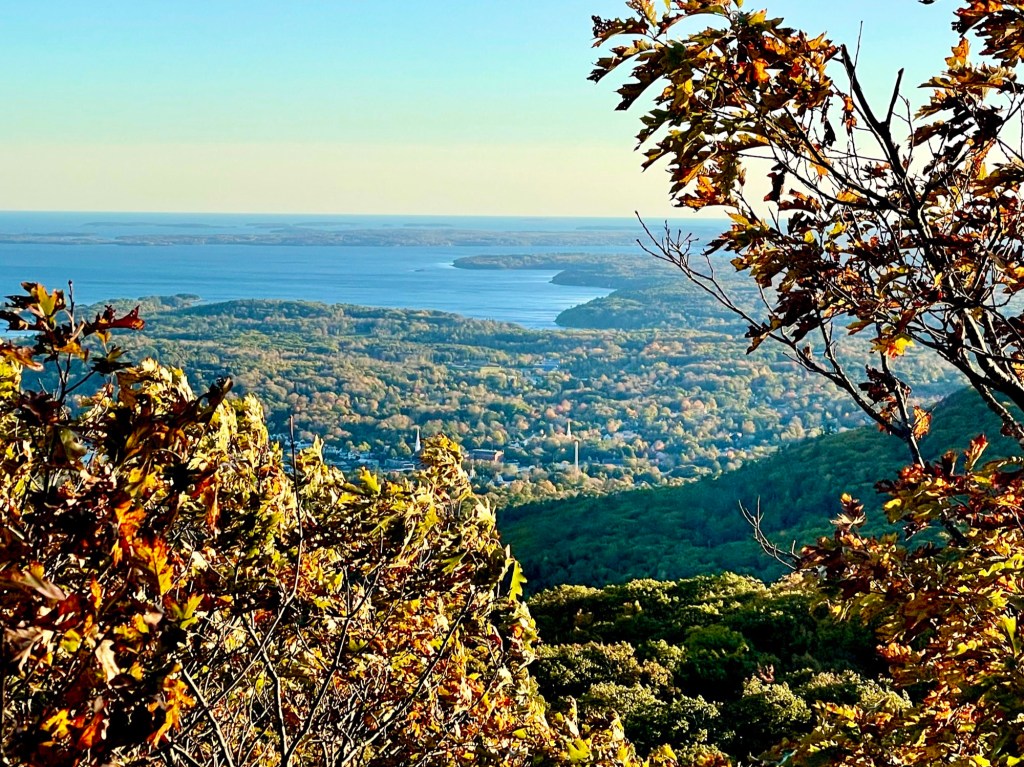
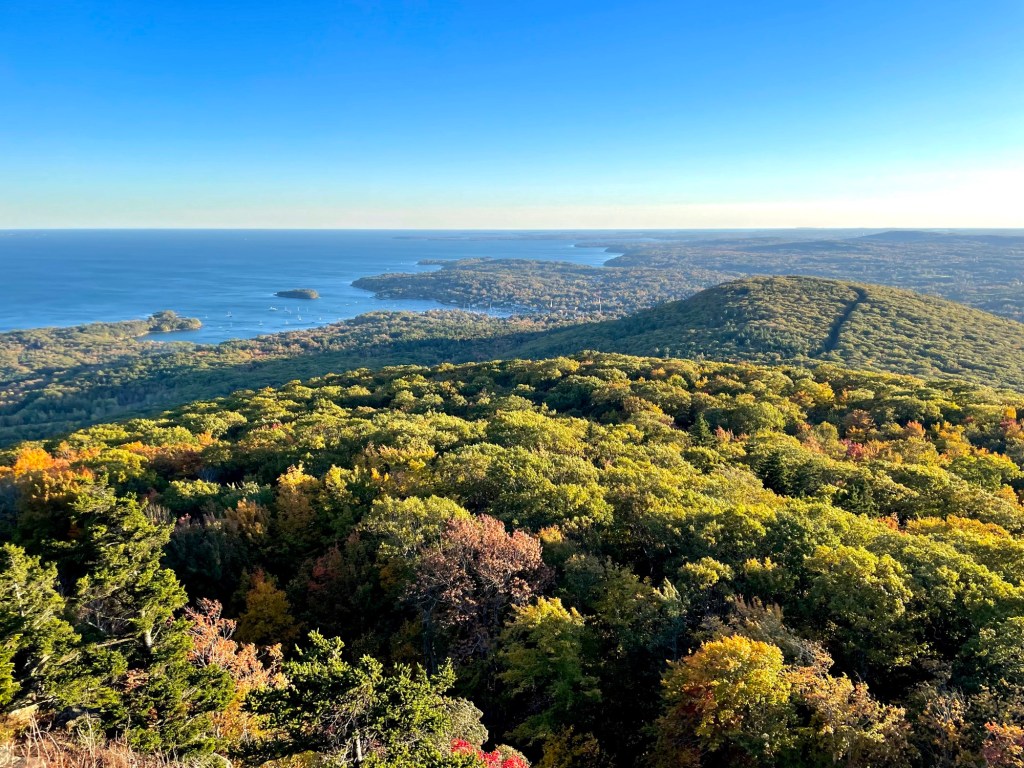
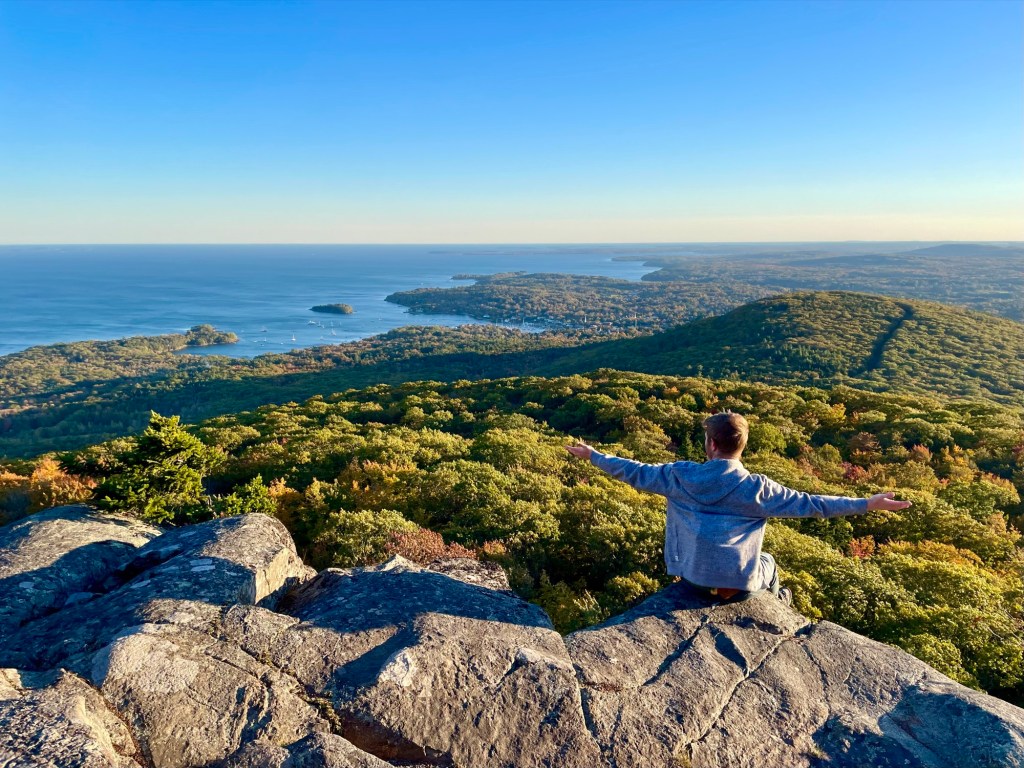
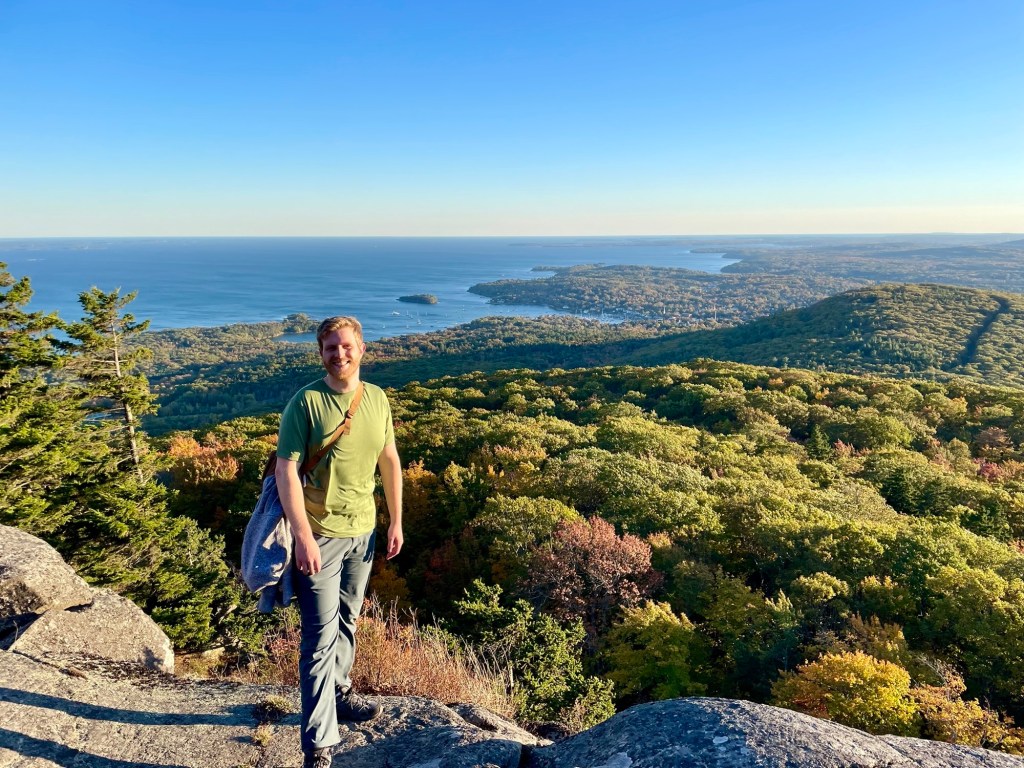
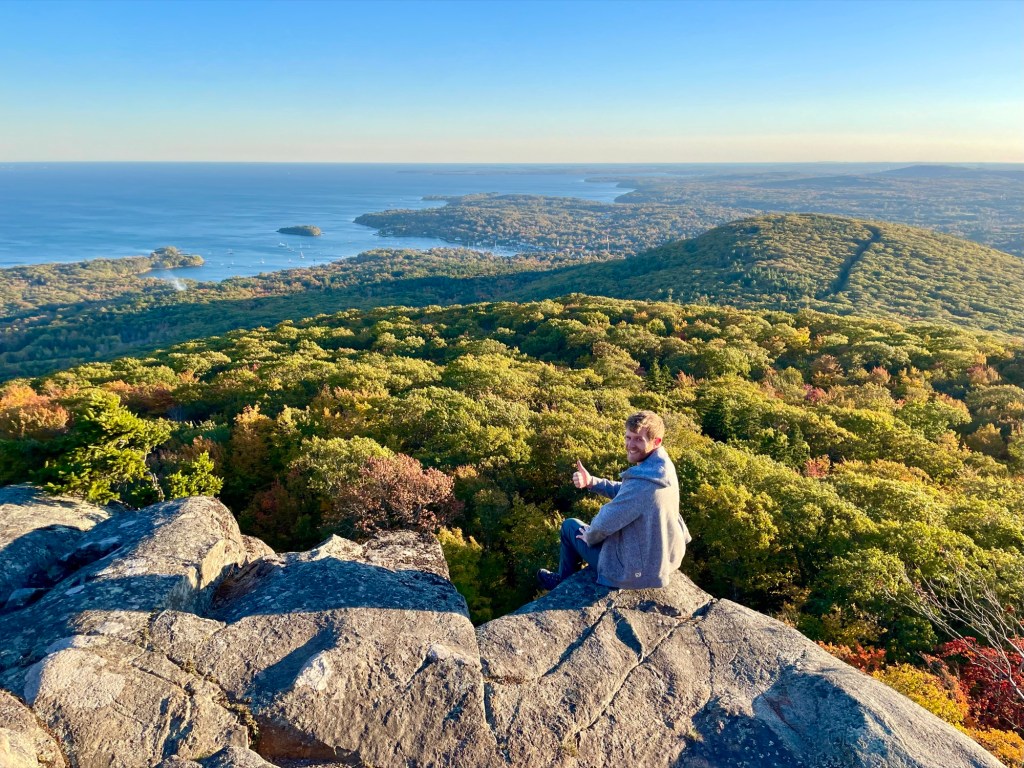
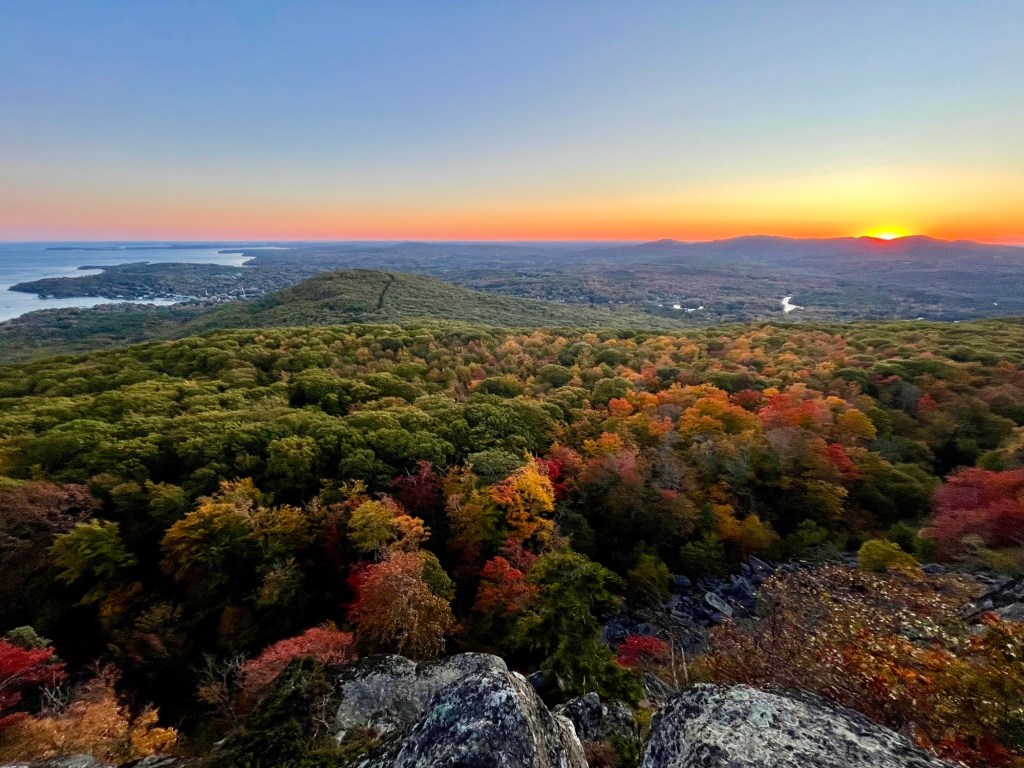
However, as annoying as the terrain was, the view was definitely worth it. We finally reached Ocean Lookout after about an hour of hiking. It was beautiful! The views of the orange and red fall foliage below us and the extending coastline in front of us in the distance. The pictures just don’t do it justice. We would’ve stayed here longer to take in the views if we had more time, but the sun was starting to set and we were frantically trying to not hike down the mountain in the dark.

We took a few photos and continued to follow signs to the summit, hoping for even better views (although they’d be hard to beat). The summit was another 0.3 miles away. It took us 15 minutes and disappointingly, it was just a pile rocks that marks the summit. No views, nothing. Buried amongst trees. Bah! This was extra time we could’ve used to get down the mountain before dark. </3

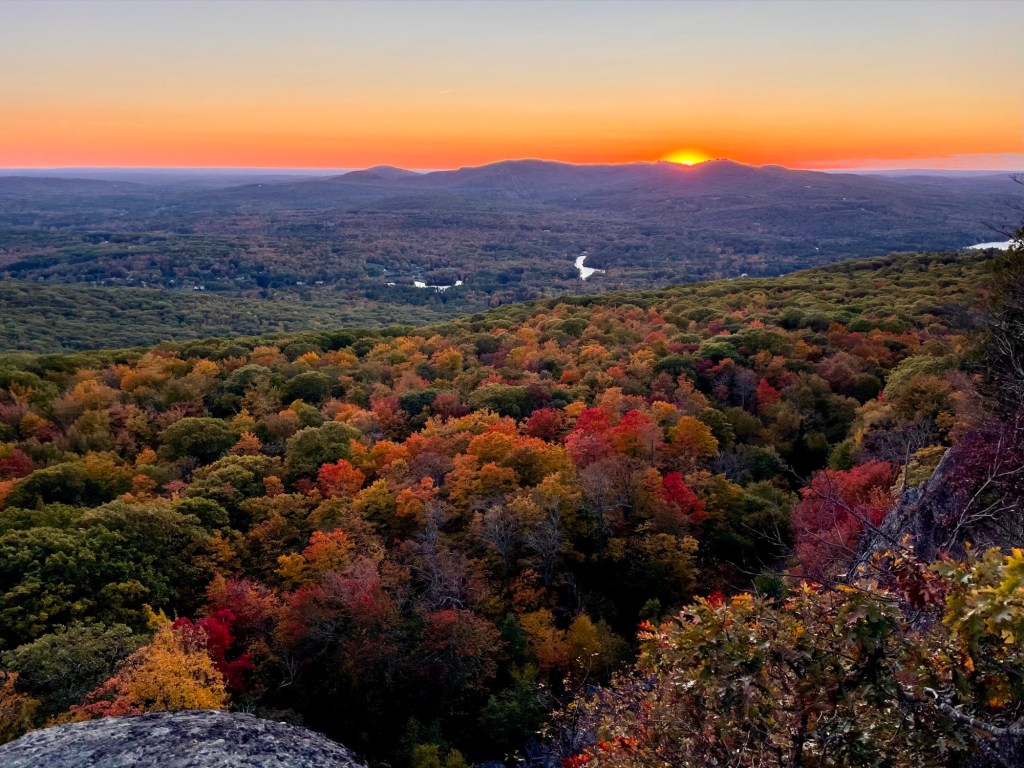
As we hiked back down towards the car, the sun was setting. When we reached Oceans Lookout again, we had unintentionally arrived exactly at sunset. The orangey/pink colours of the sky over the coastline was mesmerizing. I wanted to stay longer, but it was getting increasingly dark.


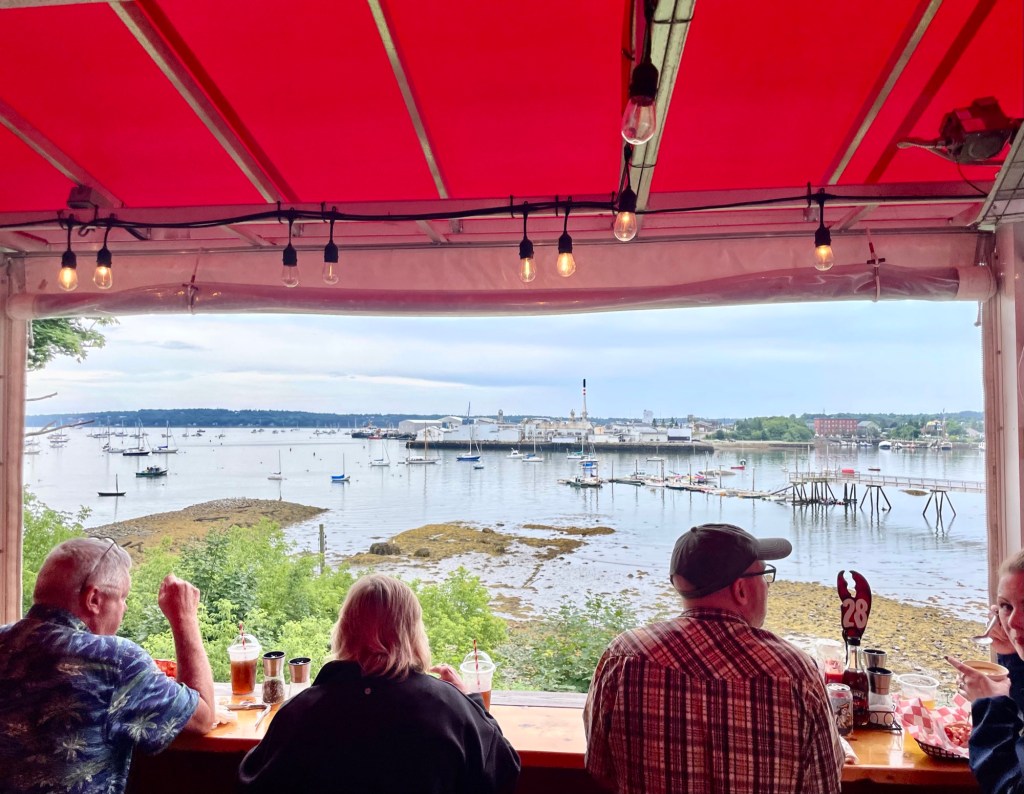
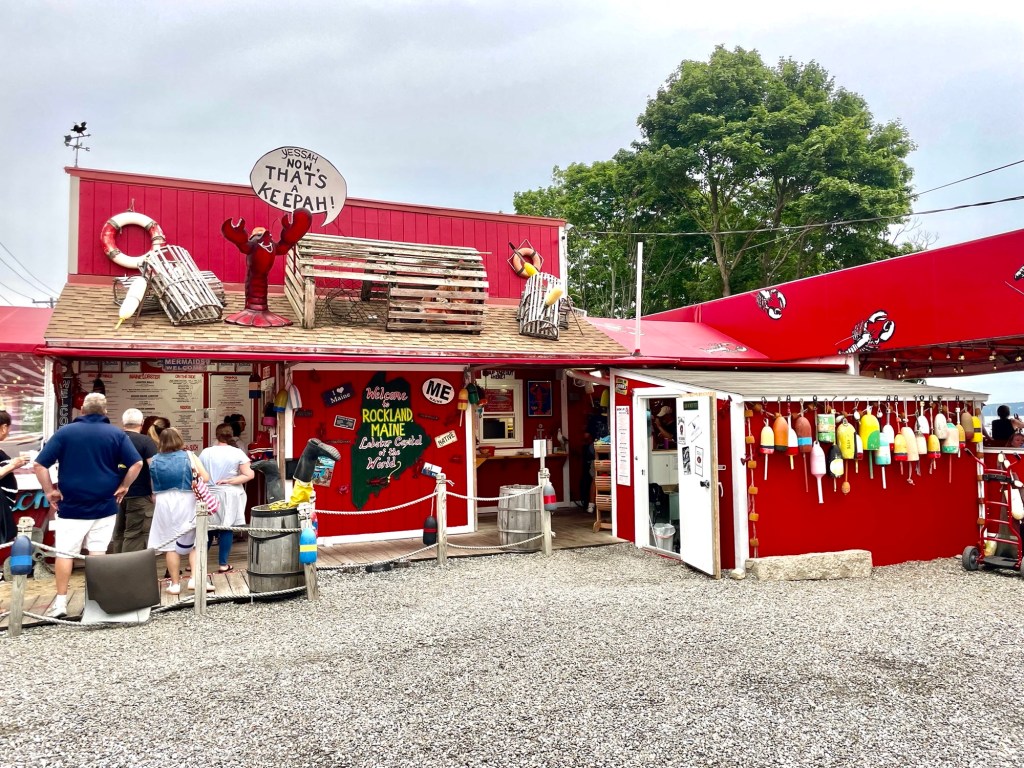
We tried as best as we could to get back to the car before the dark but we failed. It was a really annoying hike back. All the steep steps and boulders with slippery dry leaves that we dodged going up became hidden in the dark and we had to take our time being careful with our foot placement over the downhill descent of uneven rocks. It took us another hour to get back to the car even though we were going down hill. If you’re going to do this, bring a headlamp and maybe some hiking sticks for stability. It was 6:30pm by the time we reached the car and got down the mountain before the gate closed at 7pm. After this strenuous hike, we went to Claws in Rockland for dinner (our favourite lobster restaurant) then headed to our BnB for the night near Acadia.


Some final thoughts:
- I’d recommend driving up to Mount Battie and paying the toll rather than hiking up.
- Save your energy to hike Mount Megunticook for the views at Ocean Lookout.
- Don’t bother hiking the extra bit to the summit of Mount Megunticook – it’s a bunch of rocks.
- The signage at this park sucks. Bring a map or screenshot one on your phone.
- Have good shoes with ankle support.
- There’s always time for a lobster dinner.
Need more travel recommendations for Maine? Check out these other places!

Discover Acadia National Park: Your Guide to Mount Desert Island
Acadia National Park is the “Crown Jewel” of the North Atlantic Coast providing breathtaking coastal views, mountainous hikes, scenic drives, beaches, and a town with no shortage of restaurants. This national park is a must-do in Maine!

Explore Acadia’s Jordan Pond: Most Popular Trails & Jordan Pond House Restaurant
Jordan Pond is one of the most popular places to visit in Acadia National Park due to its numerous trails, beautiful views, and the ever so popular ‘pop overs’ served at the Jordan Pond House Restaurant. This is a complete guide to the most popular trails with tips on dining at the restaurant.

Hiking Acadia’s Beehive Trail: A Complete Overview
The Beehive Trail in Acadia National Park is one of the most popular hiking trails known for its stunning panoramic views and challenging vertical climbs. This guide has all the information you need to tackle this trail.

Exploring Cape Elizabeth: Iconic Lighthouses and Lobster Rolls
Cape Elizabeth, Maine, is a serene coastal town featuring iconic lighthouses, including the famous Portland Head Light and the nearby smaller Bug Light. Visitors can explore both lighthouses and enjoy renowned lobster rolls at local spots like Bite Into Maine and the Lobster Shack at Two Lights, all in half a day.

Top Things to Do in Portland, Maine: Eat, Shop, Explore
Portland, Maine, is a charming coastal city known for its vibrant shops and seafood, particularly lobster rolls. Visitors can enjoy its historic streets, numerous dining options, and attractions, including the iconic Portland Head Light. A few hours is sufficient for a quick visit, but extending to a few days allows for deeper exploration.

Mount Battie and Megunticook: Your Camden Hiking Guide
Camden Hills State Park sits just outside the small coastal town of Camden, Maine. This park has a number of hiking trails with the most popular ones being Mount Battie and Mount Megunticook. Both of these trails offer panoramic views of the ocean coast and sweeping colourful fall foliage trees below. If you’re driving through the…

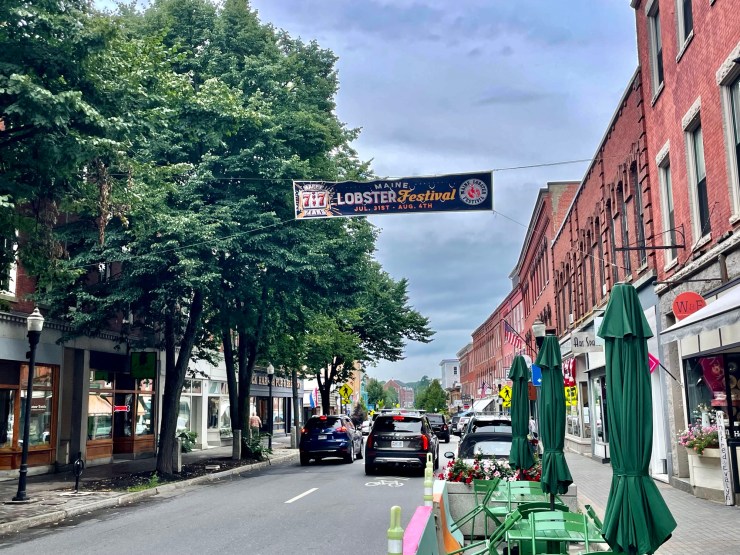
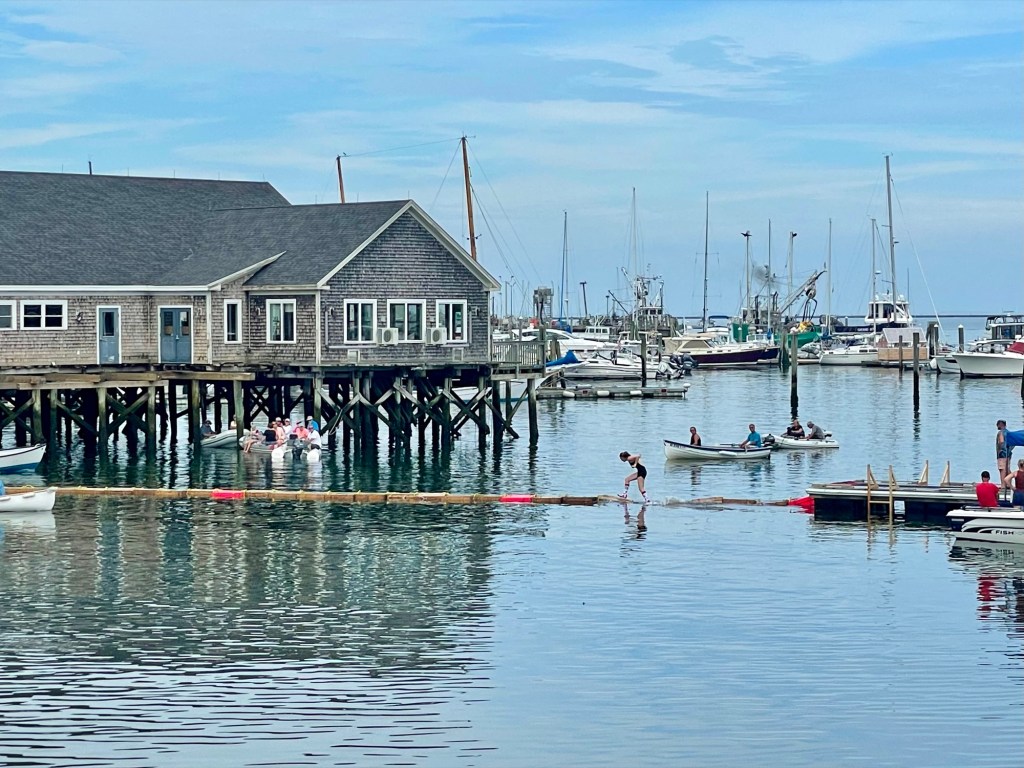
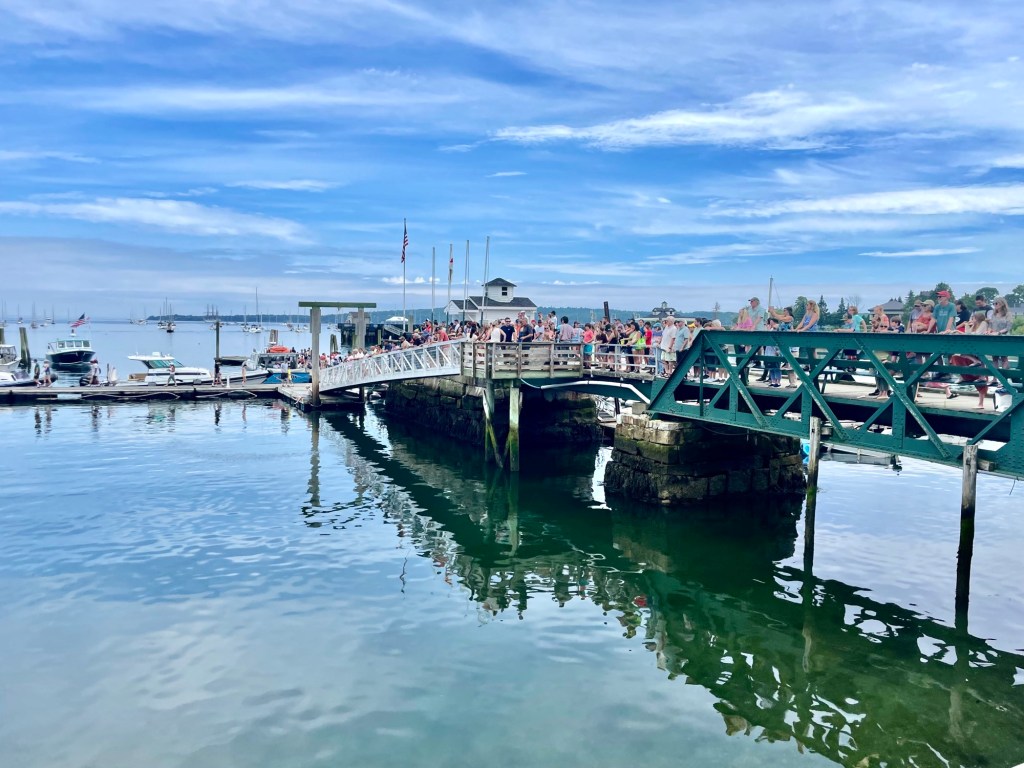
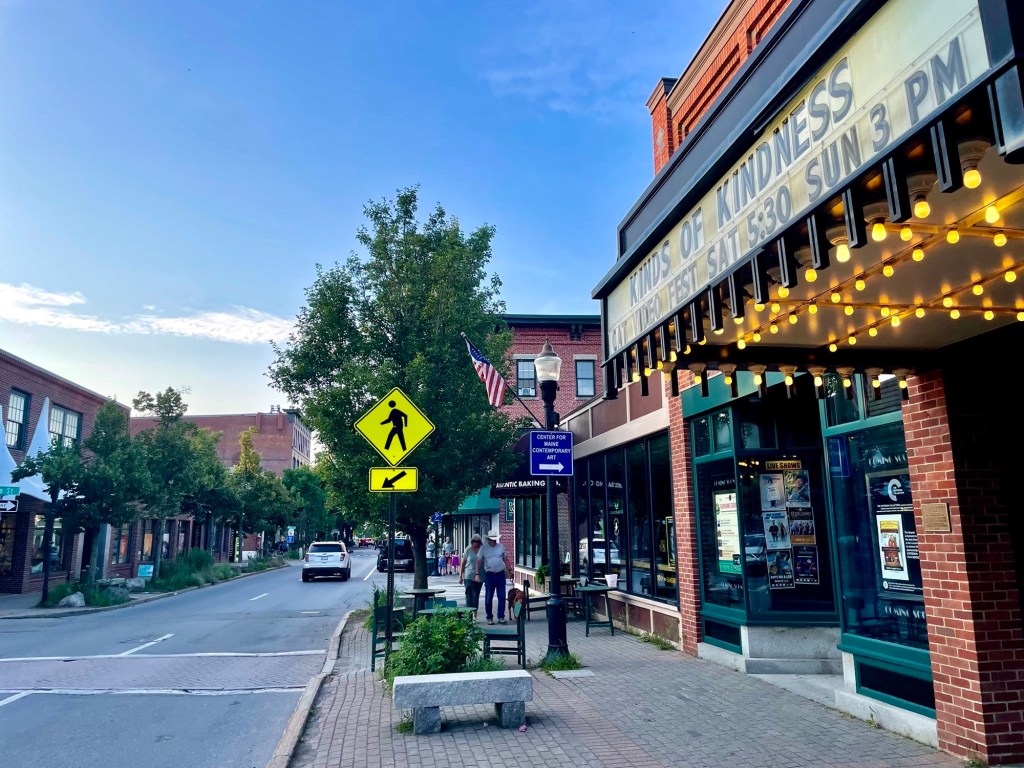
Maine Lobster Festival & Rockland, ME
We travelled to Maine in August to attend the annual Maine Lobster Festival. Here are some honest thoughts on our trip.