Date Published: April 14th, 2024 | Last Updated: April 14th, 2024
Author: Abby |Category: <30 mins, appetizers, easy, quick, snacks
Serves: 4 as an appetizer (1 large plate) | Prep time: 20 mins | Cook time: 20 mins
Jump to recipe |
Montana’s is a restaurant chain in Canada that I used to go quite frequently with my friends in high school and undergrad years. My two favourite things to order was the apple chicken goat cheese salad (see my copy cat version here) and the “KAPOW! Shrimp” appetizer. It’s deep fried shrimp in a lightly crunchy batter with a sweet creamy sauce drizzled over top. It was always served in a skillet on a bed of lettuce and it was SO addicting, albeit a little pricey at $14 for a small portion. I never considered trying to make it myself until one day I was browsing through the cooking subreddit and someone that used to work there said that their sauce was simply sweet chilli sauce mixed with caesar dressing (specifically the Diana’s brand sweet chilli sauce and the Renées mighty cesar dressing). This blew my freaking mind. I had always imagined the sauce to be so unique and difficult, which is why I never attempted it – until now. They didn’t have a recipe for the shrimp batter but someone said frozen pre-made popcorn shrimp was good enough, but I found a decent shrimp batter on Damn Delicious and put the two together for this recipe. The results weren’t perfect, but it was very close – so close that I’ve published this recipe anyway! I suspect the difference is due to the specific brands of sauces that I used. I tried, but I couldn’t find Diana’s or Renées brand in NYC. I guess I’ll just have to pick up a couple bottles during my next trip to Canada and test it out!
Anyways, without further ado, here’s the recipe! If you have any comments or suggestions, I’d love to hear from you in the comment section! You can follow me on instagram, youtube and facebook to see all the recipes I post!
Happy cooking!
Ingredients you’ll need:
- Kapow Sauce:
- 2 Tbsps sweet chilli sauce (ie. Diana’s)
- 1/4 cup caesar dressing (ie. Renées mighty caesar)
- Batter:
- 1/4 cup cornstarch
- 1/2 cup flour
- 1 Tbsp sriracha hot sauce
- 1 large egg
- 1/2 cup buttermilk (or 1/2 cup milk + 1/2 Tbsp lemon juice)
- Breading:
- 2 cups panko (Japanese bread crumbs)
- 1 tsp onion powder
- 1 tsp garlic powder
- 1 tsp dried basil
- 1 tsp dried oregano
- 4 cups of oil for deep frying (ie. canola, vegetable)
- 500g (~1 pound) raw medium-sized shrimp, peeled & deveined, pat dry
- Serve with a wedge of lime
Directions:


Make the sauce: In a small bowl, mix together the sweet chilli sauce and caesar dressing. Set aside.


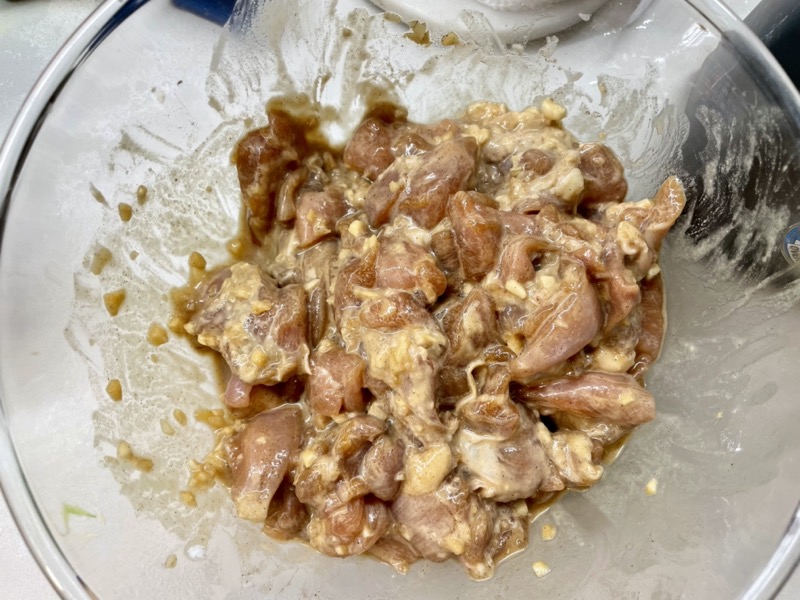
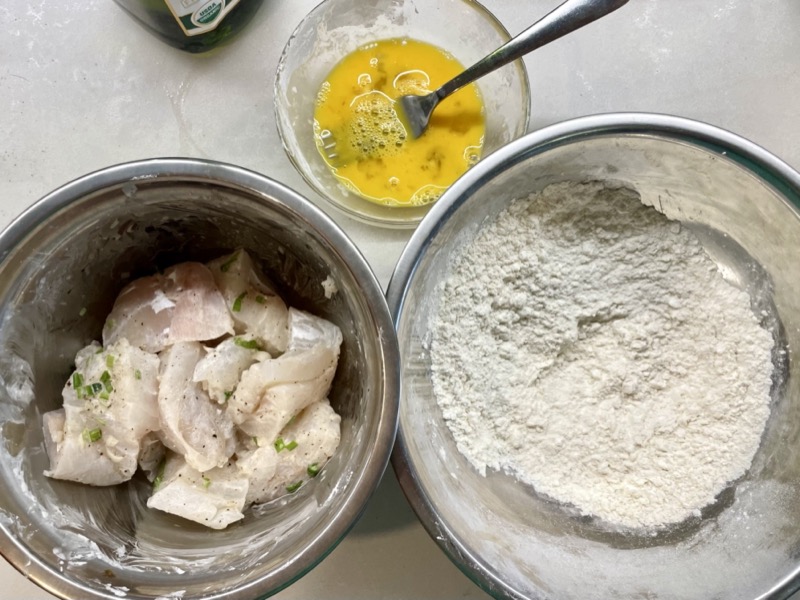
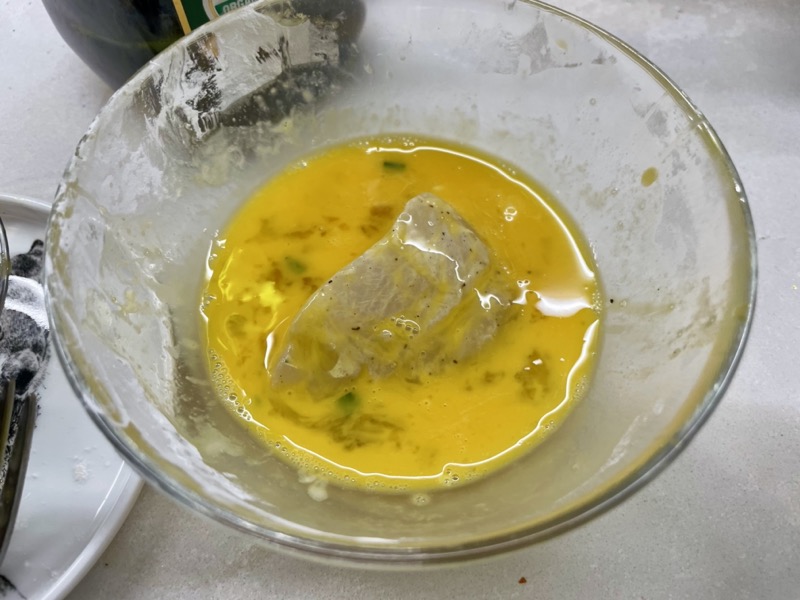
Make the batter: In another bowl, mix together all the batter ingredients: cornstarch, flour, sriracha, egg, and buttermilk. Set aside.

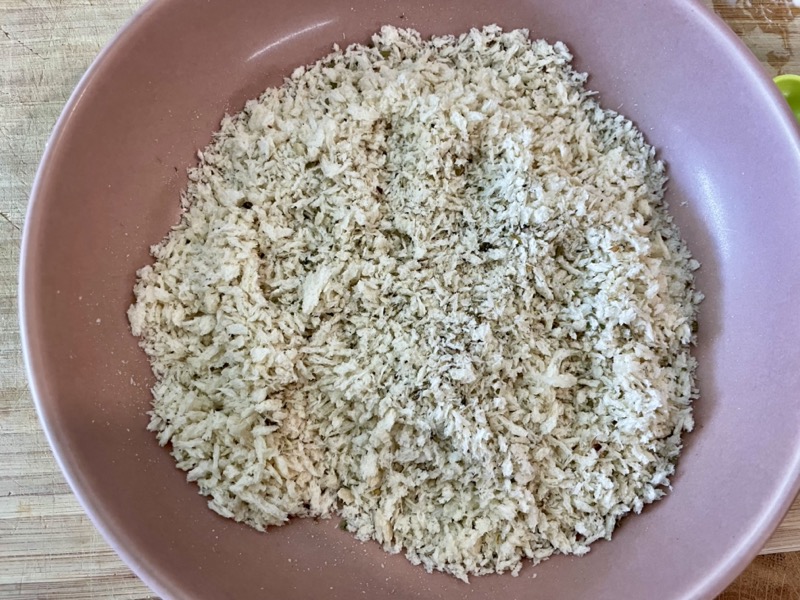
Make the breading: In a wide-based bowl, mix all the breading ingredients together: panko, onion powder, garlic powder, dried basil, and dried oregano. Set aside.

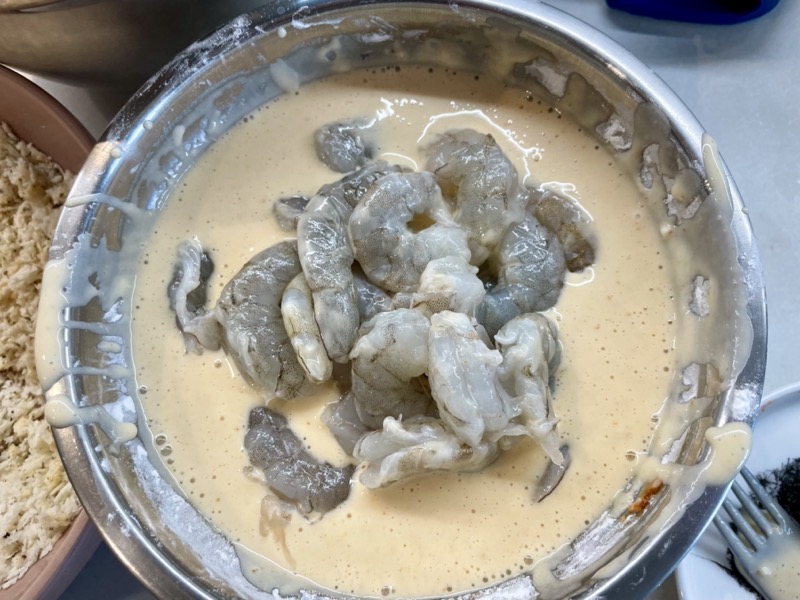

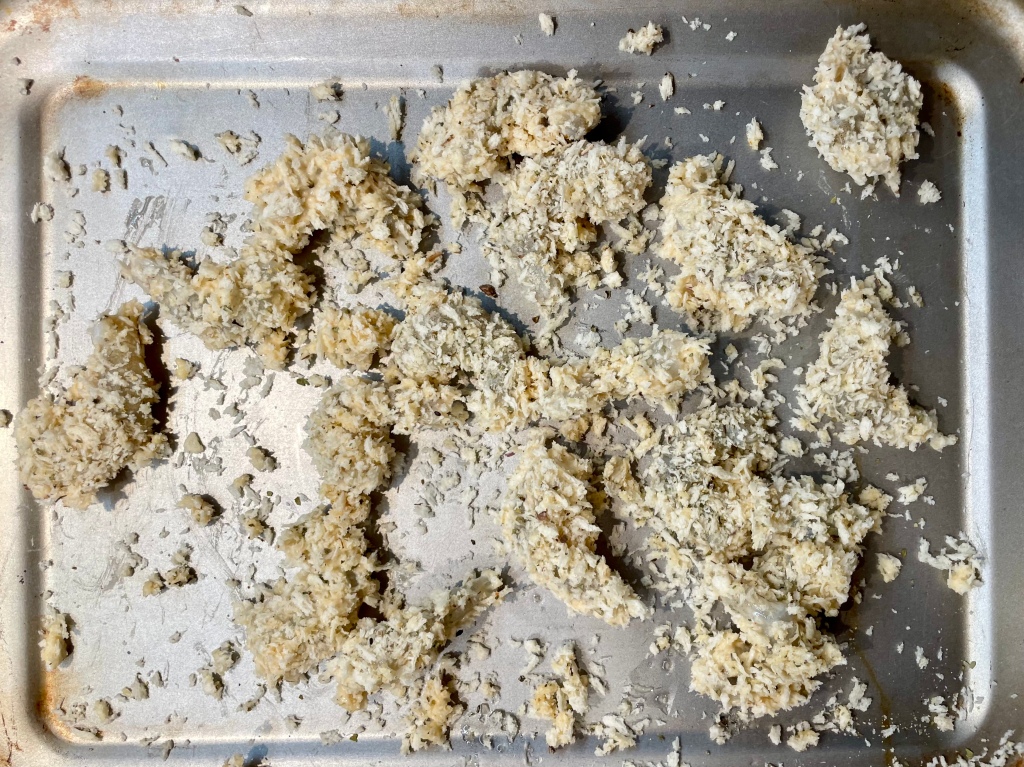
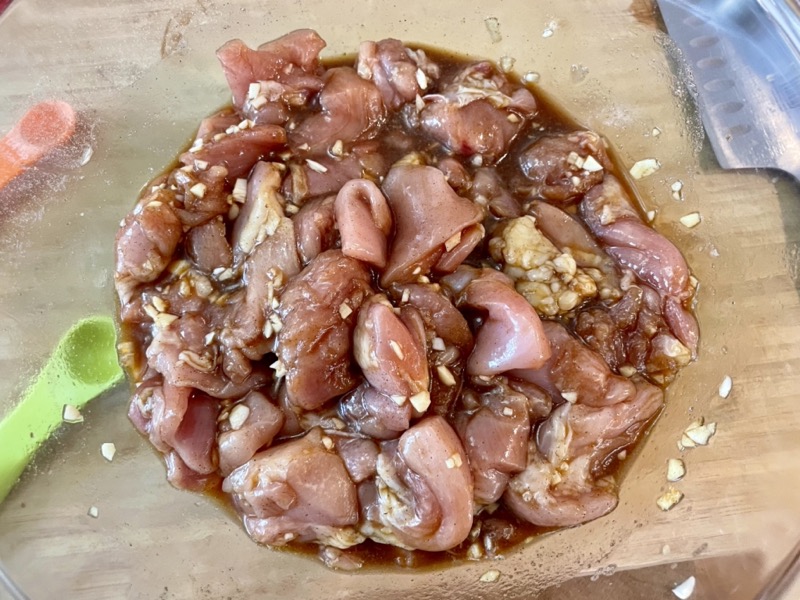
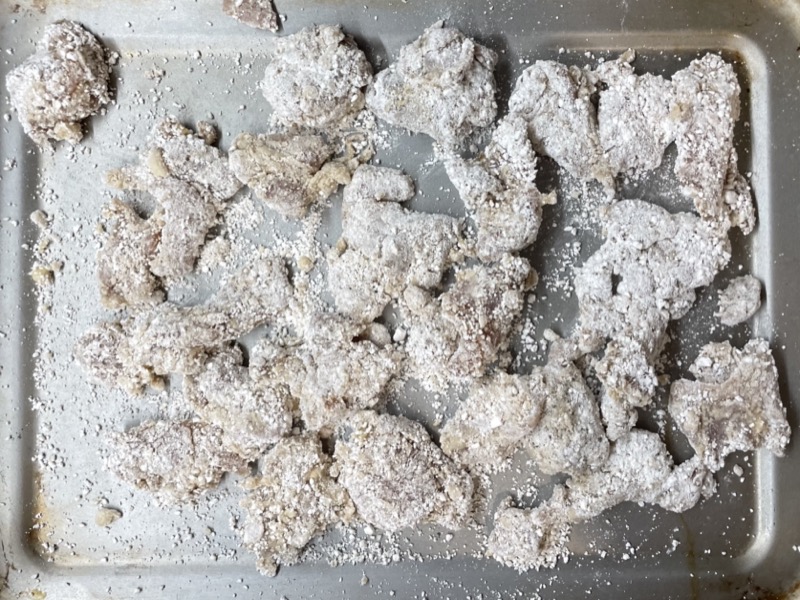
Bread the shrimp: Add the shrimp into the batter (from step 2). Working with one piece at a time, shake off excess batter and coat in the breading mixture (from step 3). Gently press the breading into the shrimp so it sticks better. Place the coated shrimp onto a tray.

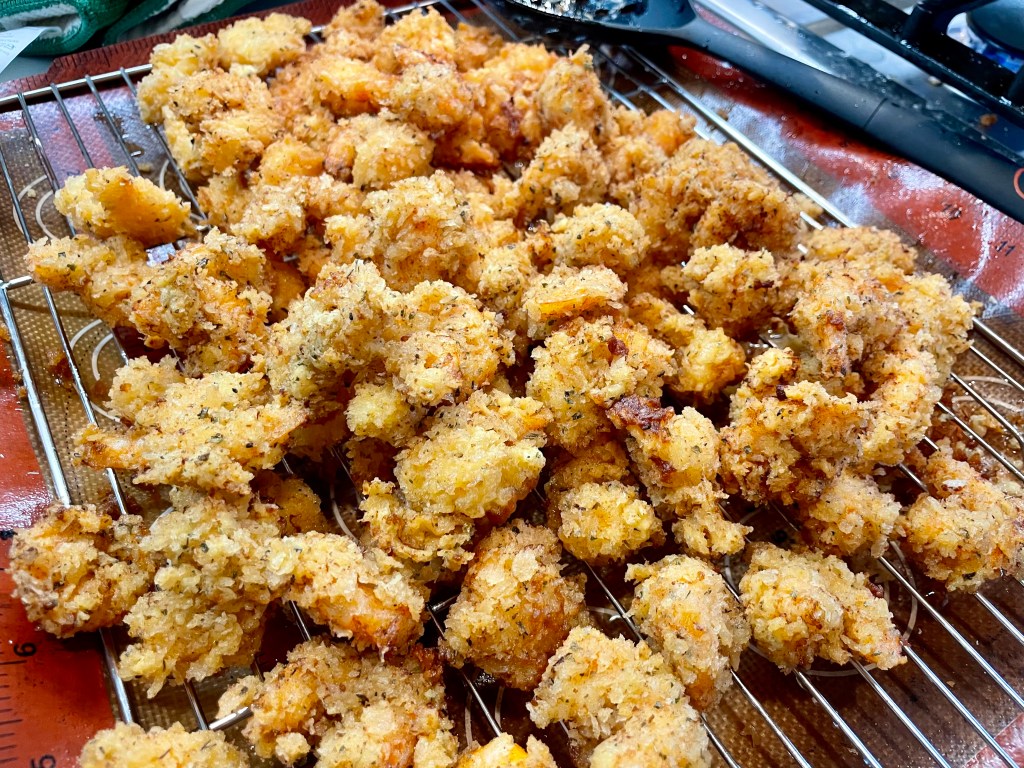
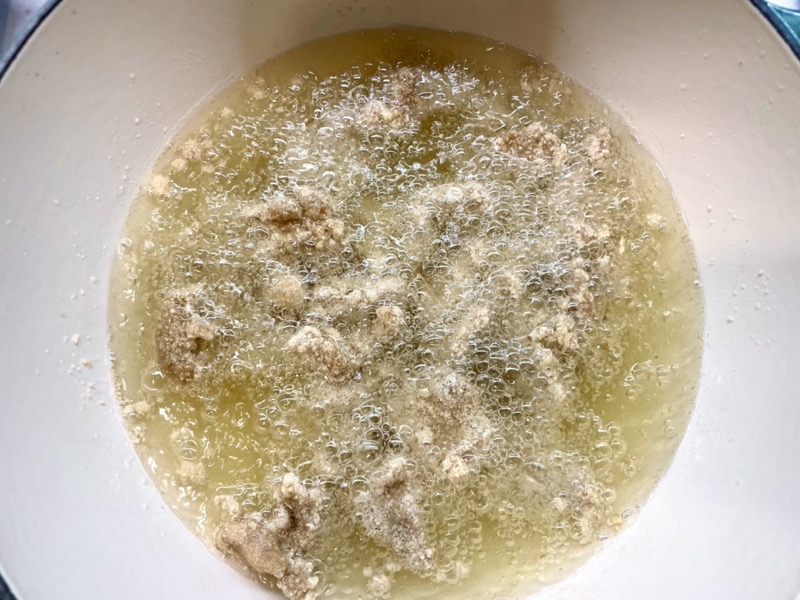
Cook the shrimp: Heat the oil in a wide base pot. The oil is ready when it starts to shimmer and immediately sizzle when you add a dust of flour or a drop of batter. Fry the shrimp in batches for 2-3 minutes at a time or until golden brown. Remove onto a cooling rack or paper towel-lined plate. Once you’ve fried all of the shrimp, turn the heat off.

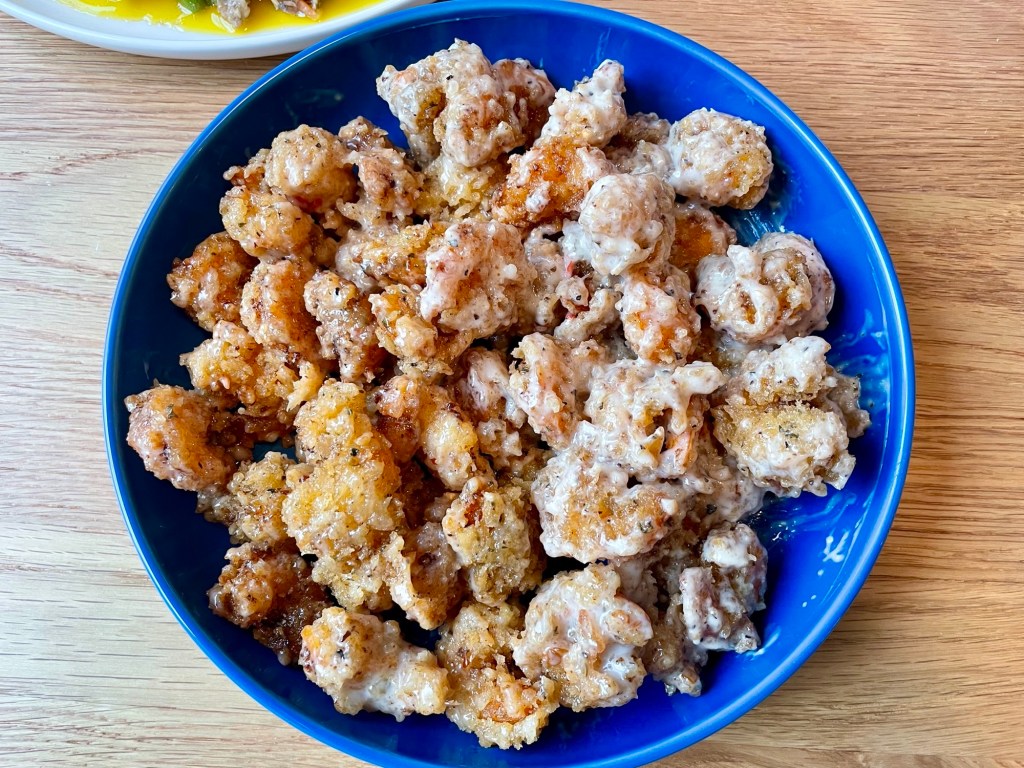
Sauce it up: Once the fried shrimp have cooled a little, add in the sauce and mix thoroughly. Serve immediately!


Summarized Recipe:
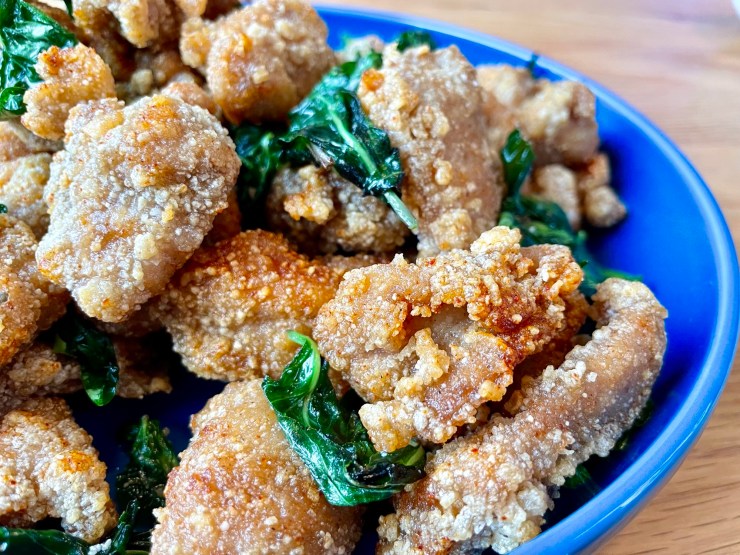
Kapow! Popcorn Shrimp (a Montana’s copycat)
Date Published: April 14th, 2024 | Last Updated: April 14th, 2024
Author: Abby |Category: <30 mins, appetizers, easy, quick, snacks
Serves: 4 as an appetizer (1 large plate) | Prep time: 20 mins | Cook time: 20 mins
Ingredients:
- Kapow Sauce:
- 2 Tbsps sweet chilli sauce (ie. Diana’s)
- 1/4 cup caesar dressing (ie. Renées mighty caesar)
- Batter:
- 1/4 cup cornstarch
- 1/2 cup flour
- 1 Tbsp sriracha hot sauce
- 1 large egg
- 1/2 cup buttermilk (or 1/2 cup milk + 1/2 Tbsp lemon juice)
- Breading:
- 2 cups panko (Japanese bread crumbs)
- 1 tsp onion powder
- 1 tsp garlic powder
- 1 tsp dried basil
- 1 tsp dried oregano
- 4 cups of oil for deep frying (ie. canola, vegetable)
- 500g (~1 pound) raw medium-sized shrimp, peeled & deveined, pat dry
- Serve with a wedge of lime
Directions:
- Make the sauce: In a small bowl, mix together the sweet chilli sauce and caesar dressing. Set aside.
- Make the batter: In another bowl, mix together all the batter ingredients: cornstarch, flour, sriracha, egg, and buttermilk. Set aside.
- Make the breading: In a wide-based bowl, mix all the breading ingredients together: panko, onion powder, garlic powder, dried basil, and dried oregano. Set aside.
- Bread the shrimp: Add the shrimp into the batter (from step 2). Working with one piece at a time, shake off excess batter and coat in the breading mixture (from step 3). Gently press the breading into the shrimp so it sticks better. Place the coated shrimp onto a tray.
- Cook the shrimp: Heat the oil in a wide base pot. The oil is ready when it starts to shimmer and immediately sizzle when you add a dust of flour or a drop of batter. Fry the shrimp in batches for 2-3 minutes at a time or until golden brown. Remove onto a cooling rack or paper towel-lined plate. Once you’ve fried all of the shrimp, turn the heat off.
- Sauce it up: Once the fried shrimp have cooled a little, add in the sauce and mix thoroughly. Serve immediately!