Date Published: April 16th, 2024 | Last Updated: April 16th, 2024
Author: Abby |Category: Asian, main
Serves: 6 | Prep time: 30 mins | Cook time: 30 mins
Jump to recipe |
Butter chicken is no doubt the most popular dish at most Indian restaurants. It’s creamy, full of flavour, and has the perfect amount of sweetness. It’s an indulgent dish and I can never get enough of it. I’ve tried a LOT of different butter chickens in my life and I’ve come to realize that my favourite butter chickens have been on the sweeter side. I’ve tried to make this dish multiple times in the past with different recipes and methods, but it was never quite right to my liking. There is a lot of variation out there between recipes in terms of level of heat, salt, sweetness, tomato flavour, and even blend of spices. I was beginning to give up on my quest, until someone mentioned trying the Youtube recipe by Chef Varun Inamdar. I’m not a big youtube person when it comes to recipes (which is probably why I never came across it on my own), but this video had 47 MILLION views and has been deemed THE most popular butter chicken recipe on the internet. With a reputation like that, of course I had to try it. As you can probably guess, it was fucking amazing! It’s rich, buttery, and on the sweeter side. You can even taste the flavours of the aromatics that elevate this dish. The only complaint I had was that it was TOO sweet for my liking so I’ve cut down the sugar level by 1/3. I also decreased the amount of butter used (don’t worry, there’s still plenty in this dish to make it deliciously unhealthy) and swapped out cream with cashew cream. OH, and lastly I also doubled his original recipe because it was so damn good that I’d finish it all in one sitting on my own, so i figured I should make enough to share 😜.
A Quick Note on Chilli Powder
This recipe uses Kashmiri chilli powder, which is an Indian chilli powder variety that’s not too spicy and it is what gives the dish its orangey/red colour. It can be a bit hard to find unless you’ve got an Indian grocer near you, but if you can’t find it, a good substitute is gochugaru, which is a Korean chilli powder. Do NOT substitute with cayenne pepper which is a MUCH spicier chilli powder. If you absolutely can’t find Kashmiri chilli powder nor gochugaru, then you can substitute with 1 part cayenne powder: 3 parts paprika.
Check out my easy naan recipe to serve with this butter chicken!

Anyways, without further ado, here’s the recipe! If you have any comments or suggestions, I’d love to hear from you in the comment section! You can follow me on instagram, youtube and facebook to see all the recipes I post!
Happy cooking!
Ingredients you’ll need:
- Chicken marinade:
- 600g (3 medium-sized) chicken breasts, skinless, boneless, diced to 2.5cm pieces
- 1 Tbsp ginger, grated
- 1 Tbsp garlic, finely minced
- 2 Tbsps kashmiri chilli powder (or gochugaru/Korean chilli powder)
- Pinch of salt
- Sauce:
- 1 large brown onion, diced
- 2 Tbsps (30g) + 1 stick (115g / 8 Tbsps) butter
- 1kg (~5 large) tomatoes, roughly chopped
- 100g raw unsalted cashews
- 1 cup water
- 2 Tbsps garlic, finely minced
- 3 Tbsps white vinegar
- 1/4 cup (53g) sugar
- 1 tsp garam masala
- 1/4 cup kashmiri chilli powder (or gochugaru/Korean chilli powder)
- 1 cup cashew cream (or blend 40 raw cashews (90g) with 2/3 cup water)
- 2 tsps dried fenugreek leaves (kasuri methi)
- Salt to taste
Directions:
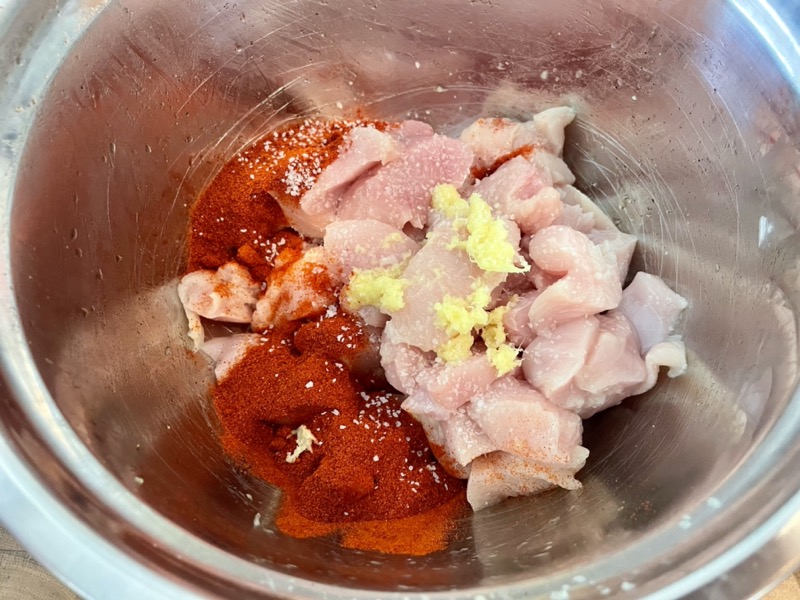
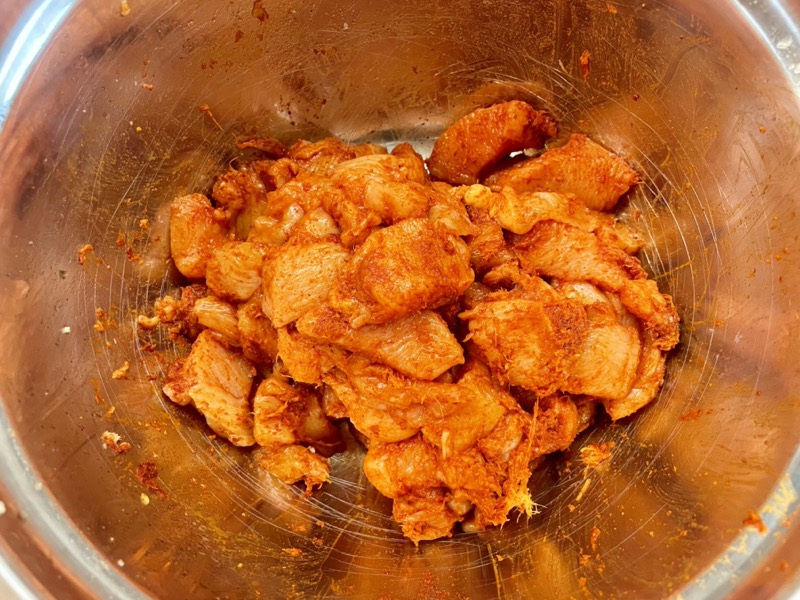
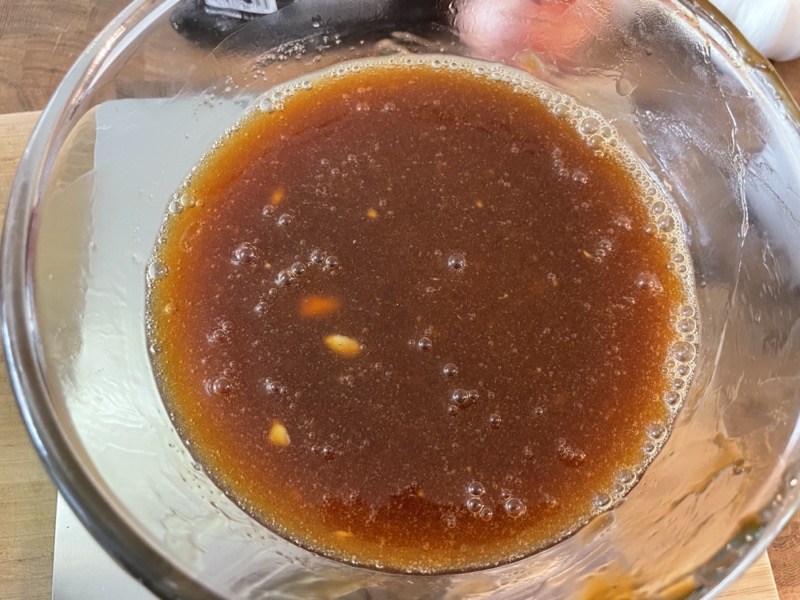
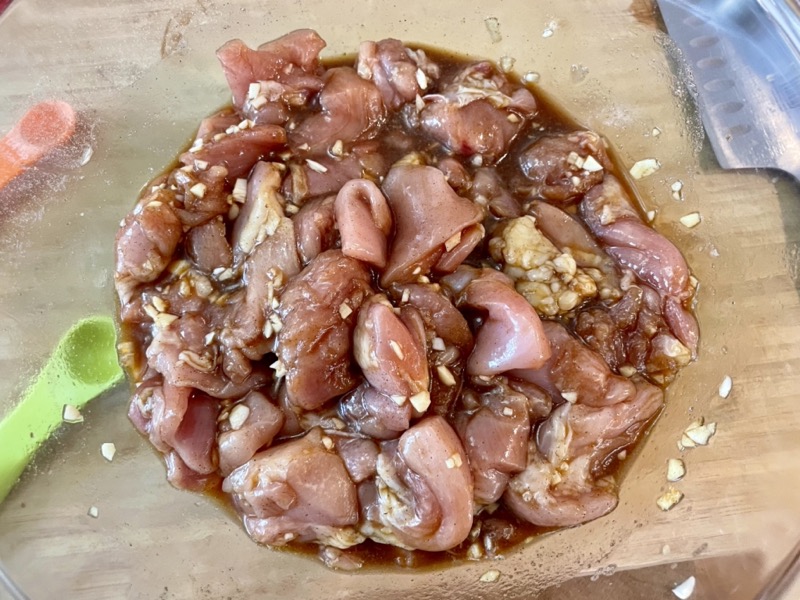
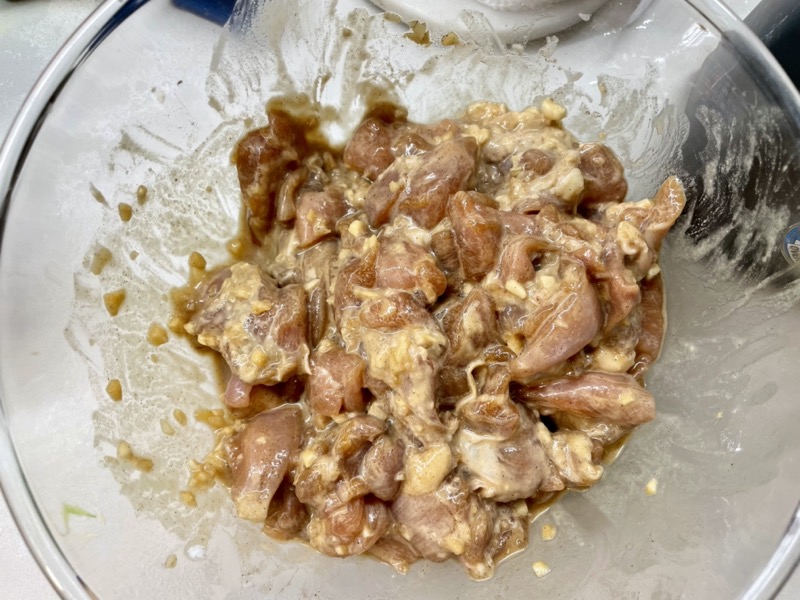
Marinate the chicken: in a mixing bowl, add the ginger paste, garlic, chilli powder, and a pinch of salt. Mix well and set aside at room temperature for 15 minutes.


In a large pan or pot on MED heat, add a drizzle of oil and sear the marinated chicken pieces on both sides for 1-2 minutes. Do not crowd the pan, have the chicken in a single layer. You will have to do this in 2-3 batches depending on the size of your pan/pot. Once finished, remove the chicken and set aside in a bowl.


In the same pan, add another drizzle of oil then add in the diced onion and 2 Tbsps butter. Sauté for 4-5 minutes until the onion is translucent.


Next add in the tomatoes and cashews and mix well. Add in 1 cup of water, garlic, vinegar, sugar, garam masala, chilli powder, and a big pinch of salt. Turn down the heat to LOW-MED and let the sauce simmer for 20 minutes. Mix it around every 5 minutes to ensure nothing sticks to the bottom of the pan.
(While you wait, you can make any sides you wish to serve this with: ie. basmati rice, naan.)

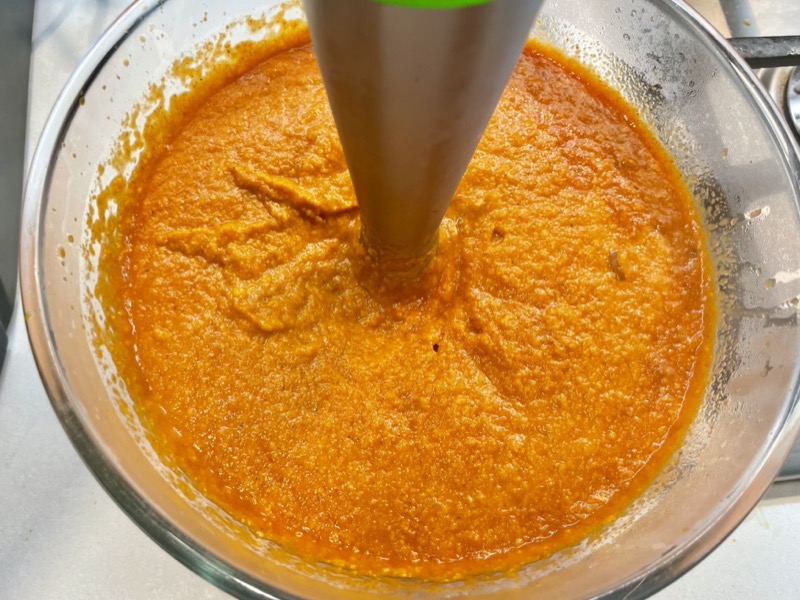
After 20 minutes, turn the heat OFF and use a stick blender or a high speed blender to purée everything in the pot until smooth (a high speed blender will get you smoother results than a stick blender).


Return the blended sauce back into the pan. Turn the heat back on to MED and add in the chicken (from step 2), 1 stick of butter, cashew cream*, and crush the dried fenugreek leaves into the pot. Mix it all around and let it simmer for 5-7 minutes. Taste and adjust salt and sugar as needed. Done! Serve with basmati rice or naan.

*Note: if you don’t have cashew cream, you can simply blend 40 raw cashews (90g) with 2/3 cup water in a high speed blender until smooth.


Summarized Recipe:
F*cking Good Butter Chicken (Chicken/Murgh Makhani)
Date Published: April 16th, 2024 | Last Updated: April 16th, 2024
Author: Abby |Category: Asian, main
Serves: 6 | Prep time: 30 mins | Cook time: 30 mins
Ingredients:
- Chicken marinade:
- 600g (3 medium-sized) chicken breasts, skinless, boneless, diced to 2.5cm pieces
- 1 Tbsp ginger, grated
- 1 Tbsp garlic, finely minced
- 2 Tbsps kashmiri chilli powder (or gochugaru/Korean chilli powder)
- Pinch of salt
- Sauce:
- 1 large brown onion, diced
- 2 Tbsps (30g) + 1 stick (115g / 8 Tbsps) butter
- 1kg (~5 large) tomatoes, roughly chopped
- 100g raw unsalted cashews
- 1 cup water
- 2 Tbsps garlic, finely minced
- 3 Tbsps white vinegar
- 1/4 cup (53g) sugar
- 1 tsp garam masala
- 1/4 cup kashmiri chilli powder (or gochugaru/Korean chilli powder)
- 1 cup cashew cream (or blend 40 raw cashews (90g) with 2/3 cup water)
- 2 tsps dried fenugreek leaves (kasuri methi)
- Salt to taste
Directions:
- Marinate the chicken: in a mixing bowl, add the ginger paste, garlic, chilli powder, and a pinch of salt. Mix well and set aside at room temperature for 15 minutes.
- In a large pan or pot on MED heat, add a drizzle of oil and sear the marinated chicken pieces on both sides for 1-2 minutes. Do not crowd the pan, have the chicken in a single layer. You will have to do this in 2-3 batches depending on the size of your pan/pot. Once finished, remove the chicken and set aside in a bowl.
- In the same pan, add another drizzle of oil then add in the diced onion and 2 Tbsps butter. Sauté for 4-5 minutes until the onion is translucent.
- Next add in the tomatoes and cashews and mix well. Add in 1 cup of water, garlic, vinegar, sugar, garam masala, chilli powder, and a big pinch of salt. Turn down the heat to LOW-MED and let the sauce simmer for 20 minutes. Mix it around every 5 minutes to ensure nothing sticks to the bottom of the pan.
- (While you wait, you can make any sides you wish to serve this with: ie. basmati rice, naan.)
- After 20 minutes, turn the heat OFF and use a stick blender to purée everything in the pot until smooth. To get a smoother sauce, you can put everything in a high speed blender instead. Return the blended sauce back into the pan.
- Turn the heat back on to MED and add in the chicken (from step 2), 1 stick of butter, cashew cream, and crush the dried fenugreek leaves into the pot. Mix it all around and let it simmer for 5-7 minutes. Taste and adjust salt and sugar as needed. Done! Serve with basmati rice or naan.