Date Published: Sept 14th, 2025 | Last Updated: Sept 14th, 2025
Author: Abby |Category: sides, vegetarian, easy, salads
Serves: 6 | Prep time: 20 minutes | Marinate time: 12 hours (overnight)
Jump to recipe |
I’ve never been a huge fan of KFC coleslaw, but my mom always loved it. Back home in Canada they used to do “Toonie Tuesdays” where you can get a KFC deal of 2 pieces of chicken with a small fries for $2 (our $2 coins are called Toonies, if you didn’t know) and you bet mom always ordered a side of coleslaw with it, so this one’s for you, mom!
This recipe is an adaptation from this copy cat KFC coleslaw recipe at TopSecretRecipes.com. I’ve changed the proportions a little and doubled up on the sauce to make it extra flavourful. Toby and I actually went out of our way to KFC to buy coleslaw and compare the two and hands down this one was the winner (I don’t know what they’re doing in Brooklyn KFC)!
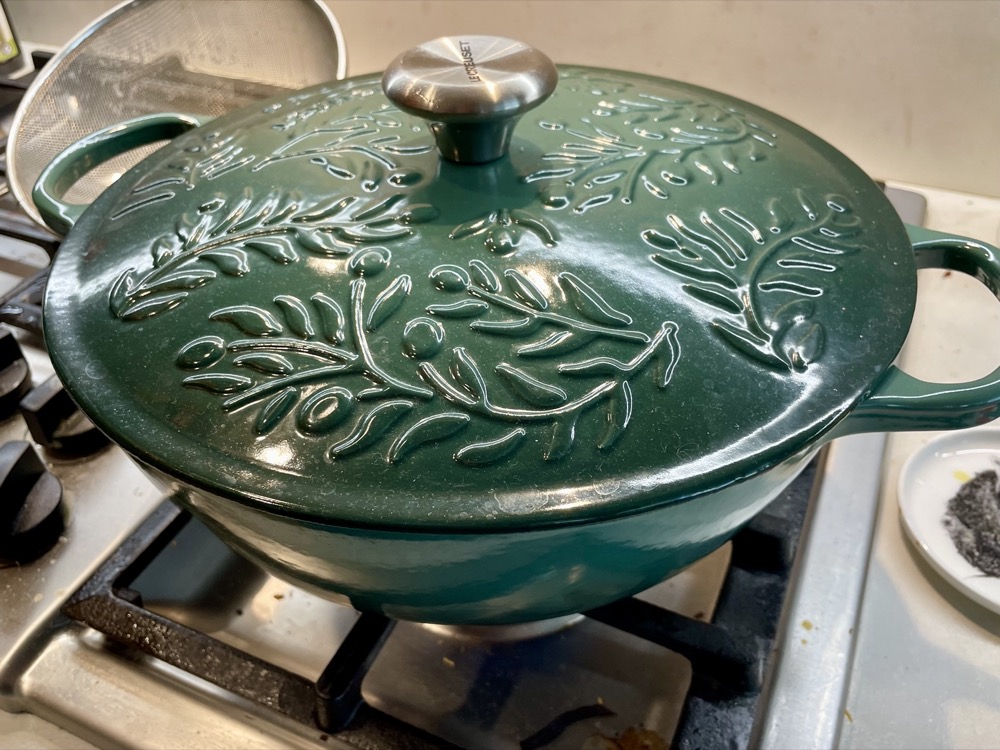
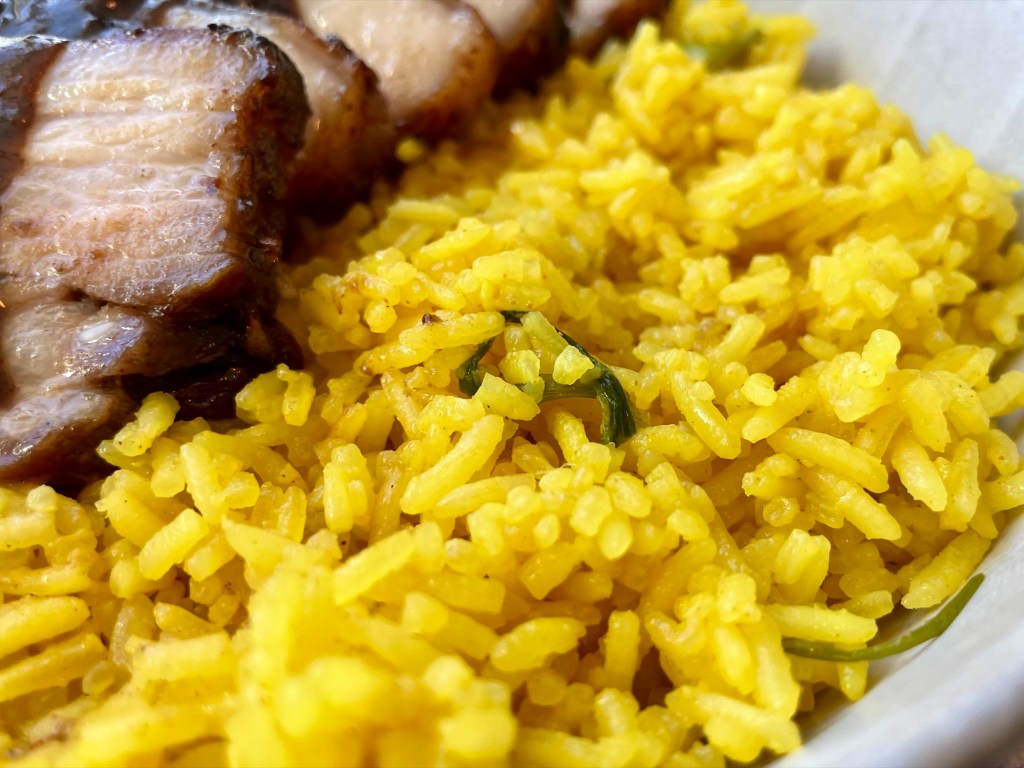
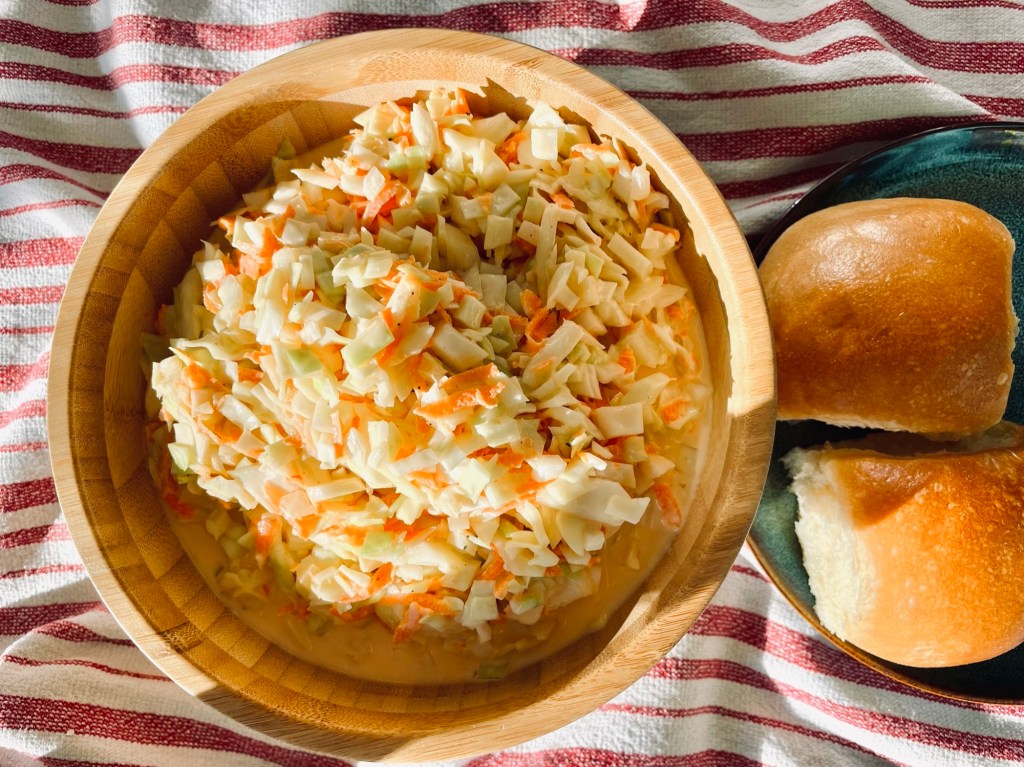
Pair it with this super easy pulled pork recipe.:

Insanely Easy Instant Pot Pulled Pork
Get ready for the most ridiculously easy pulled pork recipe that’s ready in 75 minutes! You will need an Instant Pot or any pressure cooker for this along with your favourite BBQ sauce.
Anyways, without further ado, here’s the recipe! If you have any comments or suggestions, I’d love to hear from you in the comment section! You can follow me on instagram, youtube and facebook to see all the recipes I post!
Happy cooking!
Ingredients you’ll need:
- Dressing:
- 1/4 cup buttermilk (or 1/4 cup milk + 1 tsp lemon juice, let it sit for 10 mins until it thickens)
- 1/4 cup milk
- 1/2 cup mayonnaise (get the best quality you can)
- 1/3 cup granulated sugar
- 2.5 Tbsps lemon juice
- 1.5 Tbsps white vinegar
- 1/2 tsp kosher salt + more to taste
- 1/2 tsp fresh ground black pepper
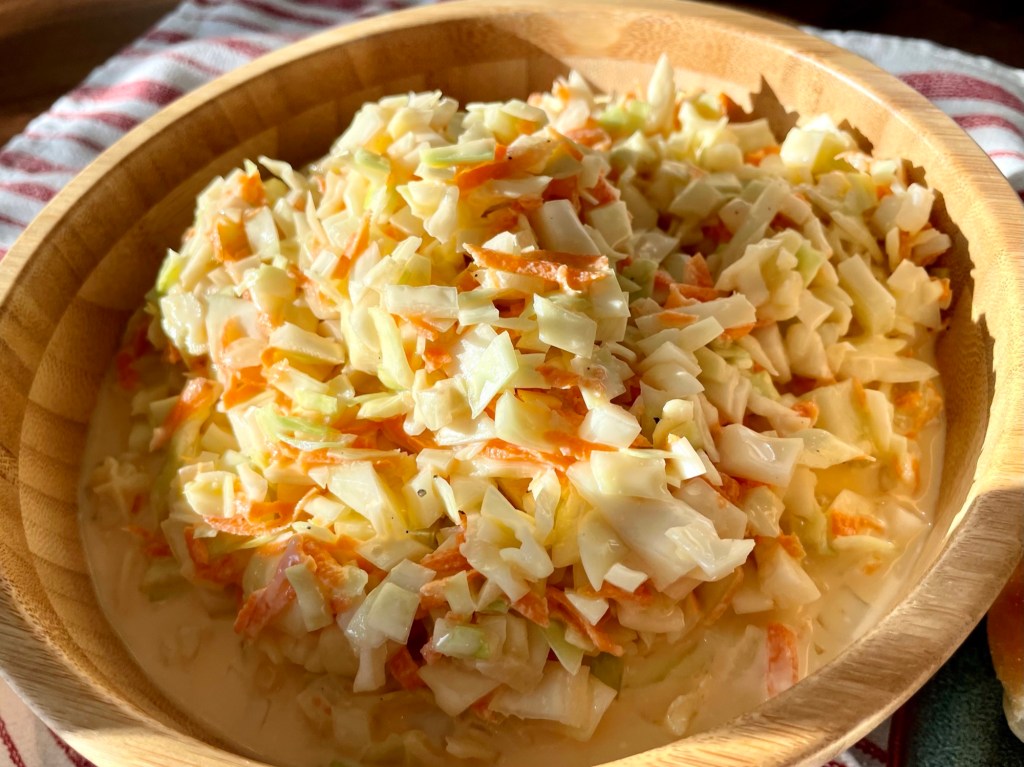
- 1/2 a small head (~4 cups) cabbage, finely chopped
- 1 small carrot (~1/2 cup), shredded
- 1/4 small onion (~1.5 Tbsps), finely minced
Directions:
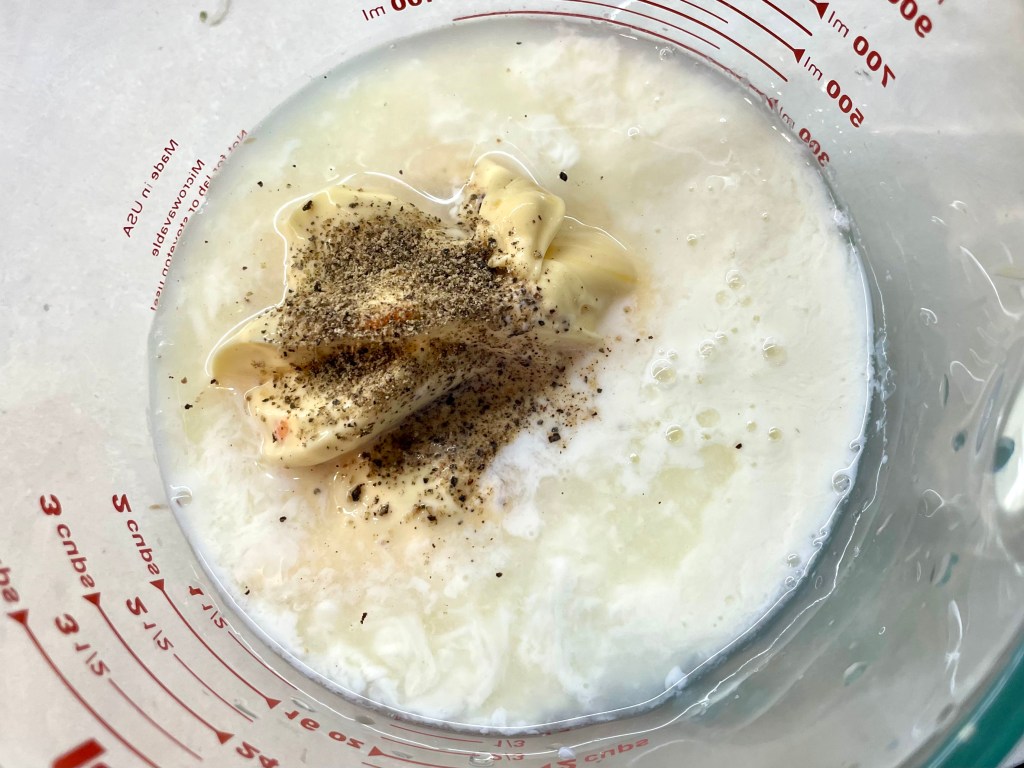
In a mixing bowl, combine all the dressing ingredients: 1/4 cup buttermilk, 1/4 cup milk, 1/2 cup mayonnaise, 1/3 cup sugar, 2.5 Tbsps lemon juice, 1.5 Tbsps white vinegar, 1/2 tsp kosher salt, 1/2 tsp fresh ground black pepper.

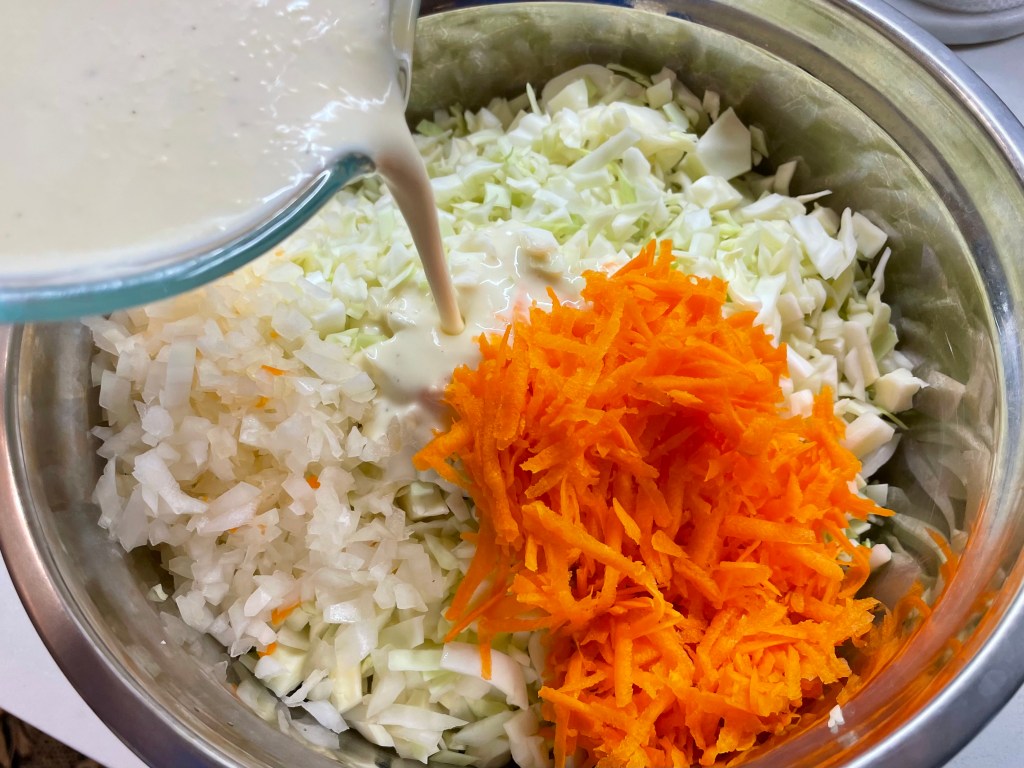
Add the dressing to the chopped cabbage, carrot, and onion and mix well.
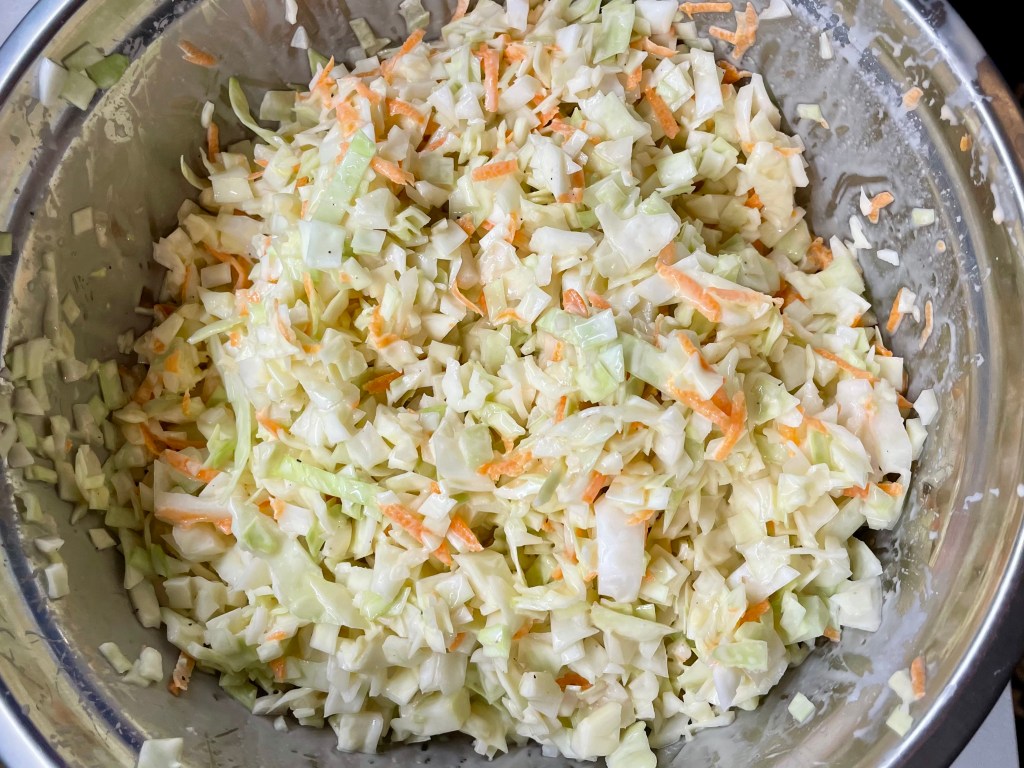
Cover and let it sit in the refrigerator overnight before serving. Don’t taste it until it has marinated overnight – the cabbage will release its juices and the flavours will come together better the next day. Done!

Summarized Recipe:
Copycat KFC Coleslaw
Date Published: Sept 14th, 2025 | Last Updated: Sept 14th, 2025
Author: Abby |Category: sides, vegetarian, easy, salads
Serves: 6 | Prep time: 20 minutes | Marinate time: 12 hours (overnight)
Ingredients:
- Dressing:
- 1/4 cup buttermilk (or 1/4 cup milk + 1 tsp lemon juice, let it sit for 10 mins until it thickens)
- 1/4 cup milk
- 1/2 cup mayonnaise (get the best quality you can)
- 1/3 cup granulated sugar
- 2.5 Tbsps lemon juice
- 1.5 Tbsps white vinegar
- 1/2 tsp kosher salt + more to taste
- 1/2 tsp fresh ground black pepper
- 1/2 a small head (~4 cups) cabbage, finely chopped
- 1 small carrot (~1/2 cup), shredded
- 1/4 small onion (~1.5 Tbsps), finely minced
Directions:
- In a mixing bowl, combine all the dressing ingredients: 1/4 cup buttermilk, 1/4 cup milk, 1/2 cup mayonnaise, 1/3 cup sugar, 2.5 Tbsps lemon juice, 1.5 Tbsps white vinegar, 1/2 tsp kosher salt, 1/2 tsp fresh ground black pepper.
- Add the dressing to the chopped cabbage, carrot, and onion and mix well. Cover and let it sit in the refrigerator overnight before serving. Don’t taste it until it has marinated overnight – the cabbage will release its juices and the flavours will come together better the next day. Done!