Date Published: March 13th, 2025 | Last Updated: March 13th, 2025
Author: Abby |Category: Asian, mains, Taiwanese
Serves: 4-6 | Prep time: soak rice overnight + 30 mins | Cook time: 40 mins for rice + 10 mins for stir-fry
Jump to recipe |
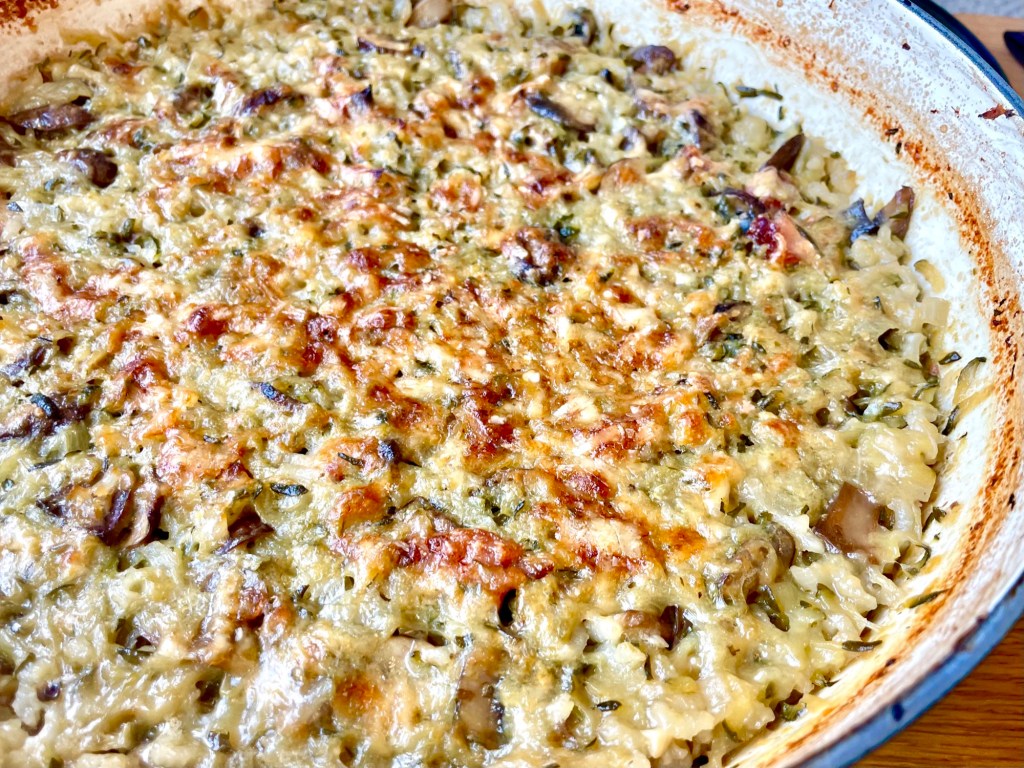
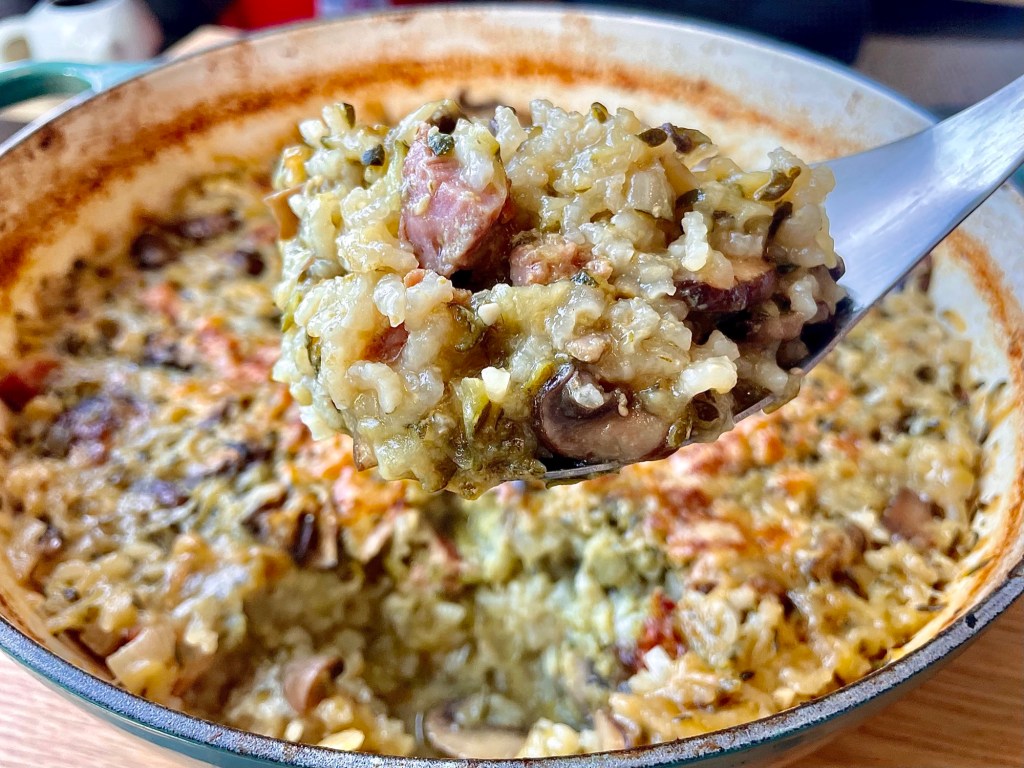
油飯 (Yoú Fàn) is a Taiwanese dish comprised of glutinous rice sautéed in a sauce and various add-ons (most commonly pork, shiitake mushrooms and small shrimp). This is a dish that can be found served at special occasions, restaurants, or made at home for a fancy night in. The name directly translates to “oil rice” because the rice is sautéed in a decent amount of pork fat (1/4 cup, to be exact in this recipe), but don’t worry the end result won’t be overly greasy. The pork fat gives it extra flavour, but you can substitute it with another neutral oil if you wish. You can eat the rice on its own or serve it with a drizzle of sweet Haishan sauce.

The cooking process for this dish is quite quick, so before you turn on the heat, make sure all the ingredients and sauces have been prepped and portioned out, ready to go!
Anyways, without further ado, here’s the recipe! If you have any comments or suggestions, I’d love to hear from you in the comment section! You can follow me on instagram, youtube and facebook to see all the recipes I post!
Happy cooking!
Ingredients you’ll need:
- 2 cups (400g) glutinous rice (sometimes called ‘sweet rice’)
- 8 dried shiitake mushrooms
- 1.5 Tbsps small dried shrimp
- Pork marinade:
- 1.5 Tbsps soy sauce
- 1/8 tsp ground white pepper
- 1 tsp sesame oil
- 200g pork tenderloin, cut into thin 2cm strips
- Sauce:
- 1/4 cup (60ml) soy sauce
- 1 Tbsps granulated sugar
- 2 tsps rice wine vinegar/michu
- 1 tsp black vinegar
- 1/4 cup (60ml) lard (or neutral oil)
- 3 large (~1.5 cups) shallots, finely diced
- 3 garlic cloves, minced
- 2-3 sticks (85g) of lap cheong (Chinese sausage)
- 1 medium (~100g) carrot, peeled and julienned
- 1 can (280g) sliced bamboo shoots, sliced into sticks
- Optional: haishan sauce
Directions:
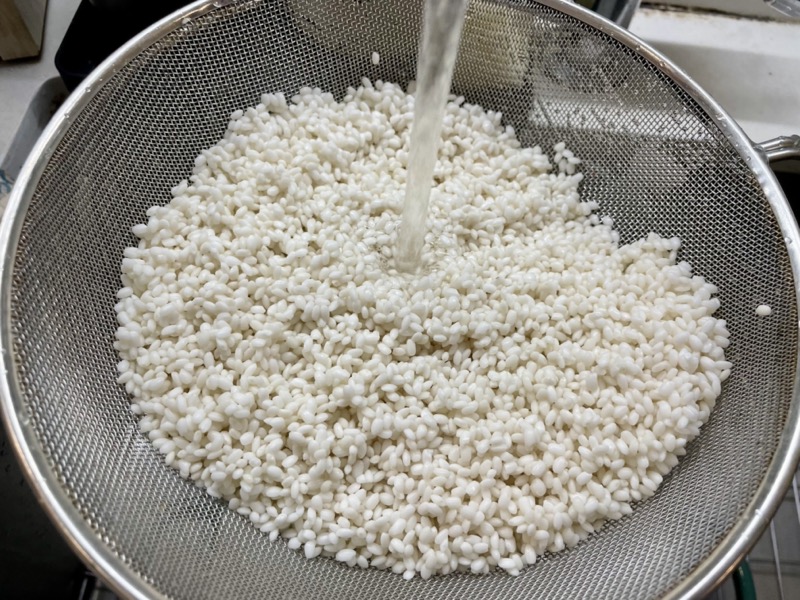

Soak the rice the night before: Wash the glutinous rice in a colander a few times then transfer to a large bowl and add enough water to cover 2-3 inches above the rice. Let it soak overnight.

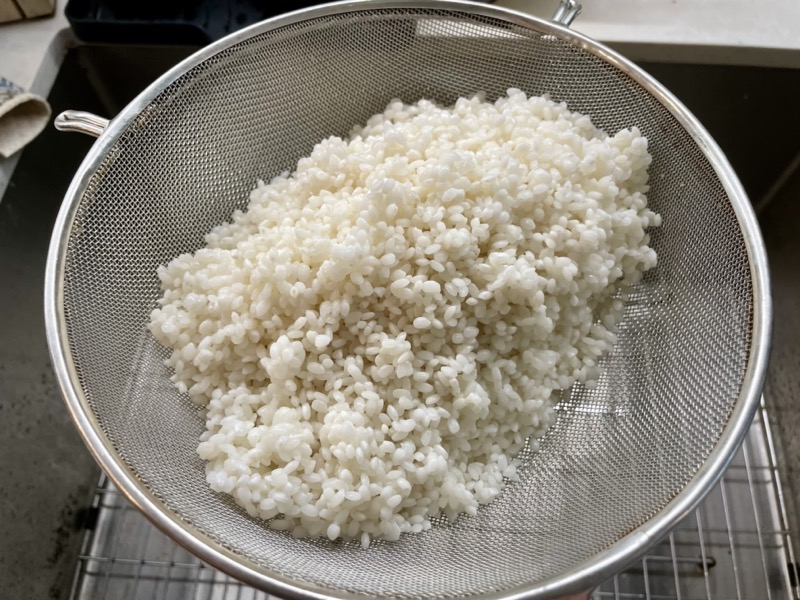

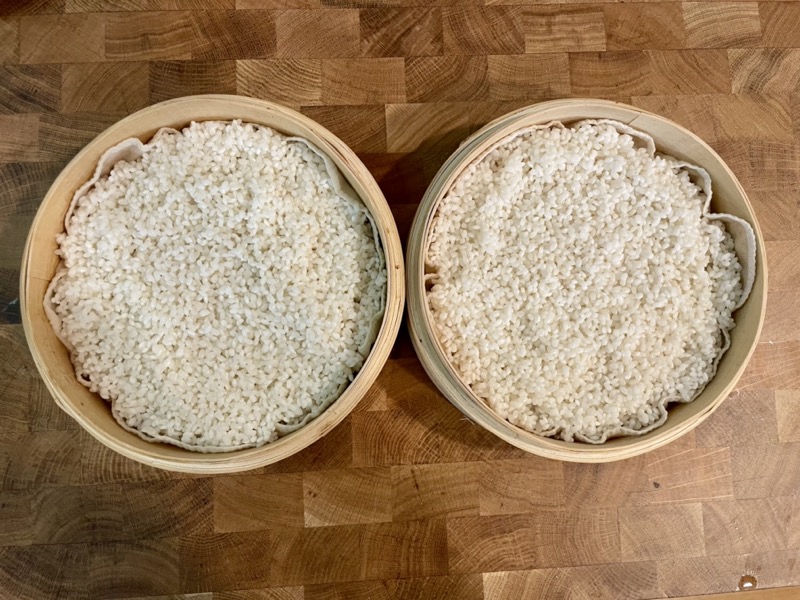
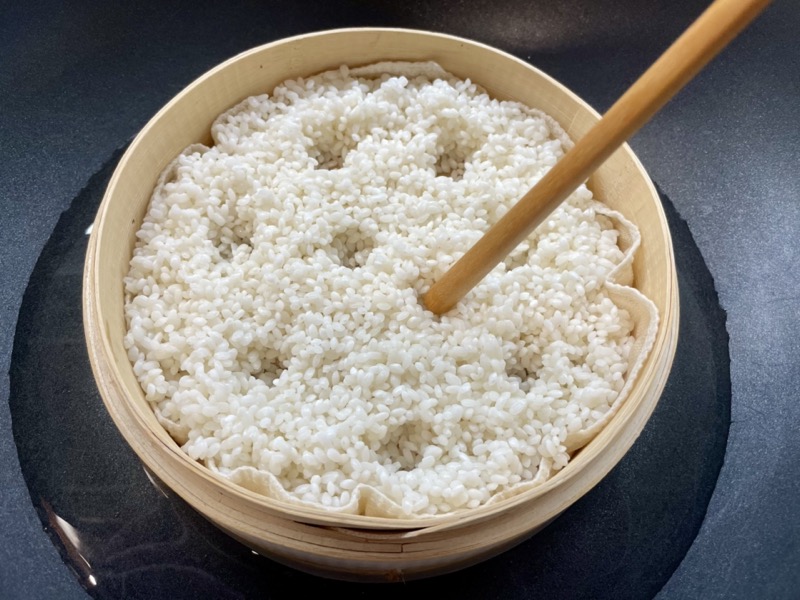


Cook the rice: The next day, strain the rice. Prepare a large steaming basket with a moistened liner. Add the rice into the steaming basket and use the back of a chopstick to create holes in the rice help it cook evenly. Note: I used two smaller bamboo steaming baskets stacked since I didn’t have a large one. Steam for 30-40 minutes until the rice is cooked (a little chewy but not too tough or mush). Once finished, turn off the heat and set the rice aside.
You can steam it however method you wish. I put my steaming baskets with a lid on into a wok with a couple inches of boiling water and let it simmer until the time is up. Add water as needed to the wok when it evaporates.
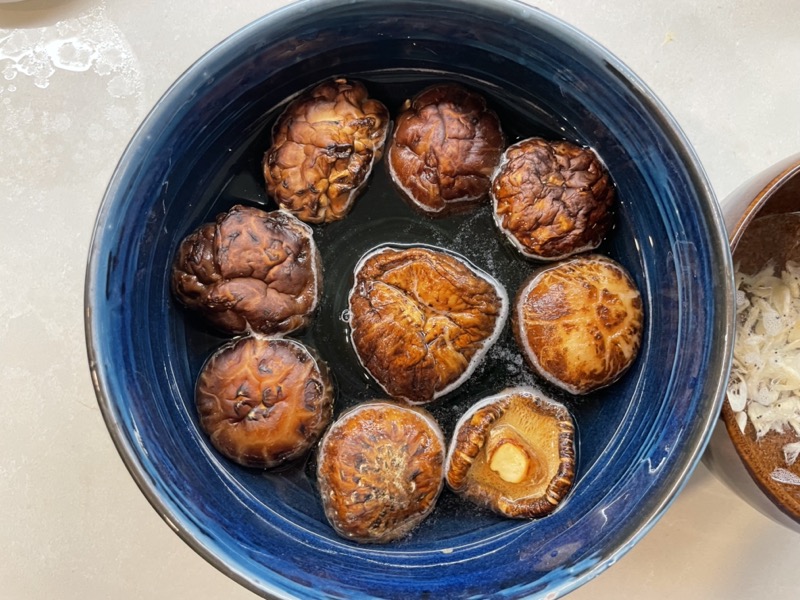

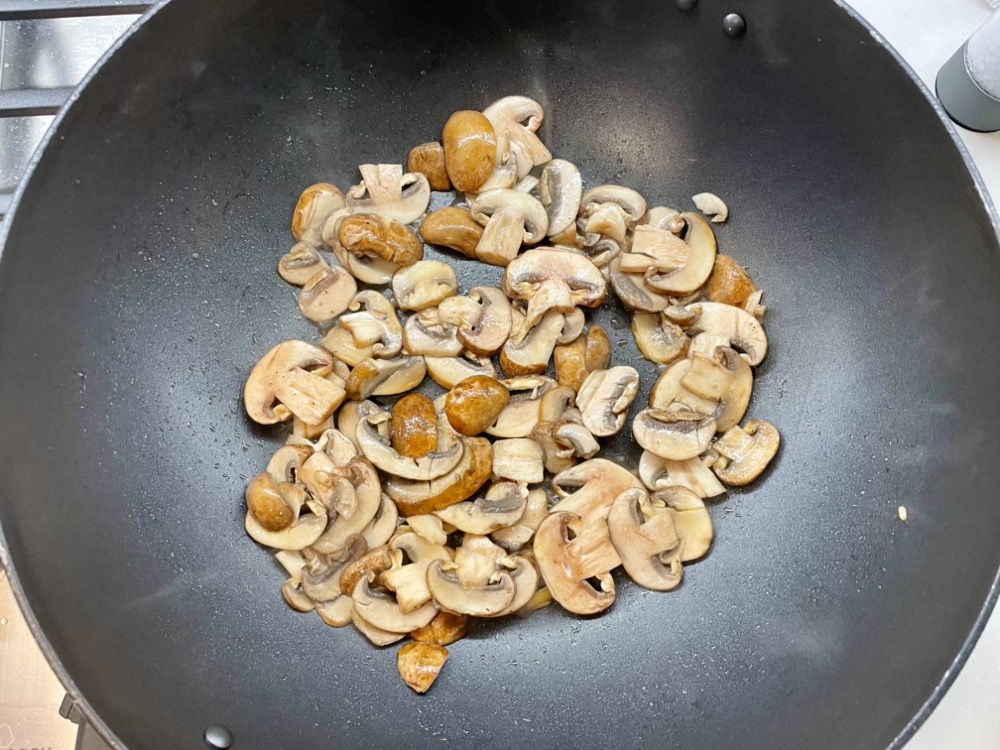
Prepare the mushrooms: In a bowl, add the dried shiitake mushrooms and enough warm water to cover. Let it soak for at least an hour (or overnight) until the mushrooms have softened. Once softened, reserve 1/3 cup of the mushrooms soaking liquid and strain out the rest. Cut off and discard the thick stems and slice the mushrooms thinly. Set aside.
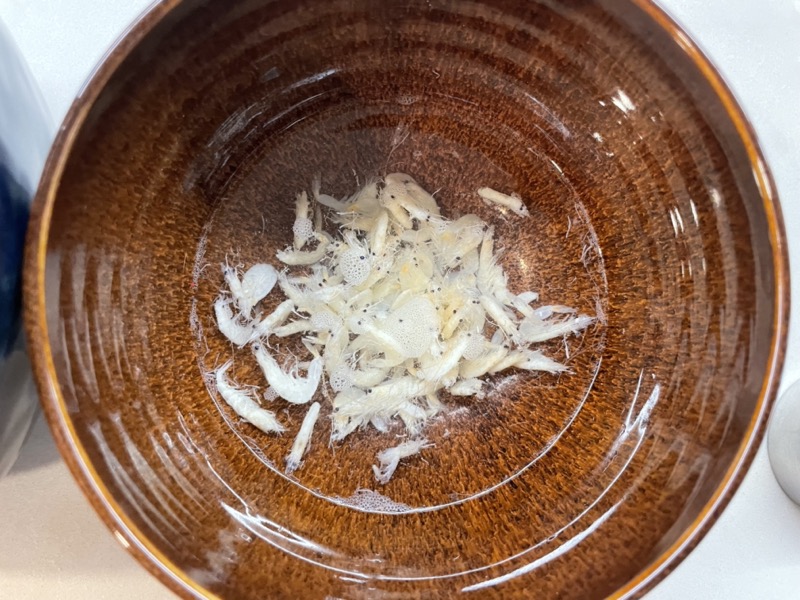
Prepare the shrimp: Add the 1.5 Tbsp dried shrimp into a small bowl and soak in warm water for 10 minutes then strain.


Marinate the pork: Add all of the pork marinade ingredients into a bowl: 1.5 Tbsps soy sauce, 1/8 tsp white pepper, 1 tsp sesame oil, sliced pork. Mix together and set aside to marinate for at least 15 minutes.
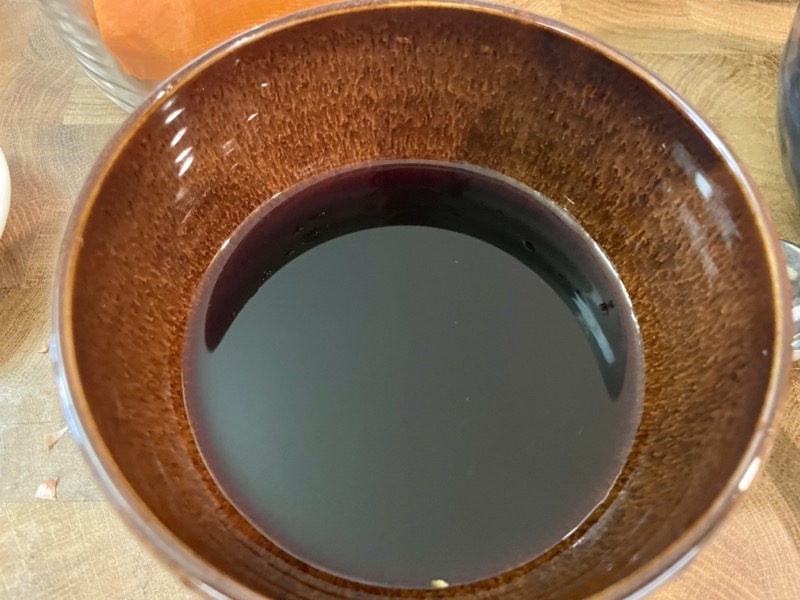
Prepare the sauce: Mix together the 1/4 cup soy sauce, 1 Tbsp sugar, 2 tsps rice wine vinegar, 1 tsp black vinegar, and the reserved 1/3 cup of the mushroom soaking liquid. Set aside.


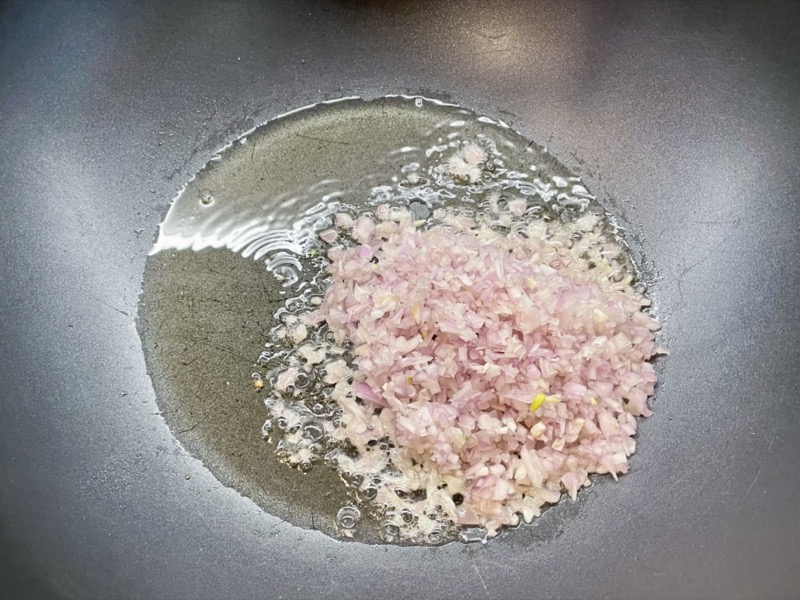
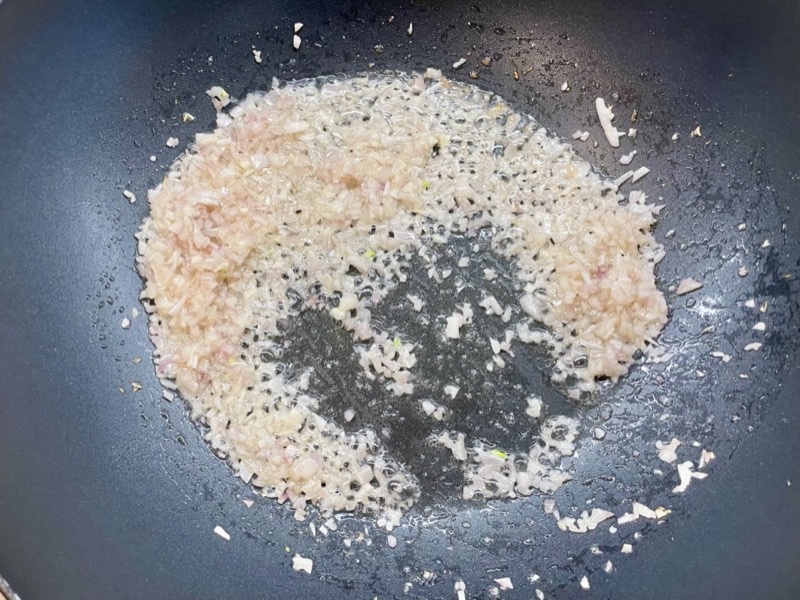

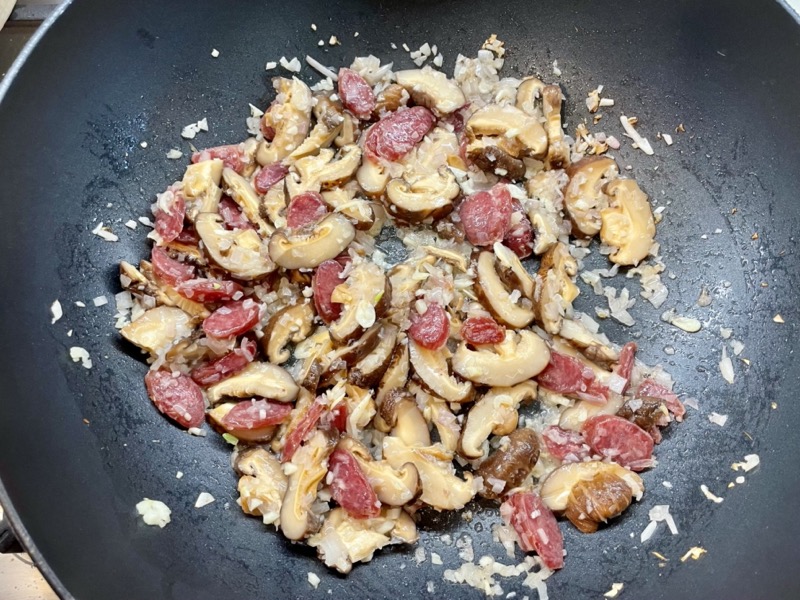
Putting it all together (make sure all of your ingredients are chopped and ready – this will be a quick process): In a wok on MED-HIGH heat, add the 1/4 cup of lard. Once it starts to sizzle, add in the shallots and sautée for 1-2 minutes until softened, then add in the garlic, shrimp, shiitake mushrooms, and lap cheong. Continue to sautée for another 1 minute until fragrant.
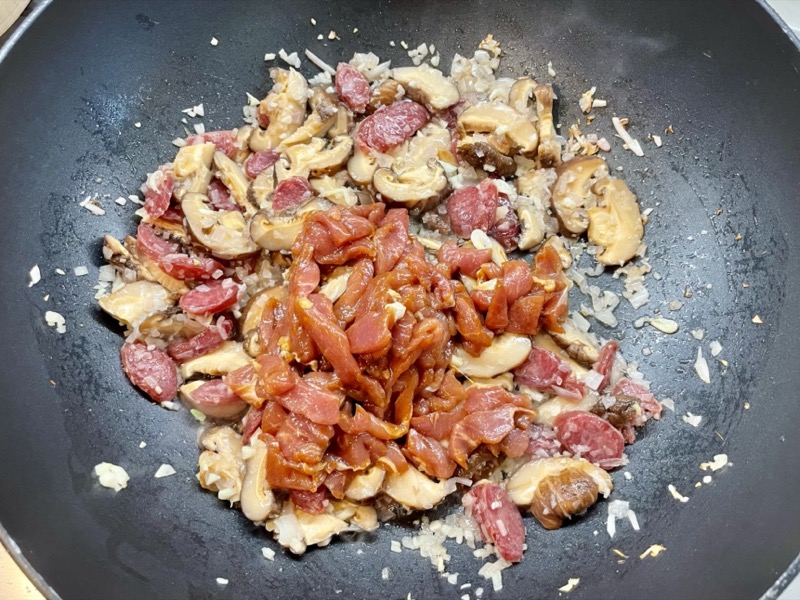

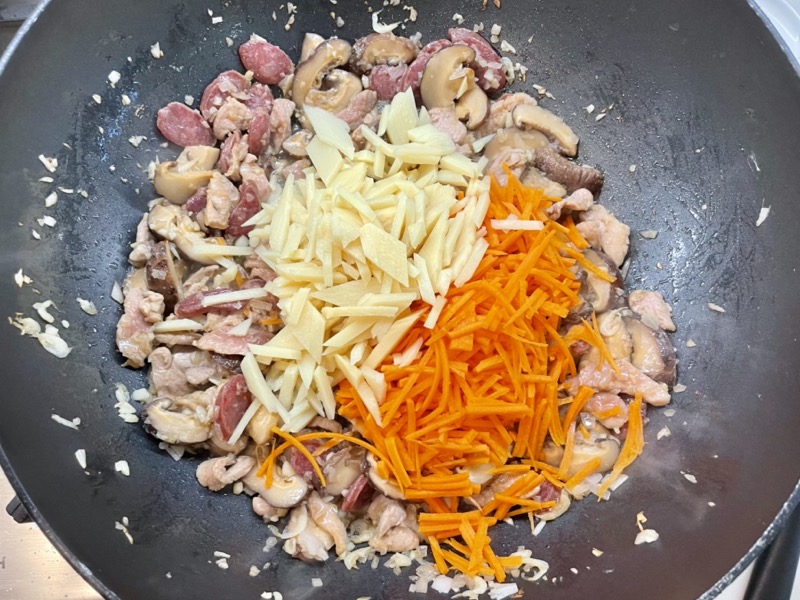
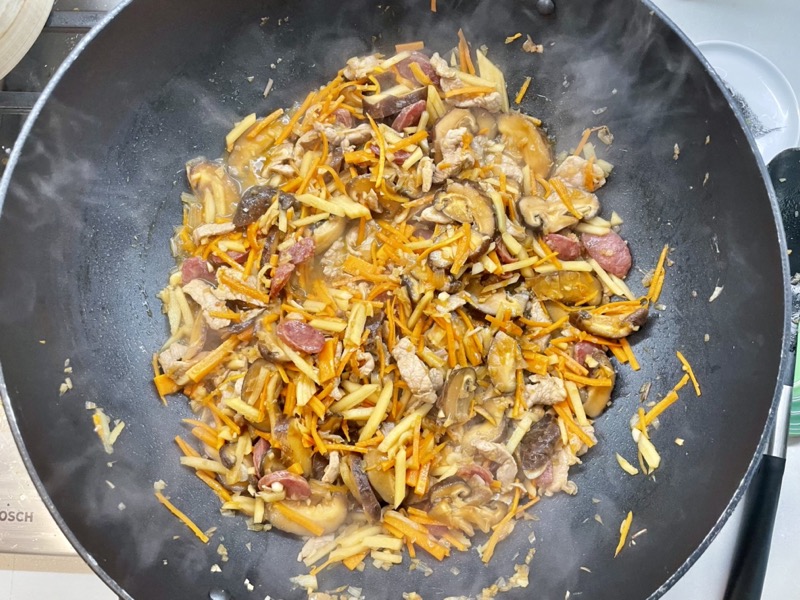
Add in the marinated pork (from step 5). Cook for 1-2 minutes until the edges of the pork turns opaque then add in the carrots and bamboo. Cook for another 2-3 minutes until the carrots have softened and the pork is completely cooked. Add in the sauce (from step 6) and mix everything around for 30 seconds.
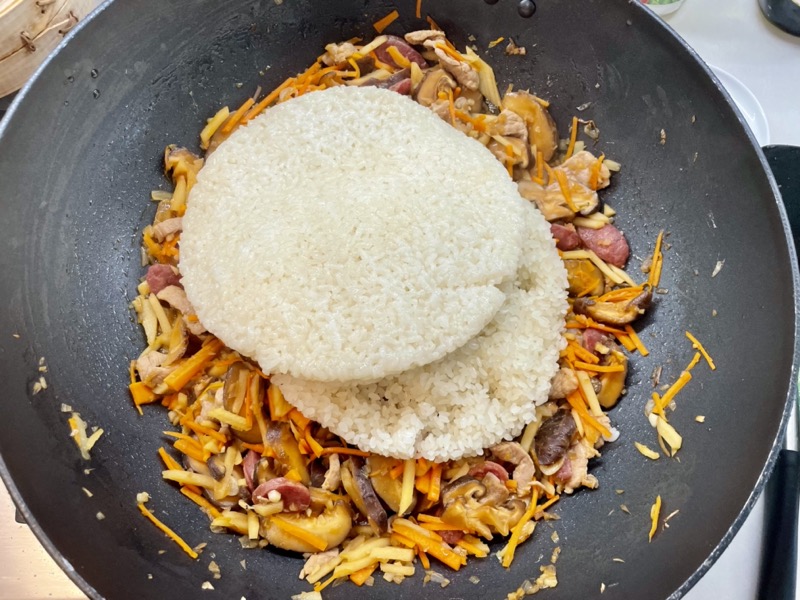

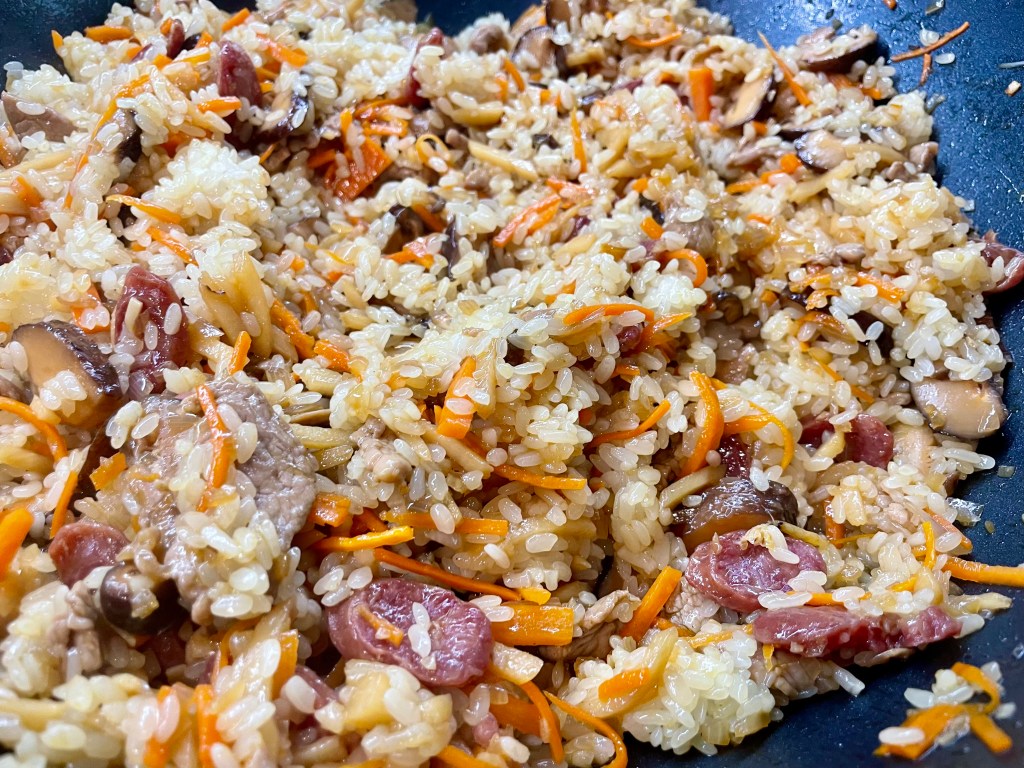
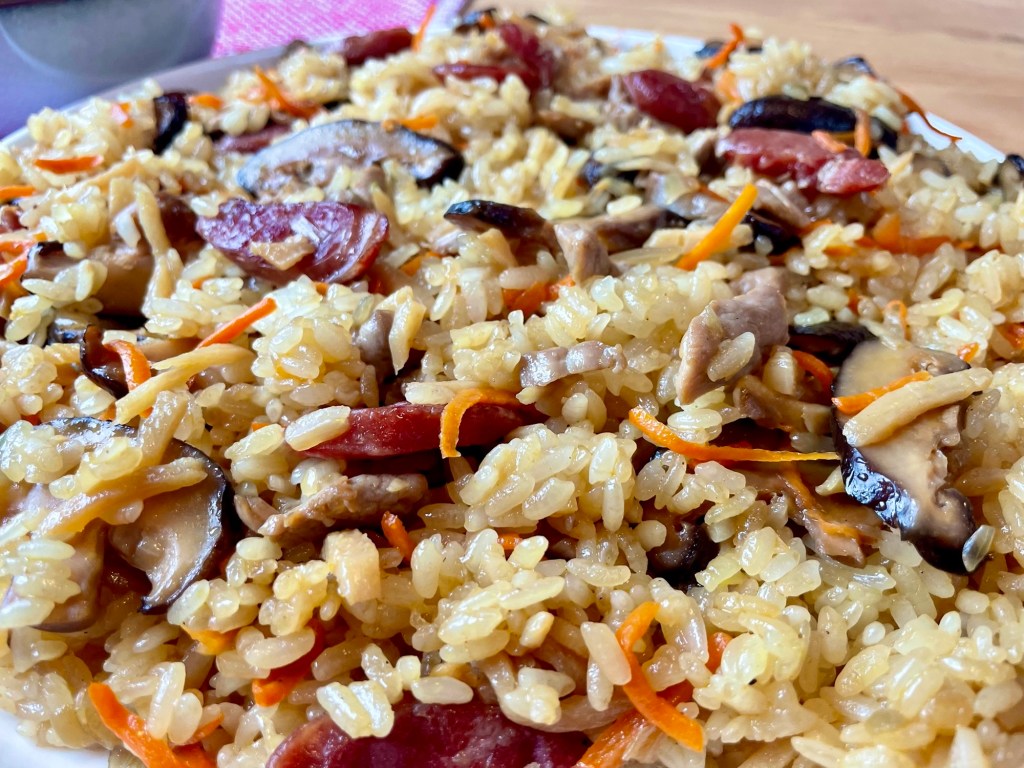
Turn off the heat and add in the cooked glutinous rice (from step 2). Gently mix it all together until the rice absorbs all of the liquid. Taste and adjust salt as needed. Serve immediately with an optional side of Haishan sauce.

Summarized Recipe:
Taiwanese Oil Rice/Sticky Rice 油飯
Date Published: March 13th, 2025 | Last Updated: March 13th, 2025
Author: Abby |Category: Asian, mains, Taiwanese
Serves: 4-6 | Prep time: soak rice overnight + 30 mins | Cook time: 40 mins for rice + 10 mins for stir-fry
Ingredients:
- 2 cups (400g) glutinous rice (sometimes called ‘sweet rice’)
- 8 dried shiitake mushrooms
- 1.5 Tbsps small dried shrimp
- Pork marinade:
- 1.5 Tbsps soy sauce
- 1/8 tsp ground white pepper
- 1 tsp sesame oil
- 200g pork tenderloin, cut into thin 2cm strips
- Sauce:
- 1/4 cup (60ml) soy sauce
- 1 Tbsps granulated sugar
- 2 tsps rice wine vinegar/michu
- 1 tsp black vinegar
- 1/4 cup (60ml) lard (or neutral oil)
- 3 large (~1.5 cups) shallots, finely diced
- 3 garlic cloves, minced
- 2-3 sticks (85g) of lap cheong (Chinese sausage)
- 1 medium (~100g) carrot, peeled and julienned
- 1 can (280g) sliced bamboo shoots, sliced into sticks
- Optional: haishan sauce
Directions:
- Soak the rice the night before: Wash the glutinous rice in a colander a few times then transfer to a large bowl and add enough water to cover 2-3 inches above the rice. Let it soak overnight.
- Cook the rice: The next day, strain the rice. Prepare a large steaming basket with a moistened liner. Add the rice into the steaming basket and use the back of a chopstick to create holes in the rice help it cook evenly. Note: I used two smaller bamboo steaming baskets stacked since I didn’t have a large one. Steam for 30-40 minutes until the rice is cooked (a little chewy but not too tough or mush). Once finished, turn off the heat and set the rice aside.
- You can steam it however method you wish. I put my steaming baskets with a lid on into a wok with a couple inches of boiling water and let it simmer until the time is up. Add water as needed to the wok when it evaporates.
- Prepare the mushrooms: In a bowl, add the dried shiitake mushrooms and enough warm water to cover. Let it soak for about an hour (or overnight) until the mushrooms have softened. Once softened, reserve 1/3 cup of the mushrooms soaking liquid and strain out the rest. Cut off and discard the thick stems and slice the mushrooms thinly. Set aside.
- Prepare the shrimp: Add the 1.5 Tbsps dried shrimp into a small bowl and soak in warm water for 10 minutes then strain.
- Marinate the pork: Add all of the pork marinade ingredients into a bowl: 1.5 Tbsps soy sauce, 1/8 tsp white pepper, 1 tsp sesame oil, sliced pork. Mix together and set aside to marinate for at least 15 minutes.
- Prepare the sauce: Mix together the 1/4 cup soy sauce, 1 Tbsp sugar, 2 tsps rice wine vinegar, 1 tsp black vinegar, and the reserved 1/3 cup of the mushroom soaking liquid. Set aside.
- Putting it all together (make sure all of your ingredients are chopped and ready – this will be a quick process):
- In a wok on MED-HIGH heat, add the 1/4 cup of lard. Once it starts to sizzle, add in the shallots and sauté for 1-2 minutes until softened.
- Add in the garlic, shrimp, shiitake mushrooms, and lap cheong. Continue to sautée for another 1 minute until fragrant.
- Next, add in the marinated pork (from step 5). Cook for 1-2 minutes until the edges of the pork turns opaque.
- Add in the carrots and bamboo and cook for another 2-3 minutes until the carrots have softened and the pork is completely cooked.
- Add in the sauce (from step 6) and mix everything around for 30 seconds.
- Turn off the heat and add in the cooked glutinous rice (from step 2). Gently mix it all together until the rice absorbs all of the liquid.
- Taste and adjust salt as needed.
- Serve immediately with an optional side of Haishan sauce.