Date Published: Feb 15th, 2025 | Last Updated: Feb 15th, 2025
Author: Abby |Category: mains, easy
Serves: 2 | Prep time: 30 mins | Cook time: 45 mins
Jump to recipe |
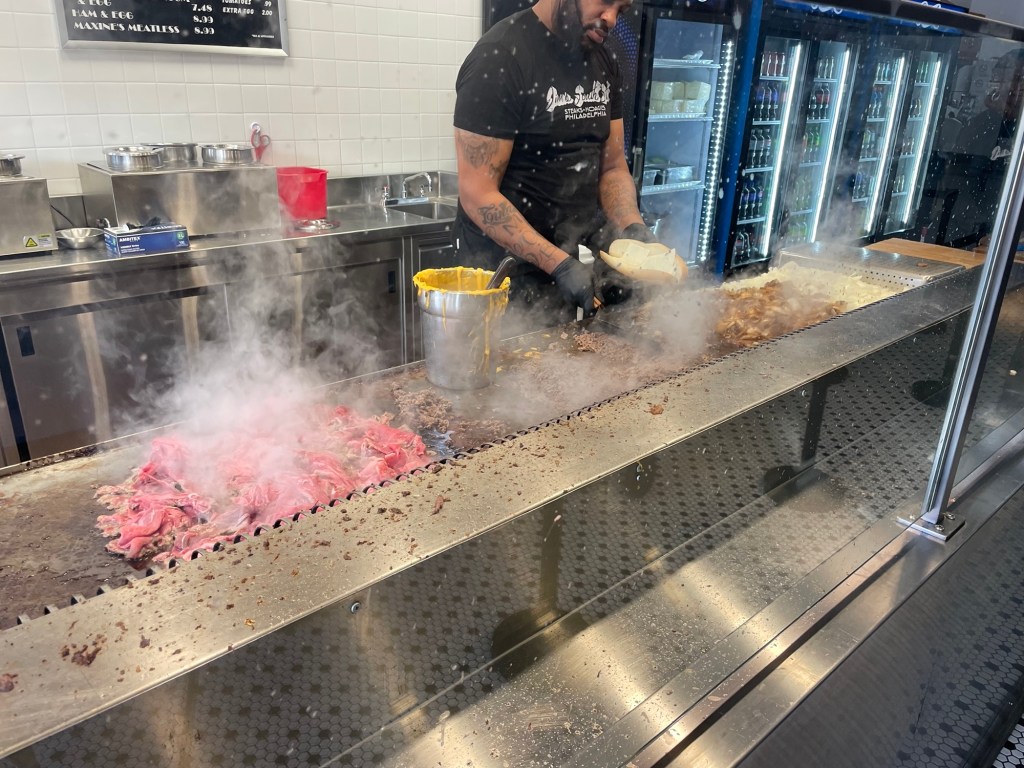
Since moving to New York nearly 2 years ago, we’ve visited Philadelphia a handful of times. This city is full of rich history and endless food options. Of course with this being a food blog, no trip to Philly is complete without a cheesesteak. There are debates over who has the best cheesesteaks, with top 2 mentions from locals being Jim’s South St. and D’alessandro’s and the more tourist-driven places being Pat’s and Geno’s. So far, Jim’s South St. is our favourite.
If you’re looking for the best cheesesteak in Philly, check out my separate post below!

The Ultimate Guide to Top Philly Cheesesteak Spots
This is my ultimate guide to Philly Cheesesteaks in Philadelphia! I’ve made it my personal mission to try as many popular cheesesteak spots as I can find through online research,…
Keep readingThis sandwich is a local favourite and I’m sure every Philadelphian will have their own go-to spot and opinions on how a good cheesesteak should be. In this recipe I’ve written it to how I prefer my cheesesteaks (with mushrooms, onions, cheez whiz and provolone), but it is very customizable to tailor to your liking.
What is a Philly Cheesesteak? What makes it so special?
A Philly Cheesesteak is a sandwich that is essentially bread, cooked steak, and cheese. The combination of these 3 ingredients don’t sound like much, but it’s the quality of the bread, the tenderness and juiciness of the beef, and the cheesy goodness all combined together that makes this sandwich magical. There’s no fancy truffle aioli, or a complex combination of marinades and spices. It’s just simple ingredients made well. Also be prepared – a good cheesesteak tends to be pretty greasy so pack your wet wipes!
Dissecting the Philly Cheeseteak:
Bread:
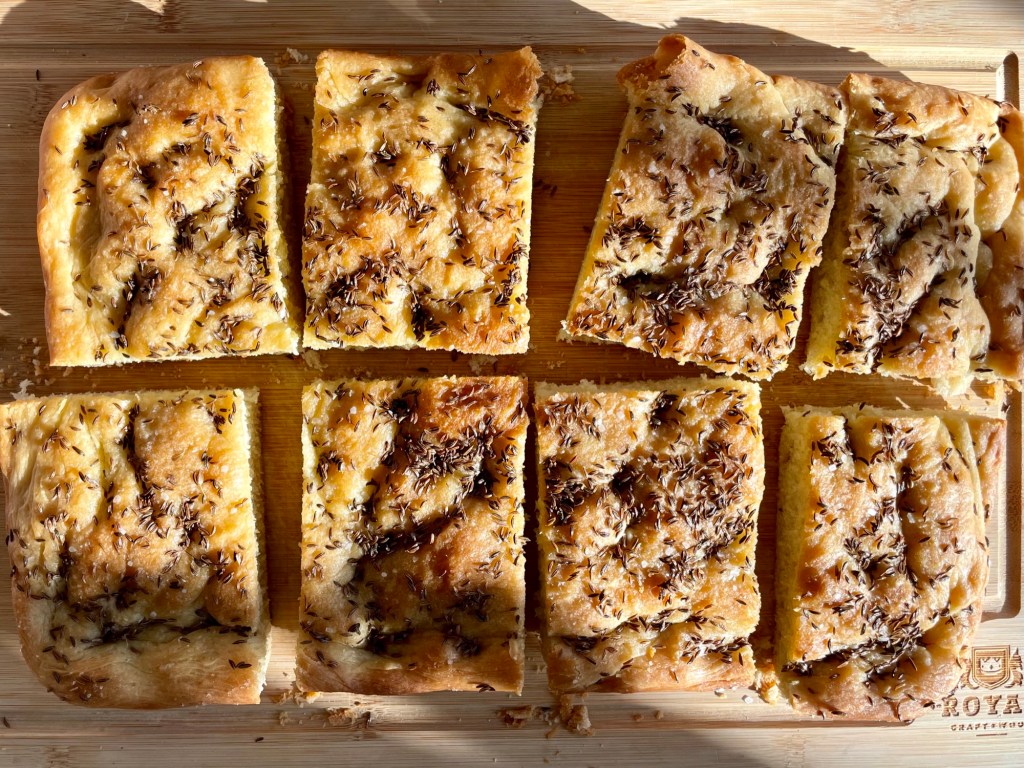
You want a sandwich roll that’s got a light crust on the outside (but not hard like a baguette) and soft on the inside. You don’t want the bread too soft like a hotdog bun or else the juices from the sandwich will make the bread soggy and it won’t hold up. I went for a locally available “hero roll” at my bodega.
Usually the bread is not toasted in a traditional cheesesteak, but for my recipe I’ve done a quick broil in the oven so the bread gets a little more crunch to hold up to the moisture of the beef a little better.
Steak:
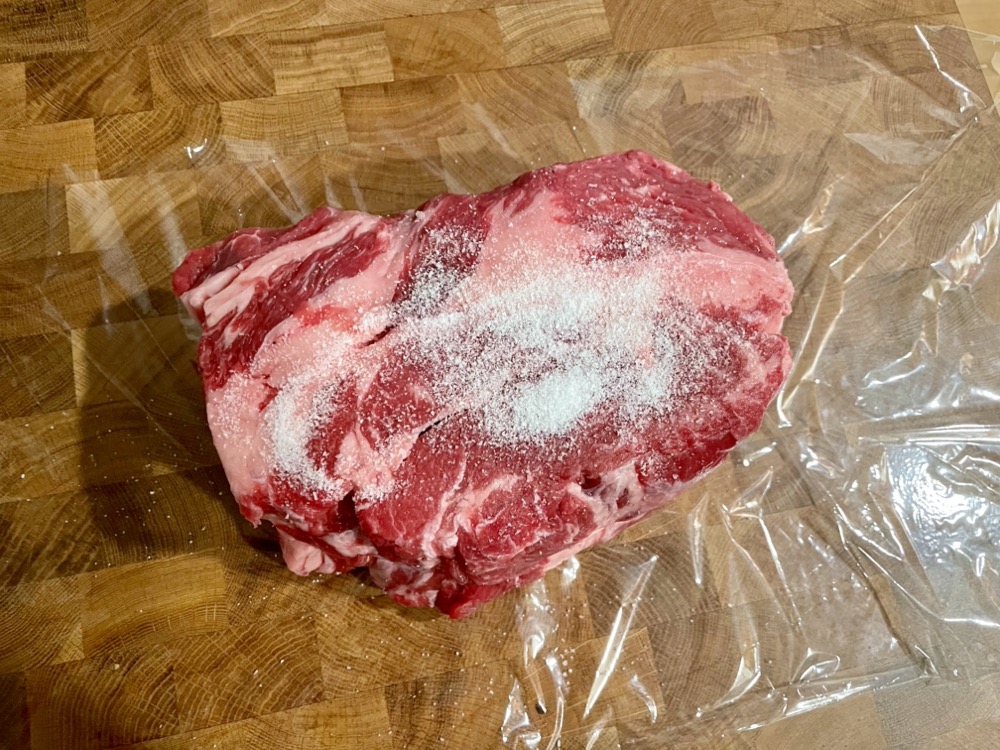
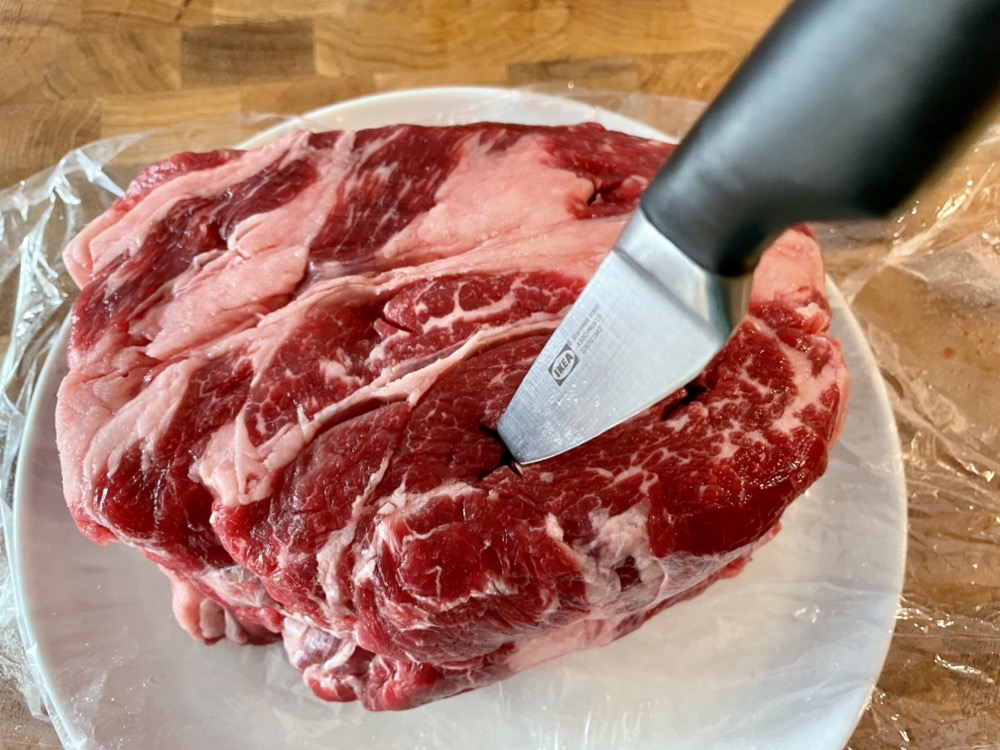
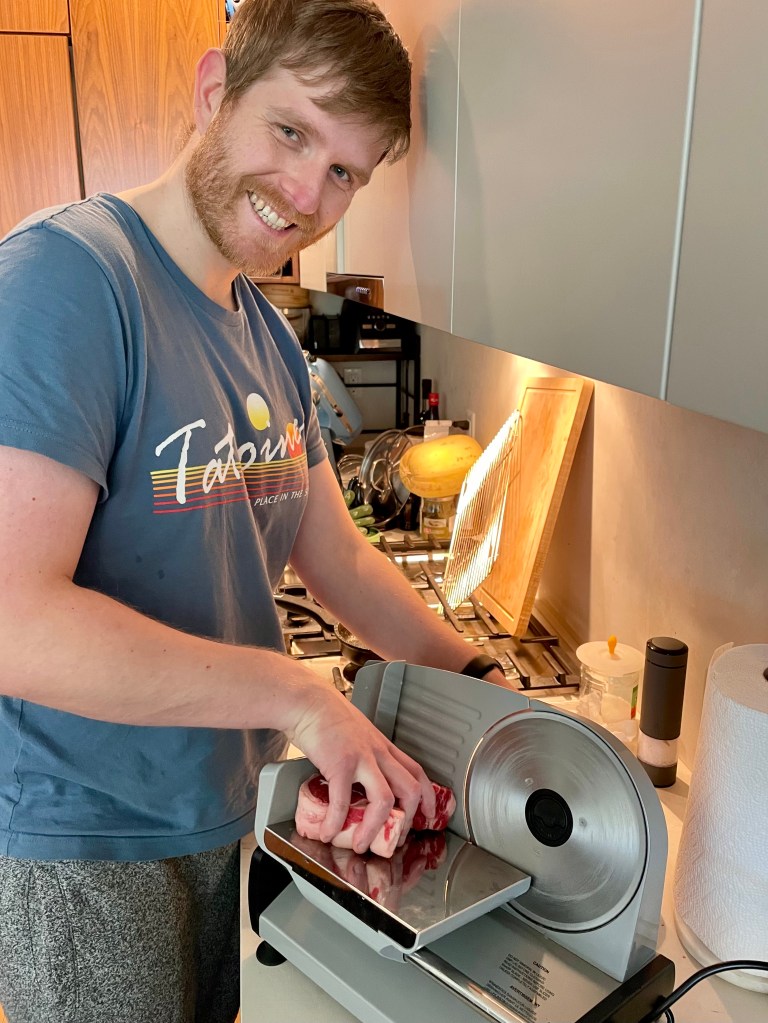
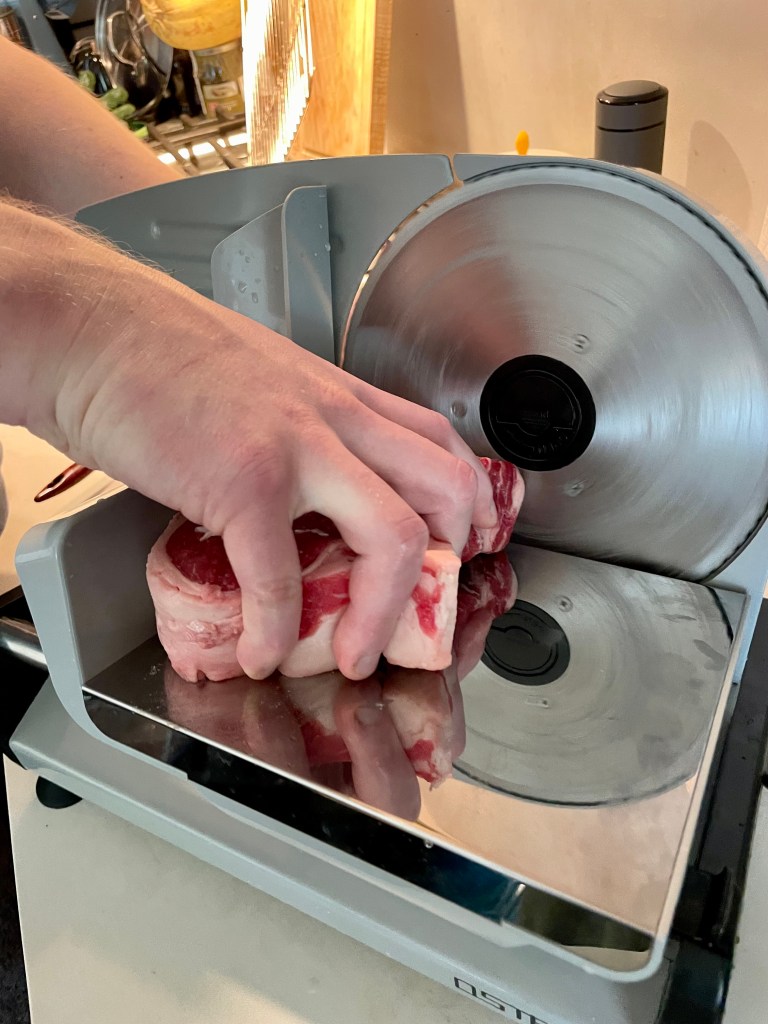
Although more expensive, rib eye steak is the go-to choice for a Philly cheesesteak. It’s a good quality cut with enough marbled fat to give it extra flavour. A cheaper alternative is skirt steak. The steak needs to be very thinly sliced to achieve the right texture, so you can either slice it yourself if you happen to have a deli meat slicer at home (we just got one recently!), freeze the steak for 20 minutes to firm up the beef to make it easier to slice by hand with a knife, or ask your butcher to slice it for you. Another alternative is to buy the pre-sliced frozen beef at Asian grocery stores in the hotpot freezer section.
Cheese: Provolone, Cheez Whiz, or American Cheese?
When Toby and I went to order our first ever Philly Cheesesteak, we had no idea that there were cheese options! The guy at Jim’s didn’t specifically ask us what cheese we wanted. He instead asked “Provolone?”. In a moment of panic, we just said “yes”. Surely provolone is the most popular option, otherwise he would’ve led with a different cheese choice, right? When we unwrapped our cheesesteak, it was decent, but I couldn’t really taste the provolone and it didn’t look ooey gooey with cheese as I had imagined it. For a cheesesteak, I was expecting big cheesy flavours so we were a little disappointed. Maybe we chose the wrong cheese? Maybe we should get extra cheese? After polishing off our sandwich, Toby went right back in line and ordered another one, this time with BOTH provolone and Cheez Whiz. After taking the first bite, we were in love! This was it. The Cheez Whiz made all the difference. This gooey fake cheese product penetrated through the layers of the beef and onions and melded the flavours together into a mess of greasy cheesy delicious goodness. I now understand why this sandwich is a classic. For my recipe, I’ve included both provolone and Cheez Whiz below, but feel free to change it up to your liking.

Fun fact: local slang for a cheesesteak with onions and Cheez Wiz is called a “Whiz wit“. If you don’t want onions, it’s called a “Whiz without“!
Onions (optional):
Onions are optional, but essential in my opinion. They’re usually cooked to just browned and softened with a bit of a bite. I prefer the cheesesteak joints that take it a little further and slightly caramelize the onions to add a bit of sweetness to a sandwich that’s full of cheese and salty meat. In my recipe below, the onions are slightly caramelized but feel free to cook it as much or as little as you like.
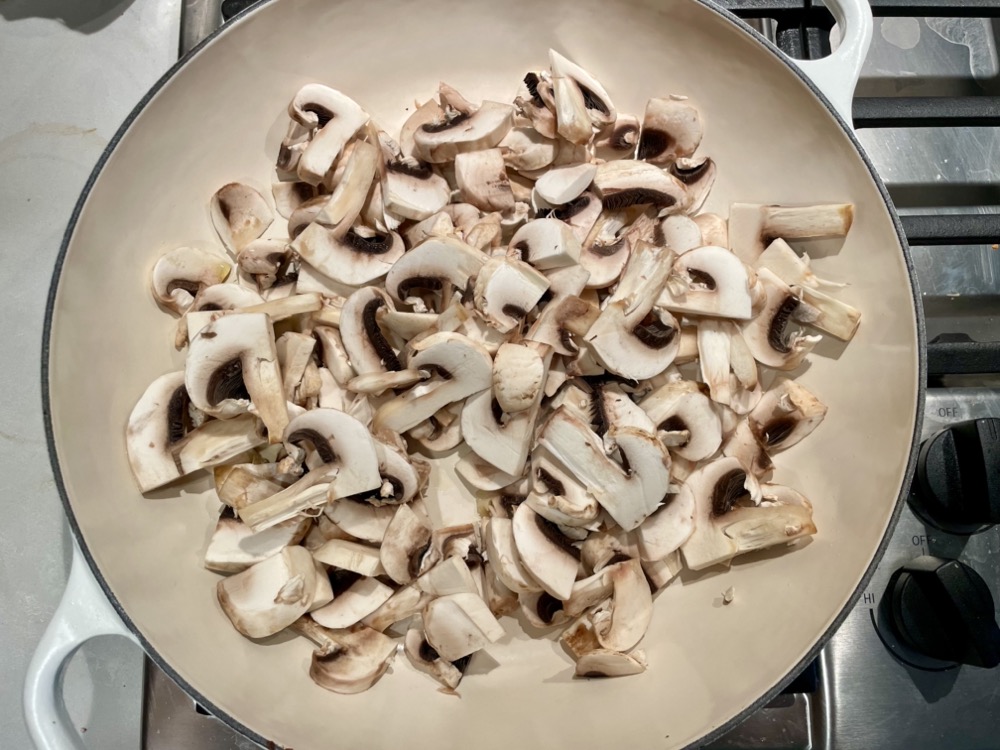
Mushrooms (optional):
Sautéed mushrooms are also another must for me, but I just love mushrooms in general. I find that it adds a nice texture to the sandwich, but Toby prefers it without.
Other toppings:
Other toppings you’ll often find are sautéed bell peppers, hot banana peppers, relish, ketchup, mayonnaise, and mustard. I prefer my cheesesteak with just onions and mushrooms, but Toby likes to add relish for a bit of sweet vinegary kick.
Anyways, without further ado, here’s the recipe! If you have any comments or suggestions, I’d love to hear from you in the comment section! You can follow me on instagram, youtube and facebook to see all the recipes I post!
Happy cooking!
Ingredients you’ll need:
- 1 + 1 Tbsp of bacon fat/neutral oil
- 2 large onions, diced
- Drizzle of olive oil
- 300g white mushrooms, sliced
- 2 sandwich/hoagie rolls
- 6 slices of provolone cheese
- 1 pound/500g rib eye steak, sliced as thin as possible
- Salt & pepper to taste
- 1/2 cup of Cheez Whiz
Directions:
Cook the onions: In a wide skillet on MED heat, melt 1 Tbsp of bacon fat and add in the diced onions. Cook until the onions slightly caramelize and brown (~20-30 minutes) – you don’t want to fully caramelize it, but with a bit of bite and sweetness. When finished, remove the onions into a bowl and set aside until ready to use.


Cook the mushrooms: In the same skillet on MED heat, add a drizzle of olive oil and sauté the sliced mushrooms with a pinch of salt and pepper until cooked (5 minutes). Remove the cooked mushrooms into a bowl and set aside until ready to use.

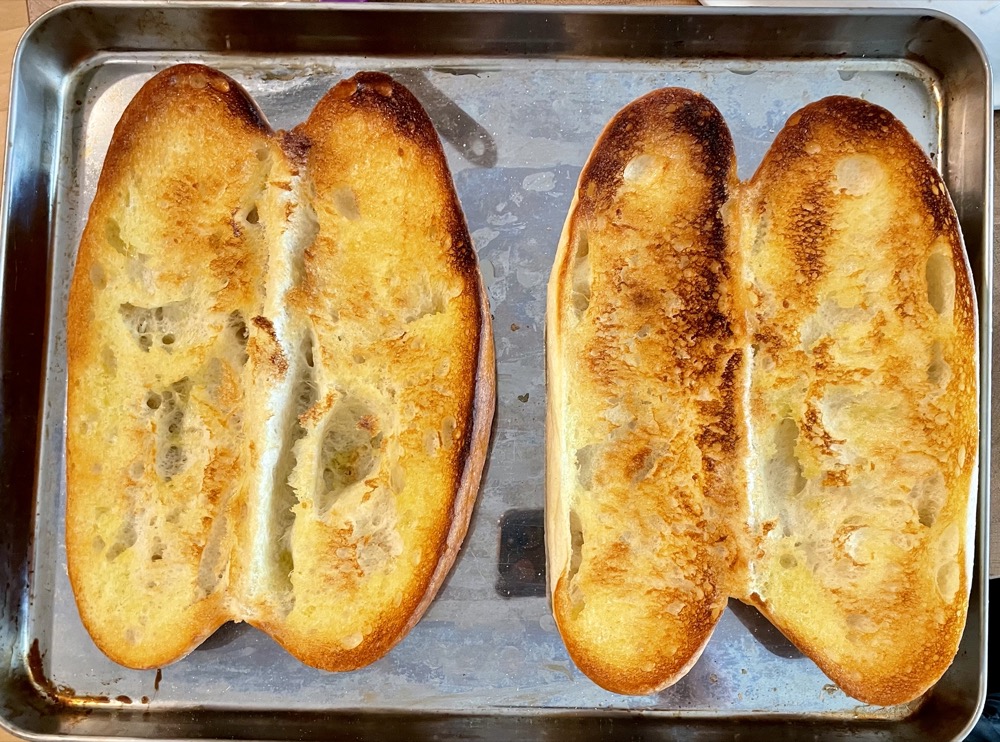
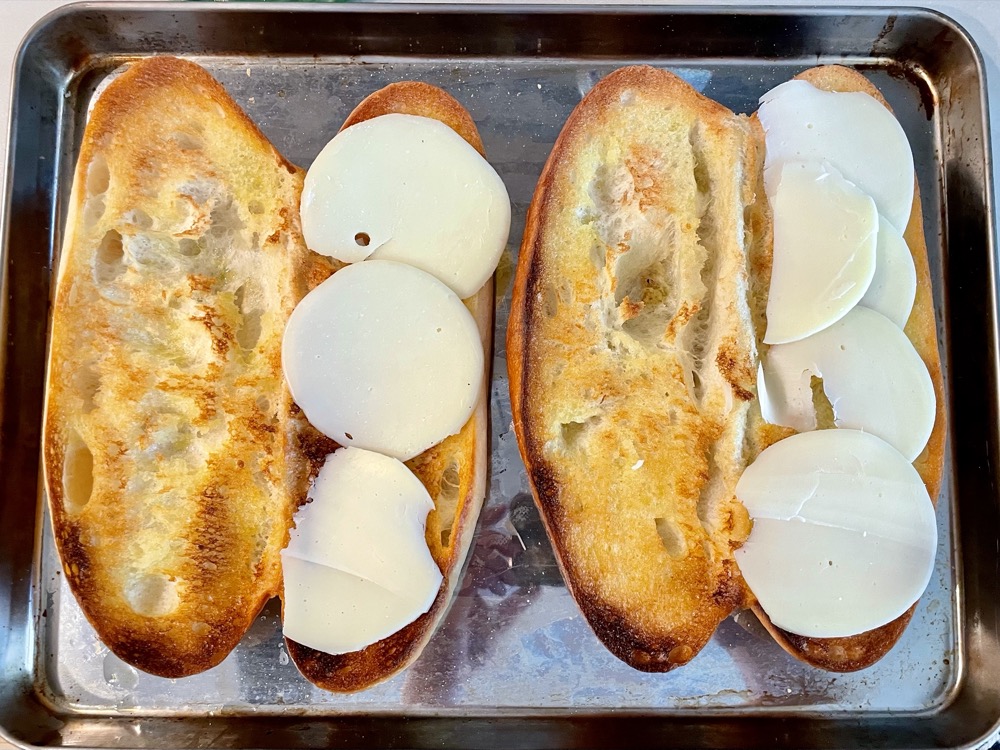
Optional step: Toast the bread: Slice each bread roll lengthways without fully cutting through, and lay open on a baking tray. Brush a small amount of olive oil onto the inside of the bread and toast in the oven on the BROIL setting for 1-2 minutes or until golden brown.

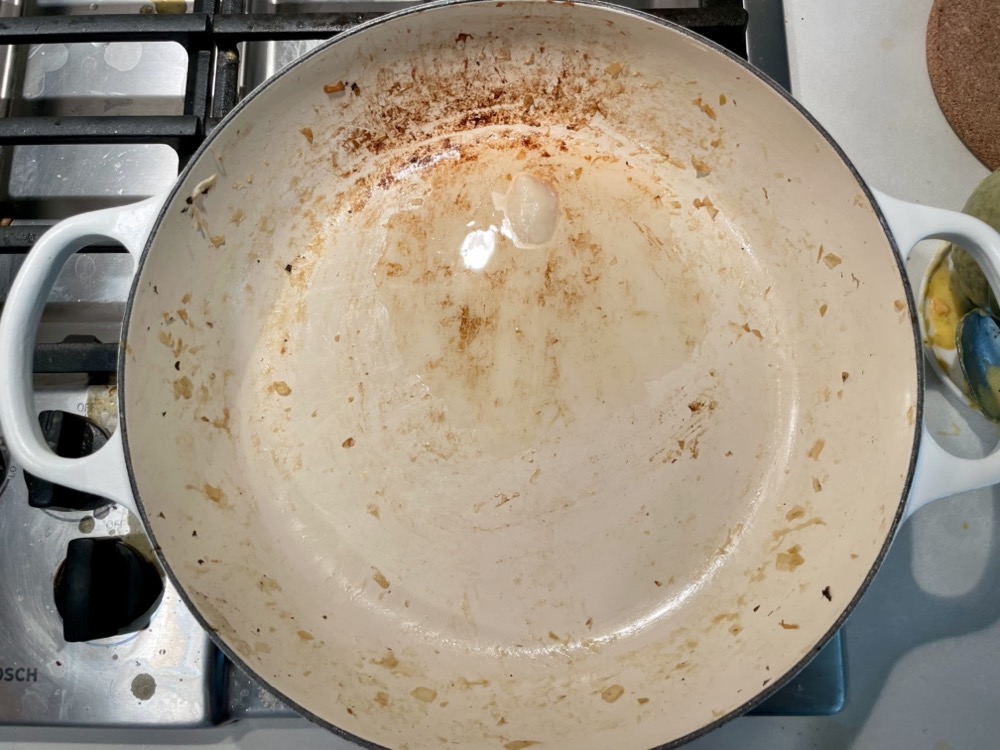
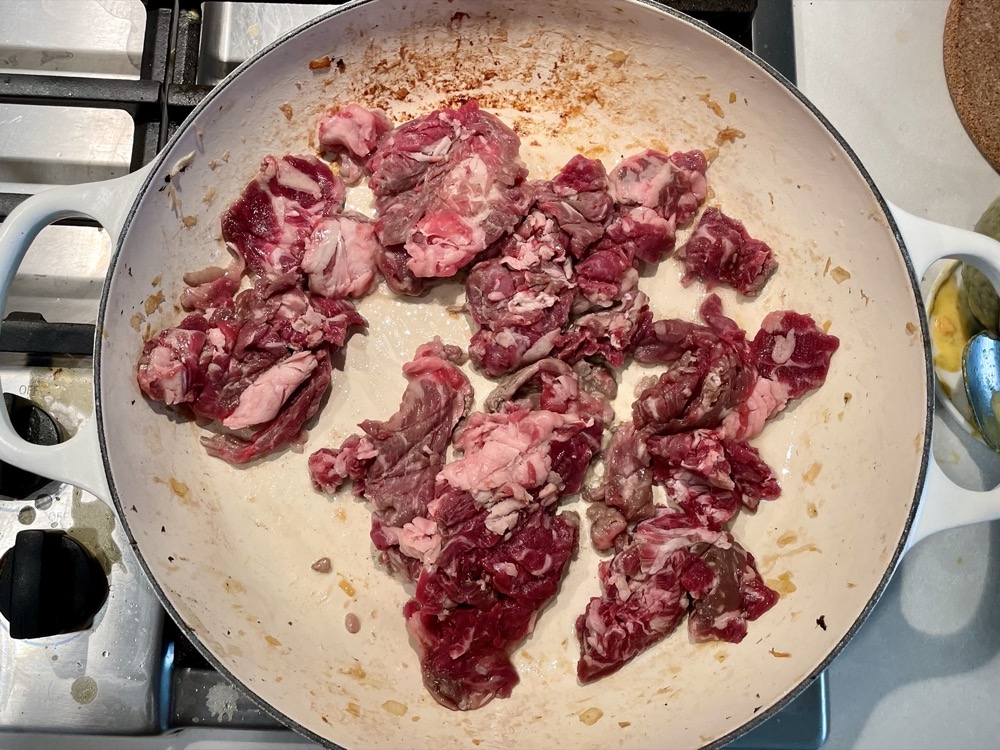
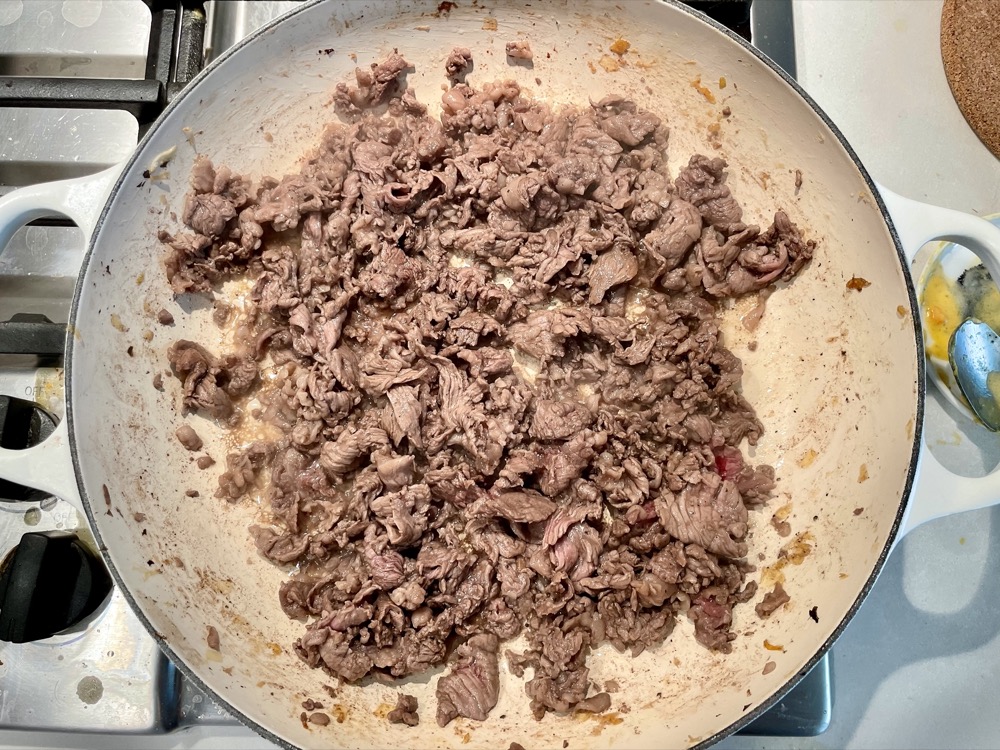
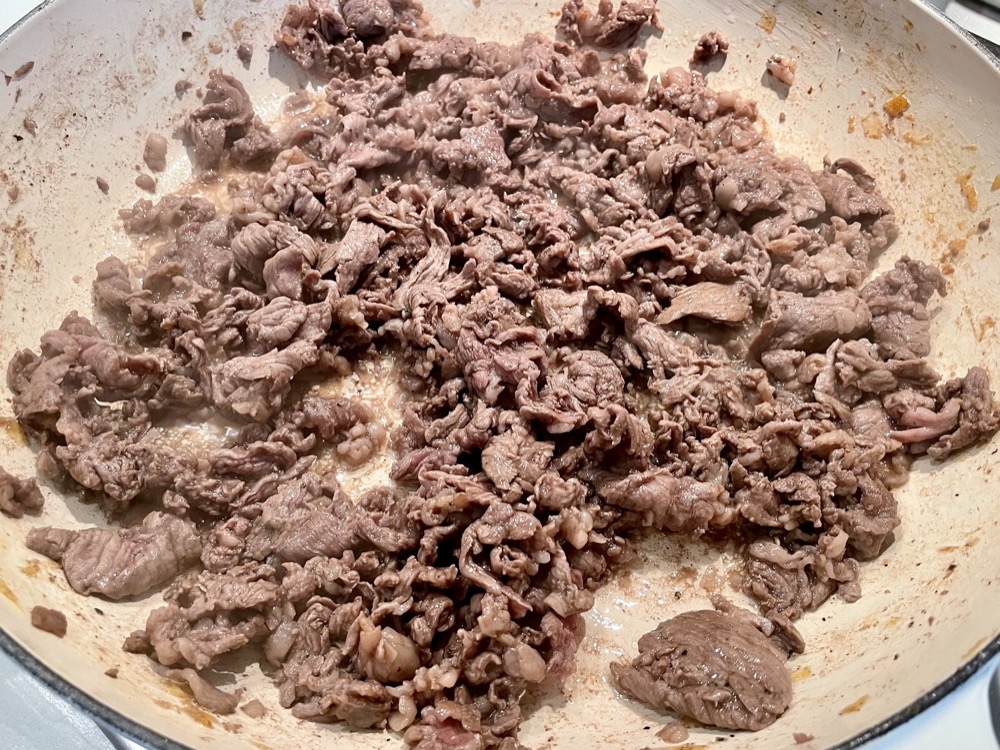
Cook the steak: In the same skillet on MED heat, melt another 1 Tbsp of bacon fat and add in the rib eye steak slices. Add a pinch of salt and fresh ground black pepper and continue to sauté until the steak is fully cooked (~5 minutes). Taste and adjust salt and pepper as needed. Turn the heat off.

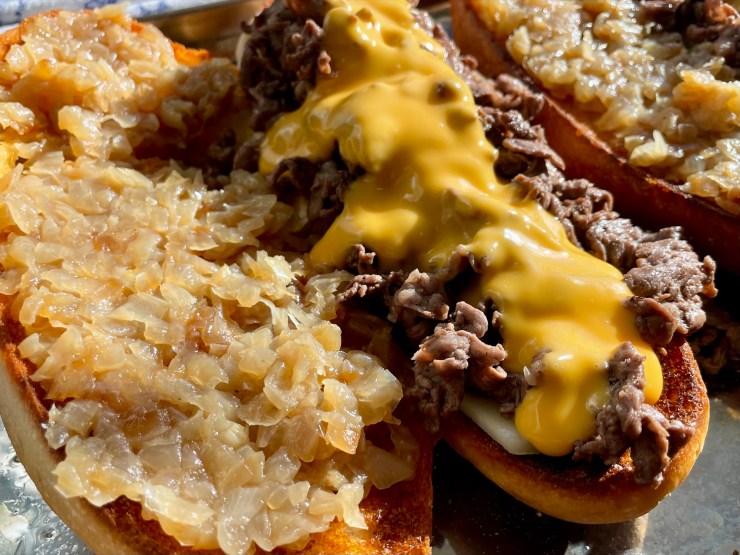
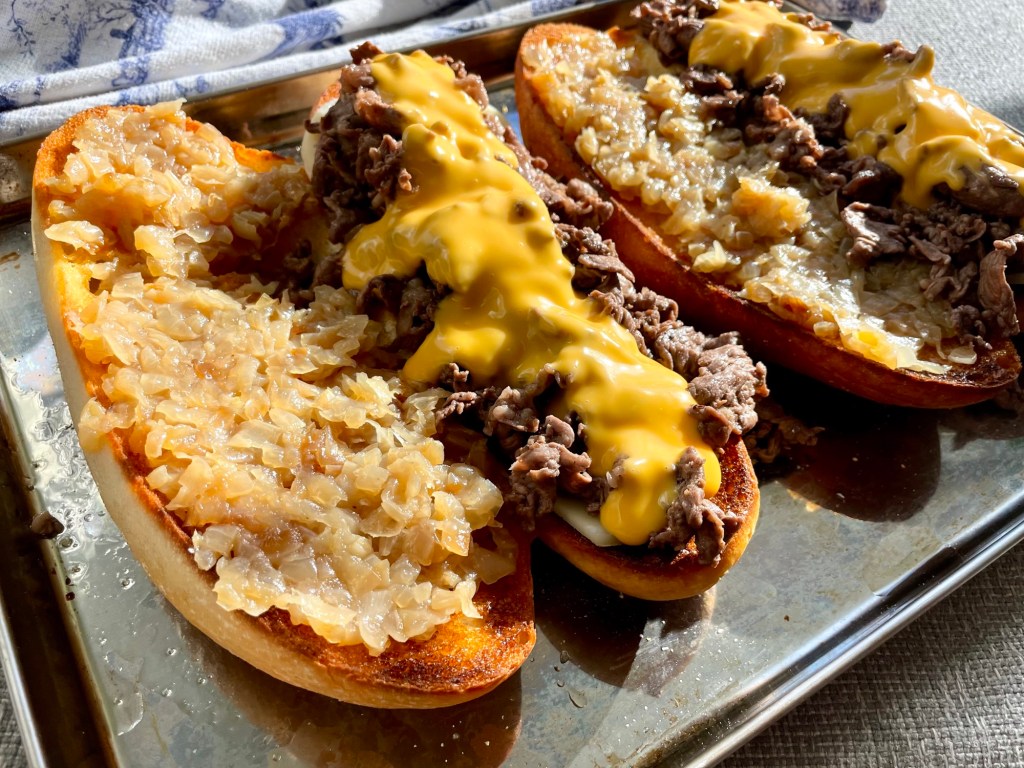
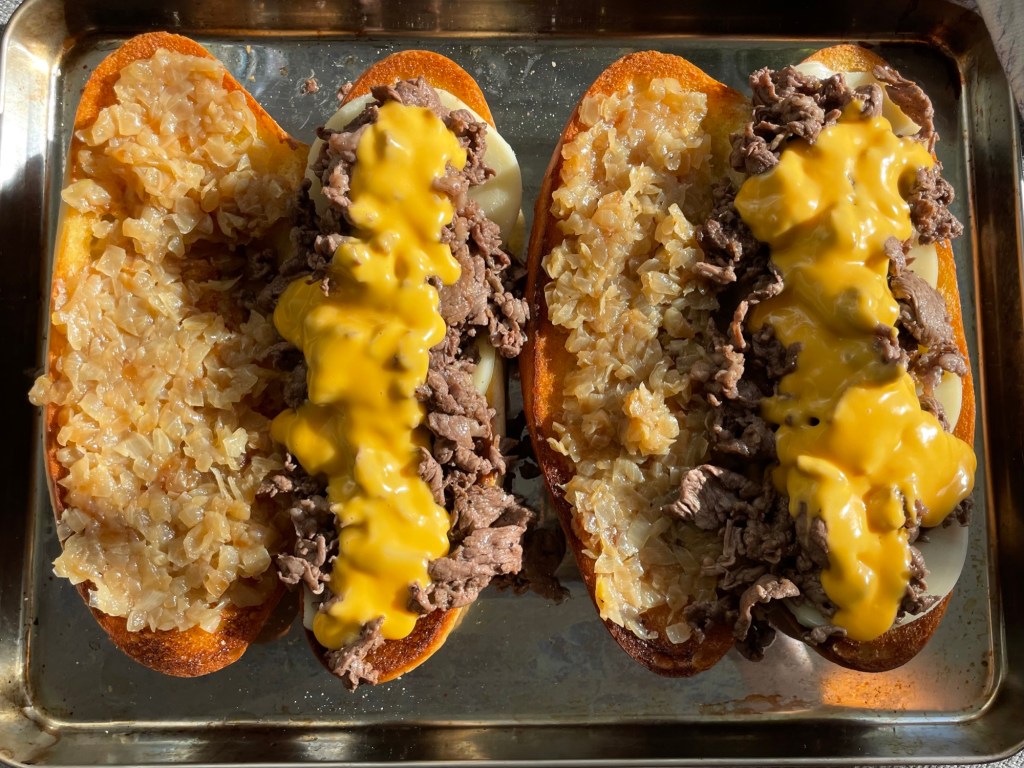
Assemble the sandwich:
Add 3 slices of provolone cheese to one side of each sandwich.
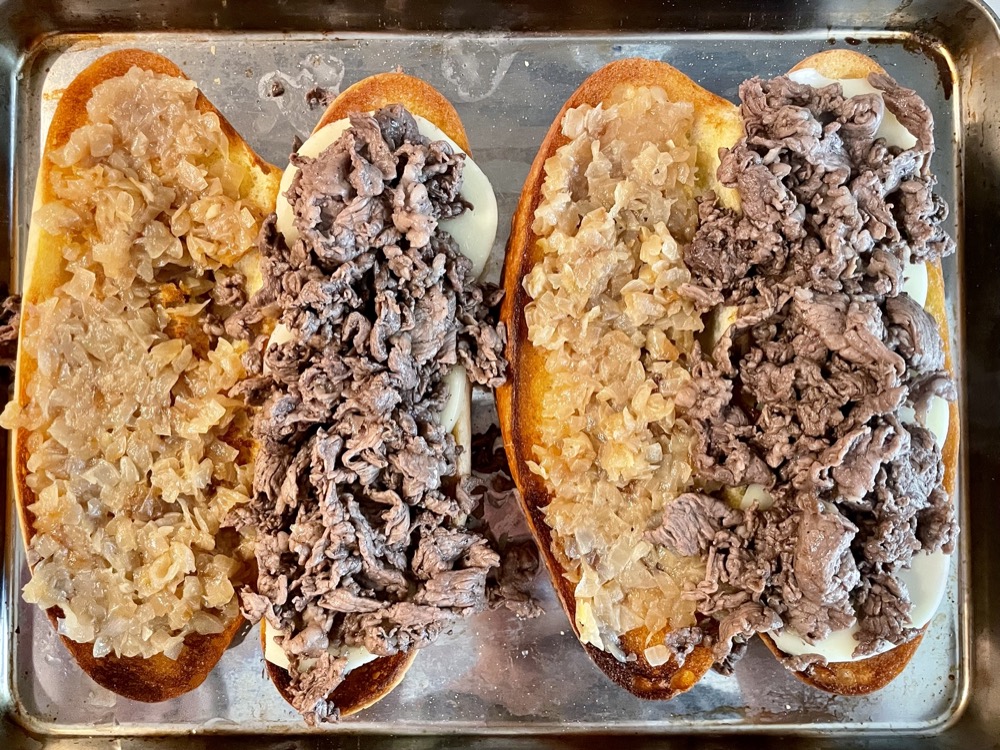
Spoon the cooked onions (from step 1) and cooked mushrooms (from step 2) to the other side of each sandwich.
Add the just-cooked hot steak (from step 4) over the provolone cheese (if it’s not hot, turn on the heat to warm up the steak so it melts the provolone when you add it on top).
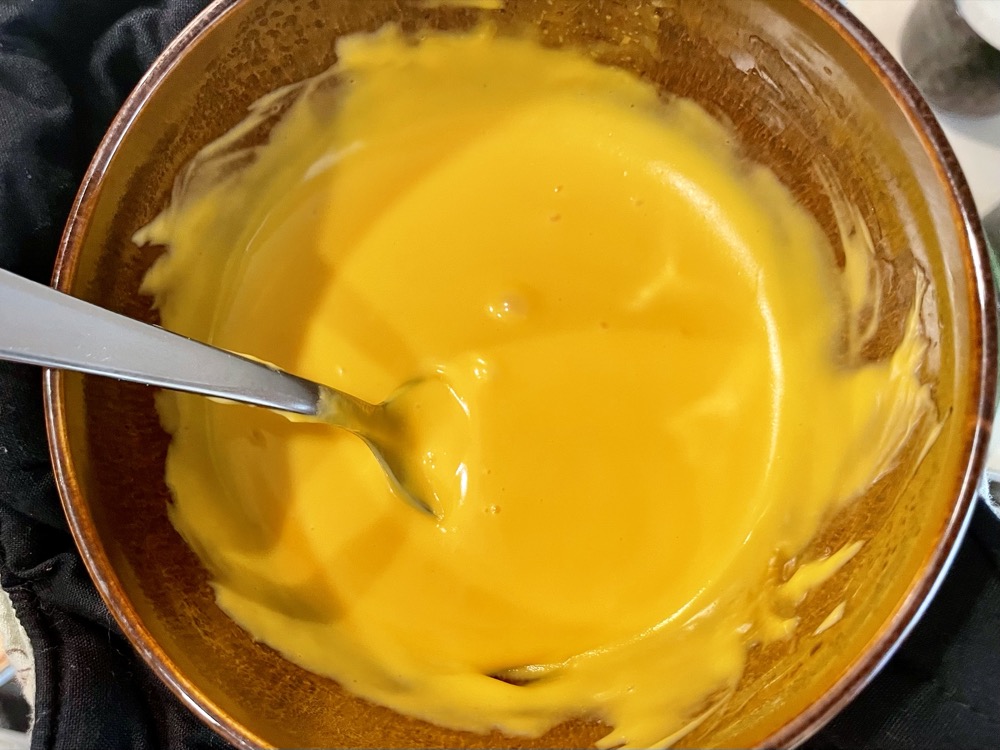
Microwave the Cheeze Whiz for 30 seconds until it’s warmed and gooey, then drizzle on 1/4 cup of the cheese whiz over the steak on each sandwich.

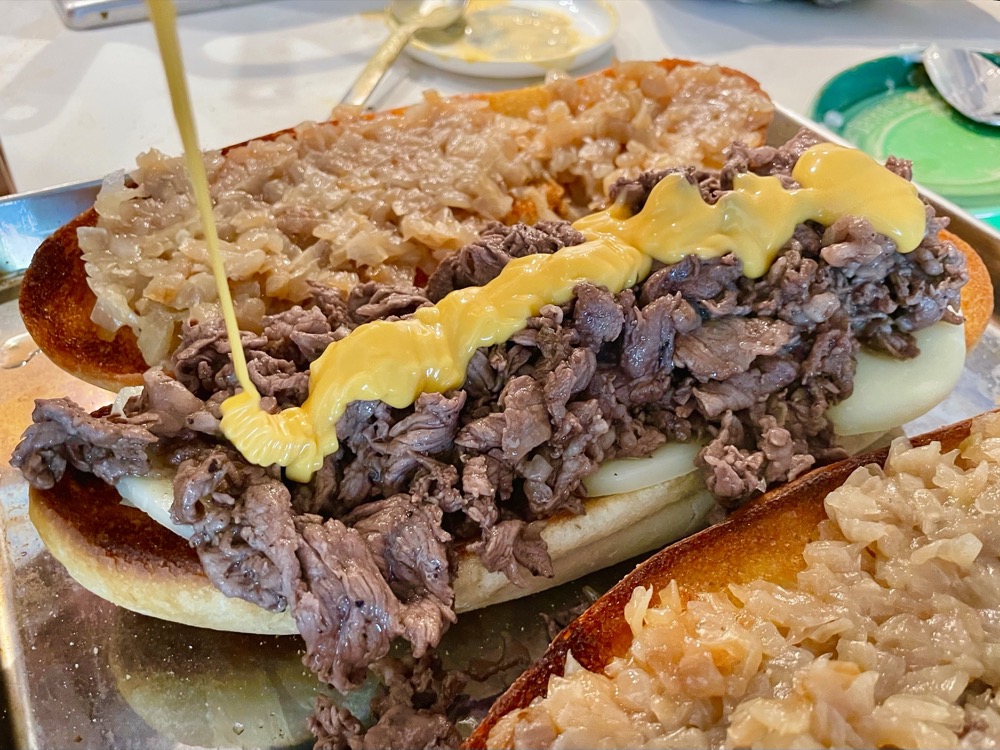
Close the sandwich and serve immediately. Enjoy!


Summarized Recipe:
Philly Cheesesteak – “Whiz Wit Mushrooms”
Date Published: Feb 15th, 2025 | Last Updated: Feb 15th, 2025
Author: Abby |Category: mains, easy
Serves: 2 | Prep time: 30 mins | Cook time: 45 mins
Ingredients:
- 1 + 1 Tbsp of bacon fat/neutral oil
- 2 large onions, diced
- Drizzle of olive oil
- 300g white mushrooms, sliced
- 2 sandwich/hoagie rolls
- 6 slices of provolone cheese
- 1 pound/500g rib eye steak, sliced as thin as possible
- Salt & pepper to taste
- 1/2 cup of Cheez Whiz
Directions:
- Cook the onions: In a wide skillet on MED heat, melt 1 Tbsp of bacon fat and add in the diced onions. Cook until the onions slightly caramelize and brown (~20-30 minutes) – you don’t want to fully caramelize it, but with a bit of bite and sweetness. When finished, remove the onions into a bowl and set aside until ready to use.
- Cook the mushrooms: In the same skillet on MED heat, add a drizzle of olive oil and sauté the sliced mushrooms with a pinch of salt and pepper until cooked (5 minutes). Remove the cooked mushrooms into a bowl and set aside until ready to use.
- Optional step: Toast the bread: Slice each bread roll lengthways without fully cutting through, and lay open on a baking tray. Brush a small amount of olive oil onto the inside of the bread and toast in the oven on the BROIL setting for 1-2 minutes or until golden brown.
- Cook the steak: In the same skillet on MED heat, melt another 1 Tbsp of bacon fat and add in the rib eye steak slices. Add a pinch of salt and fresh ground black pepper and continue to sauté until the steak is fully cooked (~5 minutes). Taste and adjust salt and pepper as needed. Turn the heat off.
- Assemble the sandwich:
- Add 3 slices of provolone cheese to one side of each sandwich.
- Spoon the cooked onions (from step 1) and cooked mushrooms (from step 2) to the other side of each sandwich.
- Add the just-cooked hot steak (from step 4) over the provolone cheese (if it’s not hot, turn on the heat to warm up the steak so it melts the provolone when you add it on top).
- Microwave the Cheeze Whiz for 30 seconds until it’s warmed and gooey, then drizzle on 1/4 cup of the cheese whiz over the steak on each sandwich.
- Close the sandwich and serve immediately. Enjoy!