Date Published: Feb 25th, 2025 | Last Updated: Feb 25th, 2025
Author: Abby |Category: sides, vegetarian, easy, <30 mins
Serves: 4-6 | Prep time: 15 minutes | Cook time: 30 minutes
Jump to recipe |
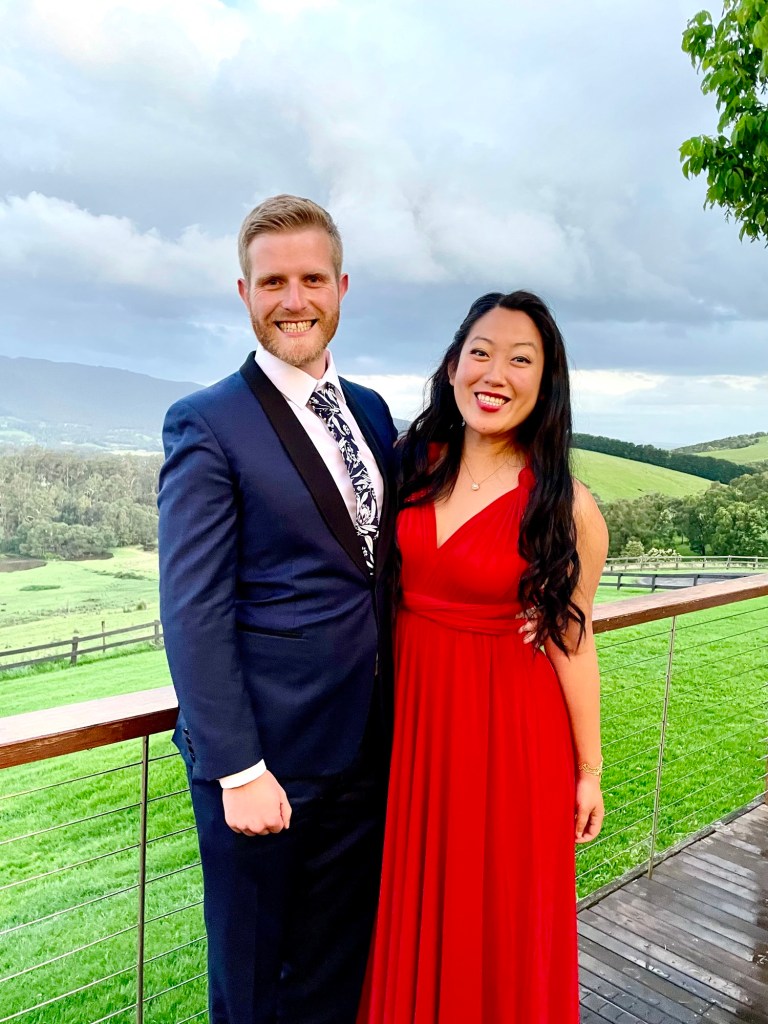
I’m obsessed with anything brown butter. Seriously. What’s not to love? It’s nutty, umami, complex, flavourful, and is just such a unique flavour that it can’t be substituted anyway else. Any time there’s mention of brown butter on a menu, I’m all over it. This dish came to me at our friend Amy’s wedding in Melbourne a few years ago. It was a beautiful wedding in an intimate venue and although the weather could’ve been better, the heartfelt speeches and the amazing family-style food made it a wonderful evening. This roasted brown butter carrot dish was my absolute favourite of the night and I’m pretty sure I had more than my fair share 🤫. After the wedding I obsessed until I was able to recreate this dish myself. So here I am again, sharing the fruits of my labour. I hope you enjoy this dish as much as I do!


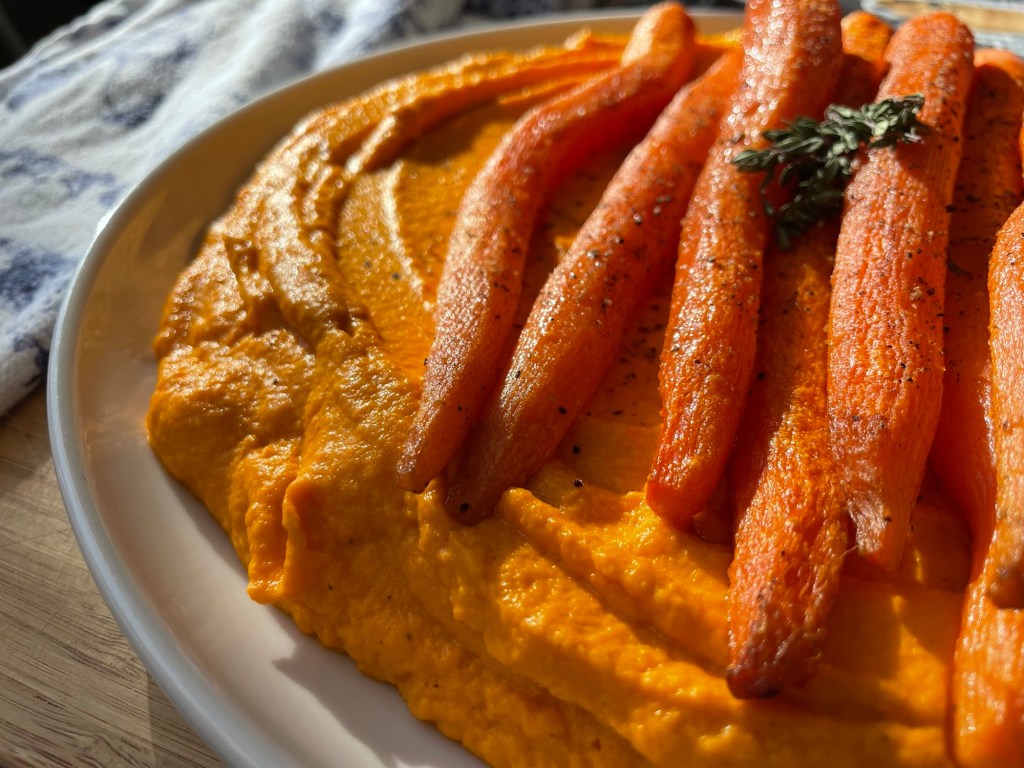
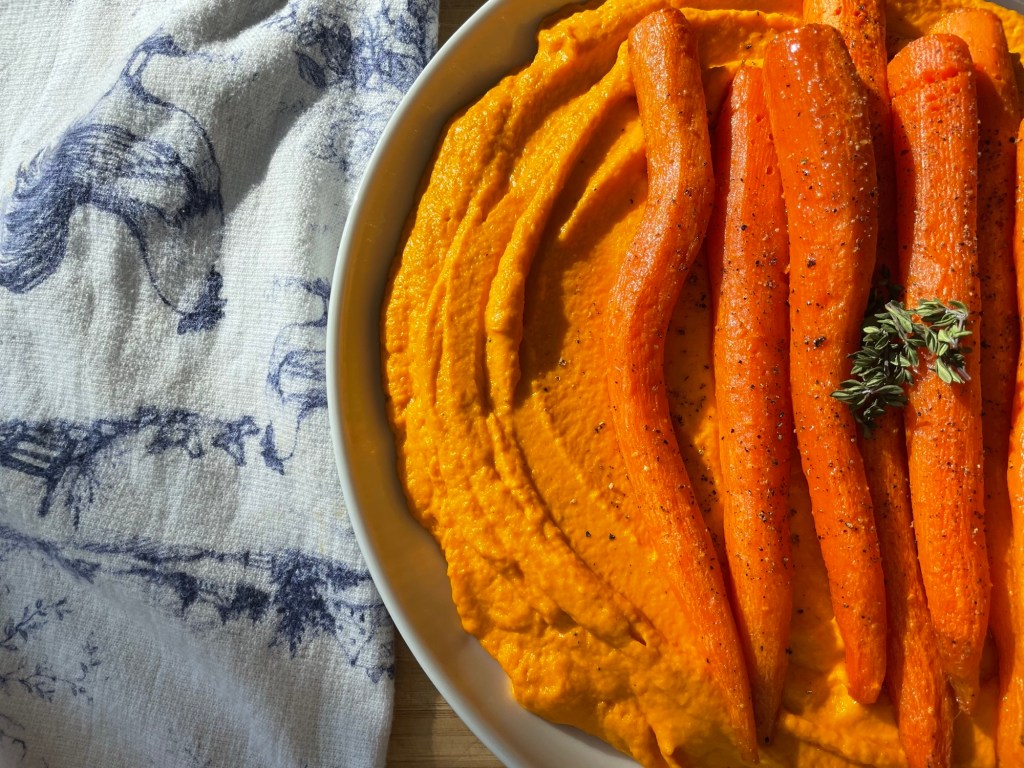
This dish tastes luxurious and is actually so easy to make. It’s a perfect side dish to serve when you’re wanting to impress! The nutty butter carrot purée paired with the roasted carrots are the perfect combination.
Anyways, without further ado, here’s the recipe! If you have any comments or suggestions, I’d love to hear from you in the comment section! You can follow me on instagram, youtube and facebook to see all the recipes I post!
Happy cooking!
Ingredients you’ll need:
- 113g/1 stick unsalted butter
- 500g Dutch carrots, leaves removed, peeled, and kept whole
- 500g large carrots, peeled and sliced
- Drizzle of olive oil
- 1/4 cup whole milk (or more)
- Salt and pepper to taste
Directions:
Preheat oven to 190˚C/375˚F.
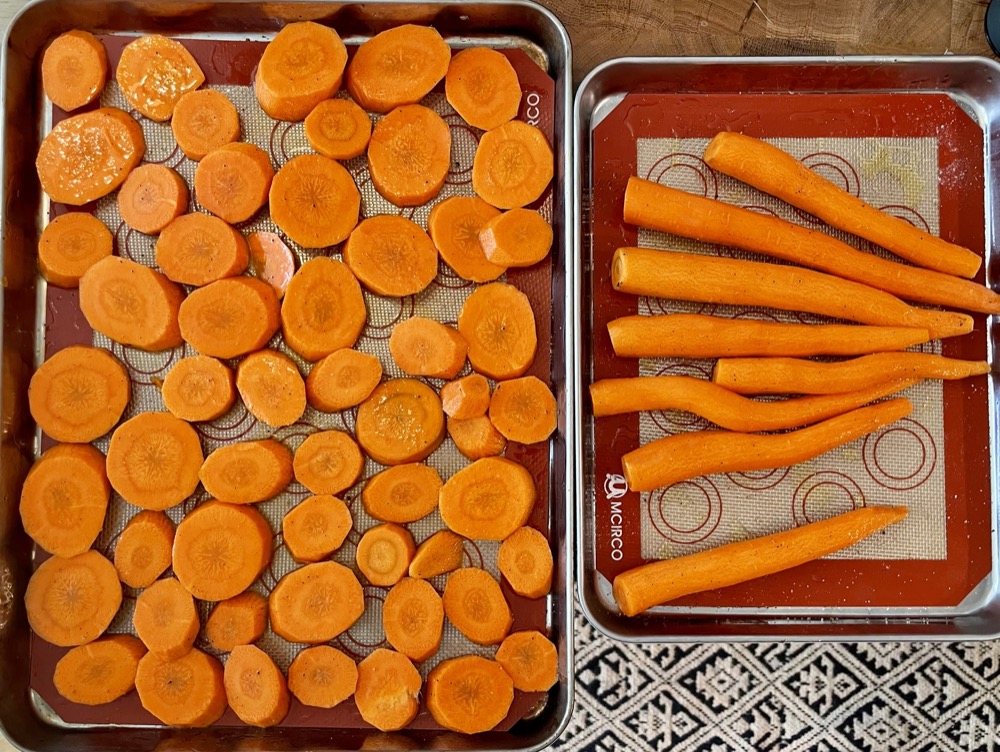
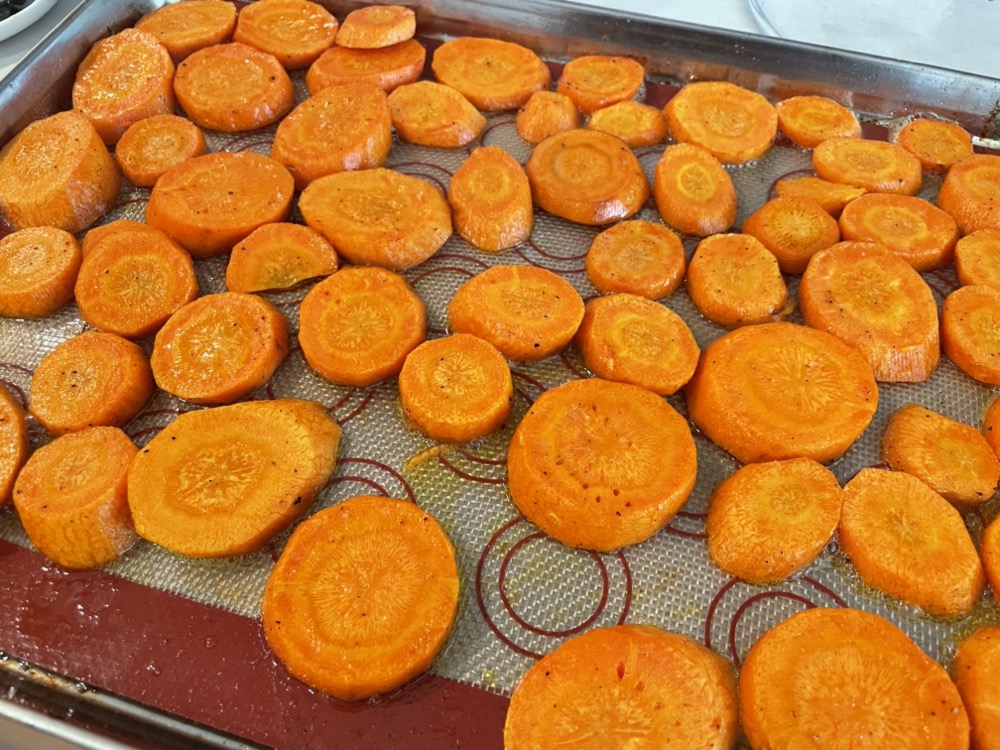
Prepare 2 lined baking trays. Place the whole Dutch carrots in one and the sliced carrots in the other. Add a drizzle of olive oil and a pinch of salt and pepper to each tray and mix thoroughly. Bake in the preheated oven for 20-30 minutes until roasted and tender.

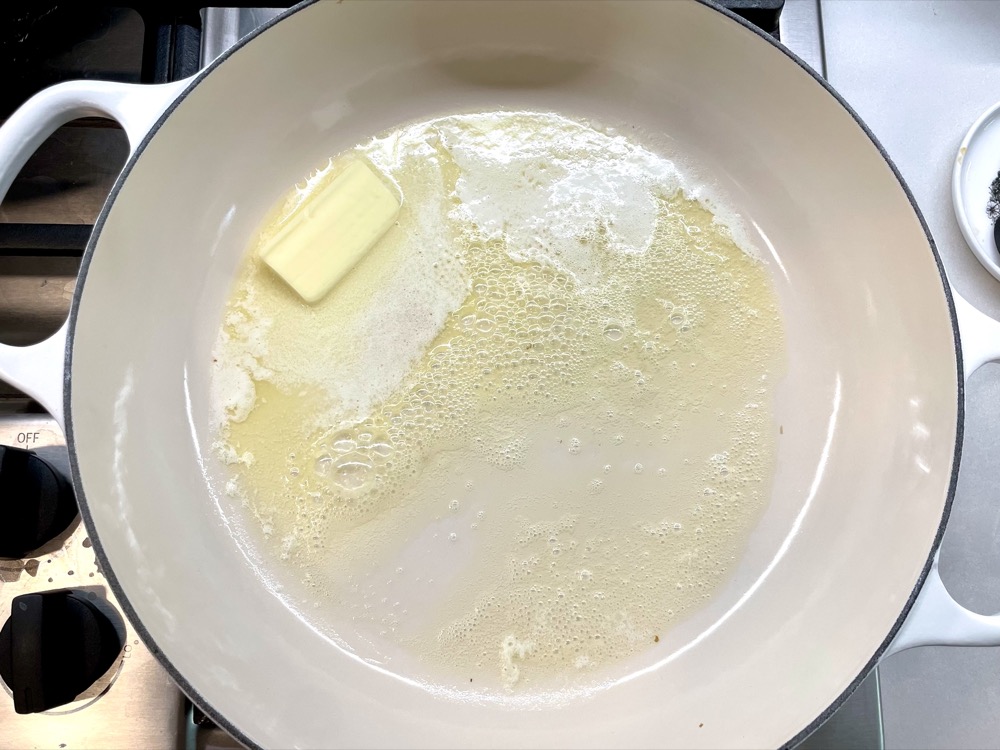
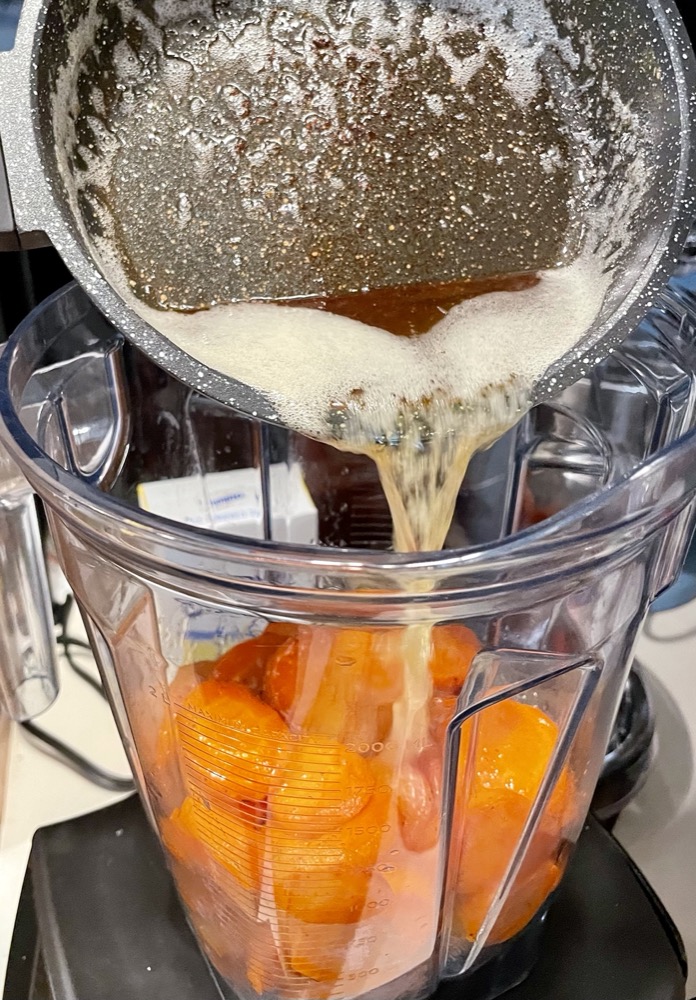
While the carrots are baking, make the brown butter: In a saucepan on MED heat, add the butter to the pan and occasionally stir until you get browned bits on the bottom then remove from heat into a separate bowl to cool.
You can refer to this more thorough guide for browning butter here.


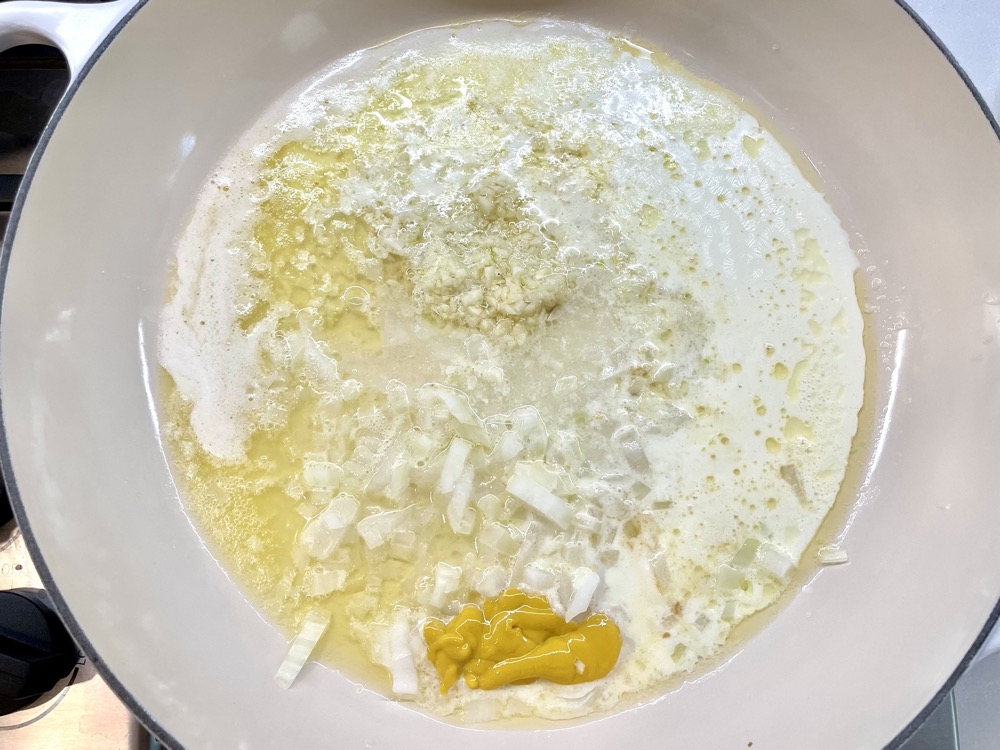
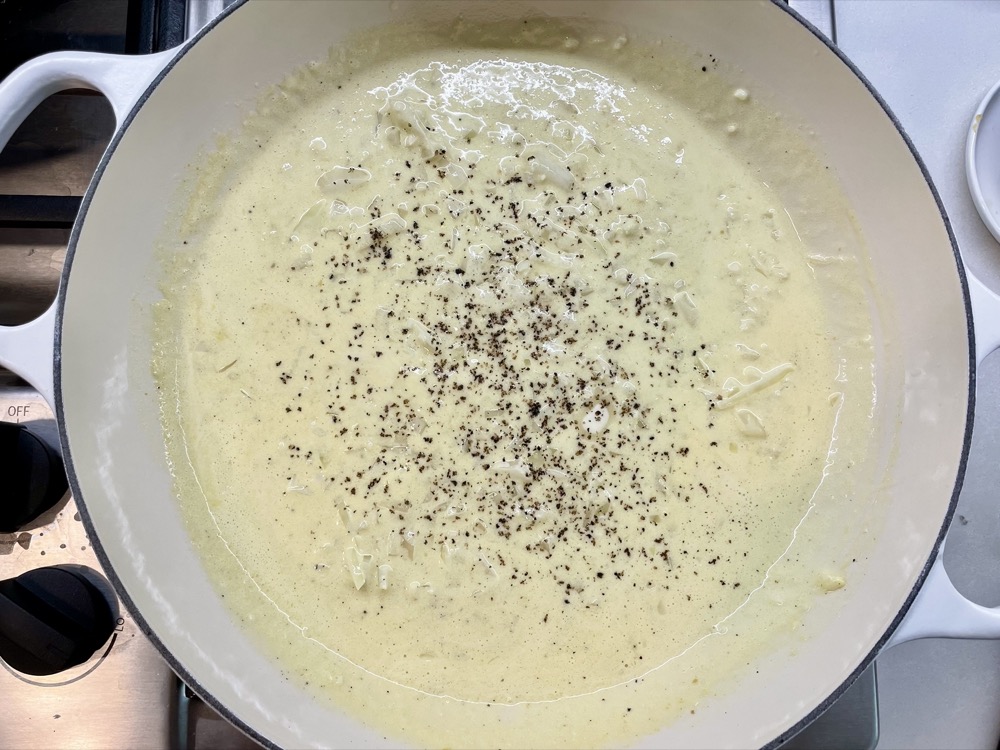
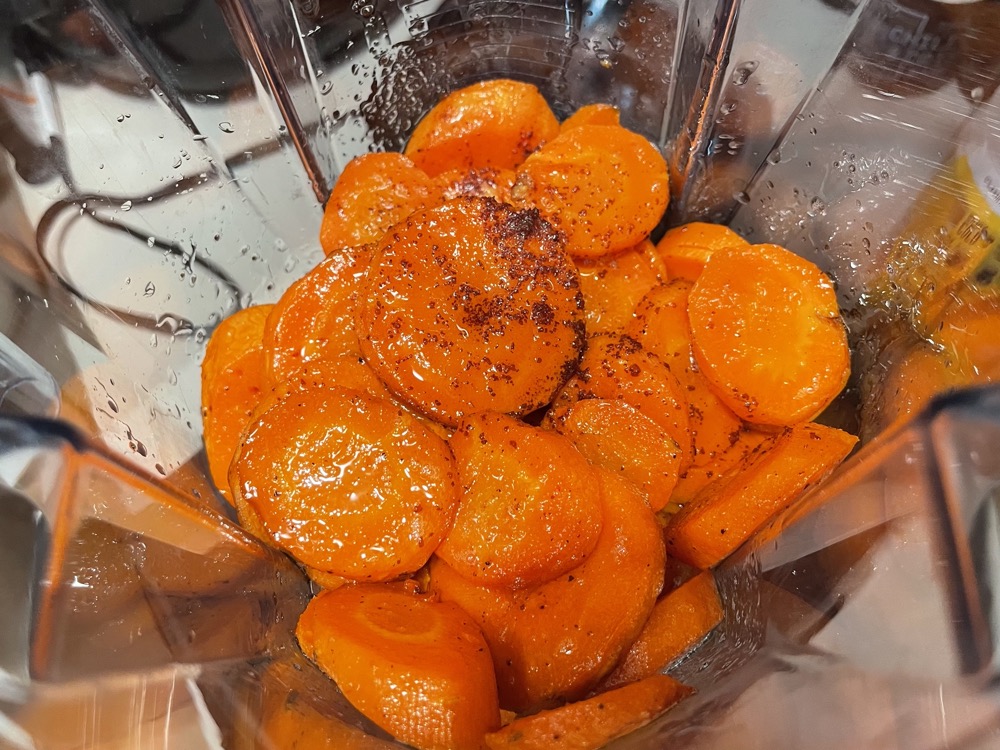
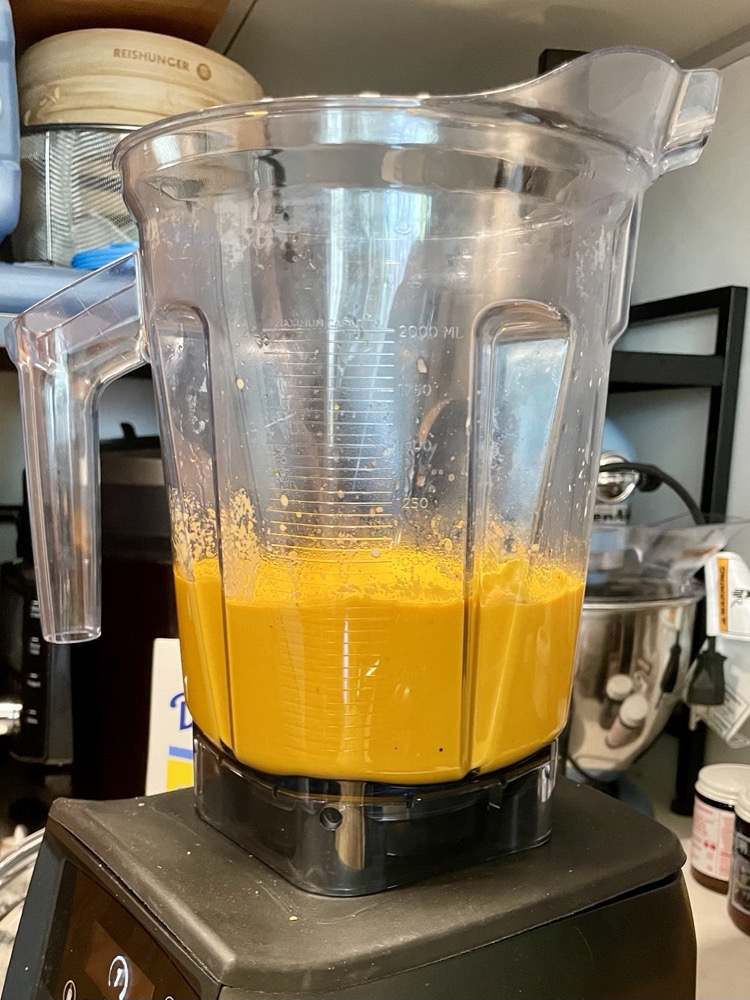
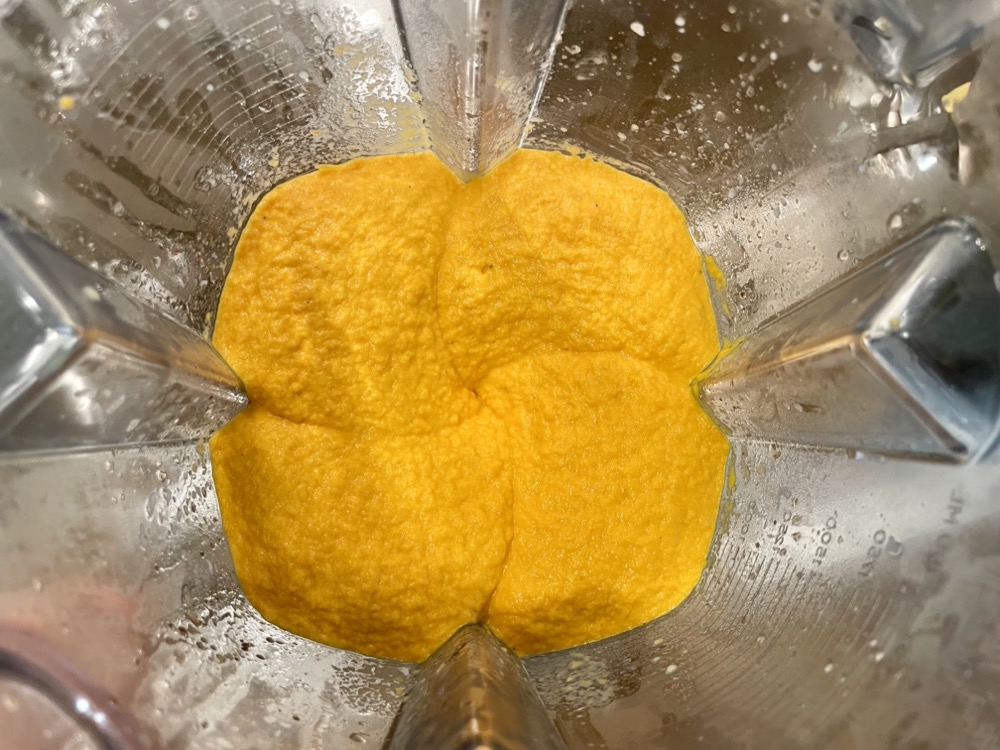
When the carrots have cooked, add the sliced carrots into a blender (set aside the whole Dutch carrots for later). Pour the brown butter over the sliced carrots in the blender along with 1/4 cup of milk. Blend on HIGH until you get a smooth purée. If the purée is too thick to blend, add 1 Tbsps of milk at a time until you get the desired consistency. Taste and adjust salt and pepper as needed.


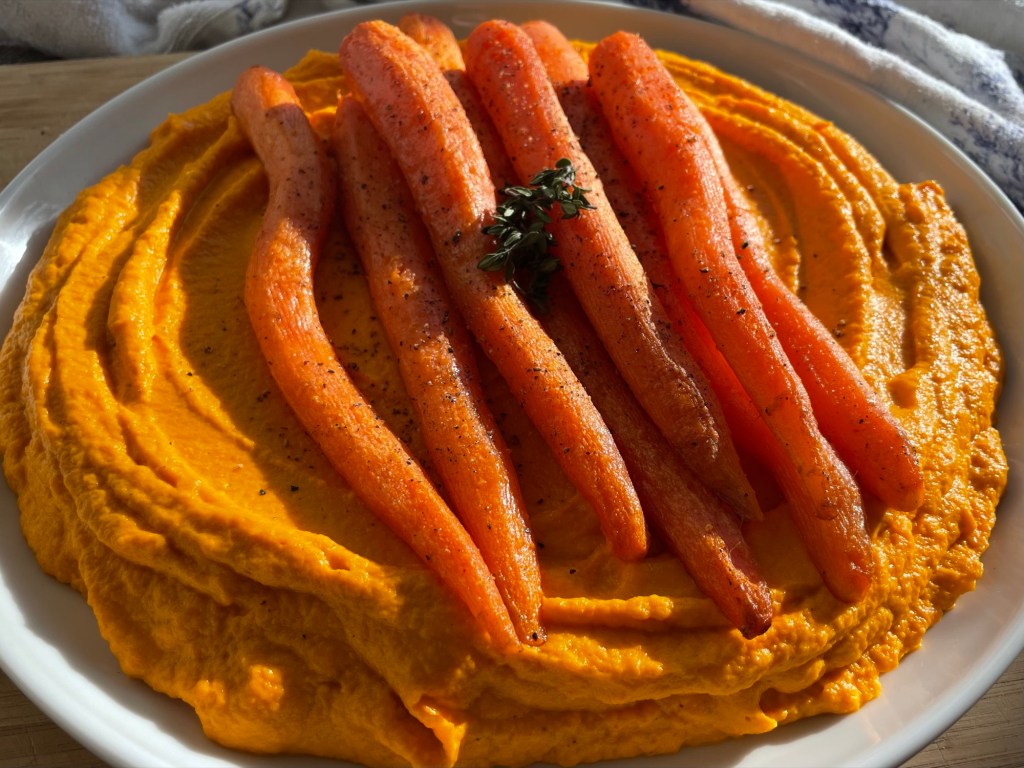
To plate: Spread the puréed brown butter carrots (from step 4) onto a plate, then place the cooked whole Dutch carrots over top. Serve immediately. Enjoy!


Summarized Recipe:
Brown Butter Carrot Purée with Roasted Carrots
Date Published: Feb 25th, 2025 | Last Updated: Feb 25th, 2025
Author: Abby |Category: sides, vegetarian, easy, <30 mins
Serves: 4-6 | Prep time: 15 minutes | Cook time: 30 minutes
Ingredients:
- 113g/1 stick unsalted butter
- 500g Dutch carrots, leaves removed, peeled, and kept whole
- 500g large carrots, peeled and sliced
- Drizzle of olive oil
- 1/4 cup whole milk (or more)
- Salt and pepper to taste
Directions:
- Preheat oven to 180˚C/350˚F.
- Prepare 2 lined baking trays. Place the whole Dutch carrots in one and the sliced carrots in the other. Add a drizzle of olive oil and a pinch of salt and pepper to each tray and mix thoroughly. Bake in the preheated oven for 20-30 minutes until roasted and tender.
- While the carrots are baking, make the brown butter: In a saucepan on MED heat, add the butter to the pan and occasionally stir until you get browned bits on the bottom then remove from heat into a separate bowl to cool.
- You can refer to this more thorough guide for browning butter here.
- When the carrots have cooked, add the sliced carrots into a blender (set aside the whole Dutch carrots for later). Pour the brown butter over the sliced carrots in the blender along with 1/4 cup of milk. Blend on HIGH until you get a smooth purée. If the purée is too thick to blend, add 1 Tbsps of milk at a time until you get the desired consistency. Taste and adjust salt and pepper as needed.
- To plate: Spread the puréed brown butter carrots (from step 4) onto a plate, then place the cooked whole Dutch carrots over top. Serve immediately. Enjoy!