Date Published: Mar 7th, 2025 | Last Updated: Mar 7th, 2025
Author: Abby |Category: mains, easy, Asian
Serves: 4 | Prep time: overnight marinating + 20 mins | Cook time: 40 mins
Jump to recipe |
In my high school years when I lived in Canada, my friends and I would often hangout in downtown Toronto on the weekends, either perusing Kensington market, browsing through record shops, shopping on Queen Street, studying for finals at Robarts, or just grabbing a bite to eat at one of the many restaurant options in Toronto. One of my favourite Korean restaurants was Joons on Bloor St. in Koreatown. It was a small dingy restaurant that you had to take a few steps down from street level to get to the front door. The decor wasn’t anything impressive and the table water was served in scratched up refillable rubbermaid bottles. Despite its appearance, it was often relatively busy with nearly every other table ordering their AMAZING dak galbi, including me! I would religiously order this same dish every time – in fact, I don’t think I’ve ever ordered anything else at Joons 🤔. Dak galbi is a stir-fry chicken dish in a spicy sauce that’s seen on most Korean restaurant menus, but Joons did it differently. A portable cook top is brought out to the table and the whole dish is cooked in front of you. It usually took at least 15-20 minutes to cook which is excruciating when you’re starving and this amazing aroma in front of you keeps wafting in your face every time the waitress lifted the lid to give it a stir, but the wait was always worth it. You had options of add-ins to the dish, but most people would get everything in it which is usually cabbage, instant noodles, chicken, and cheese 🤤.


Sadly, Joons has been closed for about 4-5 years now and I mourn that loss every time I pass through the area 💔. This recipe is a tribute to Joons’ dak galbi. I’ve scoured the internet for people’s old photos and videos of the dish to try and recreate it exactly as it was. I had some help from My Korean Kitchen with the chicken marinade portion and included everything else from the instant noodles to the mozzarella cheese on top. Although mine didn’t quite come out as saucy and red as theirs, I’d say the flavours are pretty damn close! But of course, I haven’t had Joons since before vet school which is nearly a decade ago now, so I could also be remembering it a little differently. Either way, this is still a pretty tasty dish. If you’ve had the dak galbi at Joons before, let me know how close I am in the comments!
What is Dak Galbi?
Dak galbi or dakgalbi directly translates to “chicken rib”. No actual ribs are used in this dish – the origin of this word is thought to be due to using chicken as a cheaper source of meat compared to pork 🤷🏻♀️. It’s a dish that is essentially chicken and vegetables stir-fried in a gochujang-based sauce. The vegetables are usually cabbage, sweet potato, and green onions. You can serve it along side perilla leaves as a wrap. In my recipe I’ve used carrots instead of sweet potato because it’s already a pretty carb-heavy dish with the noodles and rice cakes, but feel free to substitute! This dish is mildly spicy. If you prefer spicier, you can buy the spicier versions of gochujang or add in more gochugaru (Korean chilli powder).
What is Gochujang?

Gochukang is Korean red chilli paste. It’s savoury, sweet, and spicy all together. It’s a very popular condiment used in Korean cooking and is used as a base to many sauces, including in this dak galbi recipe. There really is no substitute to gochujang. You can usually find this in the Asian section of most grocery stores. They come in a variety of levels of spiciness, so choose carefully! I usually go for the mild one and add in chilli powder if I want more of a kick.
What are Garaetteok/Tteok (Korean rice cakes)?
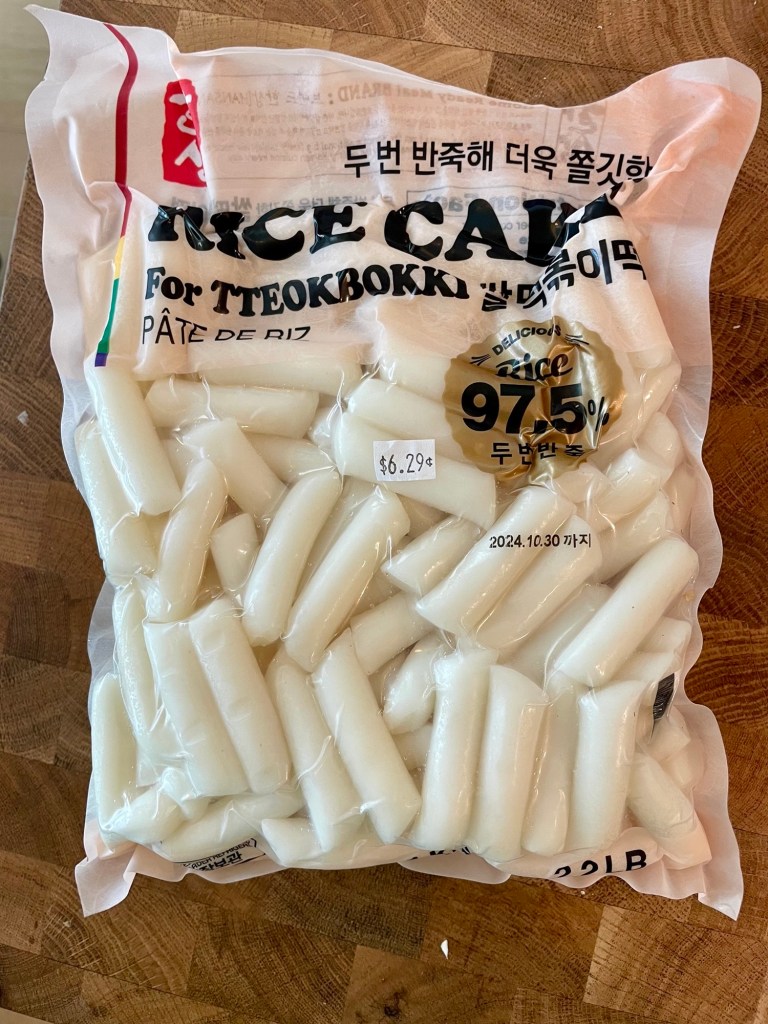
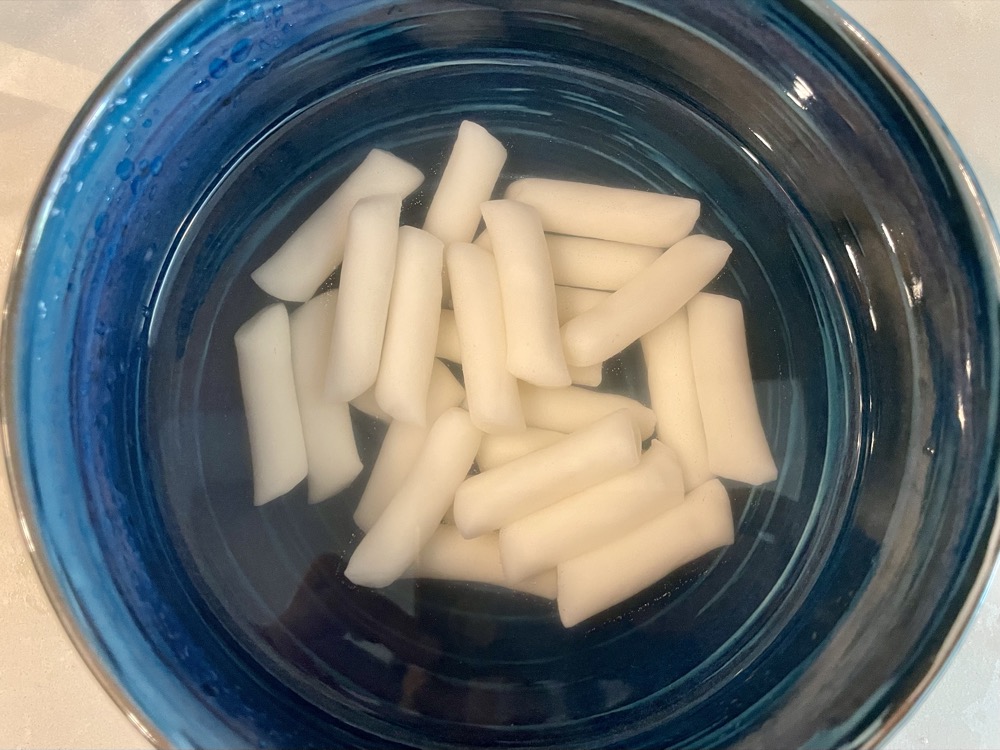
Garaetteok/tteok are Korean rice cakes that are made from non-glutinous rice flour and come in skinny long cylinders. On their own they don’t have much flavour so they’re often added to a flavourful saucy dish (such as this dak galbi recipe) or a soup. They have a soft and chewy texture once cooked and make a great textural addition to many dishes. You’ll most commonly see garaetteok/tteok served in a dish called tteokbokki which is a spicy rice cake dish.
You can find these vacuum-sealed in the refrigerated section of most Asian grocery stores. They will be very hard coming out of the package and need to be soaked for at least 10 minutes in warm water to slightly soften before cooking them. If you’re lucky and your Asian grocer have these fresh, you can put them directly into the dish without soaking.
Don’t worry if you can’t find any garaetteok/tteok. Simply omit them from the recipe altogether. It won’t change the flavour of the dish. It’s mainly to add an extra textural component.
A Quick Note on Gochugaru – Korean Chilli Powder
This recipe uses Gochugaru, a Korean chilli powder, which is not too spicy and it gives the dish a deeper orangey/red colour. It can be easily found in most Asian grocery stores, but if you don’t have any, a good substitute is Kashmiri chilli powder (an Indian variety). Do NOT substitute with cayenne pepper which is a MUCH spicier chilli powder. If you absolutely can’t find Gochugaru or Kashmiri chilli powder, then you can substitute with 1 part cayenne powder: 3 parts paprika, or consider skipping it altogether.
Anyways, without further ado, here’s the recipe! If you have any comments or suggestions, I’d love to hear from you in the comment section! You can follow me on instagram, youtube and facebook to see all the recipes I post!
Happy cooking!
Ingredients you’ll need:
- Chicken Marinade:
- 600g chicken thighs, cut into 2.5cm pieces
- 7 Tbsps (160g) gochujang (Korean chili paste)
- 1/4 cup rice wine
- 1 Tbsp gochugaru (Korean chili flakes)
- 2 Tbsps soy sauce
- 2 Tbsps granulated sugar
- 2 tsps curry powder
- 4 large cloves garlic, minced
- 2 tsps minced ginger
- 2 green onions, sliced to 4cm pieces
- 1 medium carrot, julienned or grated on the large hole (optional)
- 250g mushrooms, sliced (optional)
- 1 medium brown onion, sliced
- 1/4 small (6 cups) cabbage, chopped
- 25 pieces (180g) Garaetteok/Tteok (Korean rice cakes)
- 2 cups (230g) mozzarella cheese, shredded
- 2 packets of instant noodles
- Garnish: 1 green onion, chopped
Directions:
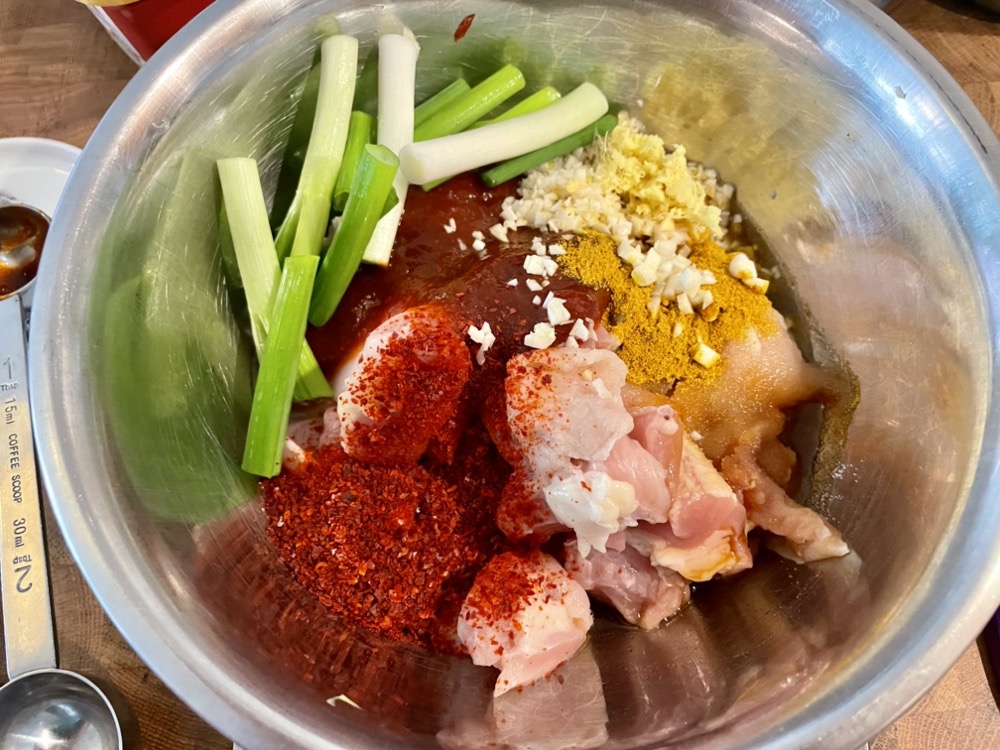
Marinate the chicken: In a mixing bowl, add in all the ingredients of the chicken marinade: diced chicken thighs, 7 Tbsps gochujang, 1/4 cup rice wine, 1 Tbsp gochugaru, 2 Tbsps soy sauce, 2 Tbsps sugar, 2 tsps curry powder, minced garlic, minced ginger, and sliced green onions. Mix thoroughly and transfer to a resealable bag or container and marinate in the fridge for a minimum of 4 hours, or overnight.


Rinse and soak the garaetteok/tteok in warm water for 10 minutes (skip this step if you have freshly made garaetteok/tteok).

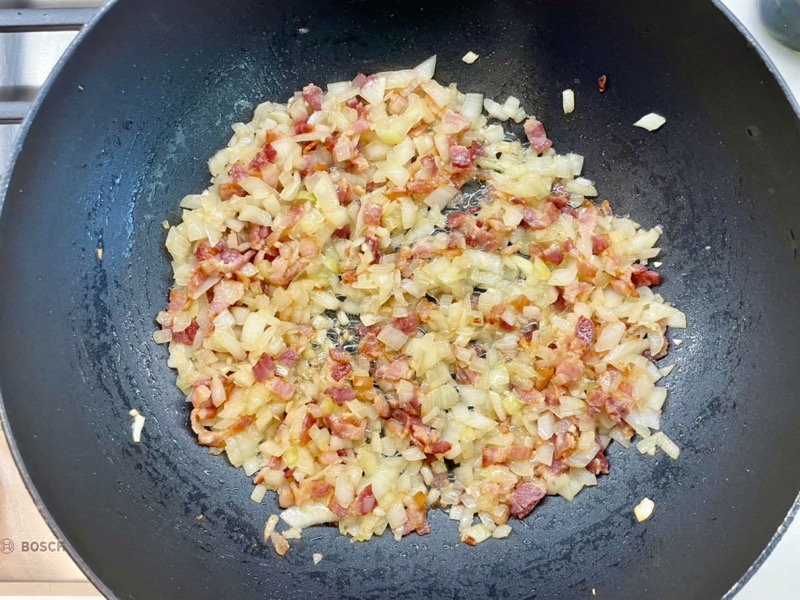
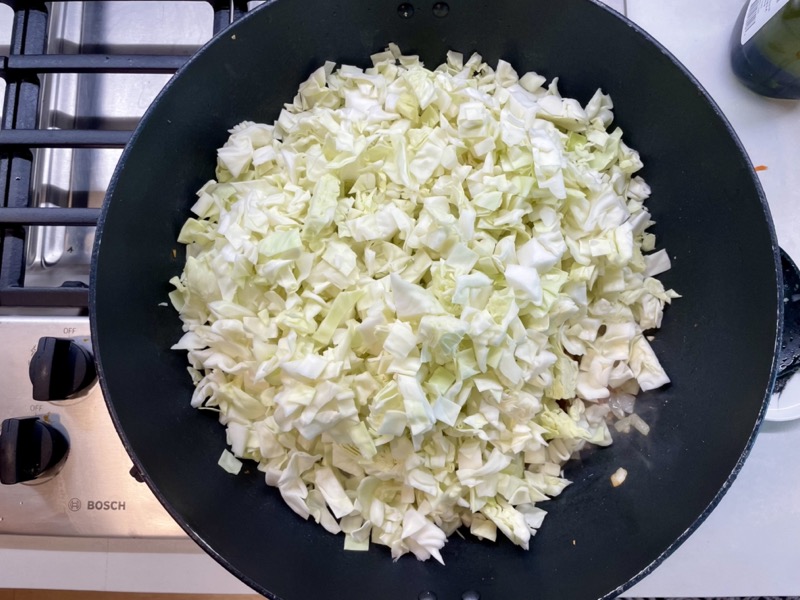
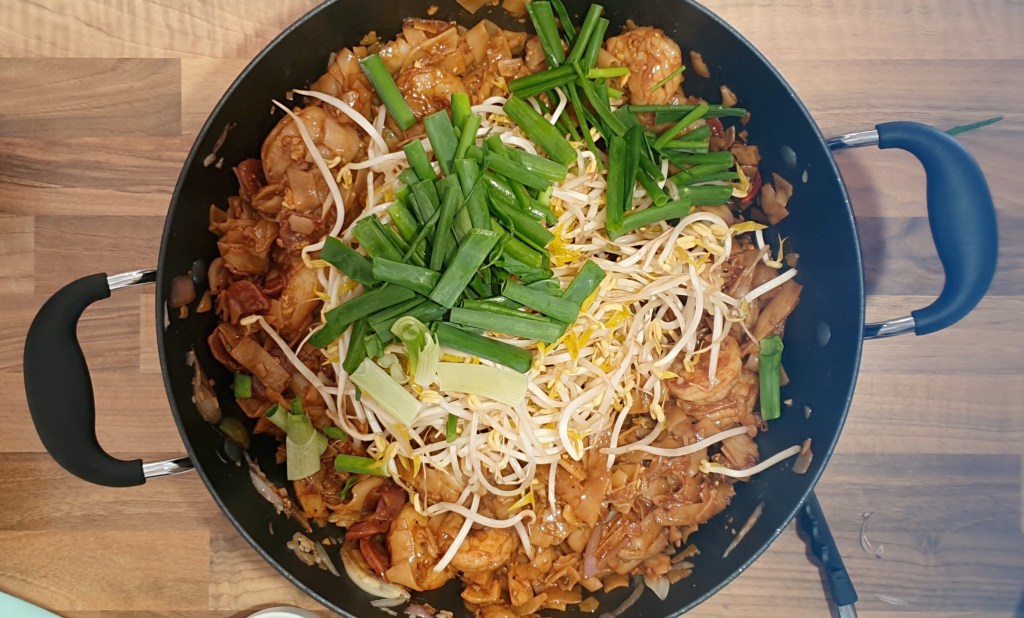
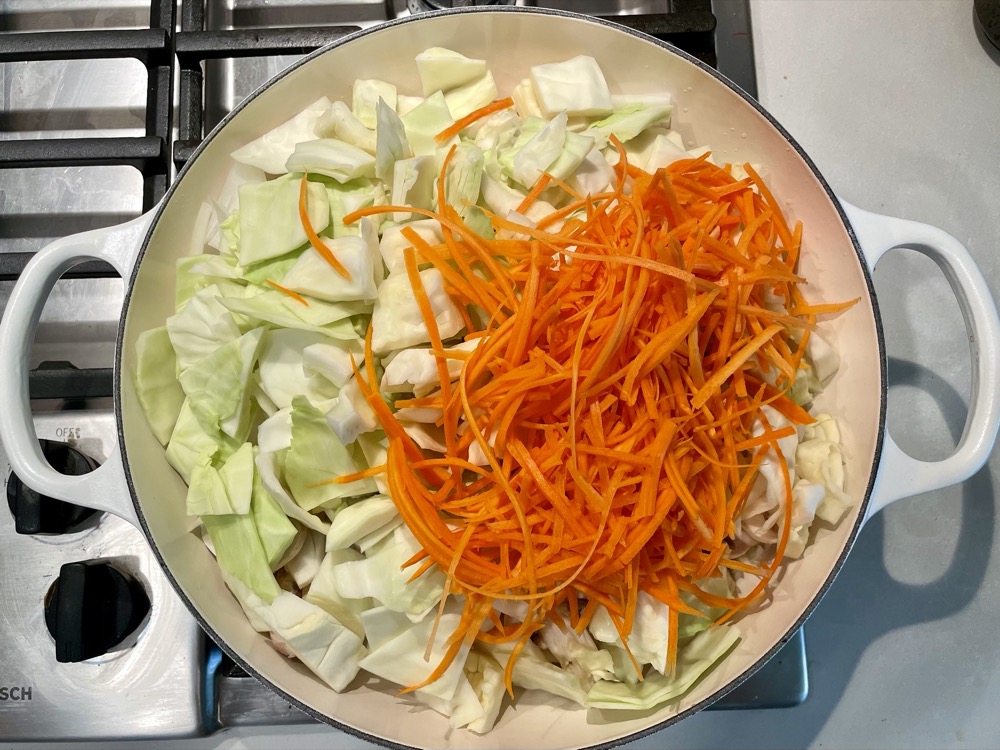
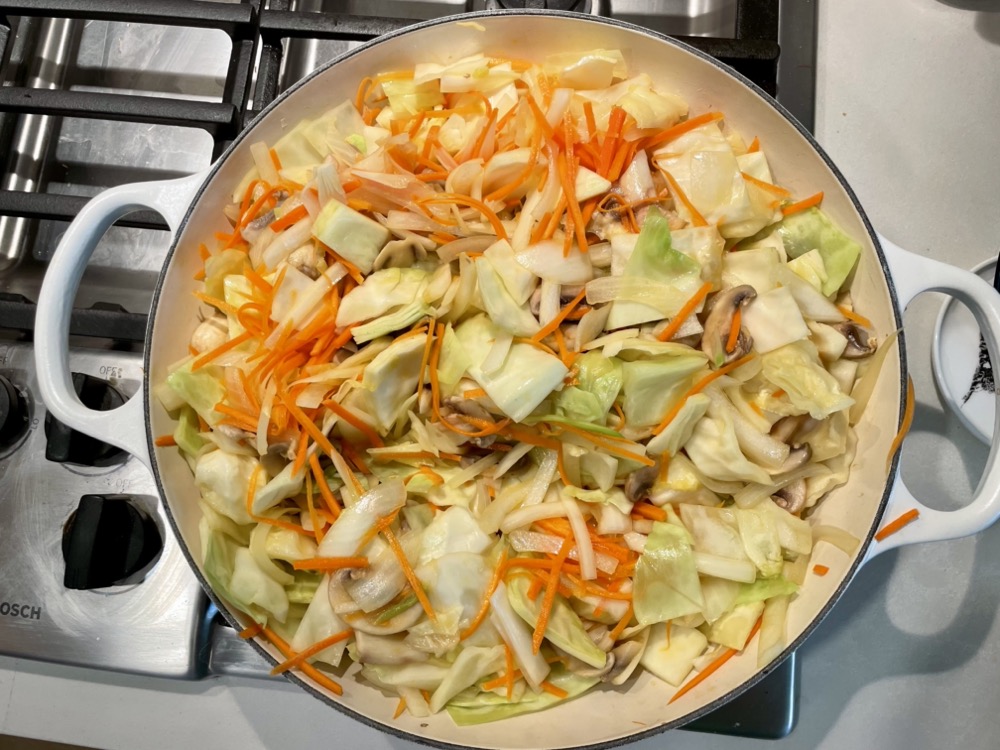
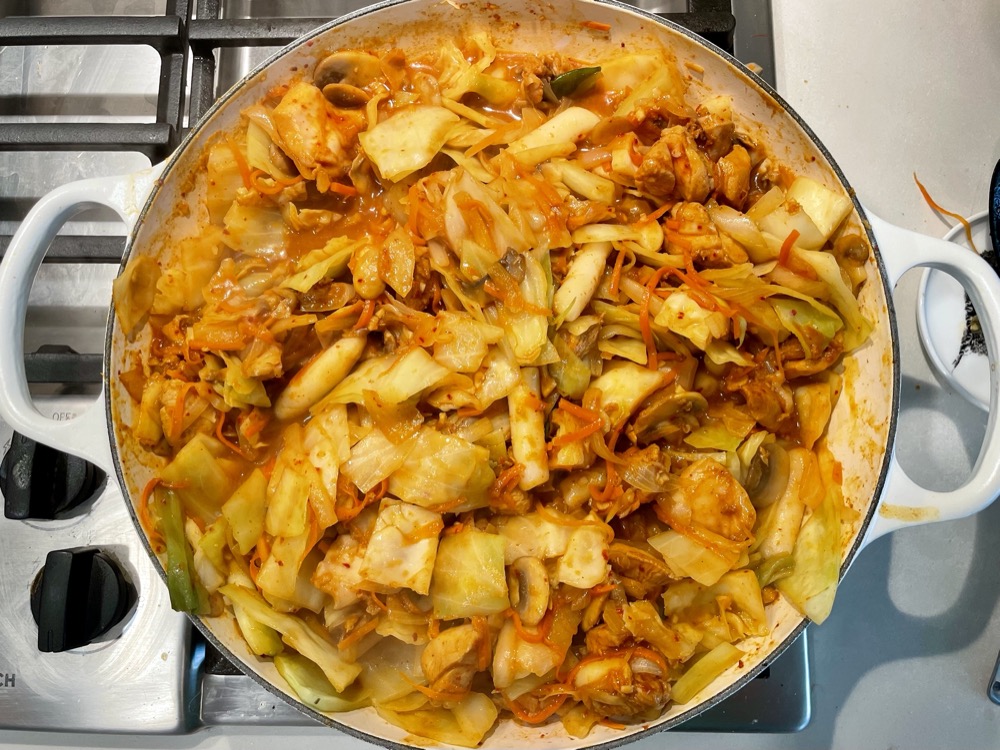
In a non-stick pan on MED-HIGH heat, add a drizzle of oil and add in the carrots, mushrooms, onion, and cabbage. Sauté for 5 minutes until the vegetables start to soften.
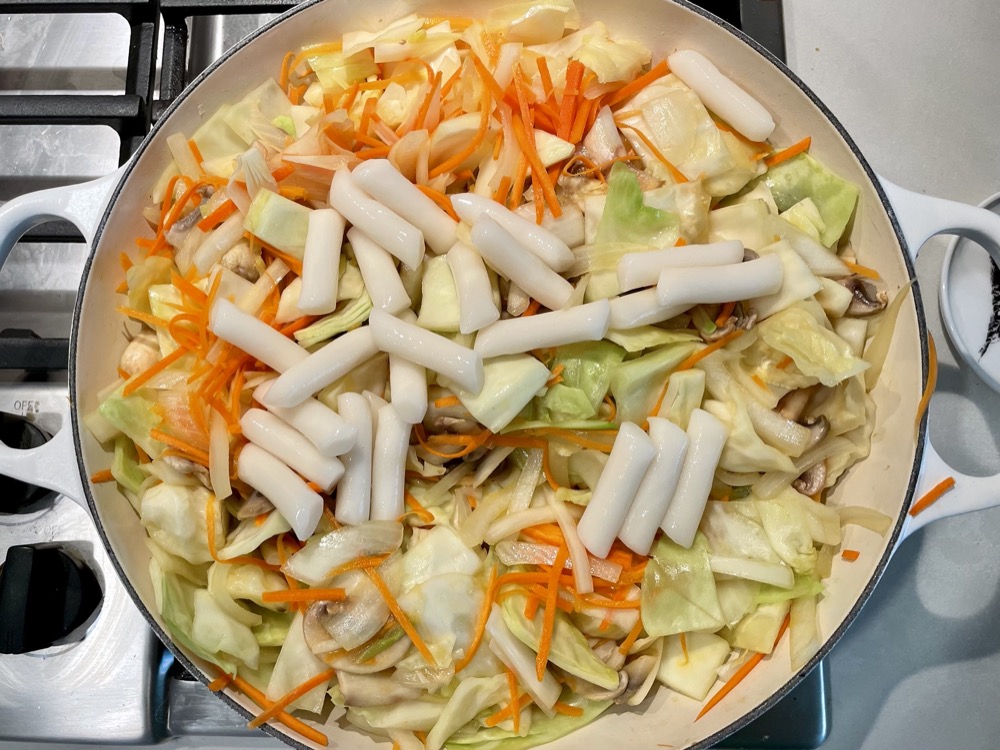
Next add in the garaetteok/tteok and the marinated chicken (from step 1) along with all of the marinade in the bag. Sauté for another 3-4 minutes, then turn the heat down to MED, put a lid on, and continue to cook until the chicken is nearly done (~10 minutes). Stir occasionally to ensure nothing sticks to the pan.


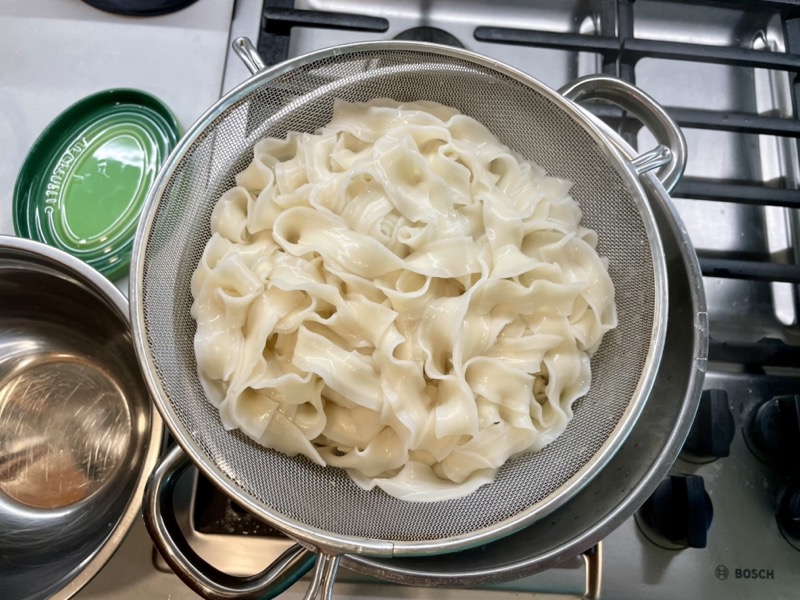
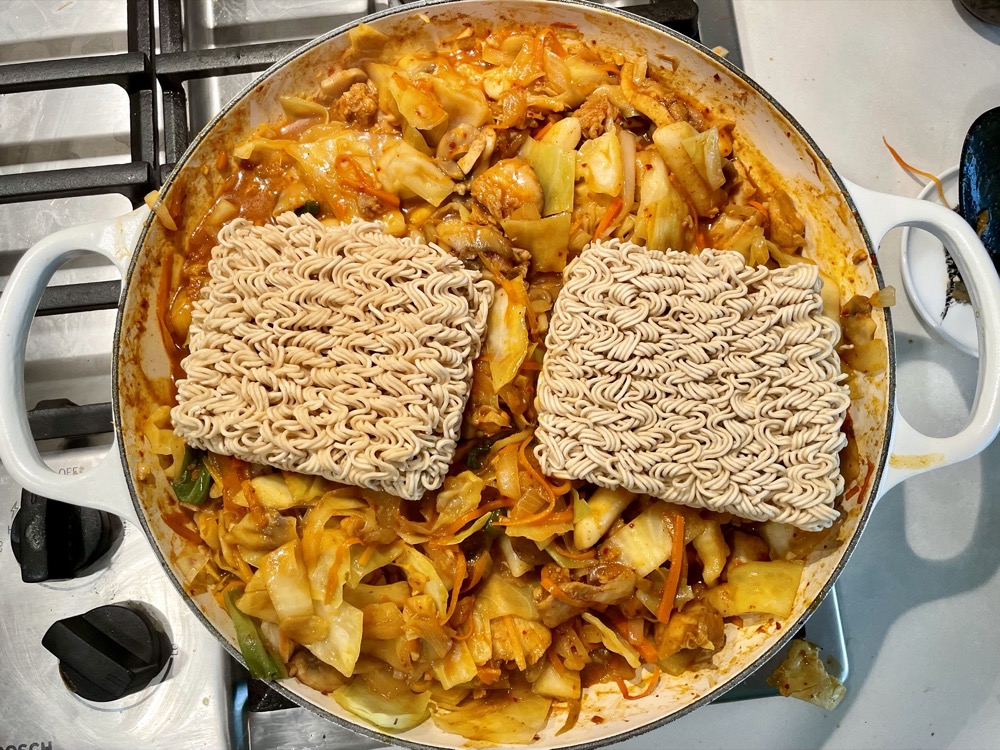
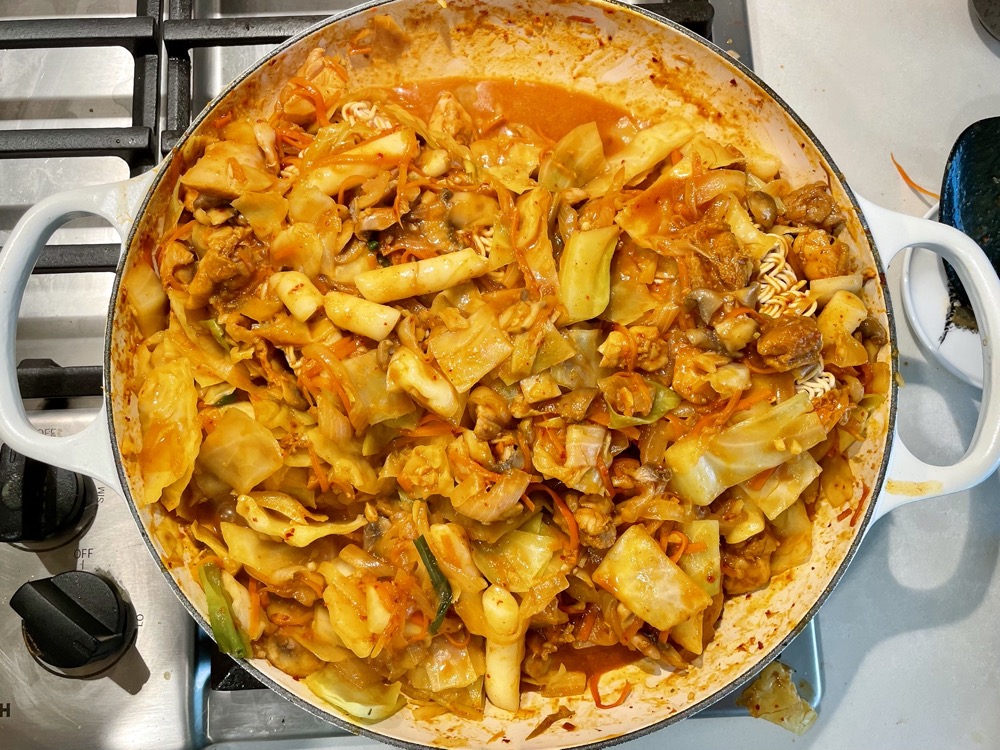
When the chicken is almost ready, add in the instant noodles and submerge it into the ingredients and sauce. Put the lid back on and let it steam for 3-4 minutes until the noodles are soft enough to separate with chopsticks.

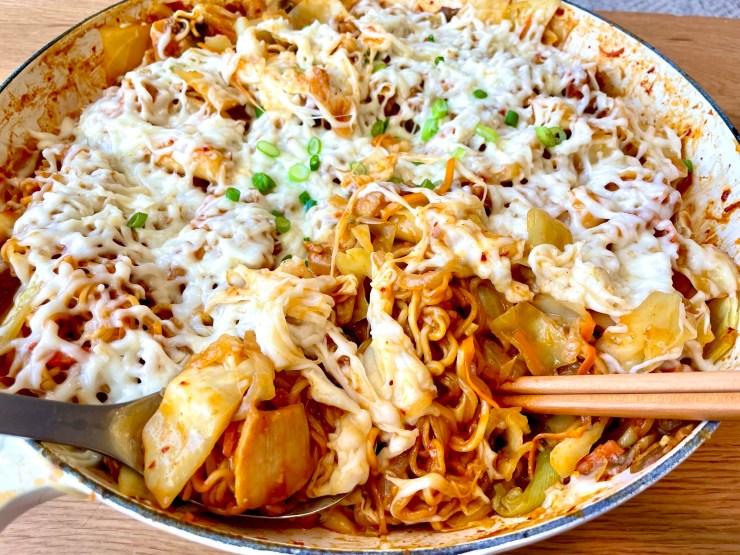
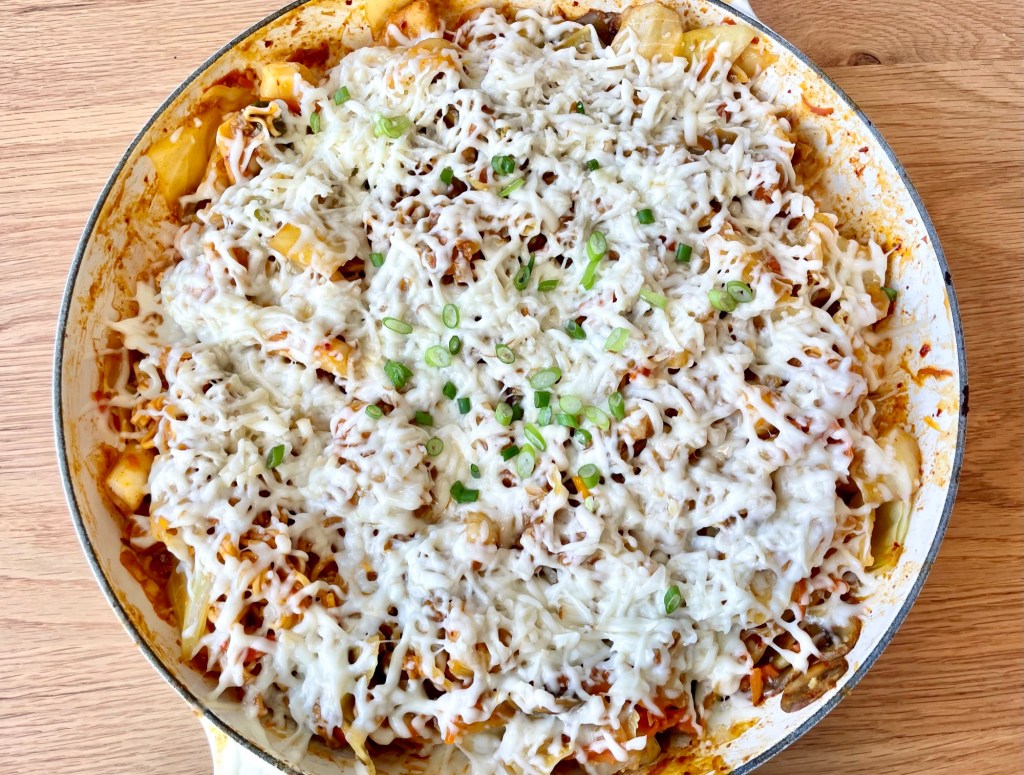
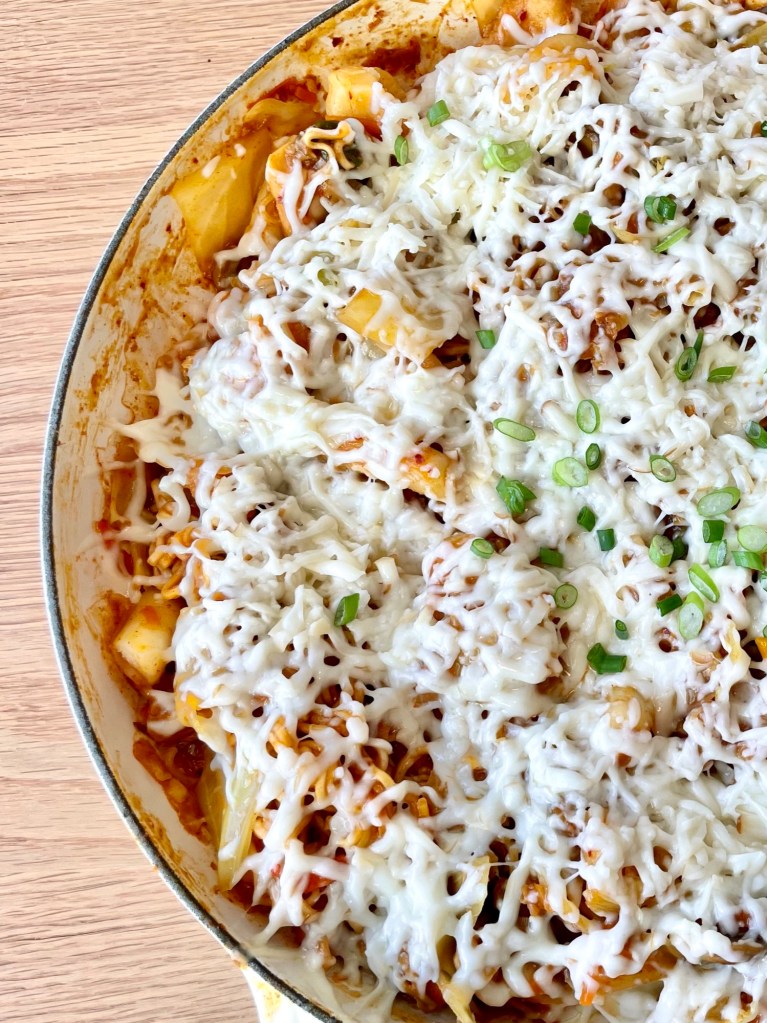
Once the noodles, chicken, and garaetteok/tteok are cooked, turn off the heat and sprinkle the shredded mozzarella cheese on top. Garnish with chopped green onion. Serve immediately. Enjoy!


Summarized Recipe:
Joons’ Dak Galbi – Korean Spicy Chicken Stir Fry with Cheese & Noodles
Date Published: Mar 7th, 2025 | Last Updated: Mar 7th, 2025
Author: Abby |Category: mains, easy, Asian
Serves: 4 | Prep time: overnight marinating + 20 mins | Cook time: 40 mins
Ingredients:
- Chicken Marinade:
- 600g chicken thighs, cut into 2.5cm pieces
- 7 Tbsps (160g) gochujang (Korean chili paste)
- 1/4 cup rice wine
- 1 Tbsp gochugaru (Korean chili flakes)
- 2 Tbsps soy sauce
- 2 Tbsps granulated sugar
- 2 tsps curry powder
- 4 large cloves garlic, minced
- 2 tsps minced ginger
- 2 green onions, sliced to 4cm pieces
- 1 medium carrot, julienned or grated on the large hole
- 250g mushrooms, sliced
- 1 medium brown onion, sliced
- 1/4 small (6 cups) cabbage, chopped
- 25 pieces (180g) garaetteok/tteok (Korean rice cakes)
- 2 cups (230g) mozzarella cheese, shredded
- 2 packets of instant noodles
- Garnish: 1 green onion, chopped
Directions:
- Marinate the chicken: In a mixing bowl, add in all the ingredients of the chicken marinade: diced chicken thighs, 7 Tbsps gochujang, 1/4 cup rice wine, 1 Tbsp gochugaru, 2 Tbsps soy sauce, 2 Tbsps sugar, 2 tsps curry powder, minced garlic, minced ginger, and sliced green onions. Mix thoroughly and transfer to a resealable bag or container and marinate in the fridge for a minimum of 4 hours, or overnight.
- Rinse and soak the garaetteok/tteok in warm water for 10 minutes (skip this step if you have freshly made garaetteok/tteok).
- In a non-stick pan on MED-HIGH heat, add a drizzle of oil and add in the carrots, mushrooms, onion, and cabbage. Sauté for 5 minutes until the vegetables start to soften.
- Next add in the garaetteok/tteok and the marinated chicken (from step 1) along with all of the marinade in the bag. Sauté for another 3-4 minutes, then turn the heat down to MED, put a lid on, and continue to cook until the chicken is nearly done (~10 minutes). Stir occasionally to ensure nothing sticks to the pan.
- When the chicken is almost ready, add in the instant noodles and submerge it into the ingredients and sauce. Put the lid back on and let it steam for 3-4 minutes until the noodles are soft enough to separate with chopsticks.
- Once the noodles, chicken, and garaetteok/tteok are cooked, turn off the heat and sprinkle the shredded mozzarella cheese on top. Garnish with chopped green onion. Serve immediately. Enjoy!