Date Published: Feb 5th, 2025 | Last Updated: Feb 5th, 2025
Author: Abby |Category: mains, easy
Serves: 4 | Prep time: 2.5 hours | Cook time: 2 hours
Jump to recipe |
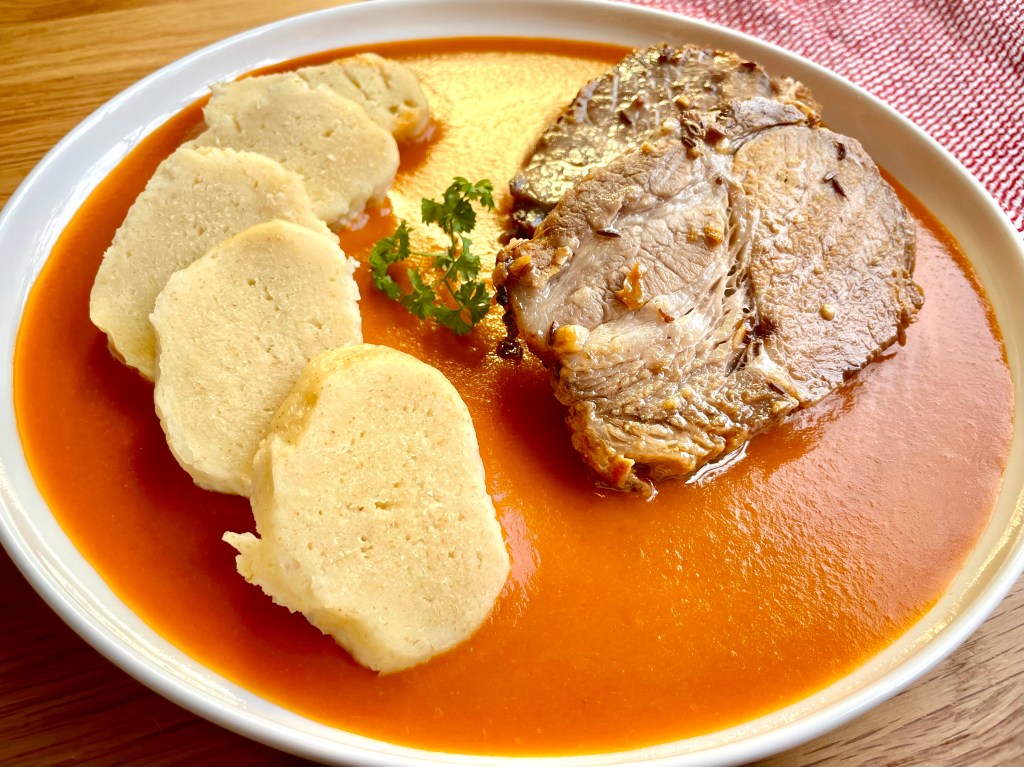
This classic roast beef recipe is easy and guarantees juicy and tender results. All you need is beef, garlic, salt, and pepper as the ingredients and a little patience. Most of the work is in the prep, which is essentially rubbing salt and pepper and inserting cloves of garlic, then slow roasting it in the oven. The hardest part of this recipe is waiting for it to rest before diving in!
Which cut of beef to choose?
When it comes to choosing which cut of beef to use, there are many choices. The most common cuts are top round, bottom round (rump roast), eye of round, and top sirloin. These are leaner cuts and are best suited for slicing thinly for sandwiches, but it can be a little tough and chewy if you can’t slice it thin enough.
If you’re making a roast beef to serve on its own in thick slices, choose a cut with some fat marbling for better flavour and tenderness (such as chuck roast, prime rib, sirloin, or rib eye).
If you’re struggling to find a specific cut of meat, this roast beef recipe is pretty forgiving – essentially get anything that is a big chunk of meat that resembles a roast and it should be fine. If it’s on the leaner side, then it’s best to slice it thin for sandwiches.
What’s the secret to a juicy roast beef?
- Browning the outside to seal in the juices – This is achieved either by searing the meat separately before putting it in the oven, or cranking up the heat briefly at the start of cooking, then turning it down low. You can do either with this recipe. I’ve done it the oven-method to save on cleaning.
- Cook it low and slow – After the browning process, turning down the heat and slowly cooking the roast will ensure that the juices are slowly released as it cooks.
- A meat thermometer is important – Overcooked beef becomes dry and tough. The best way to avoid this is to get an oven-safe thermometer, ideally with a temperature timer so you can set it and forget it.
- Letting it rest appropriately before resting – As tempting as it is, slicing a piping hot roast that has just come out of the oven will make the juices drip out from the meat and evaporate from the heat, causing it to dry out quickly. To avoid this, you must let the roast rest for at least 20-30 minutes after taking it out of the oven to allow the juices to be maintained in the meat. I usually leave my meat thermometer in after taking it out of the oven and once the temperature stops climbing, that’s when I know it’s time to slice.
What to do with leftover roast beef?
A 3 pound roast is a hefty amount of meat and you’re bound to get leftovers, especially if you’re only cooking for 2 people. Here are a number of ideas to help you use up the leftovers:
- Steak & Blue Cheese Salad
- Beef stroganoff
- Shepherd’s/Cottage Pie
- Beef stew
- Chillis
- Quesadillas
- Nachos
- Philly Cheesesteaks
Anyways, without further ado, here’s the recipe! If you have any comments or suggestions, I’d love to hear from you in the comment section! You can follow me on instagram, youtube and facebook to see all the recipes I post!
Happy cooking!
Ingredients you’ll need:
- 2-3 pounds/1-1.3kg chuck roast/whole eye round/rump roast (I like to use chuck roast with some marbling)
- 2 + 2 Tbsps salt
- 10 cloves of garlic, peeled
- Fresh ground black pepper
- Olive oil
Directions:
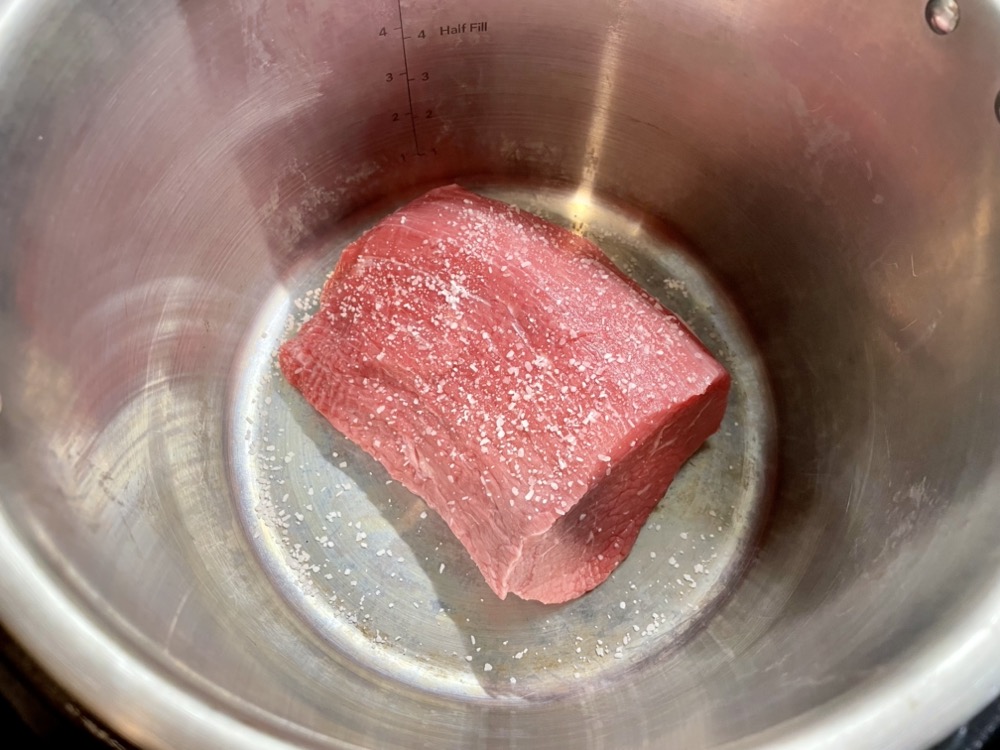
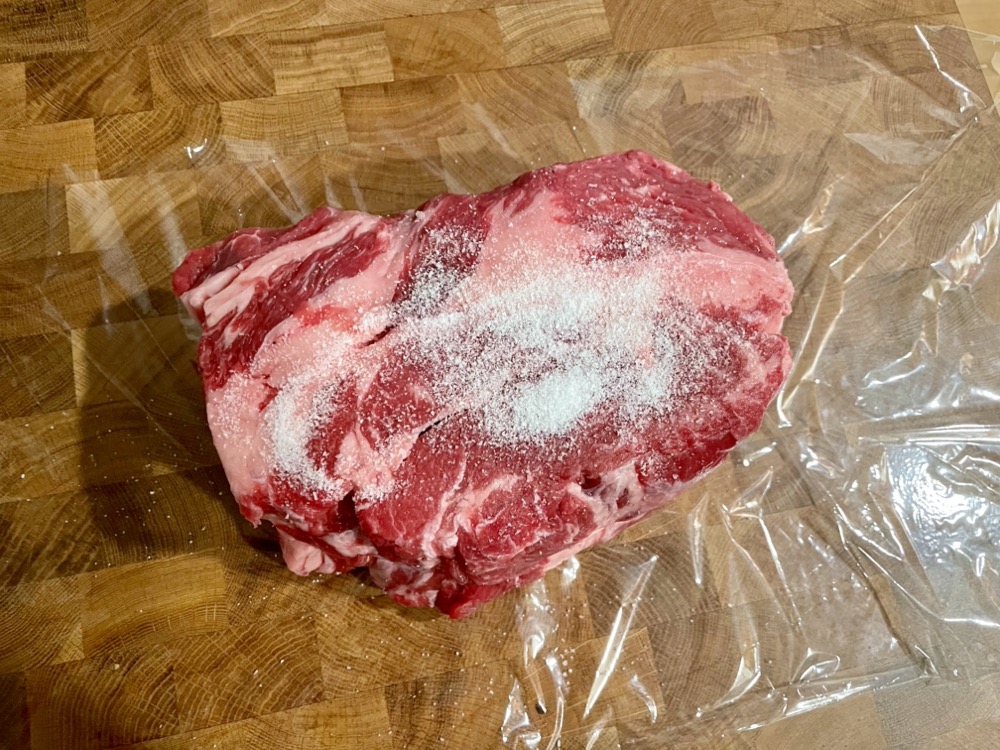
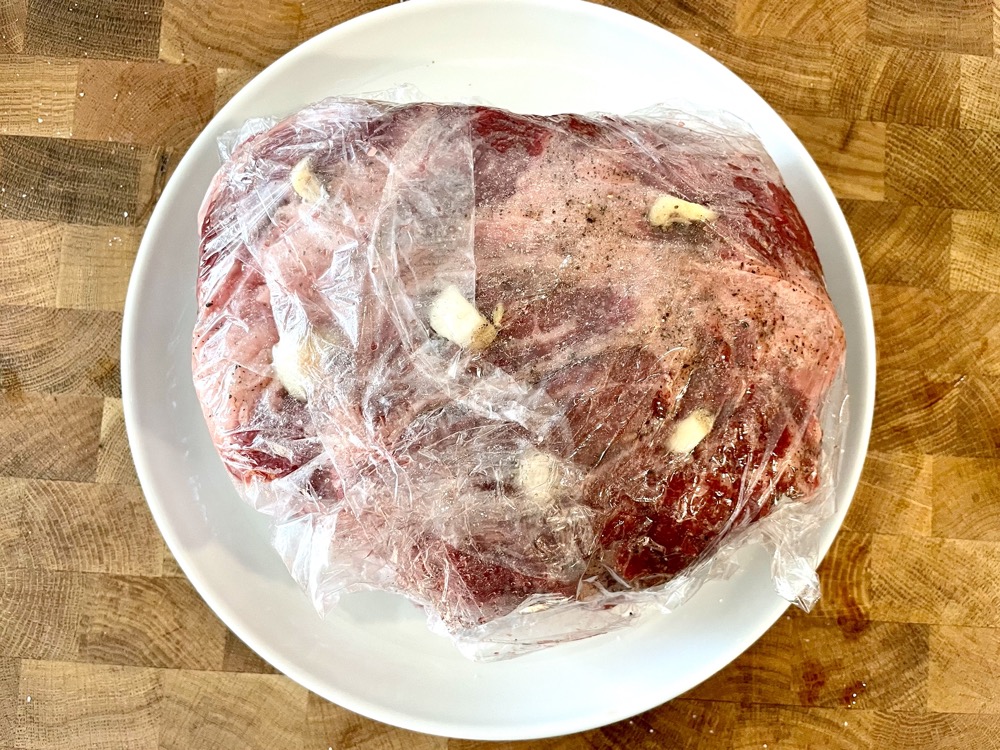
Take the beef out of the fridge 2 hours before. Rinse, pat dry and salt all sides. Wrap it back up in plastic wrap and leave it at room temperature.


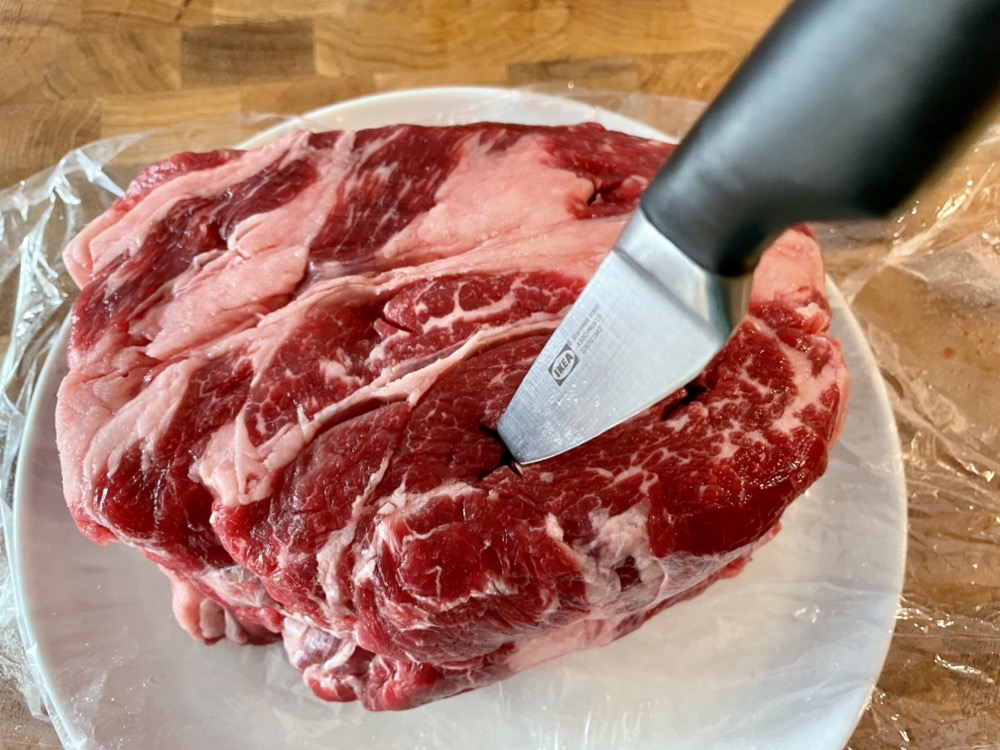
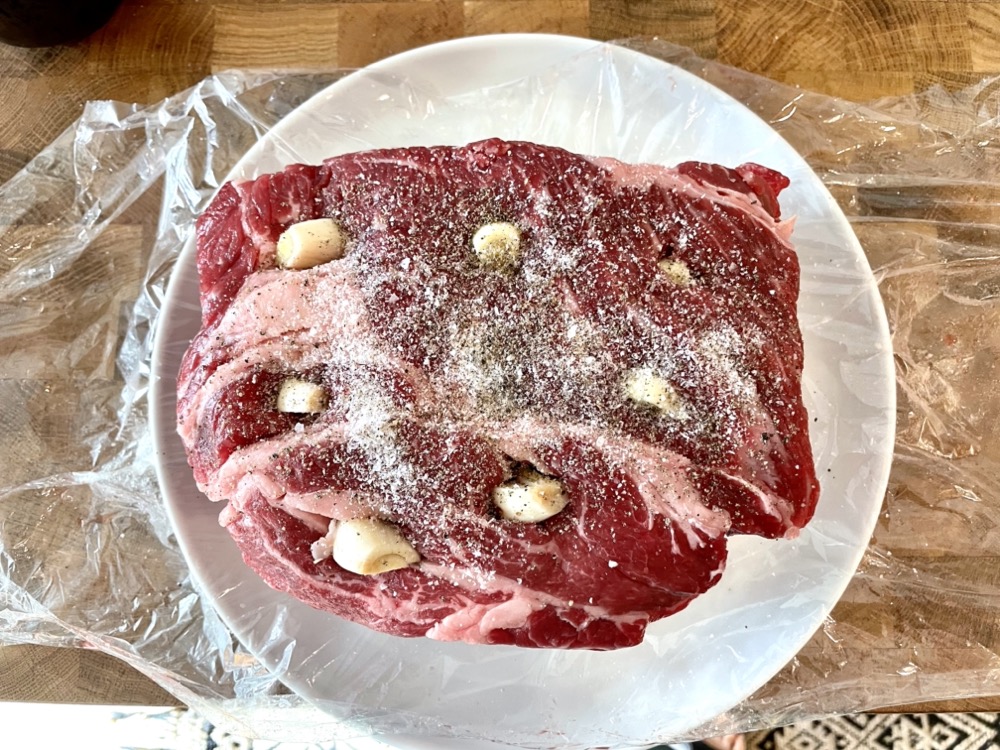
After 2 hours, preheat the oven to 400˚F/200˚C. Unwrap the beef and pat dry with a paper towel. Use a pairing knife and create 5 slits into both sides of the roast and push a clove of garlic into each slit. Rub salt (yes, more salt), fresh ground black pepper, and olive oil on all sides of the beef. Cover again and leave at room temperature for another 20 minutes.


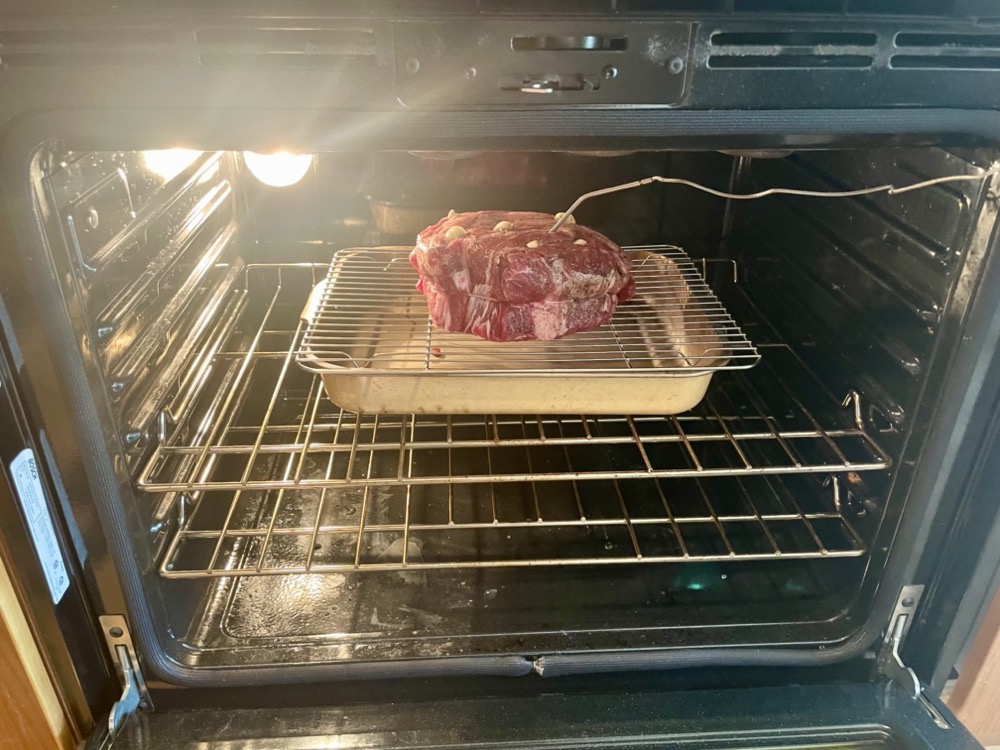
Prepare a baking tray with a metal rack over top and place the beef on the rack. Rub a small amount of olive oil on the outside one more time. If you have a layer on your beef, face the fat layer on top so the fat will drip onto the meat as it cooks. Insert an oven-safe thermometer into the middle of the beef if you’ve got one. Bake in the preheated oven at 400˚F/200˚C for 15 minutes to start the browning process, then turn the heat down to 325˚F/163˚C and continue to cook until the internal temperature reaches 120˚F/49˚C (roughly 1.5-2.5 hours, depending on the size of your beef).


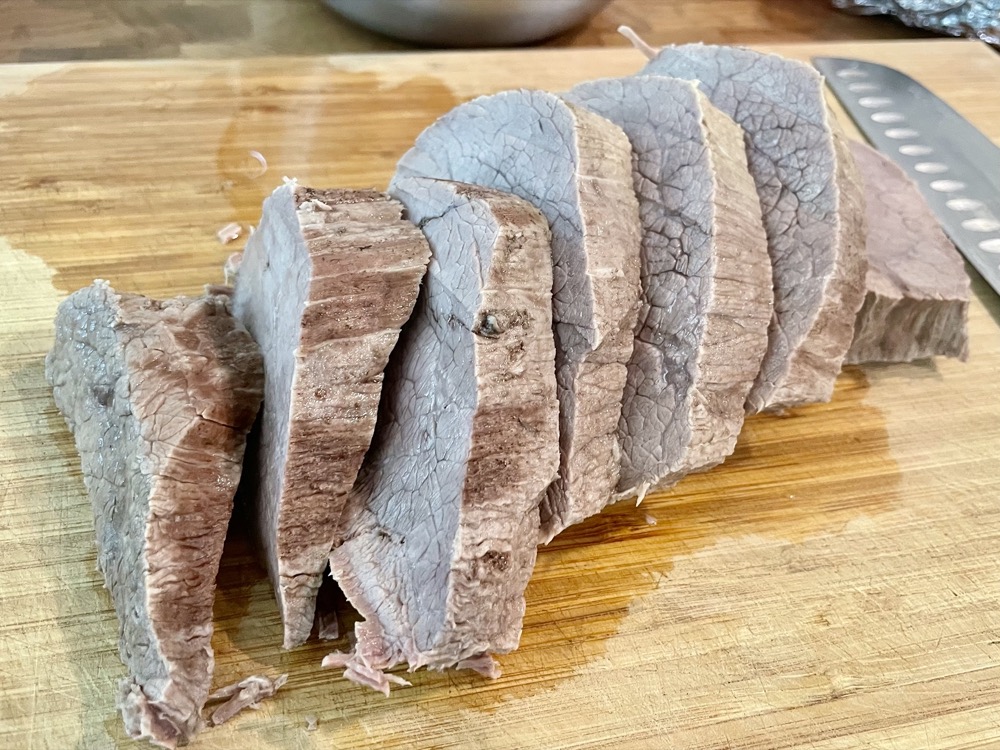
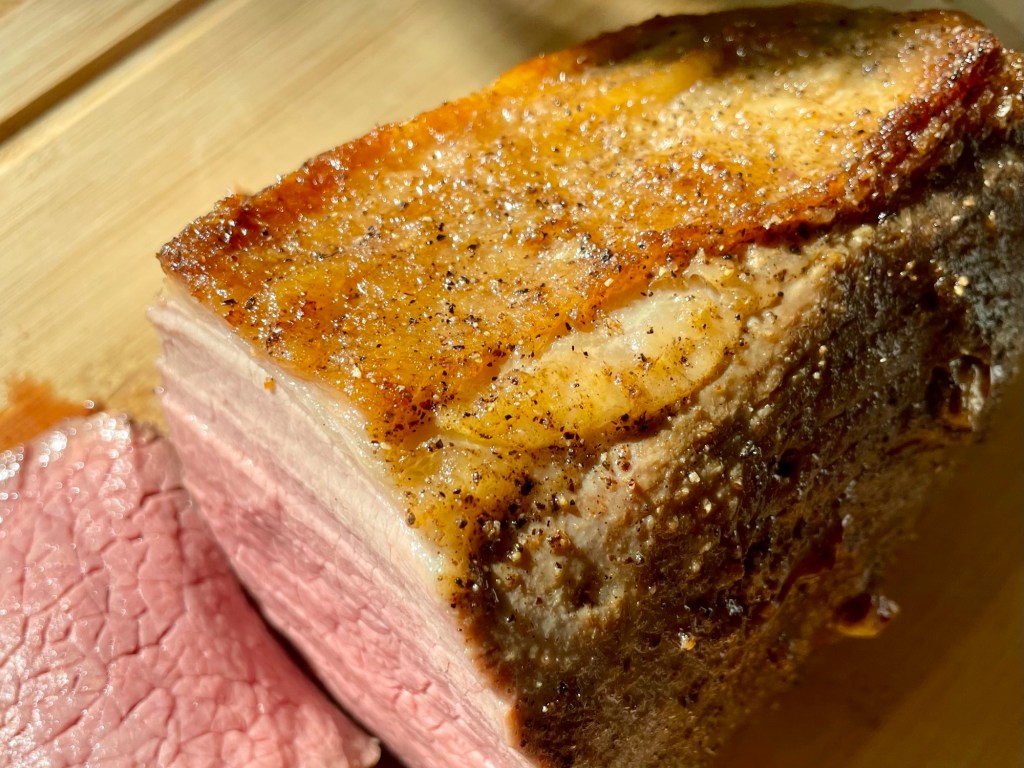
Once done cooking, let the roast rest for 20-30 minutes at room temperature before slicing.

If you’re using this for sandwiches, use a sharp knife or deli meat slicer and slice the roast into very thin slices.


Summarized Recipe:
Classic Juicy Roast Beef
Date Published: Feb 5th, 2025 | Last Updated: Feb 5th, 2025
Author: Abby |Category: mains, easy
Serves: 4 | Prep time: 2.5 hours | Cook time: 2 hours
Ingredients:
- 2 – 3 lbs chuck roast/whole eye round/rump roast (I like to use chuck roast with some marbling)
- 2 + 2 Tbsps salt
- 10 cloves of garlic, peeled
- Fresh ground black pepper
- Olive oil
Directions:
- Take the beef out of the fridge 2 hours before and salt all sides. Wrap it back up in plastic wrap and leave it at room temperature.
- After 2 hours, preheat the oven to 400˚F/200˚C. Unwrap the beef and pat dry with a paper towel. Use a pairing knife and create 5 slits into both sides of the roast and push a clove of garlic into each slit. Rub salt (yes, more salt), fresh ground black pepper, and olive oil on all sides of the beef. Cover again and leave at room temperature for another 20 minutes.
- Prepare a baking tray with a metal rack over top and place the beef on the rack. Rub a small amount of olive oil on the outside one more time. If you have a layer on your beef, face the fat layer on top so the fat will drip onto the meat as it cooks. Insert an oven-safe thermometer into the middle of the beef if you’ve got one. Bake in the preheated oven at 400˚F/200˚C for 15 minutes to start the browning process, then turn the heat down to 325˚F/163˚C and continue to cook until the internal temperature reaches 120˚F/49˚C (roughly 1.5-2.5 hours, depending on the size of your beef).
- Once done cooking, let the roast rest for 20-30 minutes at room temperature before slicing.
- If you’re using this for sandwiches, use a sharp knife or deli meat slicer and slice the roast into very thin slices.