Date Published: Sept 9th, 2025 | Last Updated: Sept 9th, 2025
Author: Abby |Category: breads, dessert, snack, easy, vegetarian
Serves: 4 pancakes | Prep time: 1 hour | Cook time: 5-7 minutes per pancake
Jump to recipe |

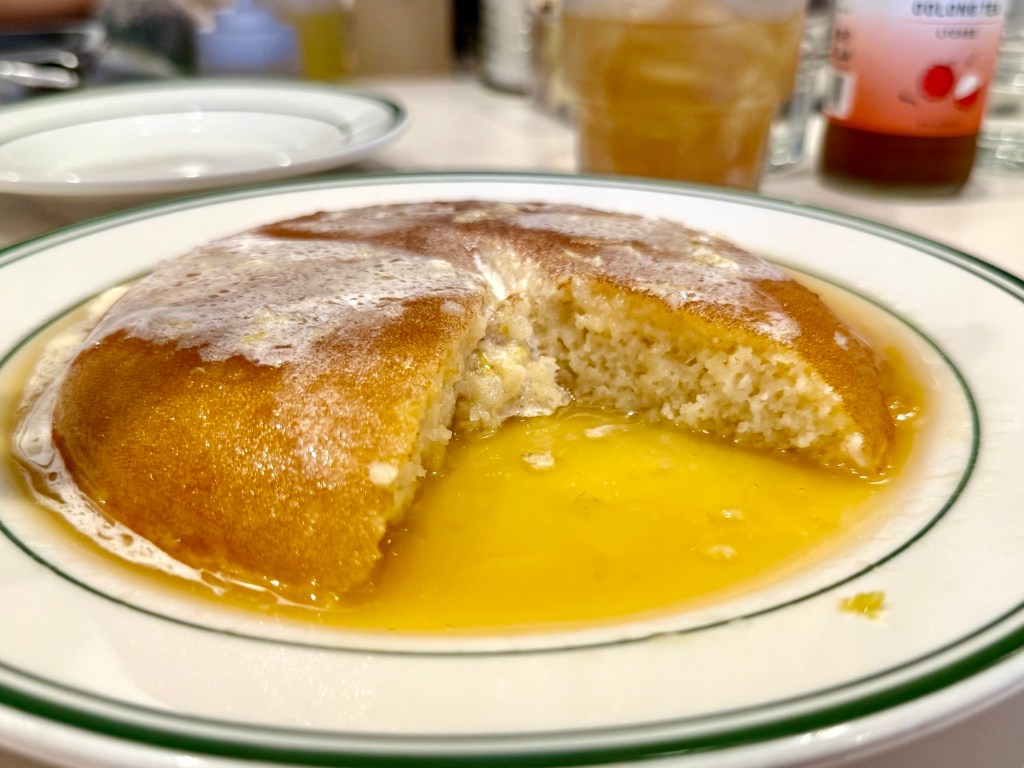
The Honey Butter Pancakes at Golden Diner in NYC has been the latest viral craze. My friend back home in Canada was the first to show me the TikTok and since seeing the video, I’ve been hearing about this place non-stop. Although I’m not a huge fan of pancakes, I am however OBSESSED with the honey butter chips that this dish was inspired from. If you’ve never had the chips, you should definitely try it before going – it’s sweet, it’s savoury, it’s umami, it’s everything!
After getting off two trains and waiting 2 hours for a table on a weekday, we were finally seated. I’m glad to report that their Honey Butter Pancakes were indeed worth it. The honey butter syrup really does taste just like the chips and the thick but light and fluffy pancakes were the perfect texture to carry the heavy syrup. It comes in a single or double serving. I’d recommend the single – it’s quite heavy and after a while it can be a bit much if you don’t have a sweet tooth. You can read the rest of my review on the diner and some other local Manhattan Chinatown eats here.


The Ultimate Guide to a Manhattan Chinatown Food Crawl – bring cash!
Manhattan Chinatown is full of amazing authentic Asian food but in a neighbourhood full of Chinese signage and shop keepers that barely speak English, it can be daunting to find the best food spots amongst the literal hundreds of restaurants in this neighbourhood. This food guide highlights some of my favourite places to eat in Chinatown…
Since visiting Golden Diner, I added the Honey Butter pancakes on my list of things to try and recreate, but lucky for me, chef and owner Sam Yoo already shared his recipe through NYT Cooking. After following his recipe to the tee, I made a few adjustments to streamline the cooking process and also dissected out the ingredients list for more clarity. I’ve shared them in this recipe below.
A Breakdown of the Golden Diner Pancakes:
There are 4 components to the pancakes at Golden Diner:
- The pancakes, of course – these are beautifully light and fluffy pancakes that perfectly soaks up the honey butter syrup. The batter goes through a fermentation phase (called the preferment) that gives it an extra depth of flavour and also a better rise.
- The Honey Butter Syrup – this is the star of the show. The genius combination of maple syrup, honey, and soy sauce makes the perfect blend of sweet, umami, and savoury.
- Maple Honey Butter (optional) – this topping is made using similar ingredients as the honey butter syrup, minus the soy sauce. It’s easy to make, but honestly, the honey butter syrup is already so flavourful with the same flavour profile that it masks the taste of this maple honey butter. Unless I’m eating this butter alone, I can barely notice it. I’ve included it in this recipe anyway to keep it true to how they serve it at Golden Diner, but regular butter would suffice in my opinion, so I’ve noted this as an “optional” component in the dish.
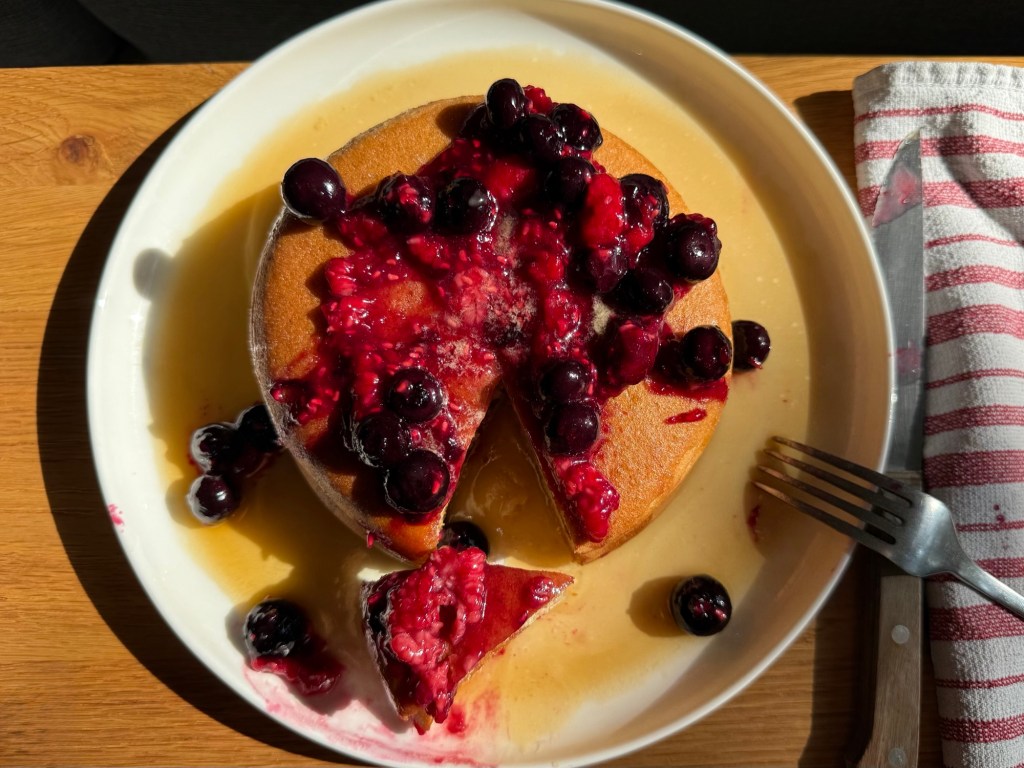
- Berry Compote (optional) – this is an optional add-on at Golden Diner for an extra $4. We didn’t have it originally but after making it at home it was a good choice to omit it. Although the Berry Compote is delicious, I found that the bold berry flavours completely masks the flavours of the honey butter syrup, which is the whole point of this dish. If you’re going to add the Berry Compote, you might as well just use regular maple syrup on the dish.
In summary, although there are 4 components of this dish, I find that the only essential two are the fluffy pancakes and the honey butter syrup. I tend to skip making the maple honey butter and just use regular butter instead and if I’m making the berry compote (which is Toby’s favourite part), I’ll pair it with regular maple syrup.


Anyways, without further ado, here’s the recipe! If you have any comments or suggestions, I’d love to hear from you in the comment section! You can follow me on instagram, youtube and facebook to see all the recipes I post!
Happy cooking!
Equipment you’ll need:
- One or two small non-stick pans (16cm/6.5-7 inch diameter)
- Two will make your life easier and cook the pancakes faster, but one is enough if you don’t care about speed.
Ingredients you’ll need:
- Pancake Batter:
- Pre-Ferment:
- 2.25 tsps (7g or one 1/4 oz packet) active dry yeast (instant yeast is fine too)
- 1 cup (130g) all-purpose flour
- 1.25 cups (300g) buttermilk (or mix 1.25cups whole milk + 1.25 Tbsps lemon juice, let it sit for 5-10 minutes until it lightly thickens)
- 1/4 cup (60ml) water
- 1 cup (130g) all-purpose flour
- 2 Tbsps (28g) granulated sugar
- 3/4 tsps (5g) baking soda
- 1/2 tsp fine salt
- 2 large eggs
- 1/4 cup (60g) neutral-tasting oil (ie. canola, vegetable…etc.)
- Pre-Ferment:
- Maple Honey Syrup:
- 1/2 cup (113g or 1 stick) unsalted butter
- 1/3 cup (100g) honey
- 1.5 Tbsps (22g) maple syrup
- 1 tsp soy sauce
- 1/2 tsp fine salt
- 1.5 Tbsps water
- Maple Honey Butter (optional):
- 1/2 cup (113g or 1 stick) unsalted butter, softened
- 3 Tbsps (57g) honey
- 2 Tbsps (28g) pure maple syrup
- 3/4 tsp fine salt
- Berry Compote (optional):
- 14oz (400g) mixed berries (ie. blueberries, raspberries, strawberries), cut to the same size as the small berries
- 1/3 cup (67g) granulated sugar
- 1.5 tsps cornstarch
- Zest of 1 lemon for garnish
Directions:
A) Make the Pancake Batter:
Pre-Ferment the batter (this step helps the pancakes have better rise, with deeper flavour by a fermentation process):
1. In a large microwave-safe bowl, add in the 1.25 cups buttermilk with 1/4 cup water. Microwave for 30 seconds at a time until lukewarm (~38-40˚C/100-104˚F). (If you don’t have any buttermilk on hand, mix 1.25 cups of whole milk with 1.25 Tbsps of lemon juice and let it sit for 5-10 minutes until it slightly thickens/clumps.)

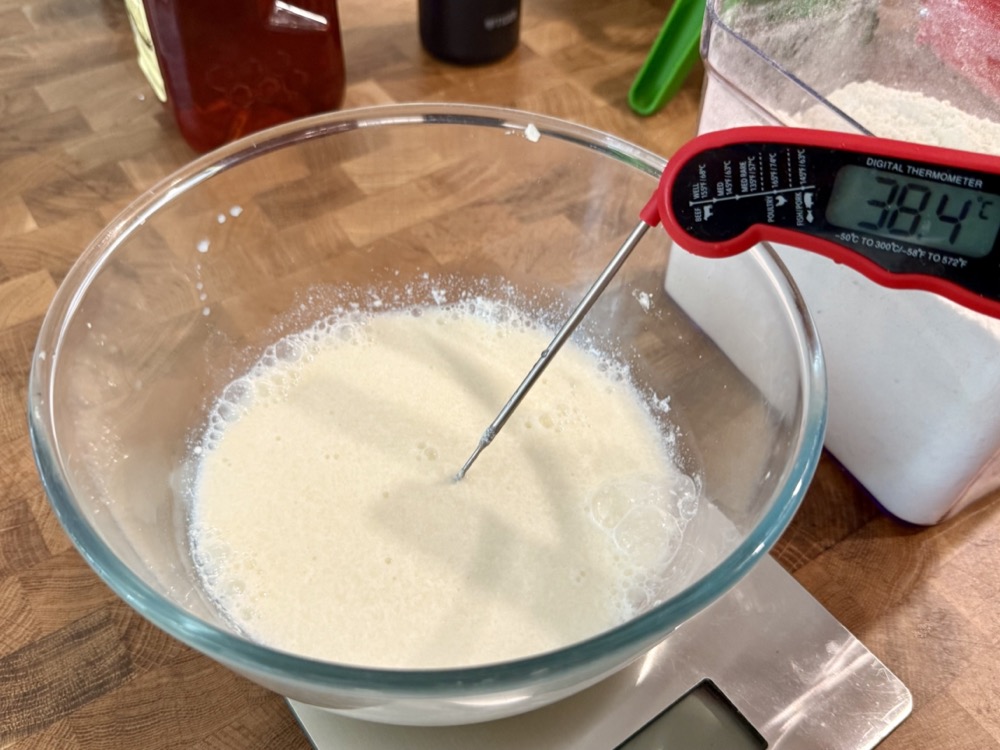
You can also do this in a small saucepan on LOW-MED heat and heat until it becomes lukewarm.
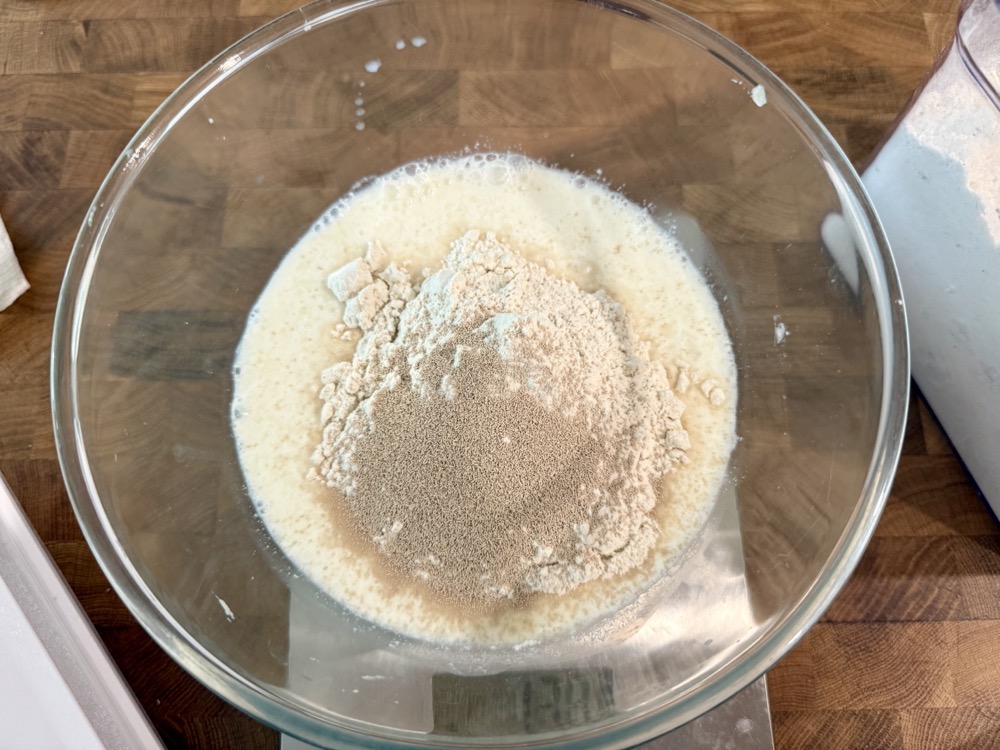
2. Whisk the 2.25 tsp yeast and 1 cup (130g) flour into the warmed buttermilk/water mixture until smooth.

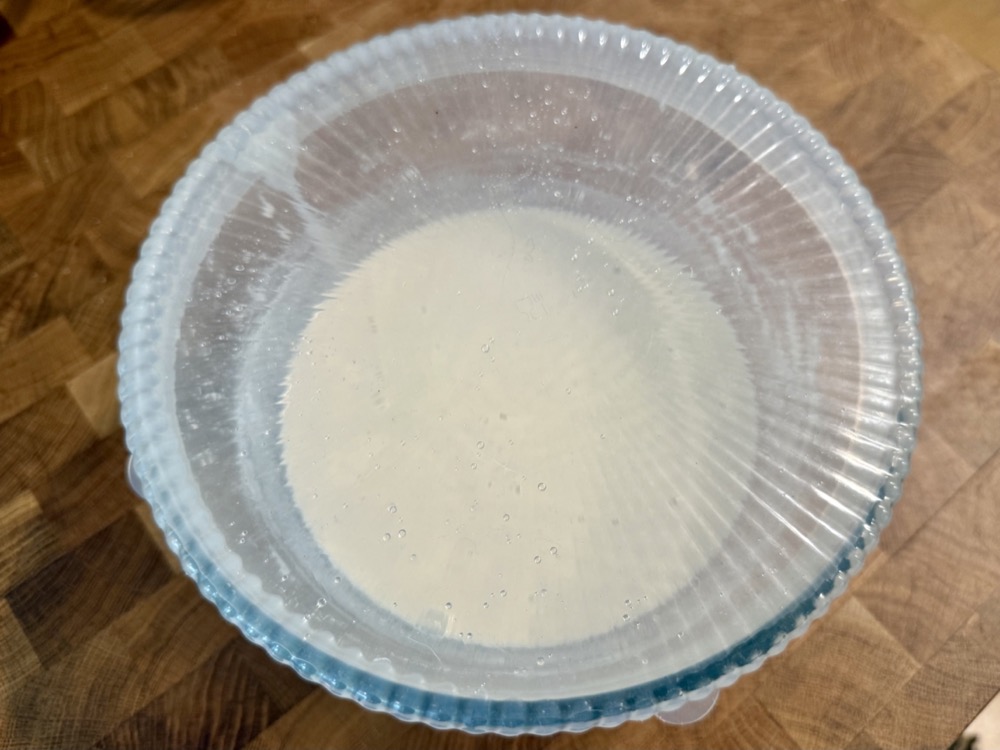
3. Cover with plastic wrap and let it sit for 1 hour at room temperature.

You can make the maple honey syrup, butter, and berry compote in this time.
Finishing off the batter:
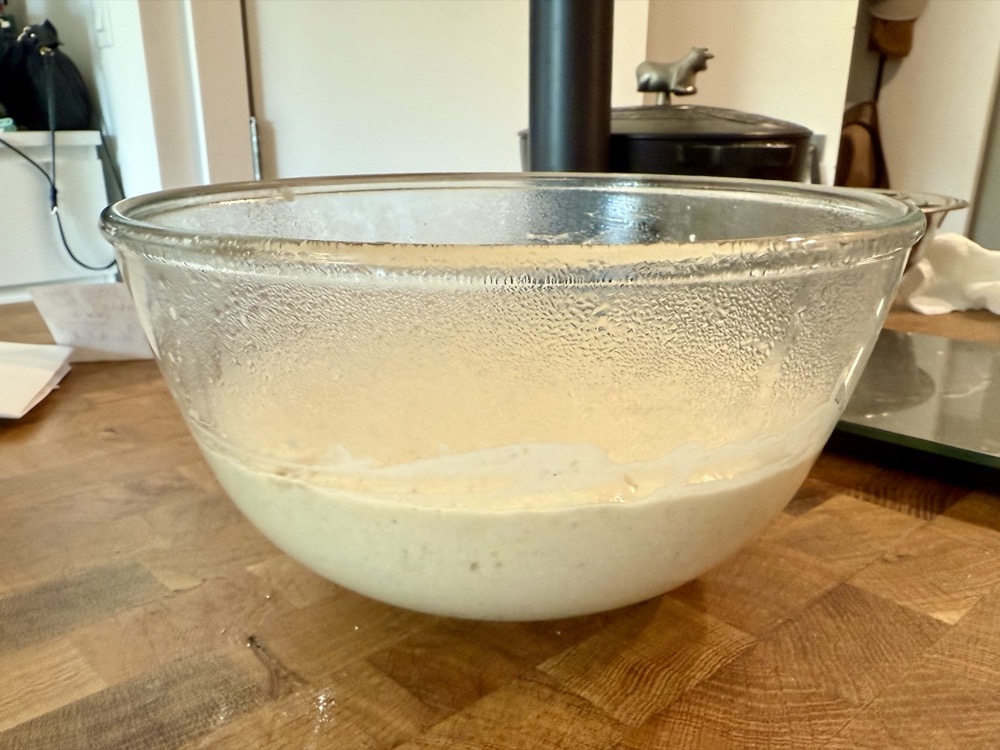
4. After 1 hour check on the batter and give it a stir. It will have risen a little and formed clumps.

5. In a separate small bowl, mix together the remaining dry ingredients for the batter: 1 cup (130g) of flour, 2 Tbsps (28g) sugar, 3/4 tsps (5g) baking soda, and 1/2 tsp salt. Set aside.


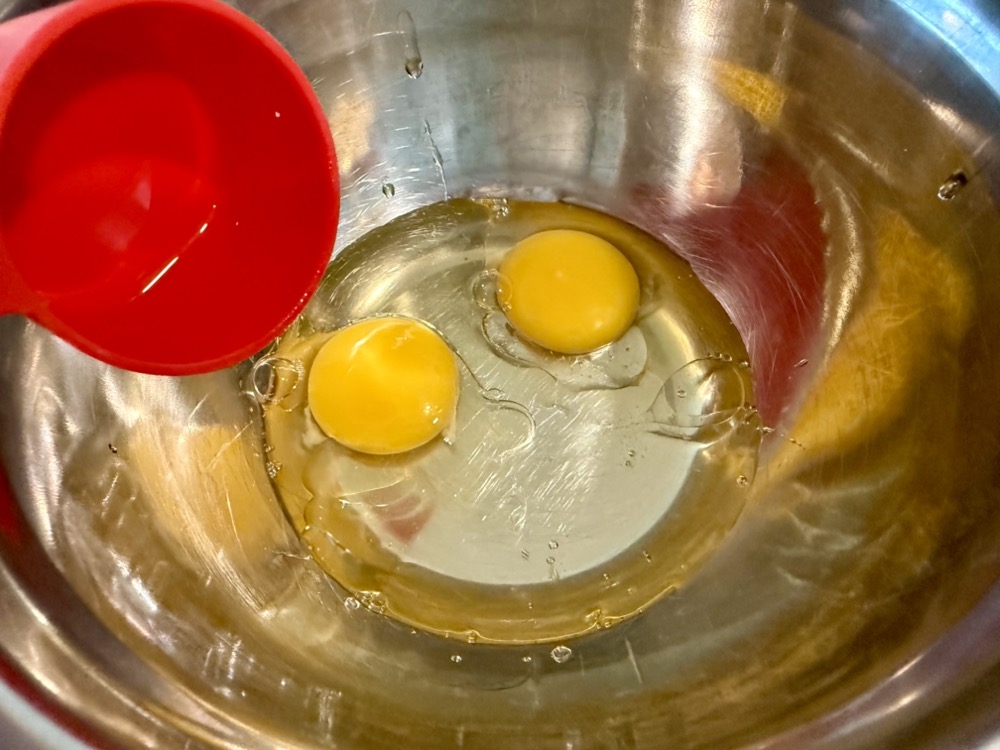
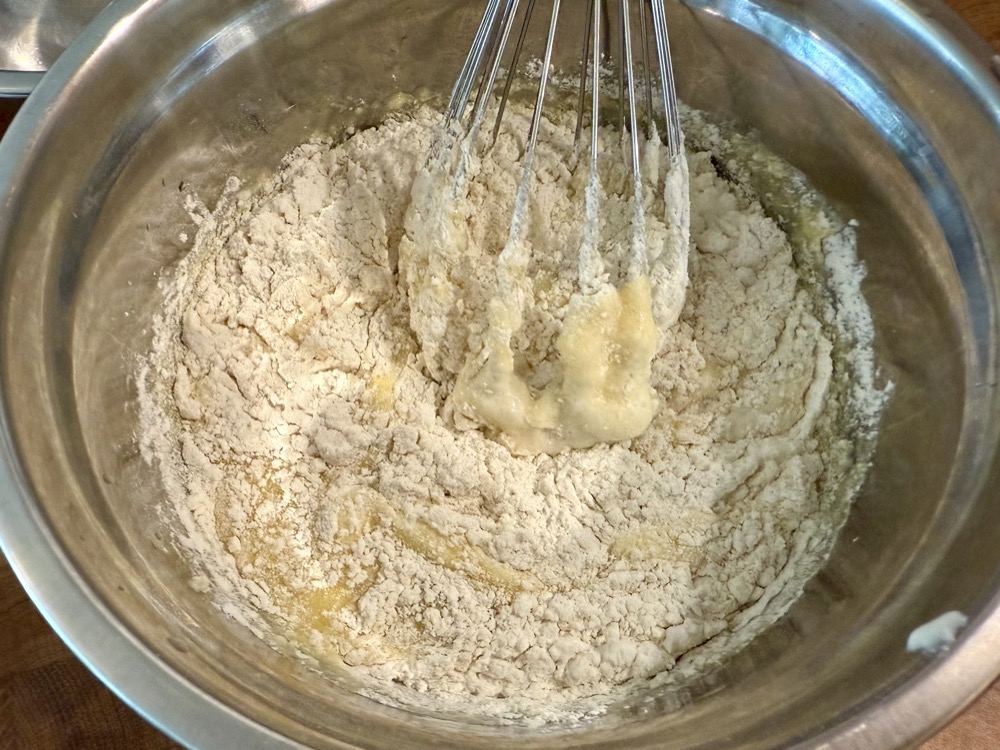
6. In another larger mixing bowl, whisk together 2 large eggs and 1/4 cup neutral oil until smooth. Add in the pre-ferment batter into the egg/oil mixture, then slowly add in the combined dry ingredients prepared in the previous step (flour, sugar, baking soda, salt). Gently stir with the whisk until the dry ingredients are incorporated, it’s okay if the batter is lumpy.


B) Make the Maple Honey Syrup:
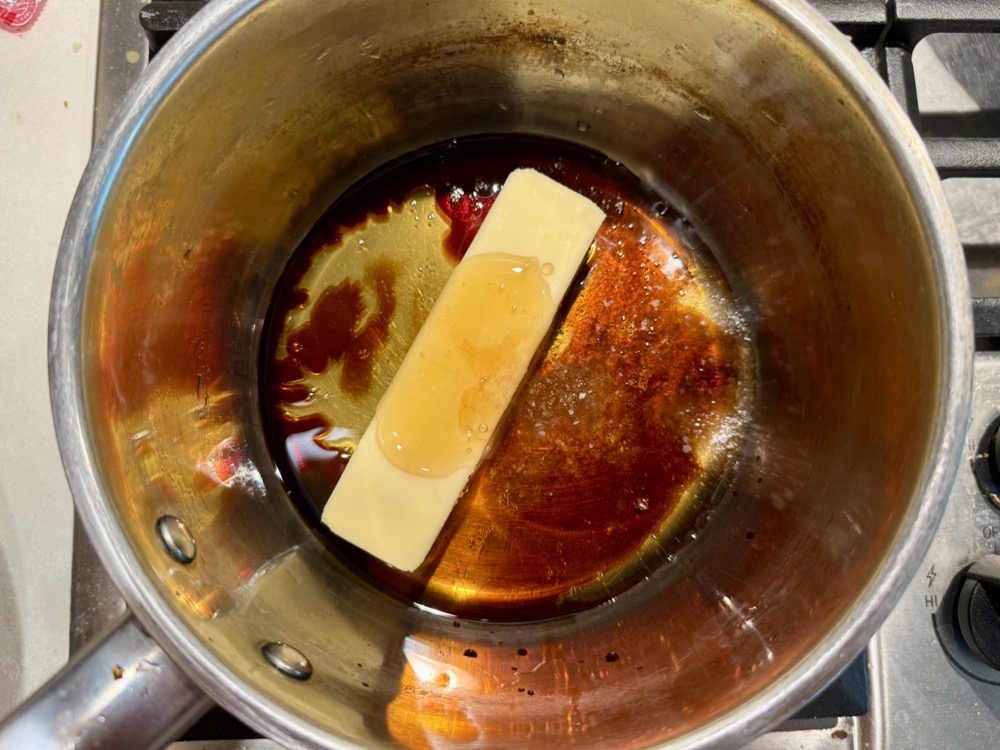
In a small saucepan on LOW-MED heat, add in the 1/2 cup (113g) butter, 1/3 cup (100g) honey, 1.5 Tbsps (24g) maple syrup, 1 tsp soy sauce, and 1/2 tsp fine salt. Whisk until the butter melts completely.
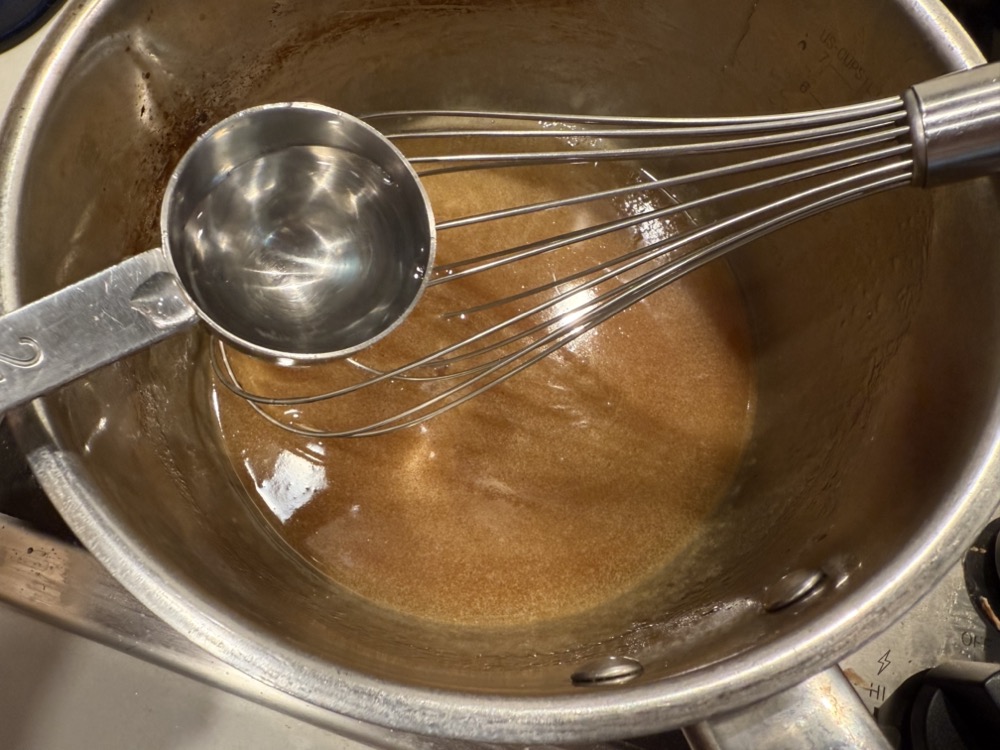
Add 1.5 Tbsps water and continue whisking until emulsified then reduce the heat to the lowest setting to keep warm until ready to use.

C) Make the Maple Honey Butter (optional):
In a bowl, whisk together the 1/2 cup (113g) softened butter, 3 Tbsps (57g) honey, 2 Tbsps (28g) maple syrup, and 3/4 tsps salt. Keep at room temperature if using within a few hours, or refrigerate in an airtight container for up to 1 week.


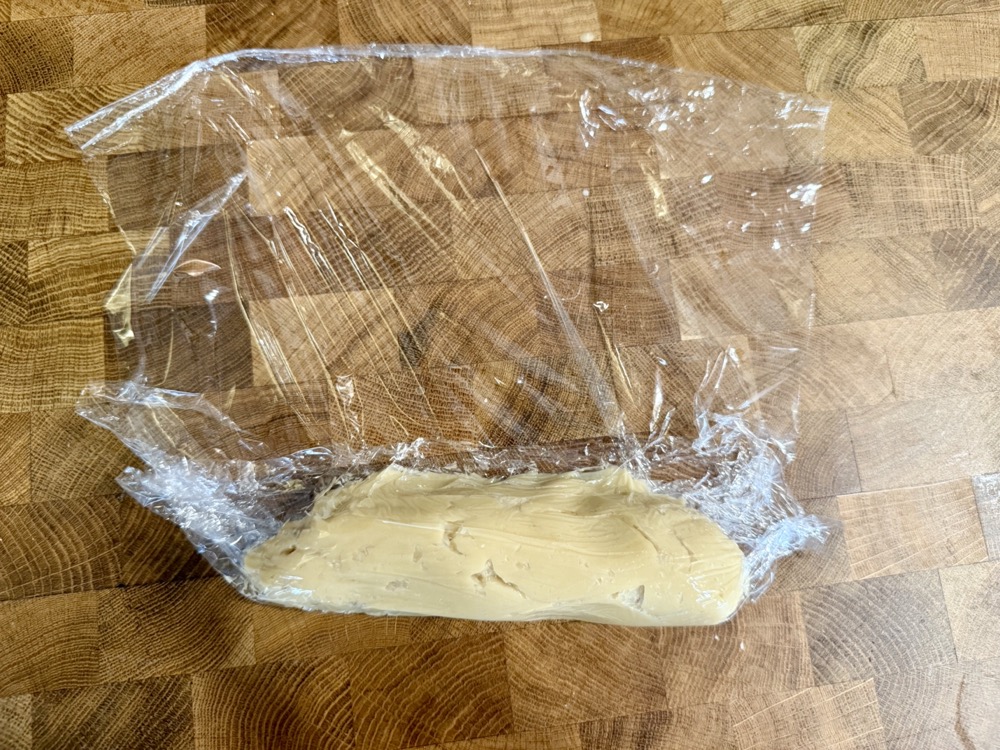
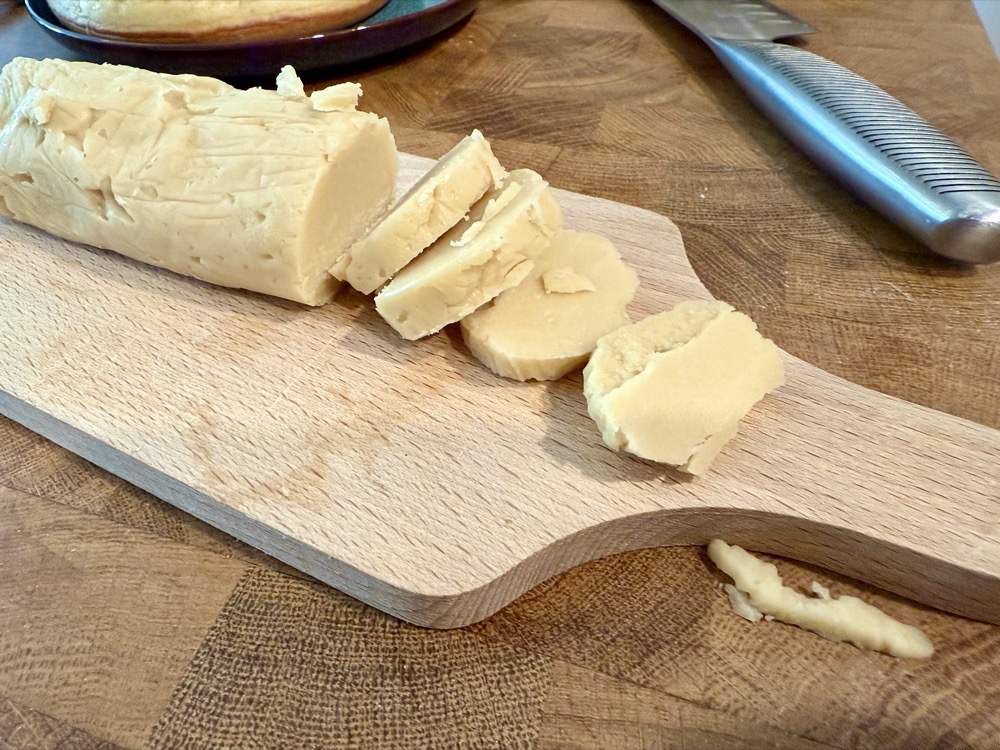
Pro-tip for storing leftover butter: spoon out the butter onto plastic wrap and roll into a log then refrigerate. Once the butter firms up, you can slice it and use as needed!


D) Make the Berry Compote (optional):
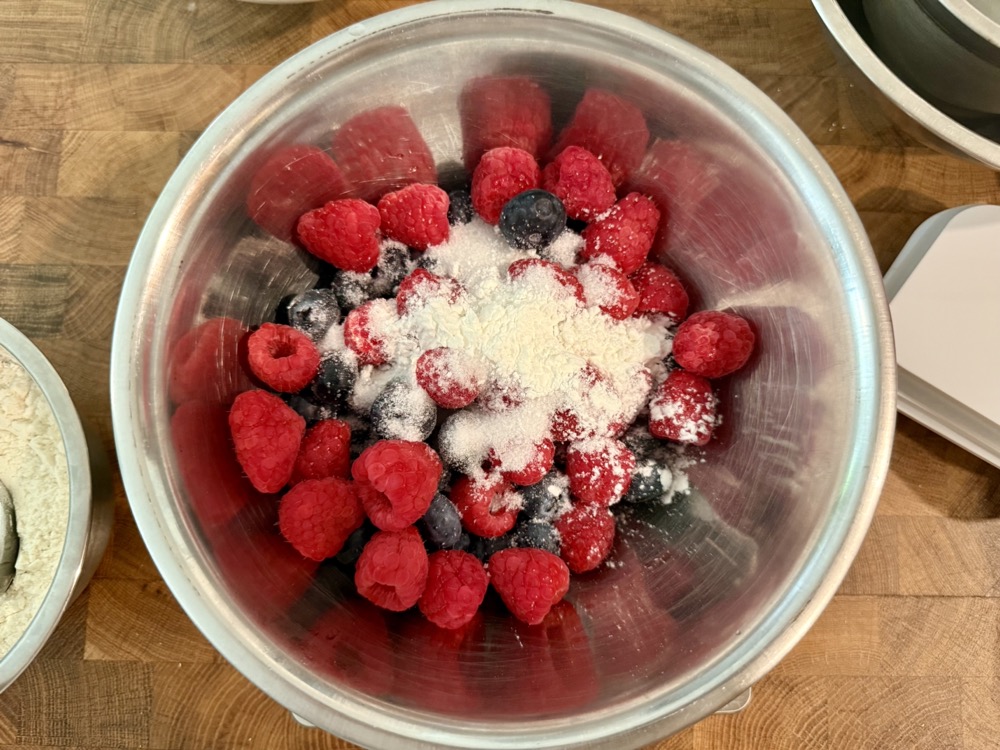
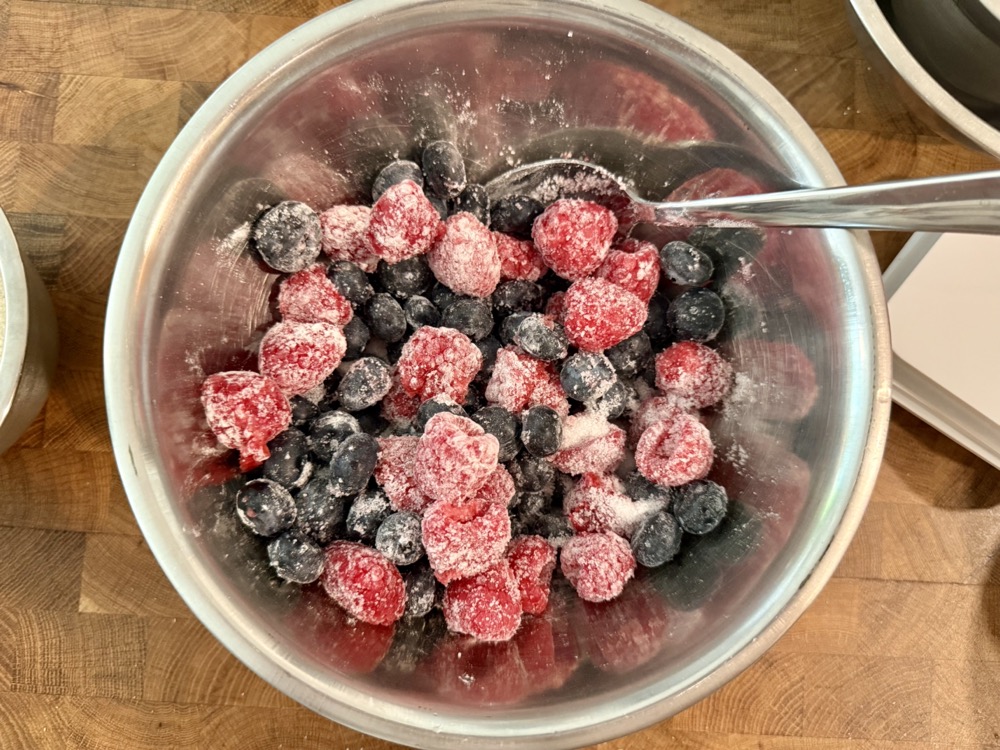
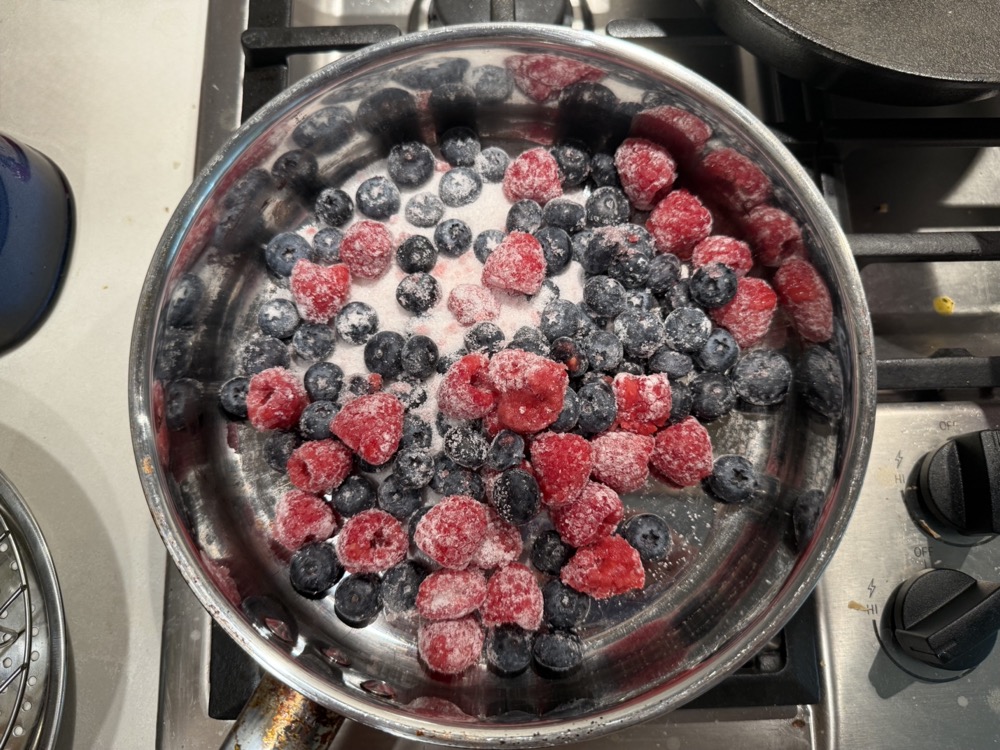
In a bowl, add in the mixed berries, 1/3 cup (67g) sugar, and 1.5 tsps cornstarch. Gently mix until the berries are evenly coated.
Heat a deep pan on HIGH heat. Splash a drop of water onto the pan and if it sizzles right away, then the pan is ready. Add the berry mixture from the previous step and cook until the blueberries are soft and easy to squish (~3-5 minutes), stirring occasionally. Remove from heat and set aside.

E) Cook the Pancakes:
Heat one or two small non-stick pans (16cm/6.5-7 inch diameter) on MED heat.
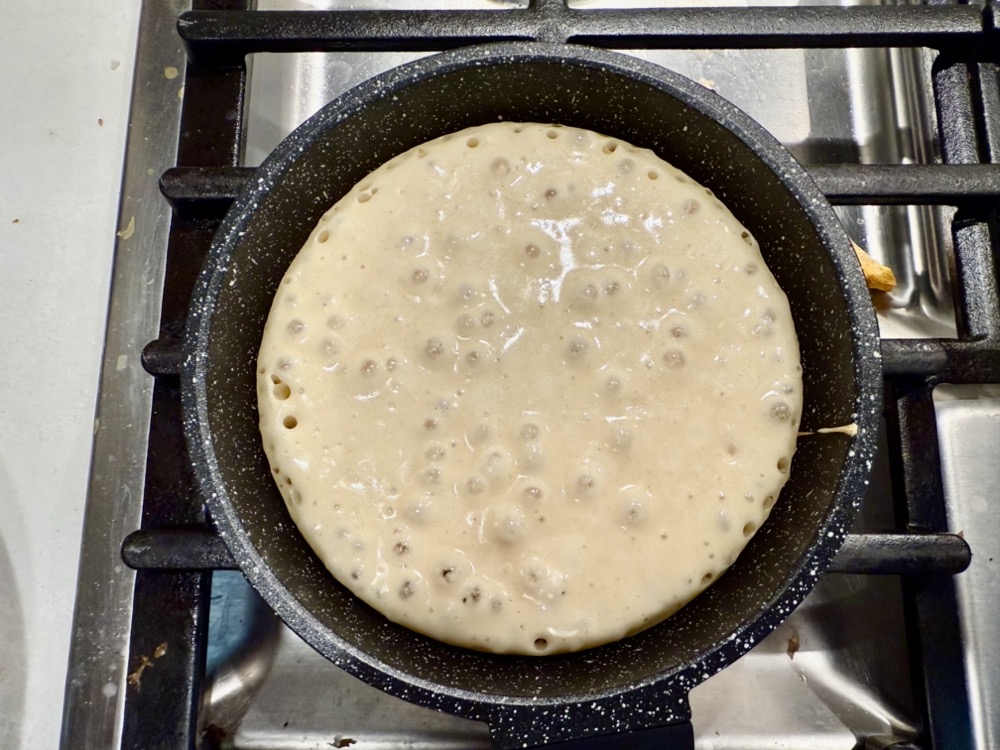
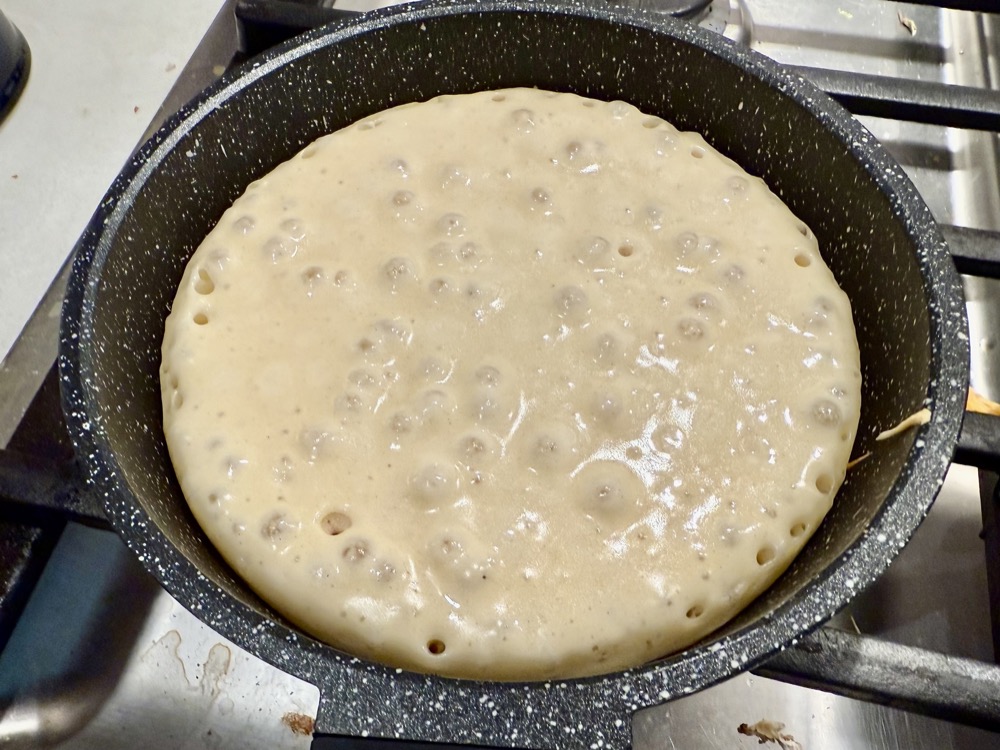
Once the pan has heated up, pour in 1 ladle of batter into the pan, which should fill up about 1/3 of the depth of the pan.
Let the batter cook for 2-3 minutes until the edges are cooked (see photo), then gently loosen the pancake from underneath and flip it over. Turn the heat down to LOW and continue to cook for another 3-4 minutes until the center is cooked (the internal temp will by 31-32˚C/88-90˚F).


Pro-tip: It can be tricky to flip a pancake when it’s in a small pan, so here are a few cheat ways to make it easier:
Method 1: If you have two of the same size pans, you can loosen the pancake first, then place the other skillet over top and directly flip it into the other pan and continue cooking.

Method 2: You could alternatively flip it into a large base non-stick pan and continue to cook since the pancake should hold its shape from the first pan. Tuck in any loose batter into the pancake.

Method 3: If your small pans are oven/broil-safe, you can just pop the pan under the broiler on LOW until it cooks through without having to actually flip it. I haven’t tried this method before, but this was how I saw them do it at Golden Diner for a perfectly shaped pancake each time.
Repeat this process for the remaining pancakes, ensuring you heat up the pan each time between pancakes.
F) To Serve:
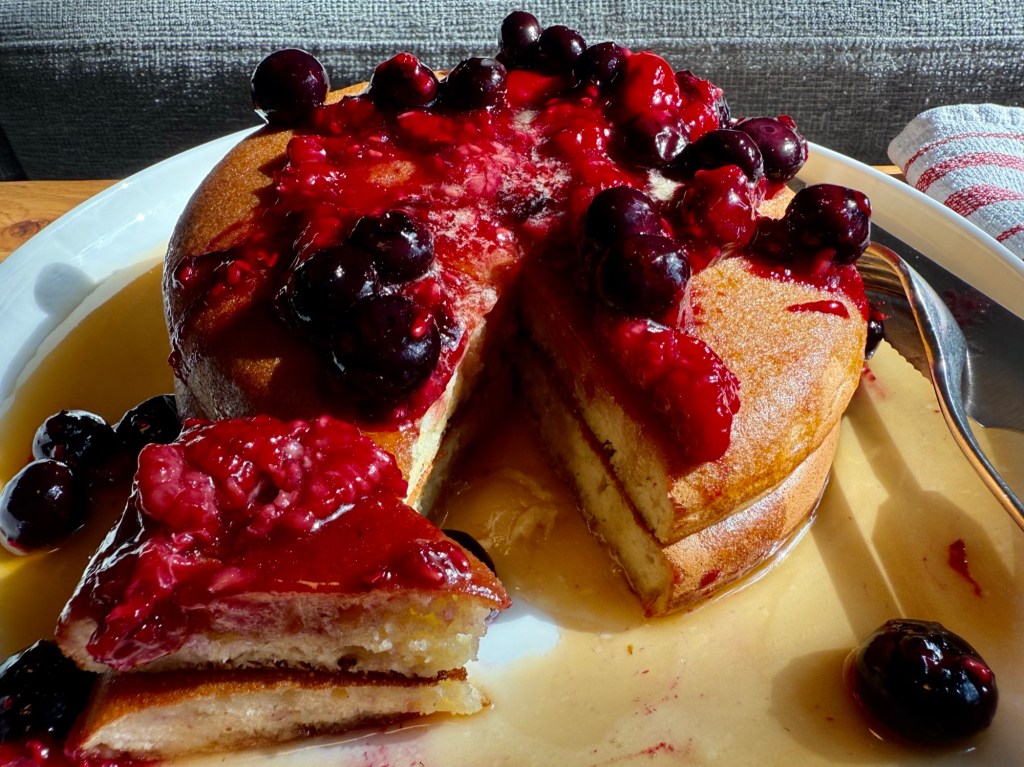
Place 1 or 2 pancakes onto a plate and evenly drench the maple honey syrup over top right away. Spoon the berry compote on top (if using) then a dollop of the maple honey butter (if using) over the berries. Sprinkle some fresh lemon zest over top and serve immediately! Enjoy!


Summarized Recipe:
Golden Diner Honey Butter Pancakes
Date Published: Sept 9th, 2025 | Last Updated: Sept 9th, 2025
Author: Abby |Category: breads, dessert, snack, easy, vegetarian
Serves: 4 pancakes | Prep time: 1 hour | Cook time: 5-7 minutes per pancake
Equipment you’ll need:
- One or two small non-stick pans (16cm/6.5-7 inch diameter)
- Two will make your life easier and cook the pancakes faster, but one is enough if you don’t care about speed.
Ingredients you’ll need:
- Pancake Batter:
- Pre-Ferment:
- 2.25 tsps (7g or one 1/4 oz packet) active dry yeast (instant yeast is fine too)
- 1 cup (130g) all-purpose flour
- 1.25 cups (300g) buttermilk (or mix 1.25cups whole milk + 1.25 Tbsps lemon juice, let it sit for 5-10 minutes until it lightly thickens)
- 1/4 cup (60ml) water
- 1 cup (130g) all-purpose flour
- 2 Tbsps (28g) granulated sugar
- 3/4 tsps (5g) baking soda
- 1/2 tsp fine salt
- 2 large eggs
- 1/4 cup (60g) neutral-tasting oil (ie. canola, vegetable…etc.)
- Pre-Ferment:
- Maple Honey Syrup:
- 1/2 cup (113g or 1 stick) unsalted butter
- 1/3 cup (100g) honey
- 1.5 Tbsps (22g) maple syrup
- 1 tsp soy sauce
- 1/2 tsp fine salt
- 1.5 Tbsps water
- Maple Honey Butter (optional):
- 1/2 cup (113g or 1 stick) unsalted butter, softened
- 3 Tbsps (57g) honey
- 2 Tbsps (28g) pure maple syrup
- 3/4 tsp fine salt
- Berry Compote (optional):
- 14oz (400g) mixed berries (ie. blueberries, raspberries, strawberries), cut to the same size as the small berries
- 1/3 cup (67g) granulated sugar
- 1.5 tsps cornstarch
- Zest of 1 lemon for garnish
Directions:
A) Make the Pancake Batter:
- Pre-Ferment the batter (this step helps the pancakes have better rise, with deeper flavour by a fermentation process):
- 1. In a large microwave-safe bowl, add in the 1.25 cups buttermilk with 1/4 cup water. Microwave for 30 seconds at a time until lukewarm (~38-40˚C/100-104˚F).
- (If you don’t have any buttermilk on hand, mix 1.25 cups of whole milk with 1.25 Tbsps of lemon juice and let it sit for 5-10 minutes until it slightly thickens/clumps.)
- You can also do this in a small saucepan on LOW-MED heat and heat until it becomes lukewarm.
- 2. Whisk the 2.25 tsp yeast and 1 cup (130g) flour into the warmed buttermilk/water mixture until smooth.
- 3. Cover with plastic wrap and let it sit for 1 hour at room temperature.
- You can make the maple honey syrup, butter, and berry compote in this time.
- 1. In a large microwave-safe bowl, add in the 1.25 cups buttermilk with 1/4 cup water. Microwave for 30 seconds at a time until lukewarm (~38-40˚C/100-104˚F).
- Finishing off the batter:
- 4. After 1 hour check on the batter and give it a stir. It will have risen a little and formed clumps.
- 5. In a separate small bowl, mix together the remaining dry ingredients for the batter: 1 cup (130g) of flour, 2 Tbsps (28g) sugar, 3/4 tsps (5g) baking soda, and 1/2 tsp salt. Set aside.
- 6. In another larger mixing bowl, whisk together 2 large eggs and 1/4 cup neutral oil until smooth. Add in the pre-ferment batter into the egg/oil mixture, then slowly add in the combined dry ingredients prepared in the previous step (flour, sugar, baking soda, salt). Gently stir with the whisk until the dry ingredients are incorporated, it’s okay if the batter is lumpy.
B) Make the Maple Honey Syrup:
- In a small saucepan on LOW-MED heat, add in the 1/2 cup (113g) butter, 1/3 cup (100g) honey, 1.5 Tbsps (24g) maple syrup, 1 tsp soy sauce, and 1/2 tsp fine salt. Whisk until the butter melts completely.
- Add 1.5 Tbsps water and continue whisking until emulsified then reduce the heat to the lowest setting to keep warm until ready to use.
C) Make the Maple Honey Butter (optional):
- In a bowl, whisk together the 1/2 cup (113g) softened butter, 3 Tbsps (57g) honey, 2 Tbsps (28g) maple syrup, and 3/4 tsps salt. Keep at room temperature if using within a few hours, or refrigerate in an airtight container for up to 1 week.
- Pro-tip for storing leftover butter: spoon out the butter onto plastic wrap and roll into a log then refrigerate. Once the butter firms up, you can slice it and use as needed!
D) Make the Berry Compote (optional):
- In a bowl, add in the mixed berries, 1/3 cup (67g) sugar, and 1.5 tsps cornstarch. Gently mix until the berries are evenly coated.
- Heat a deep pan on HIGH heat. Splash a drop of water onto the pan and if it sizzles right away, then the pan is ready. Add the berry mixture from the previous step and cook until the blueberries are soft and easy to squish (~3-5 minutes), stirring occasionally. Remove from heat and set aside.
E) Cook the Pancakes:
- Heat one or two small non-stick pans (16cm/6.5-7 inch diameter) on MED heat.
- Once the pan has heated up, pour in 1 ladle of batter into the pan, which should fill up about 1/3 of the depth of the pan.
- Let the batter cook for 2-3 minutes until the edges are cooked (see photo), then gently loosen the pancake from underneath and flip it over. Turn the heat down to LOW and continue to cook for another 3-4 minutes until the center is cooked (the internal temp will by 31-32˚C/88-90˚F).
- Pro-tip: It can be tricky to flip a pancake when it’s in a small pan, so here are a few cheat ways to make it easier:
- Method 1: If you have two of the same size pans, you can loosen the pancake first, then place the other skillet over top and directly flip it into the other pan and continue cooking.
- Method 2: You could alternatively flip it into a large base non-stick pan and continue to cook since the pancake should hold its shape from the first pan. Tuck in any loose batter into the pancake.
- Method 3: If your small pans are oven/broil-safe, you can just pop the pan under the broiler on LOW until it cooks through without having to actually flip it. I haven’t tried this method before, but this was how I saw them do it at Golden Diner for a perfectly shaped pancake each time.
- Pro-tip: It can be tricky to flip a pancake when it’s in a small pan, so here are a few cheat ways to make it easier:
- Repeat this process for the remaining pancakes, ensuring you heat up the pan each time between pancakes.
F) To Serve:
Place 1 or 2 pancakes onto a plate and evenly drench the maple honey syrup over top right away. Spoon the berry compote on top (if using) then a dollop of the maple honey butter (if using) over the berries. Sprinkle some fresh lemon zest over top and serve immediately!