The Great Australian Road Trip part II
*Note: this post is still in progress, but I’ve published it for anyone who’s interested in continuing the drive from the Victoria border up the NSW coast 😊*
What’s in this guide? (table of contents in progress)

New South Wales is the neighbouring state to Victoria (follow our trip from Eastern Victoria here). Crossing the NSW border from Victoria during COVID times was pretty uneventful. We travelled during the pandemic and at the time there were no restrictions to leave VIC and enter NSW so there wasn’t any border security (however on the opposite side of the road there were 2 police cruisers and a bus checking for permits to enter Victoria from NSW). There was only a small lit up sign at the border that warned us that if we left, we wouldn’t be able to return without a permit – a little daunting that we couldn’t turn back, but onwards with our adventure!


Dates we travelled: Jan 8th – 16th, 2021
Sample Itinerary
Day 1: Leave Lakes Entrance in the morning, arrive in Eden around noon. Head over to the visitor’s centre for some recommendations then off to the Killer Whale Museum. Spend a few hours at the museum then drive to Merimbula to spend the night and seek out some fresh seafood restaurants.
Day 2: Do an oyster tour in the morning at Merimbula and have some oysters for lunch. Continue driving north and hike to Horse Head Rock in Bermagui. Take a stroll in Tilba Tilba and check out the cute shops. Stop at Bodalla Dairy Shed for a snack and milkshake (or early dinner). Continue the drive to ACT and stay overnight (or onwards north).
Eden
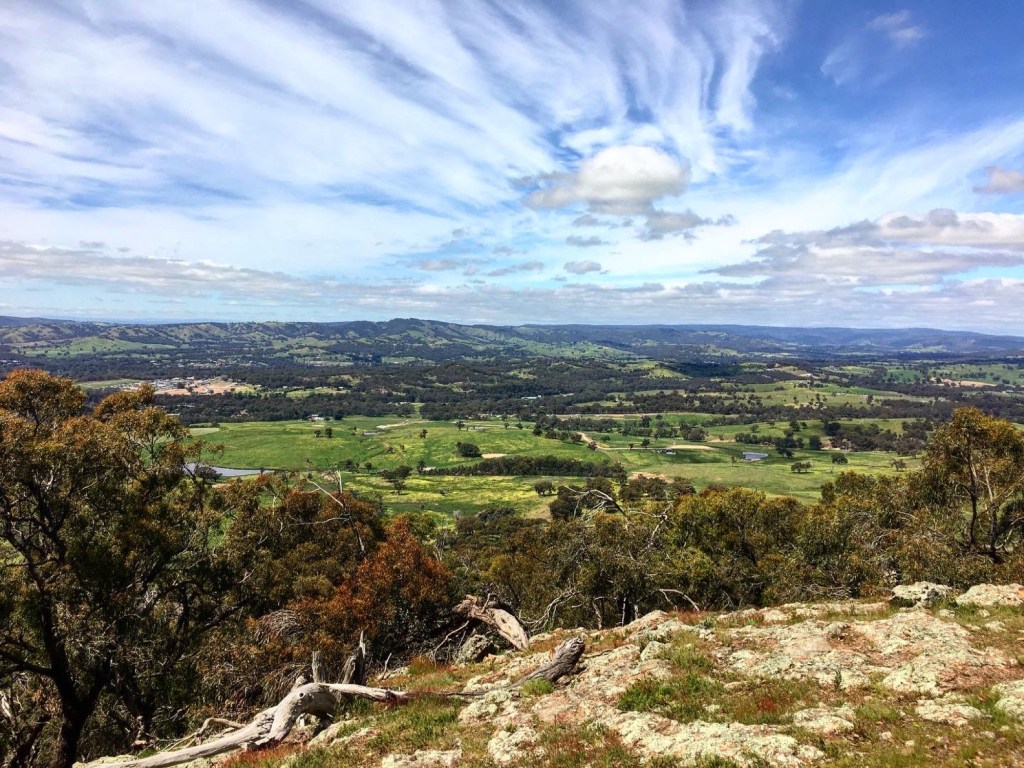
Eden is the most Southerly town in NSW and sits right on the coastline, making it the first town we stopped in after leaving Victoria. It’s a 2 hour 45 min drive from Lakes Entrance, VIC and a half hour drive from the actual border between VIC and NSW. This small town has a rich history with whales and has some great whale watching spots during the whale migration season (May – November). We were only here for half a day and didn’t come during the whale migration season, but we absolutely loved the Killer Whale Museum!
Eden Visitor’s Centre
Address: Weecoon Street, Snug Cove, Eden NSW 2551
Opening times: Mon-Fr 9am-5pm, check the website for weekend hours
https://visiteden.com.au/visitor-information-centre/
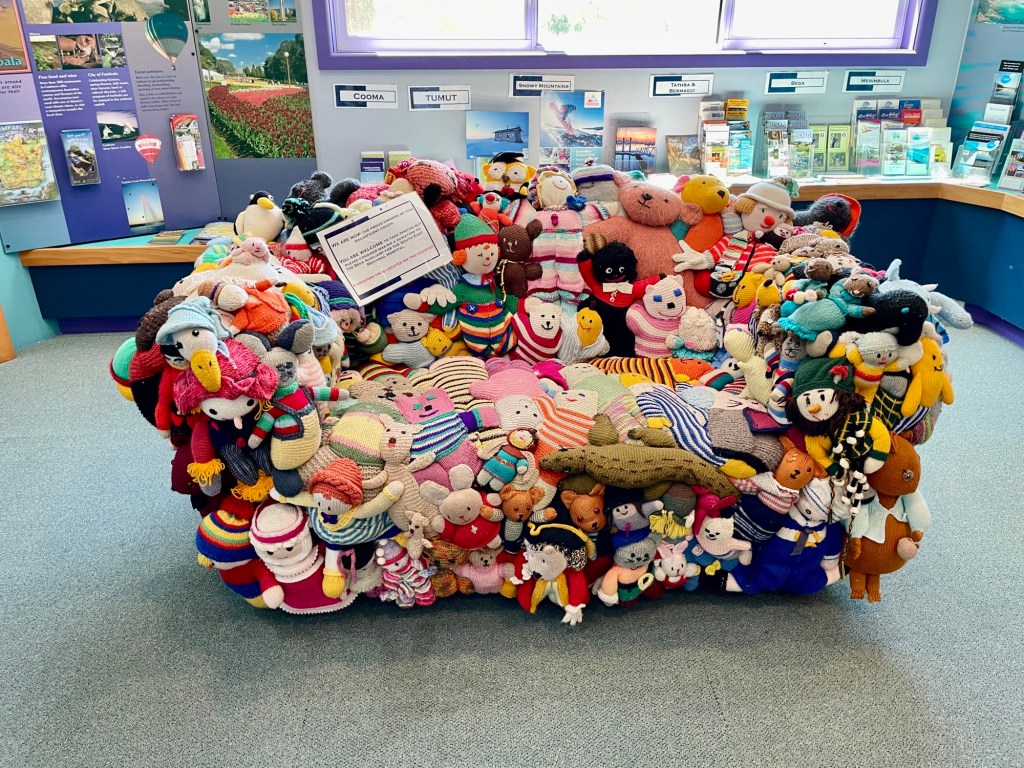
Since this is the first town you’ll encounter in NSW, it’s a great place to stop at the visitor’s center for nearby recommendations. The ladies here were super helpful with recommendations of not only Eden but surrounding areas as well. There’s places to snorkel, beaches, hikes…etc. There’s plenty of brochures and pamphlets if you want more information. There’s also a toilet here if you’ve been holding it in since Lakes Entrance ;).
(They also had this random cool stuffed animal couch on display while we were there.)
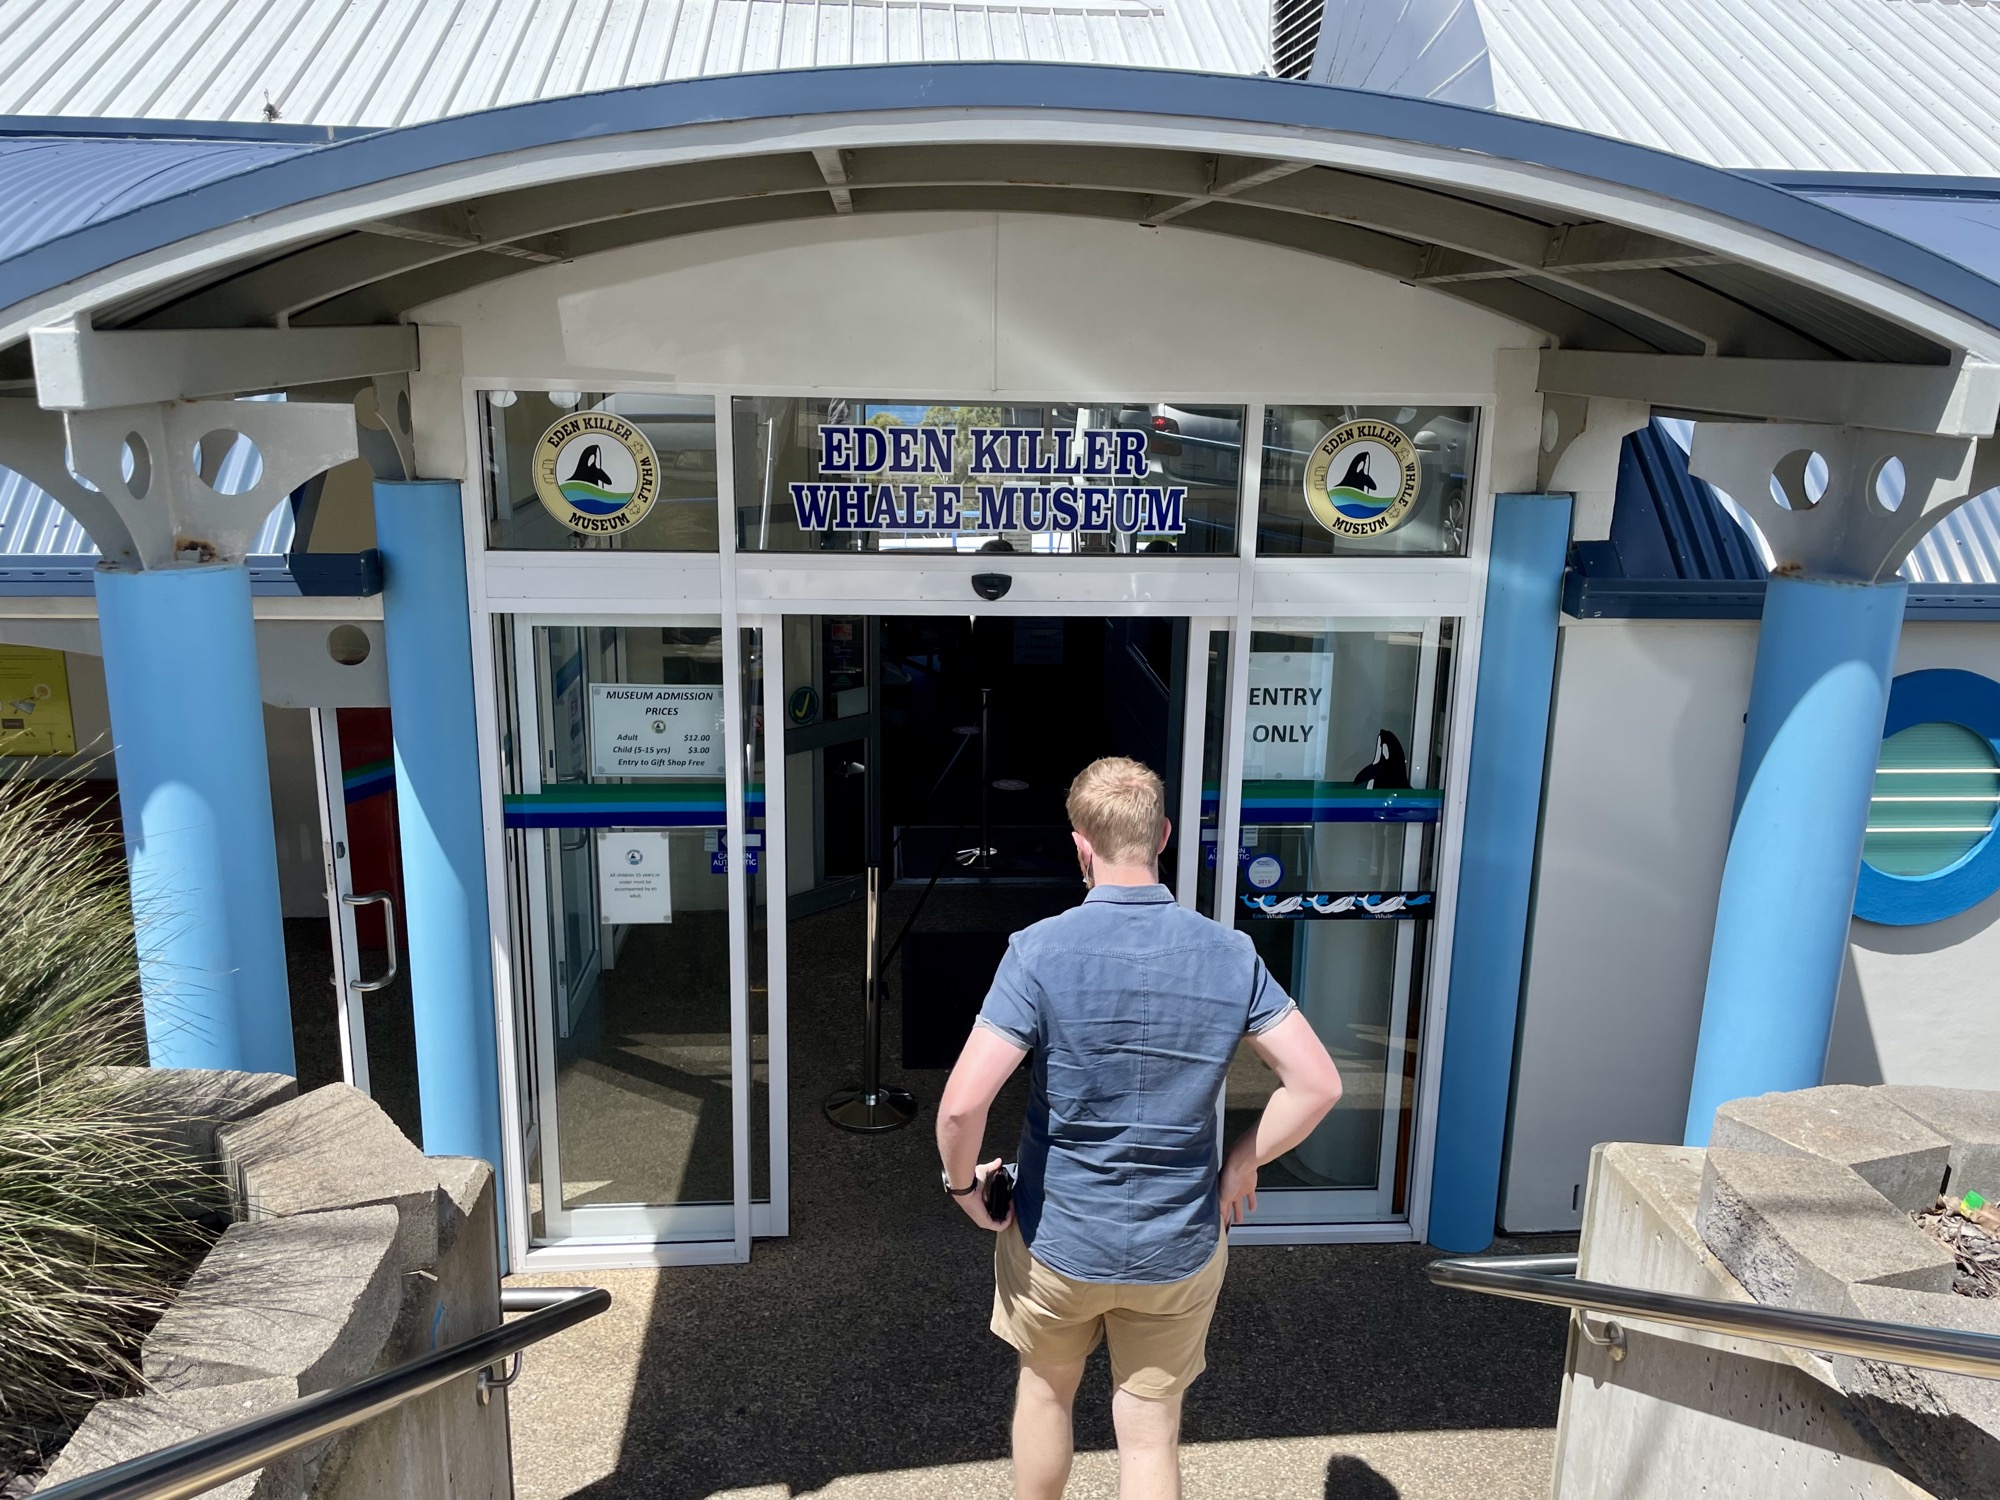
Killer Whale Museum
Address: 184 Imlay Street, Eden, NSW 2551
Opening times: 7 days a week (check website for times)
Cost: $15/adult
https://killerwhalemuseum.com.au
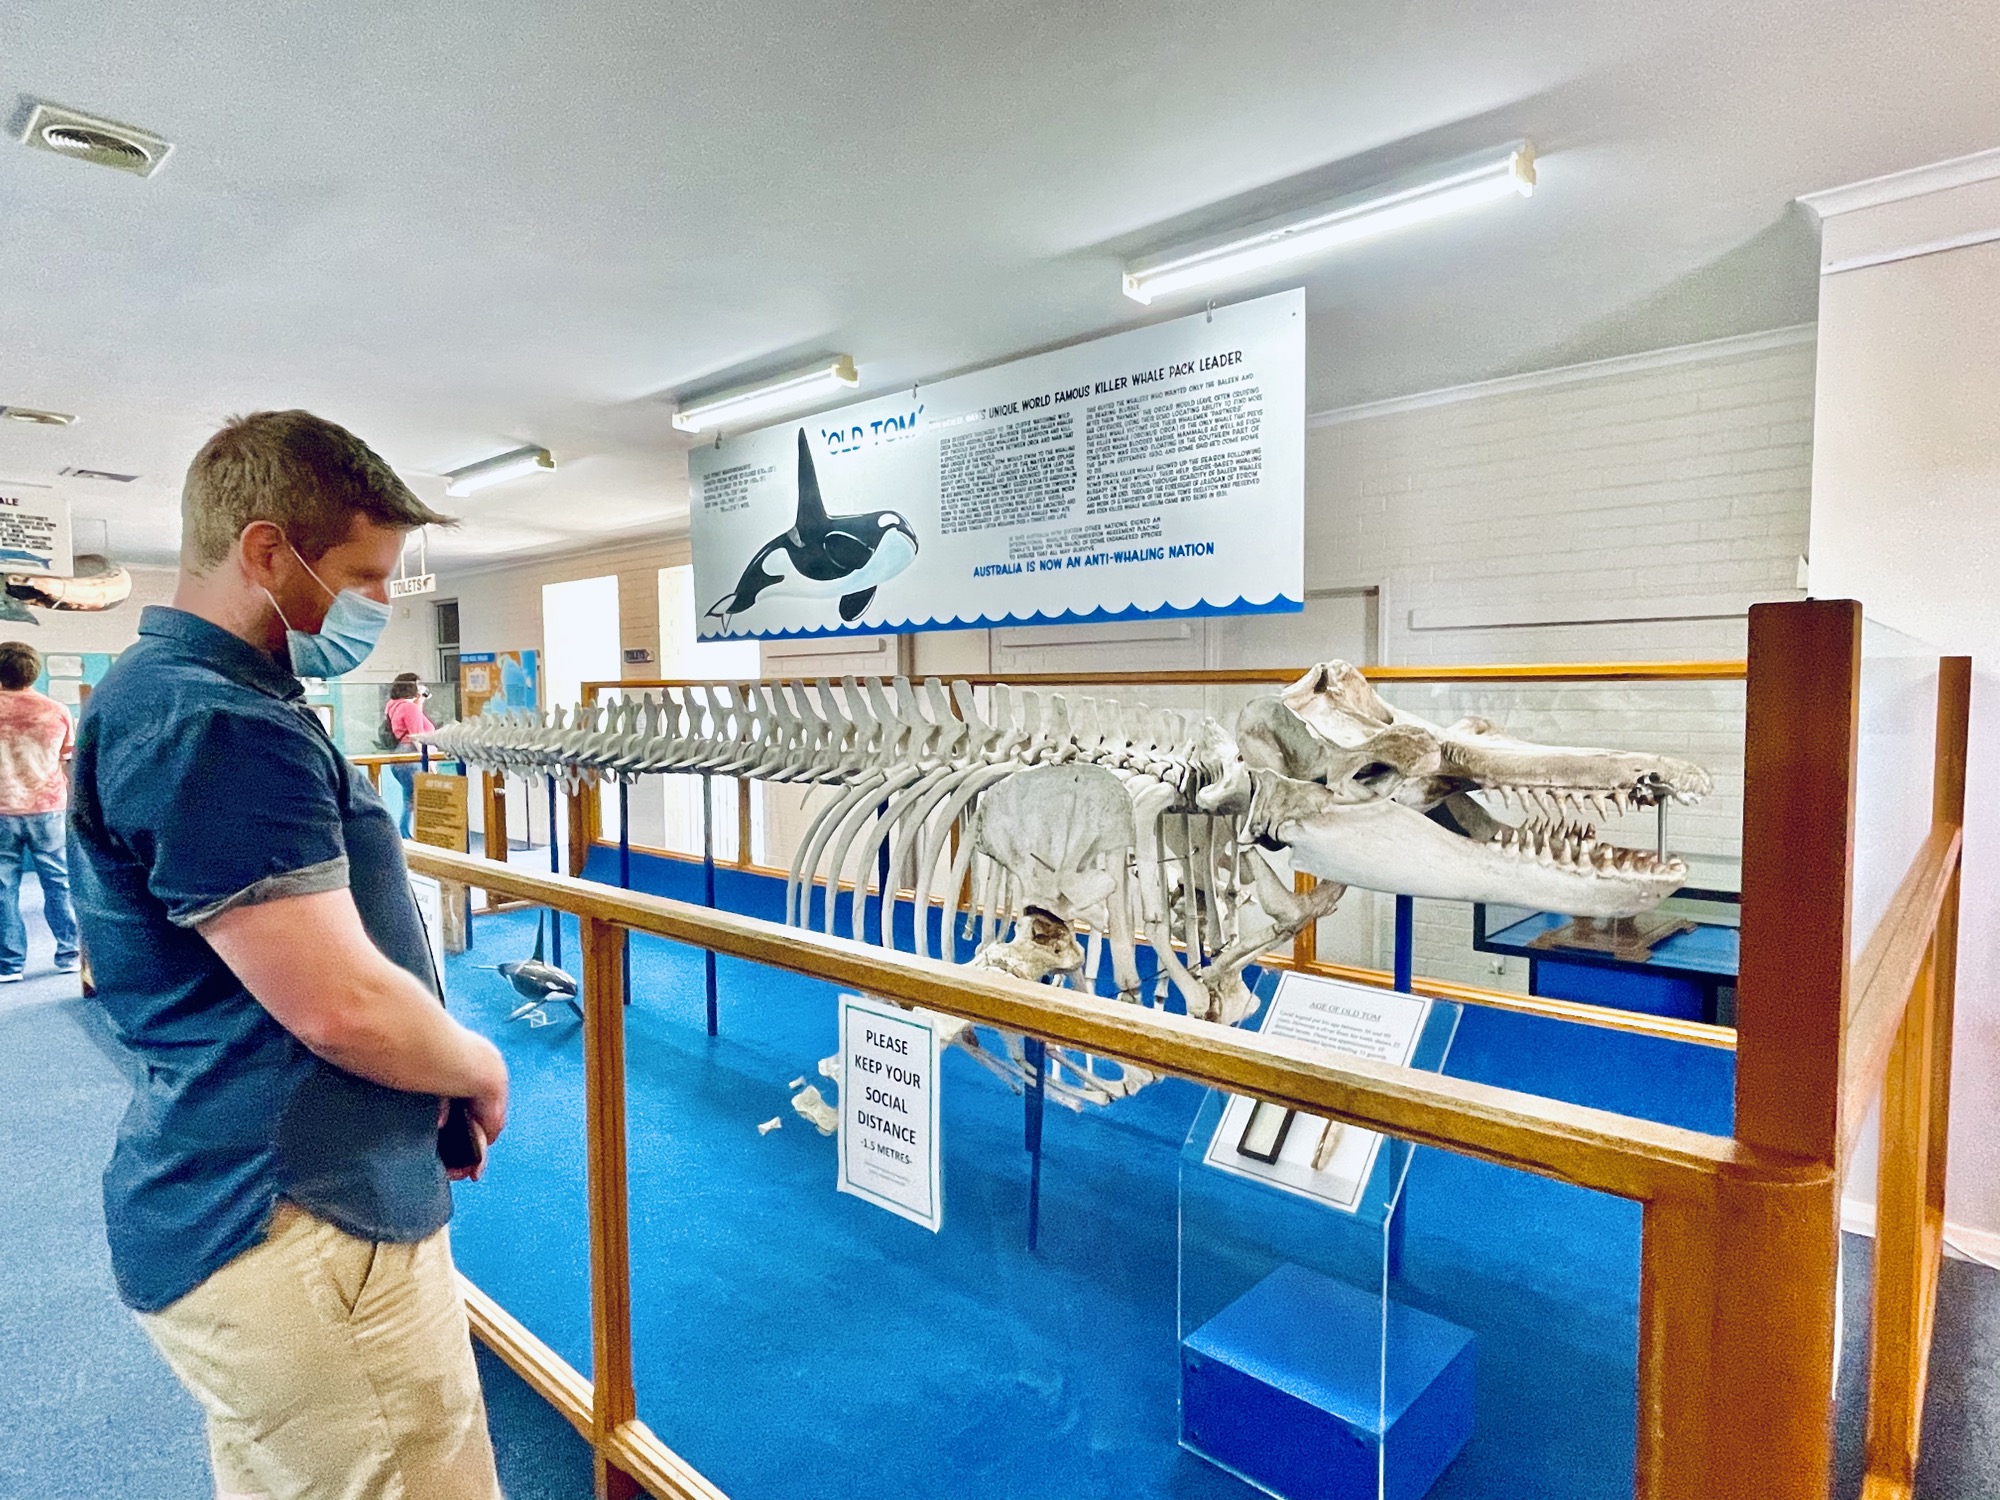
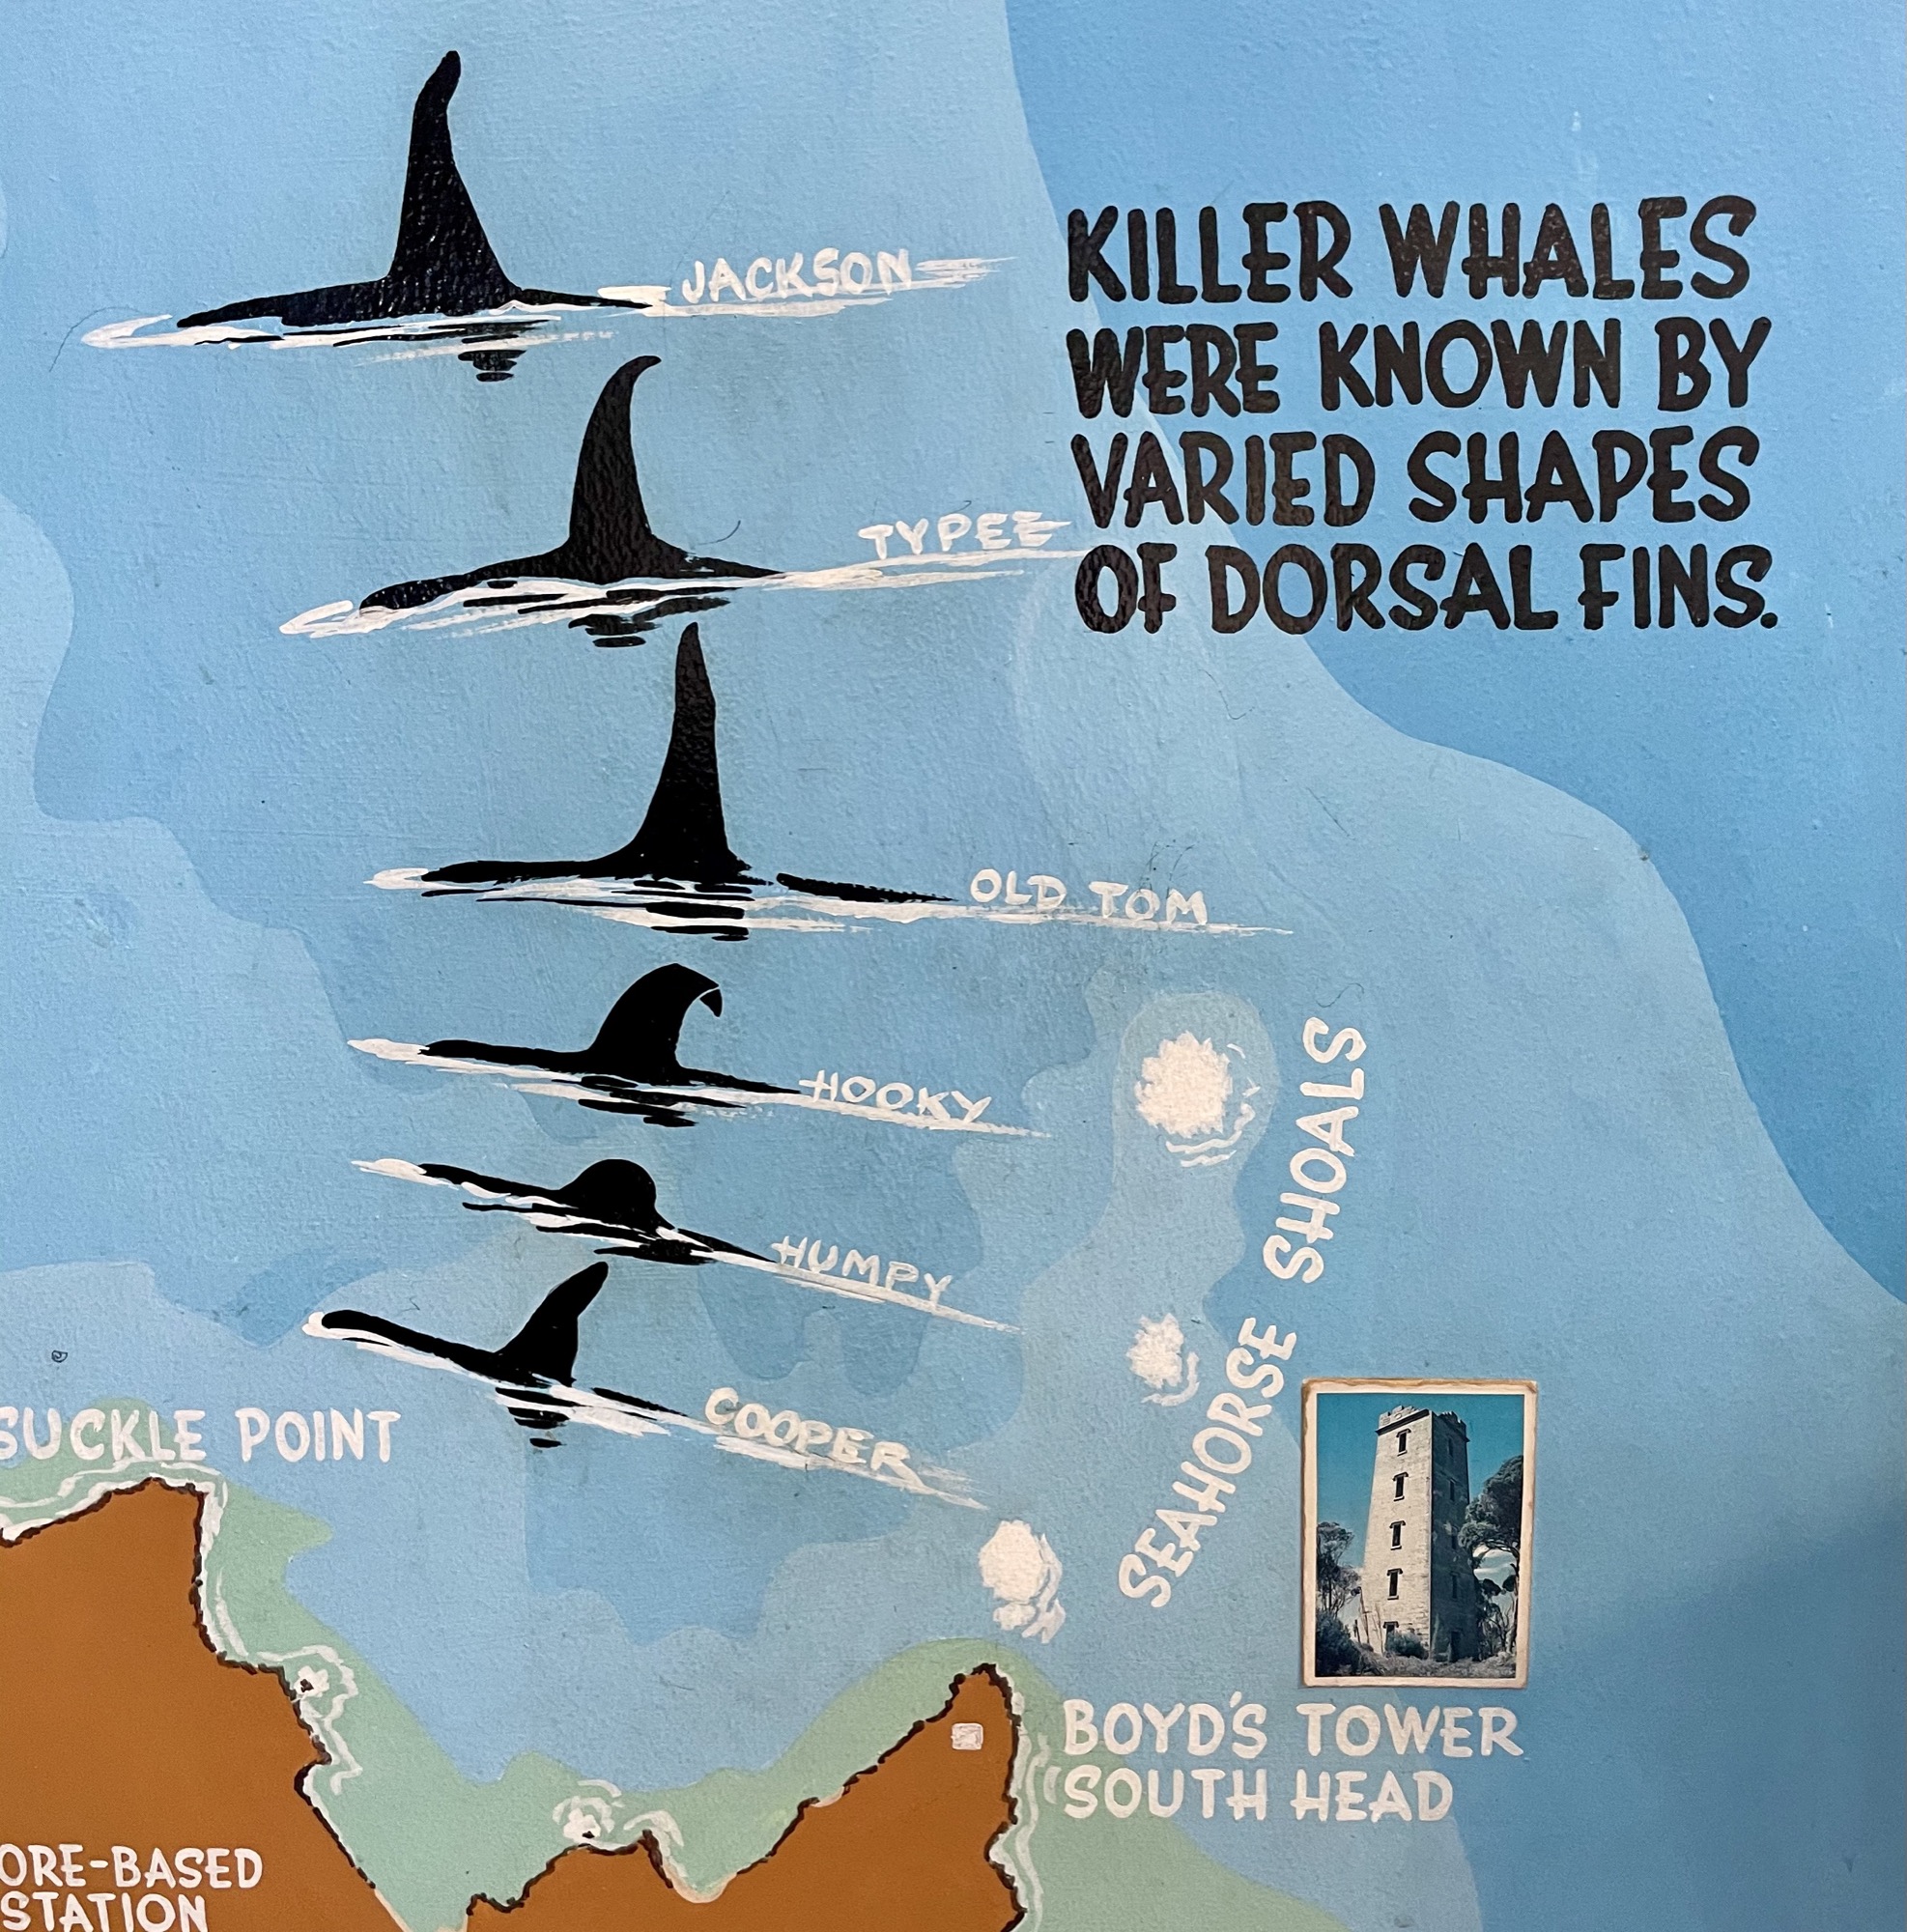
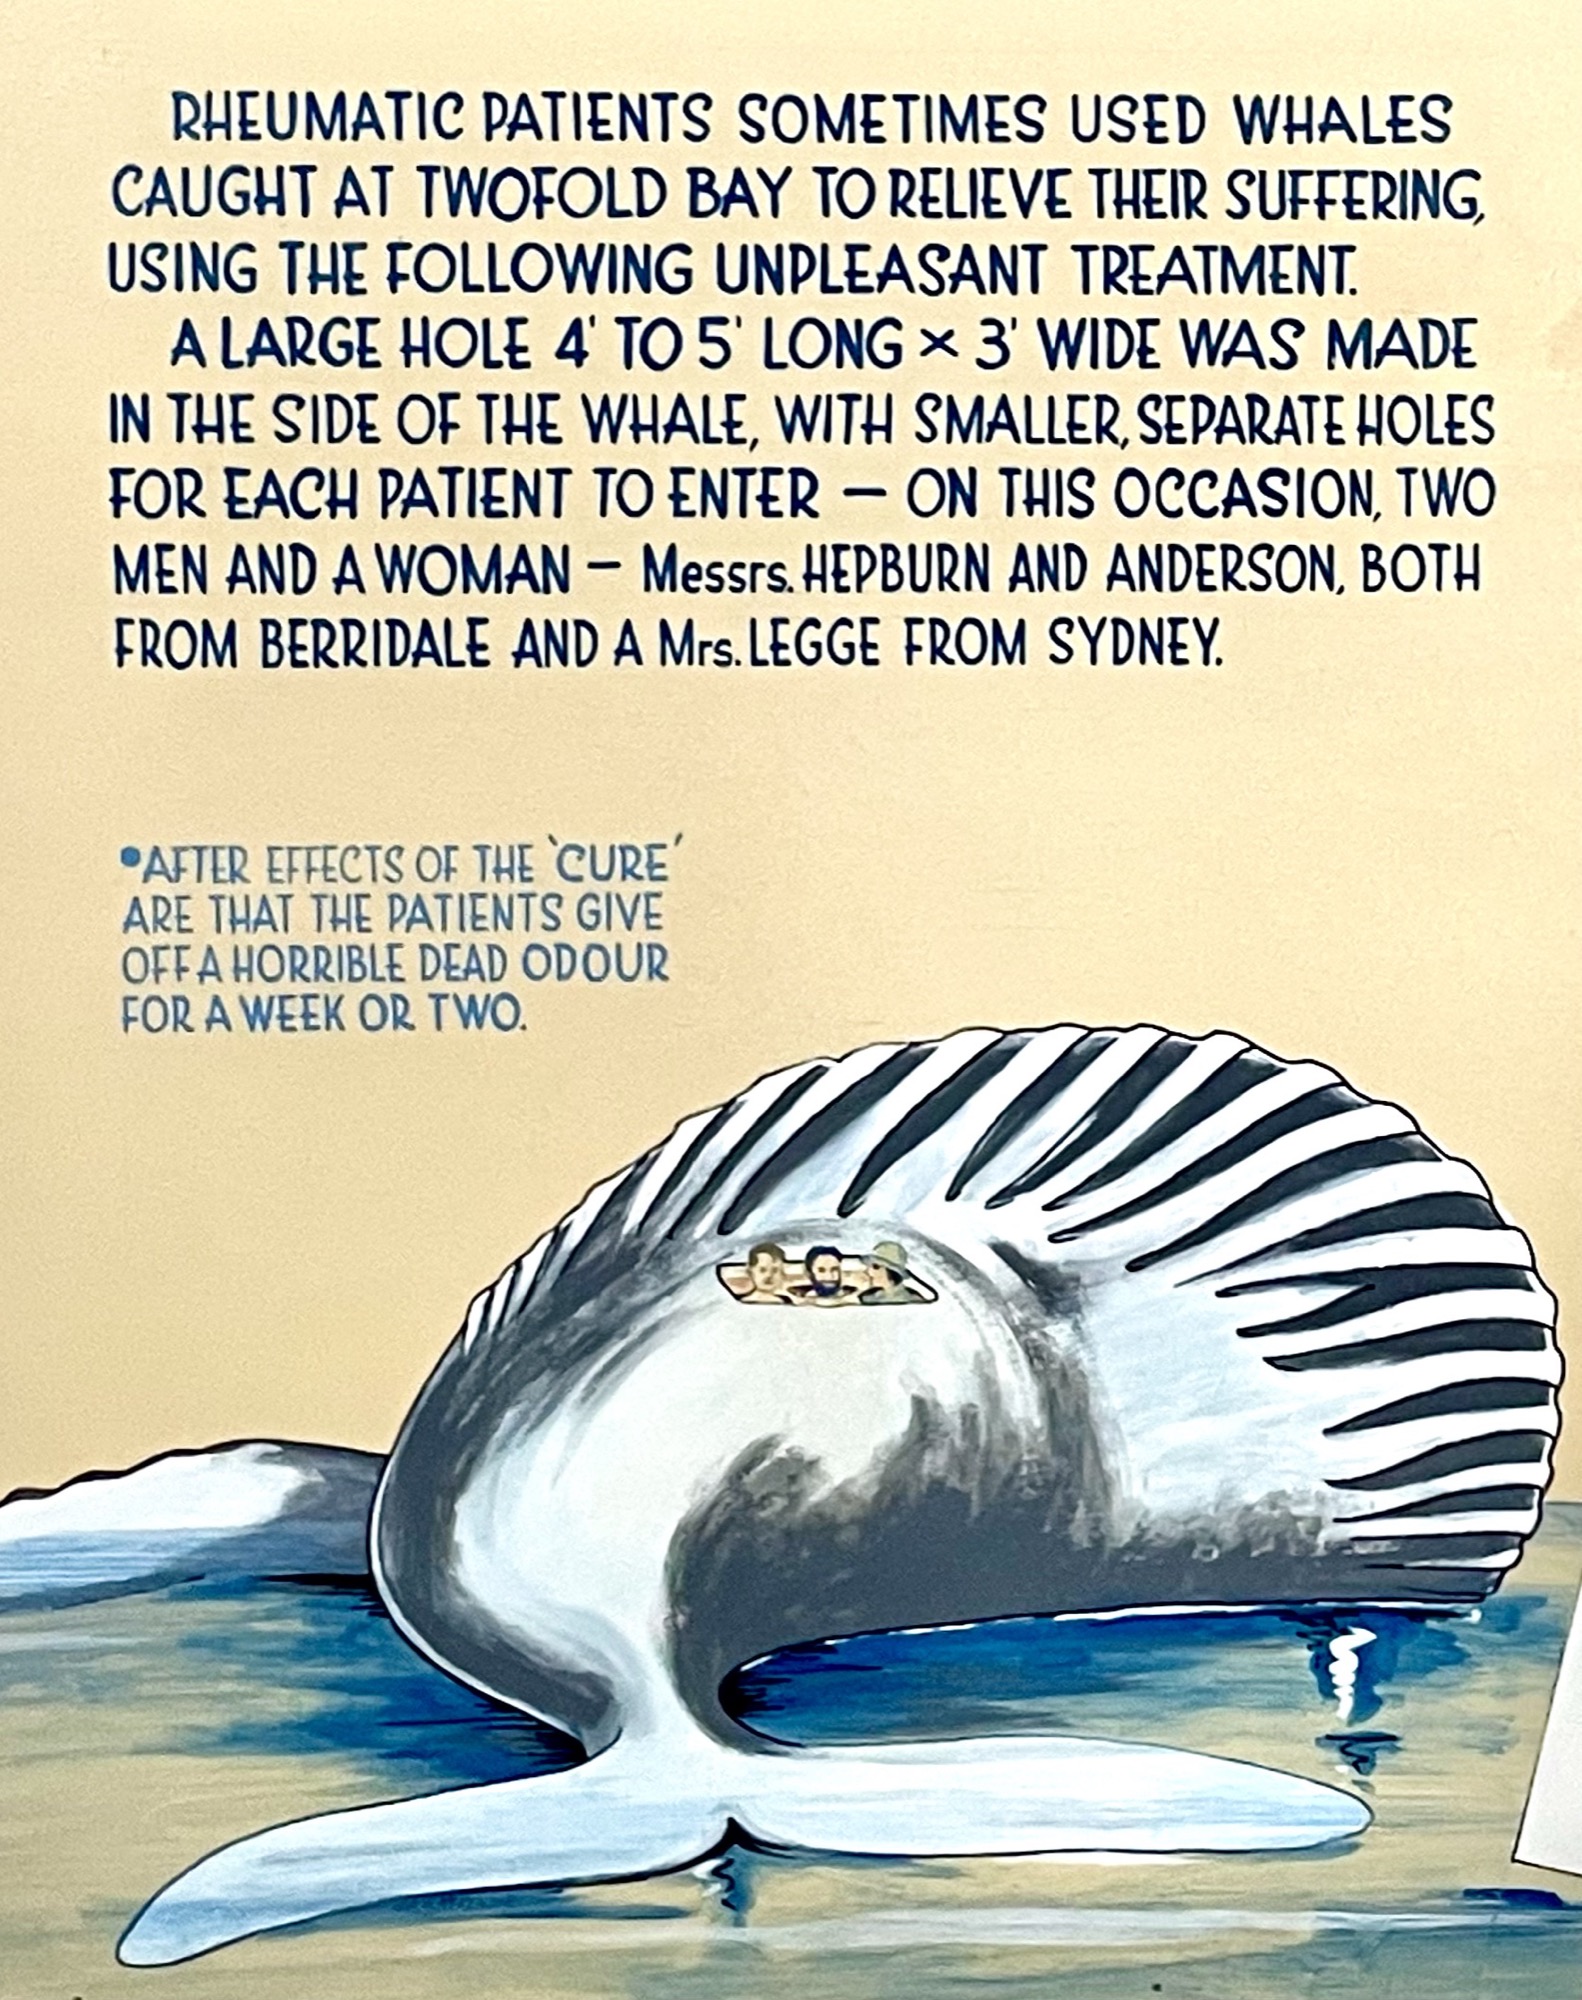
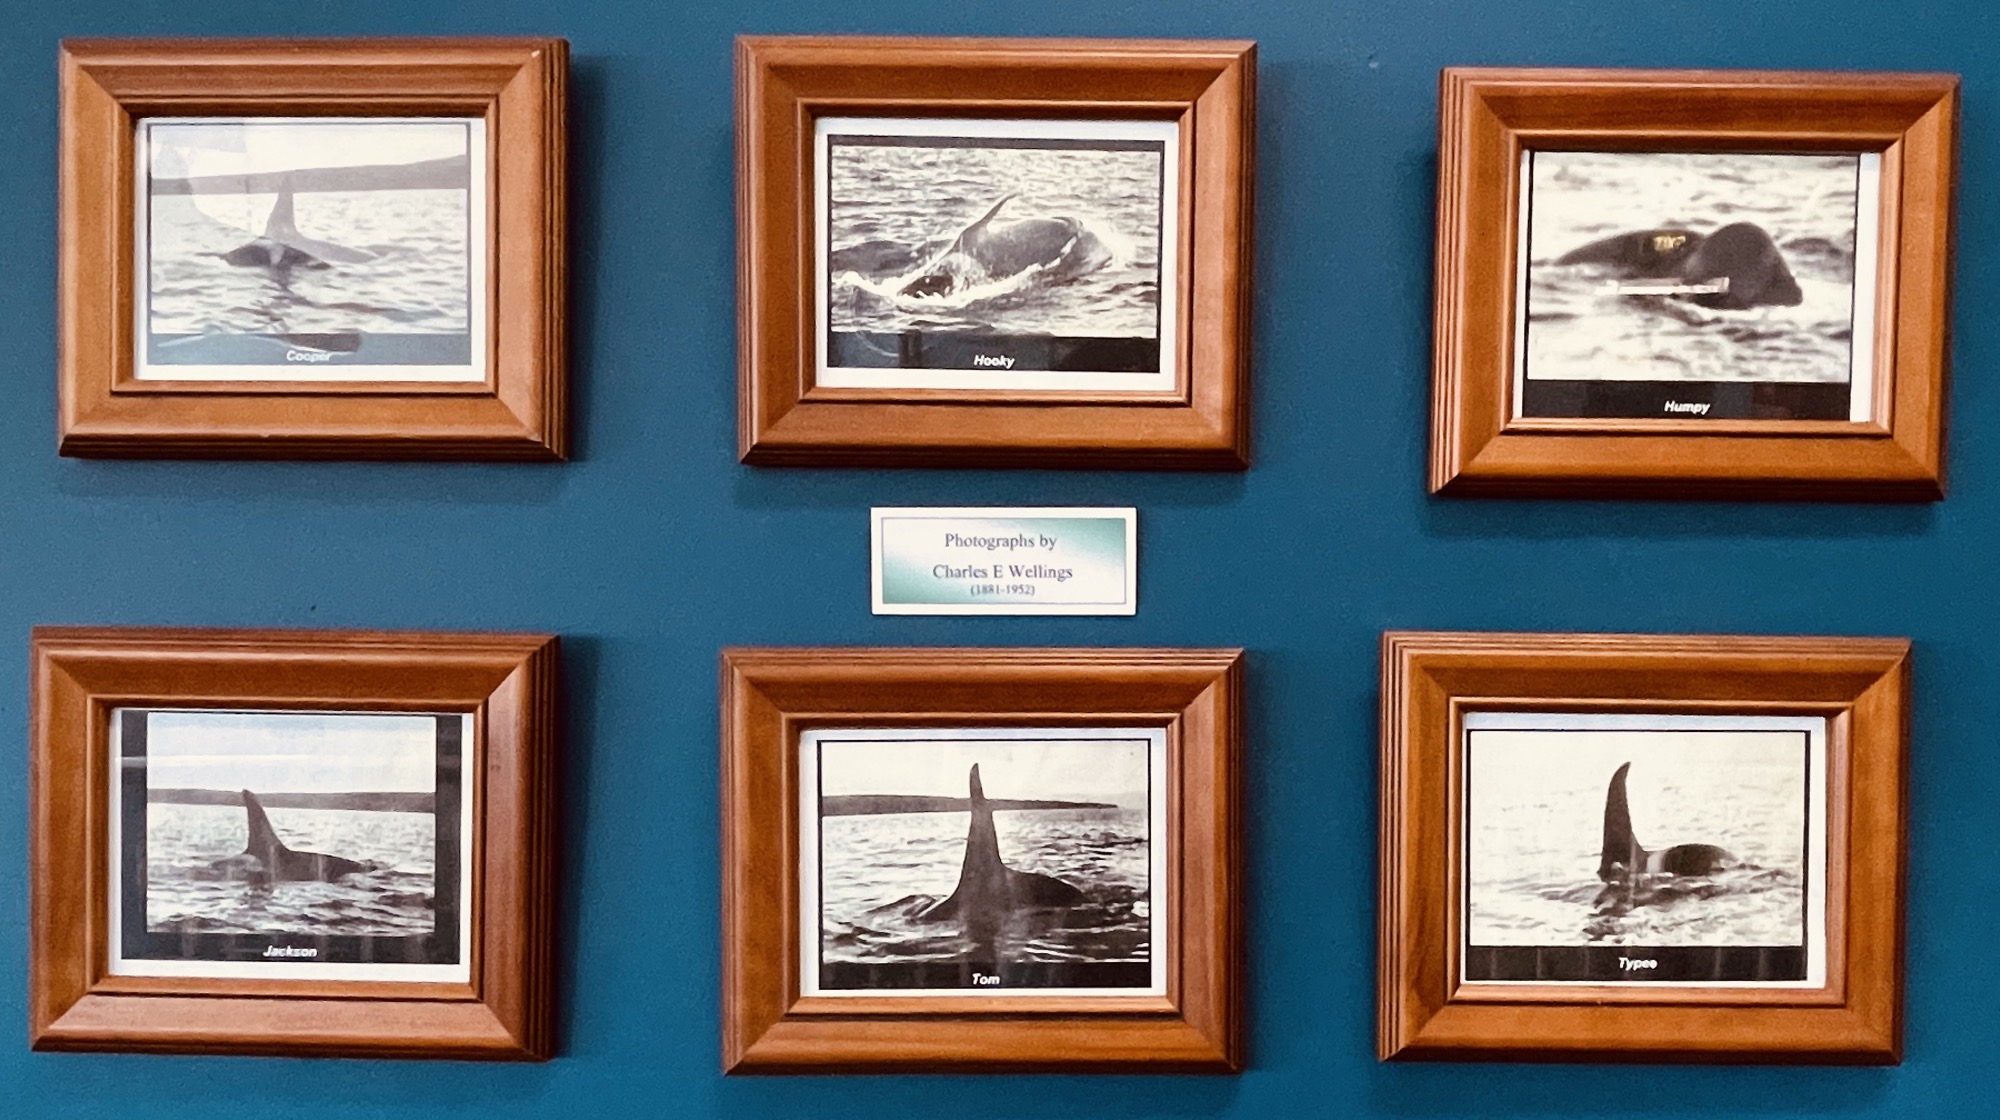
This is the top attraction of Eden and we can see why! We didn’t think much of it at first, but the museum was full of so many interesting information of this industry. Eden had a rich whaling industry and the amazing part is that the local fishermen worked together with the wild killer whales (orcas) to hunt for whales. Old Tom was the most famous killer whale that helped with whale hunting. The locals would harvest the blubber and leave the tongue and offal for the orcas. This museum details the background of the whaling industry back in the day as well as highlights orcas and their natural history. There are also beautiful views from the upper level platform! You could easily spend a couple hours here. It’s definitely worth a visit!


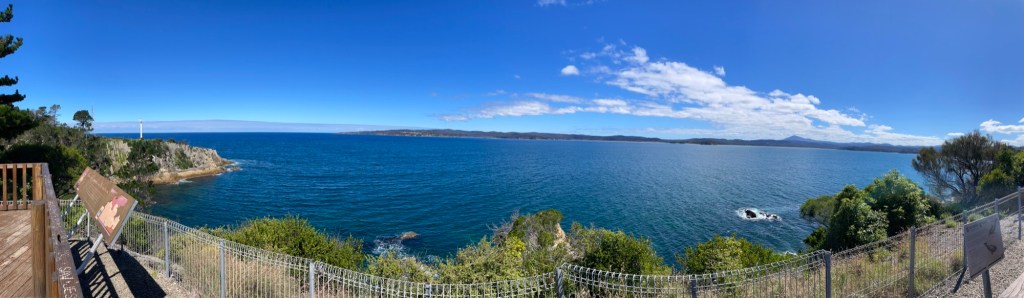
Eden Lookout Point and Rotary Park
Address: 263 Imlay Street, Eden, NSW 2551
Opening times: 24hrs
Just up the street from the Killer Whale Museum is Eden Lookout Point, where the we were told is the best place in Eden for whale watching. Unfortunately whale-watching season is between May – November and at the time we were just at the start of January We still decided to check it out anyway for any scenic views, but disappointingly there’s not much to this lookout other than open water so I’d probably give it a miss if it’s not the right season.

Merimbula
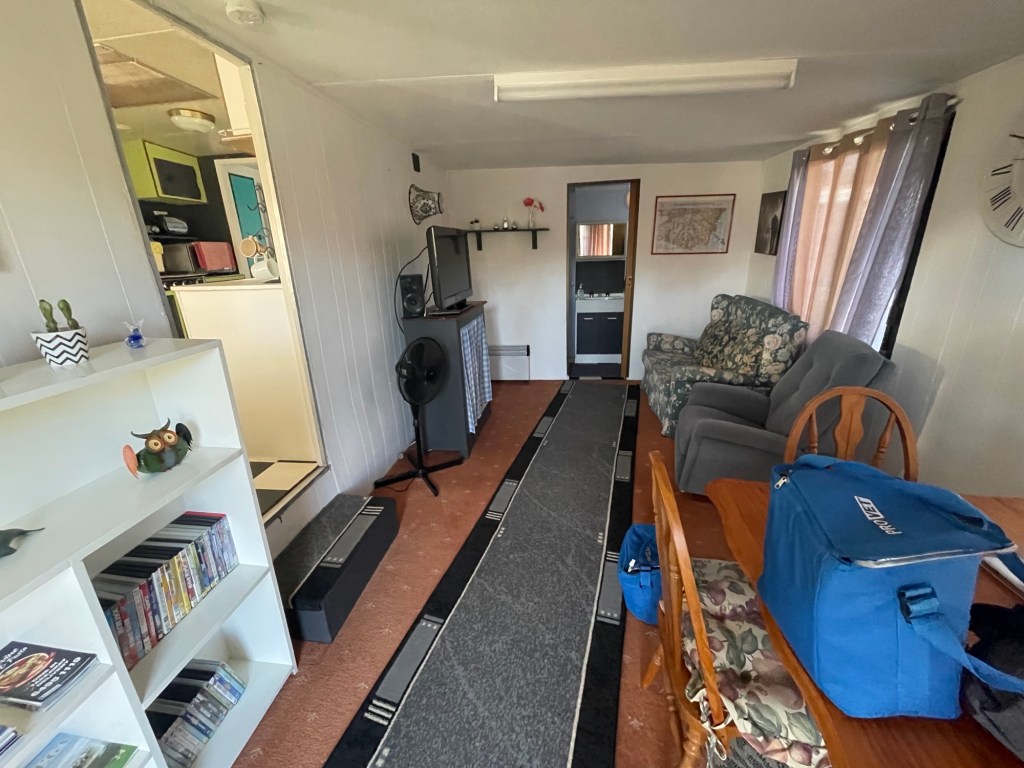
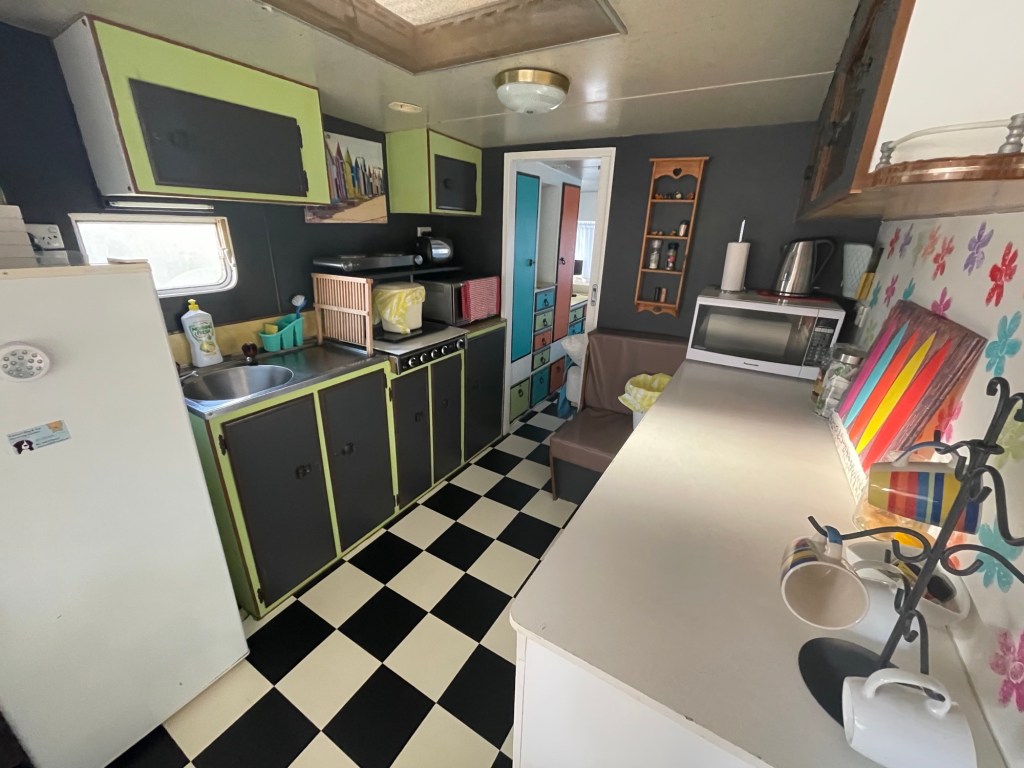
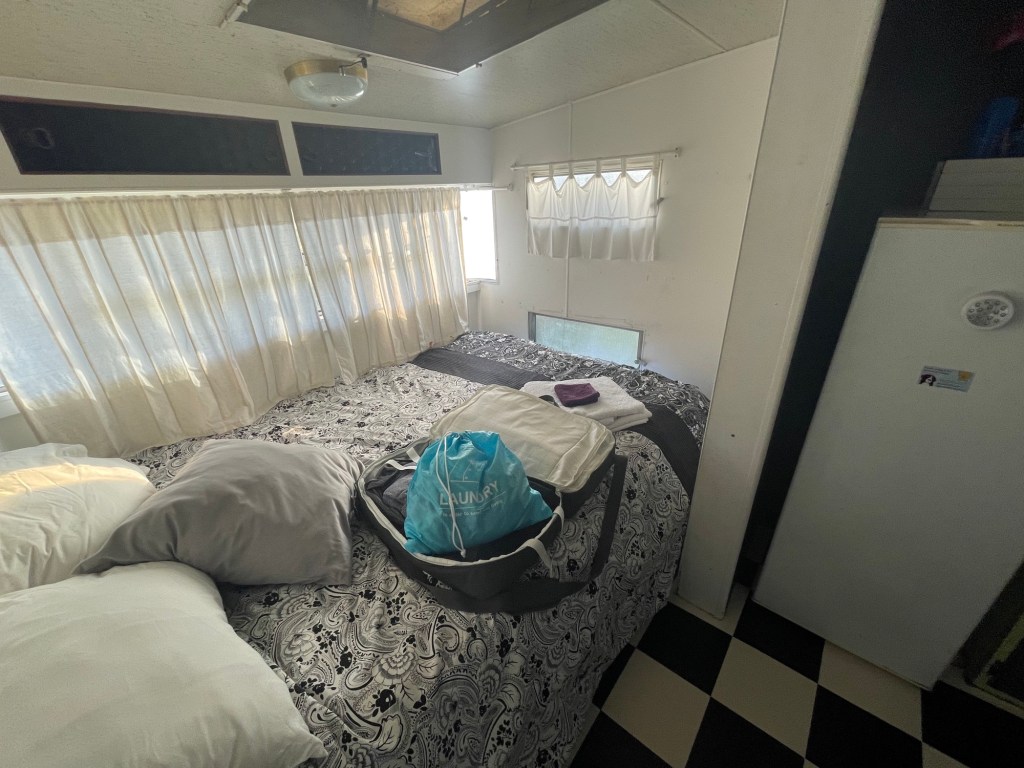
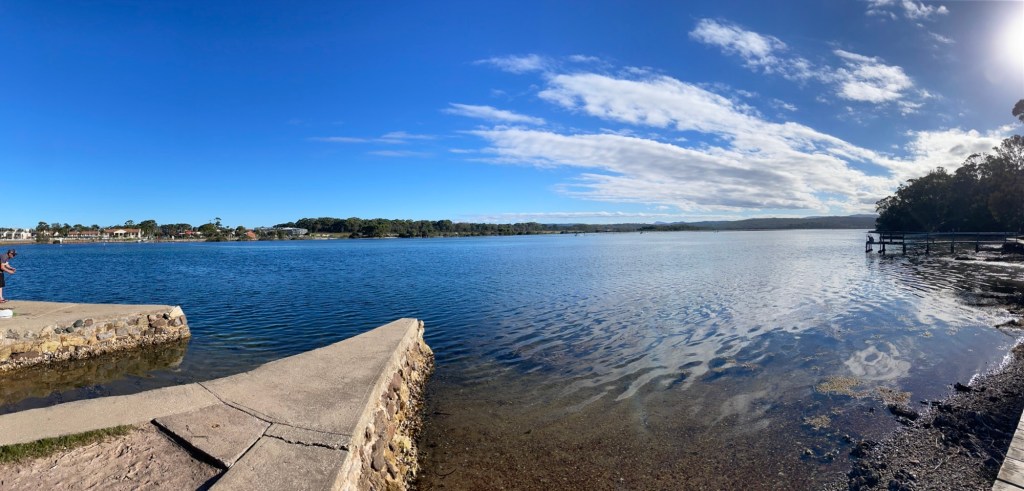
Half an hour north from Eden is Merimbula, a coastal town deemed “The Heart of the Sapphire Coast”. When we arrived, the visitor’s centre was annoyingly closed even though they were meant to be open according to their website, so we relied on google searches to tell us what was popular in the area. Merimbula is another popular whale watching location and is advertised to have great local seafood and home to the famous Merimbula Oyster. Disappointingly, I actually struggled to find a well-rated seafood restaurant despite all the ads for fresh seafood. We ended up eating at a tapas bar which wasn’t bad but it was overpriced. The town was small and it took about 15mins to walk the majority of the main street. We did enjoy a nice evening stroll on the boardwalk though, which was probably the most memorable part of this town for us. We only stayed one night which is enough time if you’re looking for main tourist activities. If you’re looking to spend more time, there’s an aquarium in town, some beaches, and fishing charters that we saw advertised but didn’t attend. It was a busy time of year when we travelled so we couldn’t find any affordable hotels or AirBnBs in town so we booked a small camper van AirBnb at the next town over in Wolumla roughly 15mins away.


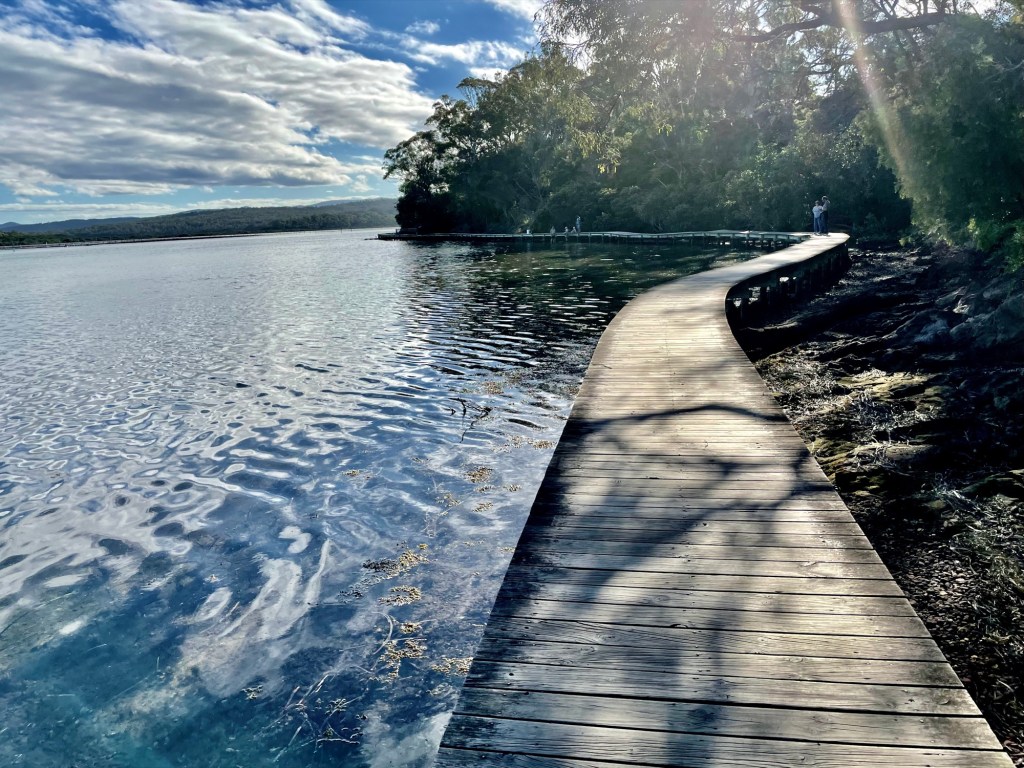
The Merimbula Boardwalk
Address: Market Street, Merimbula, NSW
Open 24hrs
https://www.visitnsw.com/destinations/south-coast/merimbula-and-sapphire-coast/merimbula/attractions/merimbula-boardwalk
Our favourite part of Merimbula – a lovely boardwalk that hugs the Merimbula Lake. We had a nice evening stroll here after dinner and walked amongst the mangroves and spotting mini crabs and puffer fish!


Book an Oyster Tour!
One thing I regret during our trip was not attending an oyster tour. I didn’t even realize it was something we could do until the morning we were set to leave and by then all the tour tickets were sold out. 😦 The Merimbula Oyster (Sydney Rock Oyster) is one of the most well-known oyster in Australia and is served in many gourmet restaurants around the country. There are a few farms that offer tours and the ones that stood out were Wheelers Oyster Farm and Captain Sponge’s Magical Oyster Tour. If we ever come back around during the right season, we’ll be sure to book a tour!!
Bermagui
Continuing North on the coastal drive, you’ll pass by many small coastal towns with beautiful beaches. A few of them had caravan parks right in front of the water where lots of people were gearing up for a surf. After a while all of these towns start to seem similar. We only stopped in one of these coastal towns: Bermagui, to check out Horse Head Rock.
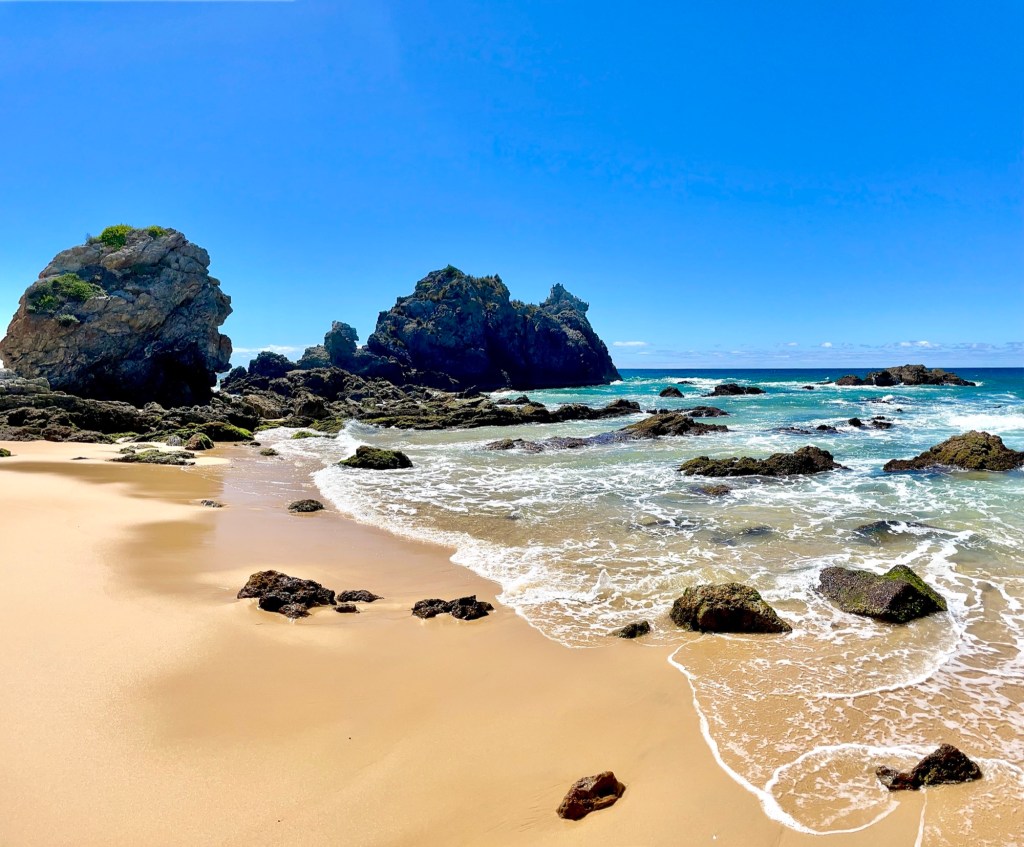
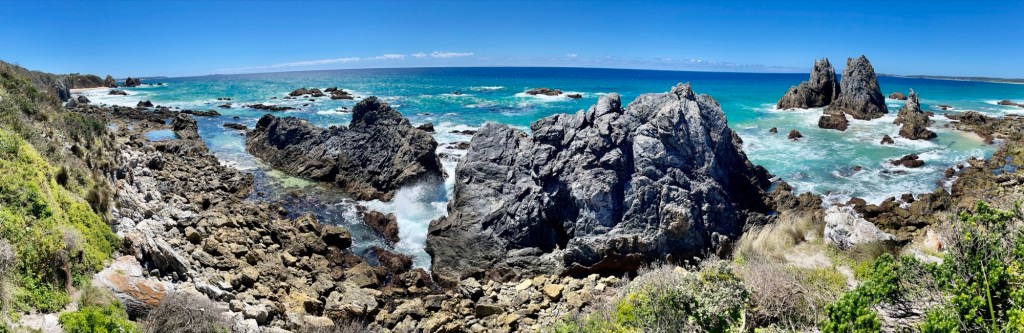
Horse Head Rock/Camel Rock
Address: Camel Rock Surf Beach
https://www.sapphirecoast.com.au/attraction/horse-head-rock
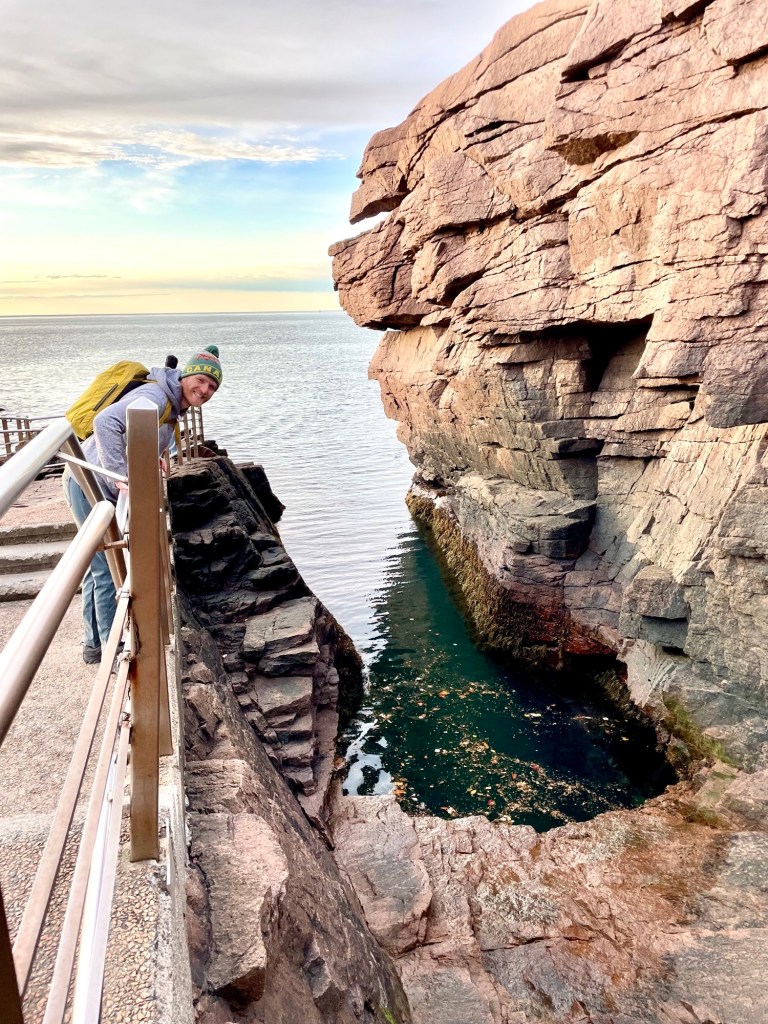
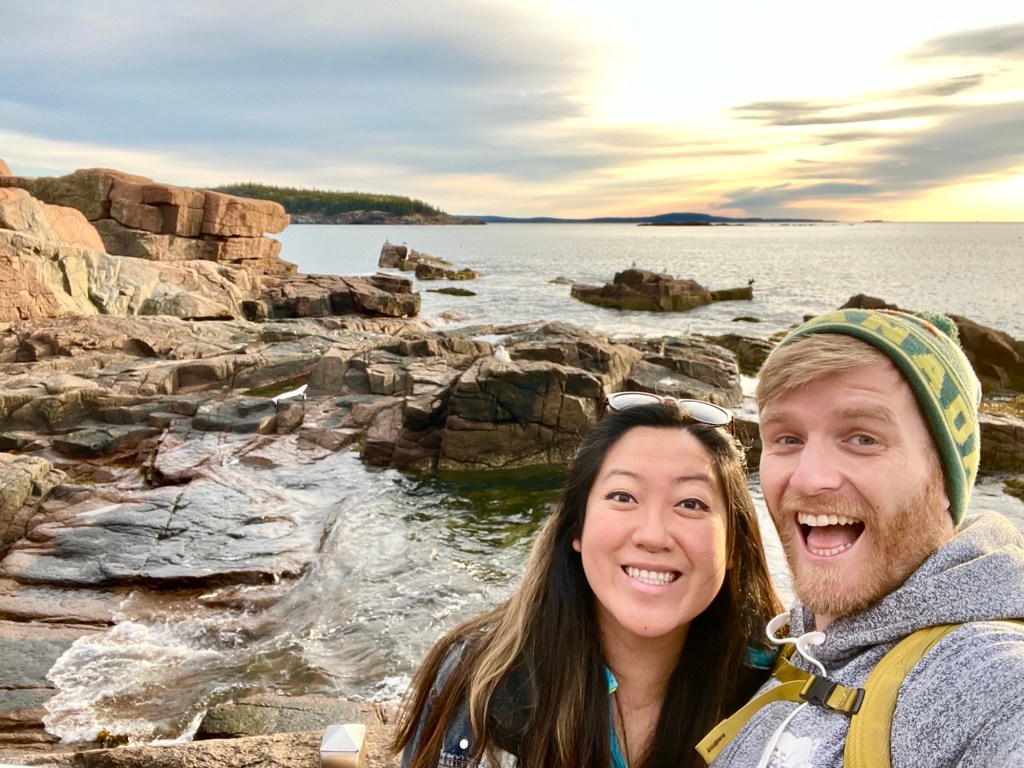
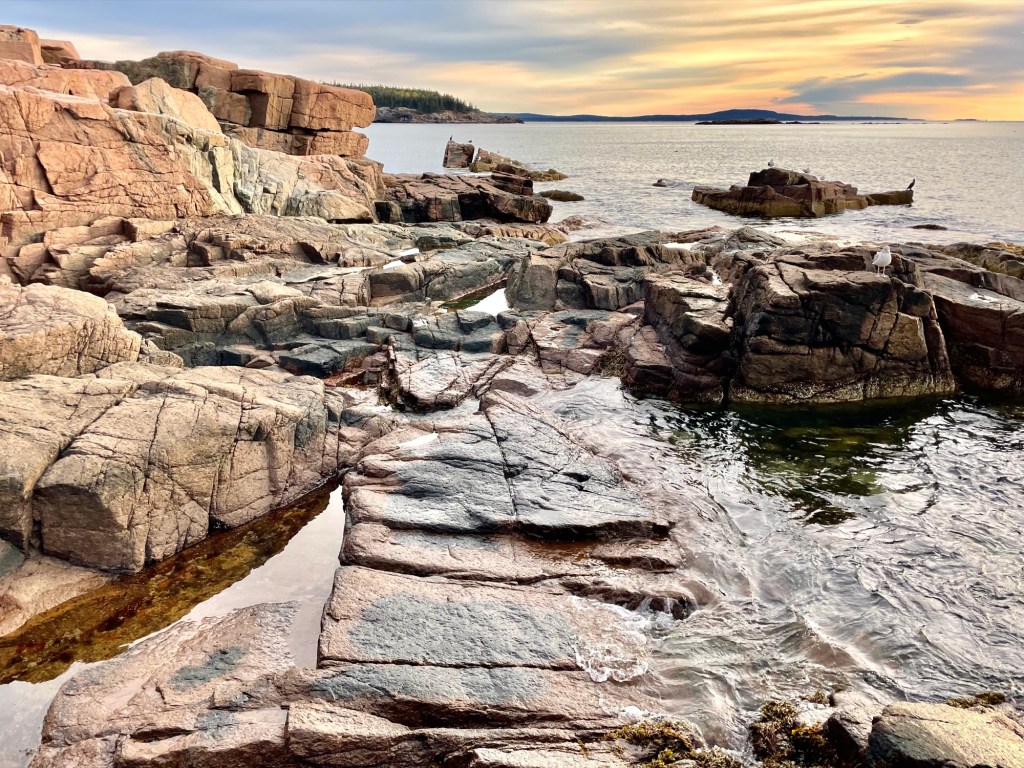
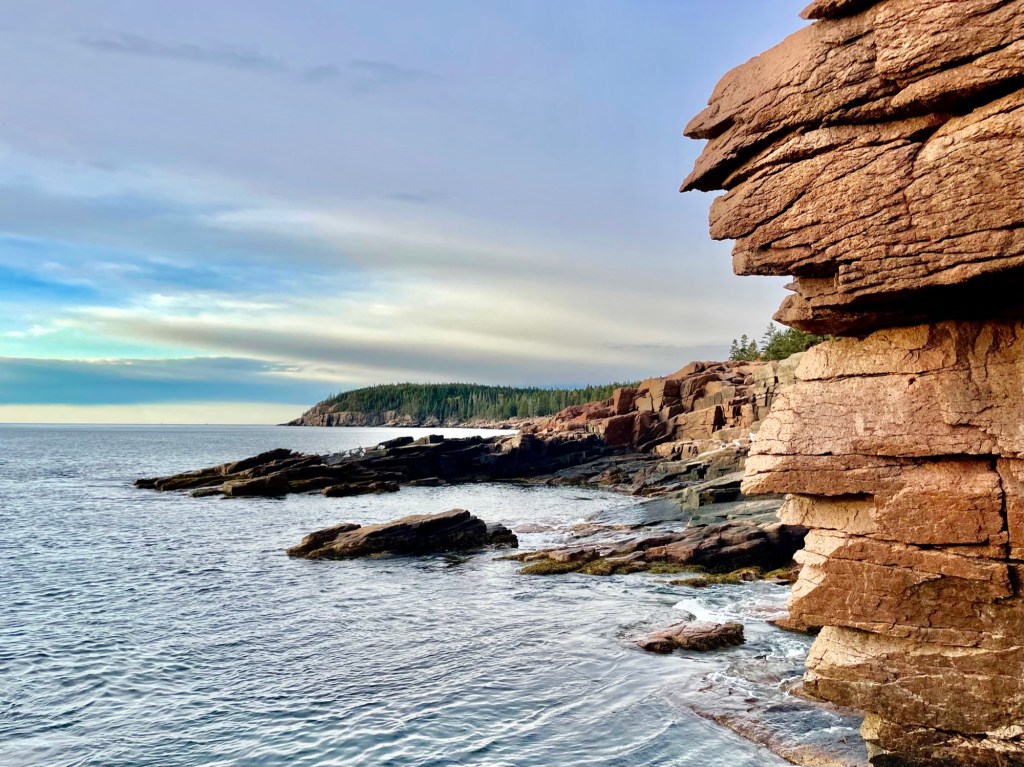
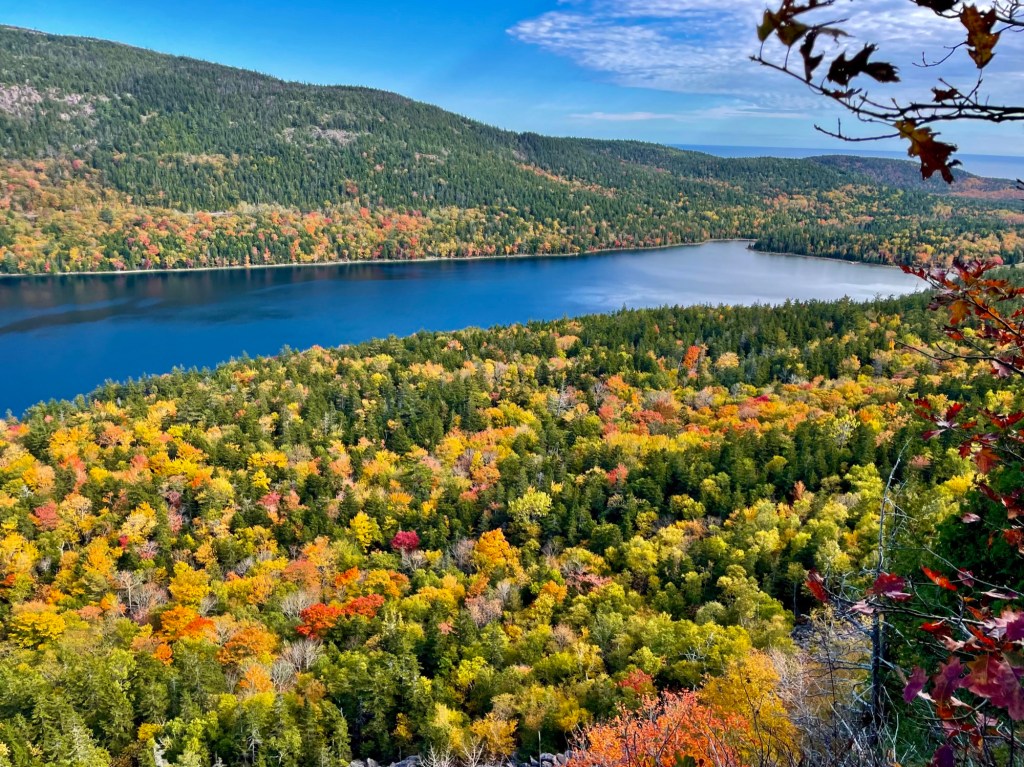
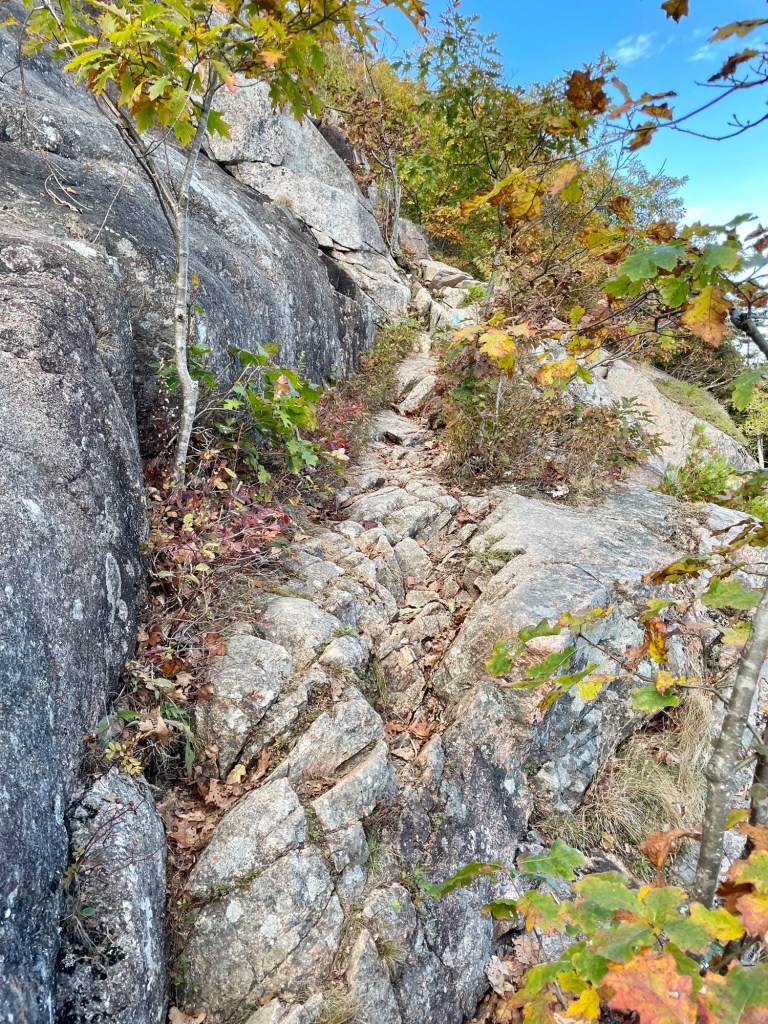
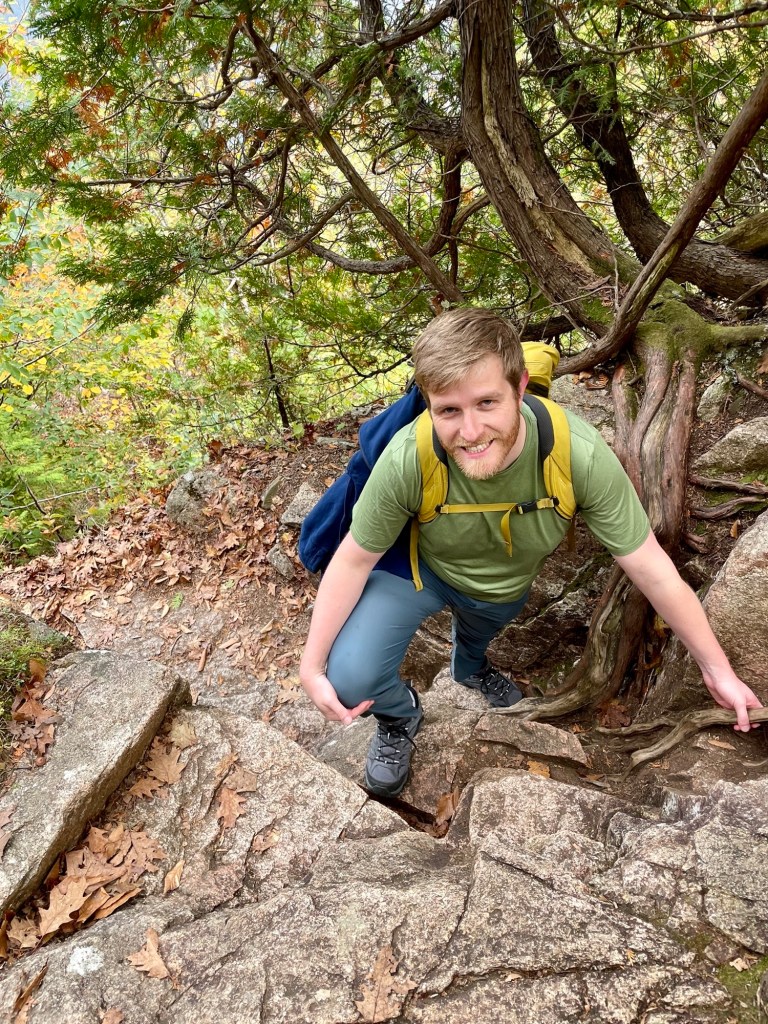
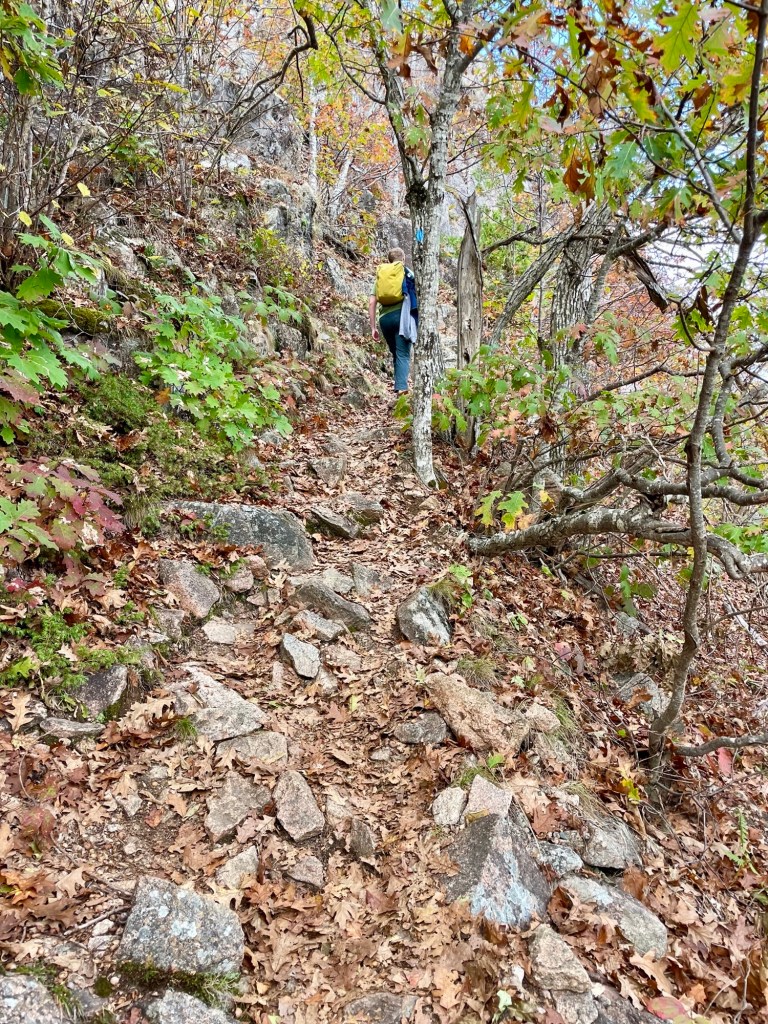
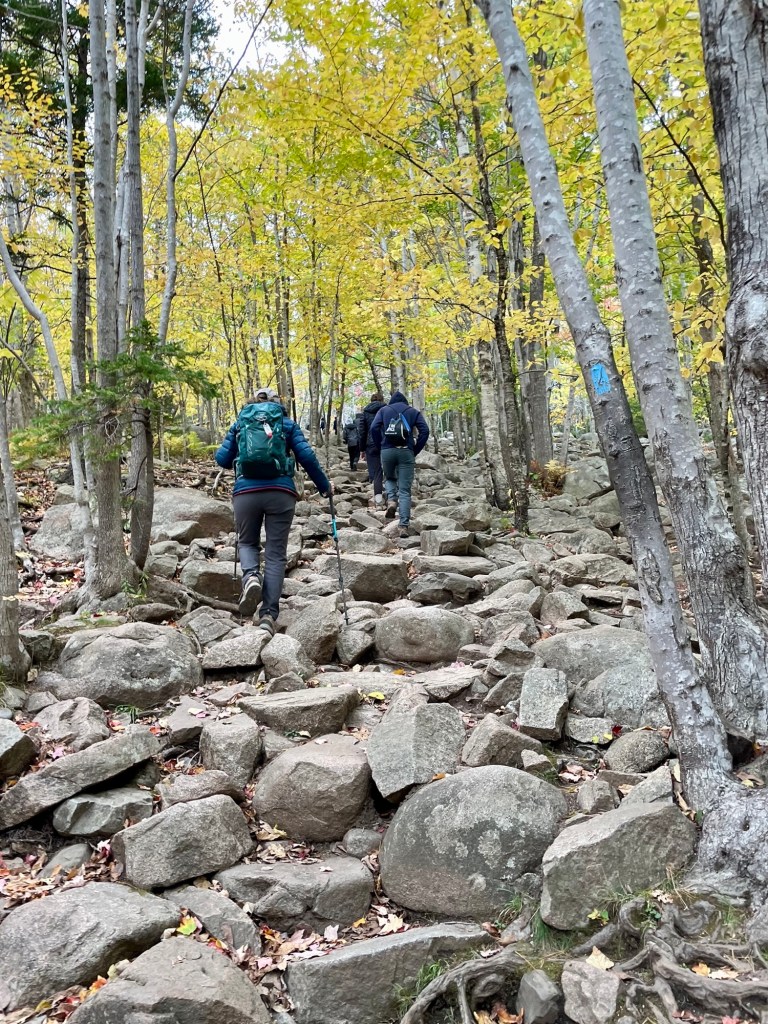
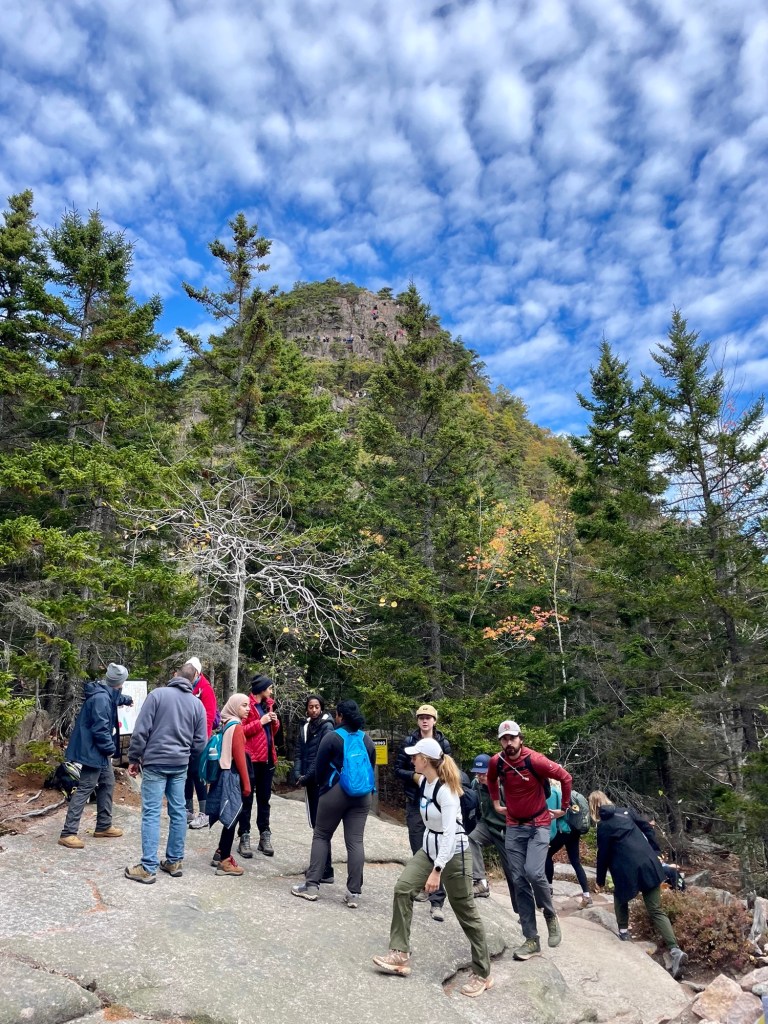
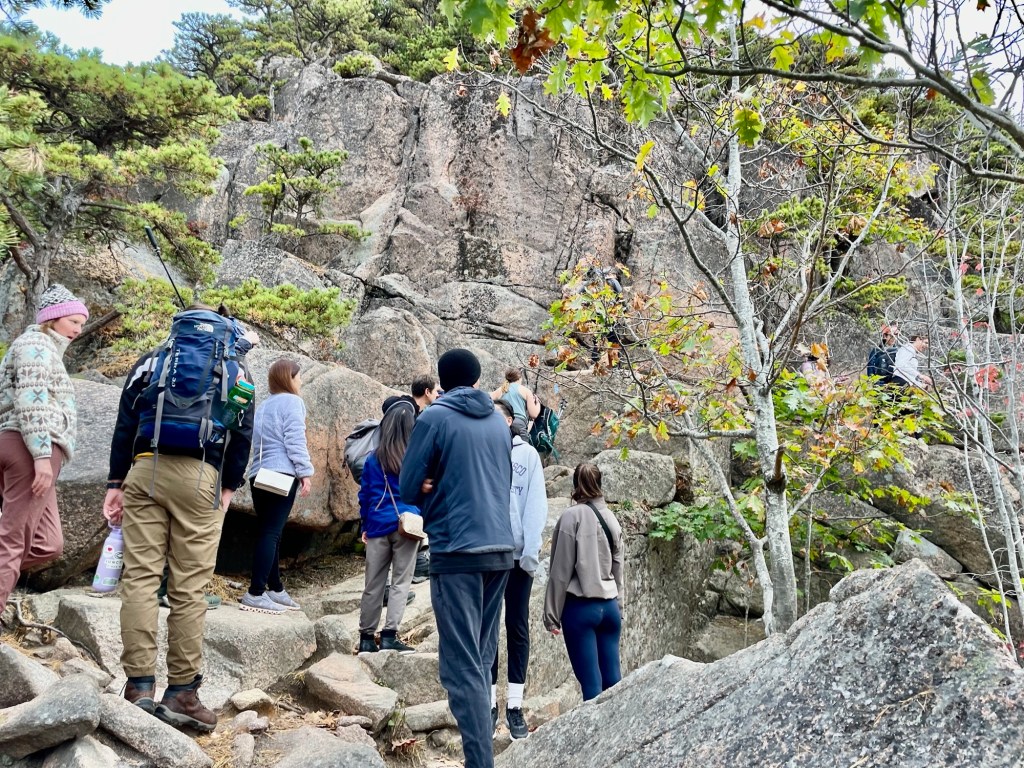
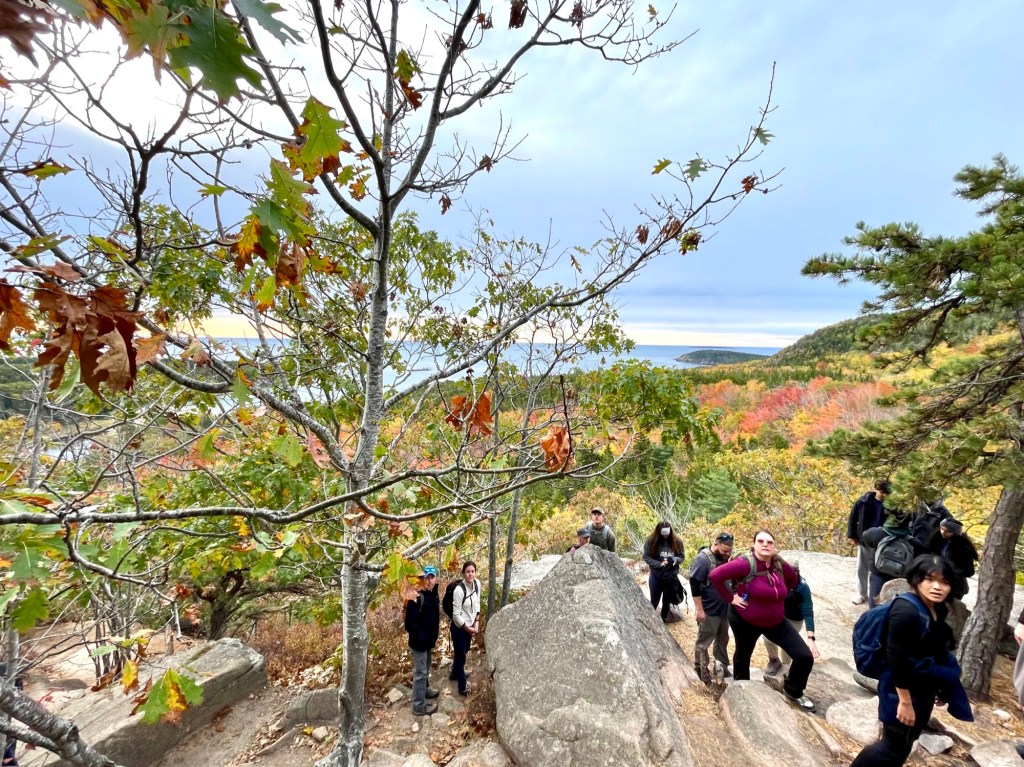
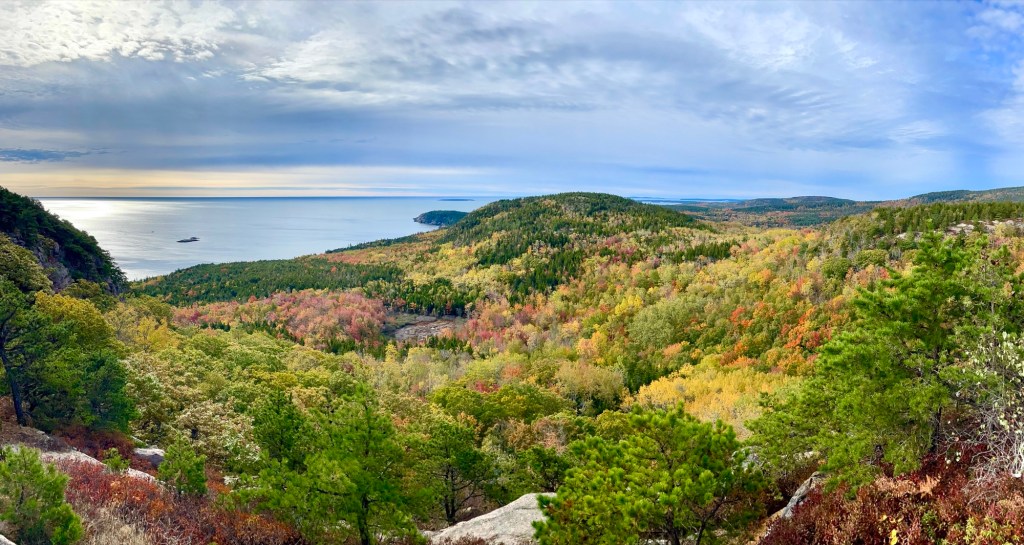
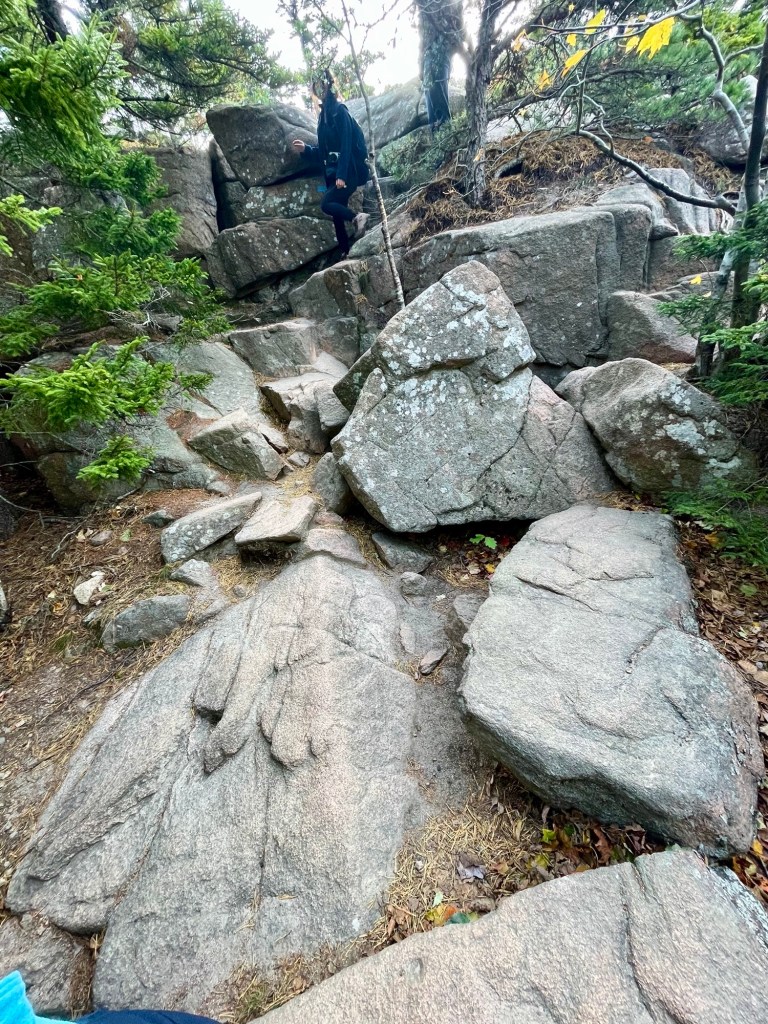
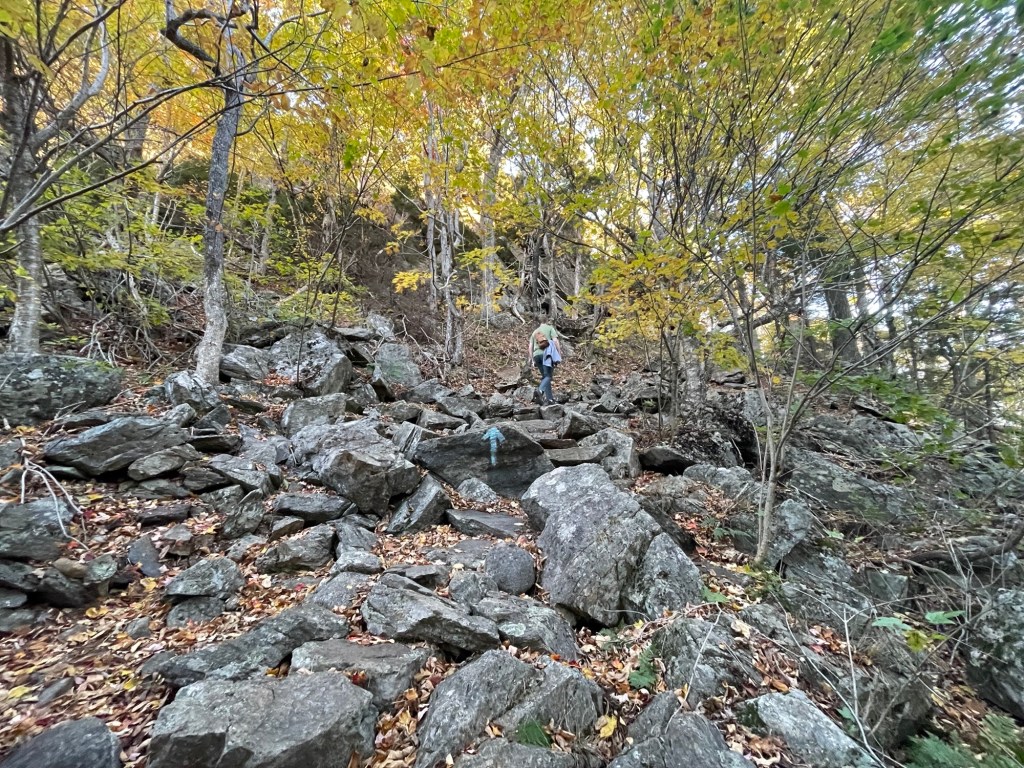
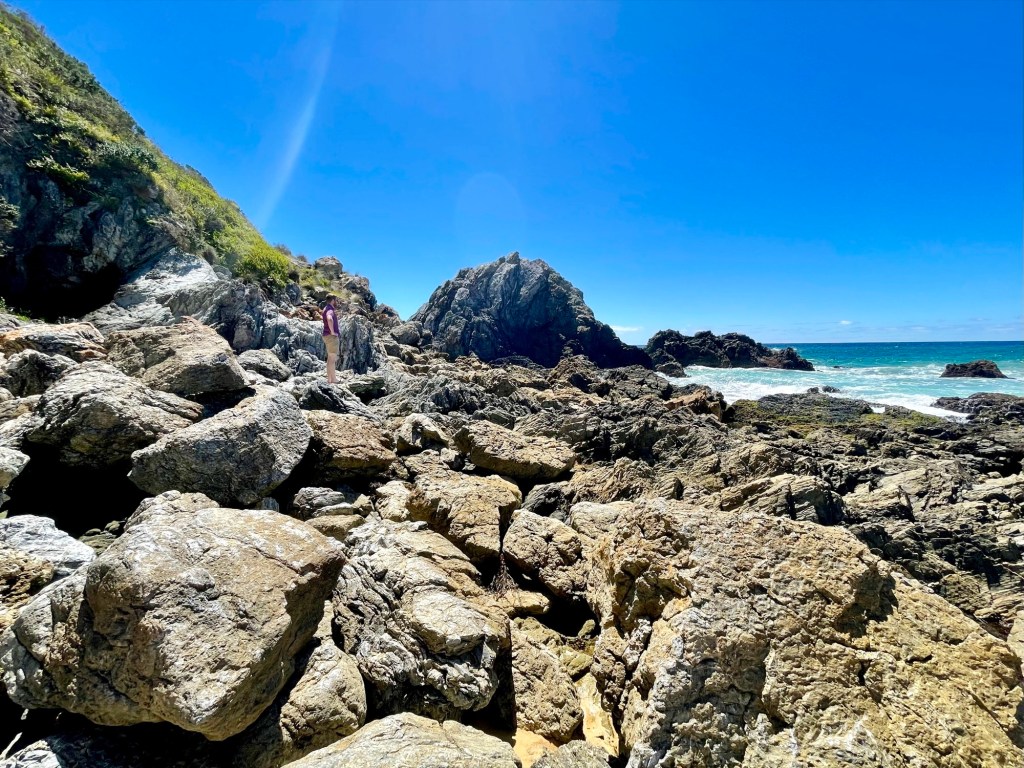
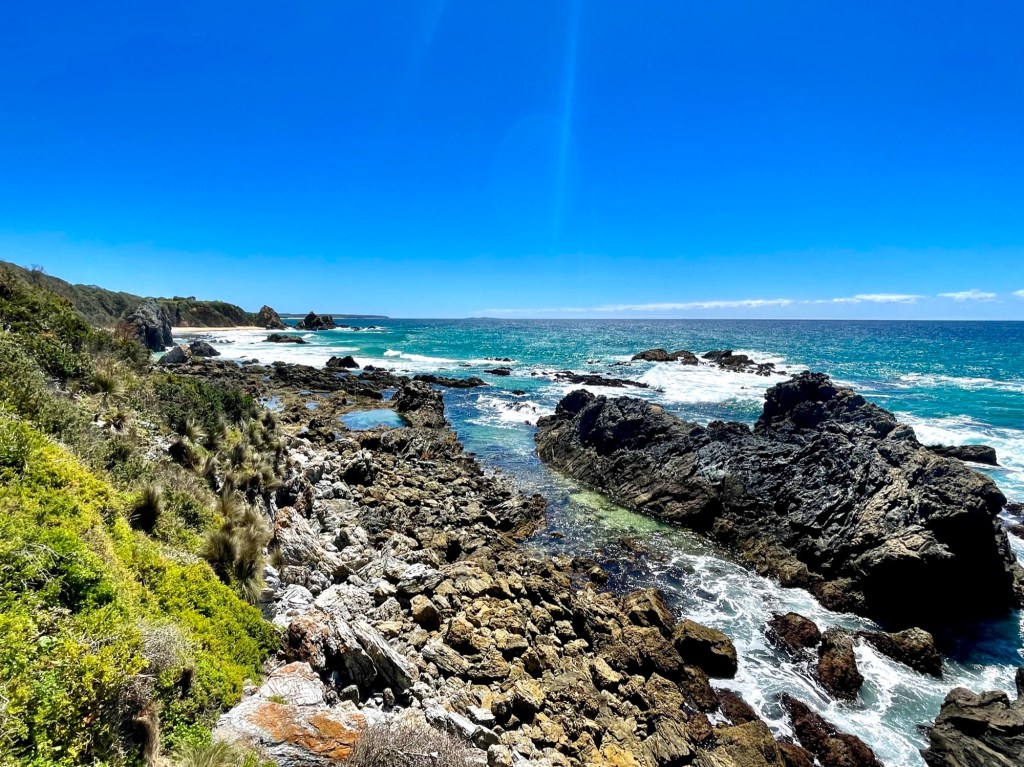
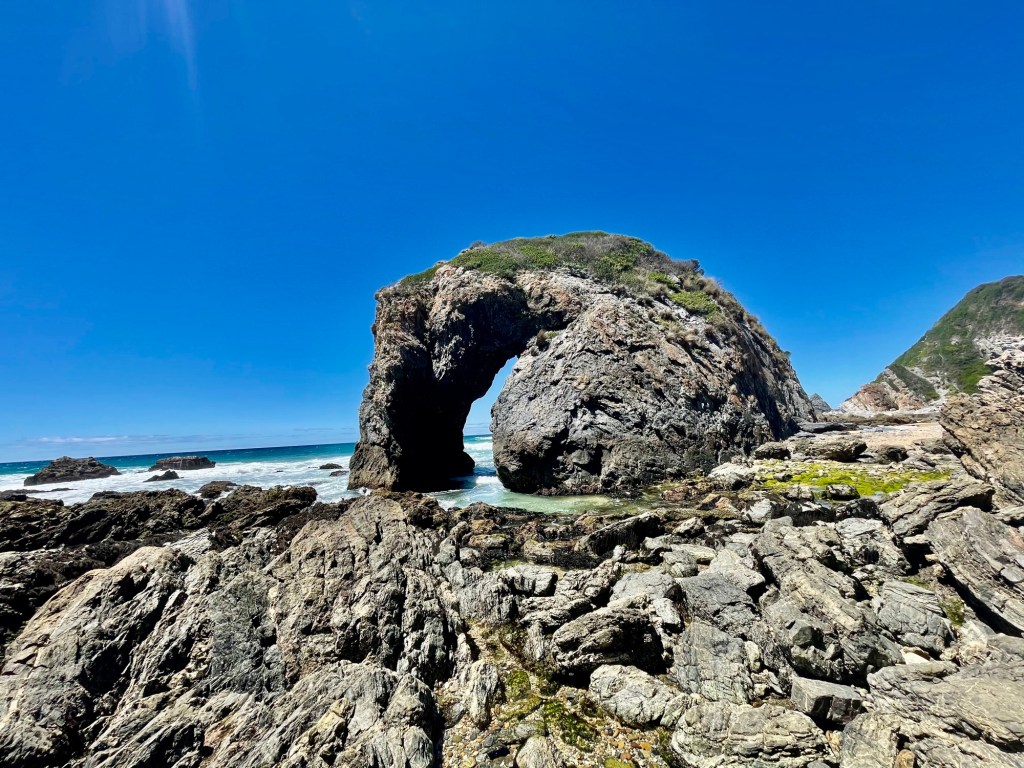
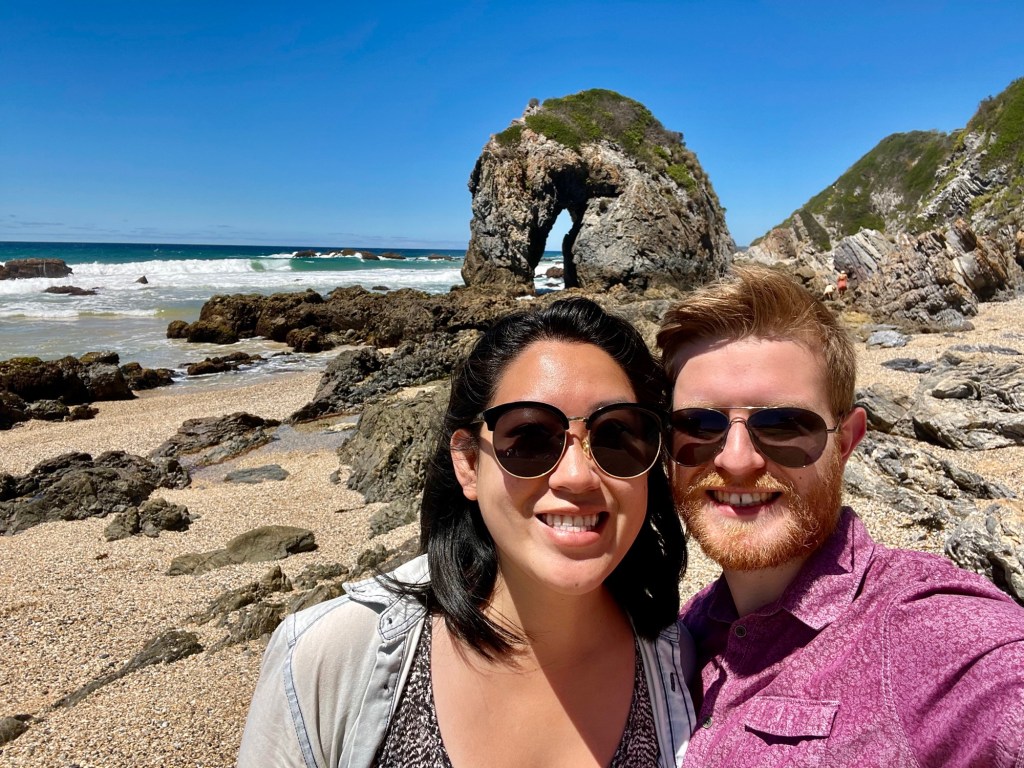
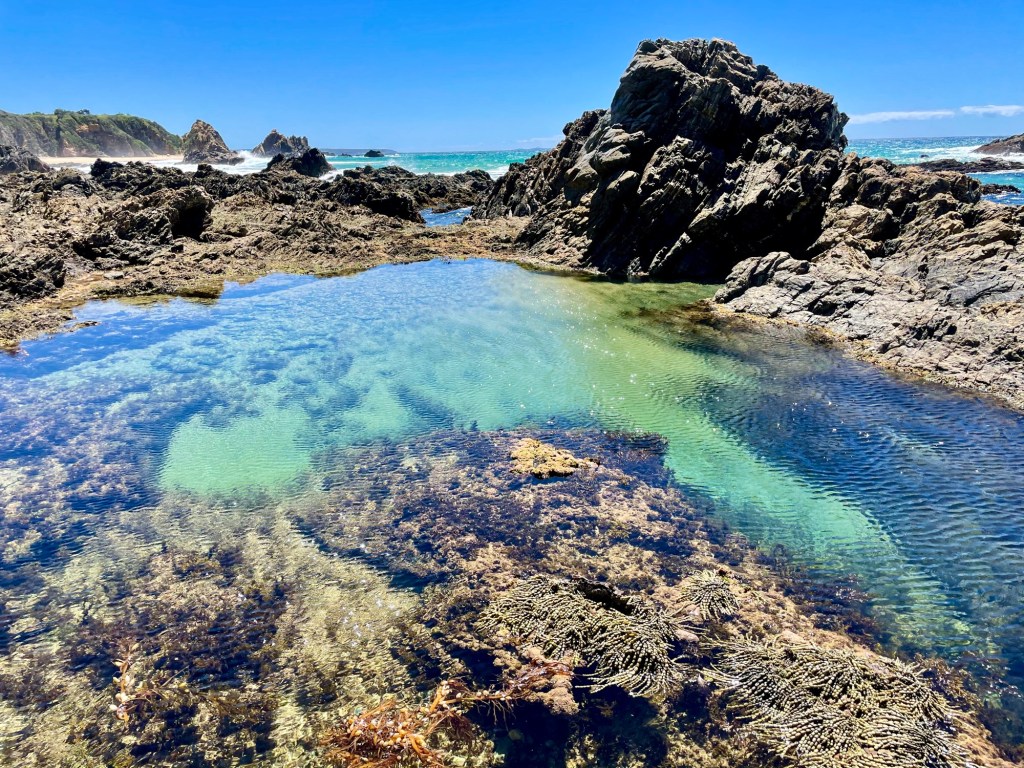
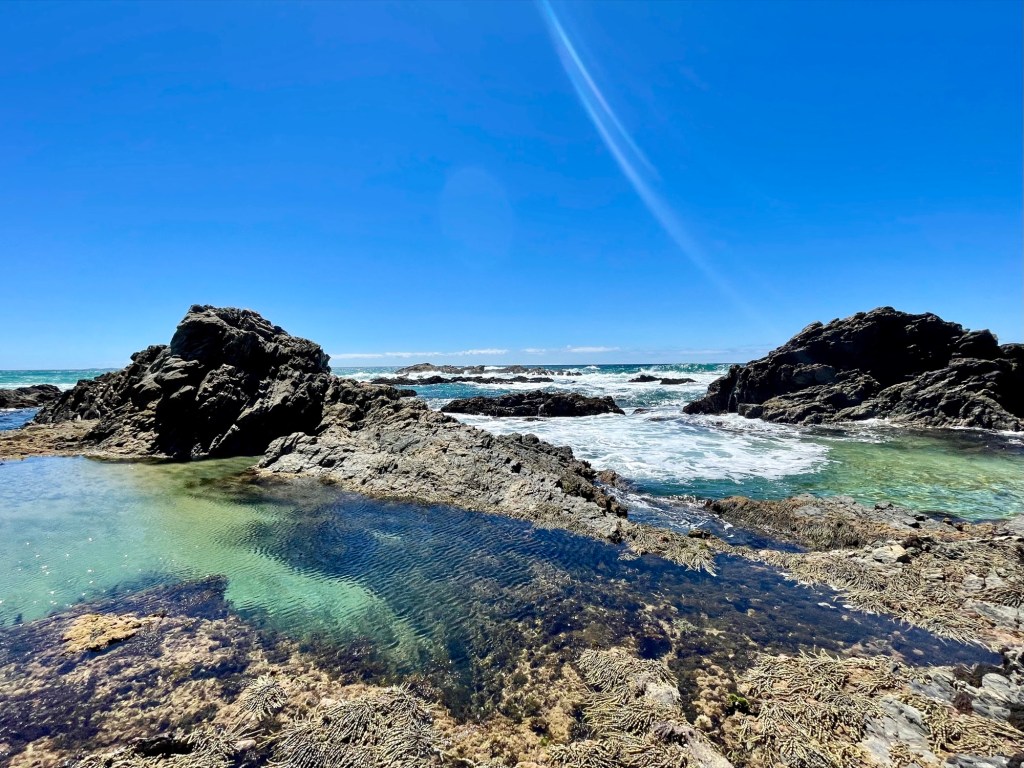
Horse Head Rock wasn’t a big advertised attraction nor was it highlighted in road trip itineraries, but pictures of it in passing made it look too cool to pass up. Access is at Camel Rock Surf Beach where there’s a big rock that kind of resembles a camel. Continue left following the beach over the rocks to get to Horsehead Rock. Warning, the hike does get a bit treacherous with lots of jagged rocks and uneven footing. Wear appropriate footwear such as hiking shoes or sturdy water shoes (you may get your feet wet at times). At the time we had no idea what we were in for so I had Birkenstocks on and Toby had flip flops (or as the Aussies call it: ‘thongs’ 😉) and it was a real struggle to get over the many MANY jagged rocks. But in the end, the hike was SO worth it. We climbed up a few rocks to get beautiful rugged views of the rocky beach and the actual horsehead rock looked just like a horse head, complete with a mane made of moss! We sat here for a bit just marvelling at how accurate the rock was. Definitely recommend! This hike is only accessible at low tide, so plan ahead!


Tilba Tilba
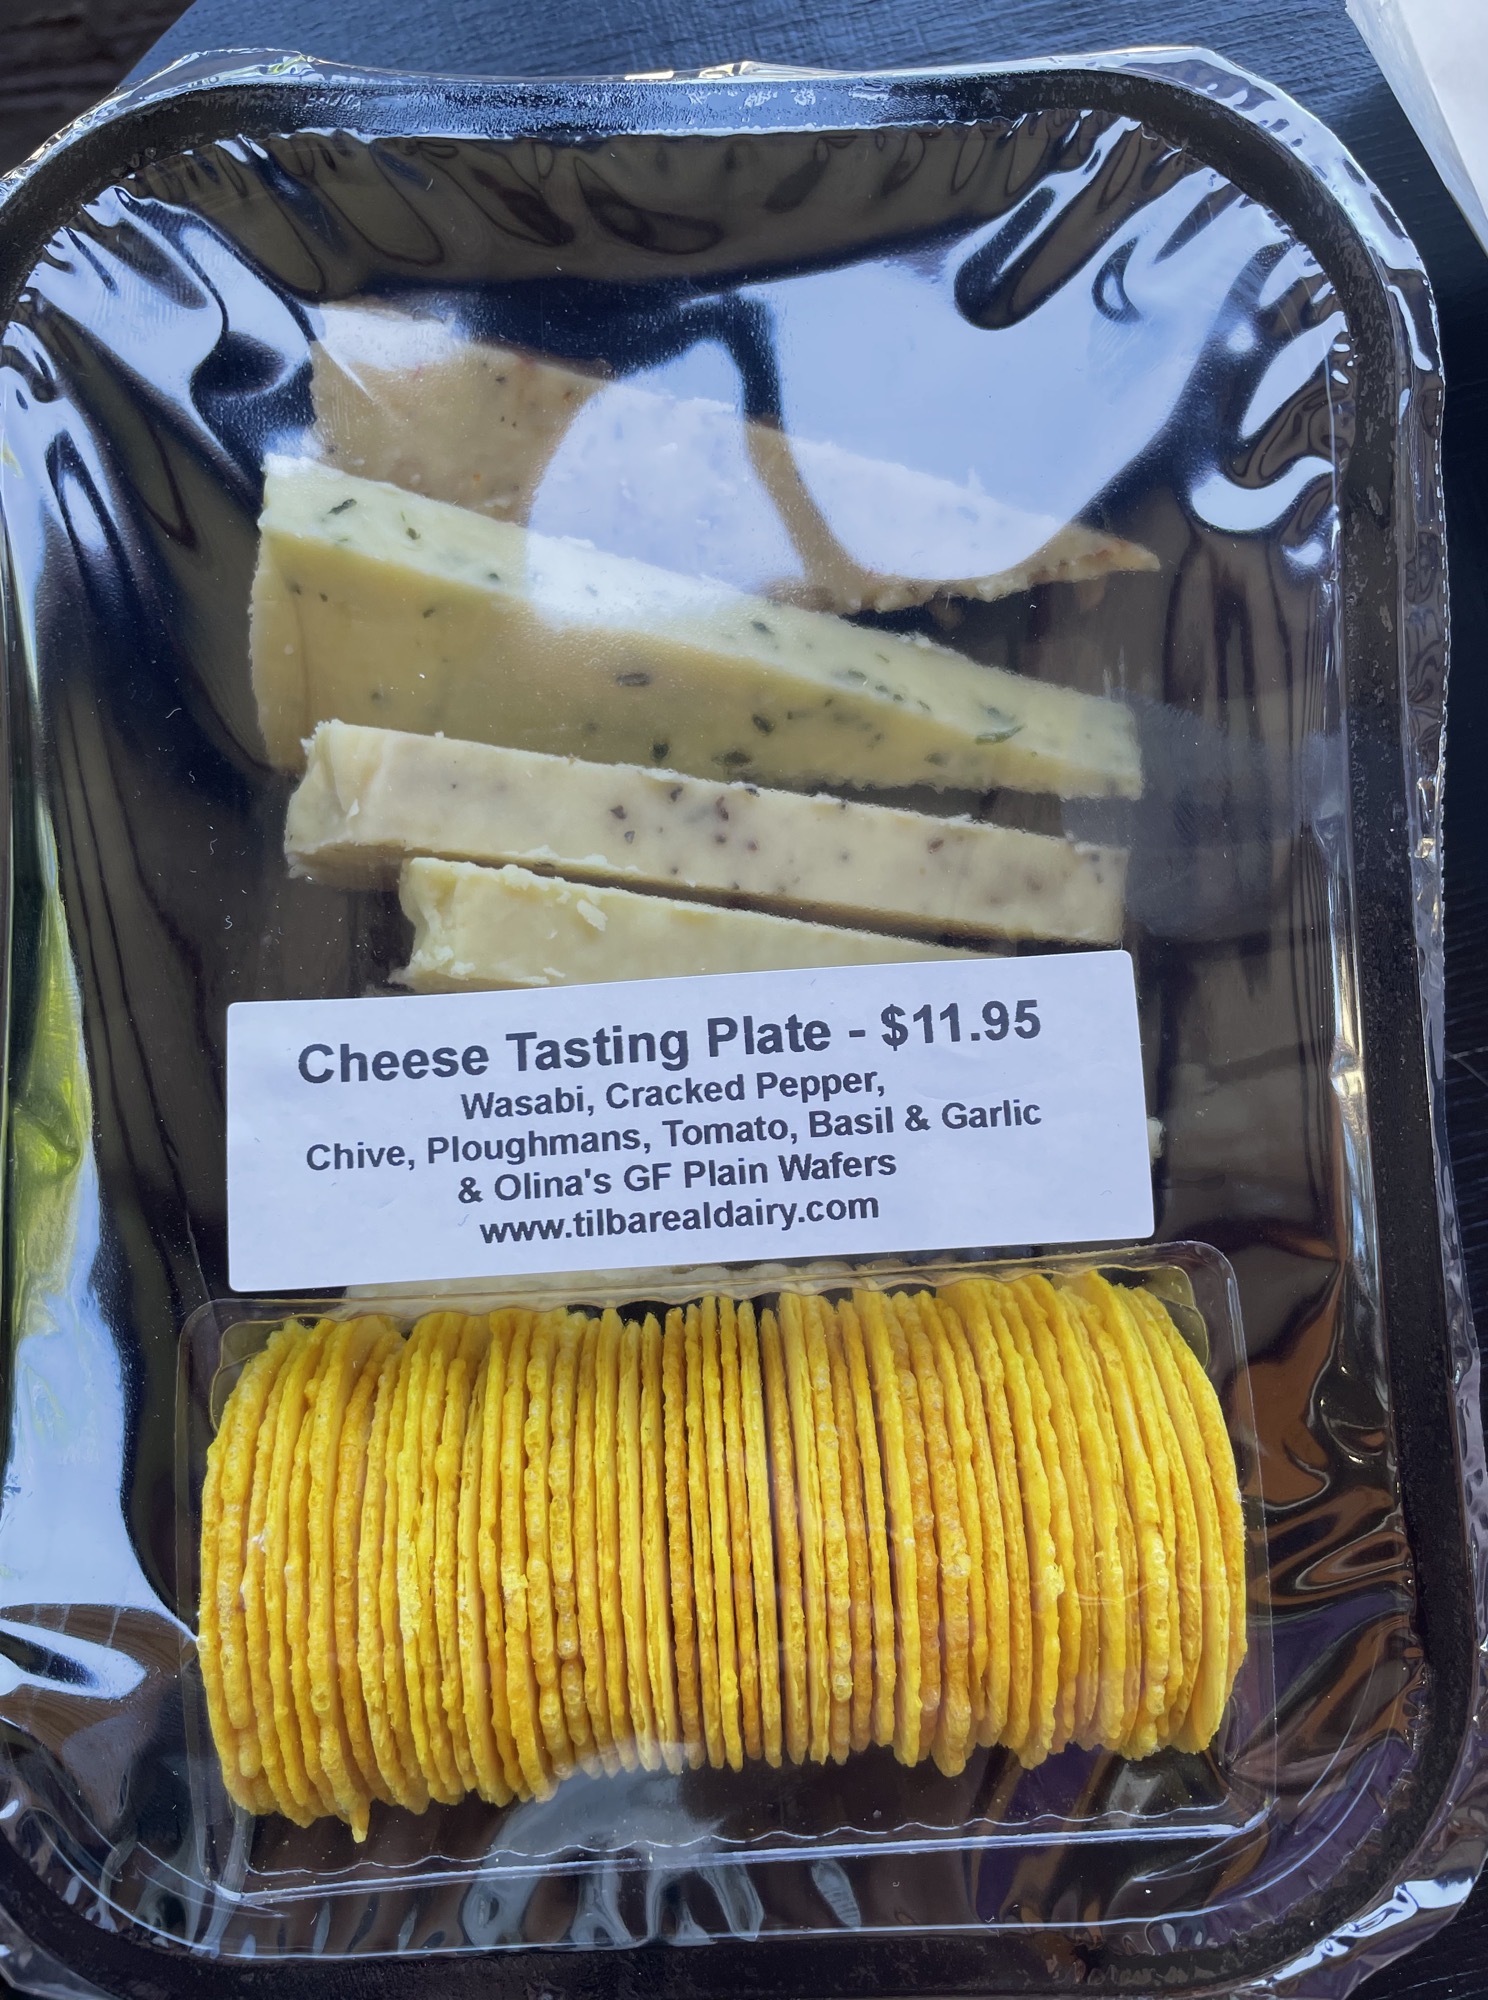
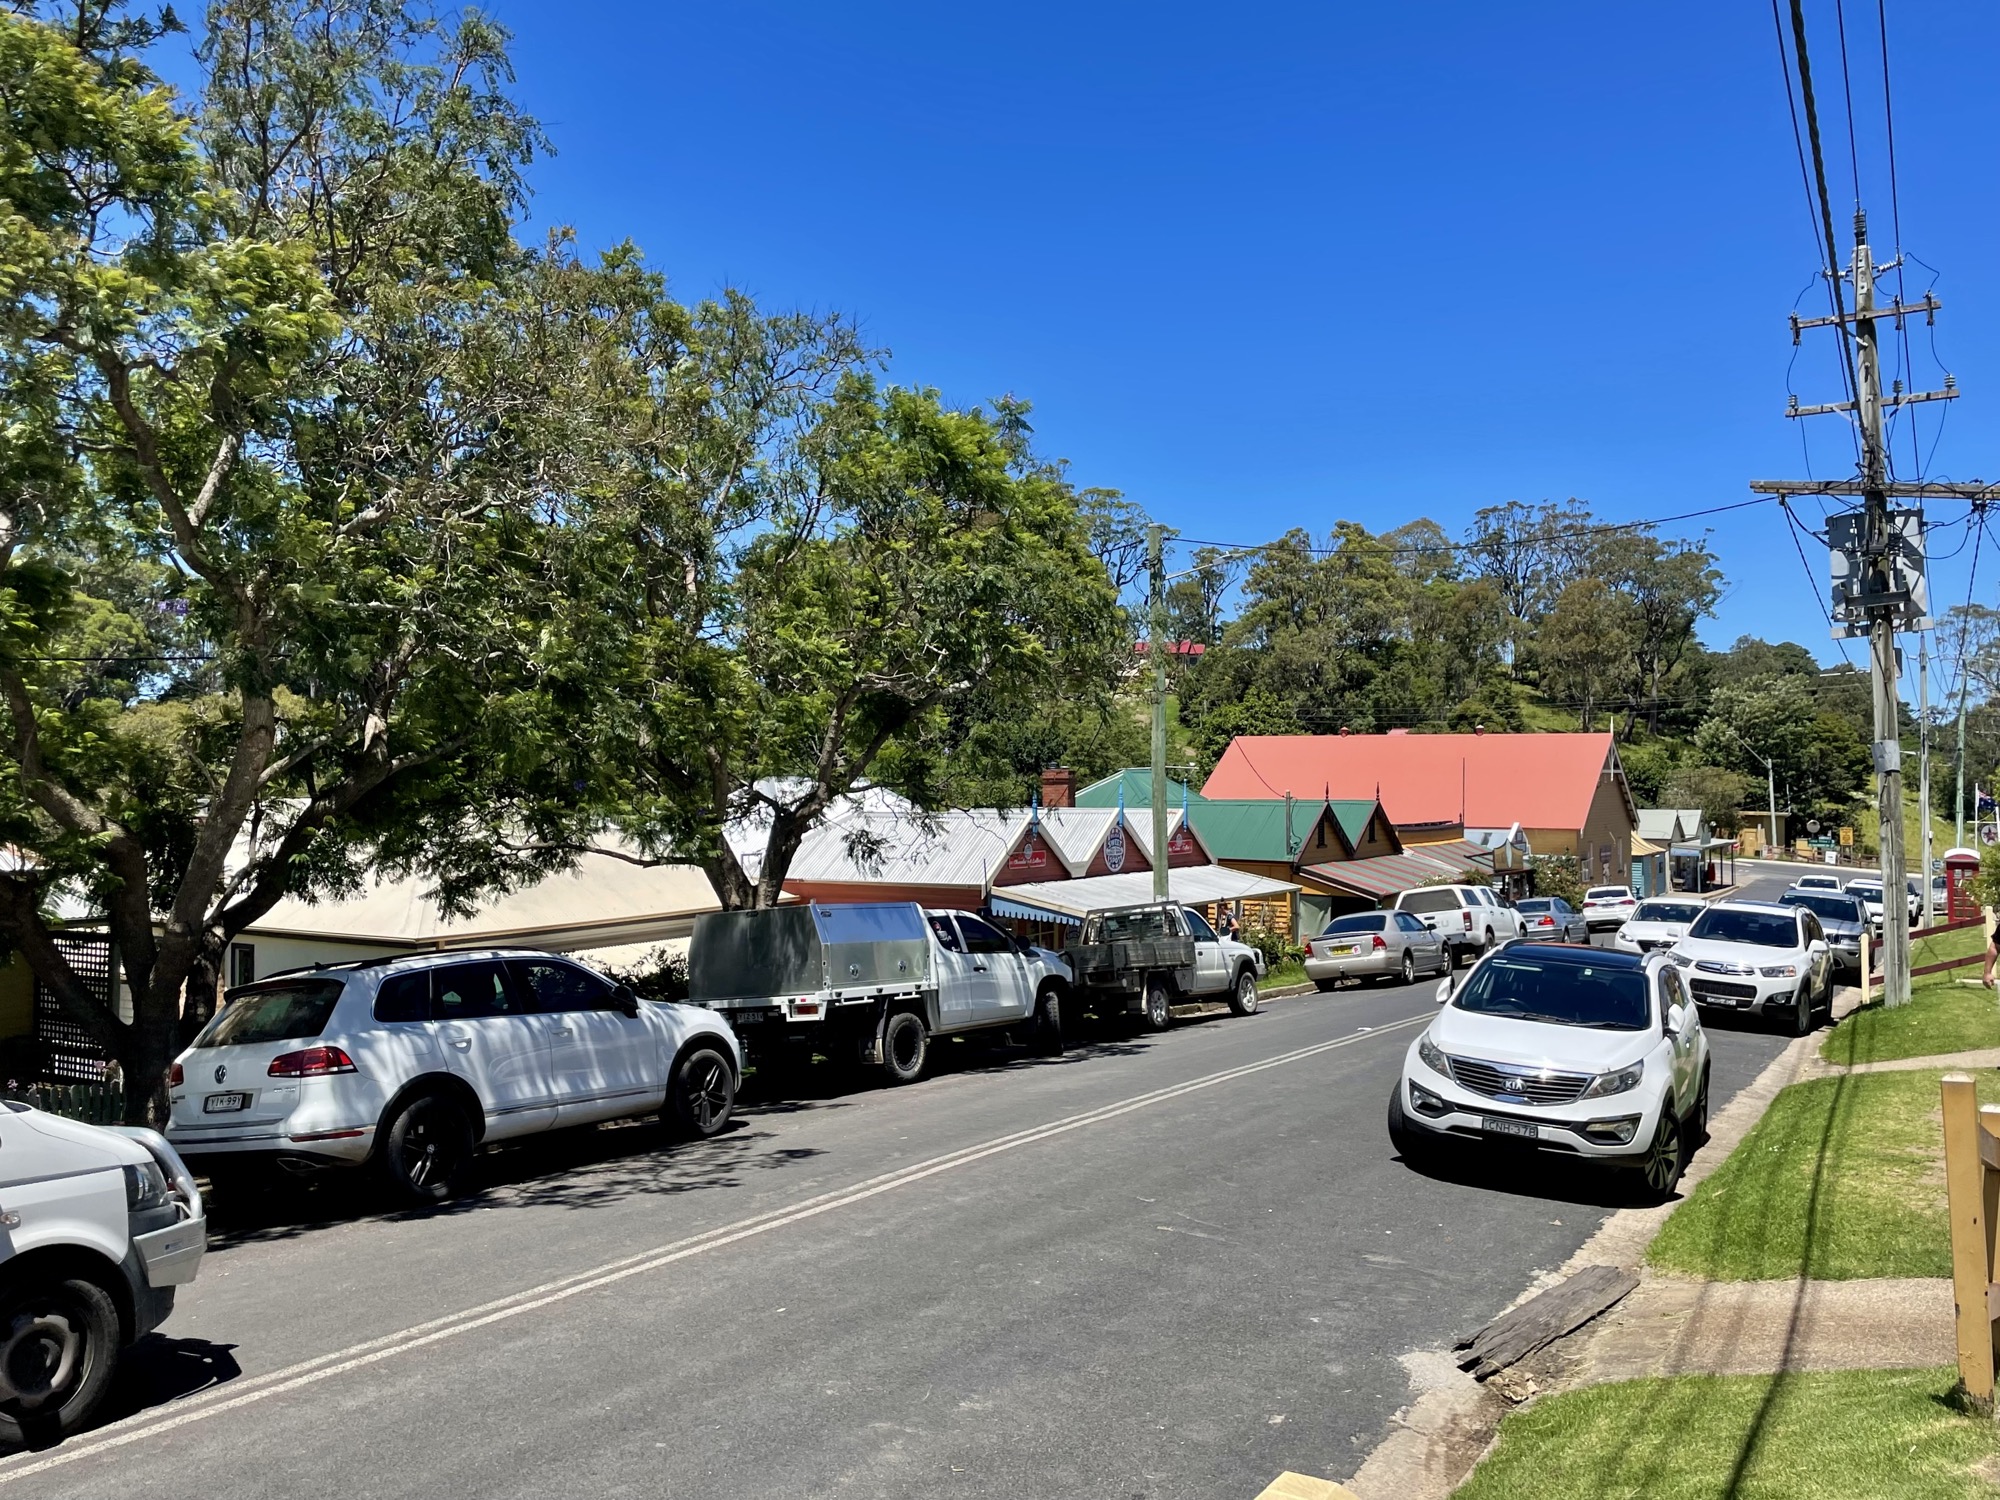
This little town wasn’t actually on our list of places to stop by, but as we continued our drive on the A1 highway North, we saw a big sign for a cheese factory so of course we had to detour. We followed the signs and ended up in an adorable little town called Tilba Tilba. This town is one main street with lovely houses and boutique shops (pictured below, but it was hard to capture the cuteness of the town). The cheese factory wasn’t actually that exciting and the cheeses were average, but the town itself was just so cute that it was worth the little detour. Also, I bought a hat.


Bodalla
We only stopped by this small town for the Dairy Shed that a friend recommended us. There was a nearby bakery that looked cute but we didn’t stop by. Maybe next time?
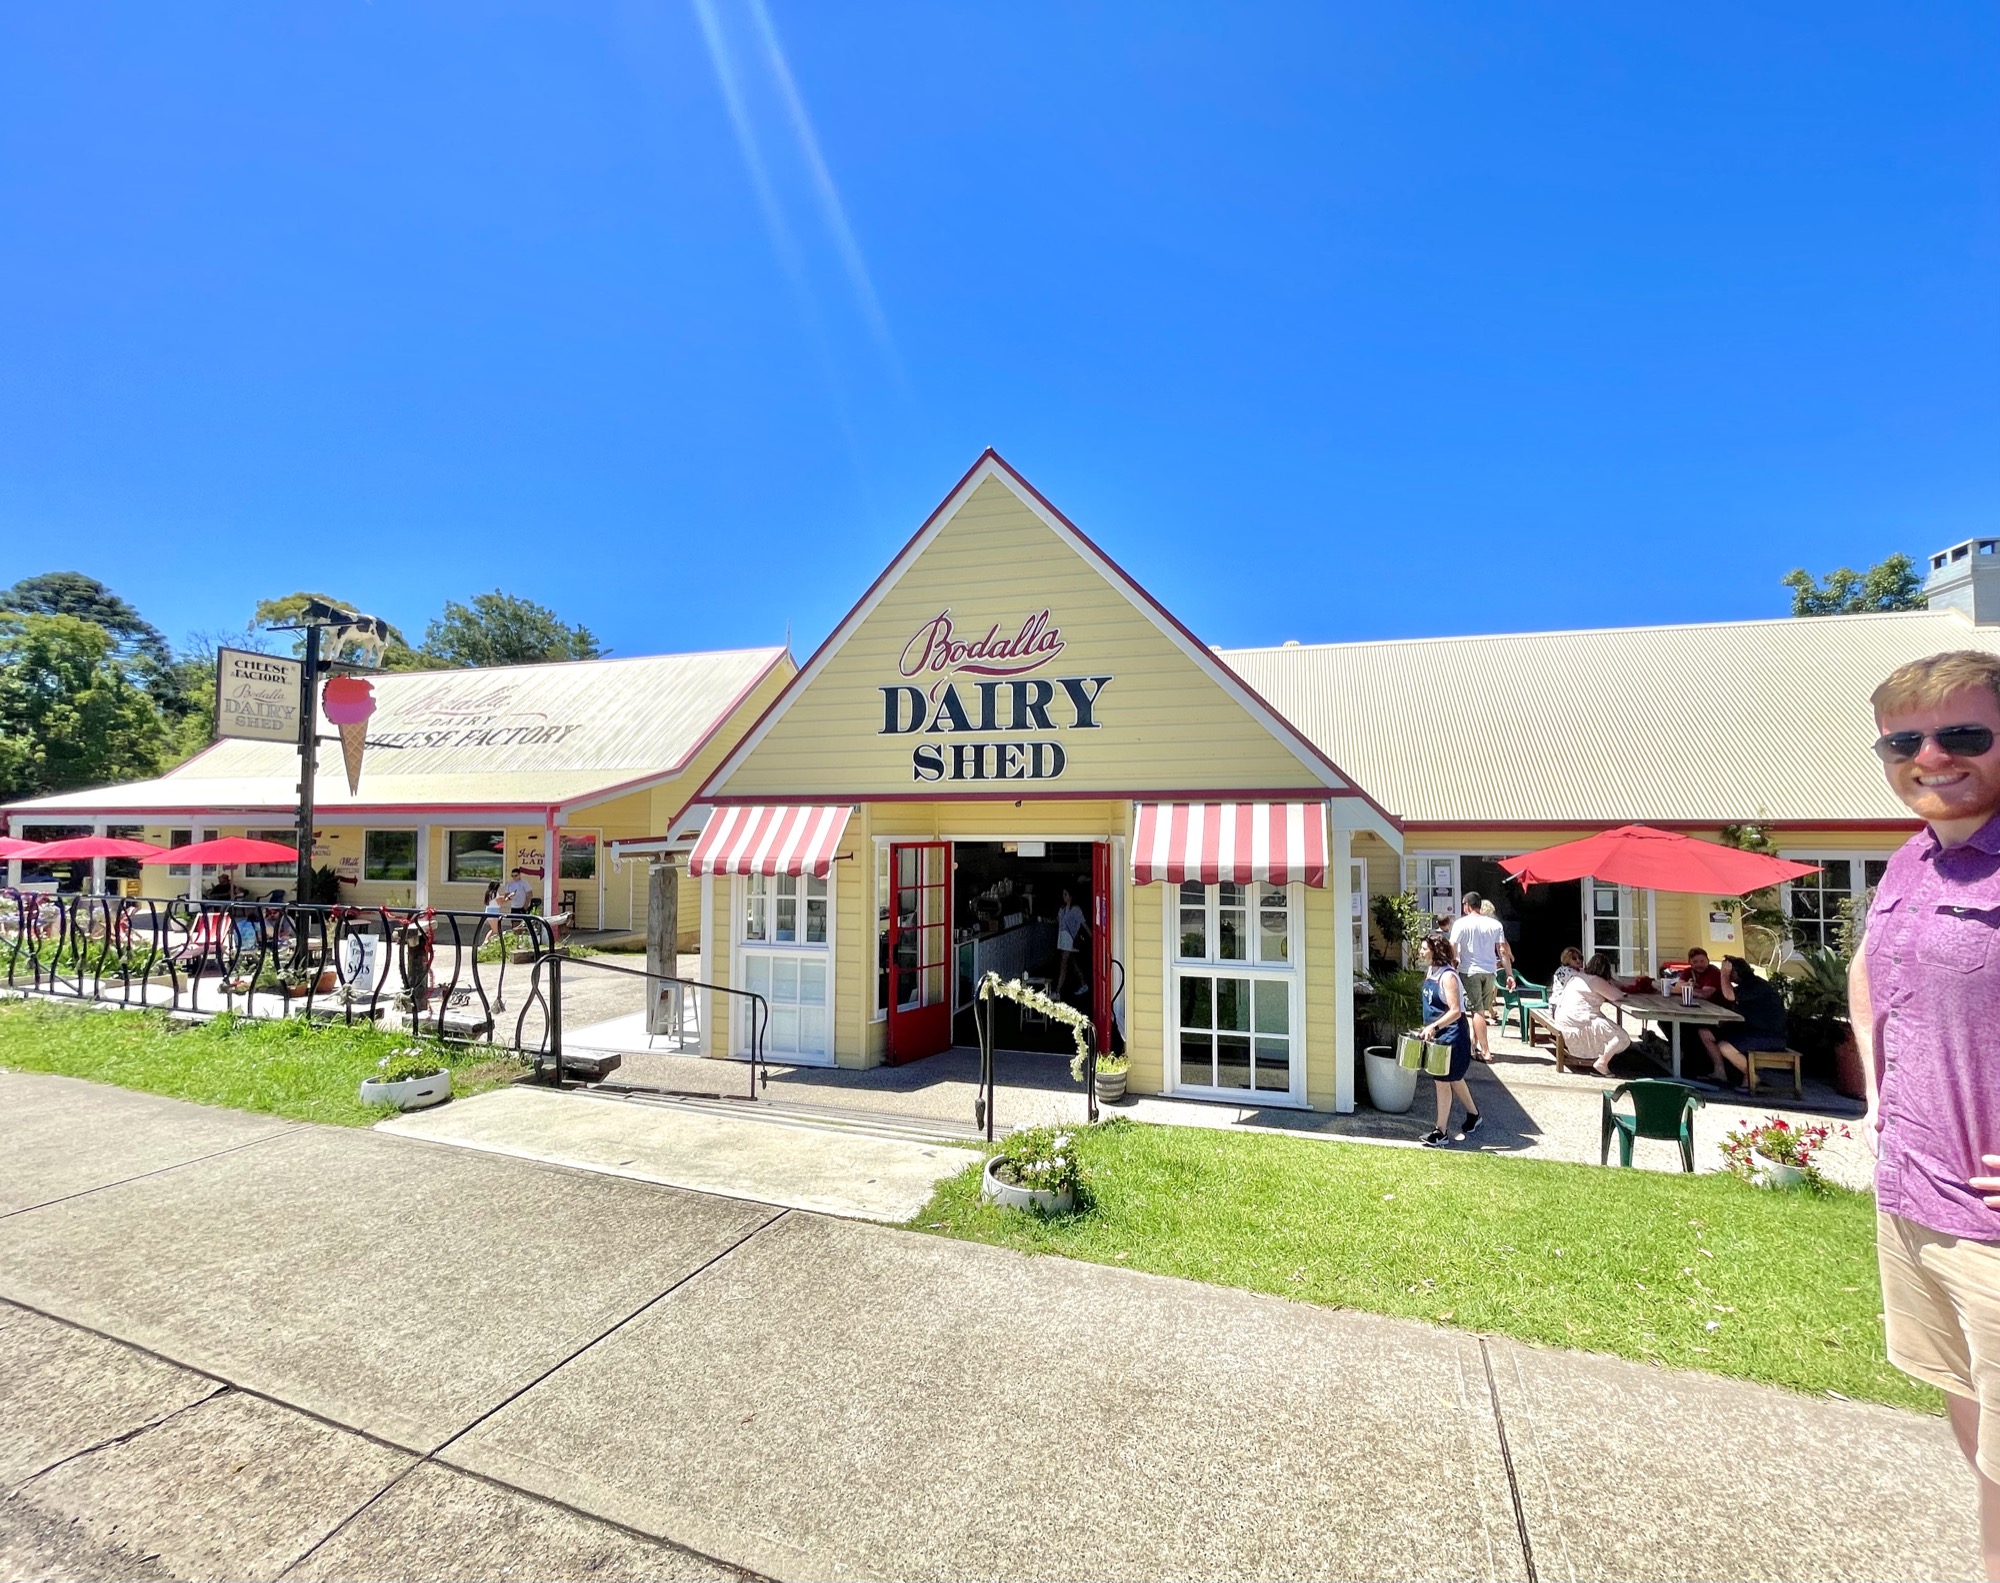
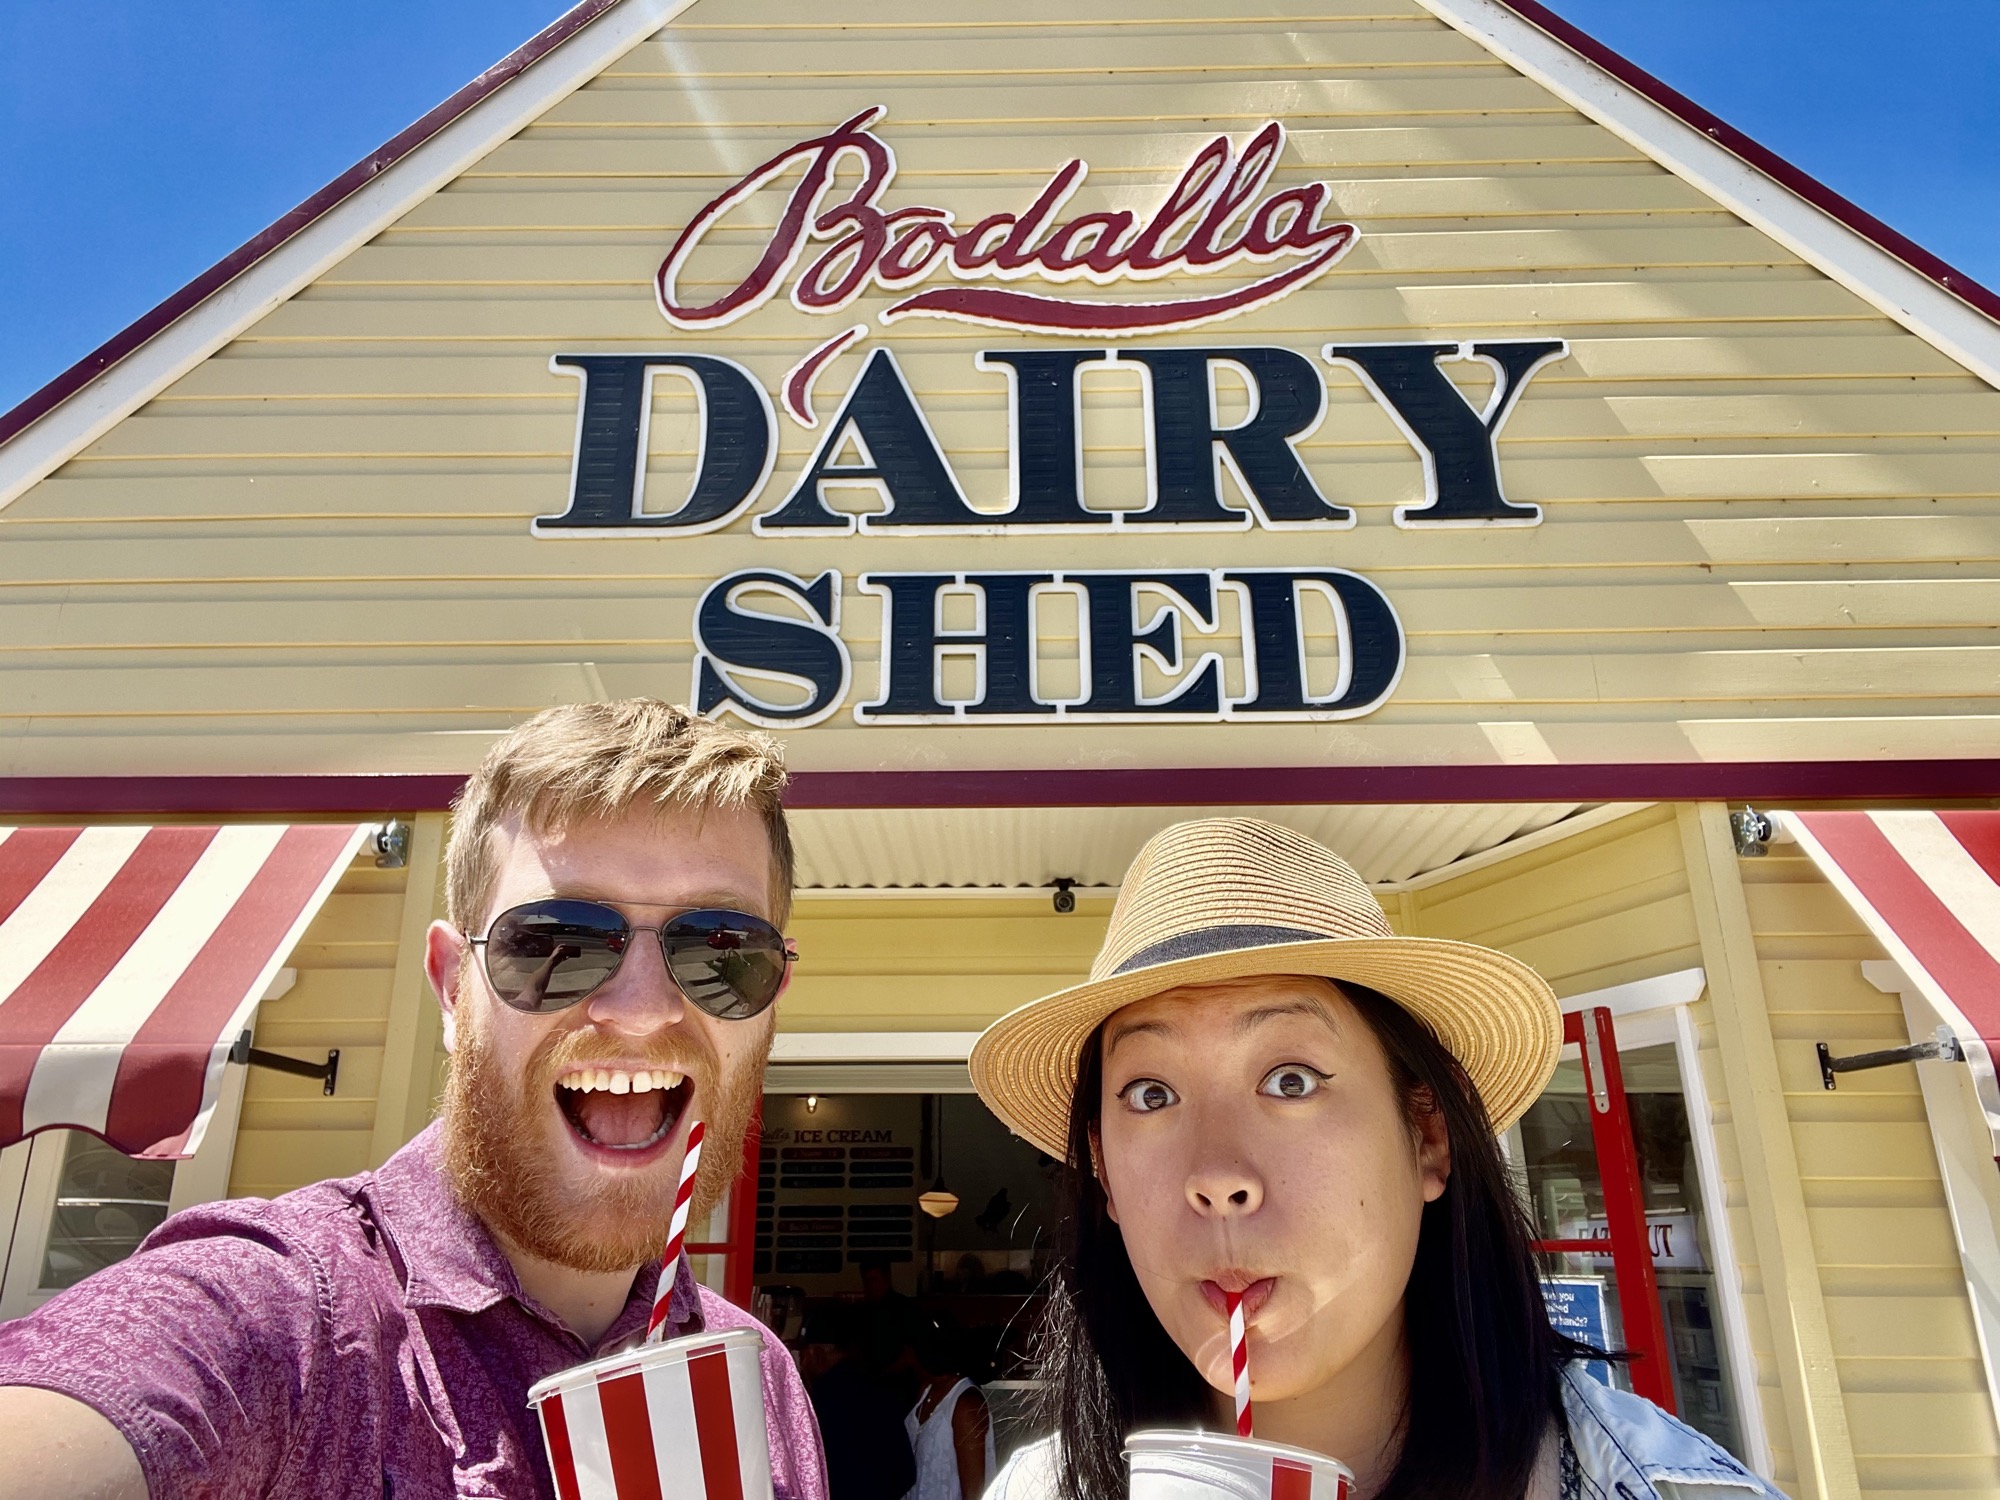
Bodalla Dairy Shed
Address: 52 Princes Hwy, Bodalla NSW 2545
https://www.bodalladairy.com.au/
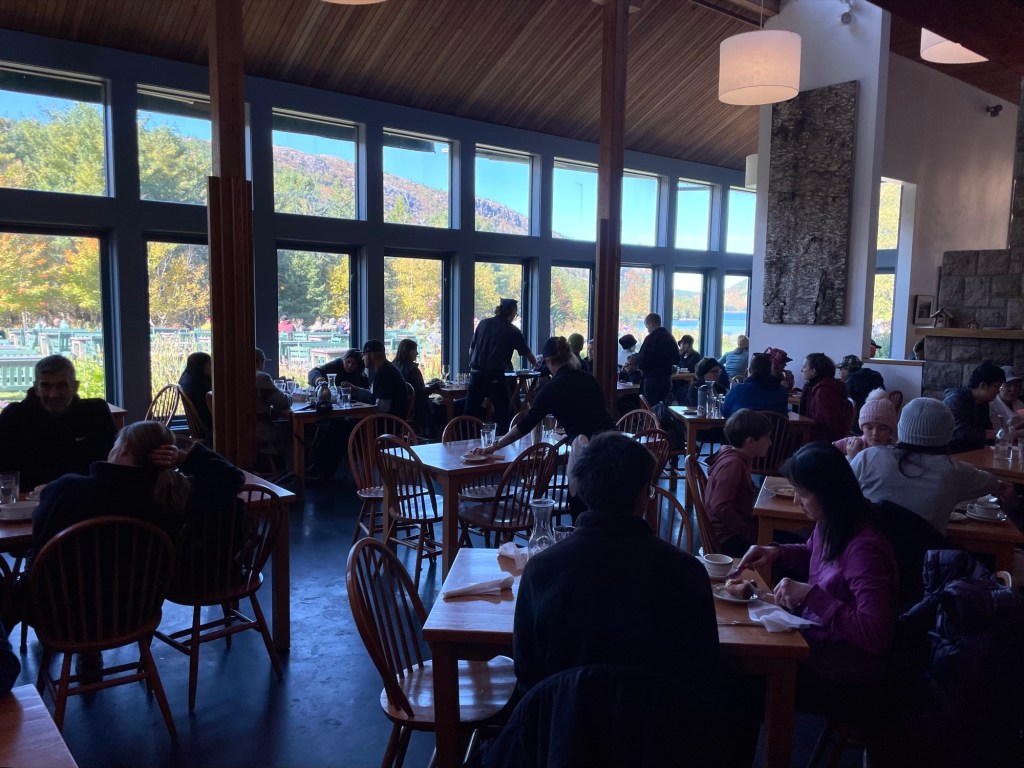
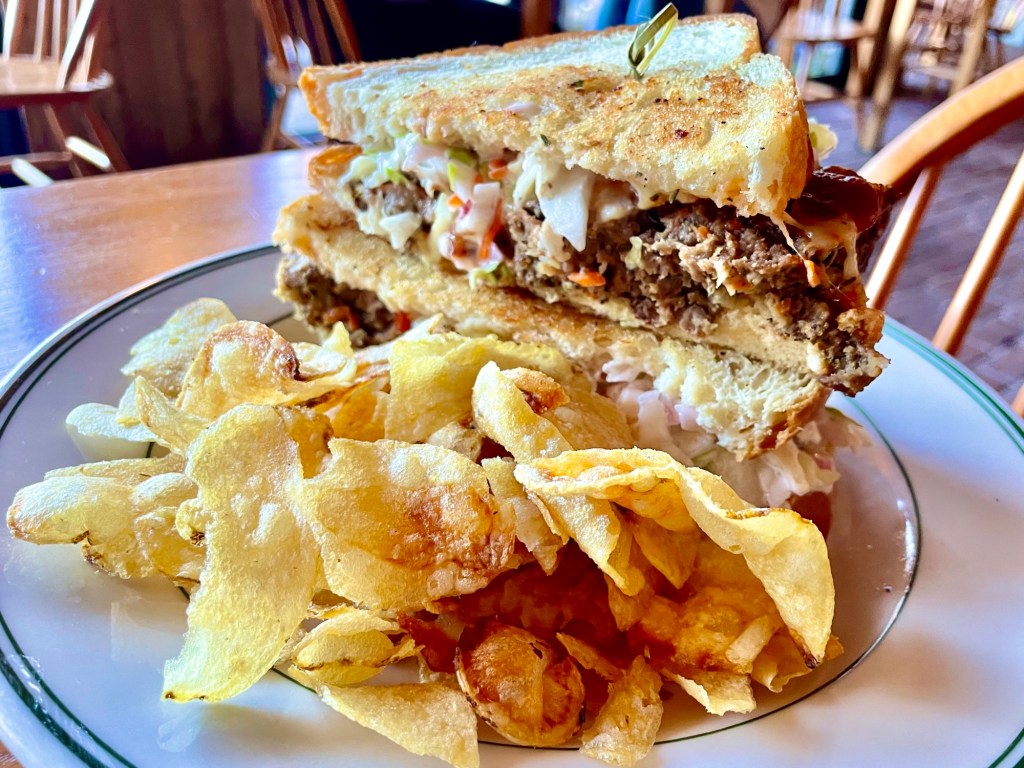
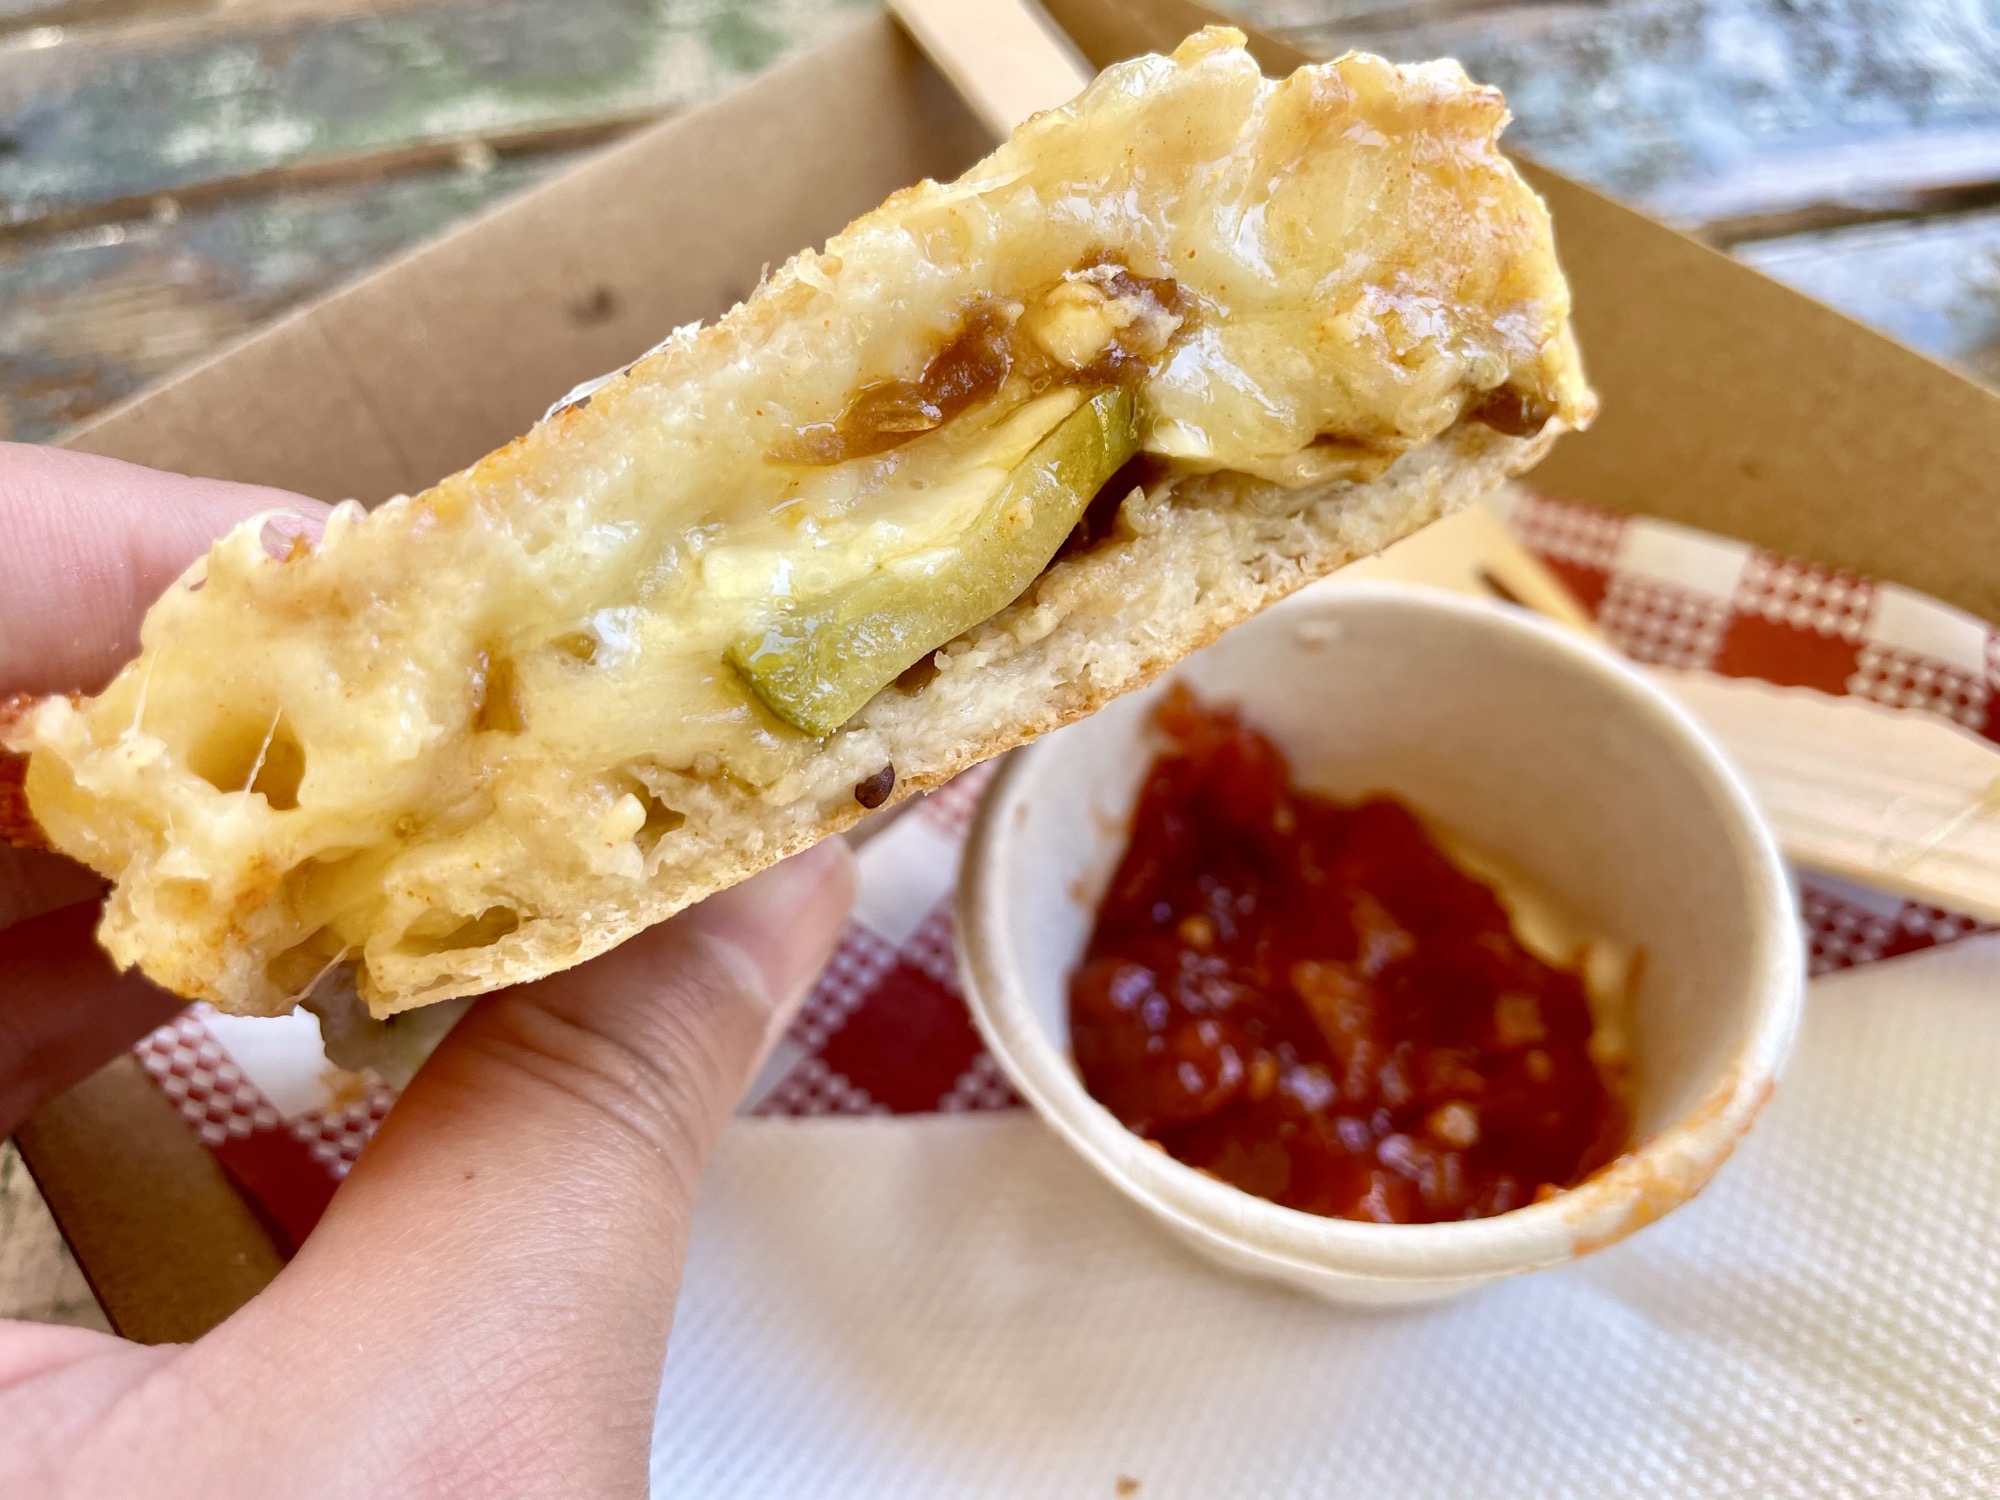
This place was recommended by one of our old classmates who worked in the area. She told us of their incredible milkshakes and good food. We’re SO glad we stopped here. Not only were their milkshakes spot-on, they had AMAZING cheese toasty (grilled cheese) sandwiches with delicious chutney. We weren’t that hungry and only ordered one sandwich, but after a couple bites we just had to go back to get a second! They also had some great products you can bring home and a selection of cheeses and ice creams. There are also a few farm animals on site with set feeding times if you’ve got little ones. If you’re in the area, you definitely NEED to stop here.


Bateman’s Bay
From Bodalla we went straight to Canberra, ACT, passing through Bateman’s Bay. Although we didn’t stop here, it’s worth mentioning for next time since this place looked pretty cool from the car window!
Continued to Canberra, ACT
From Bateman’s Bay we detoured inland and headed for Canberra, ACT. If you’re going to go to Canberra, this is the time to detour inland. Continue onto the Canberra page (in progress) for more information on things to do there or continue reading this post for more of the NSW coast!
Skipped Sydney
During our first road trip in 2021, Sydney was in lockdown and isolation due to COVID outbreaks so we decided to skip it in fear of being stuck in a hotel room the whole time and not be able to explore, so we drove 5 hours straight from Canberra to Newcastle. We did return to Sydney for a locum job in 2022 – see the separate Sydney post (in progress).
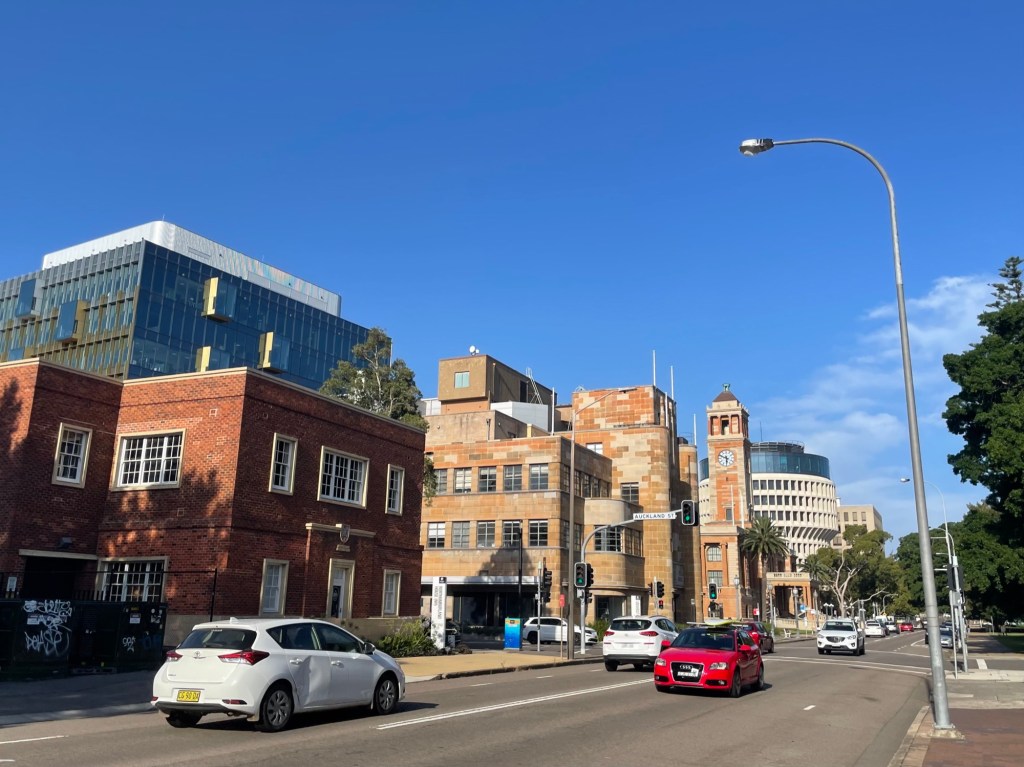
Newcastle
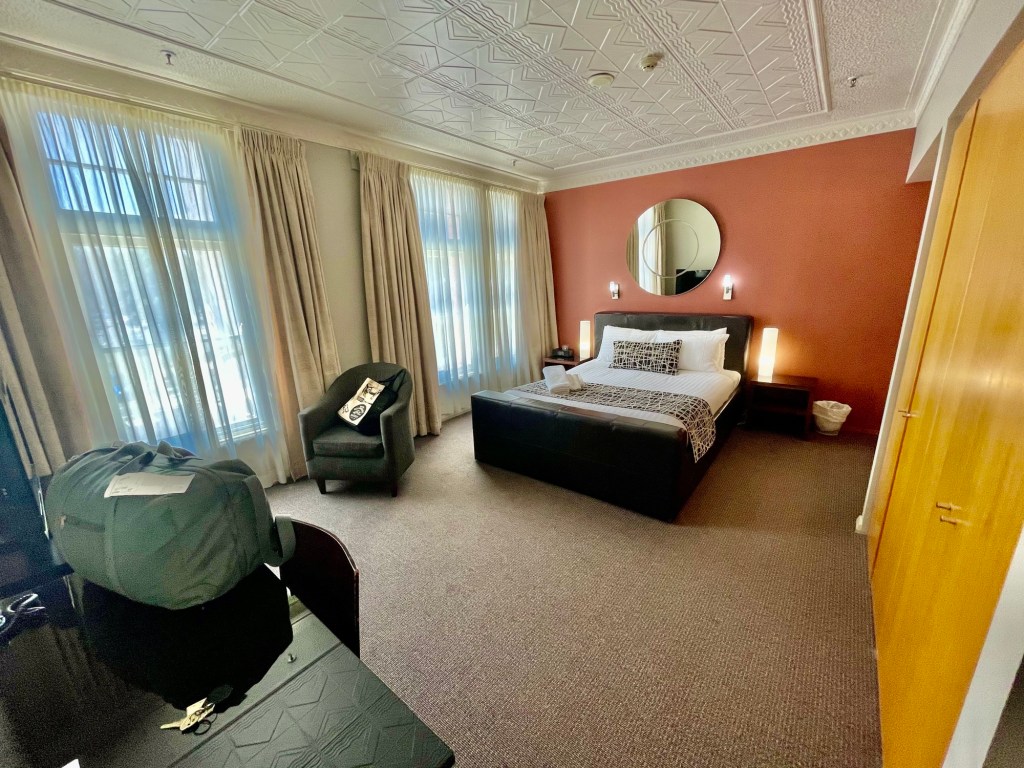
Newcastle is a harbour city 2 hours north of Sydney or 5 hours northeast from Canberra. It’s a small city with a few major streets to explore. We reached Newcastle just before 2pm and had a late lunch at a nearby popular burger place called Rascal. Their burgers were indeed pretty good and their Bailey’s milkshake was A+. We stayed at the Clarendon Hotel (https://clarendonhotel.com.au/) which was a lovely place central to the main part of town. The main floor of the hotel was a popular bustling pub.
The main attraction here is the Newcastle Memorial Walk and the beaches. To be honest, there isn’t all that much “to do” here in terms of tourist things, but it seems like a nice place to live with so many beautiful beaches around. We only stayed one night here, which was enough time for us to explore the city, but you’d need more if you wanted to add on some beach time. After seeing the local sights we headed back to the hotel for a little rest and ordered dinner from the pub downstairs to our room ![]() .
.
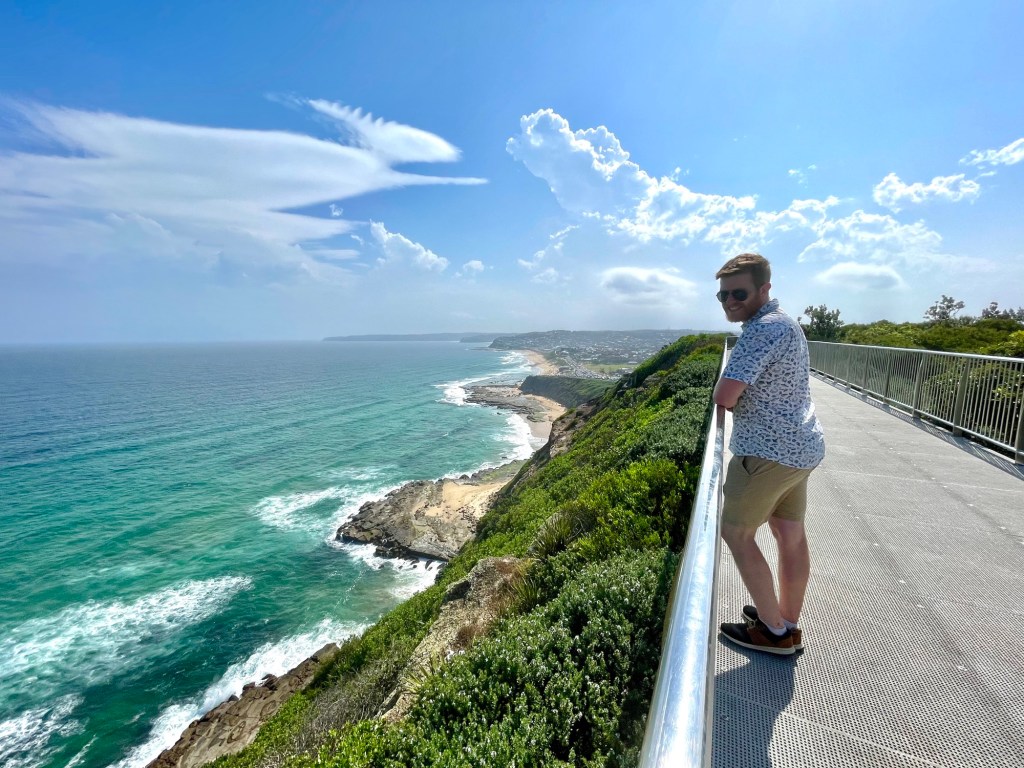
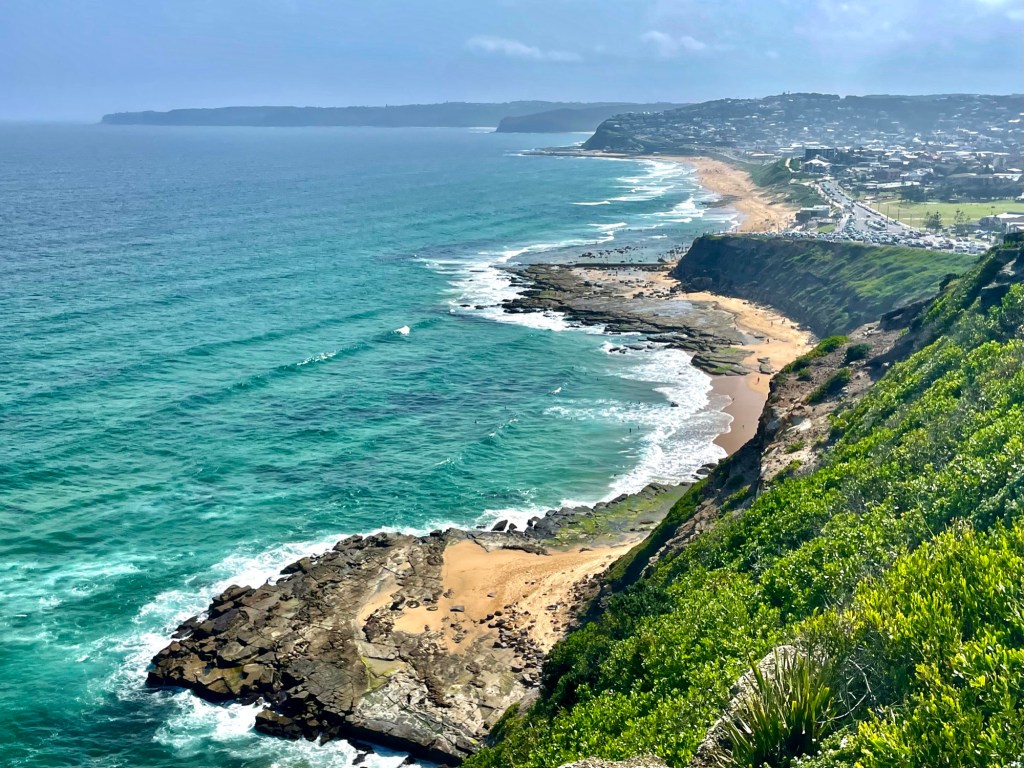
Newcastle Memorial Walk
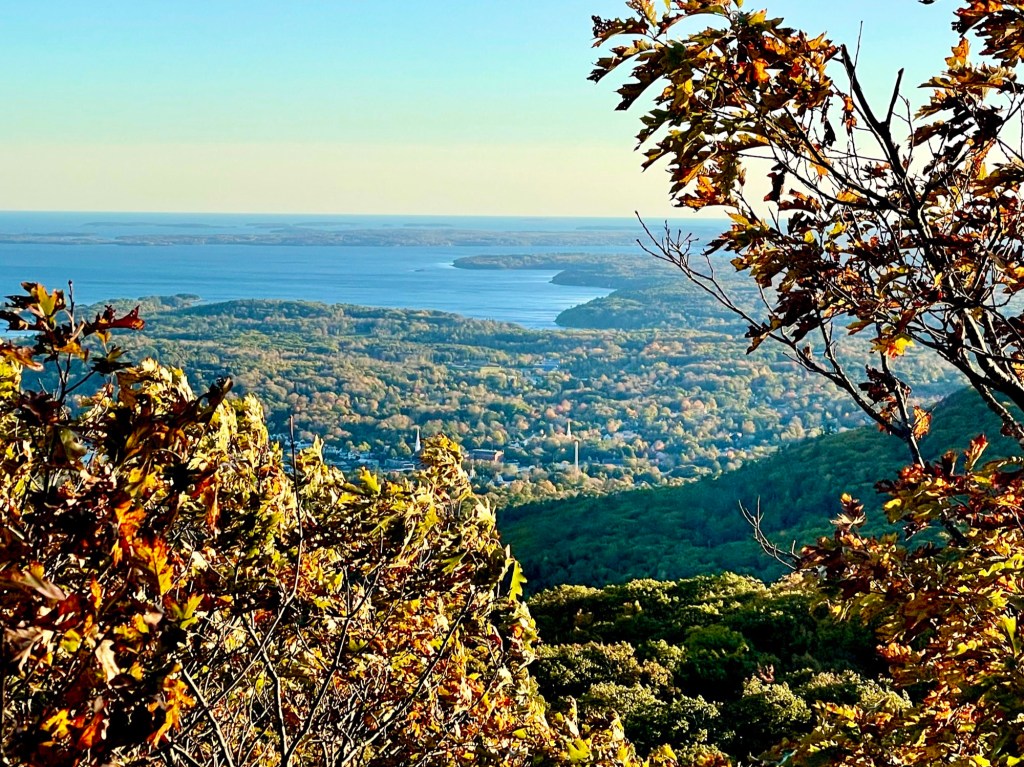
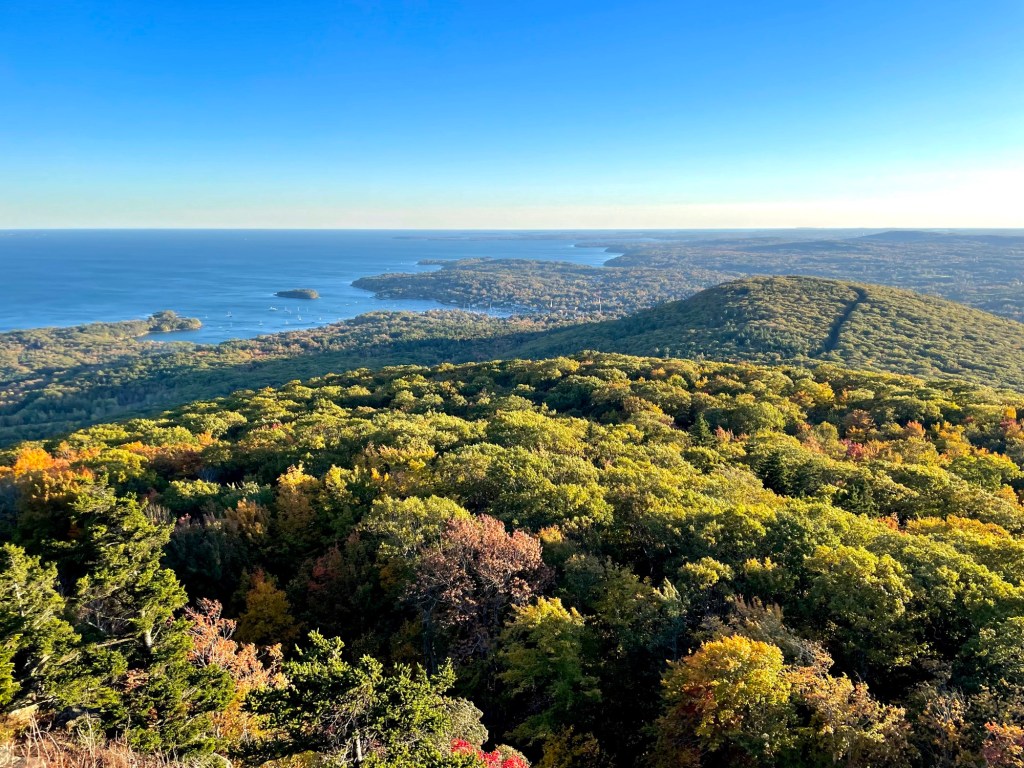
The Newcastle Memorial Walk is a beautiful scenic walkway that commemorates the “100th anniversary of the ANZAC landing at Gallipoli in 1915 and the commencement of steel making in Newcastle” – fact plagiarized from their website (https://newcastle.nsw.gov.au/explore/things-to-do/walking-and-cycling/newcastle-memorial-walk) 🙃. It’s high up on the cliffs so it was pretty windy when we went, but the views were absolutely stunning. We started at Strzelecki Lookout where we parked our car, and the path led us southwest along the coast where it connects multiple beaches with walkways that lead to beach level. We didn’t end up walking the entire path since it can go quite a long way.


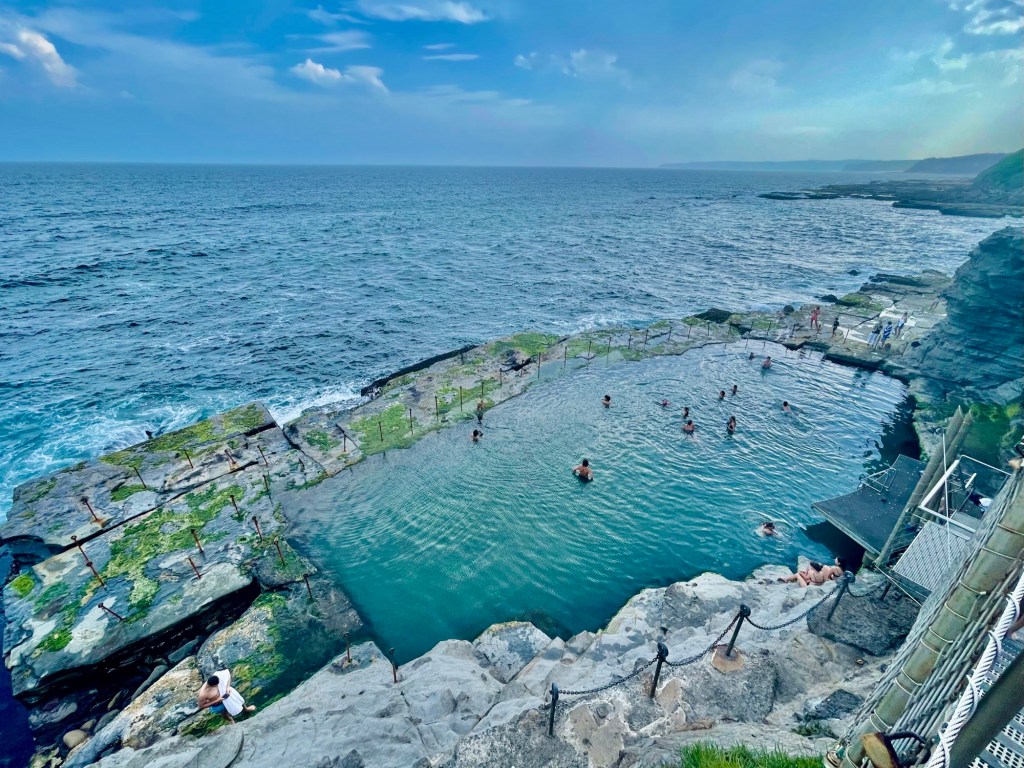
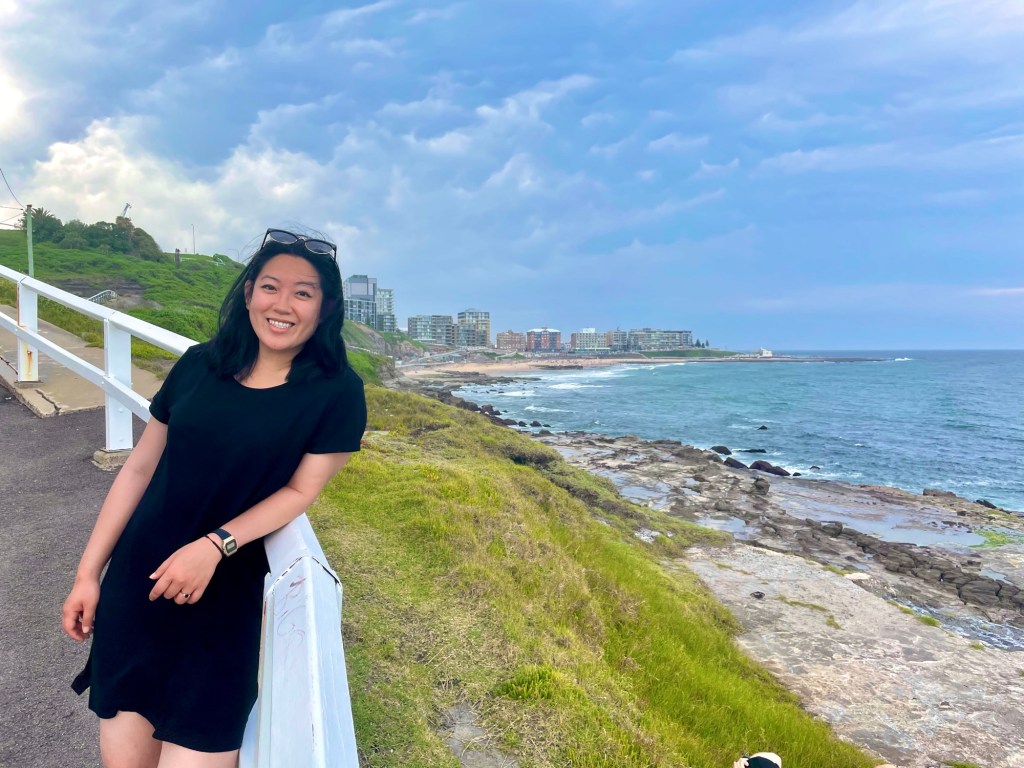
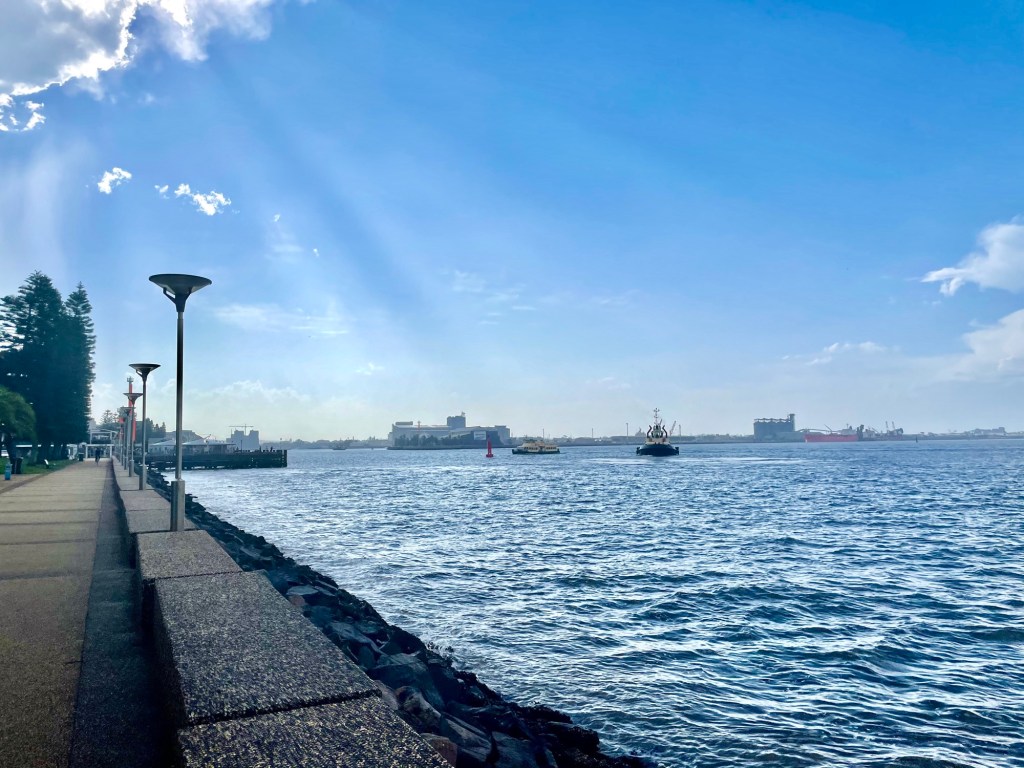
Walk along the Esplanade
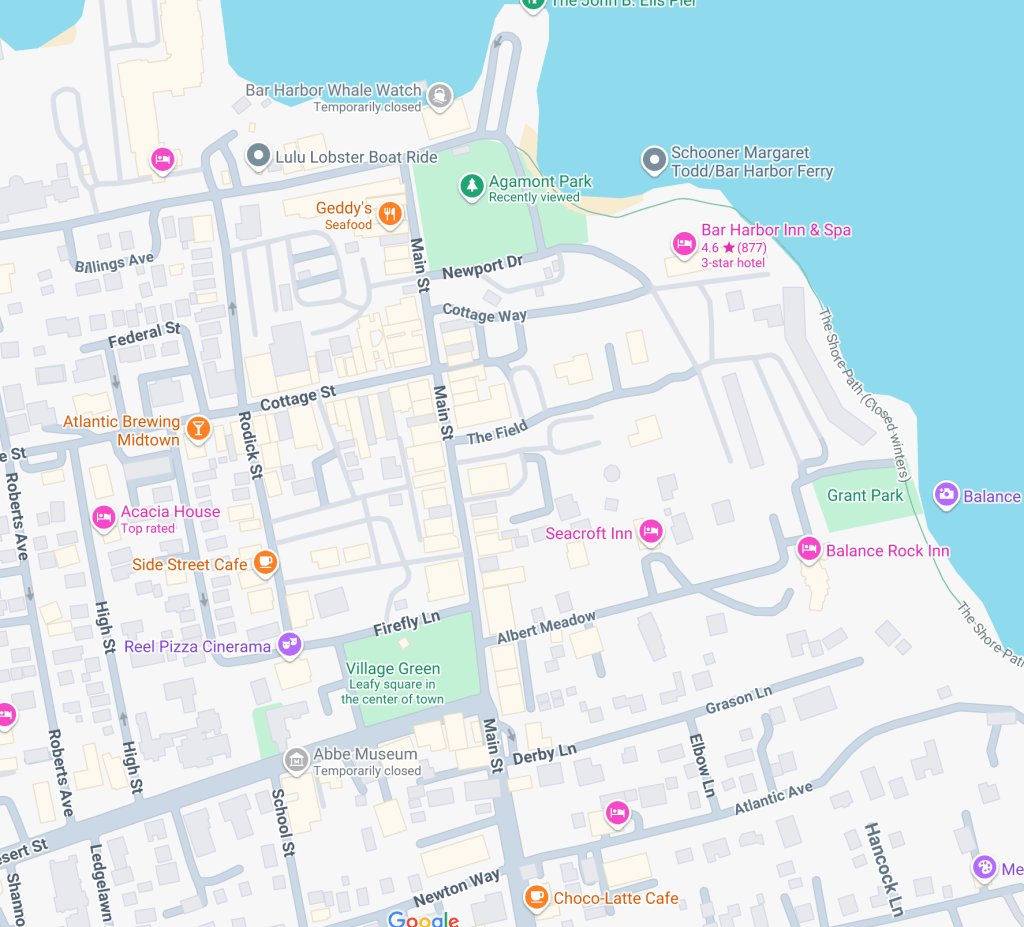
From the start of the Newcastle Memorial Walk at Strzelecki Lookout, you can continue walking north to the Shortland Esplanade for some more beautiful ocean-side views including a popular local swimming hole called the Bogey Hole. This walk will end near Newcastle Beach where you can continue on, or head back into the main part of town (see map below of our walking path).


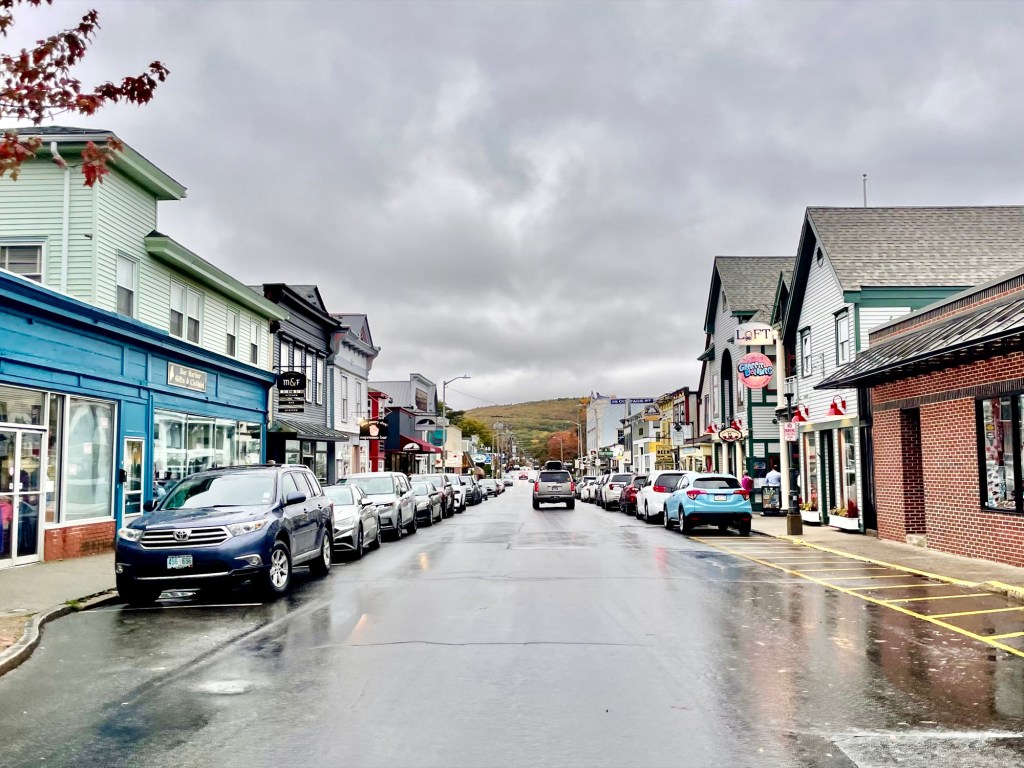
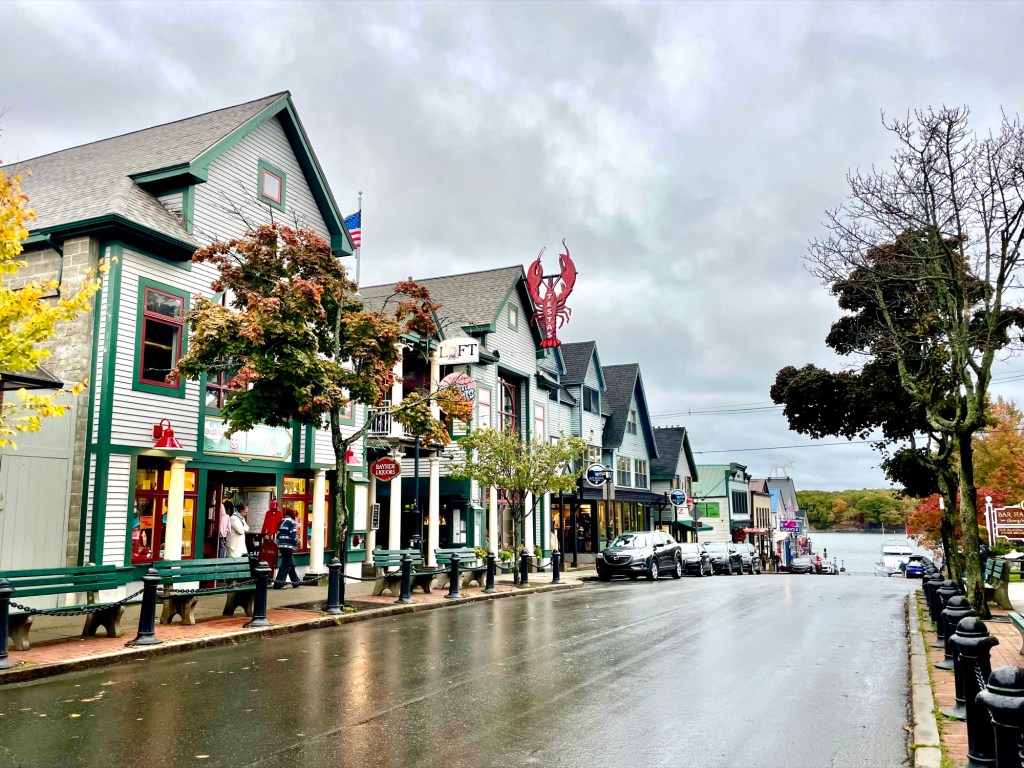
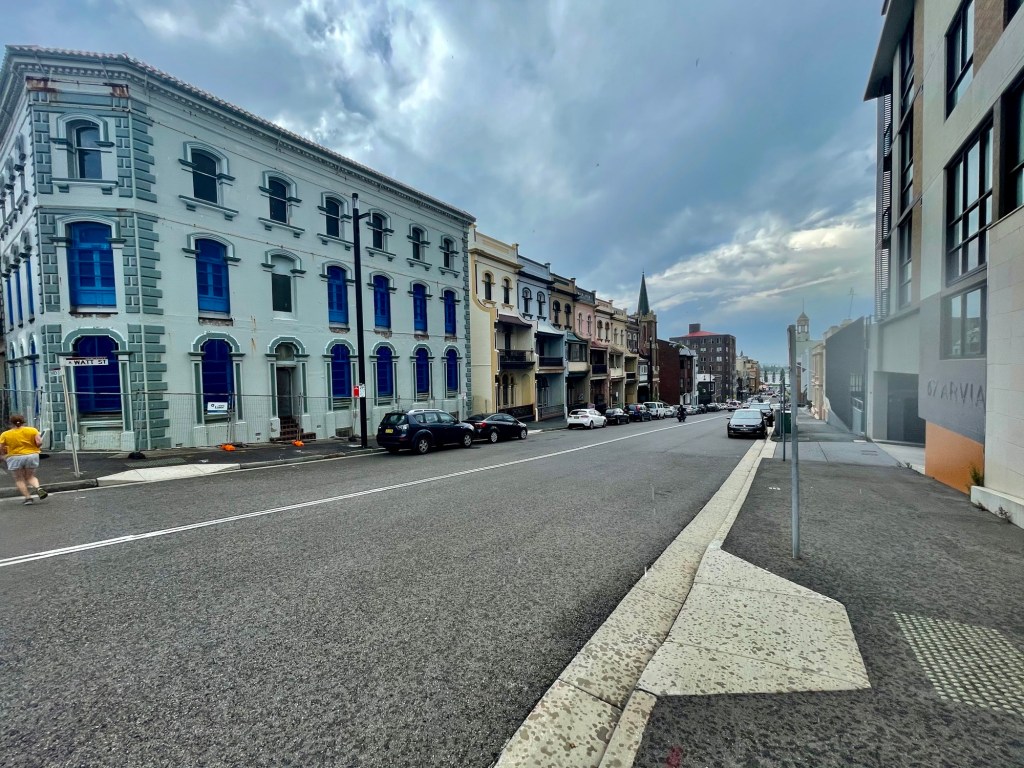
Explore the City Streets of Newcastle
There’s not a ton to do in downtown/CBD Newcastle, but there a few streets with some shops if you feel like exploring. Lunch at Rascal was great and it was a nice little stroll by the wharf, but not a must-do if you’re short on time.


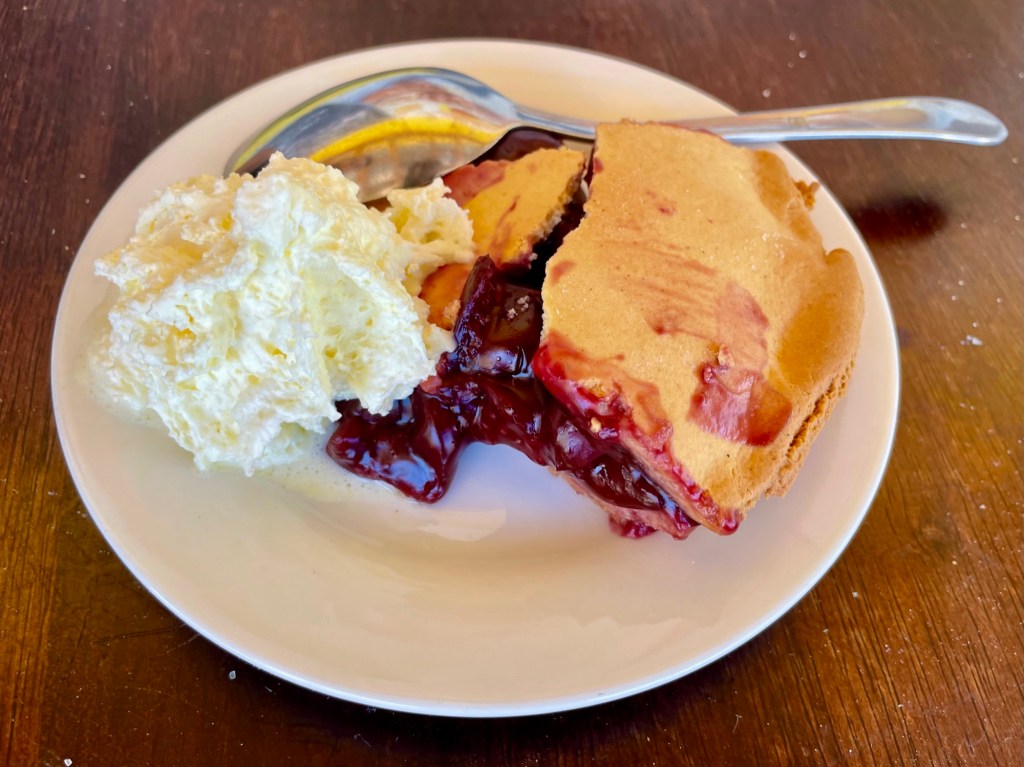
Andy’s Cherry Pie Cafe – a stopover on the side of the highway
Address: 17 Bengal St, Coolongolook NSW 2423, Australia
Andy’s Cherry Pie Cafe is a big beautiful yellow building off the side of the highway that screamed ‘Cherry Pies!’ so loudly that we had to pull over and give it a try. The building was big on the outside but the inside was less than exciting so we sat outside. Neither Toby or I have any strong feelings towards cherries or fruit pies and wasn’t really expecting much, so we bought one slice to share. This pie was so damn good that immediately after the first few bites, we went back in and bought a second slice.
Note: When we visited this place in 2021, there was a big ‘for sale’ sign of the business. From my recent Googling, it appears that this business is still up and running, now also serving kebabs and burgers. I have no idea what the pie tastes like these days since changing owners, but I hope it’s just as good as when we had it a few years ago!


Coff’s Harbour
(in progress)
Grafton
Grafton is not the most exciting town. In fact, unless you’re coming for the annual Jacaranda trees, there’s really not much to do here and would be a miss on most people’s road trip itineraries. The main streets are not that exciting with half the shops closed, and every now and then you’ll run into some dodgy characters. Toby and I were hired as relief vets to work at a clinic here for a couple of months. We had no idea what kind of a place Grafton was and probably should’ve done more research when we signed on, however the recruiter made it sound like such a lovely place with beautiful spectacular purple trees (failing to let us know that they only bloom a few weeks in a whole year). Nevertheless, we arrived and saw for ourselves that there wasn’t much to do here, however the people we worked with were amazing and so lovely that we ended up having a fantastic time and loved working here.
There are some local gems we did discover though, like the swimming area. There are also nearby towns and cities that we’d fill our time with mini road trips (see separate posts in progress).
Jacaranda Trees (early Oct – Nov)

The most well-known feature of Grafton are the Jacaranda trees that burst with beautiful purple flowers every year. Sadly, Toby and I didn’t get a chance to experience this when we lived in Grafton due to a mismatch of the season. The recruiter that hired us in Grafton used the trees as a selling point for us to come here, but they conveniently left out that it wouldn’t be the right season when we arrive 😒.
We’ve heard that people flock from all over the country to come see these beautiful trees every year. They’re only at peak bloom for a few short weeks (usually starting in October and by November many of the flowers will be carpeting the ground). Coming back to Grafton for the Jacaranda trees are definitely on my bucket list.
There’s even an annual Jacaranda Festival – https://www.jacarandafestival.com/
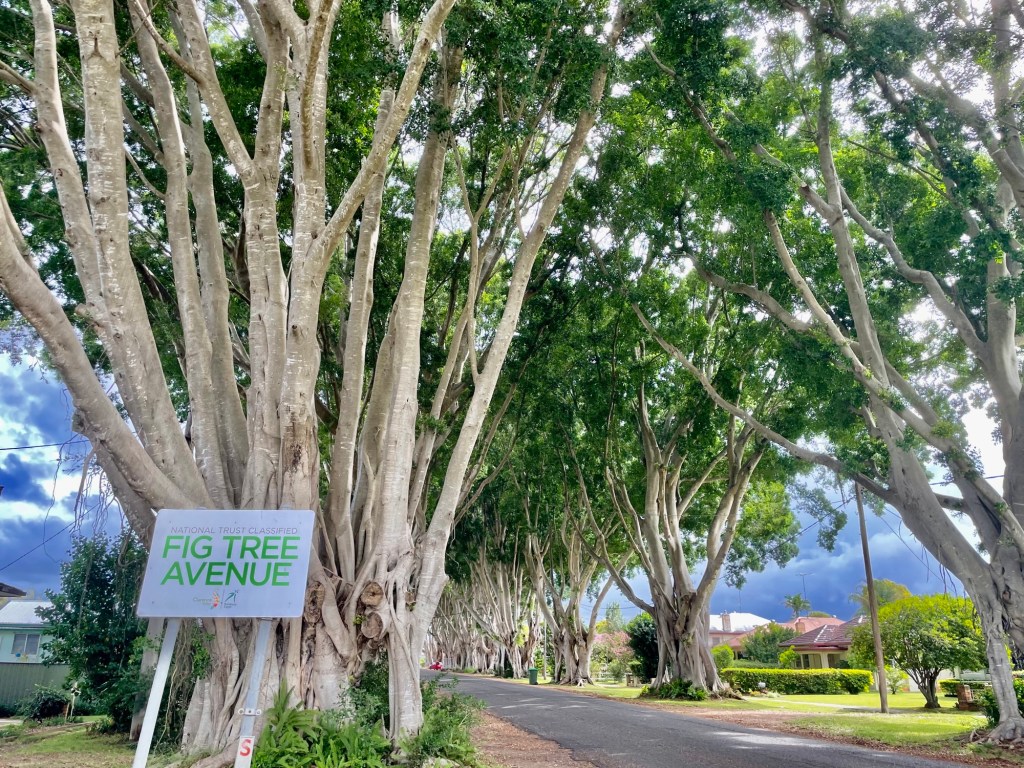
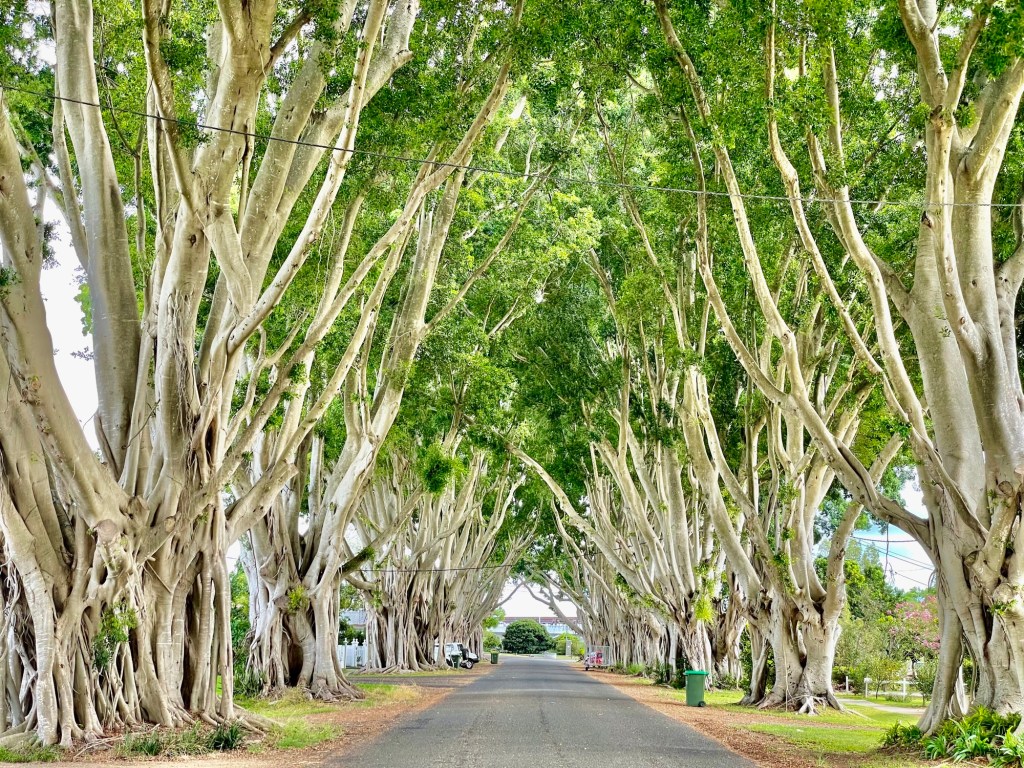
Fig Tree Avenue
Address: Breimba St, Grafton NSW 2460, Australia
This avenue is lined with gorgeous enormous fig trees in the middle of Grafton. It’s surreal to walk amongst these 17 giant trees and makes a perfect photo-op!


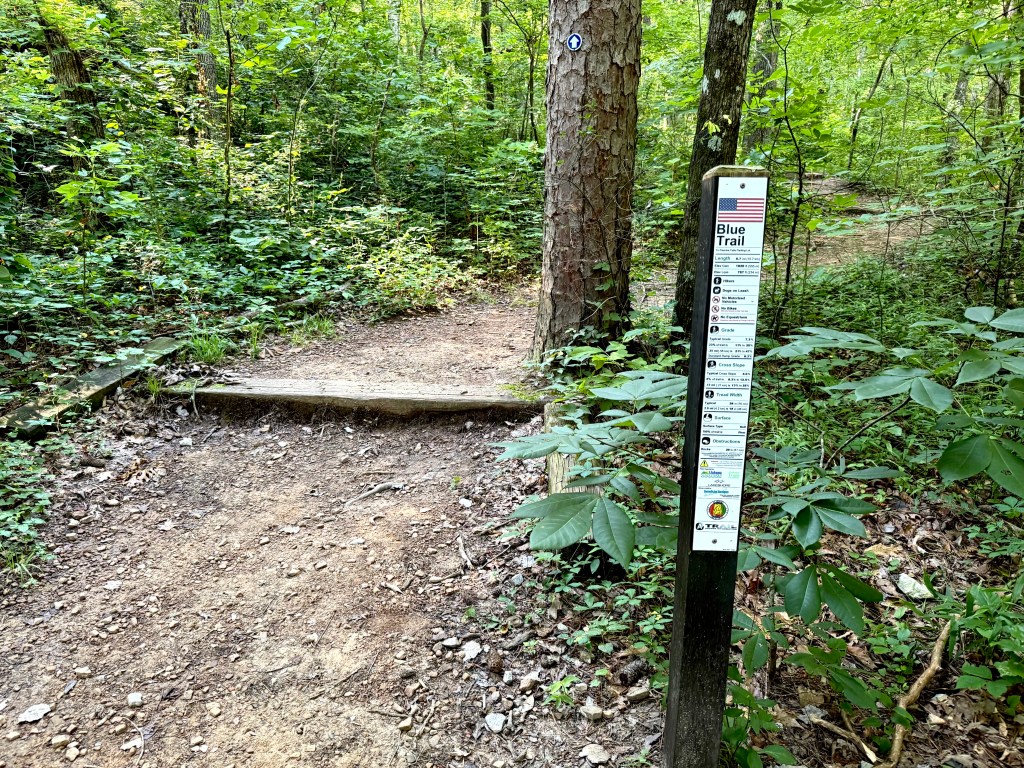
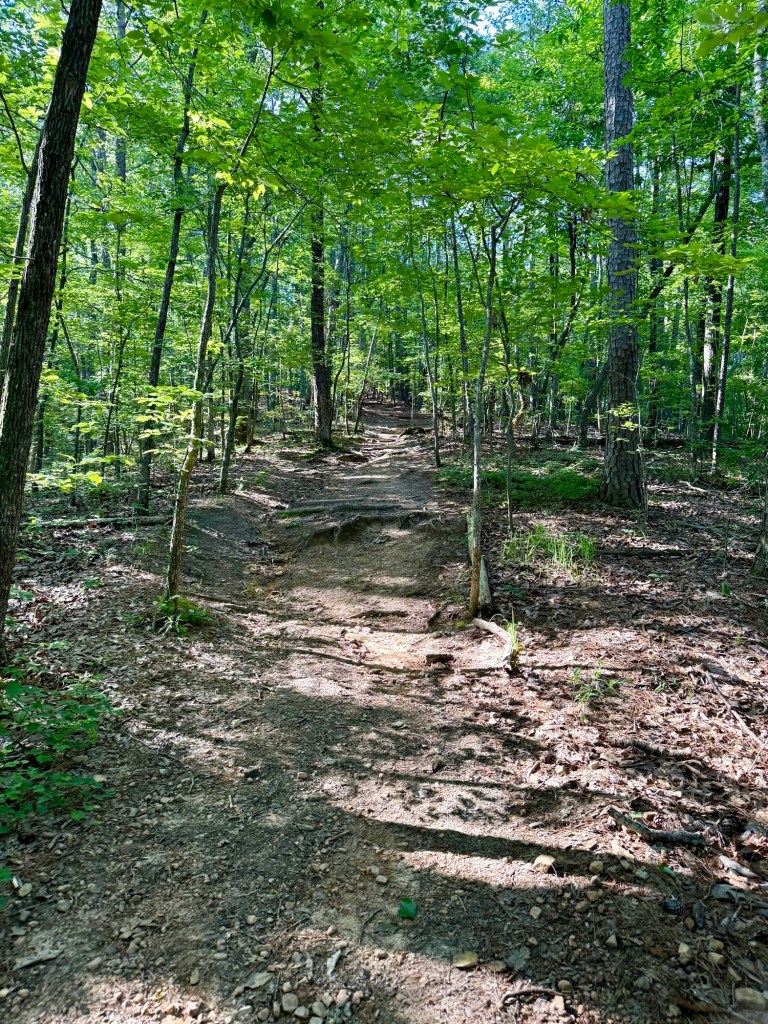
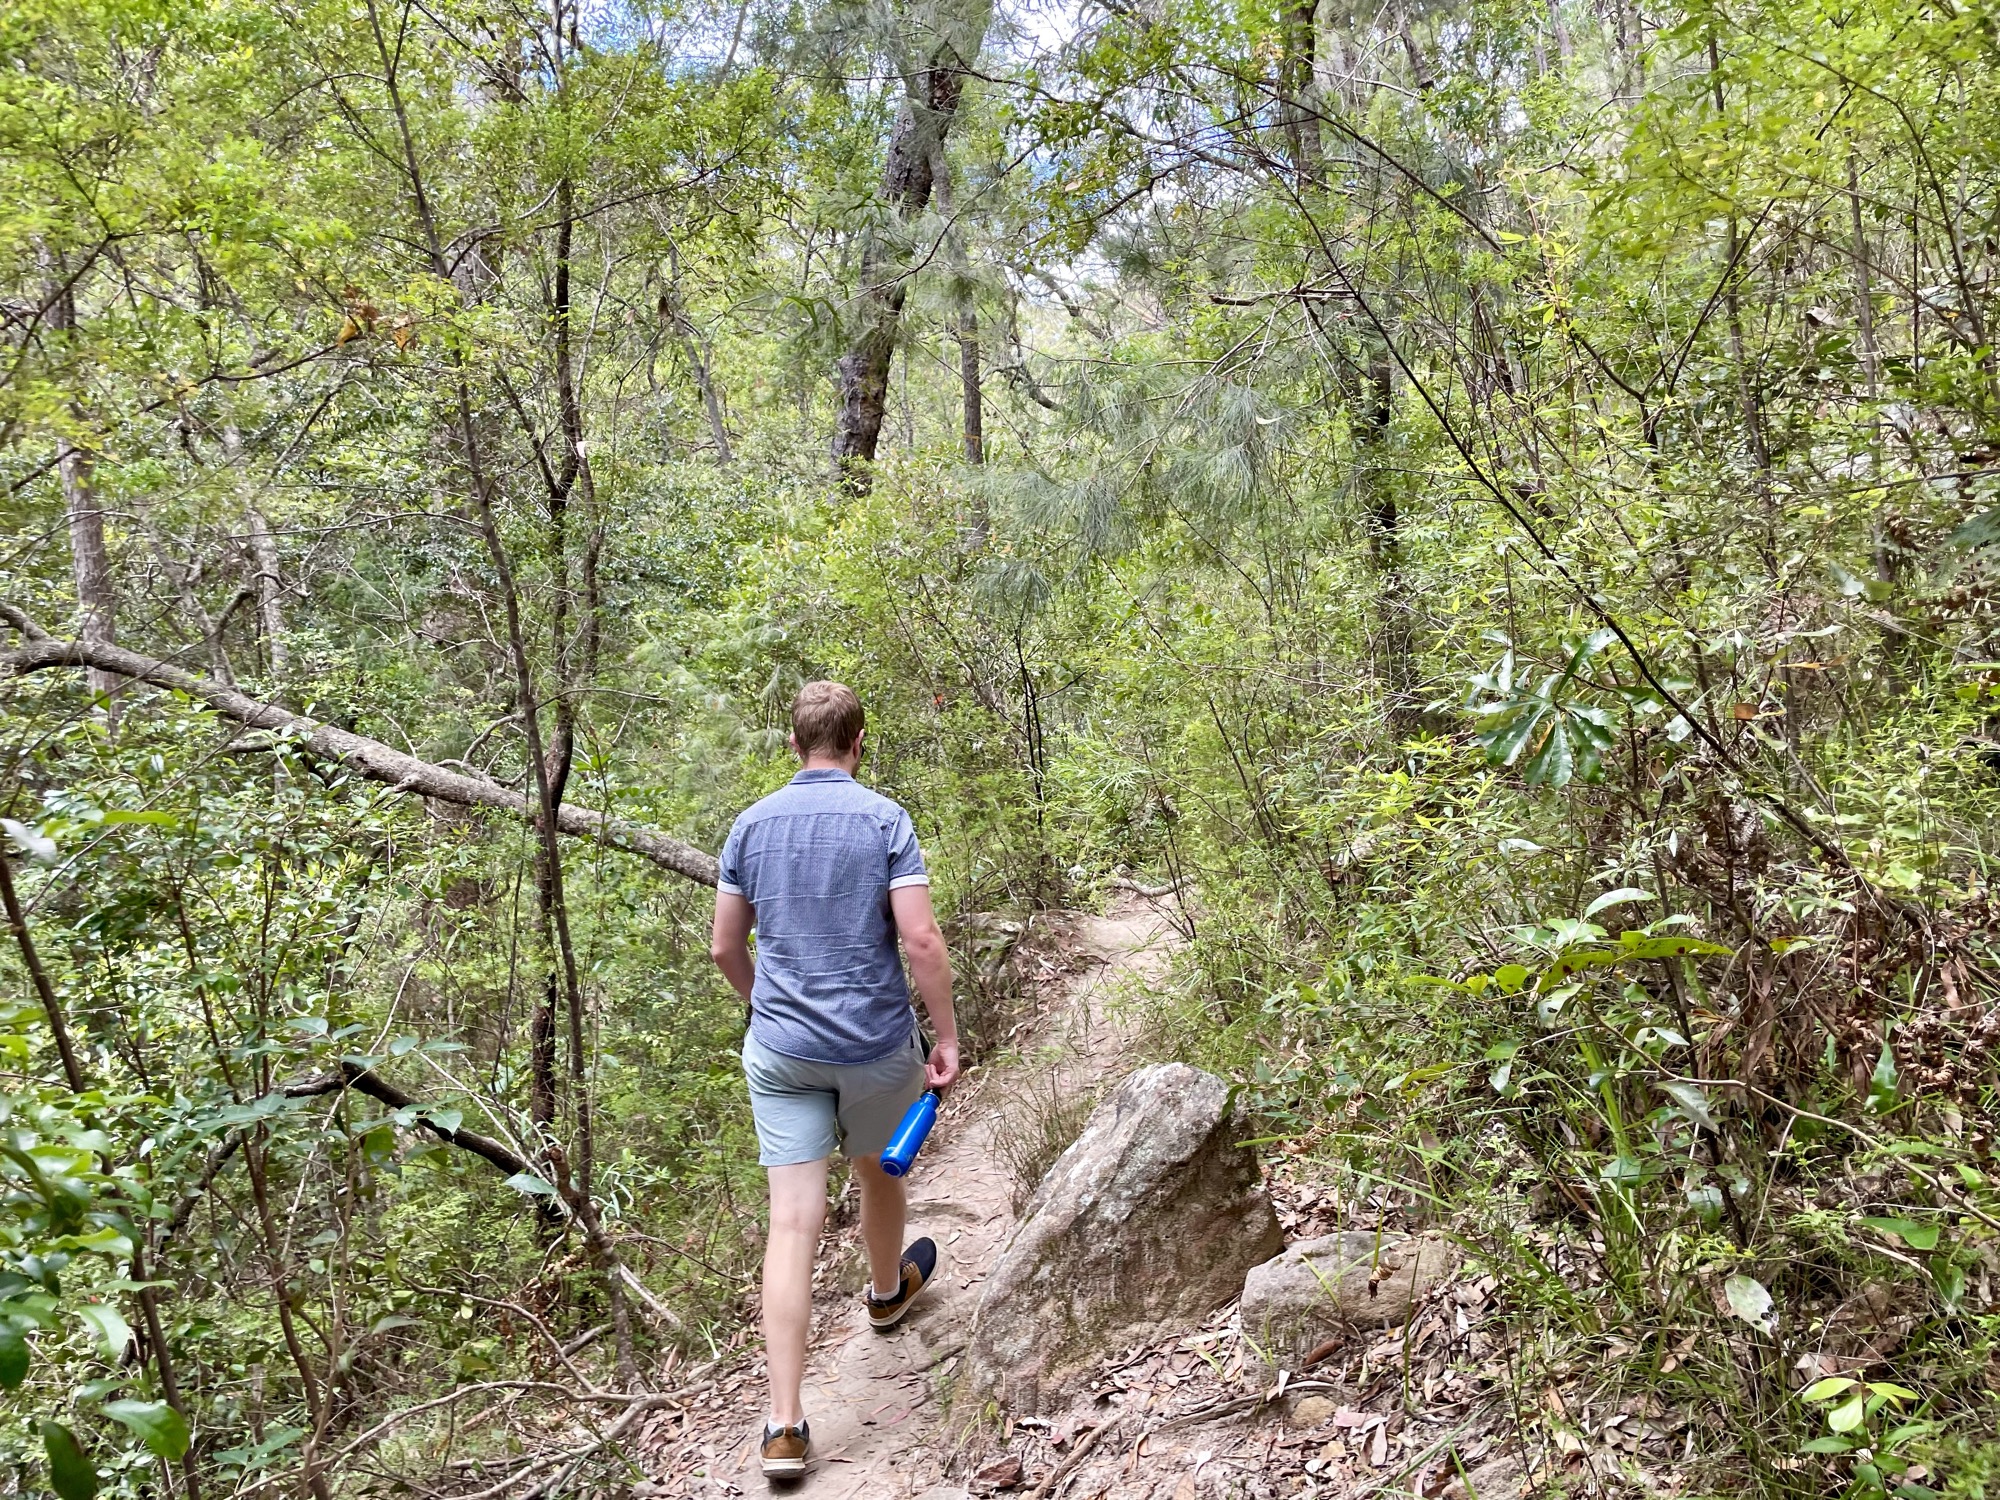
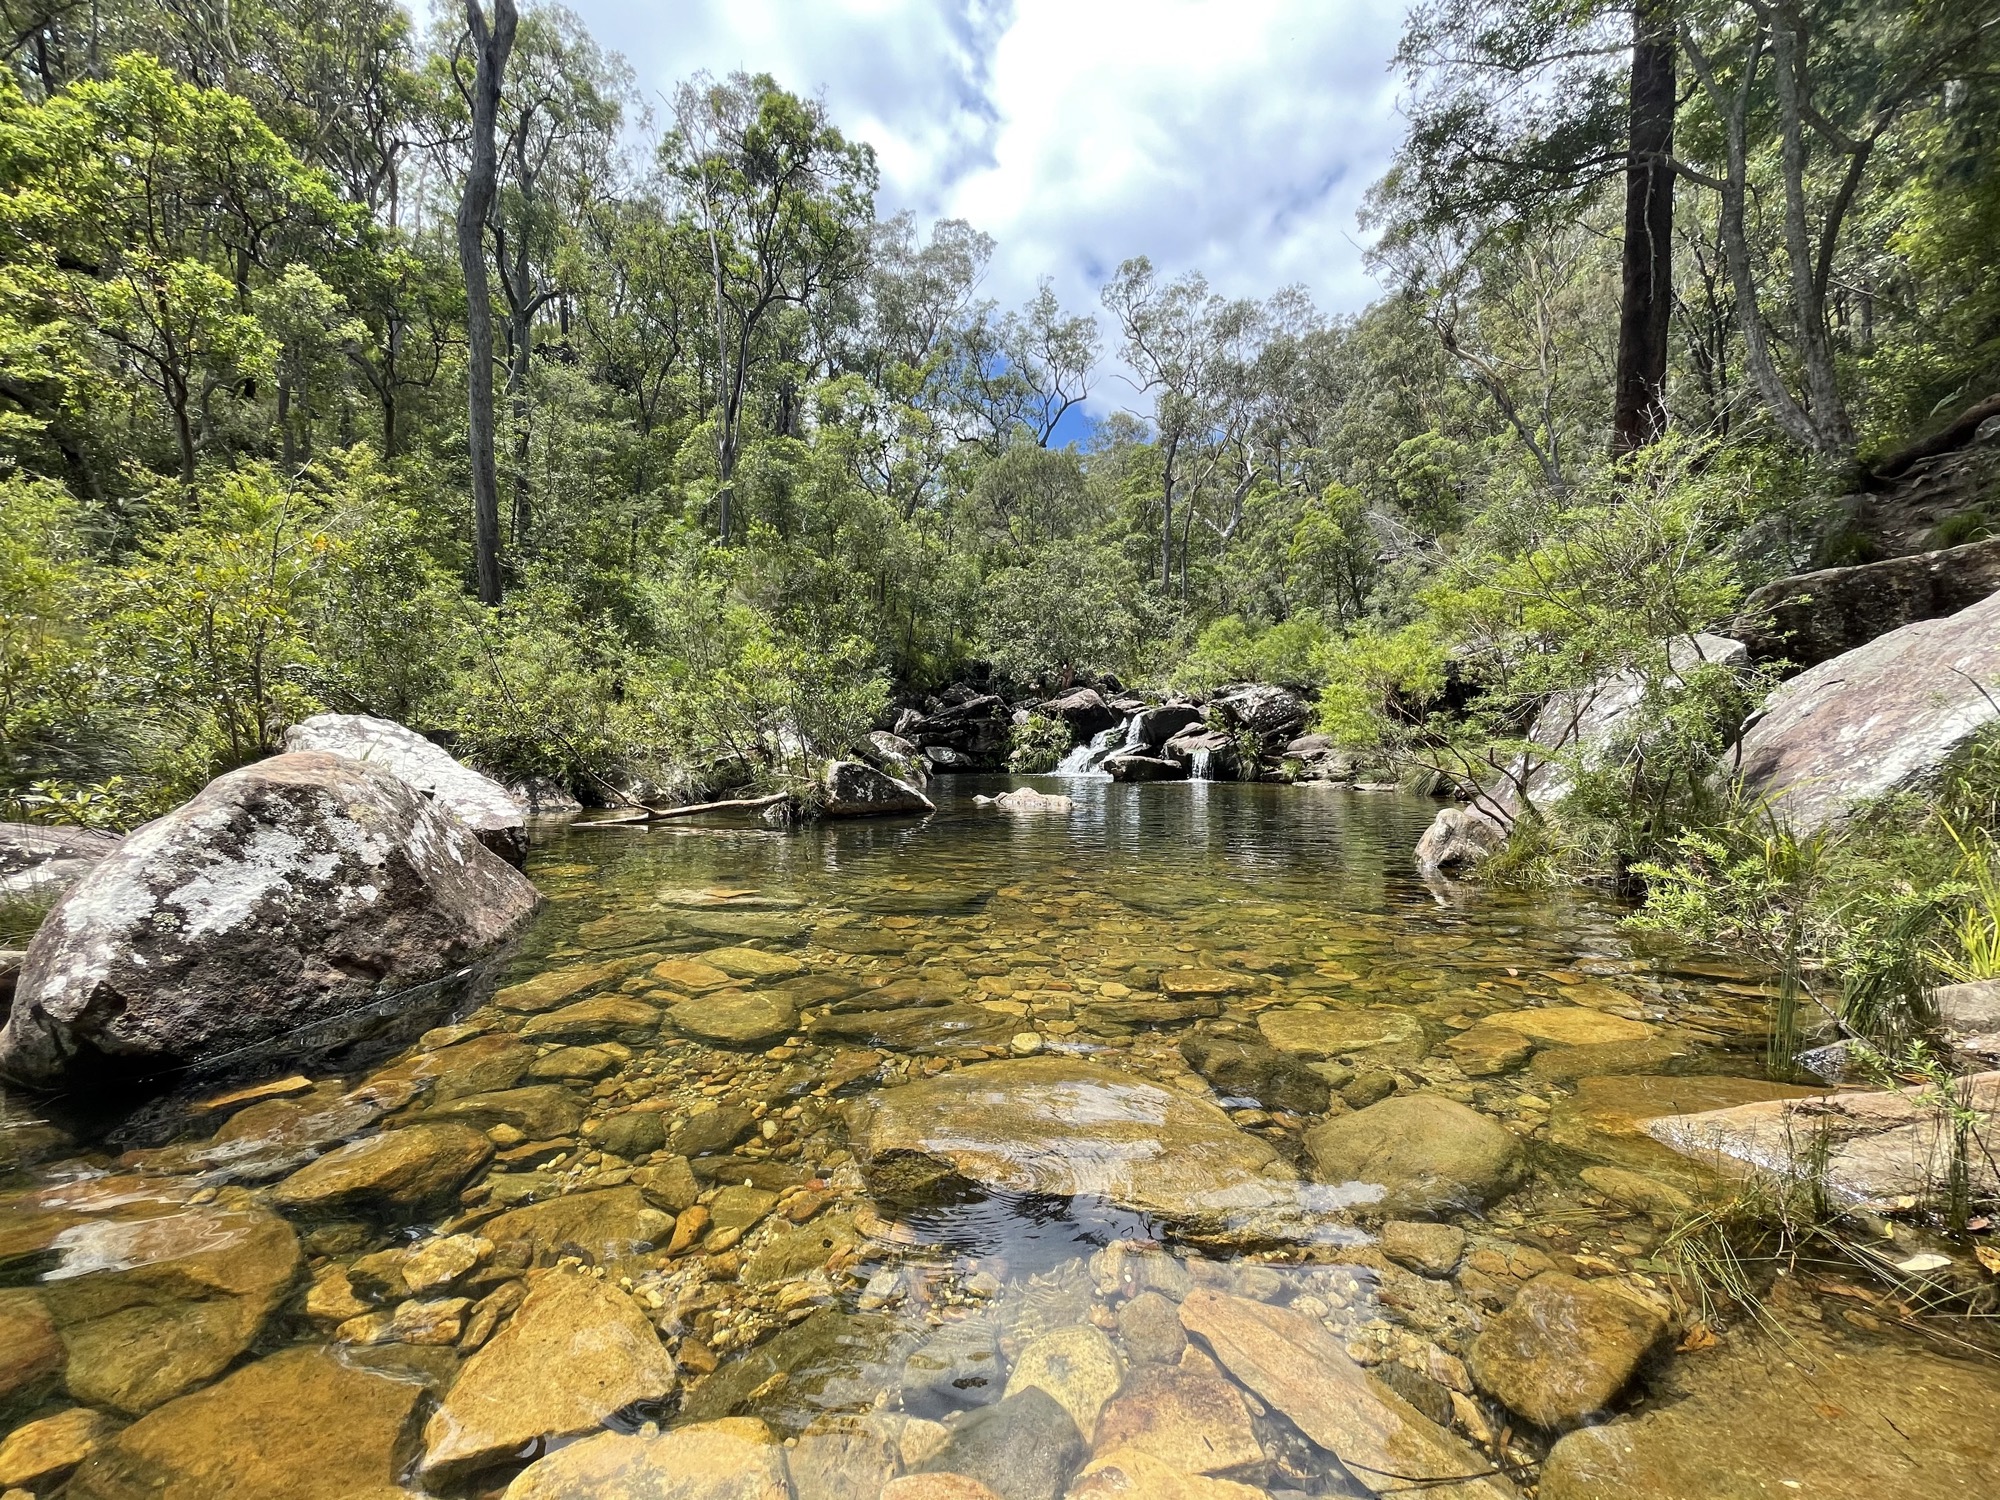
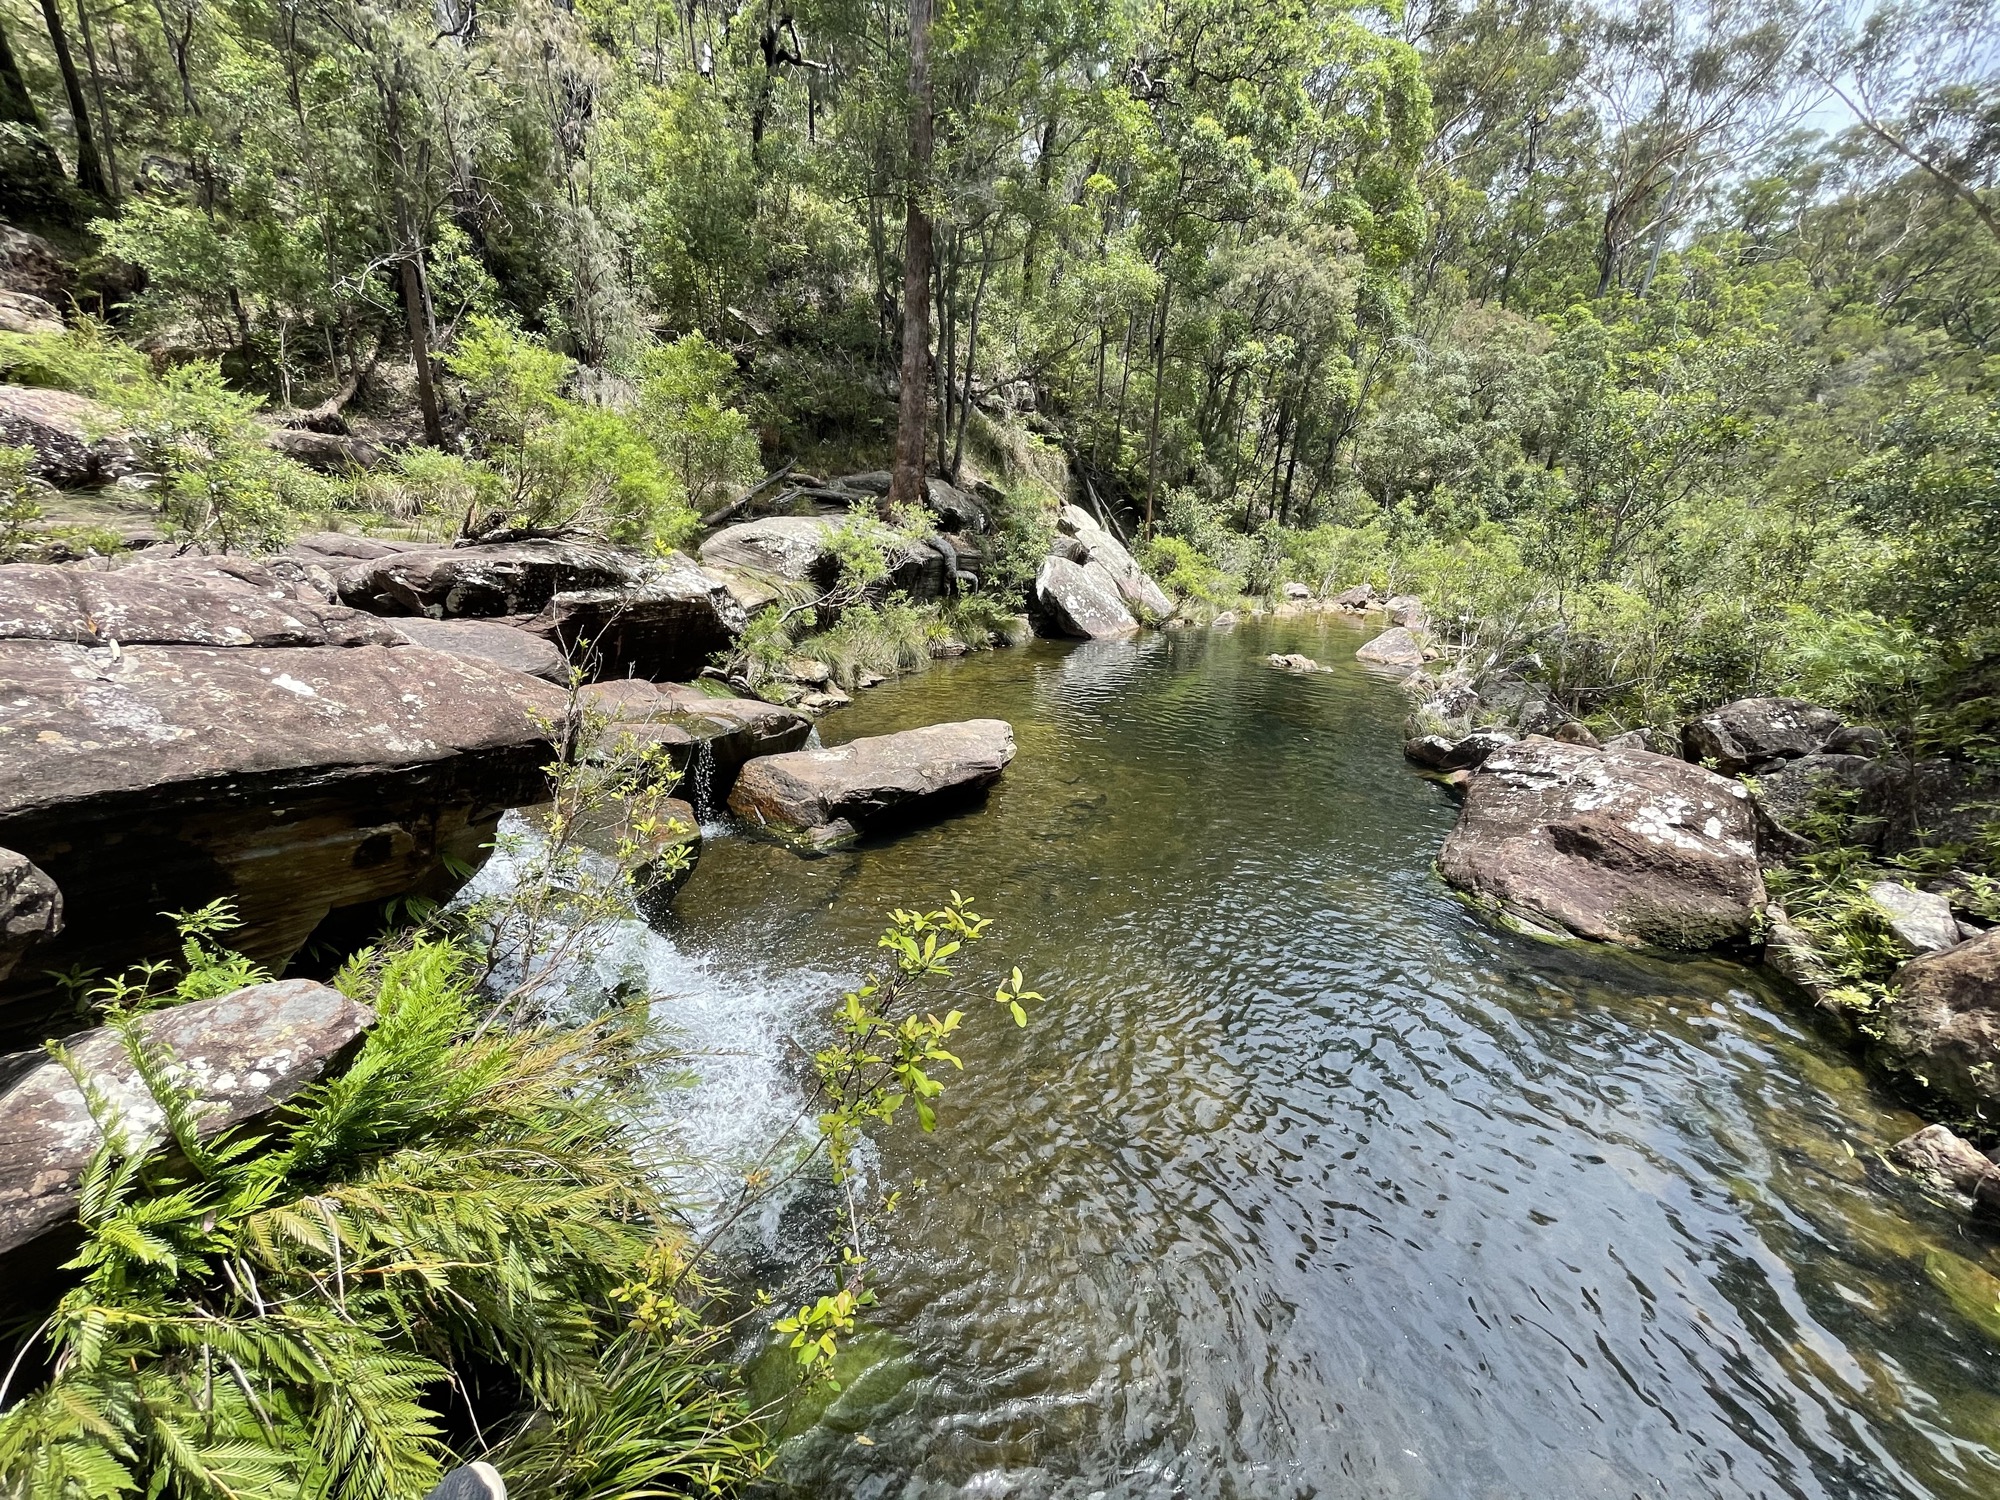
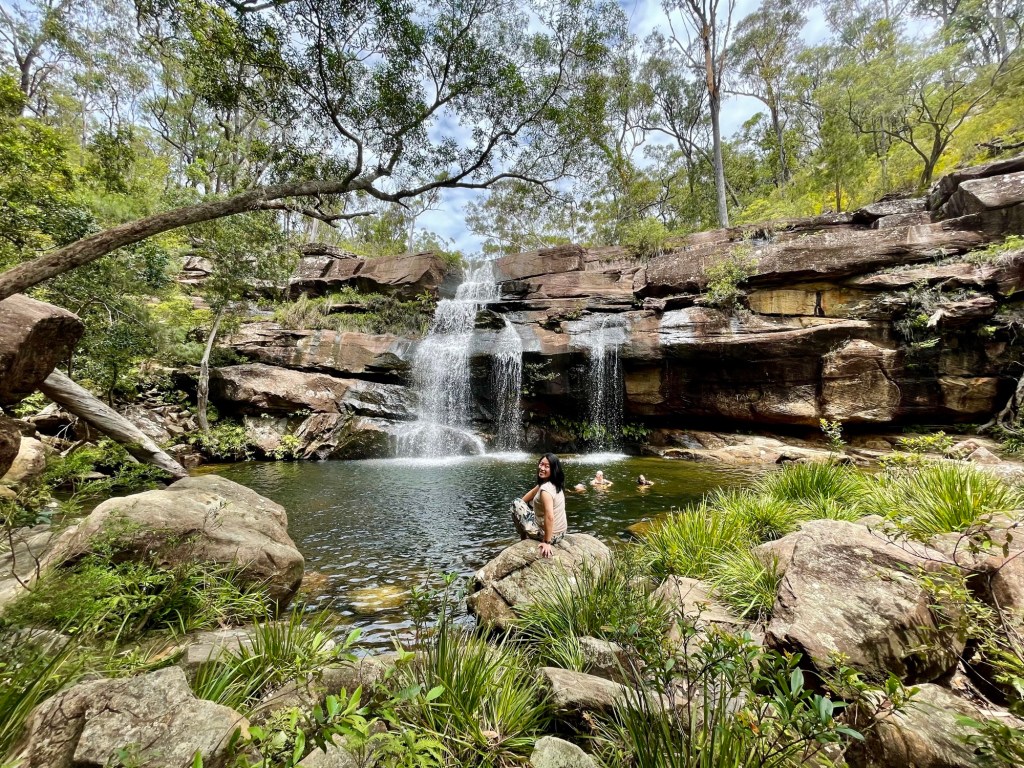
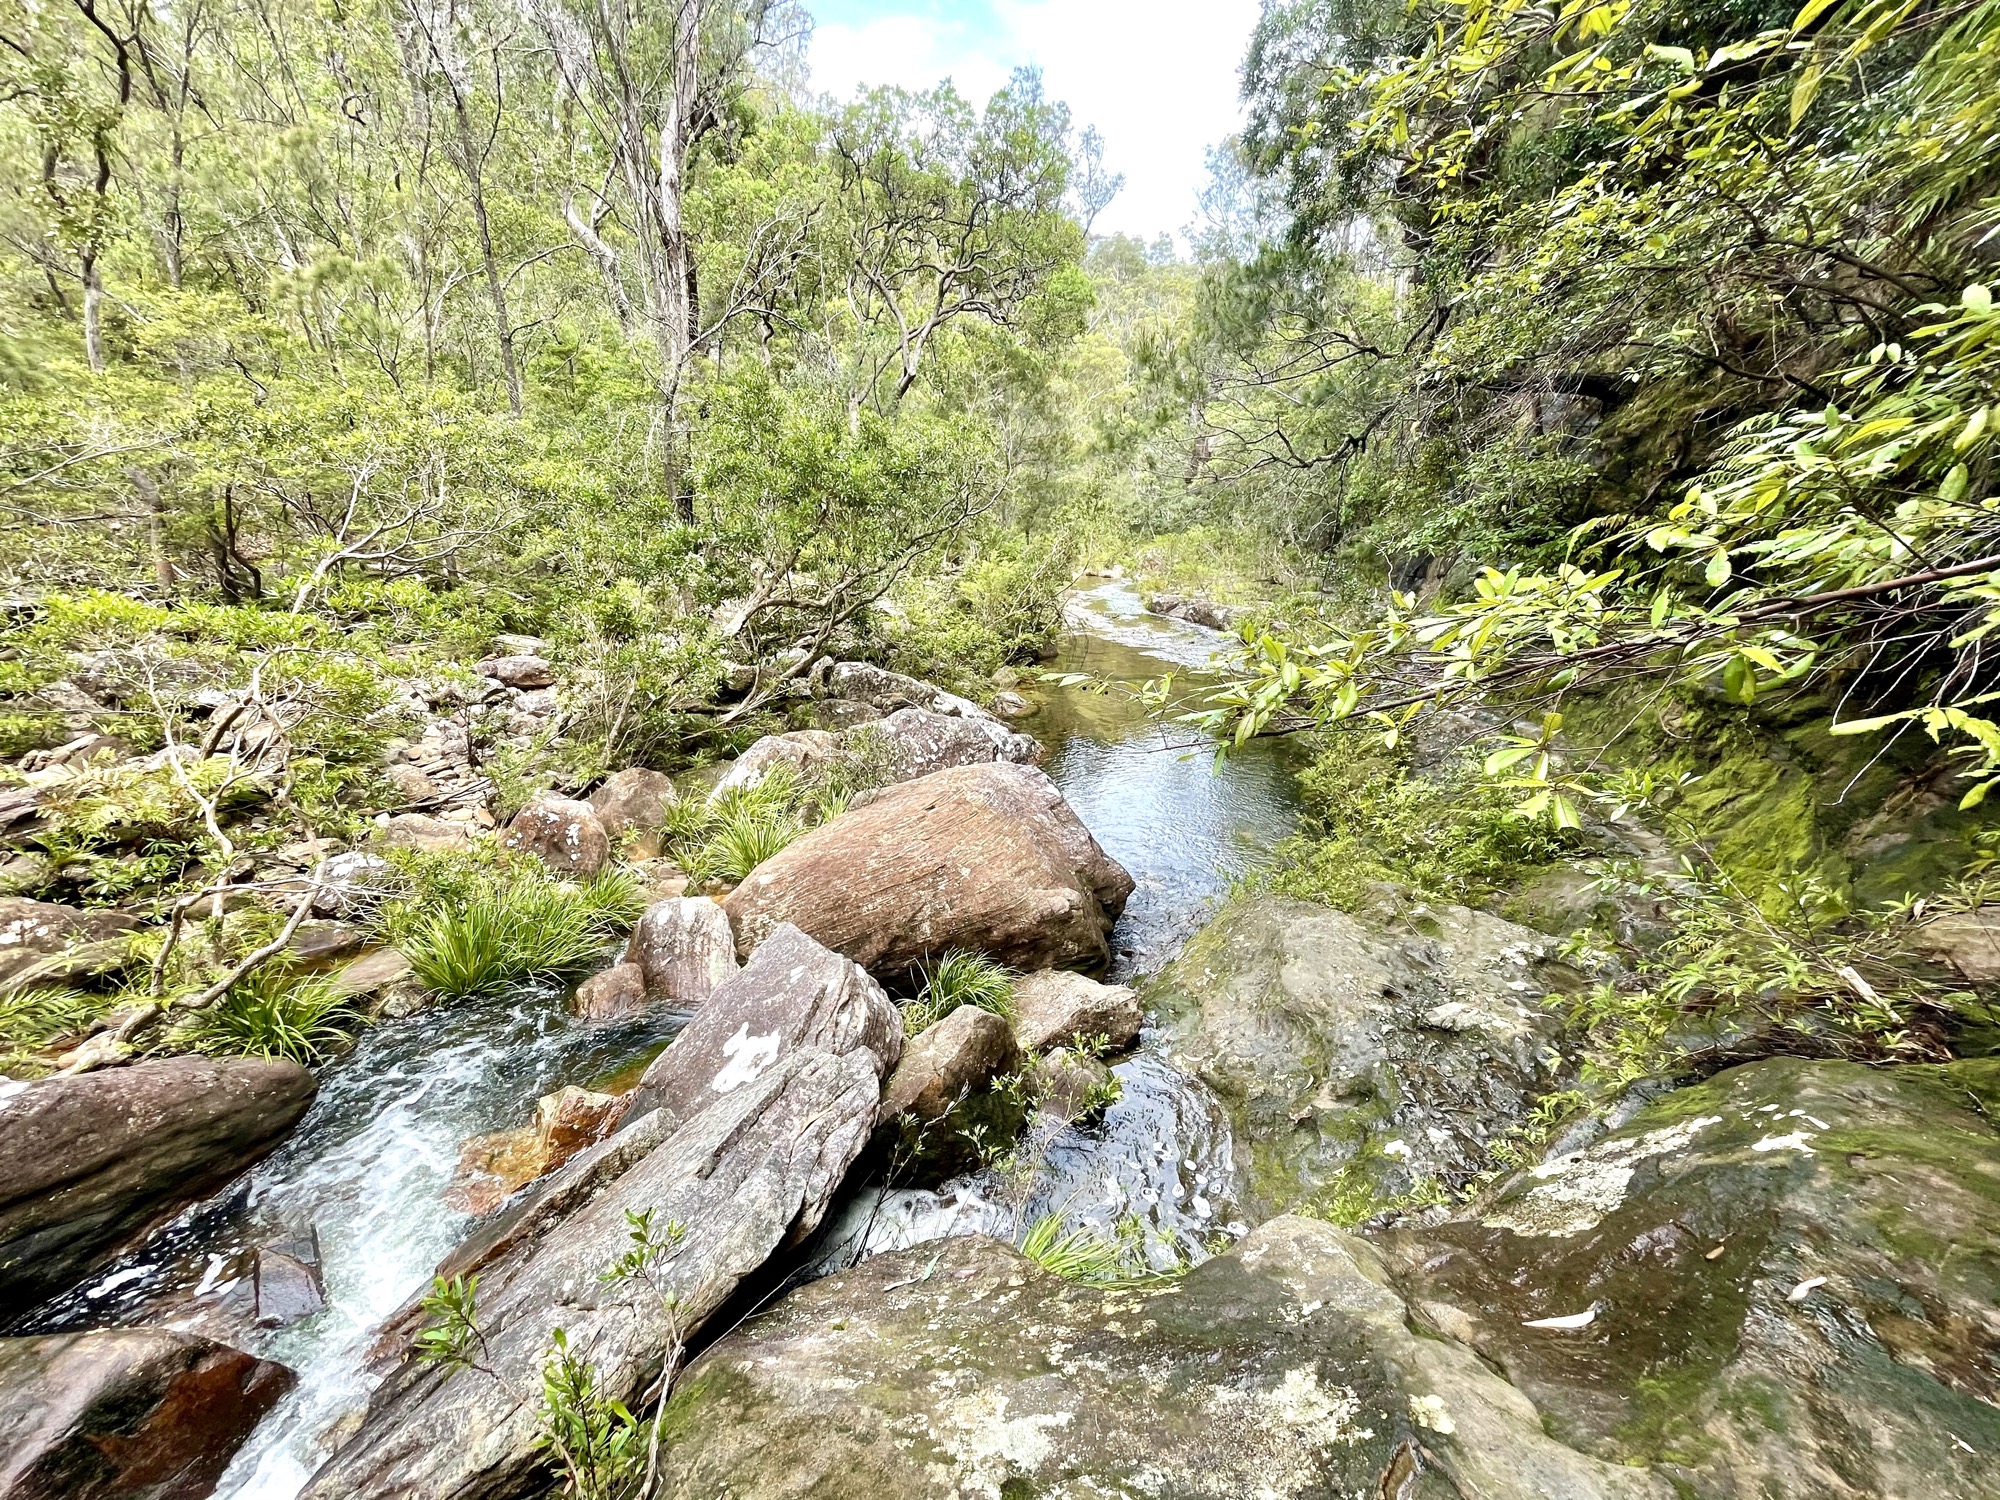
Sherwood Nature Reserve – Scouts Falls
Location: No actual address, but enter Scouts Falls into Google maps to get a general location. There is a small car park on Sherwood Creek Rd near the Sherwood Nature Reserve sign immediately past the bridge over the Middle Creek.
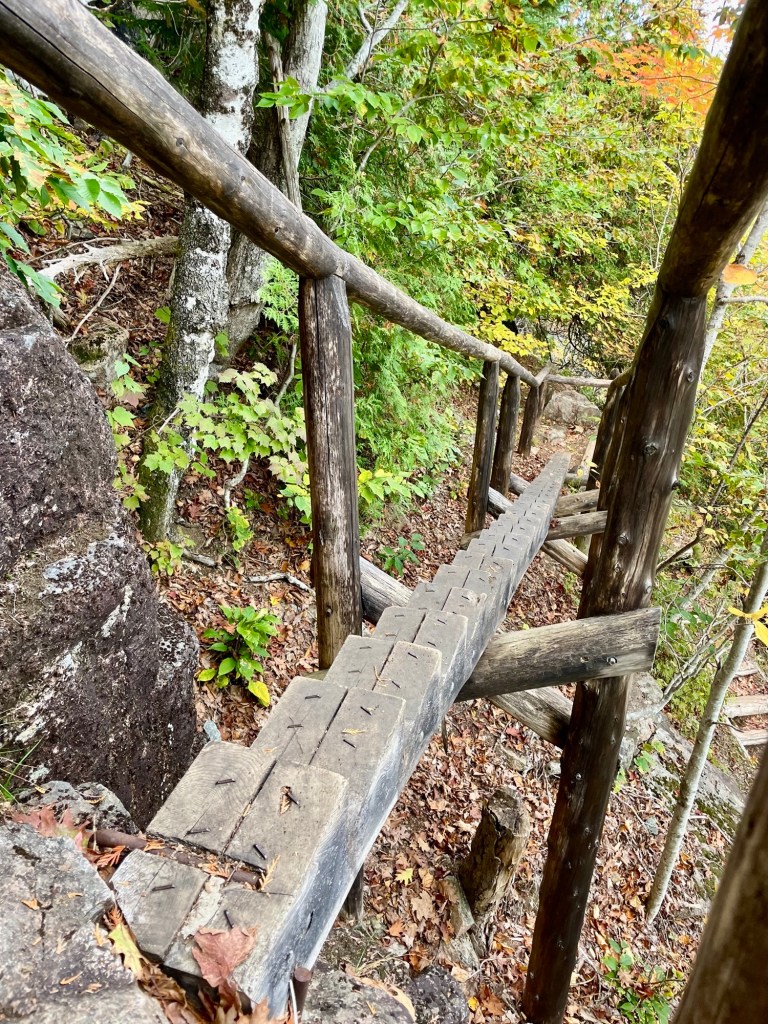
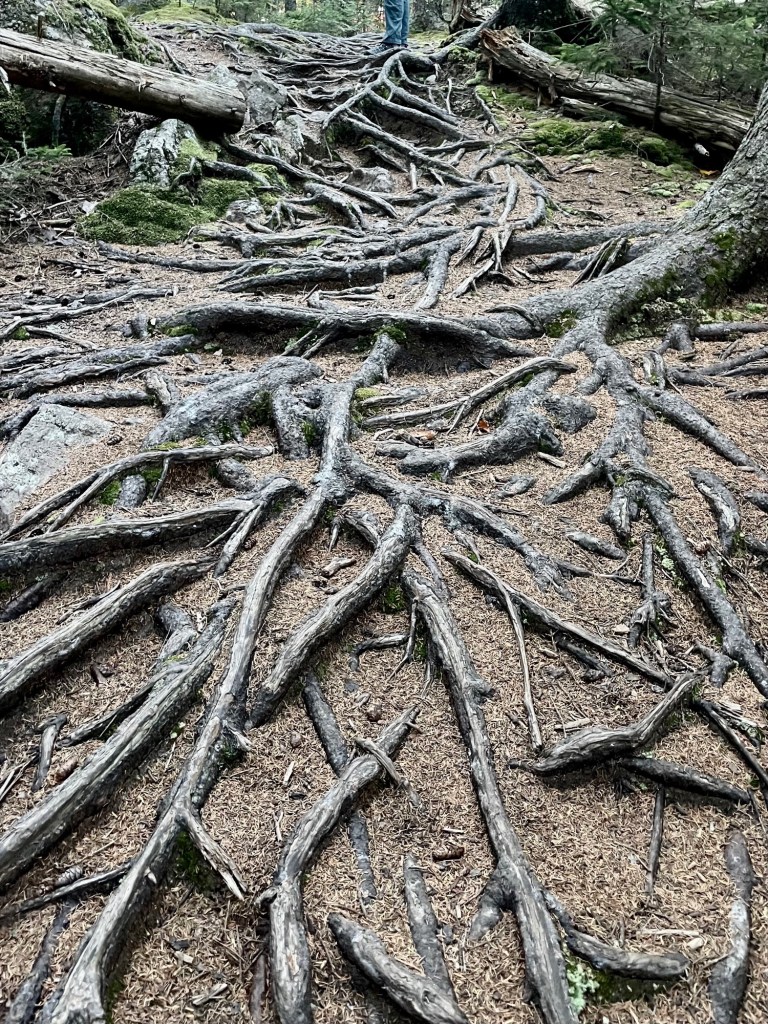
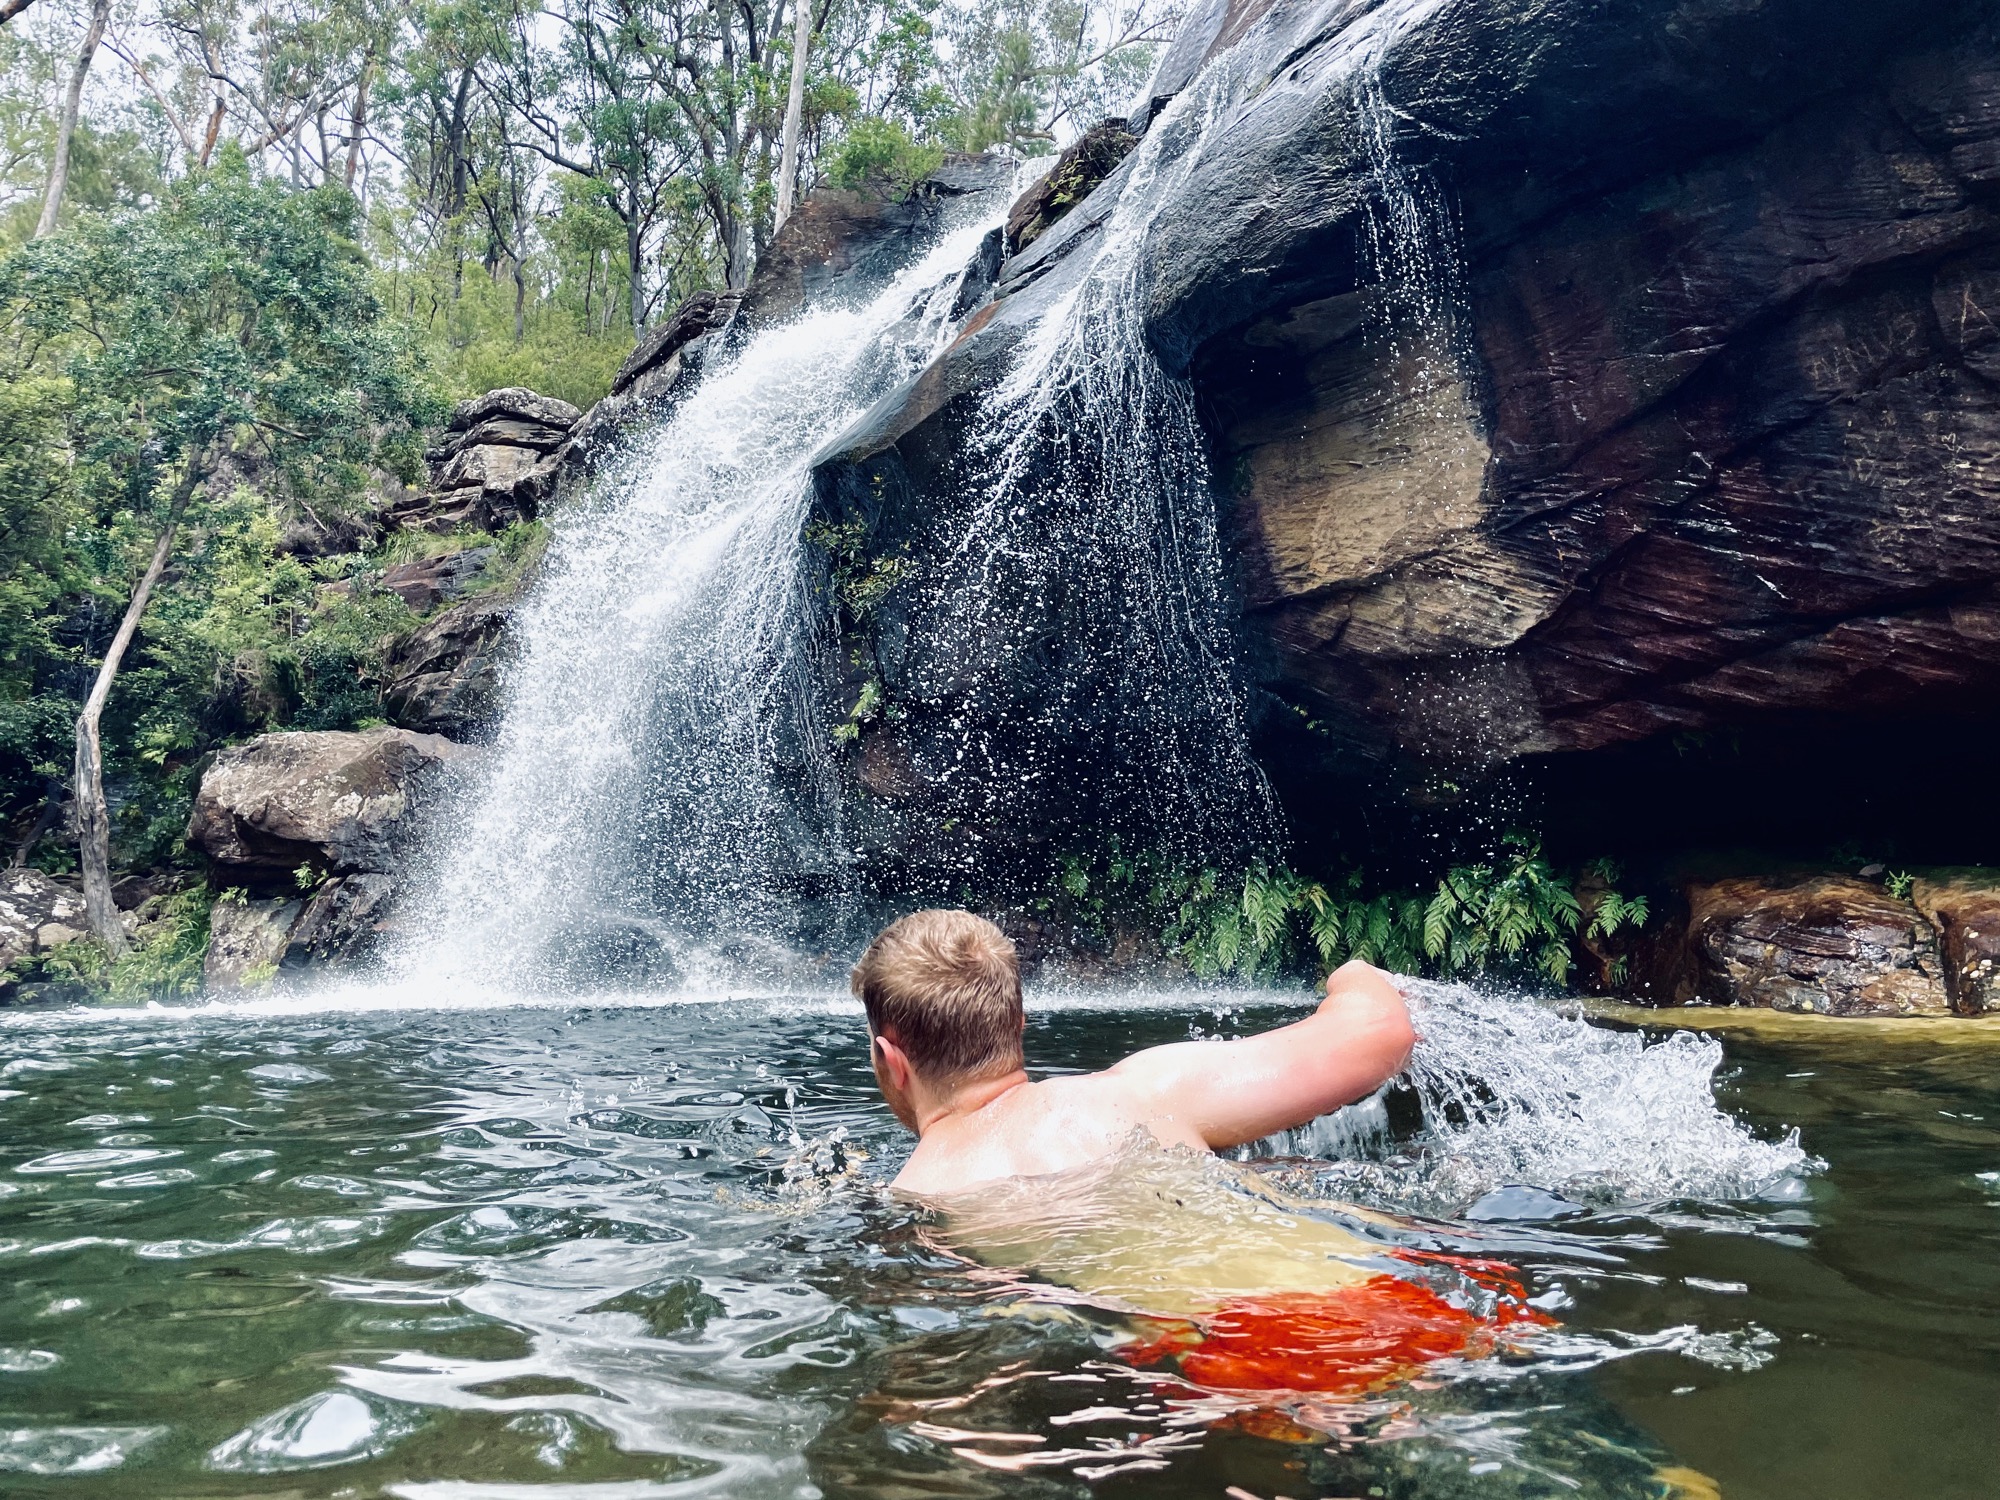
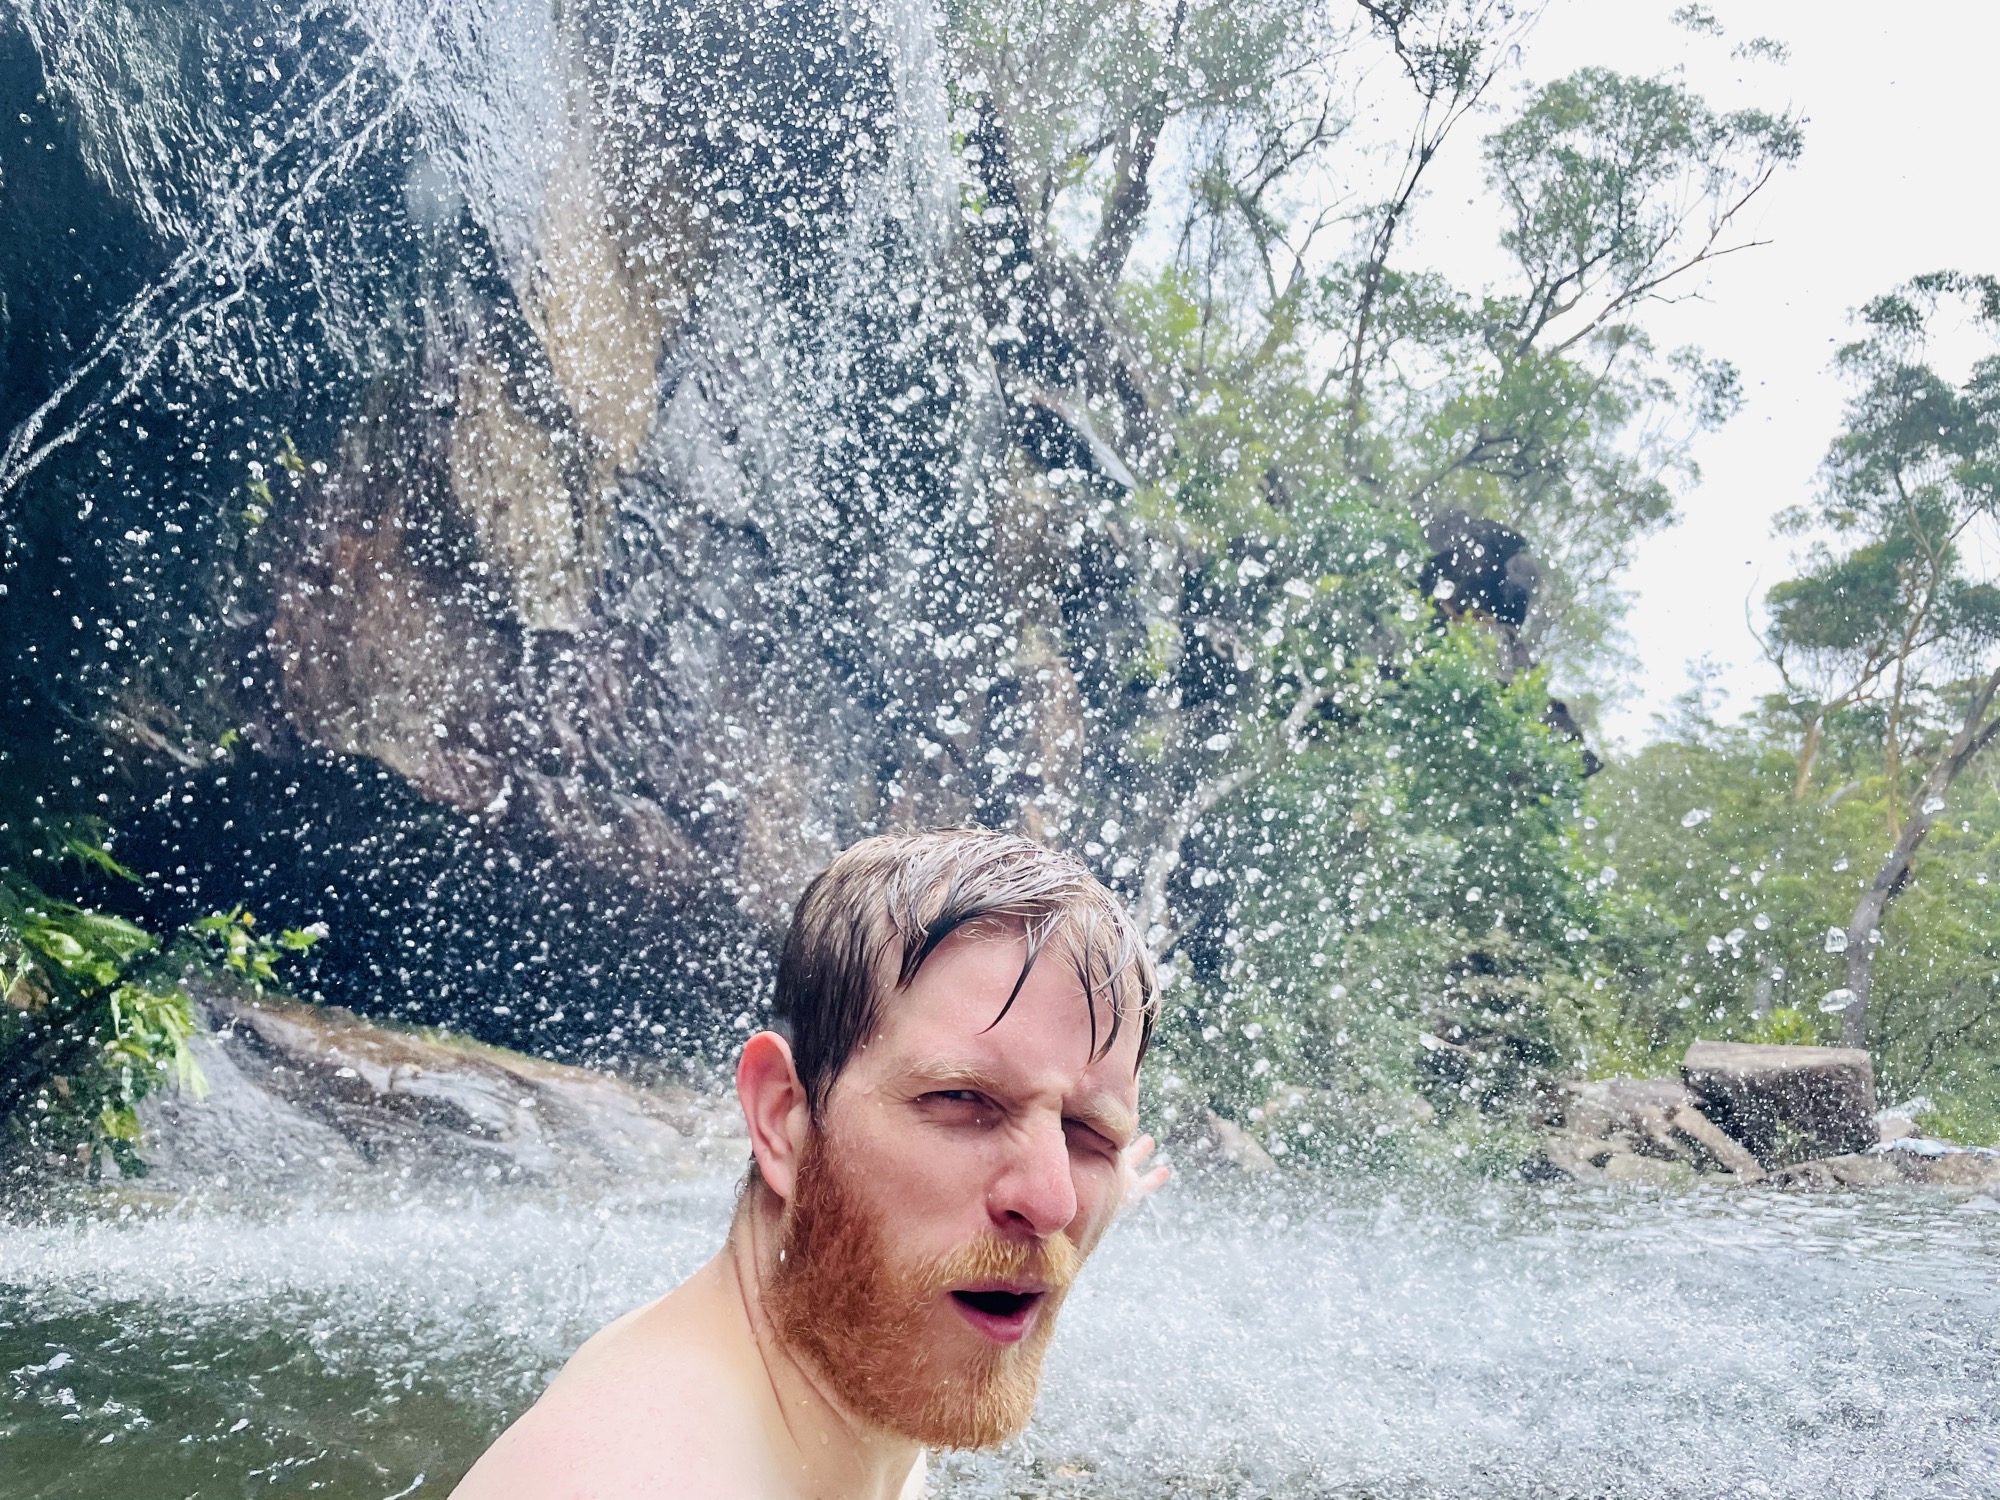
Nestled in the Sherwood Nature Reserve, Scouts Falls is a hidden gem known to locals as a popular swimming spot. The drive to reach this area is via a hilly dirt road with limited road parking and the walk itself is a bit treacherous with uneven ground, slanted steps, and exposed tree roots as a tripping hazard. Definitely bring some reliable shoes for this walk, especially if there was a recent rain to make the rocks slippery and the ground muddy. We saw a woman slip in her flip flops and get her foot cut up by the rocks (however in the same walk, we also saw children running around in their bare feet at full speed 😯). There’s limited signage so you just have to trust the trail and try not to trip on something. After all this, you’re rewarded with a beautiful waterfall that you can swim right up and under, as well as a pool that’s deep enough for some proper swimming. We’ve done this hike twice – the first was during a busy long weekend and we sadly didn’t think to bring our swim suits (we thought this would just be a waterfall viewing hike), so we sat on the edge of the rocks envious of all the people having fun in the water. The second time we came during a weekday and came prepared with our swimming gear. There was no one there the second time we went and it was so peaceful there to swim around under the waterfall.


Maclean
Maclean is a cute small town that we spotted on the map when I was looking for Asian grocery stores around the Grafton area. They did indeed have an Asian grocer, but it was super small and didn’t have what I wanted, however I’m glad we ventured out here because this town was small but cute. The main street had some nice coffee shops and stores to walk through. Maclean is also on the way to Iluka if you’re planning to go to Bluff Beach.

Iluka – Rainforest Walk & Bluff Beach
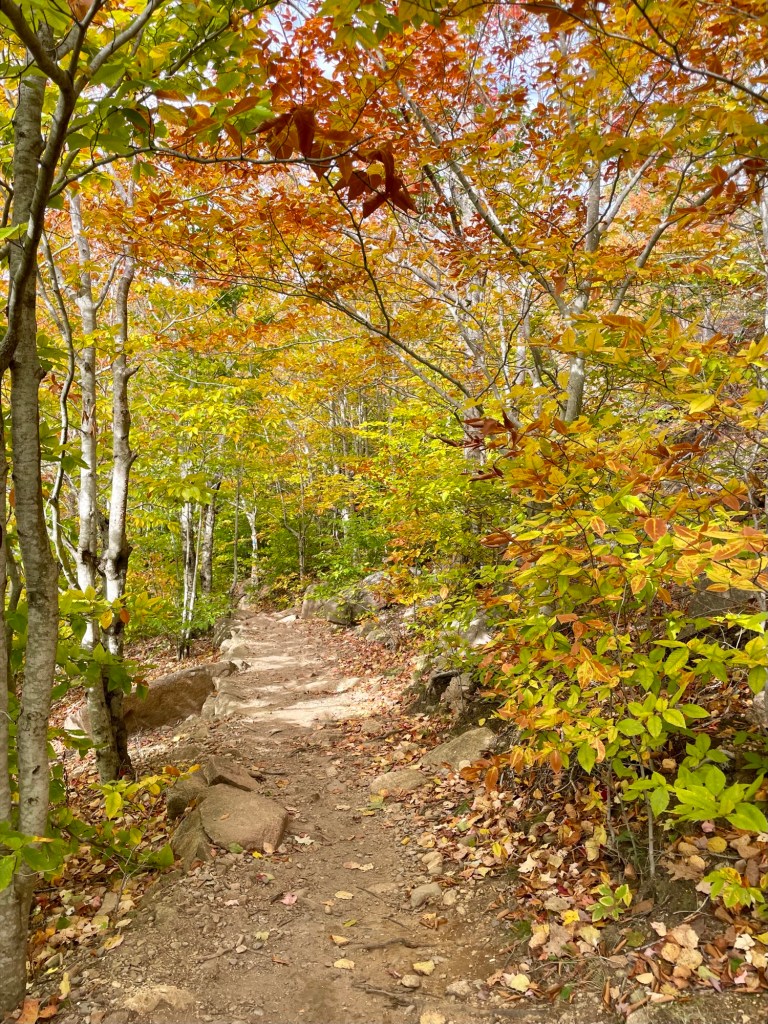
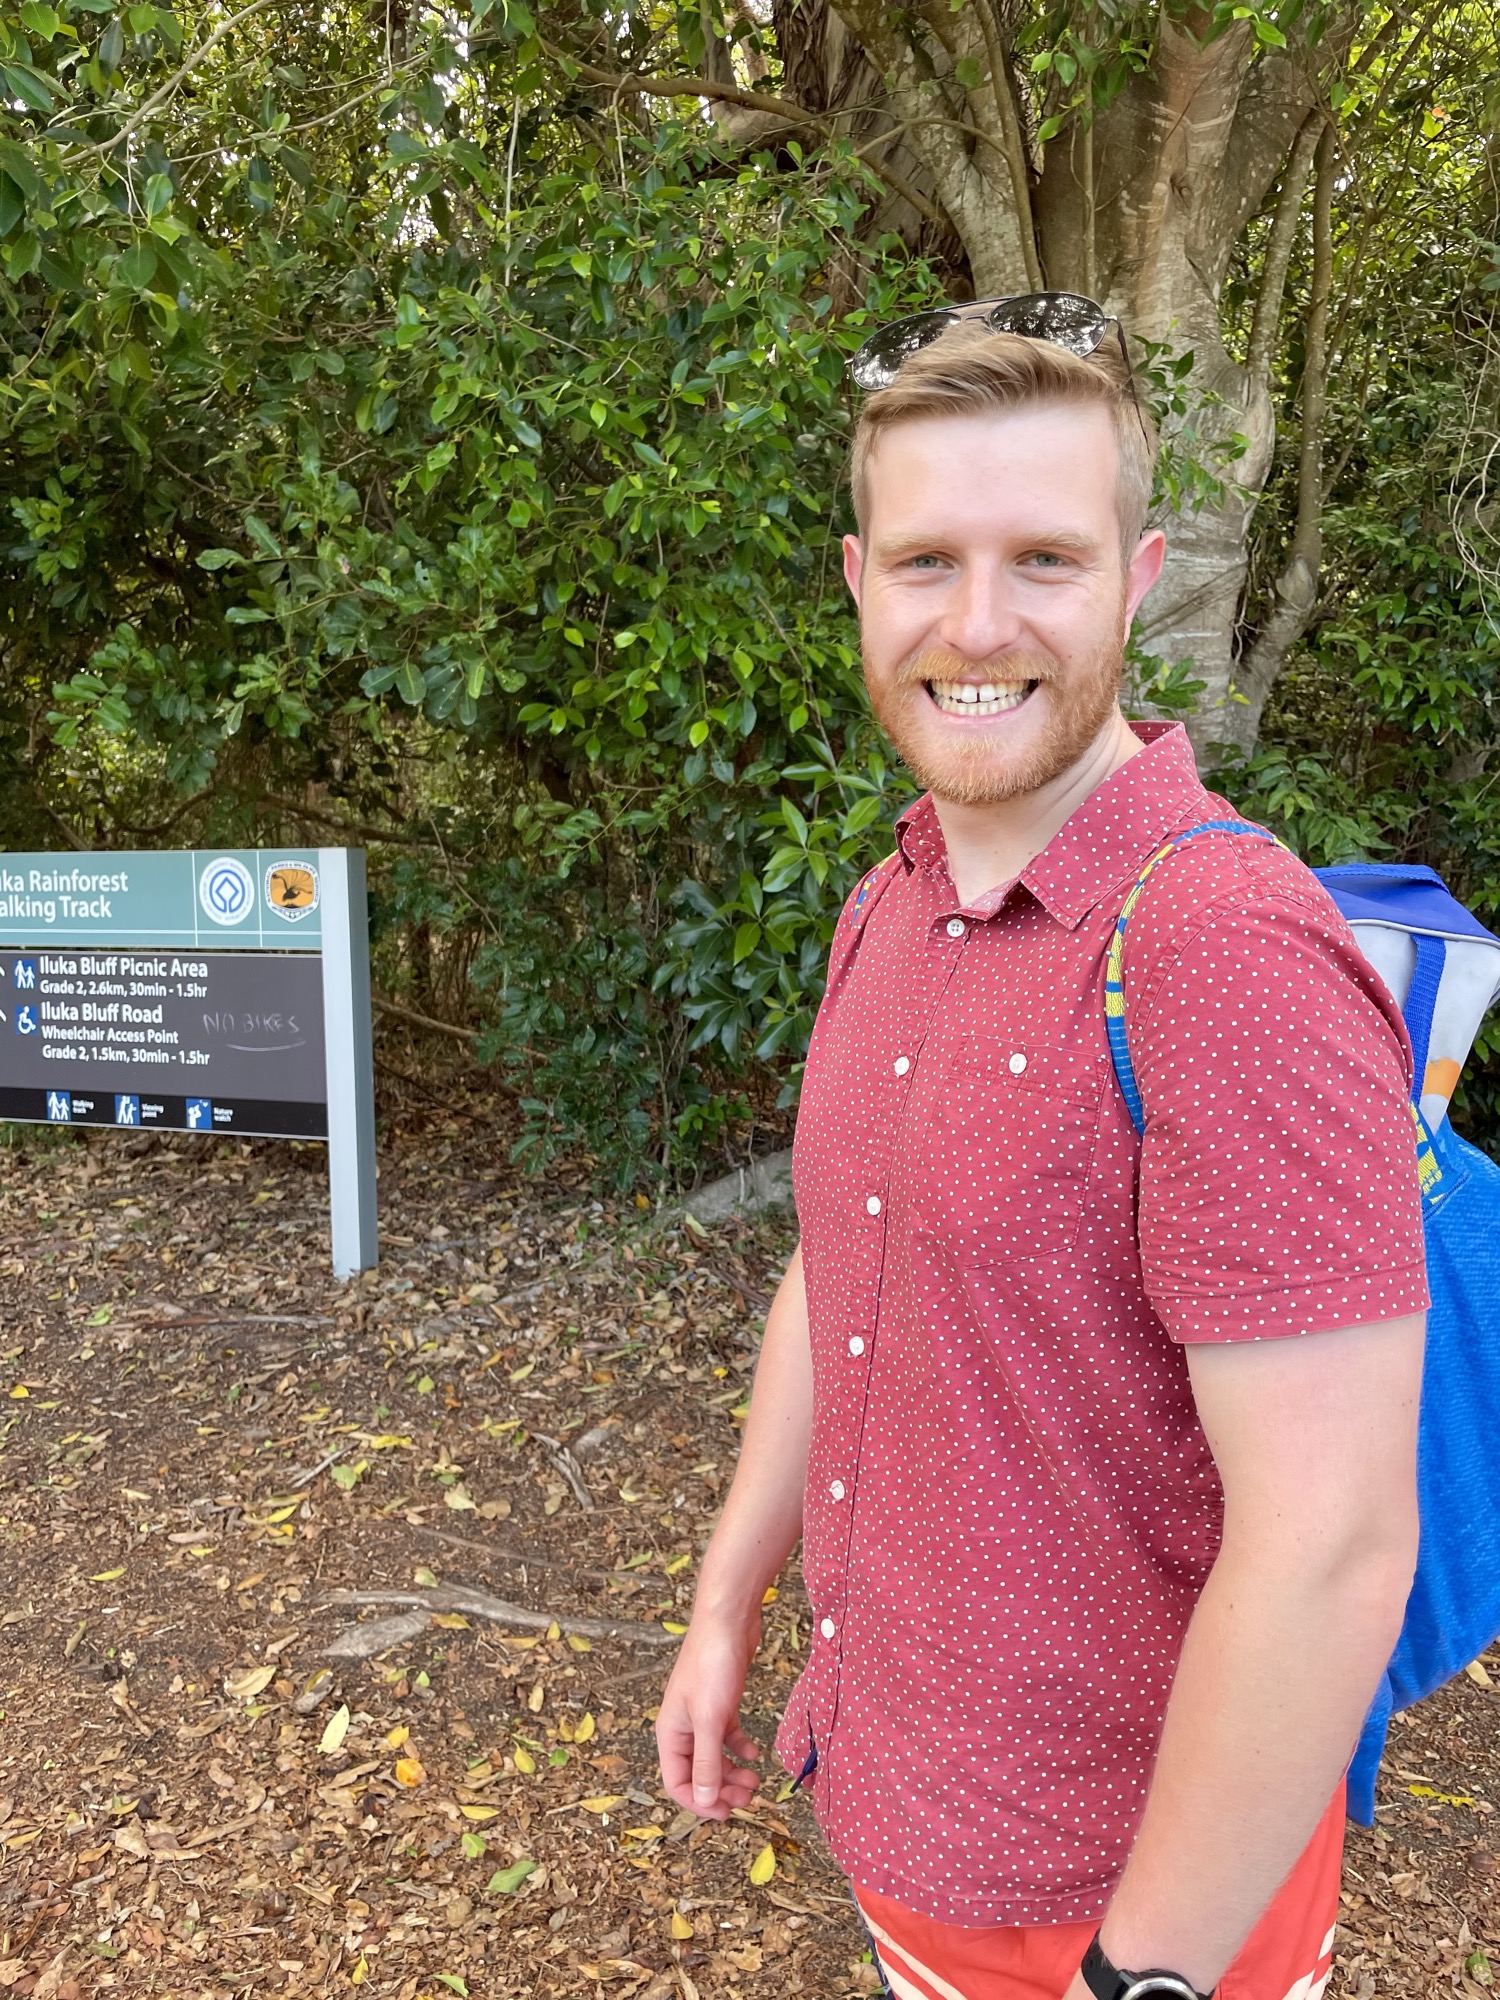
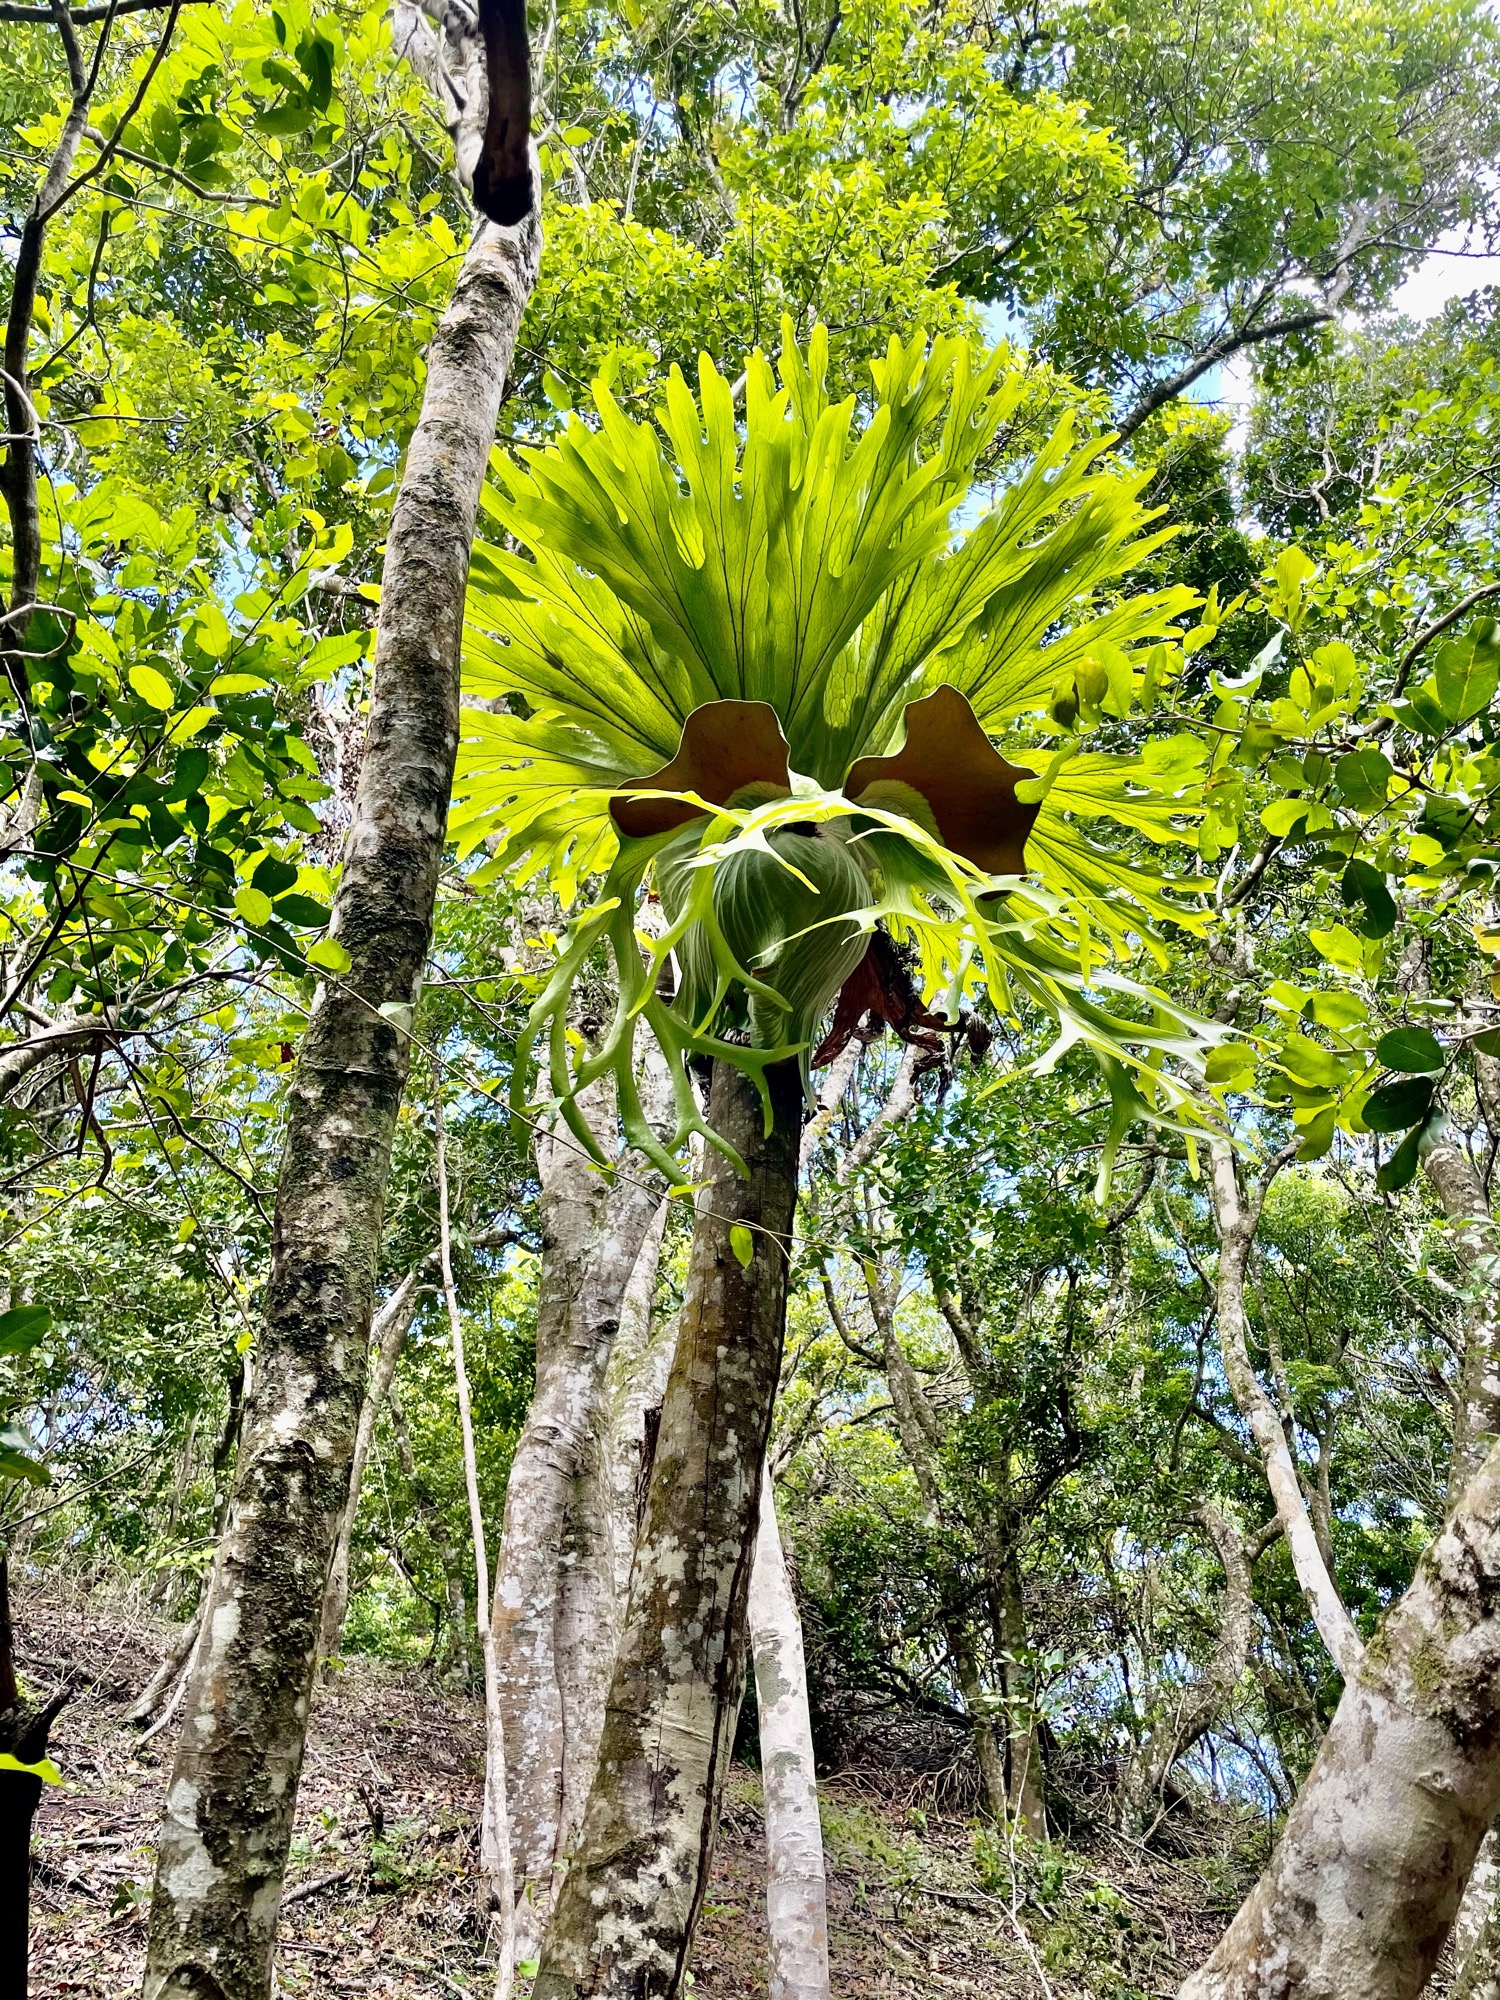
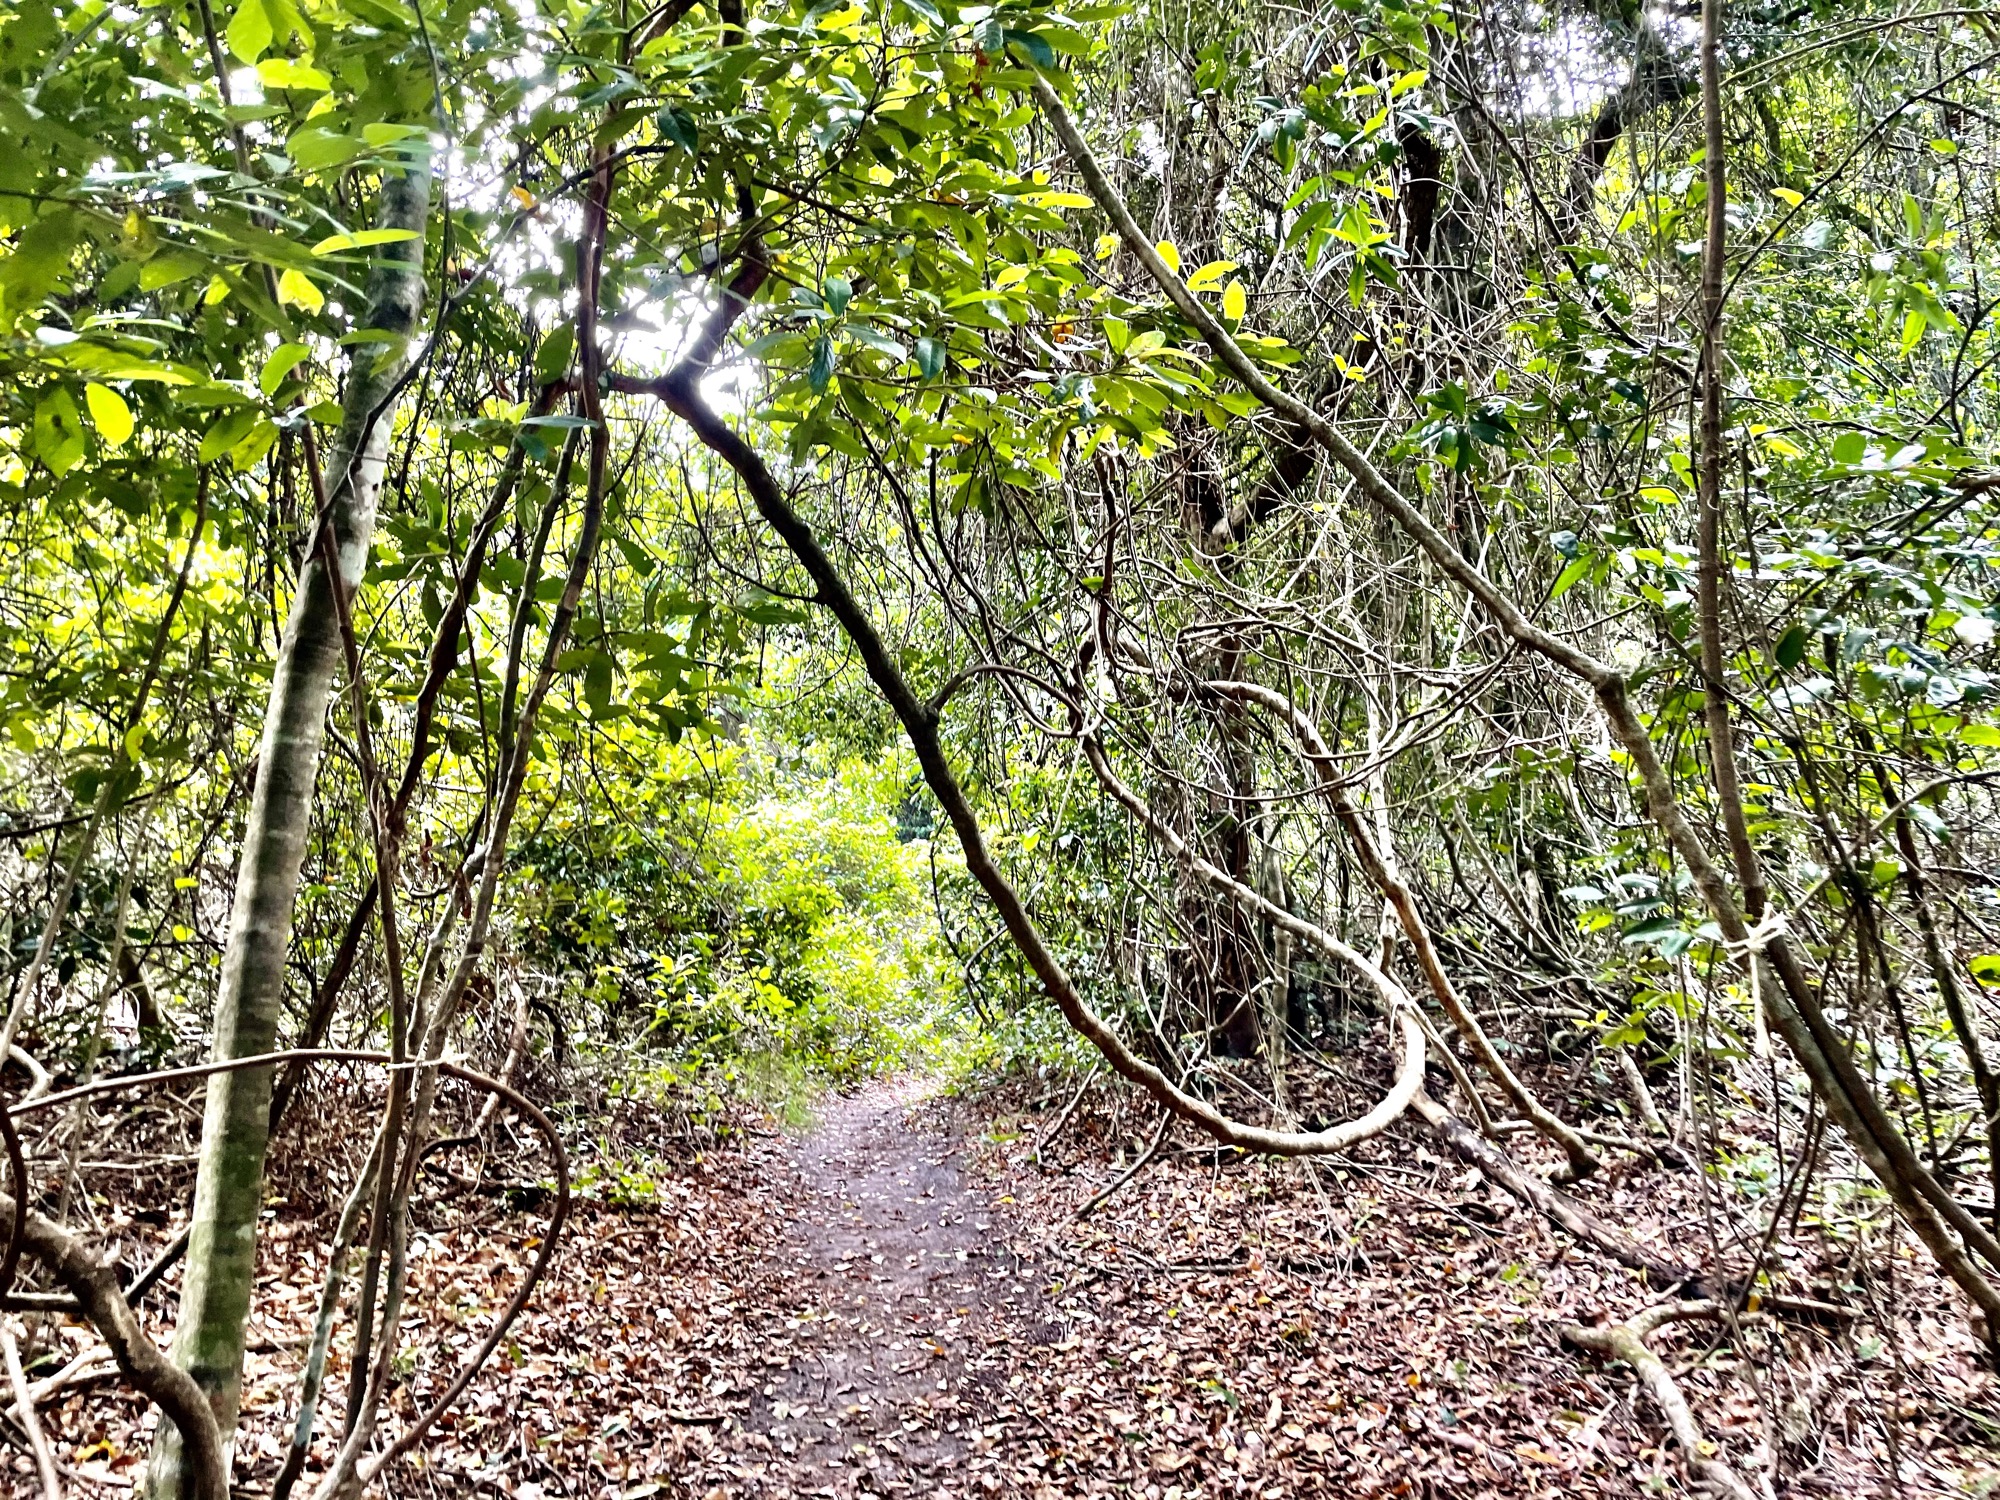
Iluka didn’t pop up on our radar when we were researching things to do around the area when we stayed in Grafton, however one of our co-workers recommended the rainforest walk connecting up to Bluff Beach. It was about an hour drive northeast of Grafton and we rented some snorkel gear at a local fishing shop. We parked our car at the side of the road and started the Iluka Rainforest Walking Track. It was an easy walk through the rainforest but it was a bit monotonous and not the most exciting scenery. It took just under an hour to reach Bluff Beach.
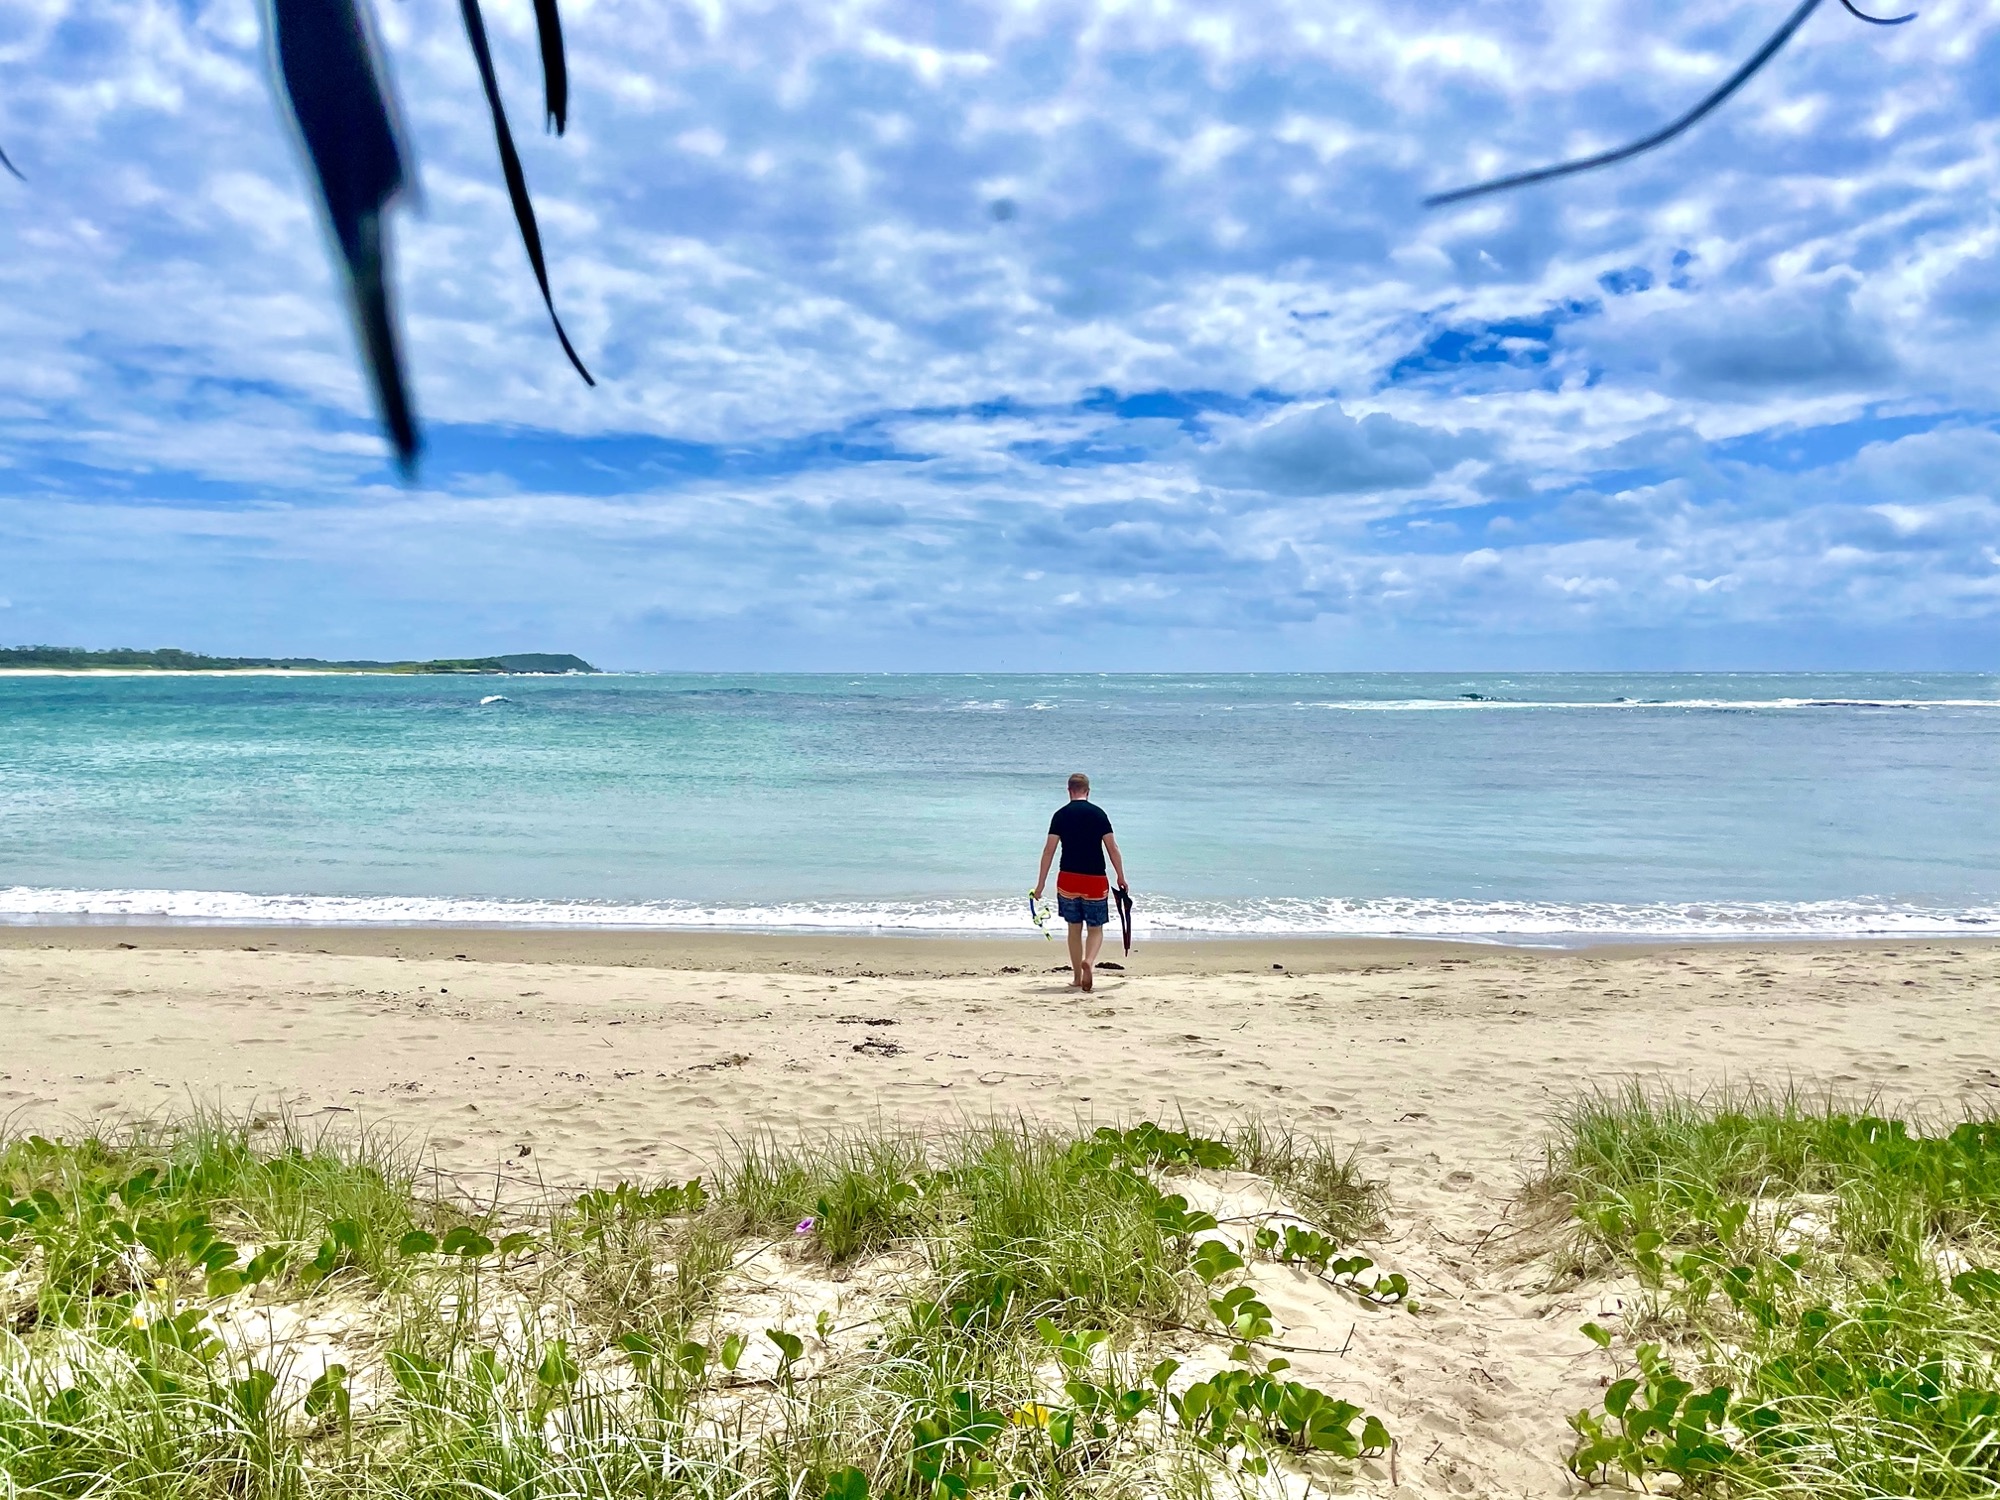
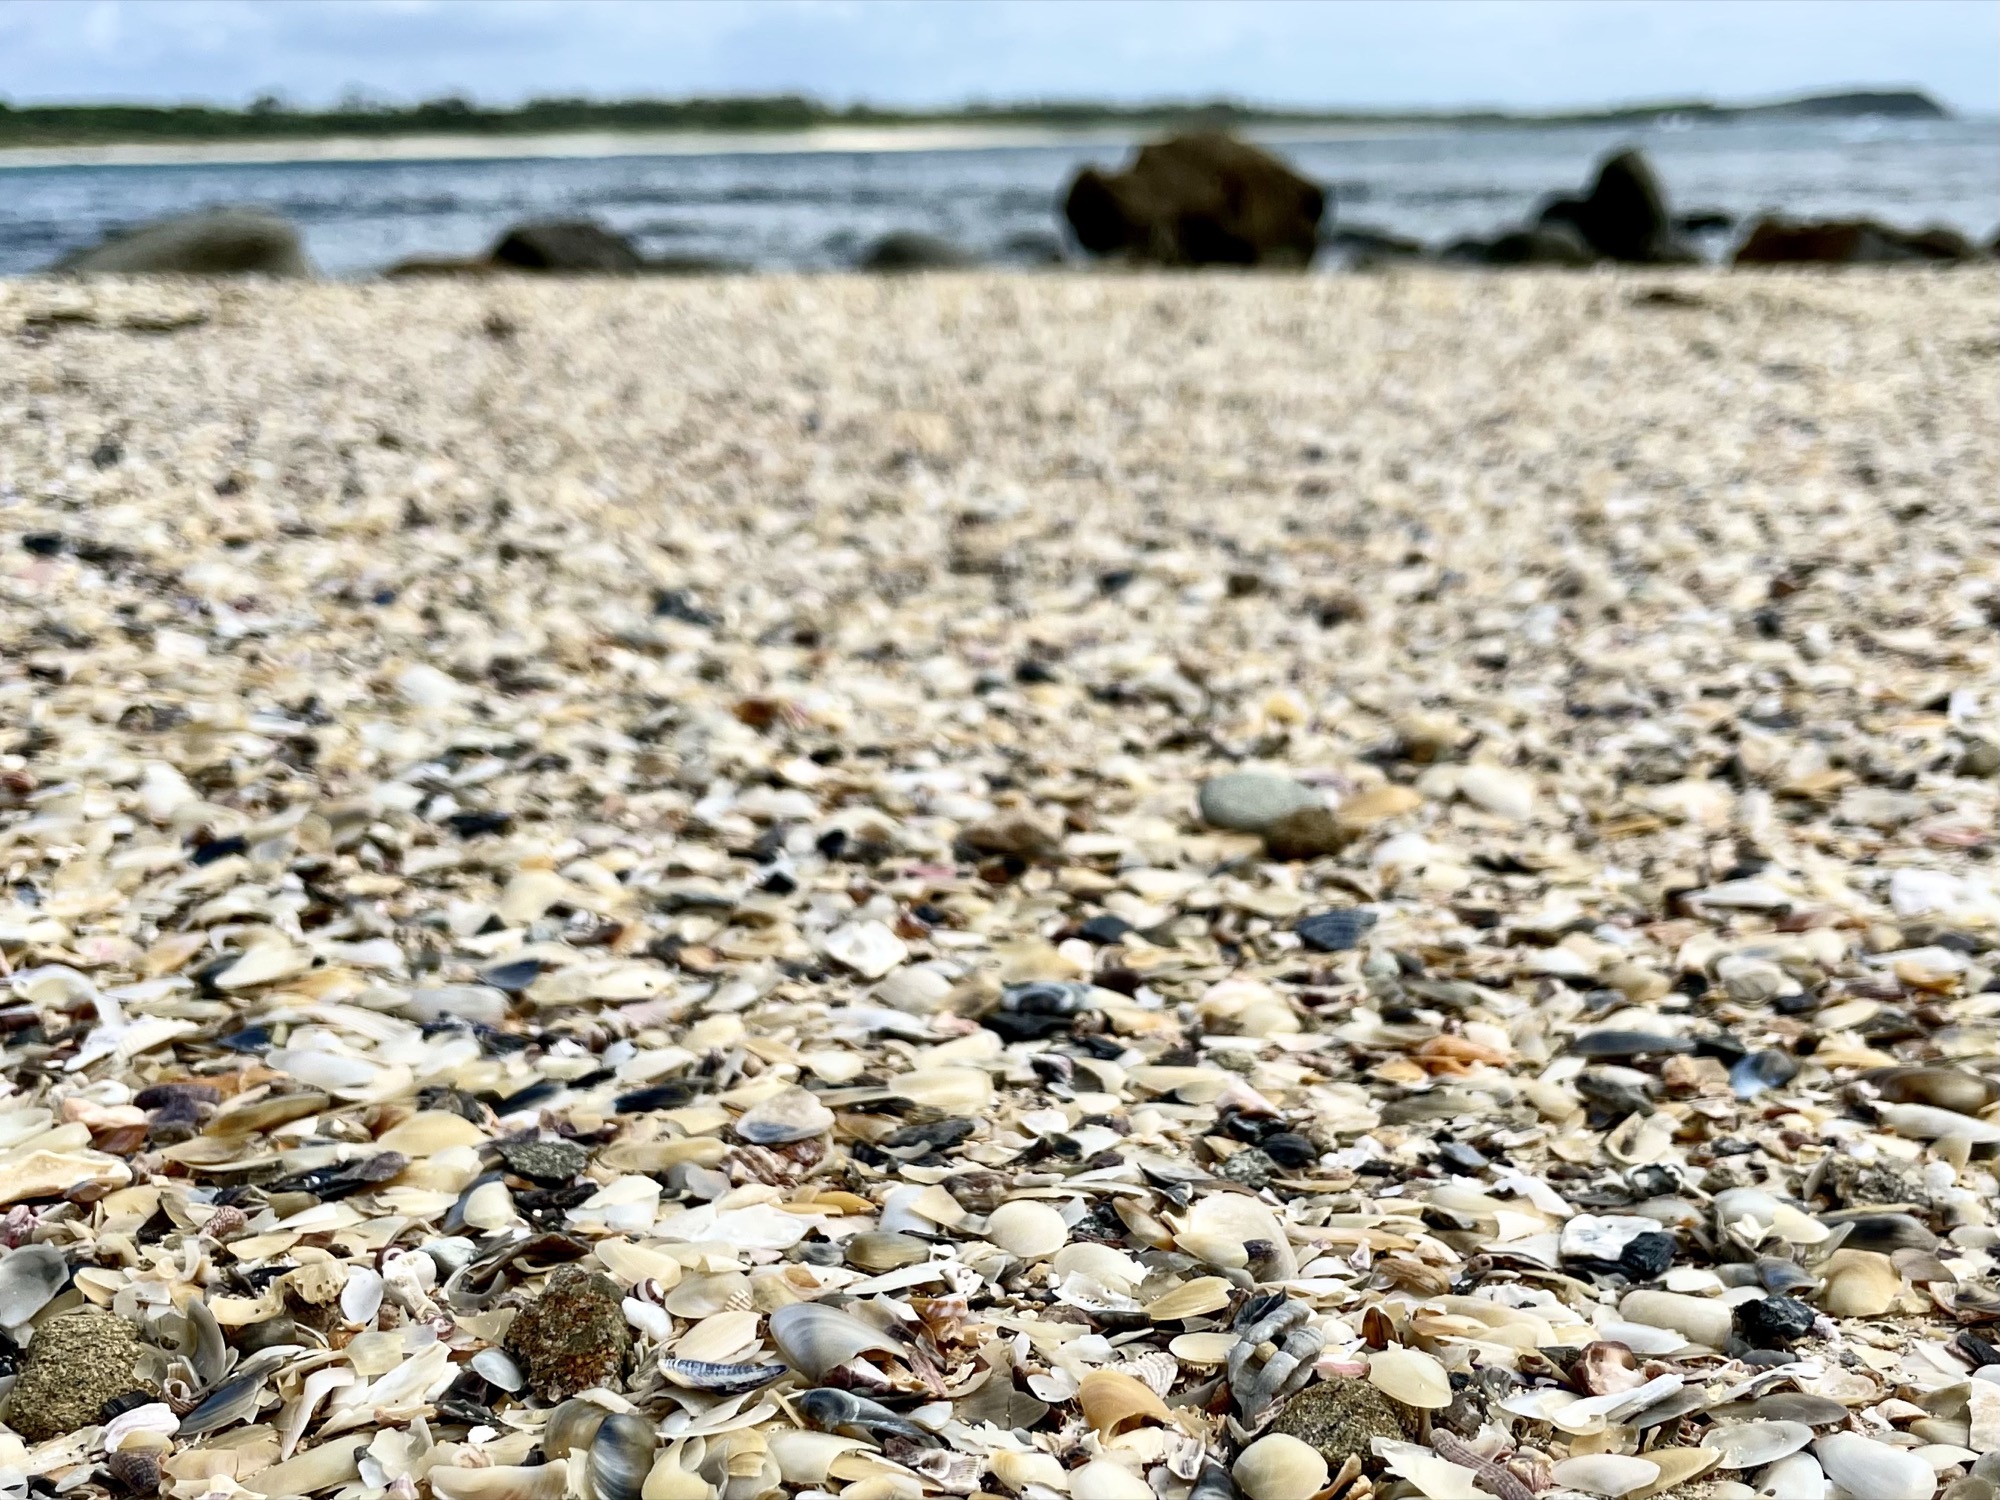
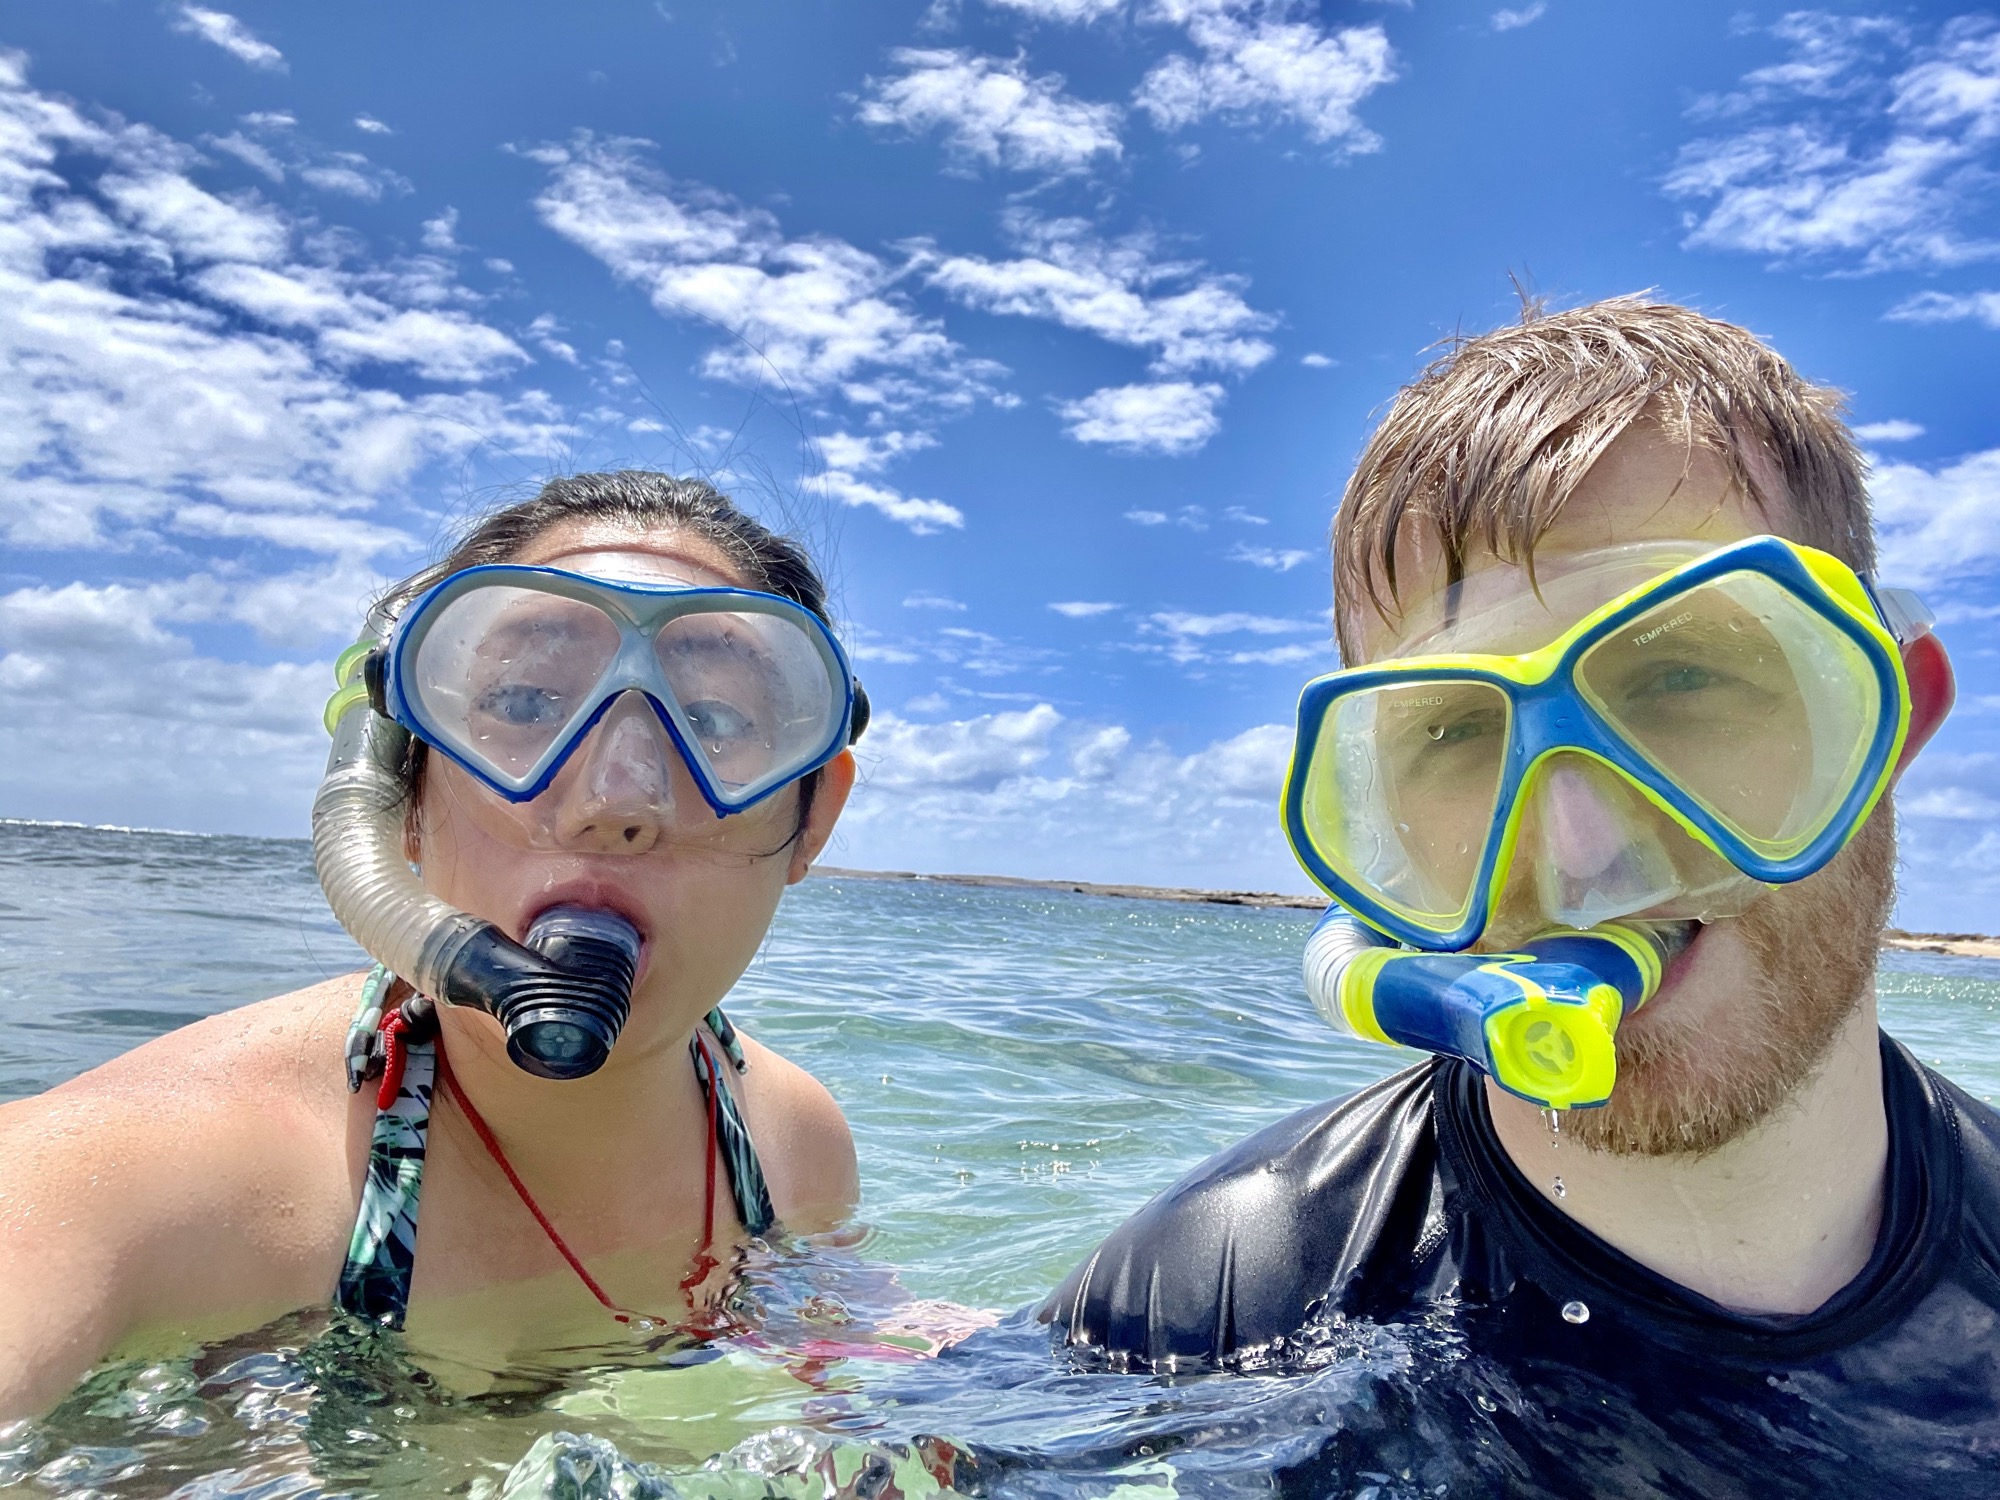
The beach was empty when we arrived and it was a lovely quiet spot with lots of small sea shells. We set our things down and went for a snorkel. The waters unfortunately weren’t that clear but we did see a few cool fish. I tested out my new Iphone in saltwater for the first time and it was indeed waterproof! This was the start to all my underwater photography for the rest of our Australia trip.
Thoughts on Iluka: Unless you’ve got lots of time, I’d recommend skipping Iluka. Although it’s a nice and quiet small town, the overall views weren’t mind-blowing. However, if you’re into nature walks and a quiet beach, then by all means pack a picnic lunch and a snorkel. You can actually drive to Bluff Beach instead and skip the rainforest walk if you’d rather just enjoy the water views.


Byron Bay
(in progress)