Date Published: Jan 16th, 2025 | Last Updated: Jan 16th, 2025
Author: Abby |Category: mains, soup
Serves: 6 | Prep time: 30 mins | Cook time: 2.5 hours
Jump to recipe |
The first time I ever had southern food was years ago and the unique rich earthy flavours drew me in from the very beginning. Making the perfect gumbo has been on my ‘to cook’ list for as long as I can remember and this past weekend I made it my mission to make the best gumbo I could through a lot of research and many hours in the kitchen. No corners were cut in the making of this recipe. Shrimp shells are saved to extract the seafood flavours into the broth, bacon fat is used for extra flavour, time and care is taken to create a beautiful deep caramelized roux, and not 1, not 2, but 3 proteins are used to make this the most flavourful and filling gumbo you can find! Even Toby, who usually doesn’t like gumbo, loved this version!
What is Gumbo?
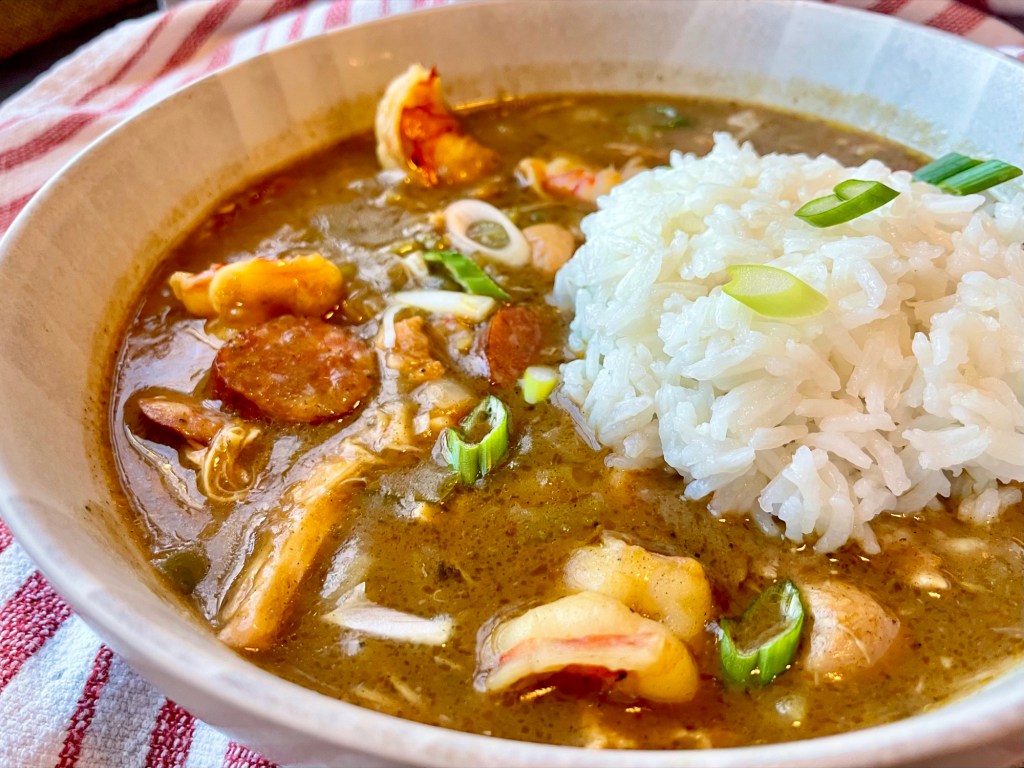
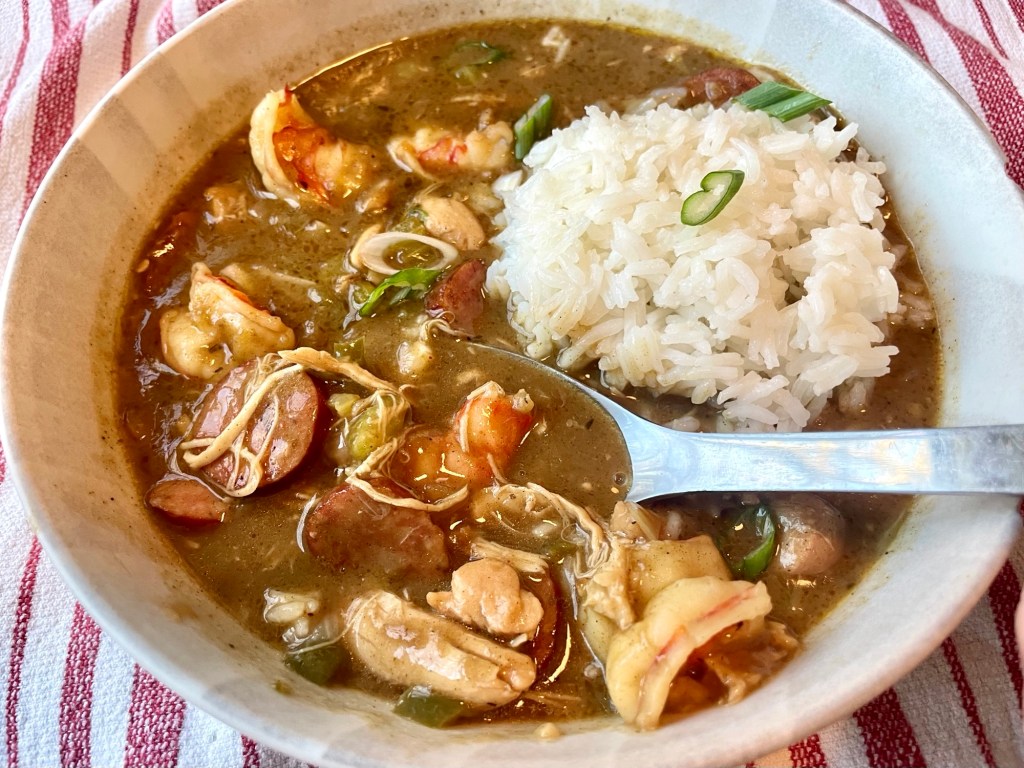
Gumbo is a a southern style stew commonly made with chicken, Andouille sausage and/or seafood (spoiler: I use all 3 in my recipe). It’s actually the official state cuisine of Louisiana! What makes this stew unique is the deep earthy flavours that comes from a carefully watched browned roux, cajun seasoning, and filé powder (more on that below).
What is a roux?
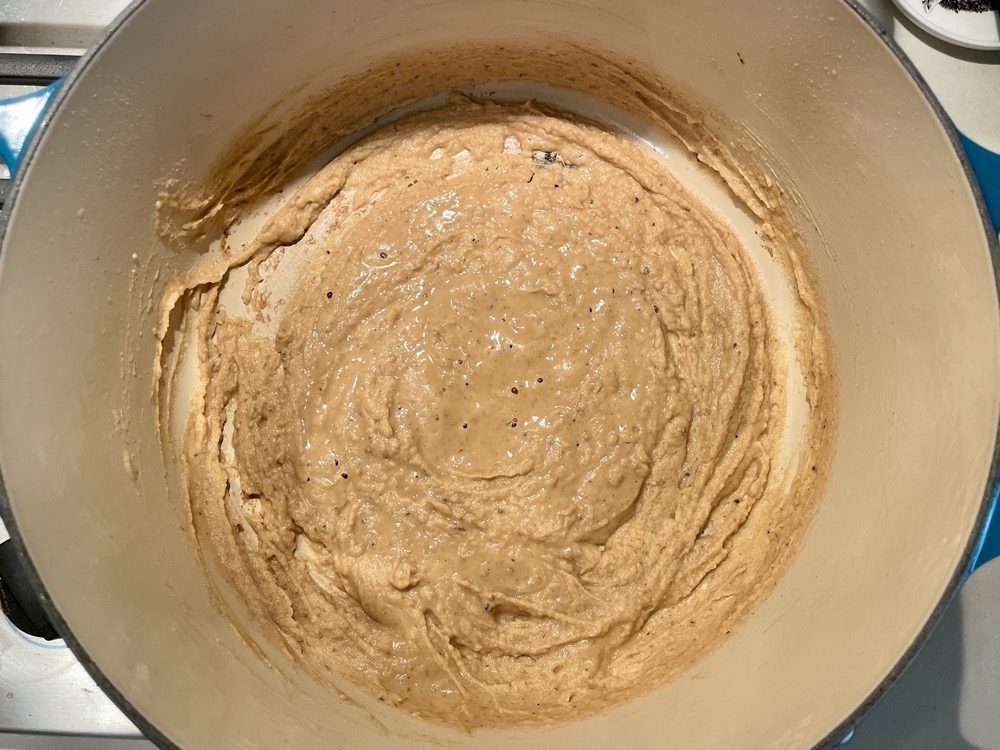
The secret to a good gumbo starts at the beginning: with a good roux. A roux is a thickening agent made with a mixture of equal parts fat and flour. It is cooked slowly with constant care and whisking to add a richness to a dish. The colour of the roux will vary depending how long you cook it, ranging from white, brown, or dark brown. The longer you cook it, the more intense the flavour, but the less the thickening power. The same works vice versa – the less you cook it, the more thickening power but the blander the flavour. I like to go with a deep caramel colour to get the best of both worlds. You can use any kind of fat, but I chose to use bacon fat for the most flavour. You must constantly stir and watch the roux, as it can easily burn. This is a labour of love and can take up to 30-40 minutes, but it will be well worth it!
Special Gumbo Seasonings:

There are 2 special seasonings in this gumbo that I had to order specifically to make this as authentic as possible.
Cajun Seasoning – This is a blend of spices that adds salt, spiciness, and smokiness to the dish. Common go-to brands are “Tony Chachere’s Creole Seasoning” or “Slap Ya Mama Cajun Seasoning“. If you can’t find either around you, a quick Google search will yield many recipes to make a spice blend of your own.
Gumbo Filé / Filé Powder – Filé powder, also known as gumbo filé, is a spice that is made from dried ground leaves of the sassafras tree. This powder has dual purpose in a gumbo: as a thickening agent and also provides earthy flavours. The aroma is similar to that of sage and bay leaf. If you can’t find gumbo filé in a pinch, consider using cornstarch to thicken and some pinches of sage – it won’t be quite the same, but it’ll be similar enough. Some gumbo recipes will use okra as the thickening agent instead.
Creole vs Cajun – adding tomatoes is optional
Both Creole and Cajun food are Louisiana cuisines from different areas. Think of Creole as city-style cooking with more variety of ingredients at their disposal, whereas Cajun food can be considered country-style cooking with ingredients that are more limited to what can be harvested and what is available. Tomatoes is one of those ingredients that is commonly seen in Creole food, but not Cajun. Across my hours of research, I found tomatoes incorporated into many recipes, but also just as equal number of comments omitting the tomatoes to tailor to the authenticity of cajun rustic flavours. I’ve chosen to exclude tomatoes in my recipe to bring out the earthy flavours more, but feel free to add a can of crushed tomatoes if you want it more tangy.
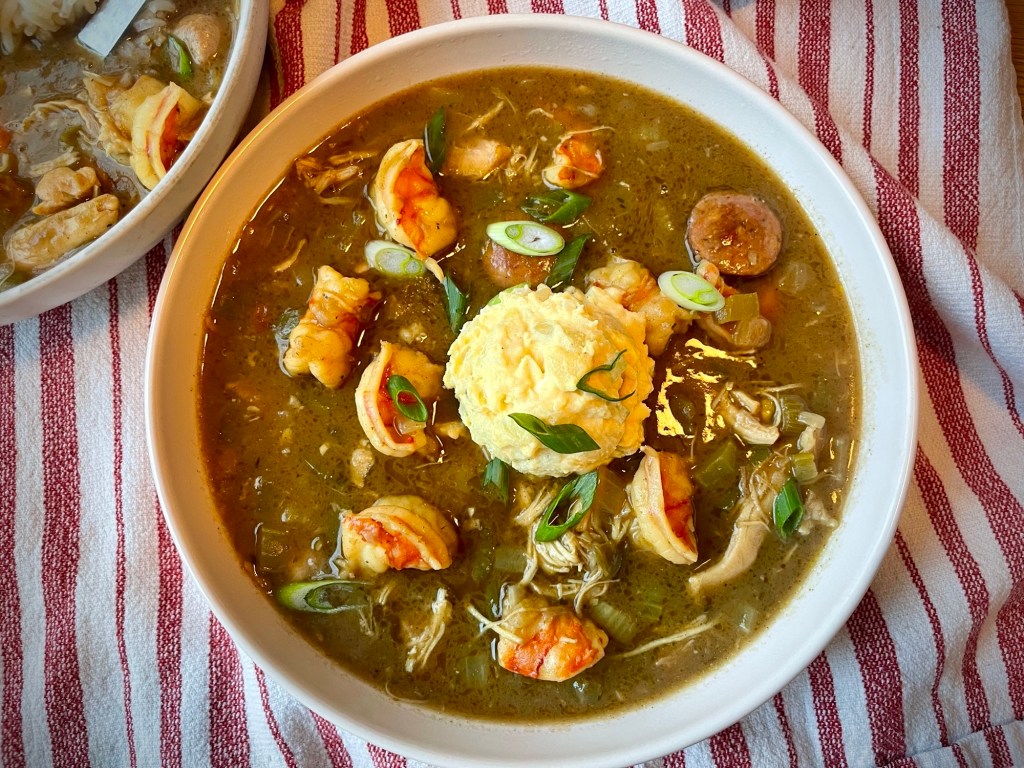
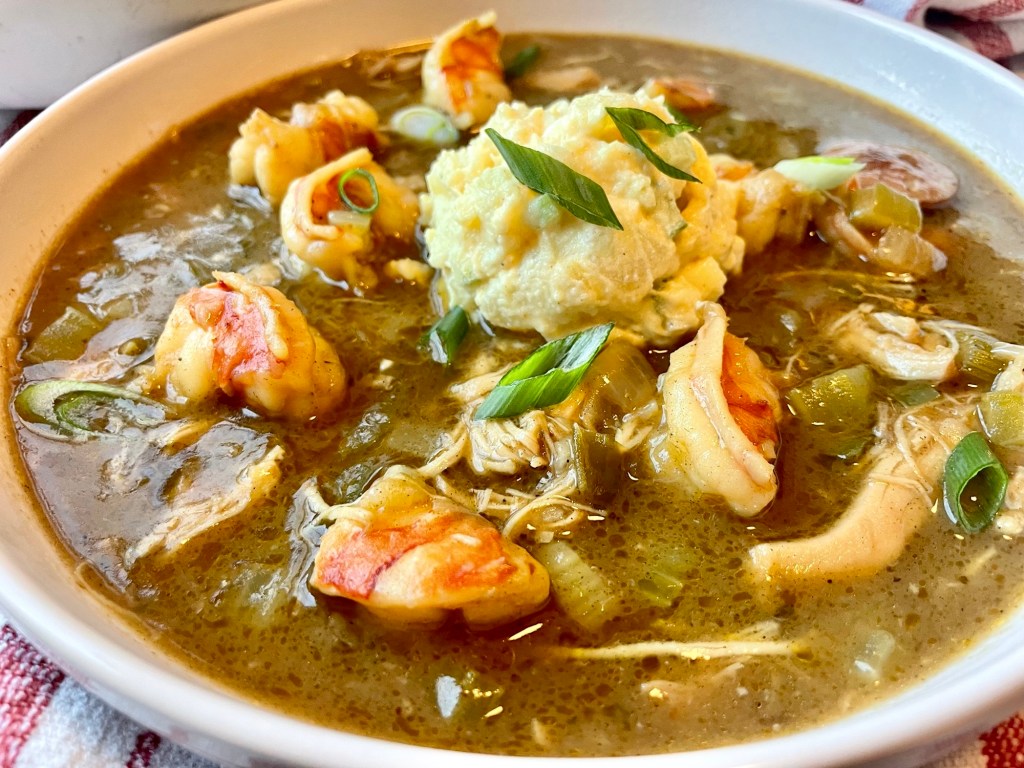
Served with rice vs potato salad?
Gumbo is commonly served with white rice, but I’ve seen multiple people get a heaping blob of cold potato salad right in the middle of their hot soup. This mix of hot and cold seemed so bizarre, but I gave it a go and it wasn’t half bad! The cold potato salad cuts into the heavy rich flavours of the gumbo and actually works quite well. Toby wasn’t as much of a fan of the combination as I was. 😅
Anyways, without further ado, here’s the recipe! If you have any comments or suggestions, I’d love to hear from you in the comment section! You can follow me on instagram, youtube and facebook to see all the recipes I post!
Happy cooking!
Ingredients you’ll need:
- Broth:
- 4 cups chicken stock
- 4 cups beef stock
- 1 kg/2 lbs of raw shrimp with shells, deveined without heads
- 1 Tbsp + 2/3 cup bacon fat (you can use vegetable oil or lard instead, but the bacon fat adds extra flavour)
- 340g/12 oz (1 package) Andouille sausage, sliced
- 1 cup all-purpose flour
- 3 cloves garlic, minced
- 1 large yellow onion, diced
- 1 green bell pepper/capsicum, diced
- 1 bunch celery, diced
- 4 large chicken thighs, bone-in (with or without)
- 1 Tbsp Cajun seasoning (I use ‘Slap Ya Mama’ brand, find it here)
- 1/2 tsp dried thyme
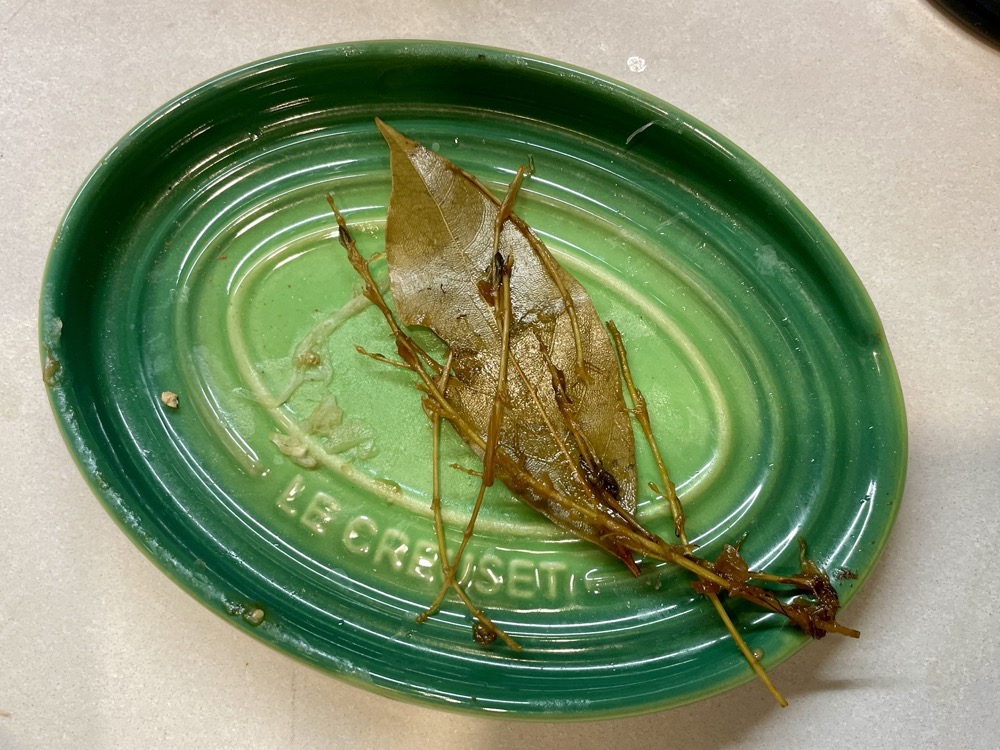
- 3 bay leaves
- 4 tsps gumbo filé/filé powder
- 2 Tbsps Worcestershire sauce
- Garnish: sliced spring onions
- Serve with: white rice or potato salad
Directions:
Prepare the broth:
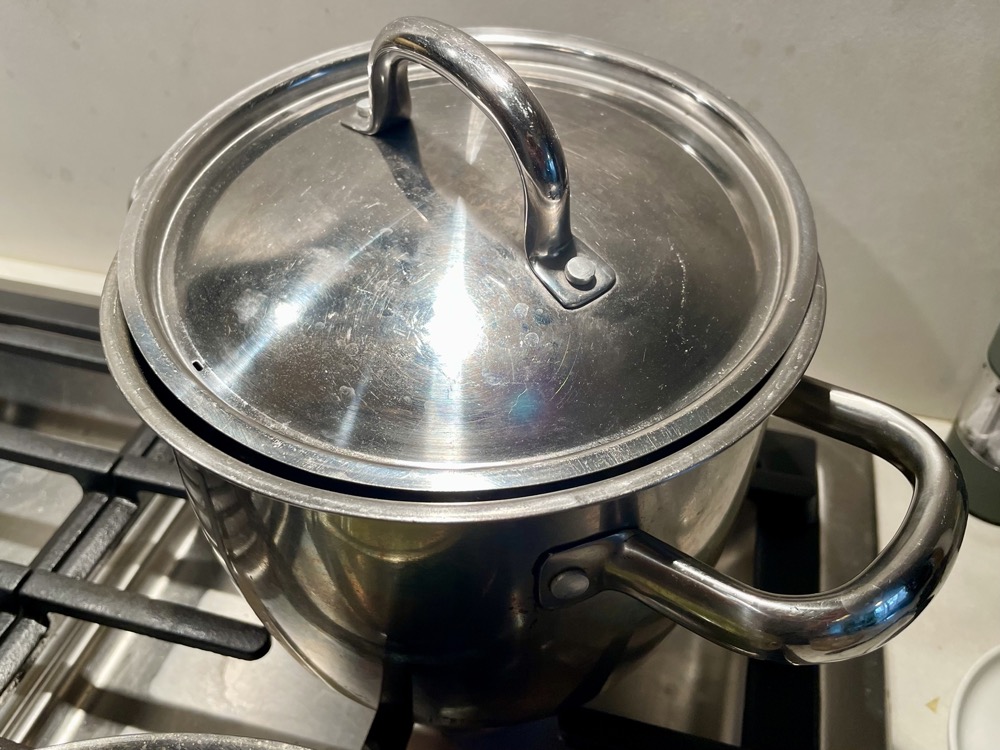
In a small pot on MED heat, add in 4 cups of chicken stock and 4 cups of beef stock.
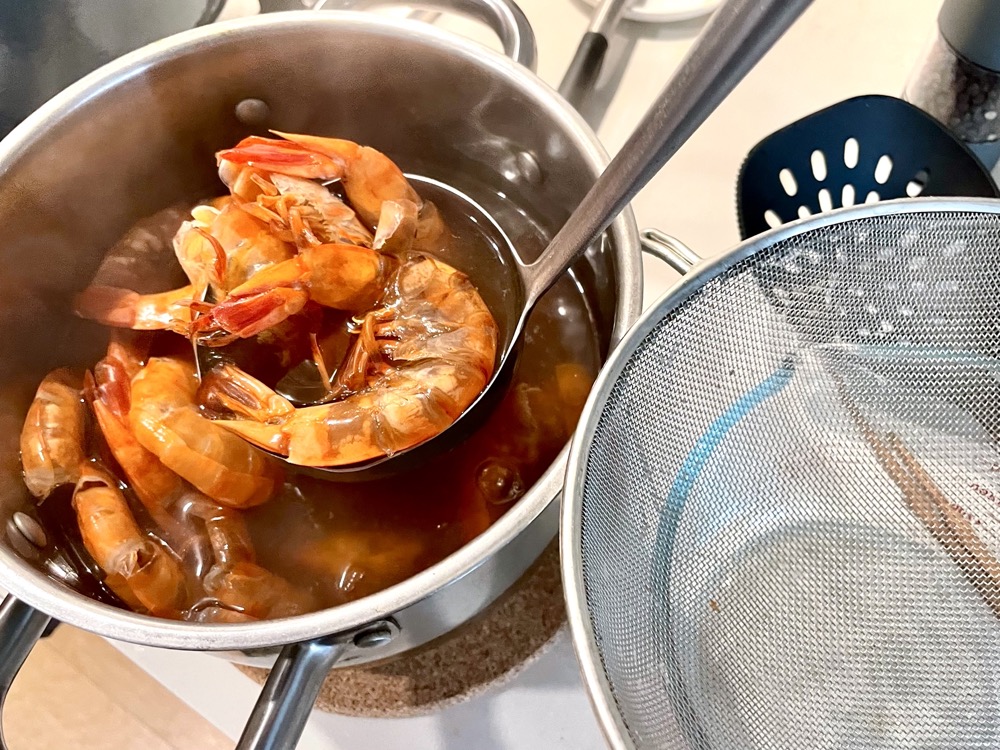
Remove the shells from the shrimp and add the shells into the stock. Let it simmer on the lowest heat for at least 20 minutes (or longer) while you prepare the rest of the ingredients. Keep the lid on with a small crack to avoid evaporation and boiling over.


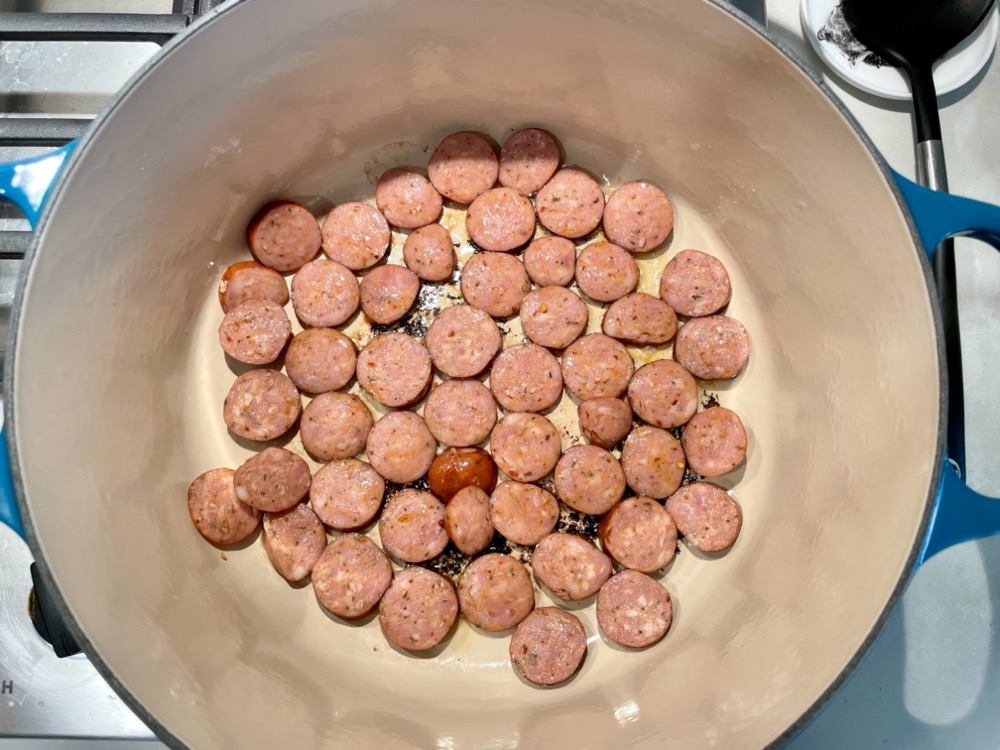
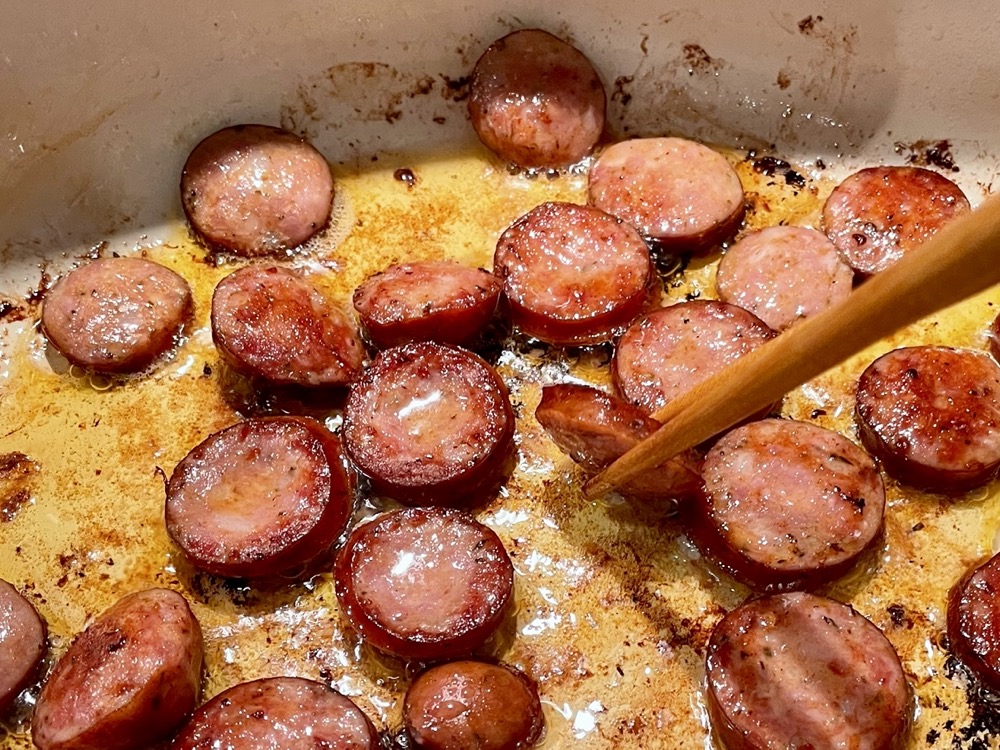
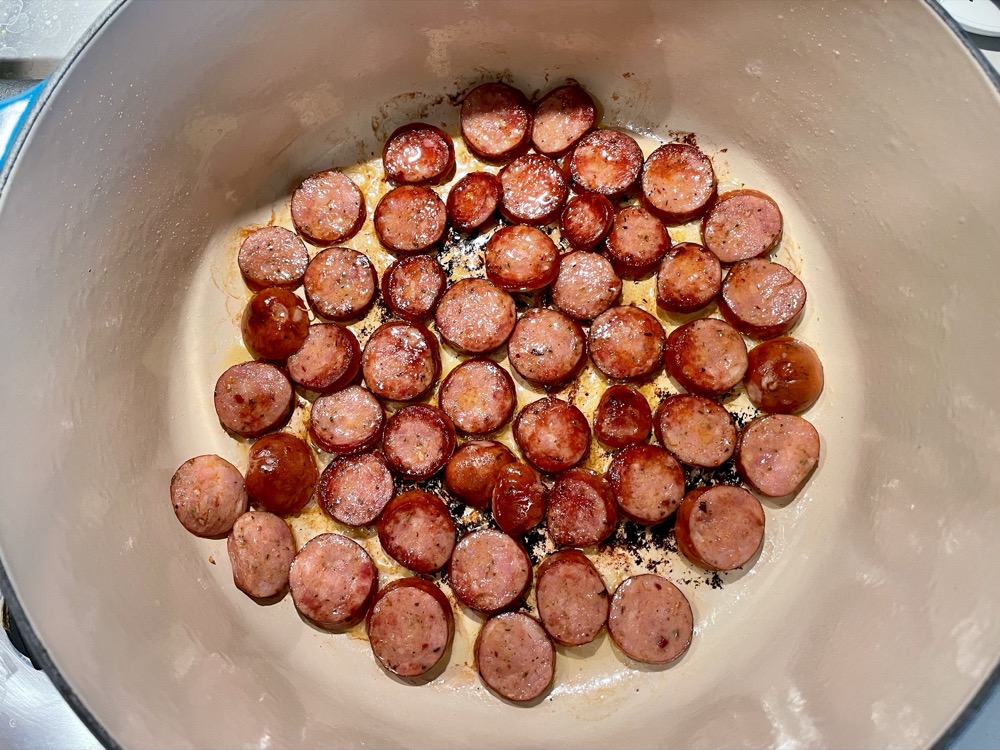
Brown the sausage:
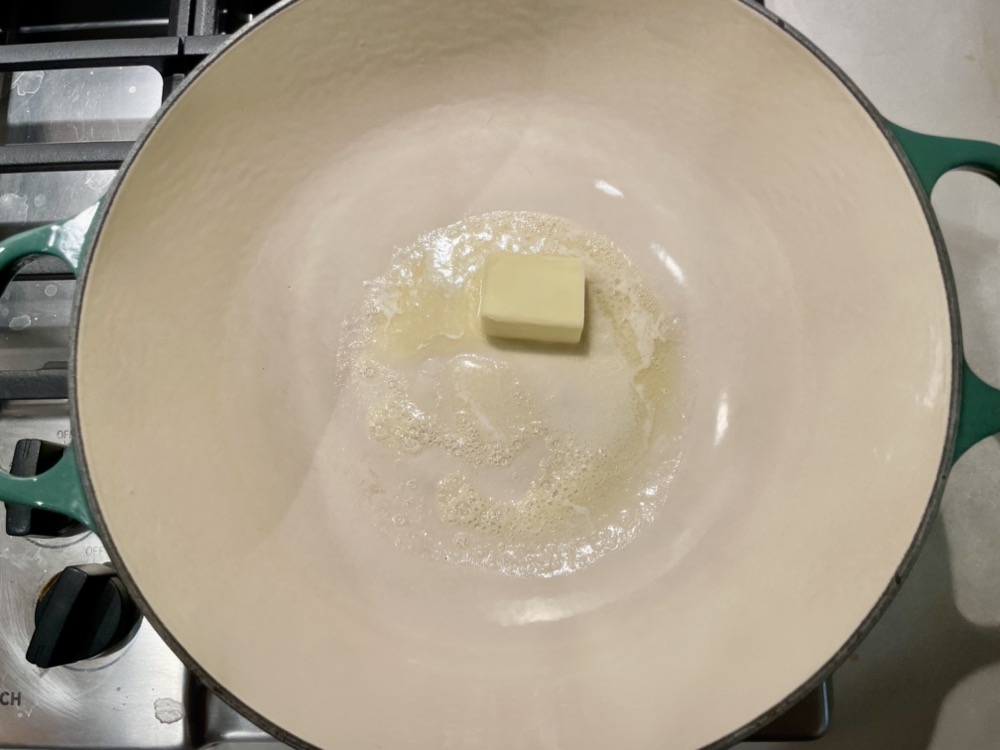
In a large soup pot on MED-HIGH heat, melt 1 Tbsp of bacon fat and sear the sliced Andouille sausages on both sides until browned (you may want to do this in batches if you can’t fit all the sausage in a single layer). Once browned, remove the sausage onto a plate and set aside.

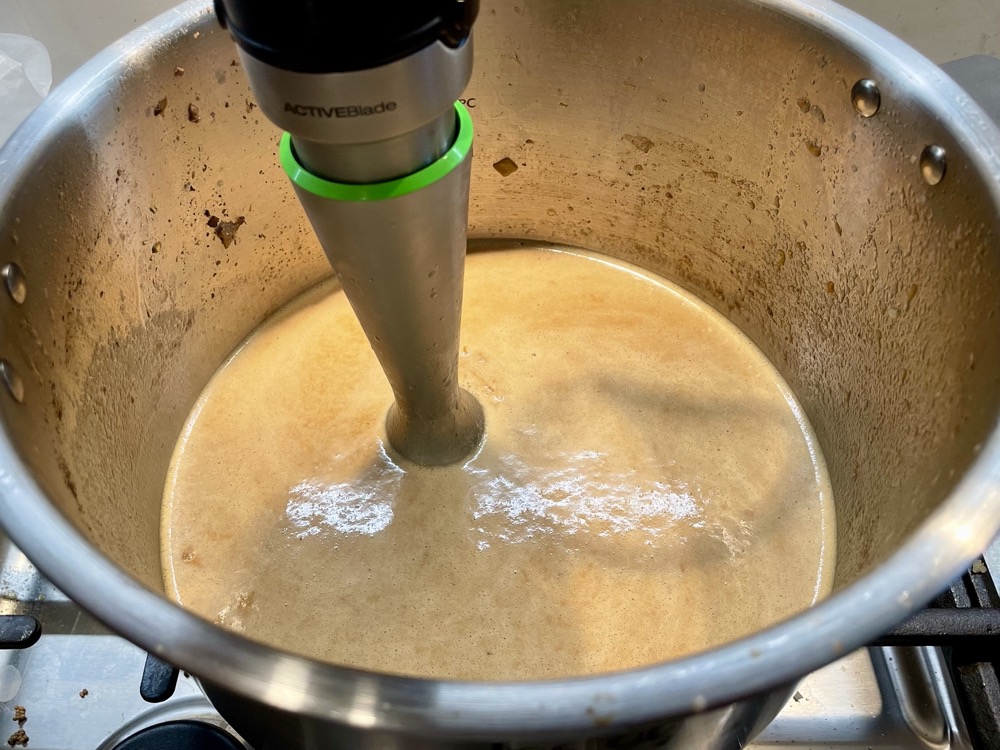
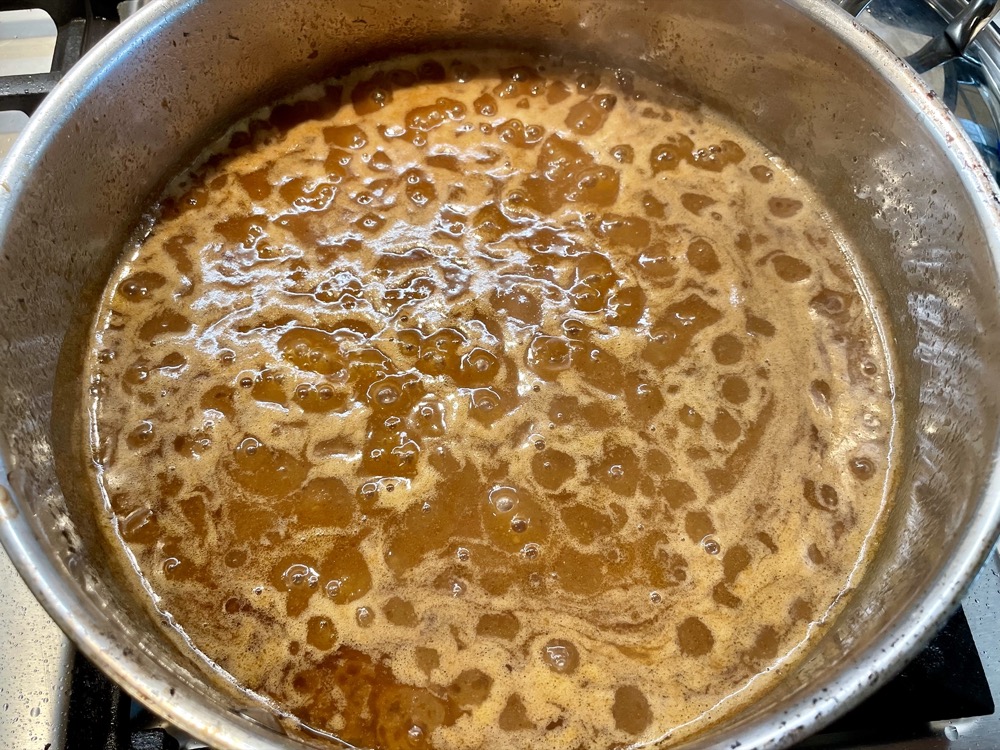
Make the roux:
Using the same pot on MED heat with the residual oil from the sausage, melt in the 2/3 cup bacon fat. Sprinkle 1 cup of flour over the melted fat and whisk the flour until combined. Continue to whisk regularly until you get a thick paste that is the colour of milk chocolate (this step is tedious and can take 30-40 minutes, take your time, don’t let the roux burn!).


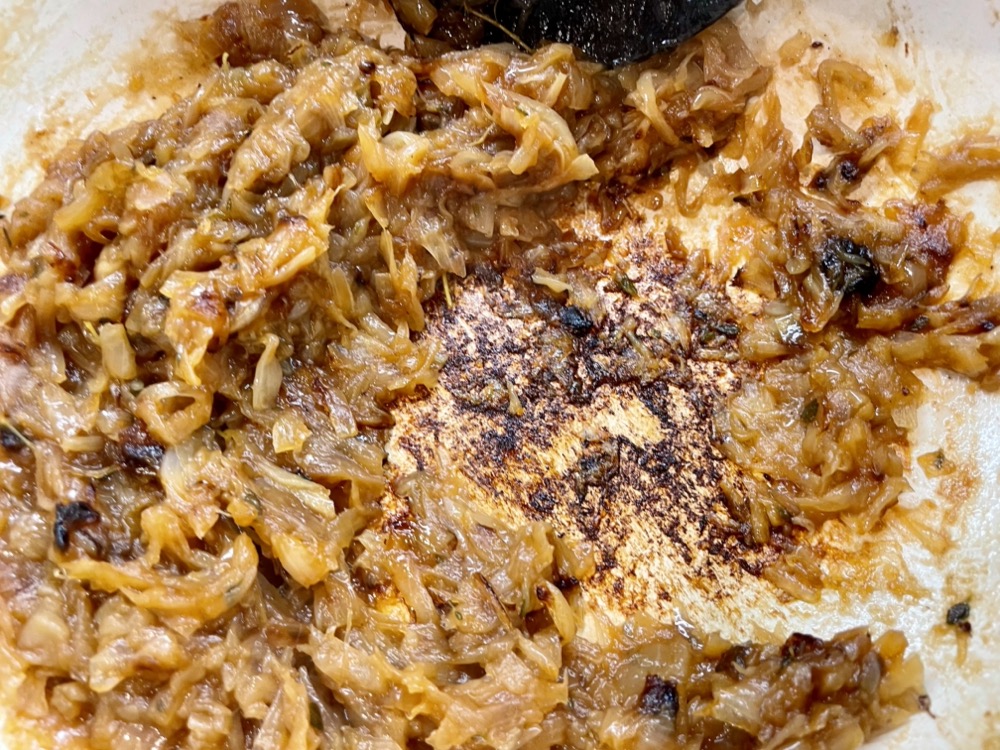
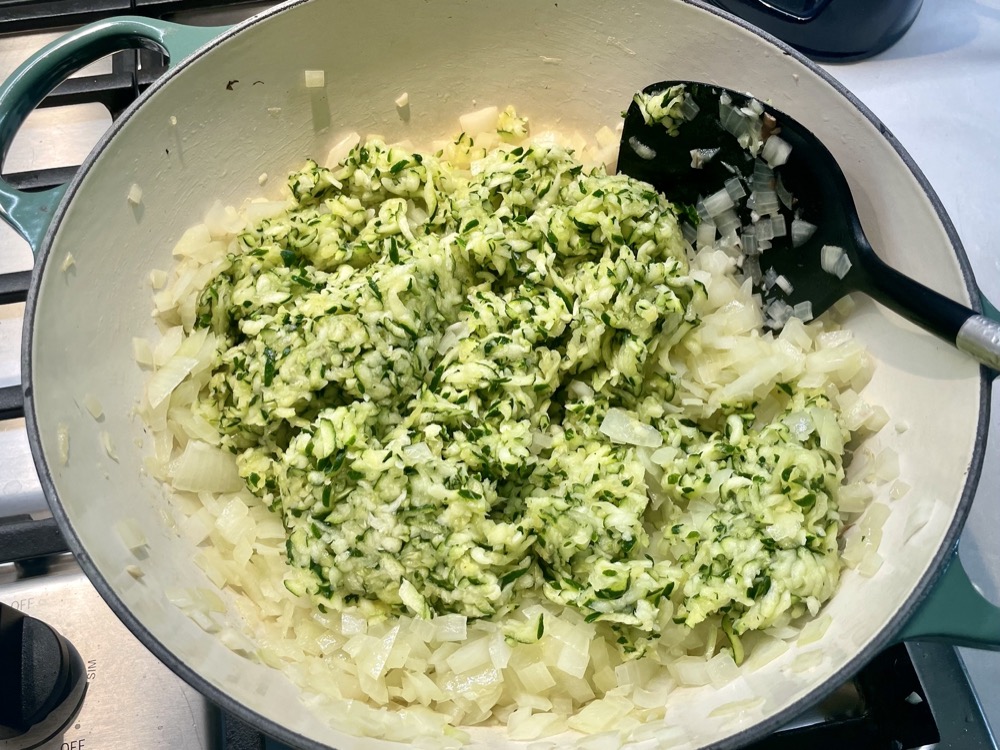
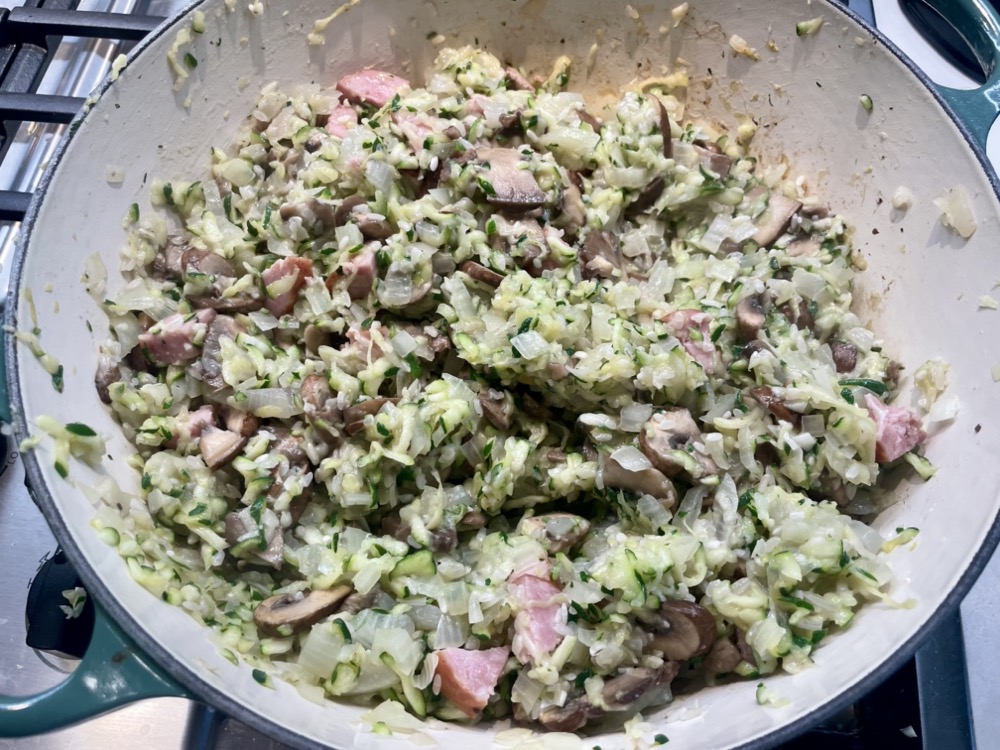
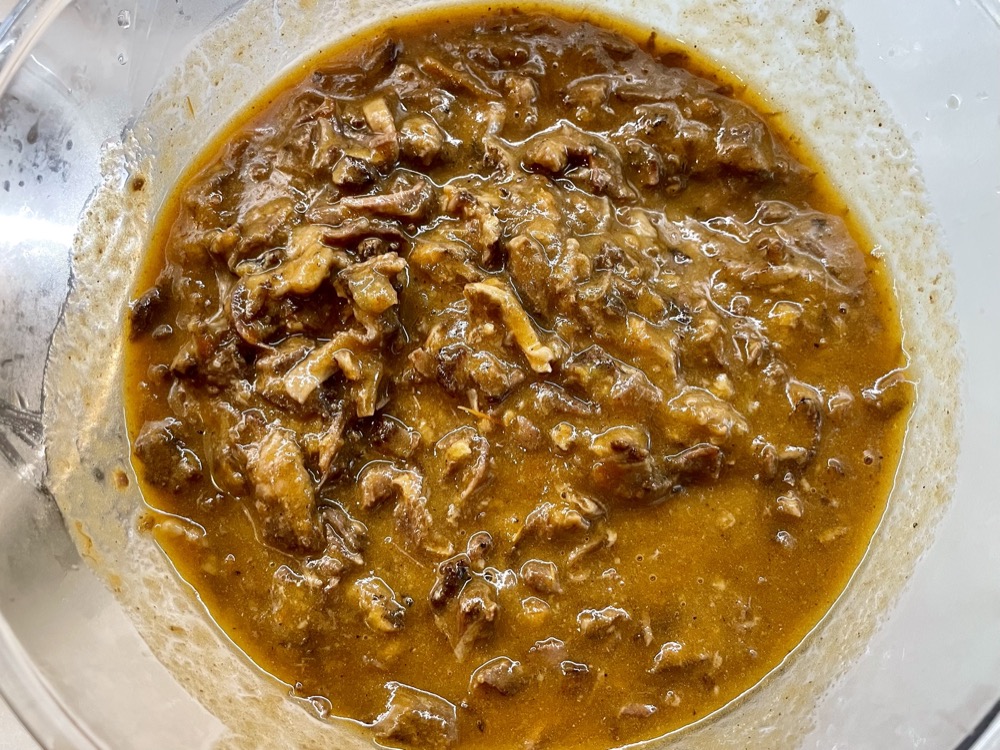
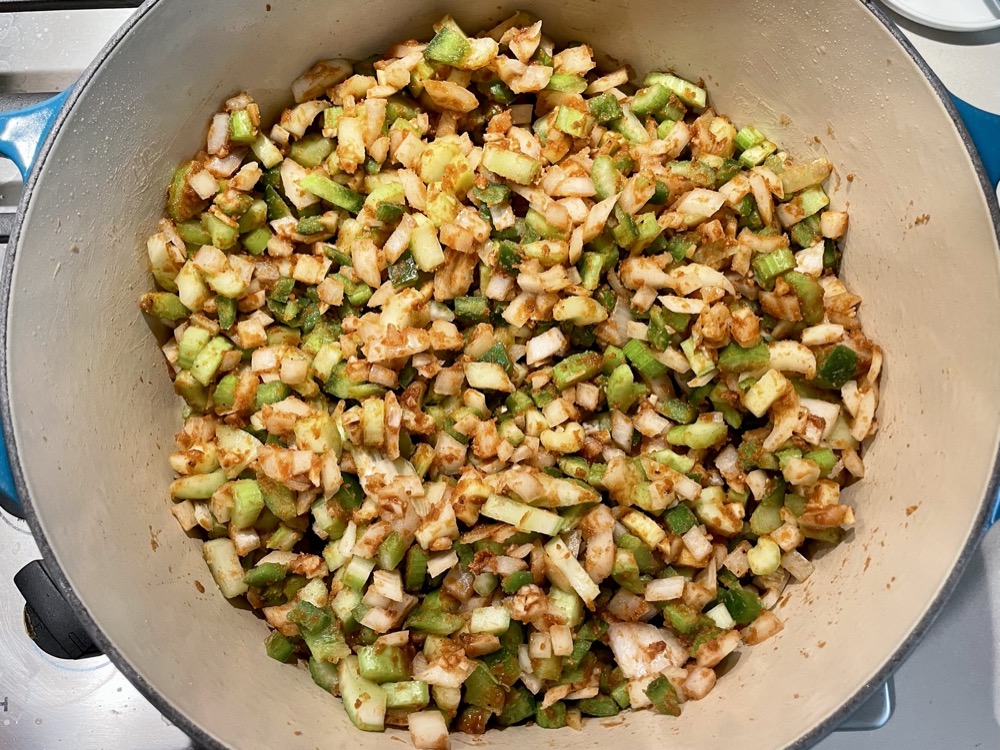
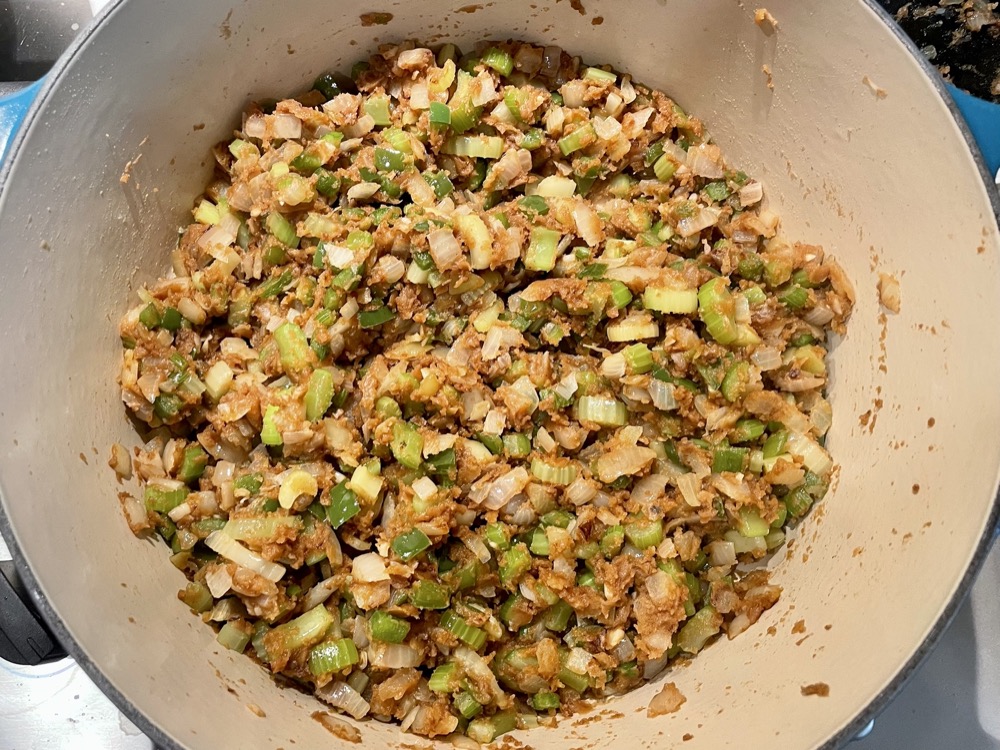
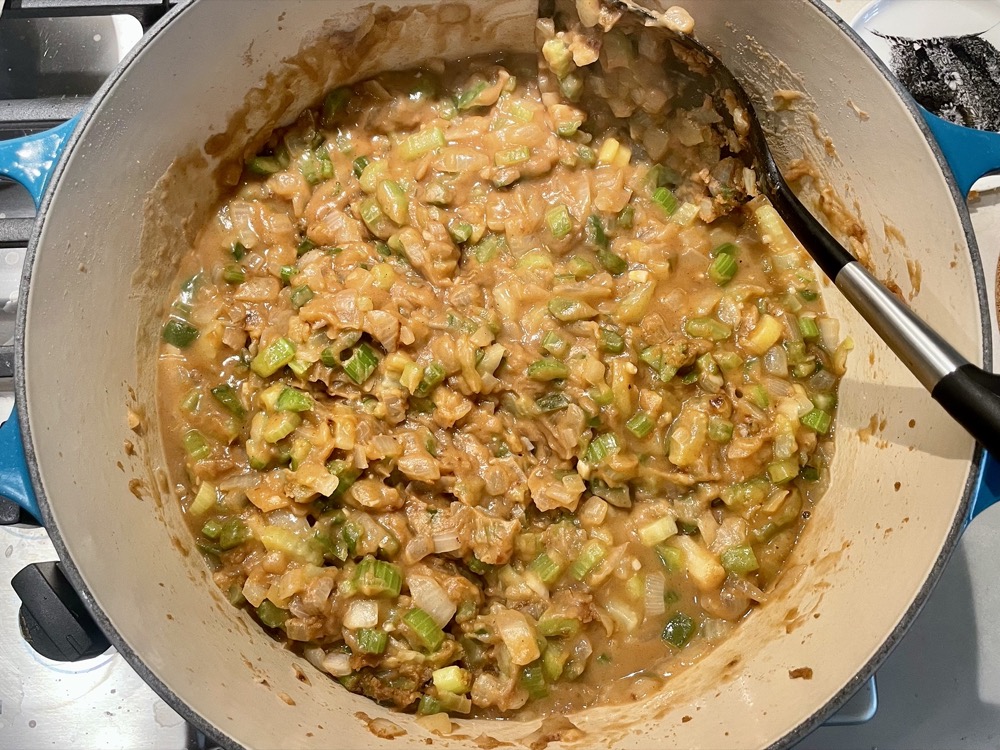
Once your roux reaches the desired colour, add in the vegetables: 3 cloves minced garlic, onion, green pepper, and celery. Sauté until the vegetables are soft (8-10 minutes), making sure you regularly scrape the bottom of the pot so nothing sticks. You can put a lid on the let the vegetables sweat to speed up the softening process.

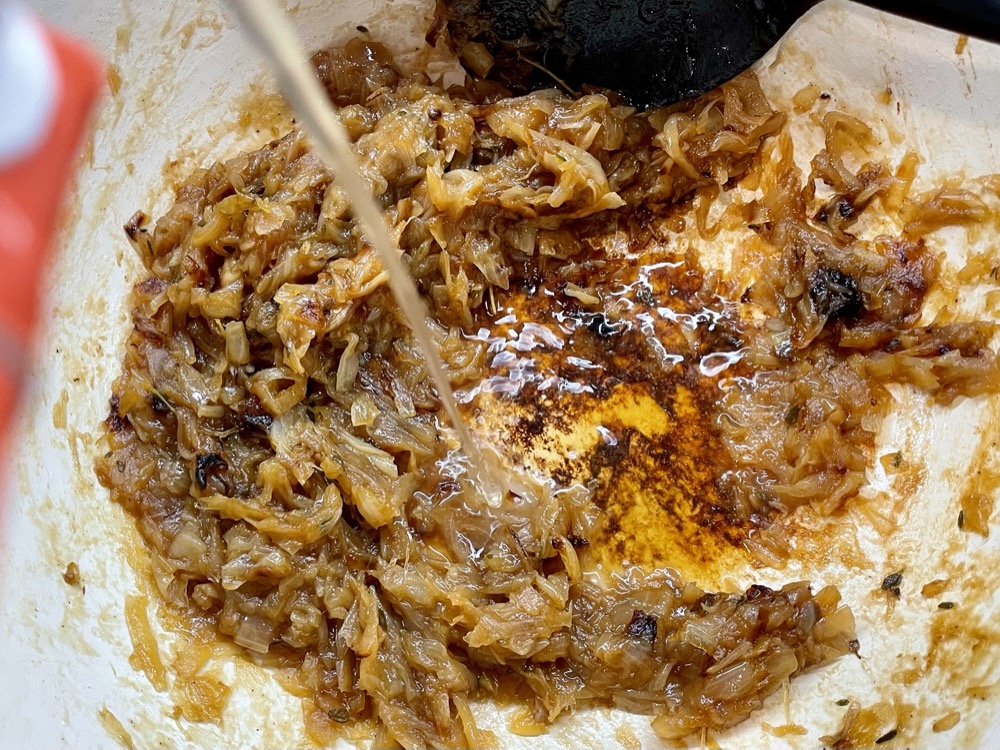
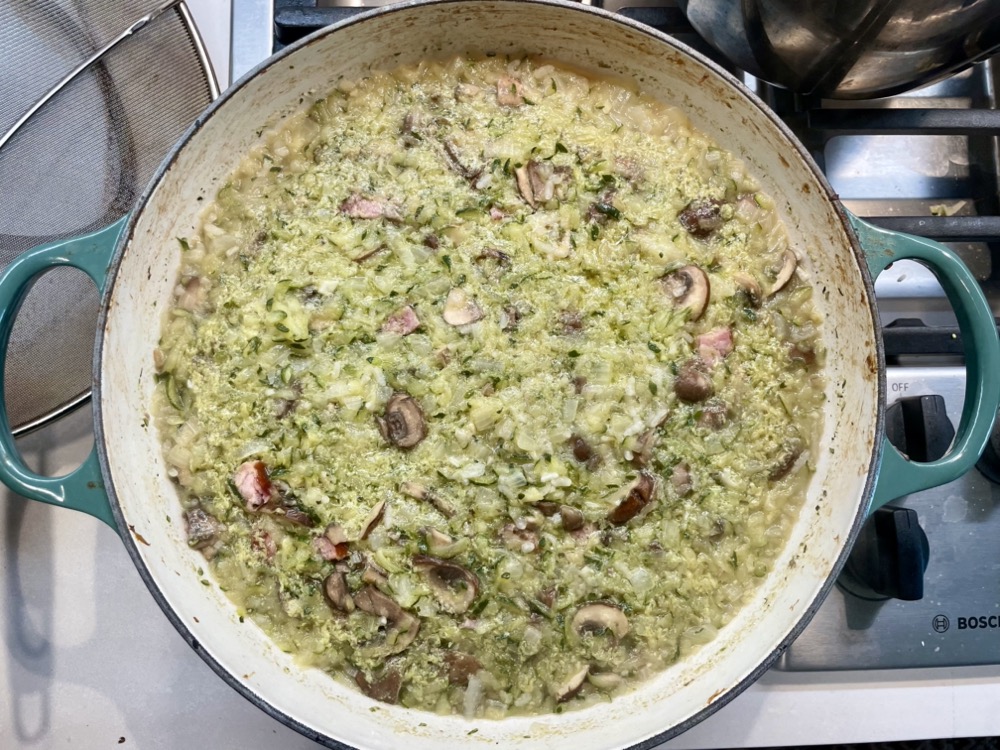
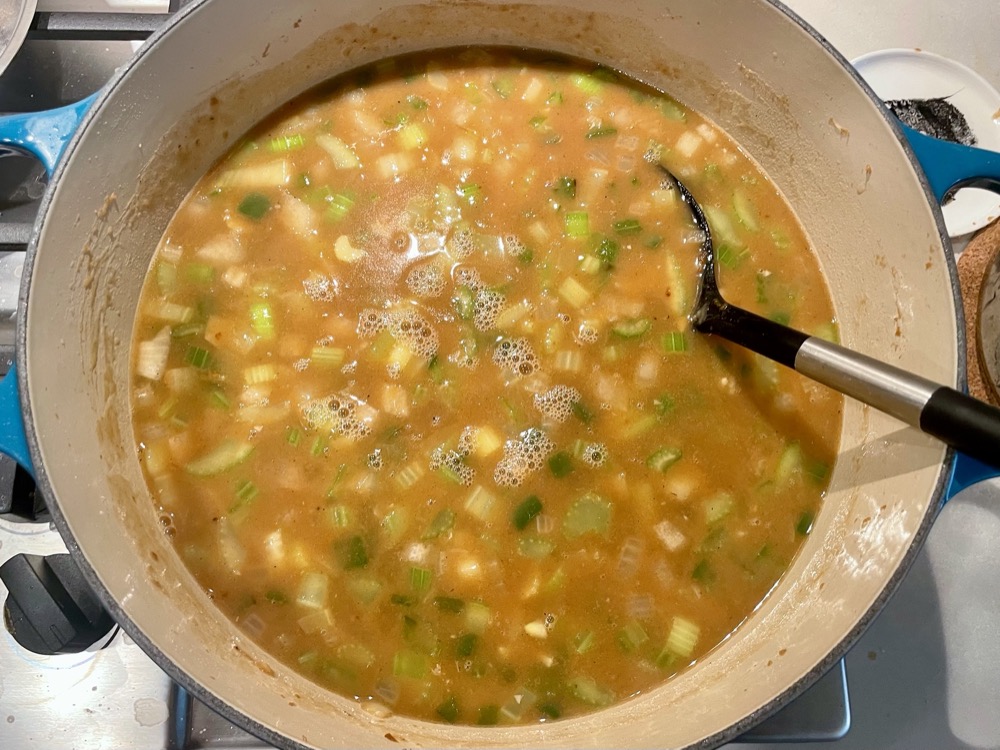
When the vegetables have softened, strain the shrimp shells from the broth (in step 1) and slowly pour the broth into the vegetable/roux mixture while stirring at the same time so no clumps form.


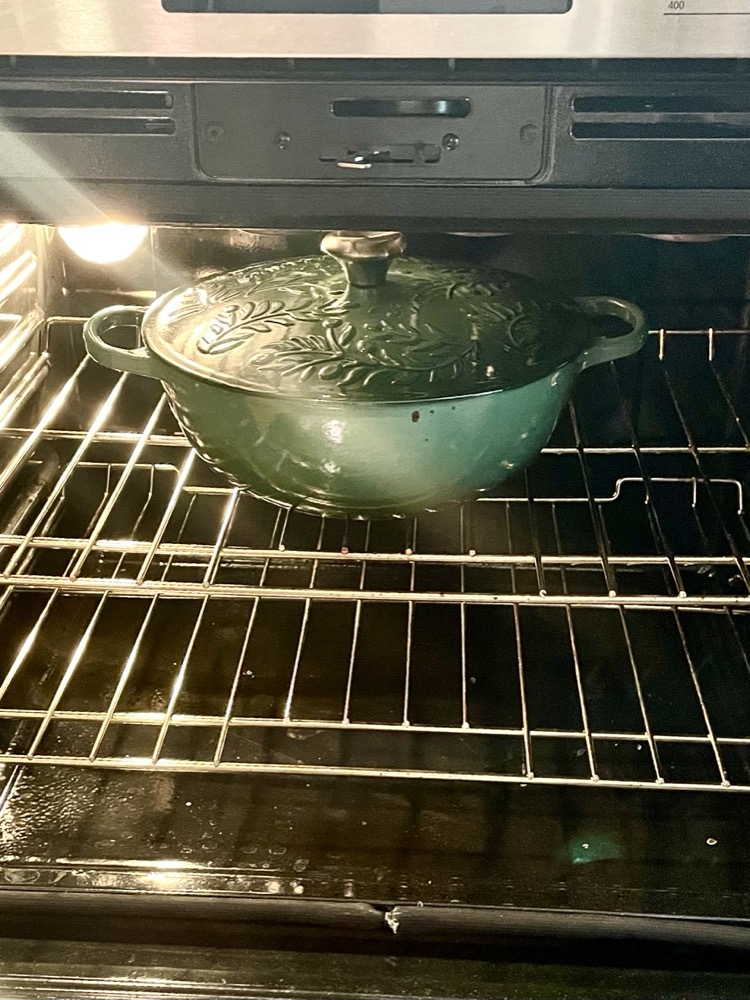
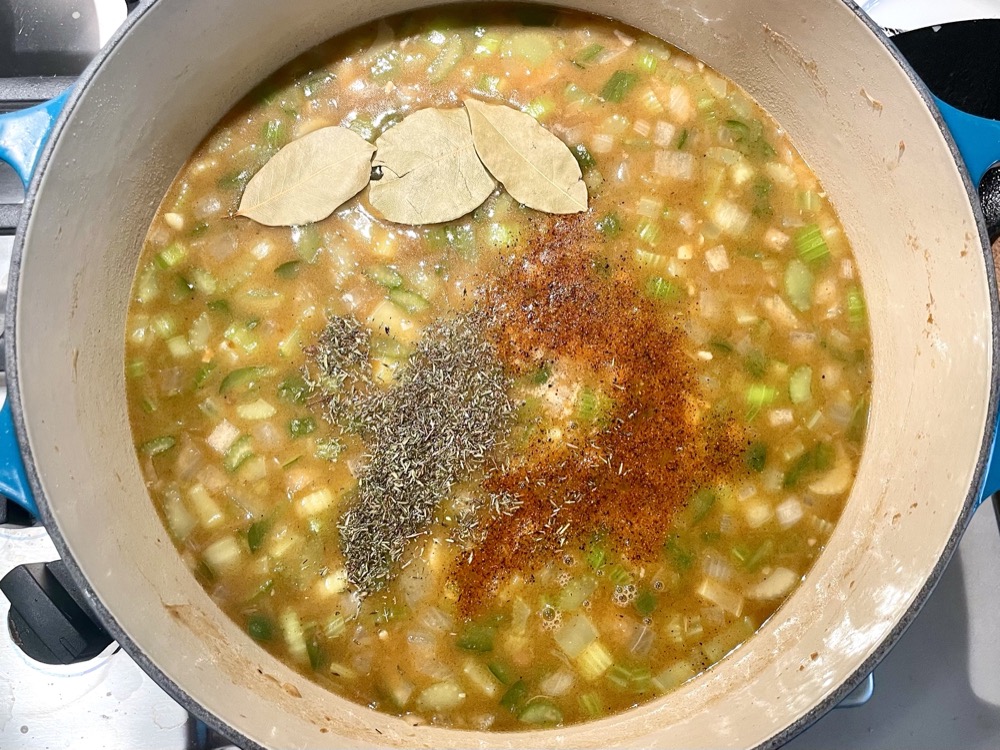
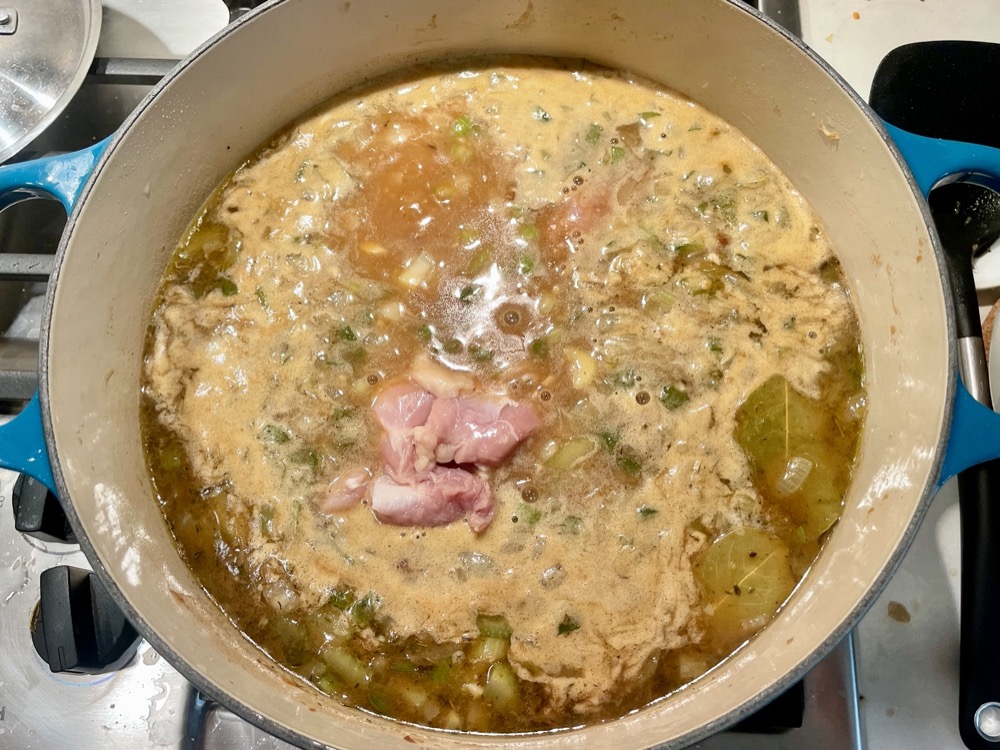
Let the soup come to a simmer then add in 1 Tbsp Cajun seasoning, 1/2 tsp dried thyme, 3 bay leaves, and 4 bone-in chicken thighs. Simmer for 1 hour, partially covered with a lid.

After 1 hour, remove the chicken into a bowl and add in the cooked sausage (from step 2) back into the soup along with 2 tsps of gumbo filé. Simmer for another 15 minutes.
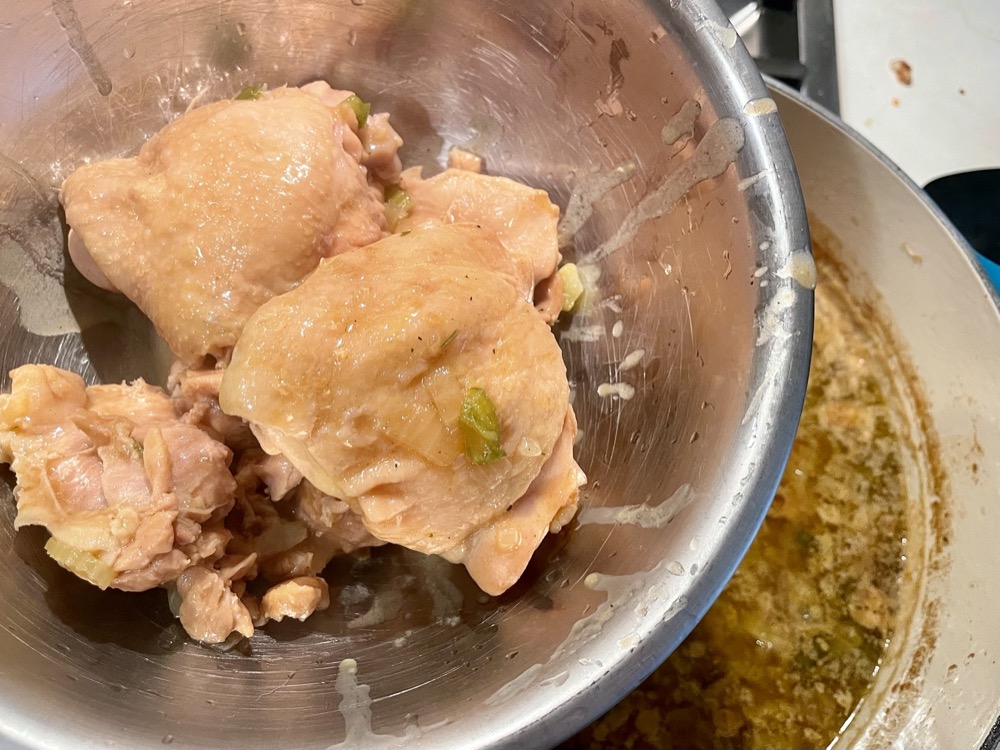


While the soup continues to simmer, use two forks to shred the cooked chicken and remove the bone and skin (if present).


When the timer is up, add the shredded chicken back into the soup with the de-shelled raw shrimp (from step 1), and 2 more tsps of gumbo filé. Let it simmer for another 3-5 minutes until the shrimp is fully cooked, then turn off the heat.


Add in 2 Tbsps Worcestershire sauce, stir, and taste. Adjust salt, pepper, Cajun seasoning or Worcestershire as needed.

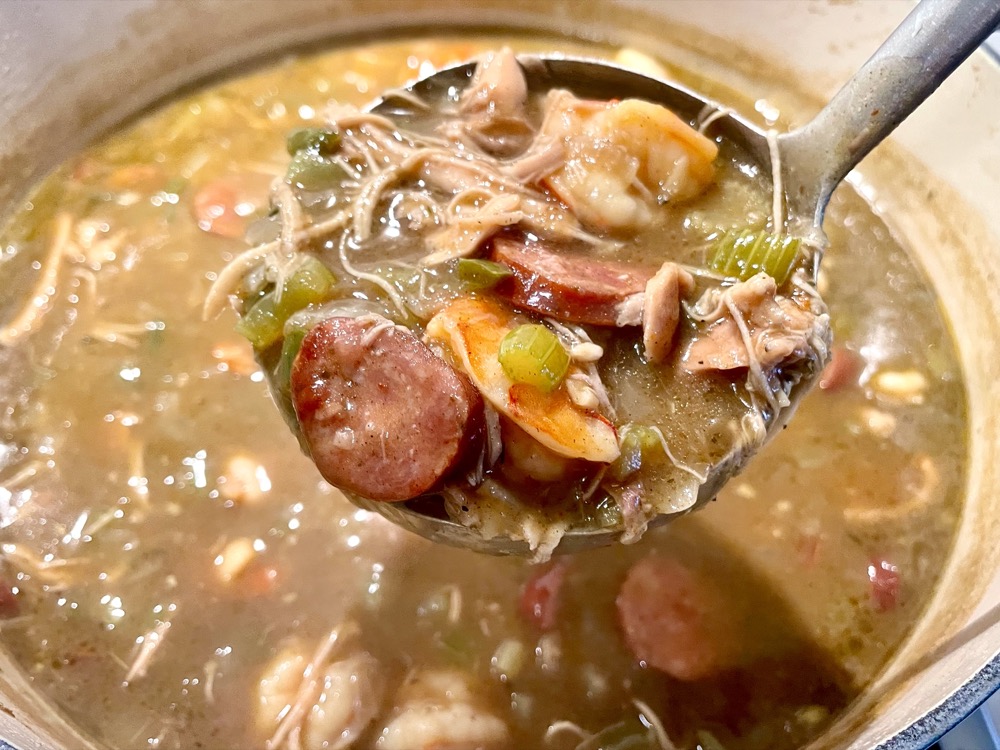
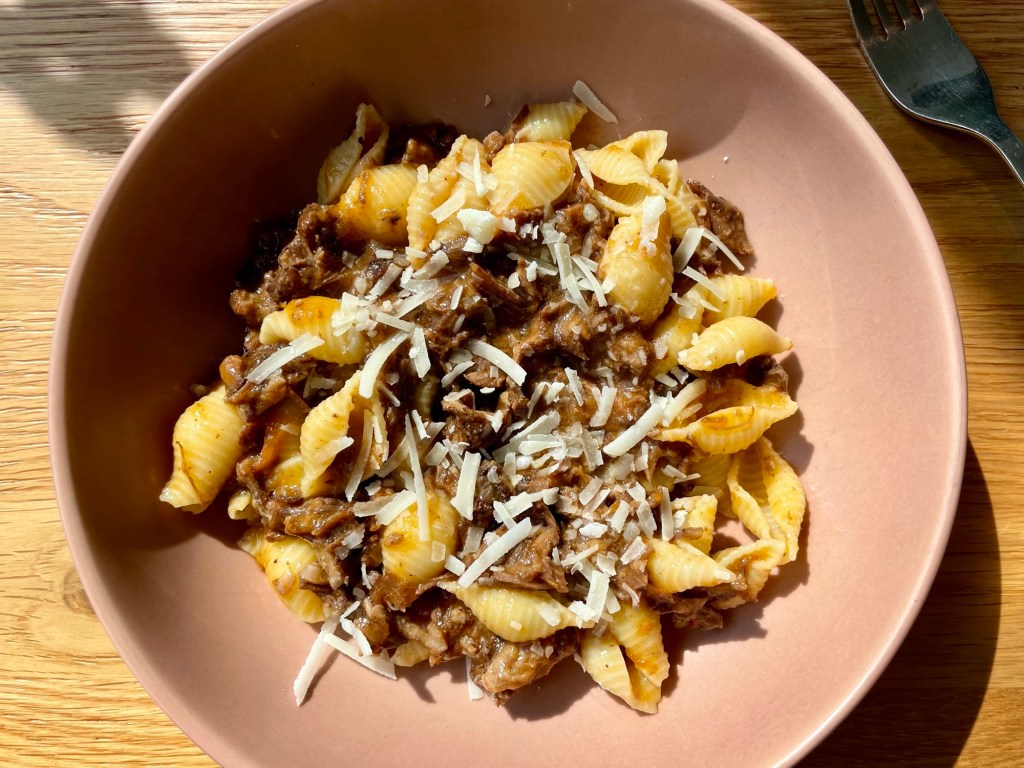
Done! Serve with rice or potato salad. Enjoy!

Summarized Recipe:
Cajun Chicken, Shrimp, and Andouille Sausage Gumbo
Date Published: Jan 16th, 2025 | Last Updated: Jan 16th, 2025
Author: Abby |Category: mains, soup
Serves: 6 | Prep time: 30 mins | Cook time: 2.5 hours
Ingredients:
- Broth:
- 4 cups chicken stock
- 4 cups beef stock
- 1 kg/2 lbs of raw shrimp with shells, deveined without heads
- 1 Tbsp + 2/3 cup bacon fat (you can use vegetable oil or lard instead, but the bacon fat adds extra flavour)
- 340g/12 oz (1 package) Andouille sausage, sliced
- 1 cup all-purpose flour
- 3 cloves garlic, minced
- 1 large yellow onion, diced
- 1 green bell pepper/capsicum, diced
- 1 bunch celery, diced
- 4 large chicken thighs, bone-in (with or without)
- 1 Tbsp Cajun seasoning (I use ‘Slap Ya Mama’ brand, find it here)
- 1/2 tsp dried thyme
- 3 bay leaves
- 4 tsps gumbo filé/filé powder
- 2 Tbsps Worcestershire sauce
- Garnish: sliced spring onions
- Serve with: white rice or potato salad
Directions:
- Prepare the broth:
- In a small pot on MED heat, add in 4 cups of chicken stock and 4 cups of beef stock.
- Remove the shells from the shrimp and add the shells into the stock. Let it simmer on the lowest heat for at least 20 minutes (or longer) while you prepare the rest of the ingredients. Keep the lid on with a small crack to avoid evaporation and boiling over.
- Brown the sausage:
- In a large soup pot on MED-HIGH heat, melt 1 Tbsp of bacon fat and sear the sliced Andouille sausages on both sides until browned (you may want to do this in batches if you can’t fit all the sausage in a single layer).
- Once browned, remove the sausage onto a plate and set aside.
- Make the roux:
- Using the same pot on MED heat with the residual oil from the sausage, melt in the 2/3 cup bacon fat. Sprinkle 1 cup of flour over the melted fat and whisk the flour until combined. Continue to whisk regularly until you get a thick paste that is the colour of milk chocolate (this step is tedious and can take 30-40 minutes, take your time, don’t let the roux burn!).
- Once your roux reaches the desired colour, add in the vegetables: 3 cloves minced garlic, onion, green pepper, and celery. Sauté until the vegetables are soft (8-10 minutes), making sure you regularly scrape the bottom of the pot so nothing sticks. You can put a lid on the let the vegetables sweat to speed up the softening process.
- When the vegetables have softened, strain the shrimp shells from the broth (in step 1) and slowly pour the broth into the vegetable/roux mixture while stirring at the same time so no clumps form.
- Let the soup come to a simmer then add in 1 Tbsp Cajun seasoning, 1/2 tsp dried thyme, 3 bay leaves, and 4 bone-in chicken thighs. Simmer for 1 hour, partially covered with a lid.
- After 1 hour, remove the chicken into a bowl and add in the cooked sausage (from step 2) back into the soup along with 2 tsps of gumbo filé. Simmer for another 15 minutes.
- While the soup continues to simmer, use two forks to shred the cooked chicken and remove the bone and skin (if present). When the timer is up, add the shredded chicken back into the soup with the de-shelled raw shrimp (from step 1), and 2 more tsps of gumbo filé. Let it simmer for another 3-5 minutes until the shrimp is fully cooked, then turn off the heat.
- Add in 2 Tbsps Worcestershire sauce, stir, and taste. Adjust salt, pepper, Cajun seasoning or Worcestershire as needed. Done! Serve with rice or potato salad. Enjoy!