Date Published: Oct 29th, 2024 | Last Updated: Oct 29th, 2024
Author: Abby | Category: Travel, USA
Date of travel: Oct 12th, 2024
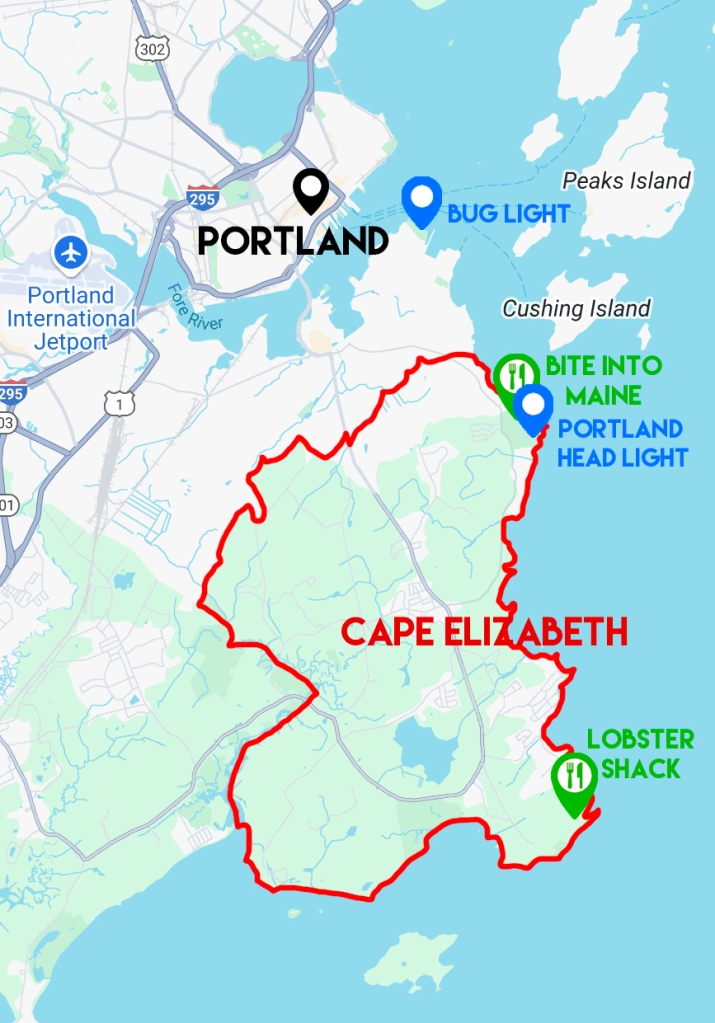
Cape Elizabeth is a quiet coastal town located just south of Portland, Maine. It’s home to a few lighthouses, including the most iconic and famous lighthouse in Maine: Portland Head Light. Between Portland and Cape Elizabeth sits Bug Light, a uniquely small lighthouse that’s also worthwhile a visit. But apart from lighthouses, there are a couple of popular places to get lobster rolls along the coast. I’d recommend spending half a day exploring both of these lighthouses and snacking on some lobster!
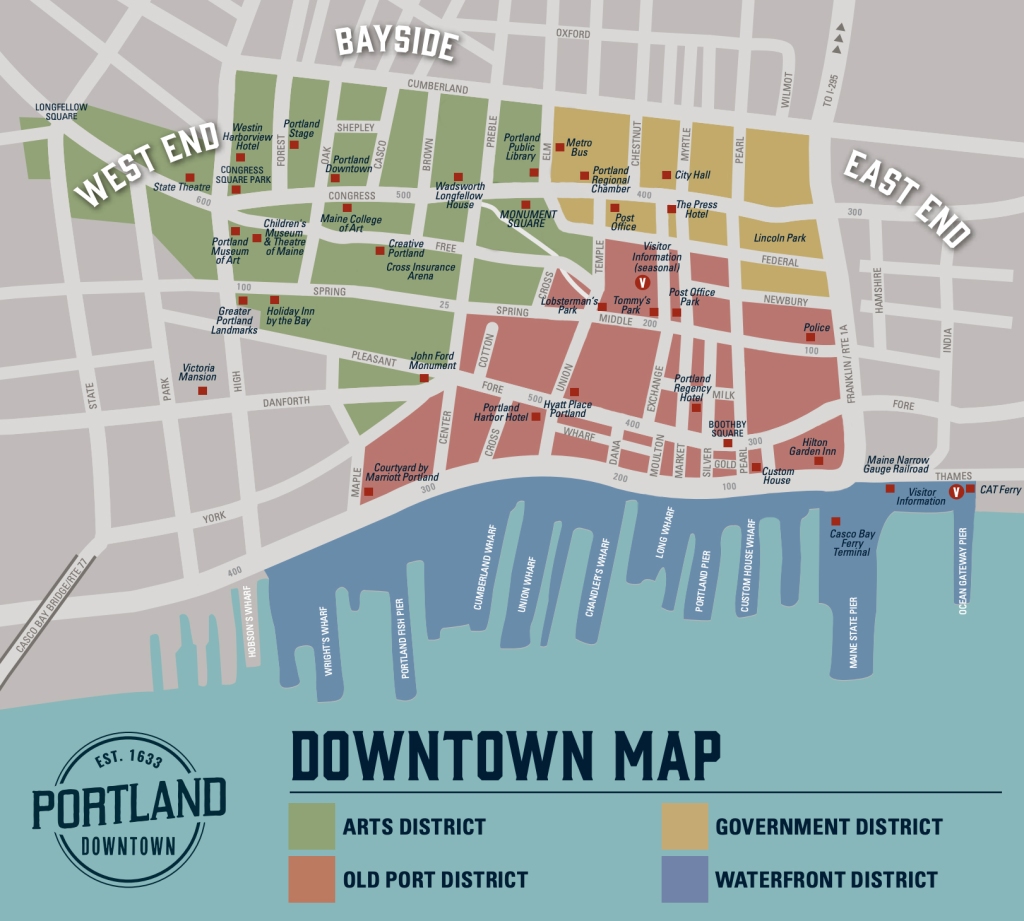
I’ve made a map below to outline the main places to see in this area to get your bearings:
How much time will I need?
You can visit both lighthouses and lobster roll places in half a day. The lobster roll places don’t open until 10:30/11am, so if you’re coming from Portland, I’d recommend starting at Bug Light first then work your way down the coast. You only need 5-10 minutes at Bug Light since there’s not much else to do here other than snapping some photos of the lighthouse. From there, it’s a 15 minute drive to Fort Williams Park where the Bite Into Maine food truck is and Portland Head Light. Try to get to Bite Into Maine right as they open at 10:30am, before the lines start, then afterwards head over to Portland Head Light and check out the museum and do the Cliff Walk. Lastly, drive another 15 minutes south to Lobster Shack at Two Lights Park and enjoy a second lunch (or dinner, depending on how long you’ve taken at Fort Williams) to finish off the trip.
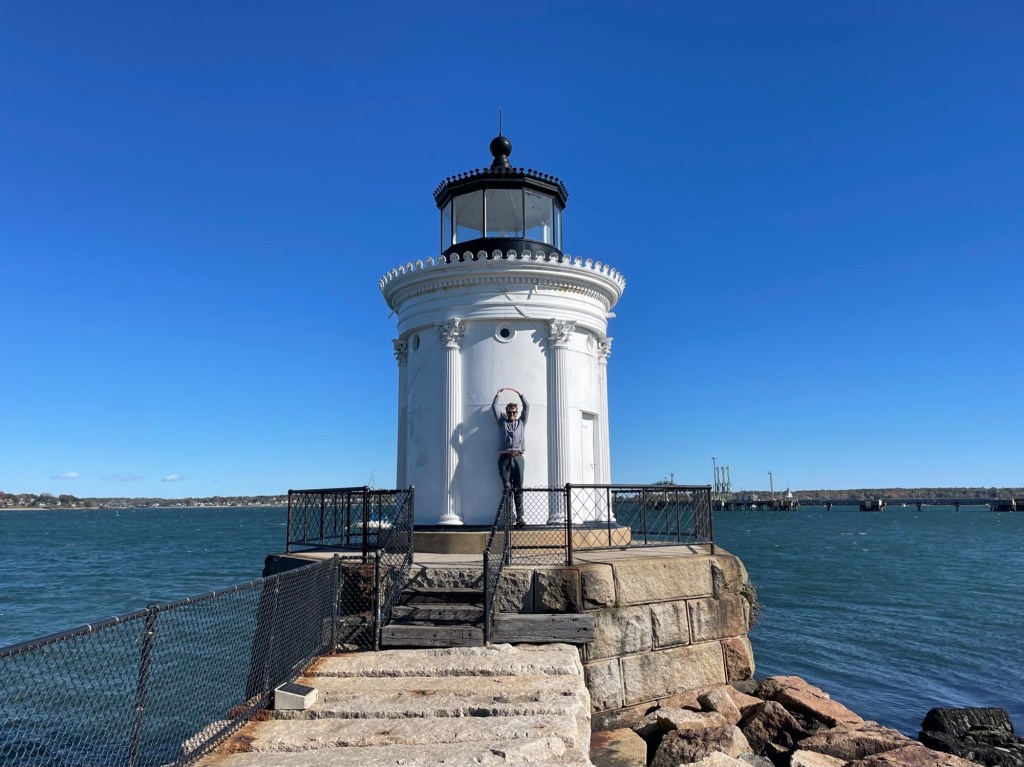
Portland Breakwater Light aka “Bug Light”
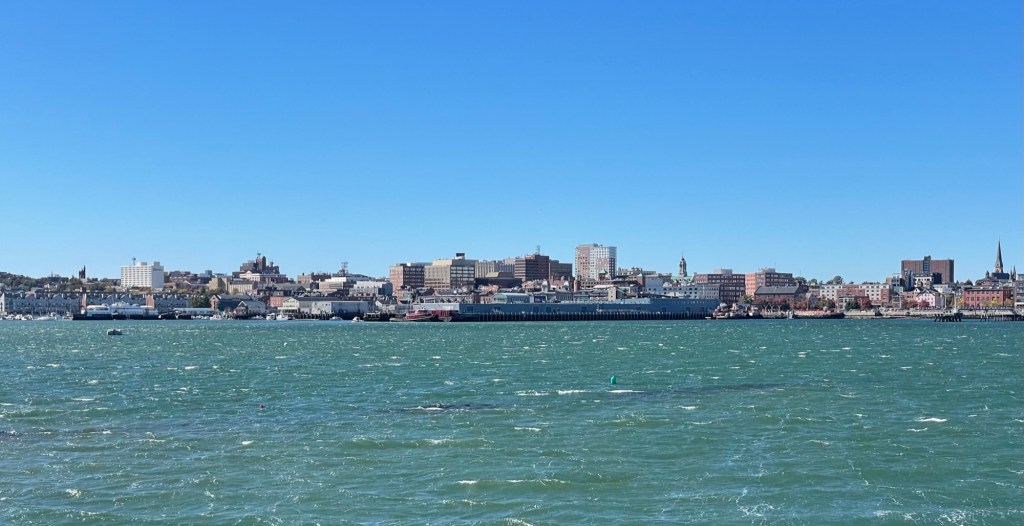
Located in South Portland, outside of Cape Elizabeth, “Bug Light” is a small lighthouse that sits within Bug Light Park. There’s not much else here other than the lighthouse but this uniquely small tower was worth a stopover. Parking here is free and is only a few minutes walk to the lighthouse. Like Portland Head Light, the lighthouse tower is only open once a year on Maine Open Lighthouse Day. You can see views of the Portland in the distance and there’s a Liberty Ship Memorial here as well, commemorating the 274 Liberty Ships that were built in South Portland during WWII that carried important supplies across the Atlantic. You can read more about its history here.


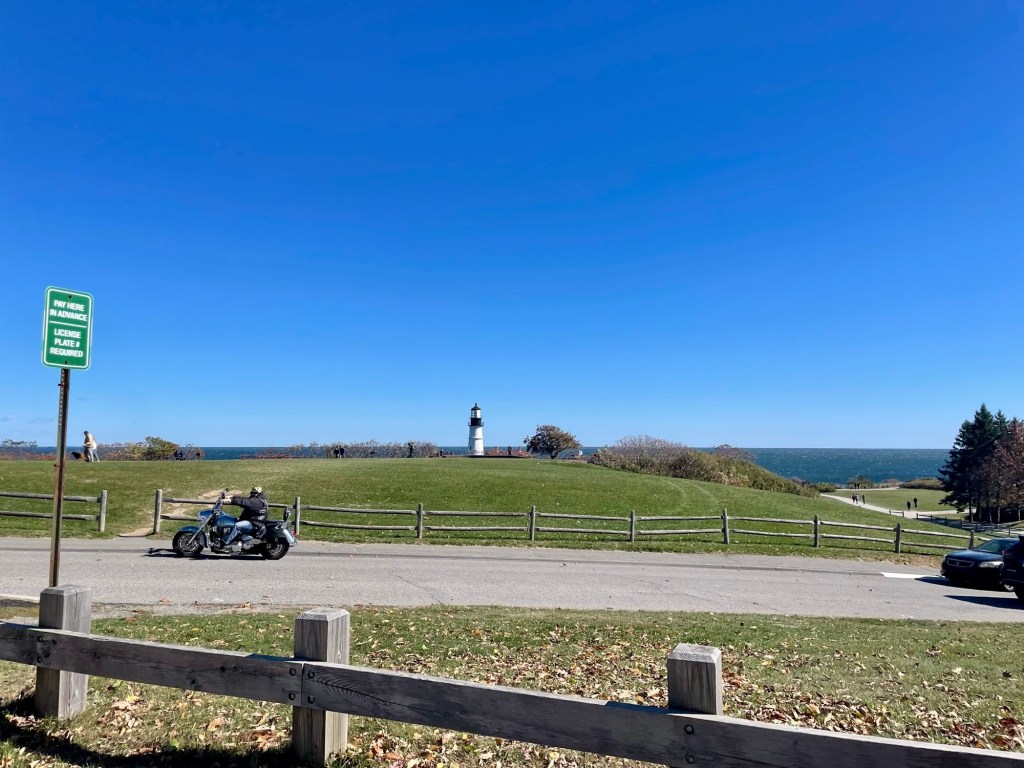
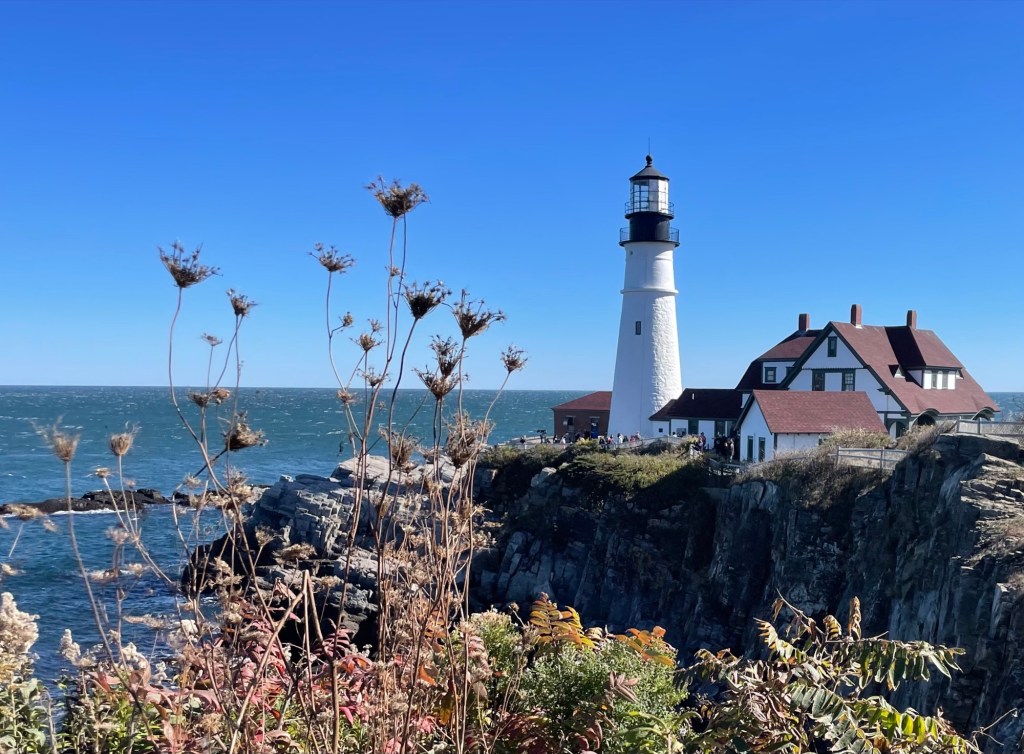
Portland Head Light – the iconic lighthouse
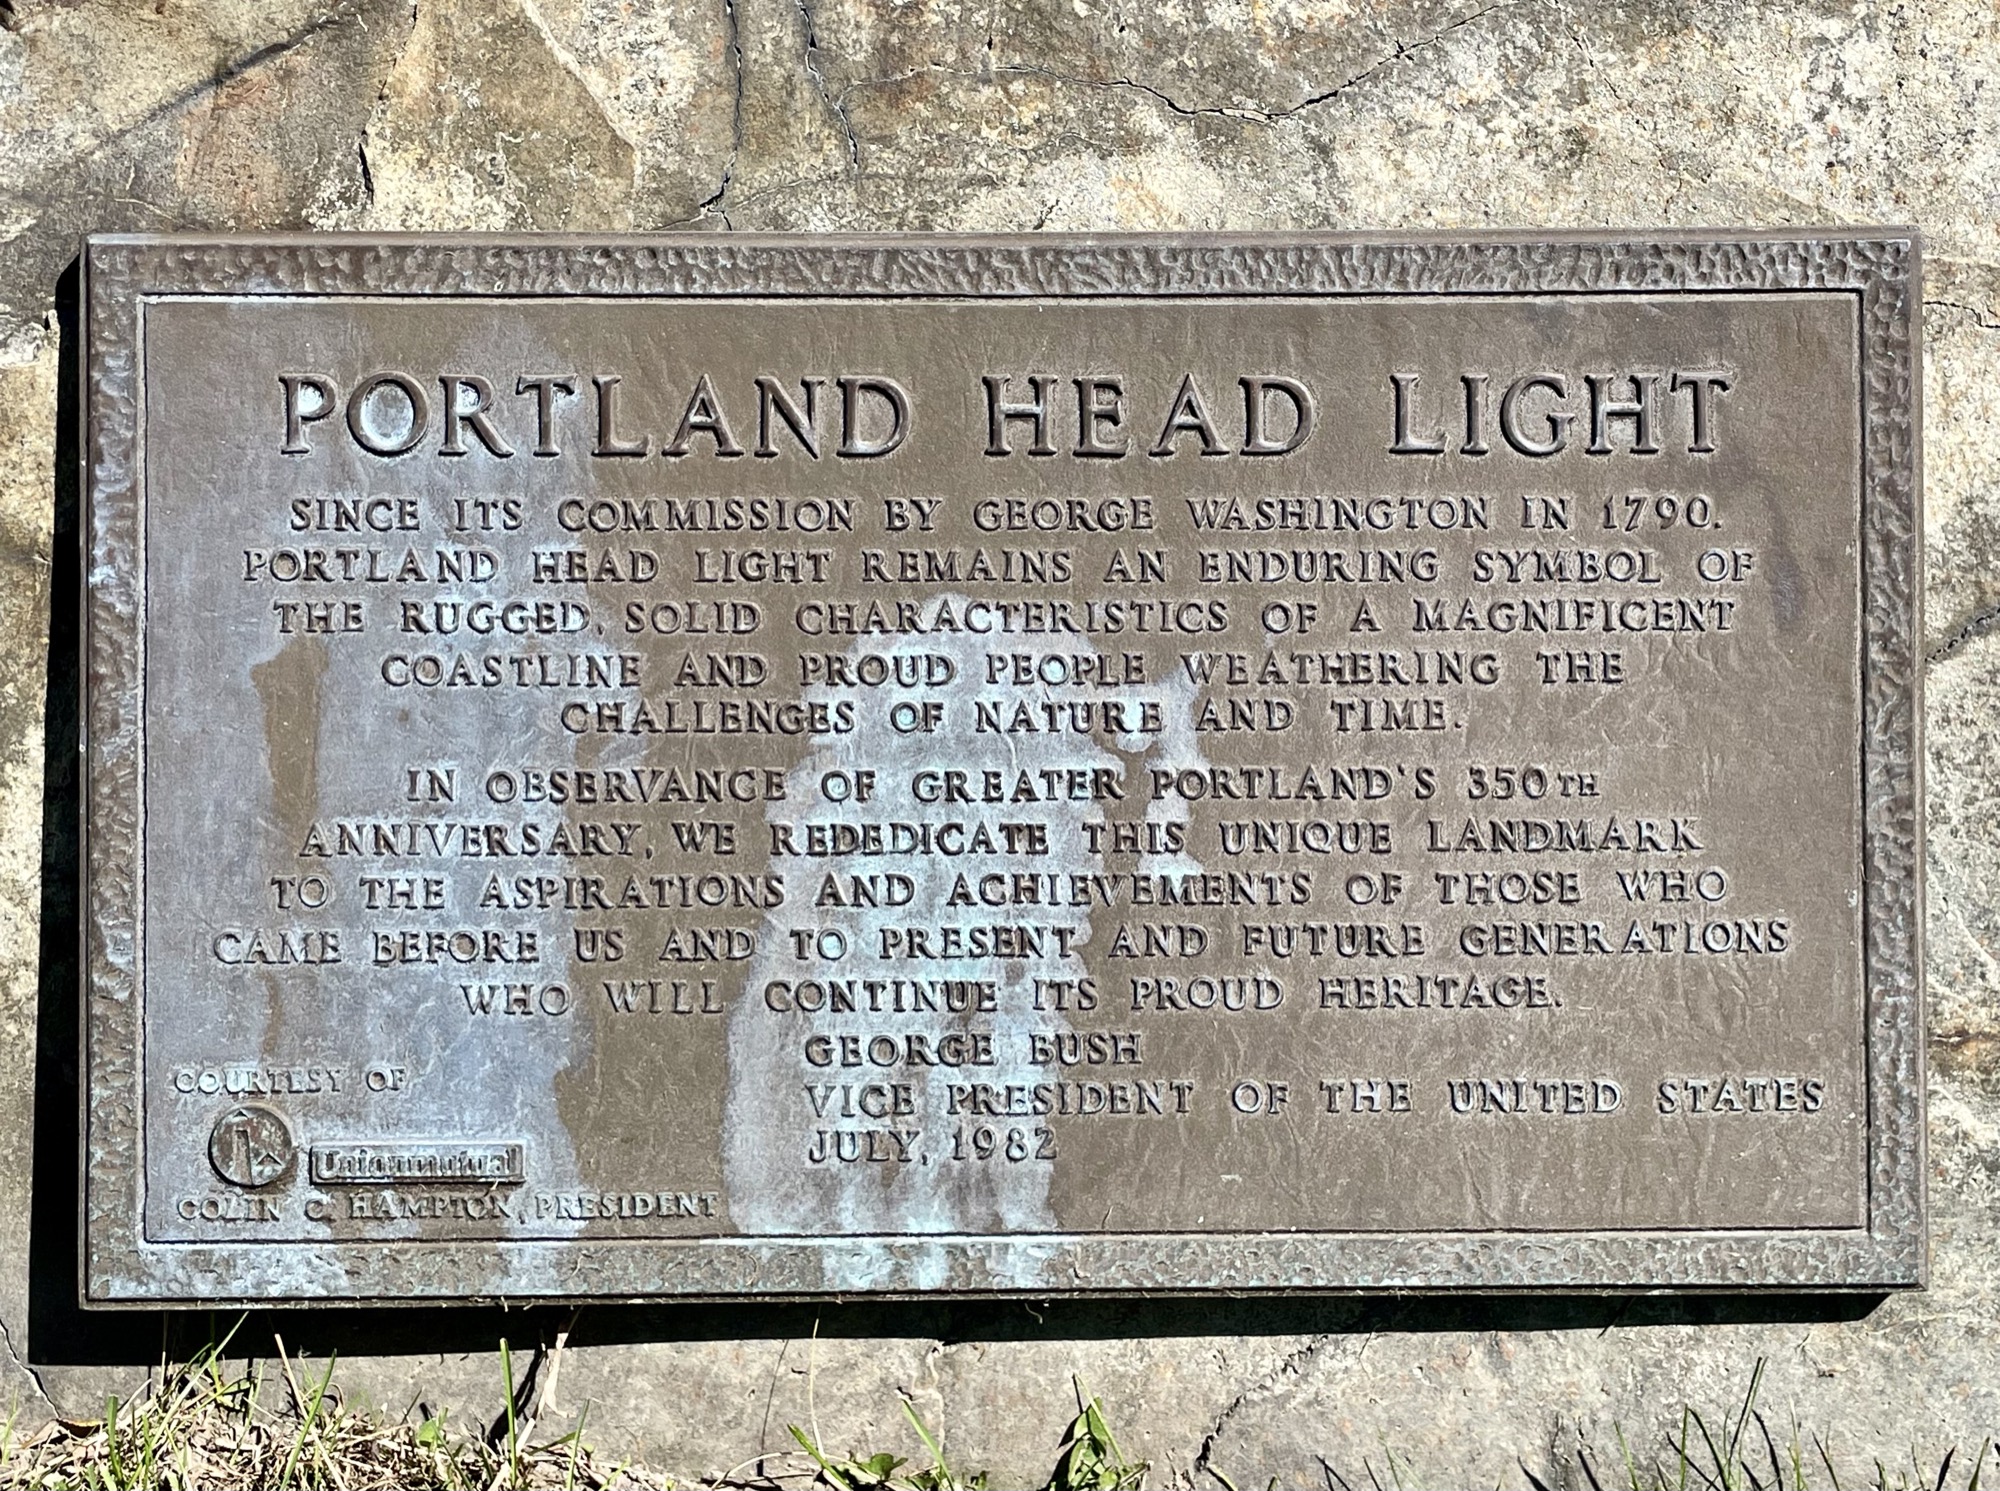
Located in Fort Williams Park, Cape Elizabeth, Portland Head Light is the oldest, most popular and iconic lighthouse of Maine. It’s the lighthouse you see in all the ads of Maine. This lighthouse was commissioned by George Washington in the 1770s to warn citizens of incoming British attacks.
Portland Head Light attracts a lot of visitors daily, but thankfully the Fort Williams grounds are large with multiple parking lots available (see map). Parking is $5 for 2 hours, paid through a machine. From the parking lot, it’s a short 2-3 minute walk to the lighthouse. You can also book a trolley tour from Portland to get here instead of driving yourself.

Here’s an overview map that shows where the parking lots are, the cliff walk (highlighted in orange), the view points, Portland Head Light, and the popular Bite Into Maine food truck.

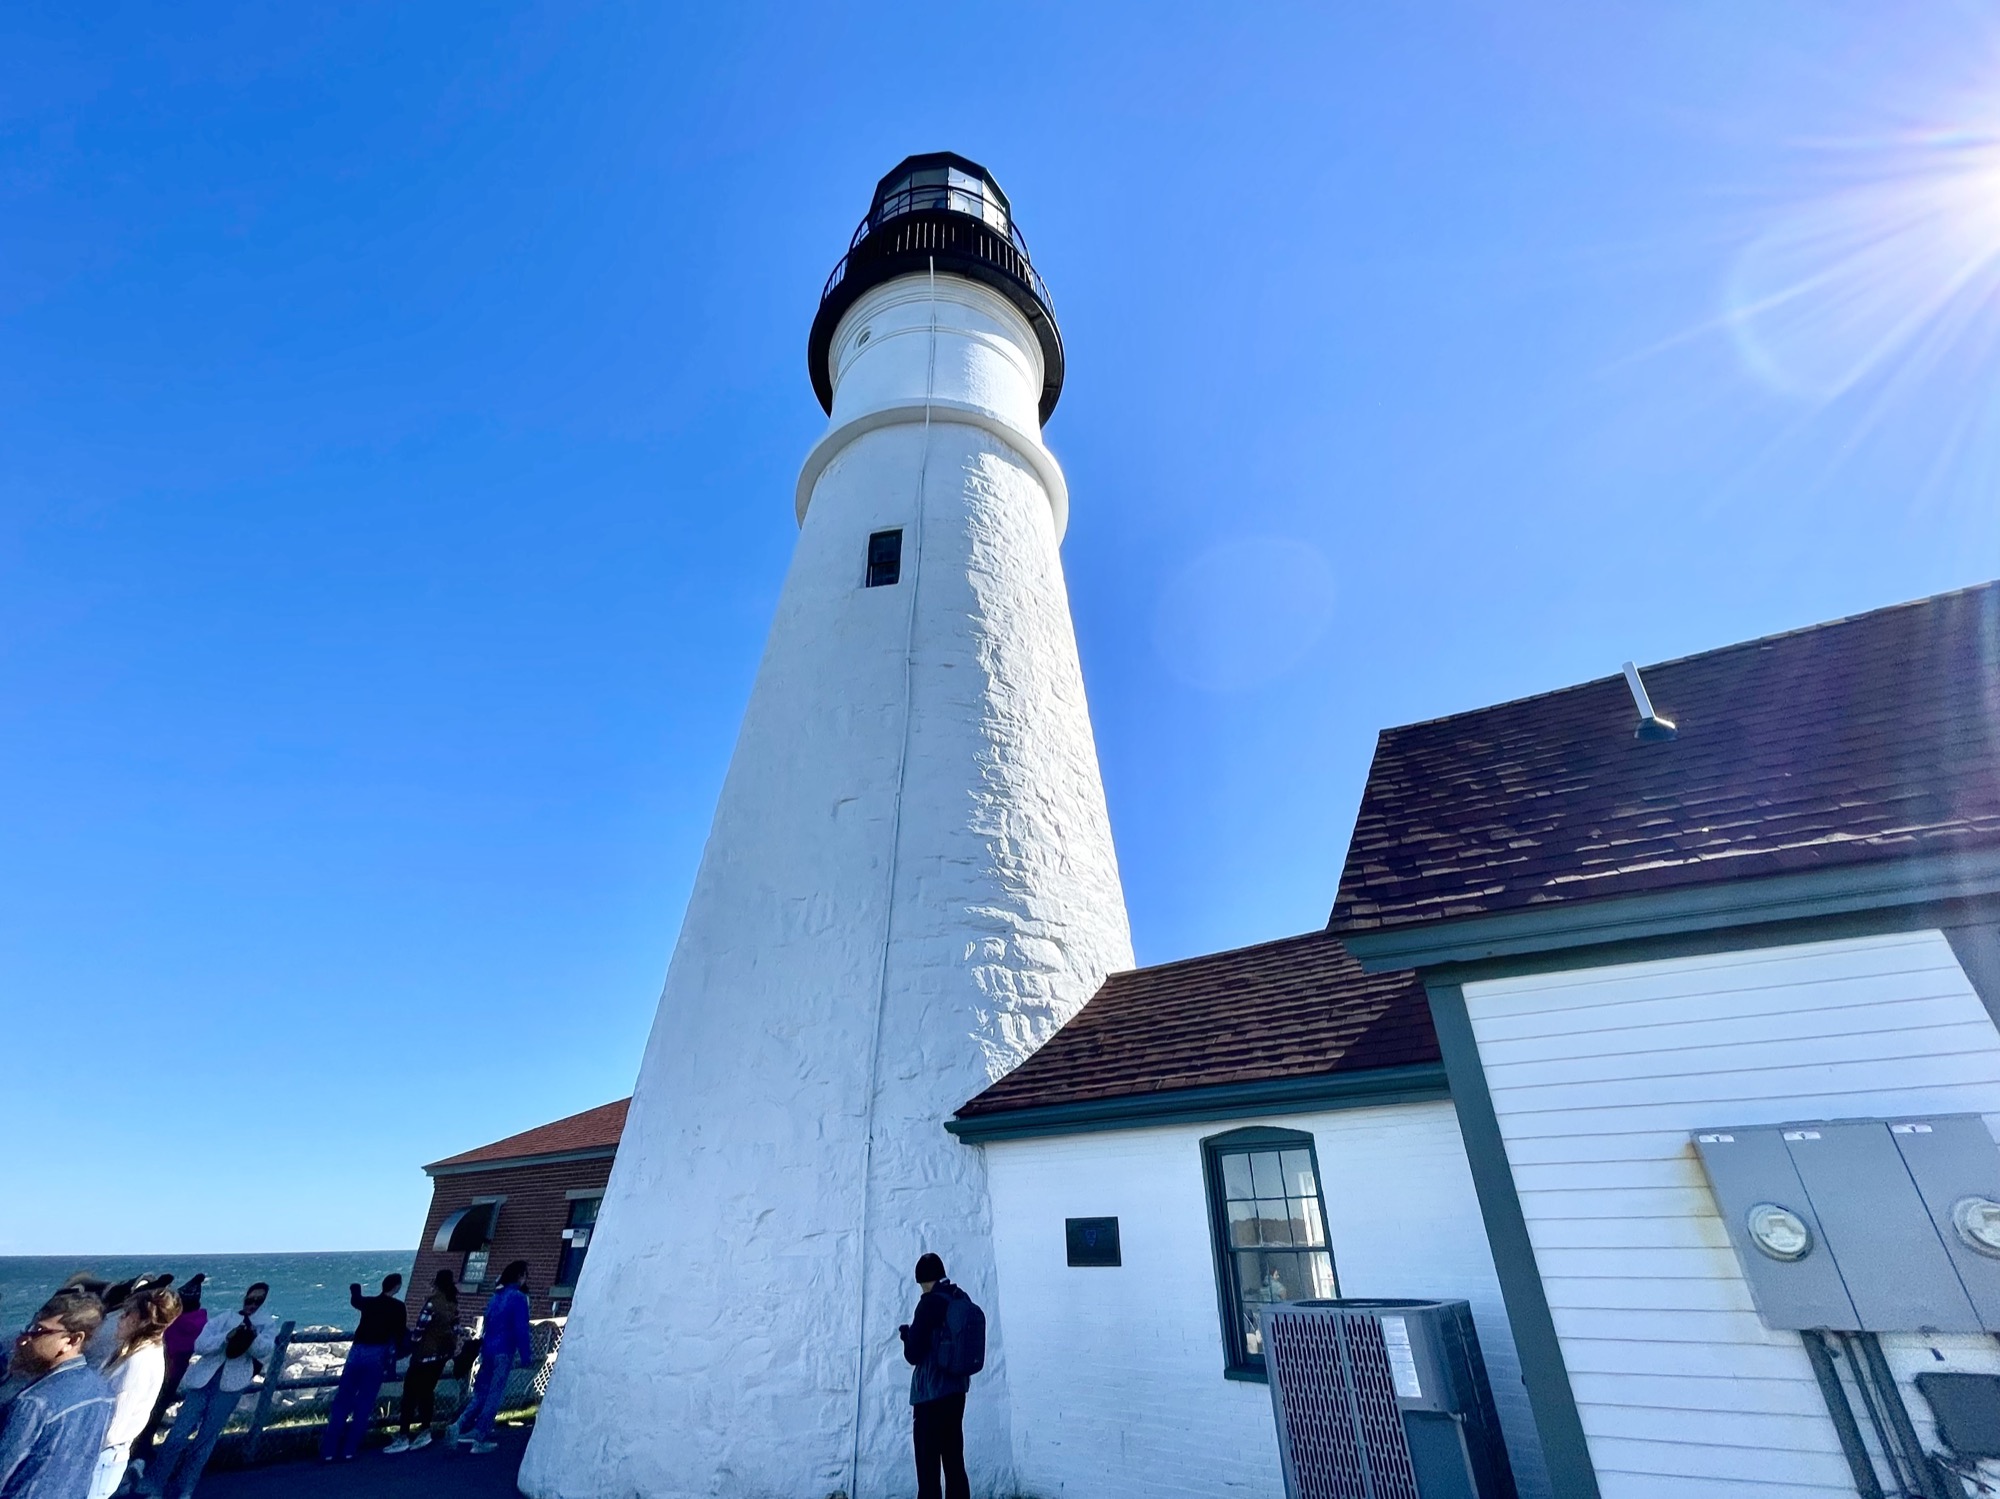
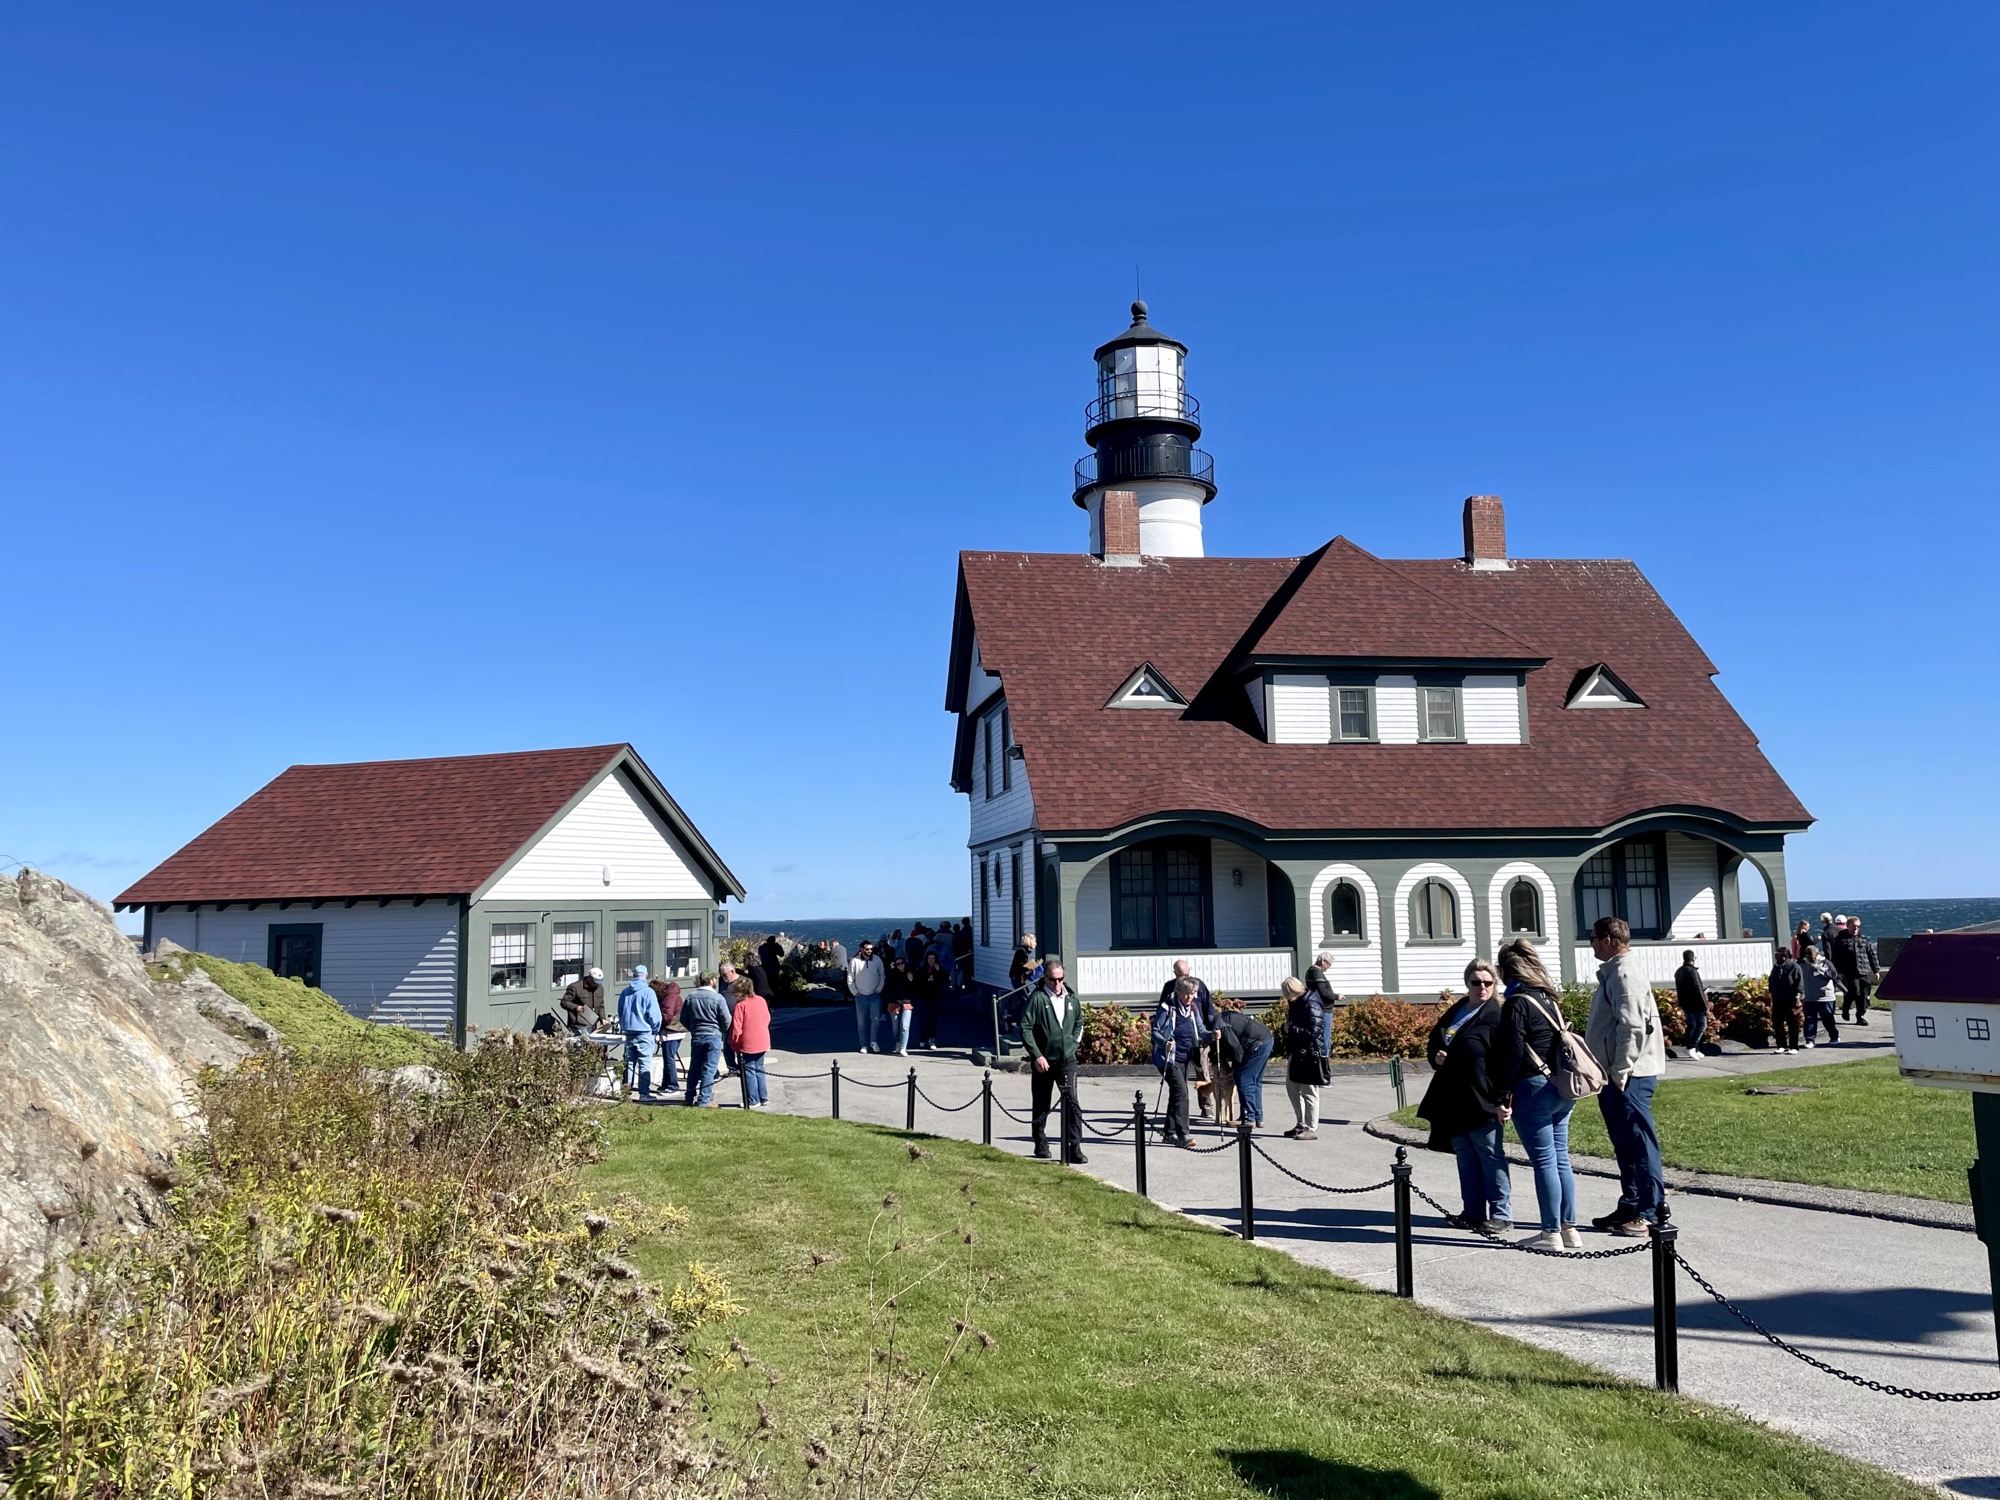
When you reach the lighthouse, you’ll see that it’s made up of the lighthouse tower itself, the keeper’s house beside the tower, and another small building beside it that’s the gift shop. The lighthouse tower is only open one day a year, on Maine Open Lighthouse Day where lighthouse towers across the state are open to the public. More information here: https://lighthousefoundation.org/maine-open-lighthouse-day/. The keeper’s house is a museum with more information of this historic landmark. Entry into the museum is $2.
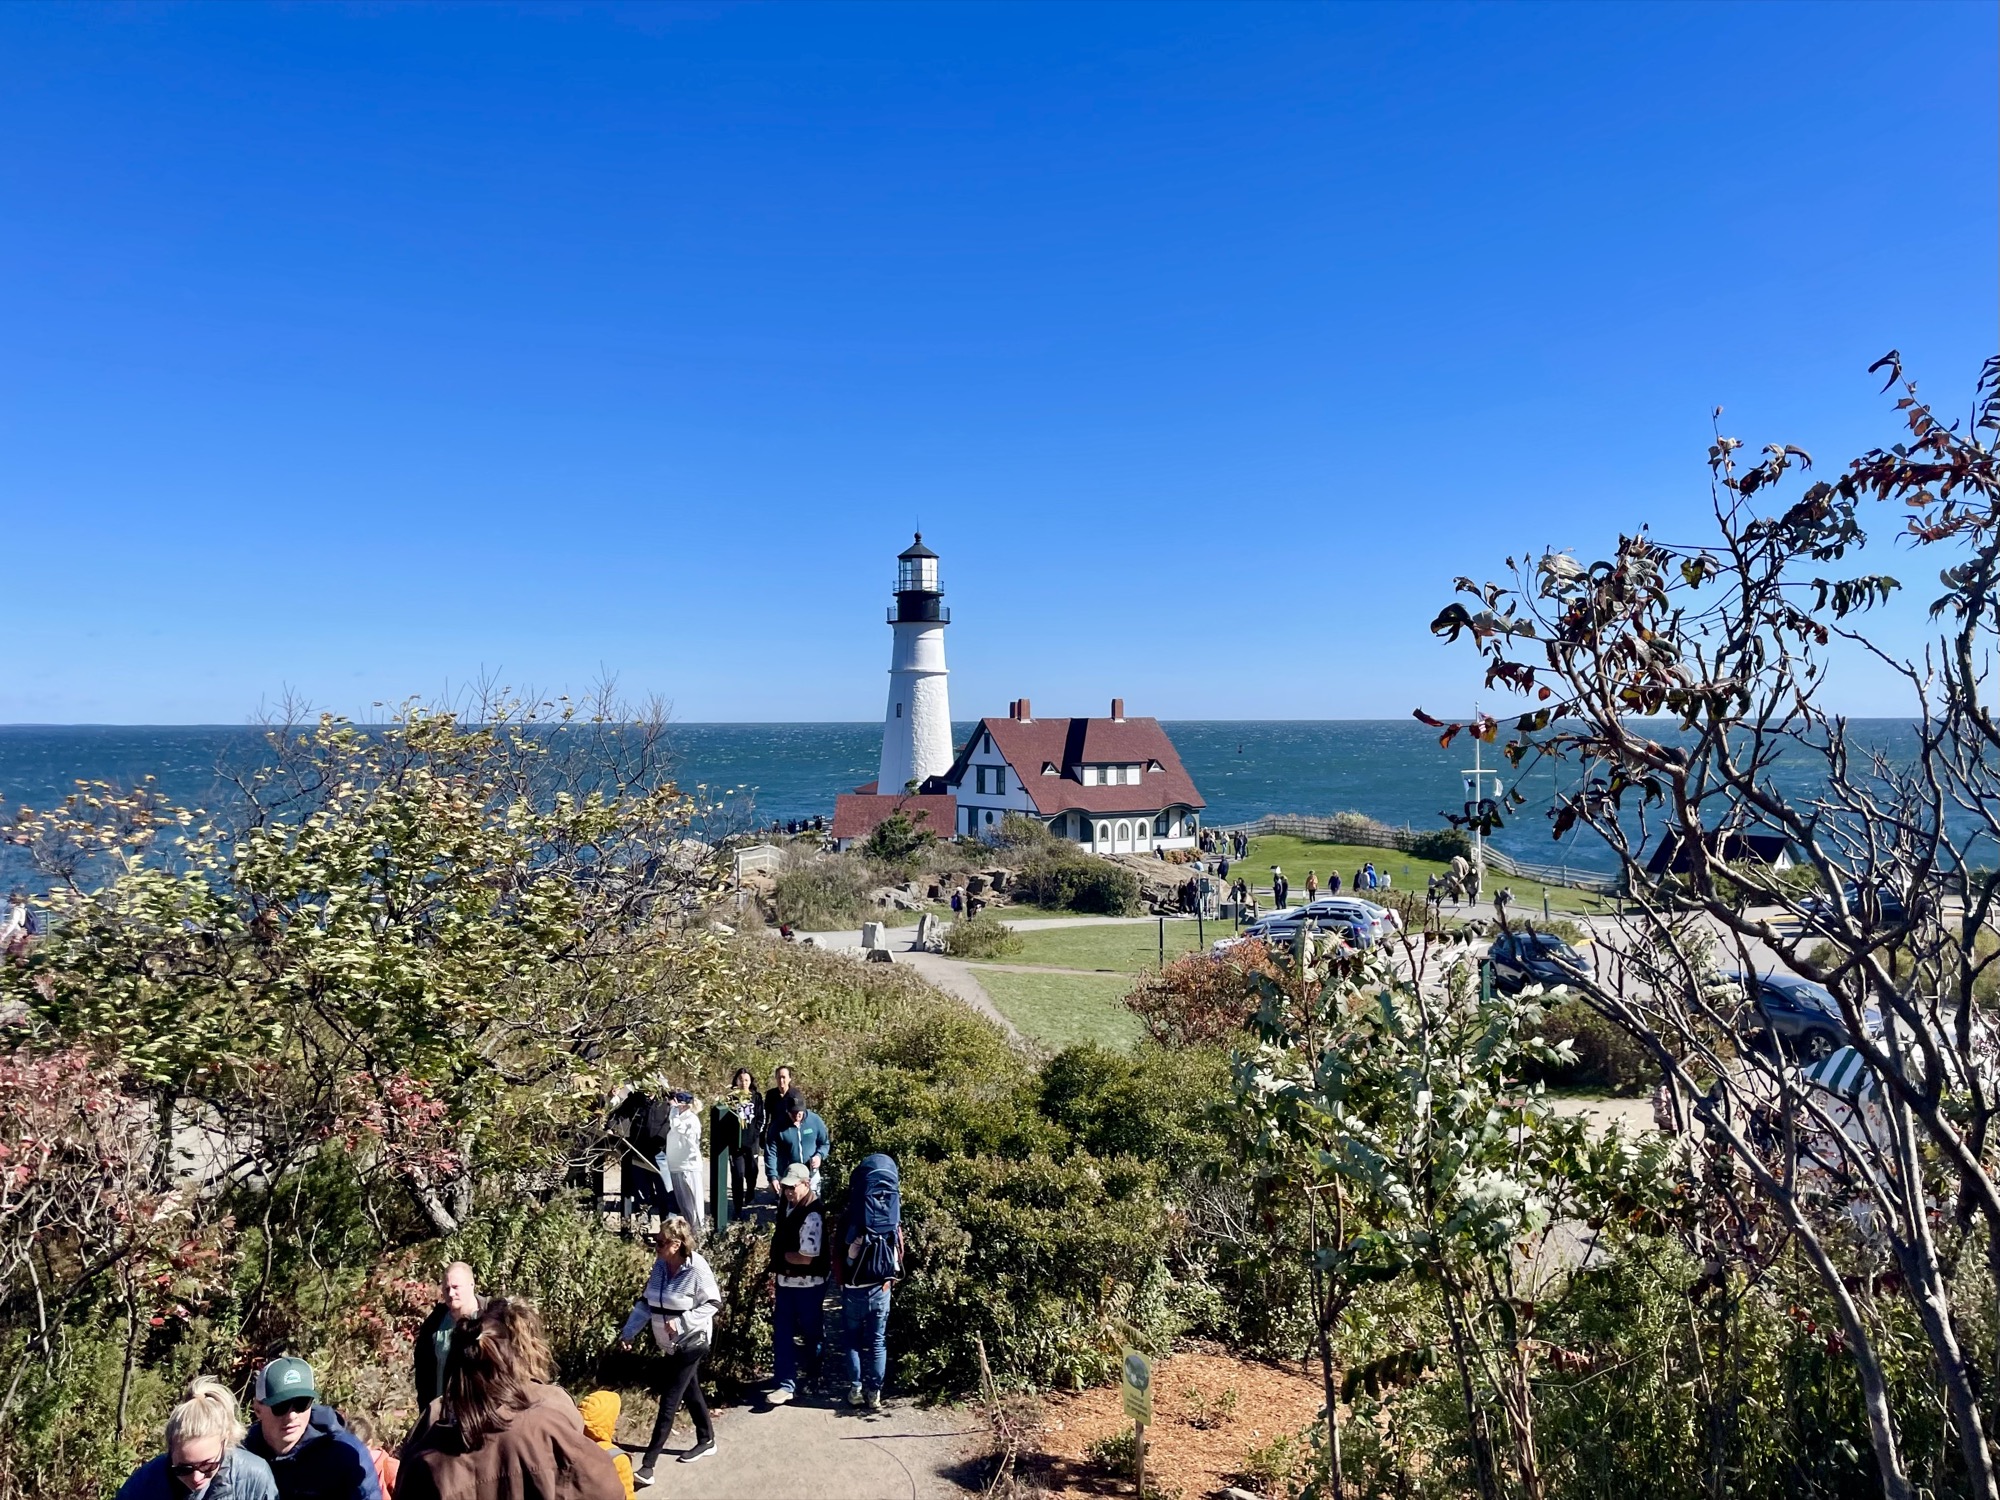
Just before you reach the lighthouse, you’ll see some signs that point towards a Cliff Walk where you can follow the coast and enjoy views of the lighthouse and the rocky coast from different view points (see map).

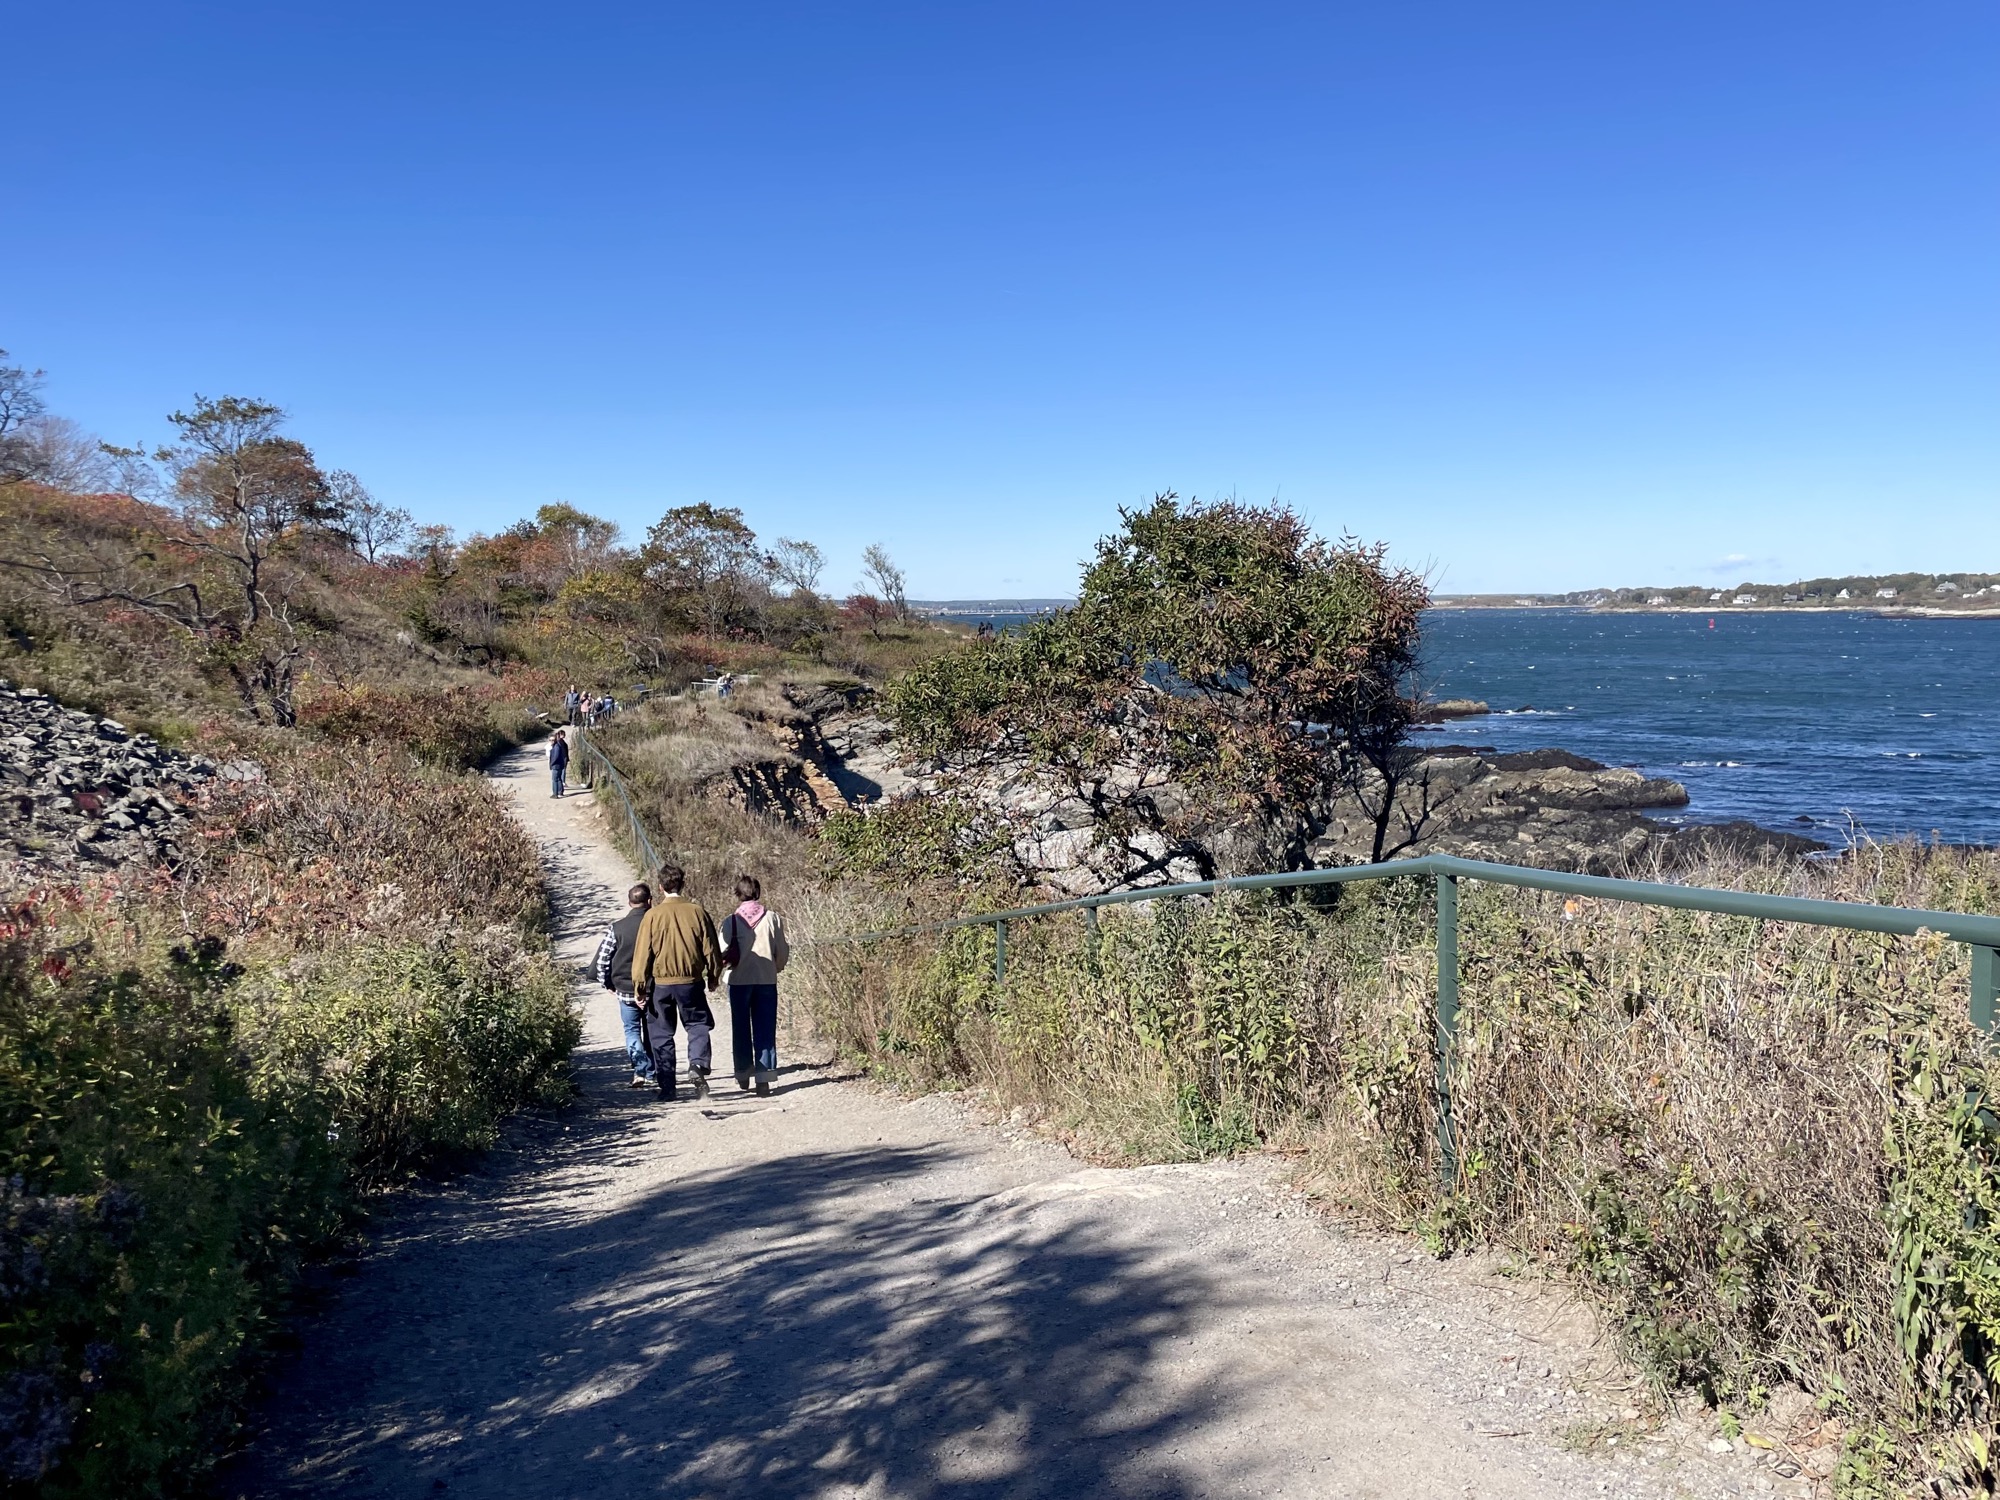

We only had time to do the start of the Cliff Walk to snap some photos of the lighthouse from the side.


As you can see from the map below, there are multiple walks you can around Fort Williams Park, but the most popular is the Cliff Walk.

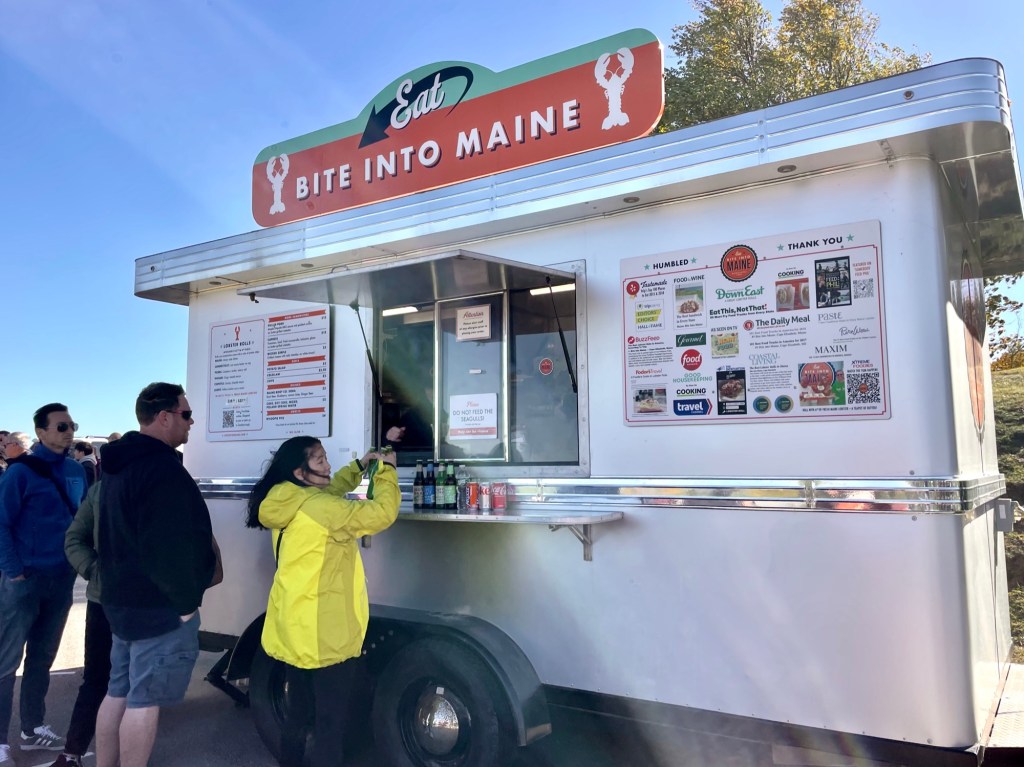
Bite Into Maine 🍴 (food truck within Fort Williams)
Address: 1000 Shore Rd, Cape Elizabeth, ME 04107
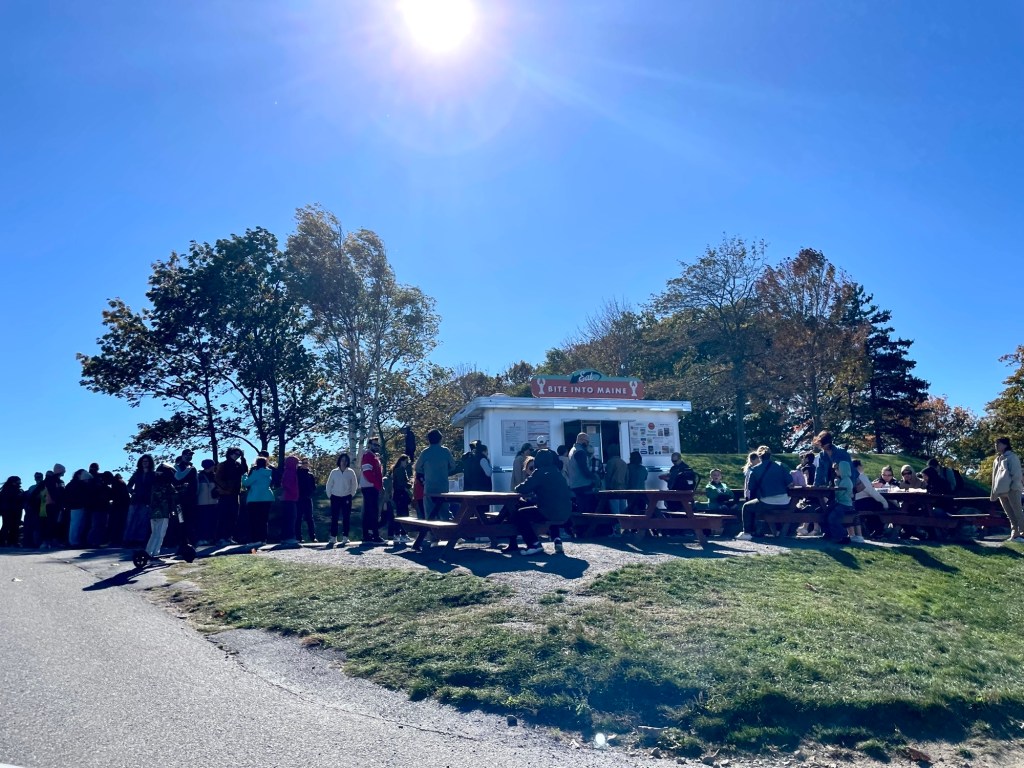
Bite Into Maine is a VERY popular food truck that is parked near Portland Head Light, beside one of the parking lots (I’ve circled it on the map above). This place was featured on an episode of ‘Somebody Feed Phil’ where he highlighted the curry lobster roll and the picnic style lobster roll (drenched in butter 🤤). When we drove past it looking for parking, there was a HUGE line of people around the truck. Unfortunately due to our tight schedule and the fact that I had no idea the line would be so long, we didn’t have time to wait.🙁 The menu looked pretty good. 💔


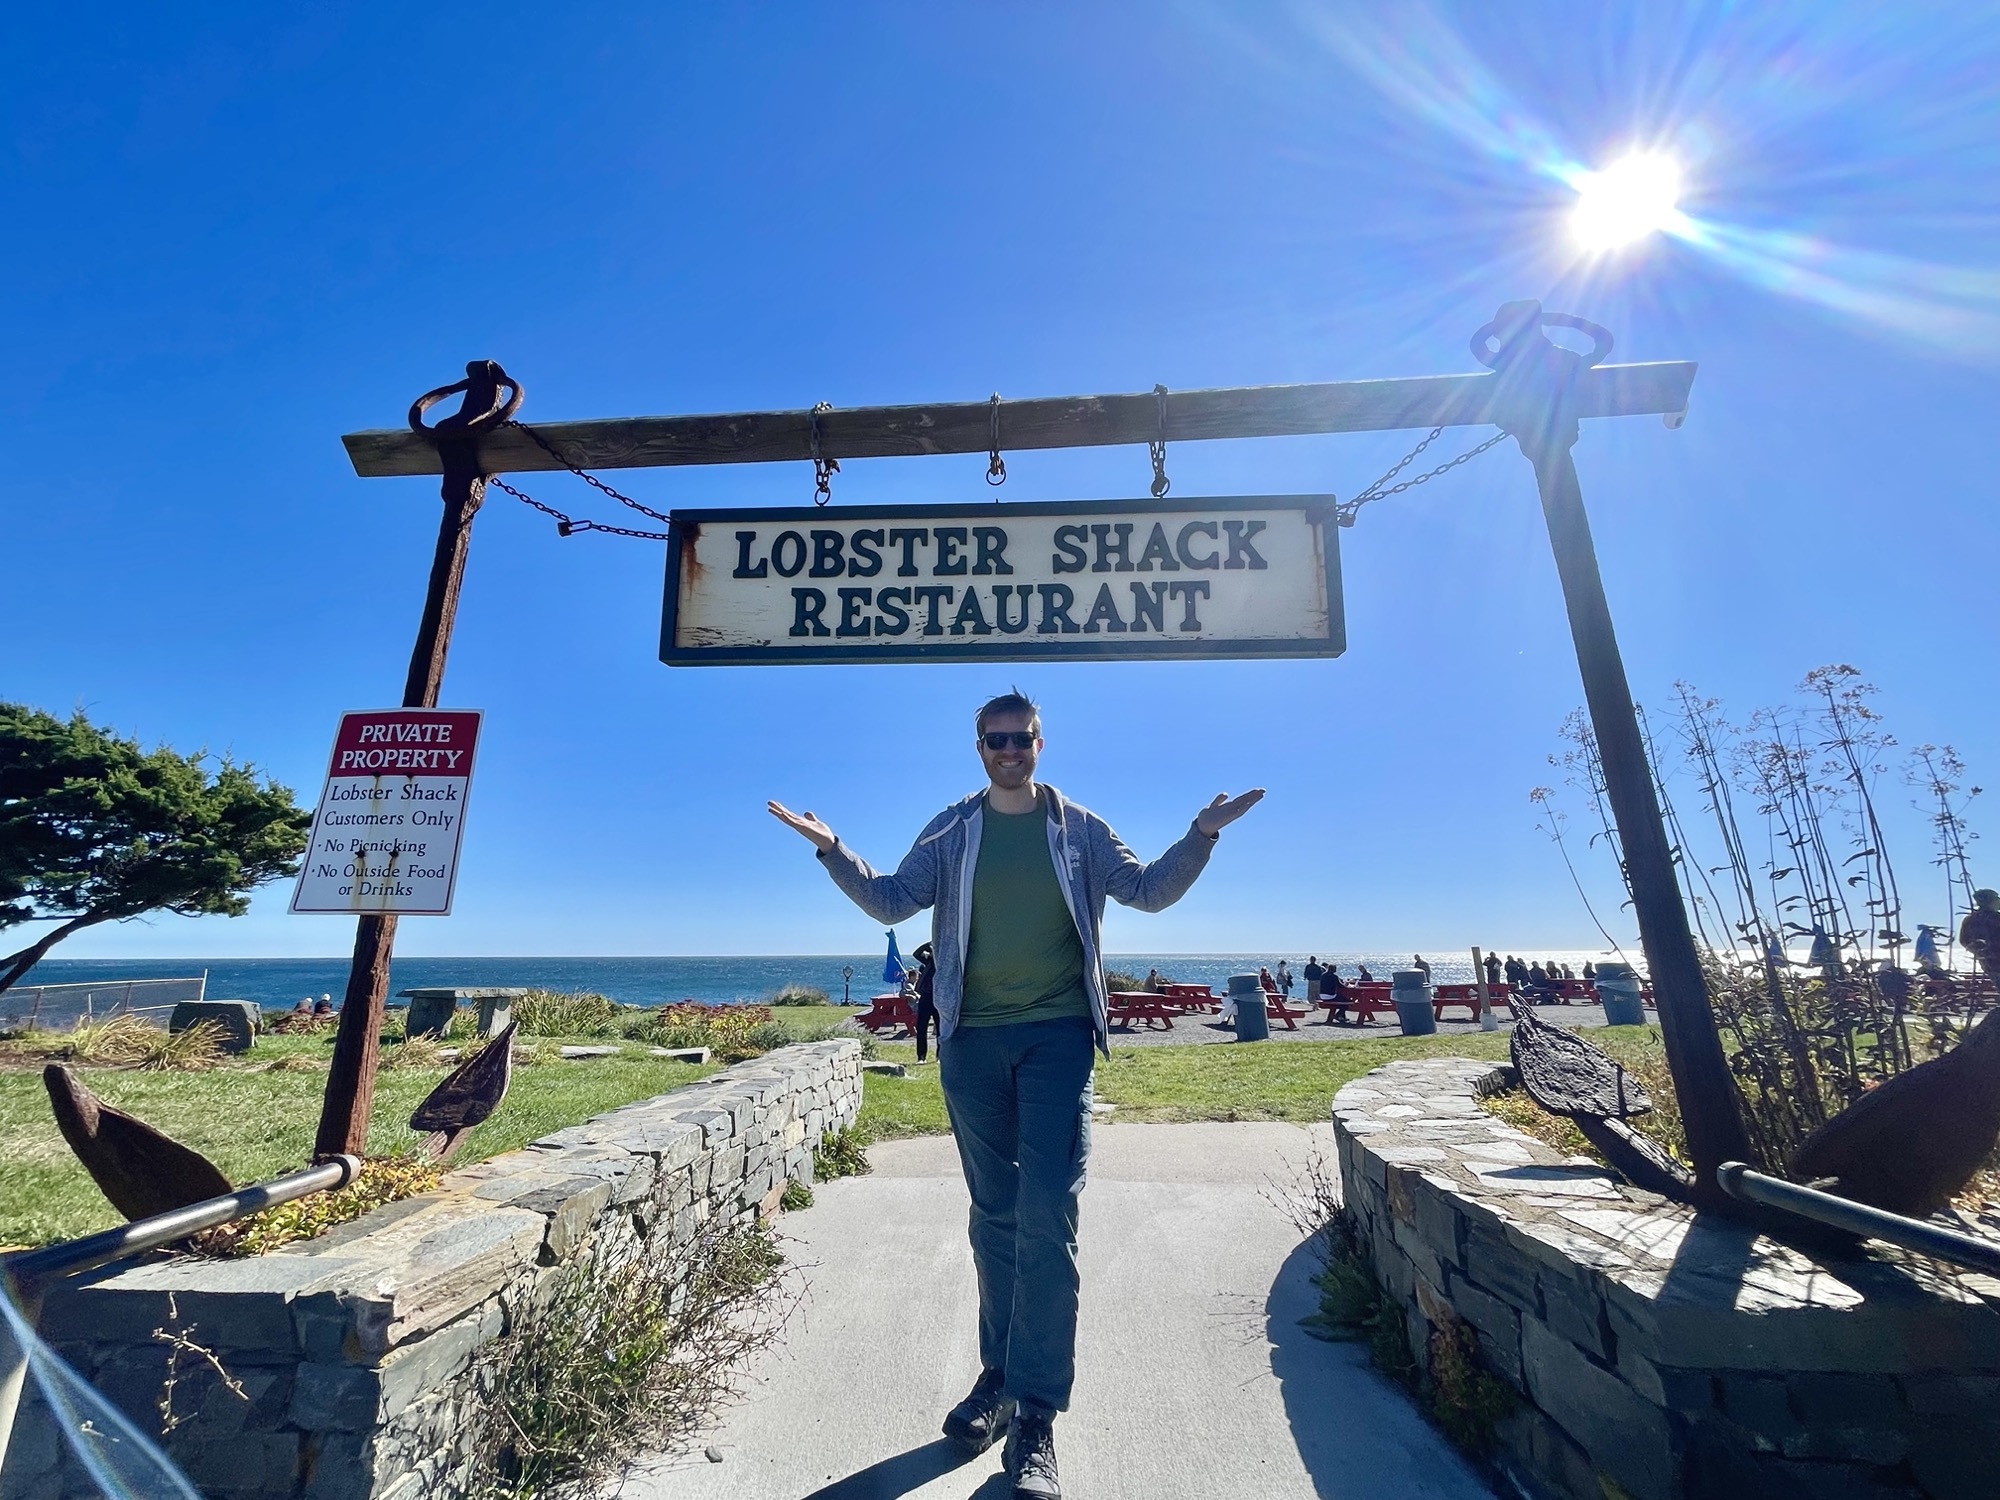
Lobster Shack at Two Lights 🍴
Address: 225 Two Lights Rd, Cape Elizabeth, ME 04107
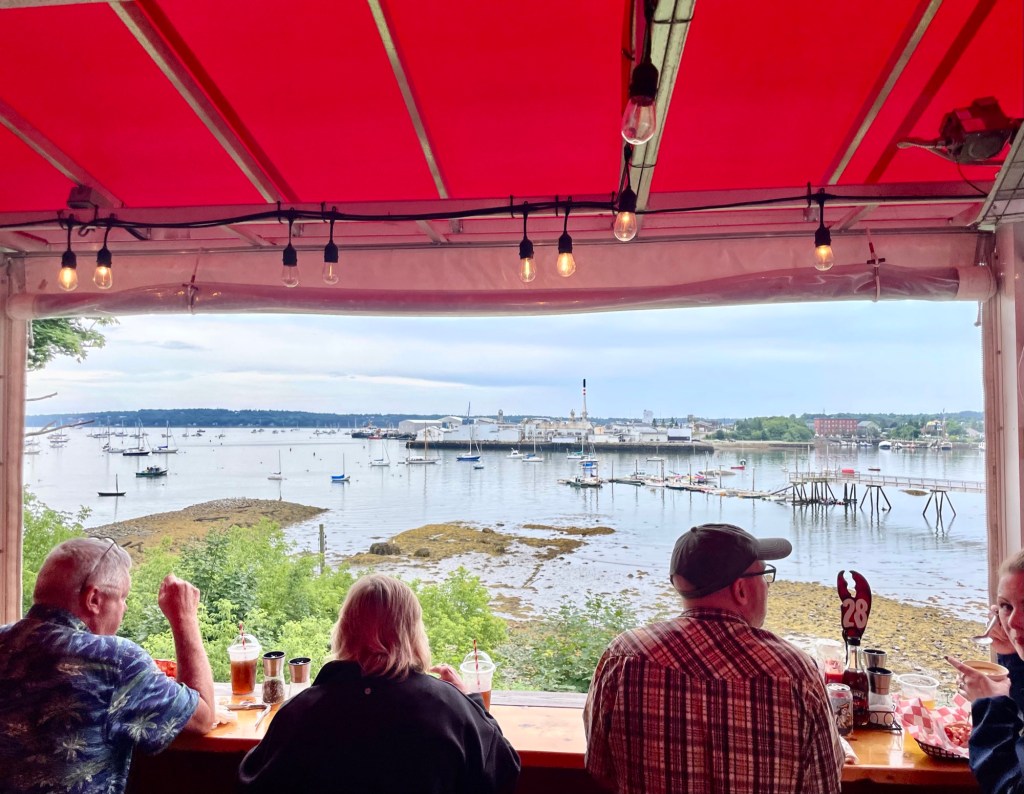
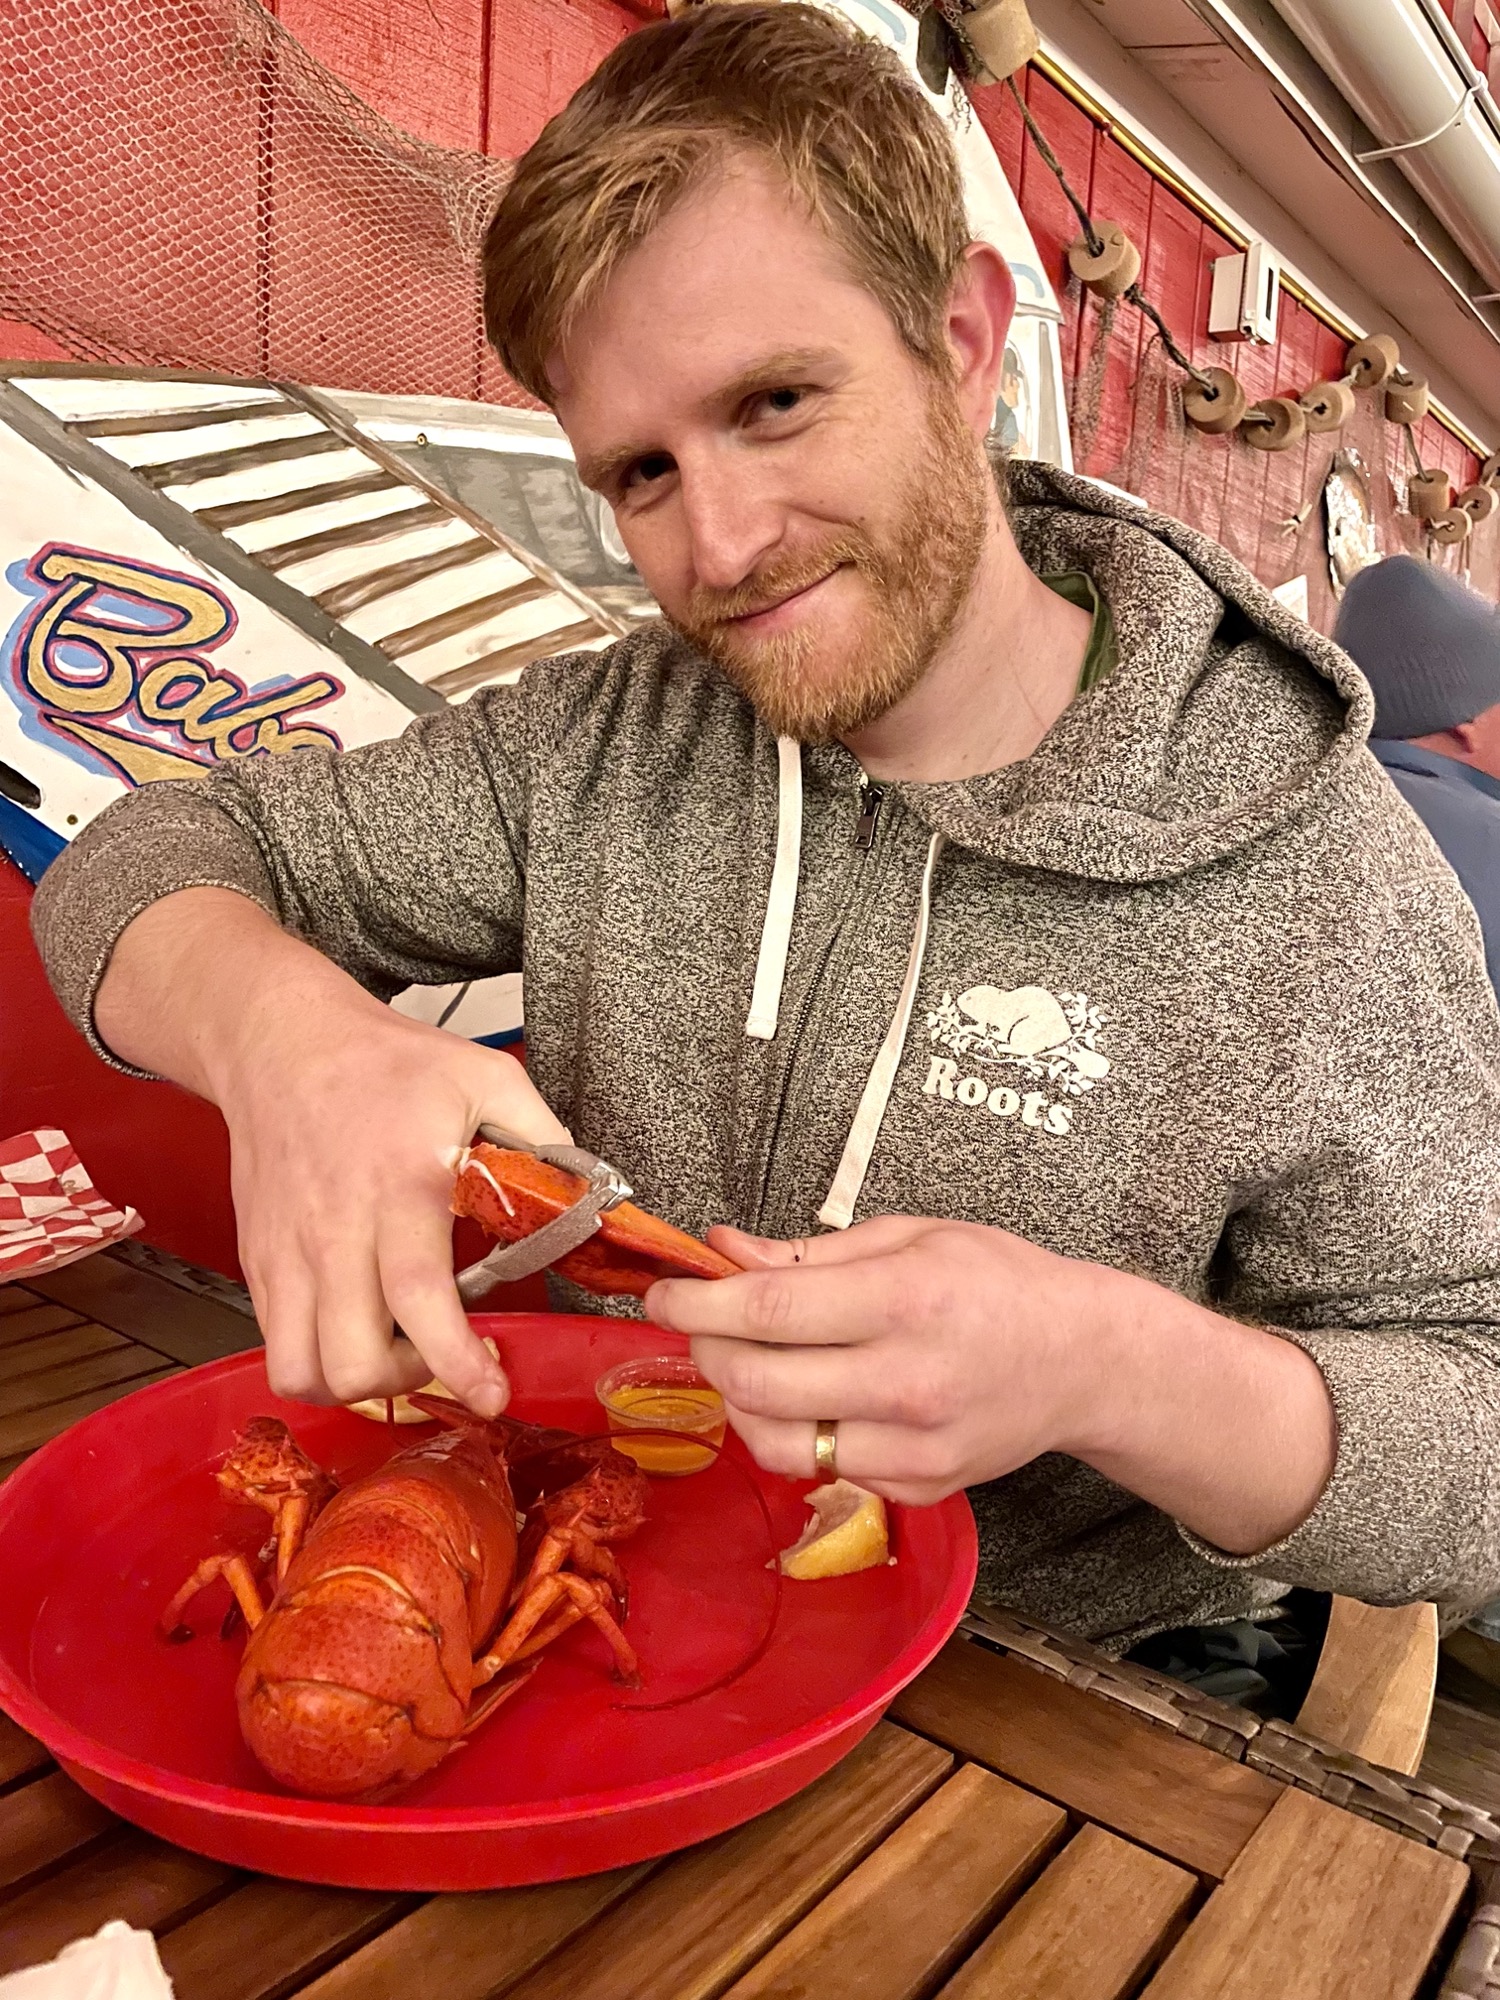
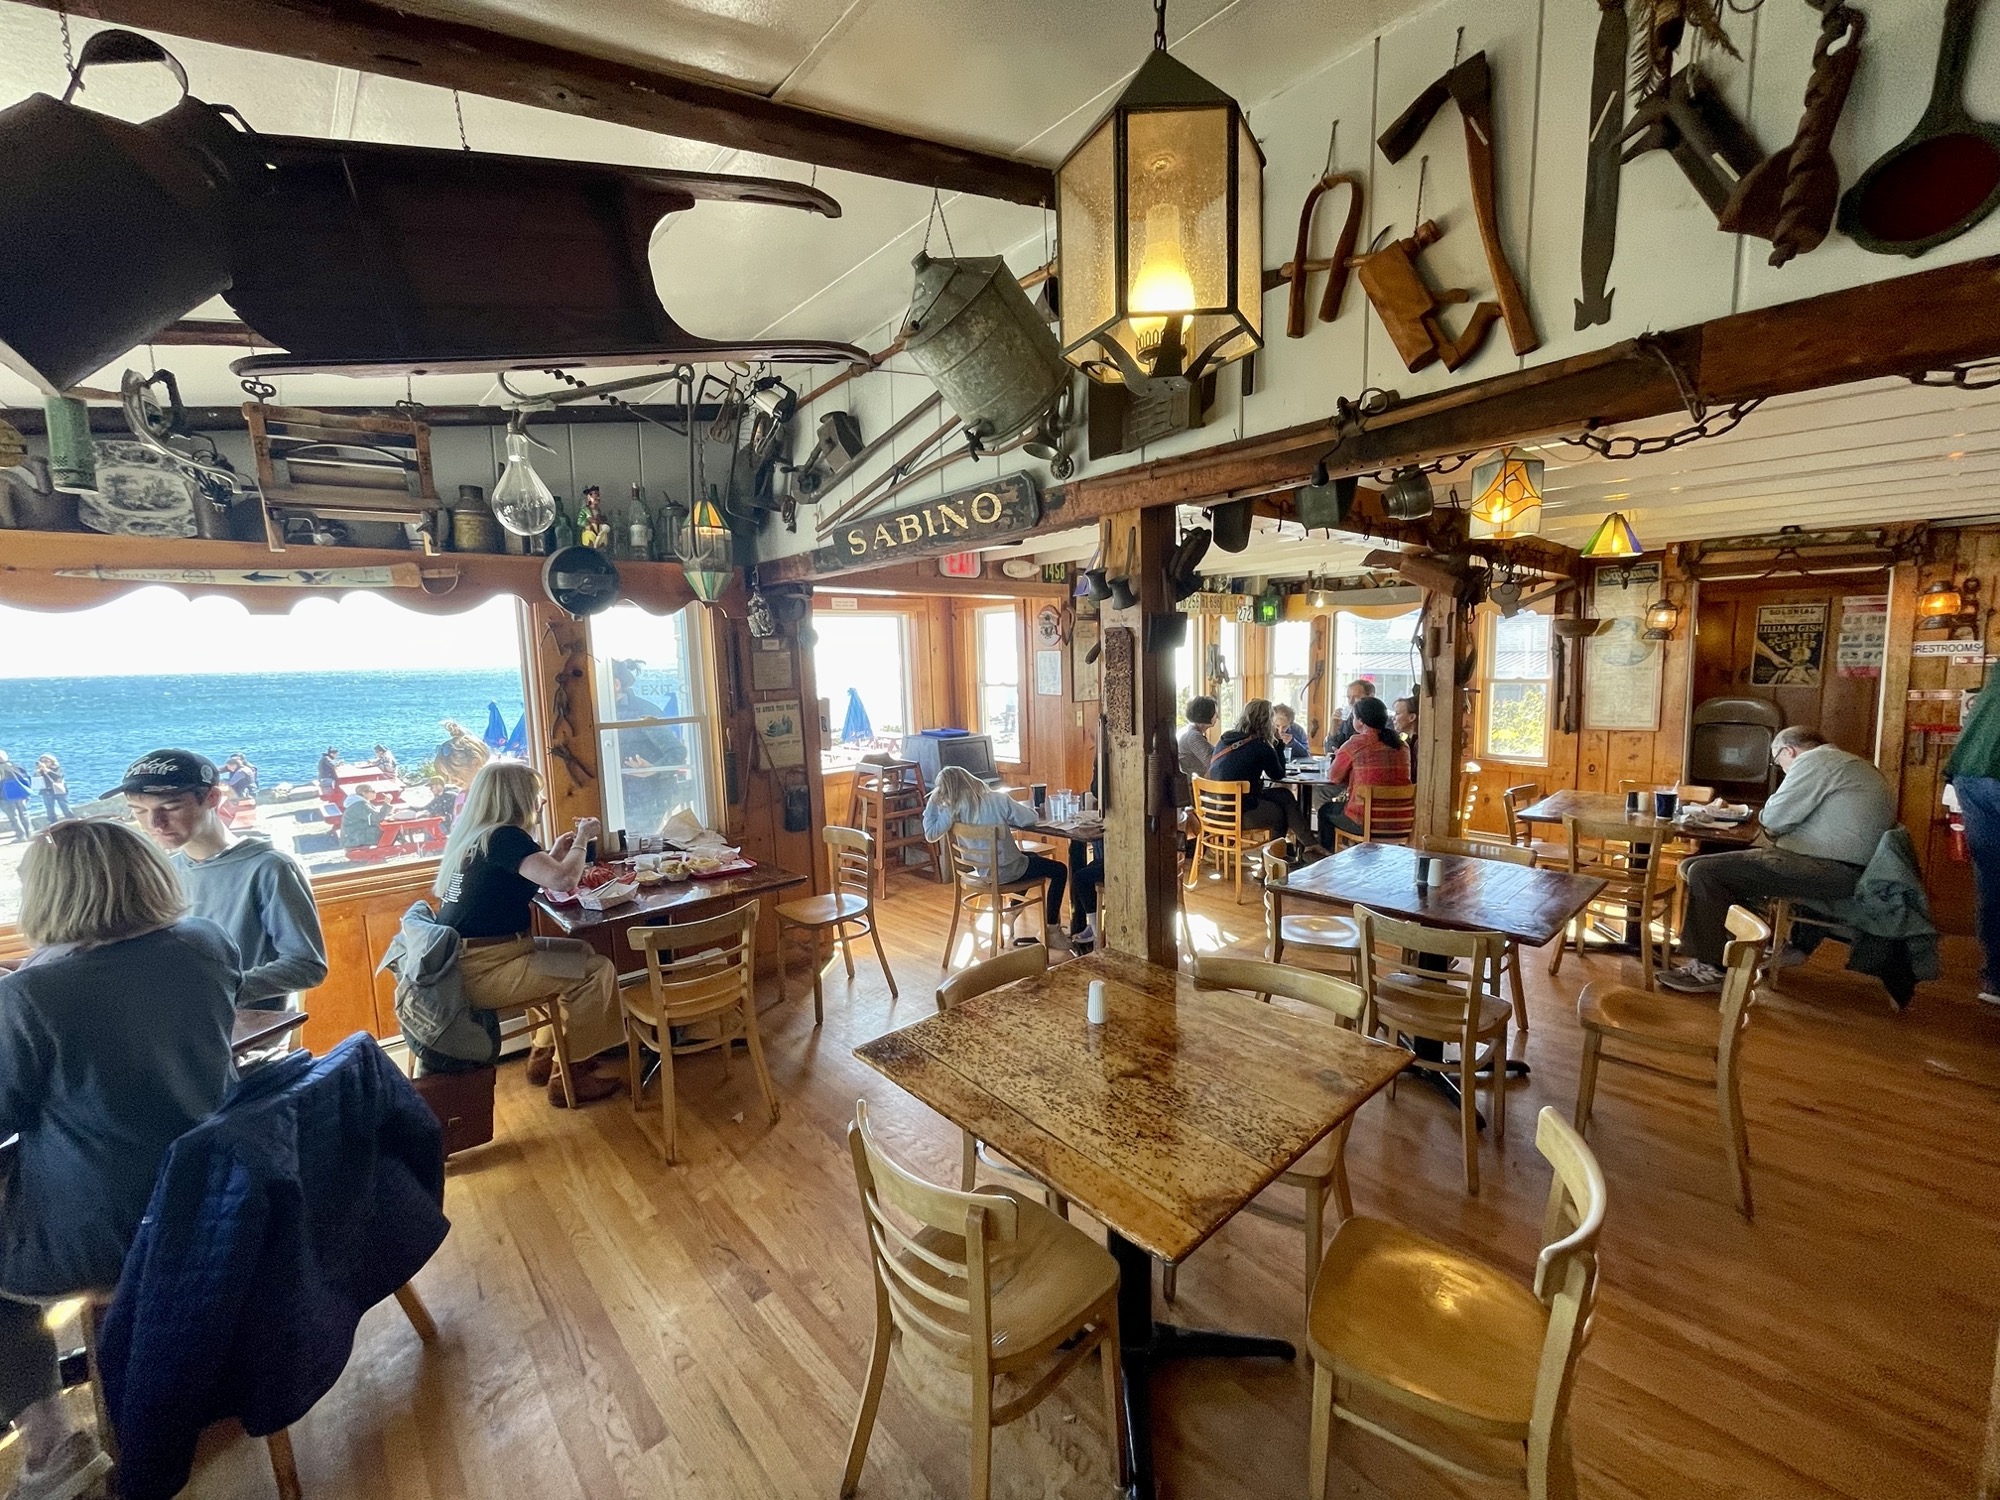
At the Southern end of Cape Elizabeth lies Two Lights State Park. This coastal park offers views of the ocean with a rocky waterfront terrain. The most popular part of the park is the Lobster Shack, which is a seafood restaurant located right beside the waters with views of the rocky beach from their abundant red picnic tables.


There’s free parking available here and plenty of seating, but it definitely gets busy. We arrived around 12:40pm and luckily we caught a gap in the lunch rush and only had 1 person in line ahead of us. By the time we finished ordering, there were at least 15 people lining up out the door.


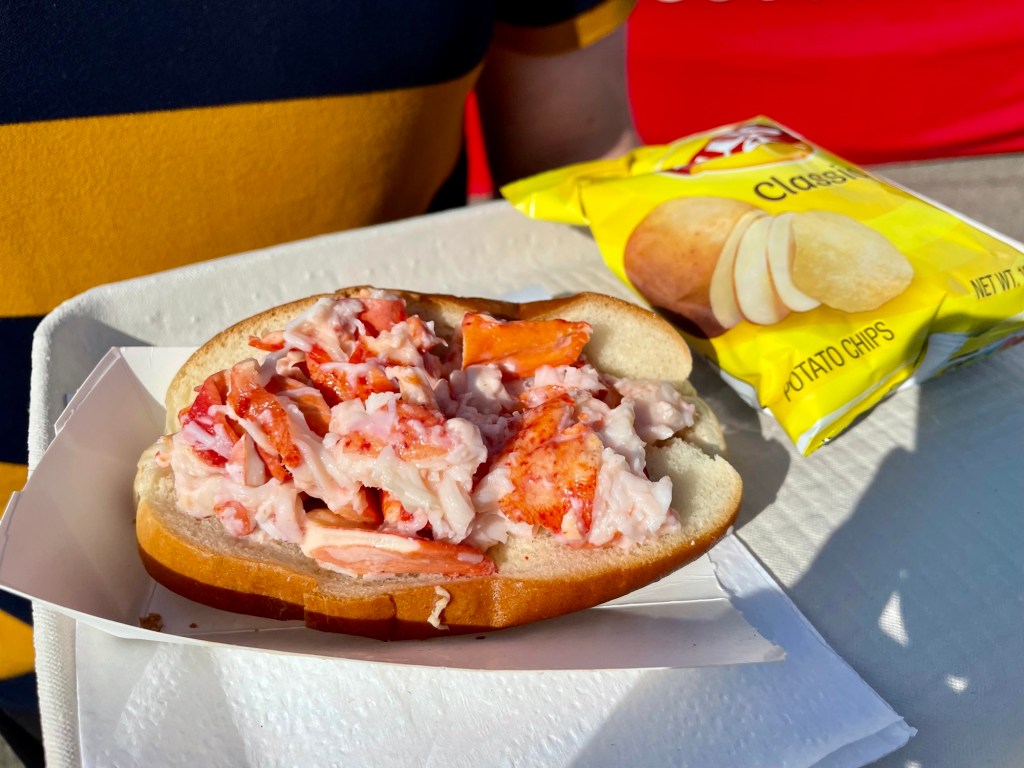
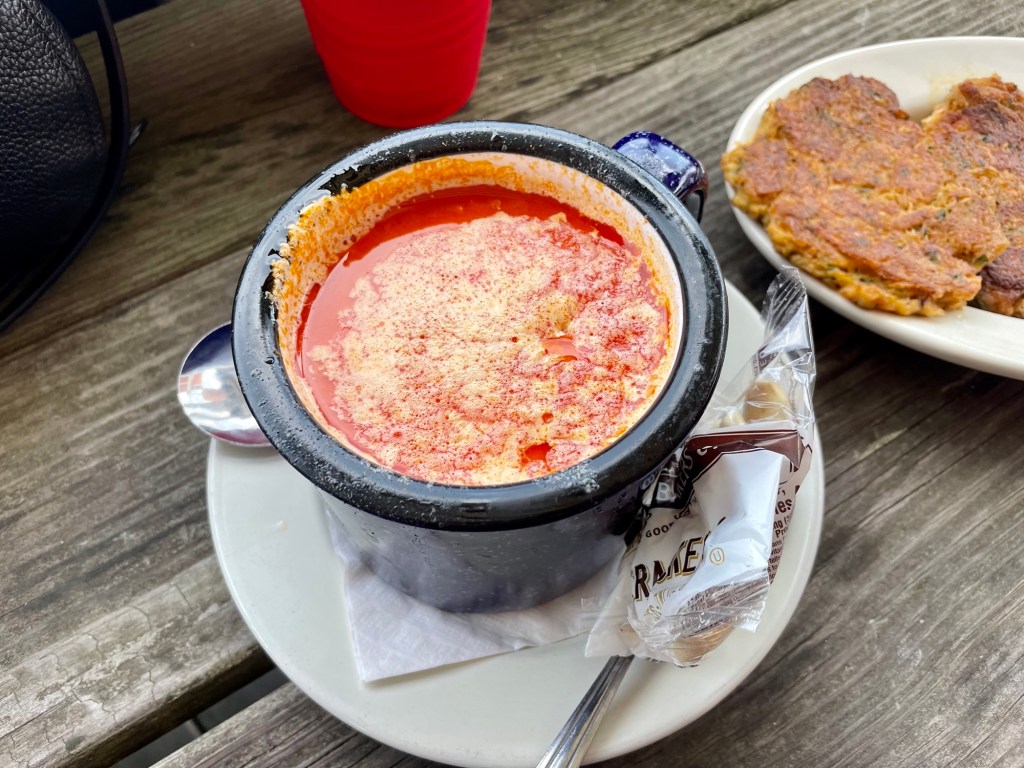
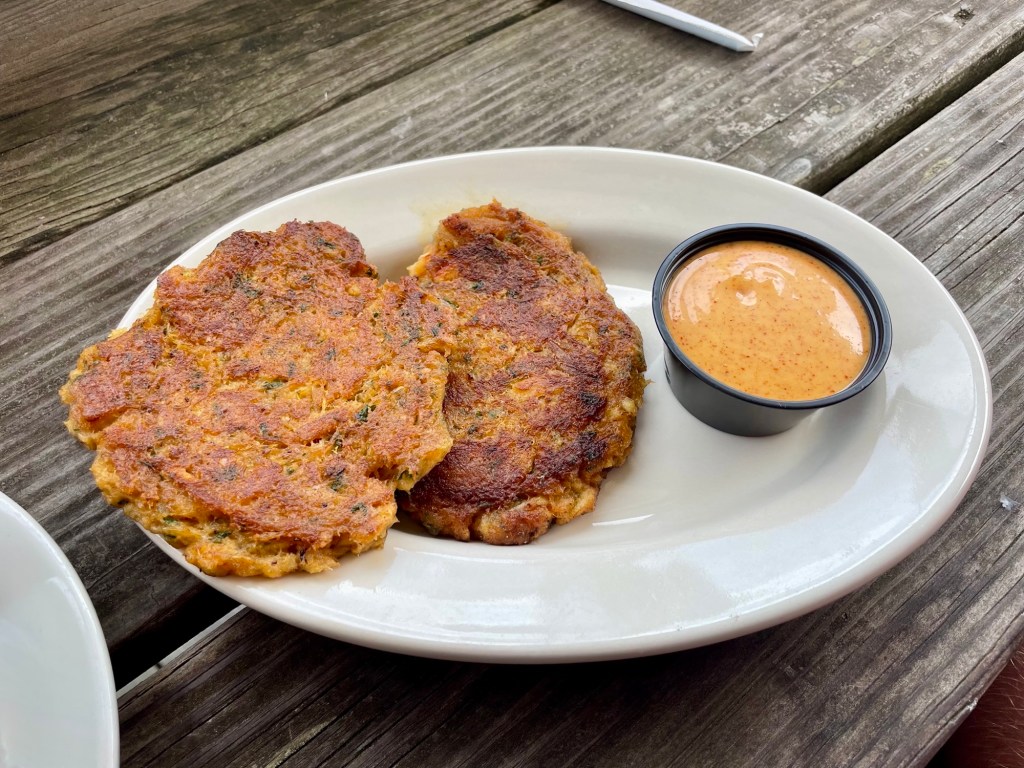
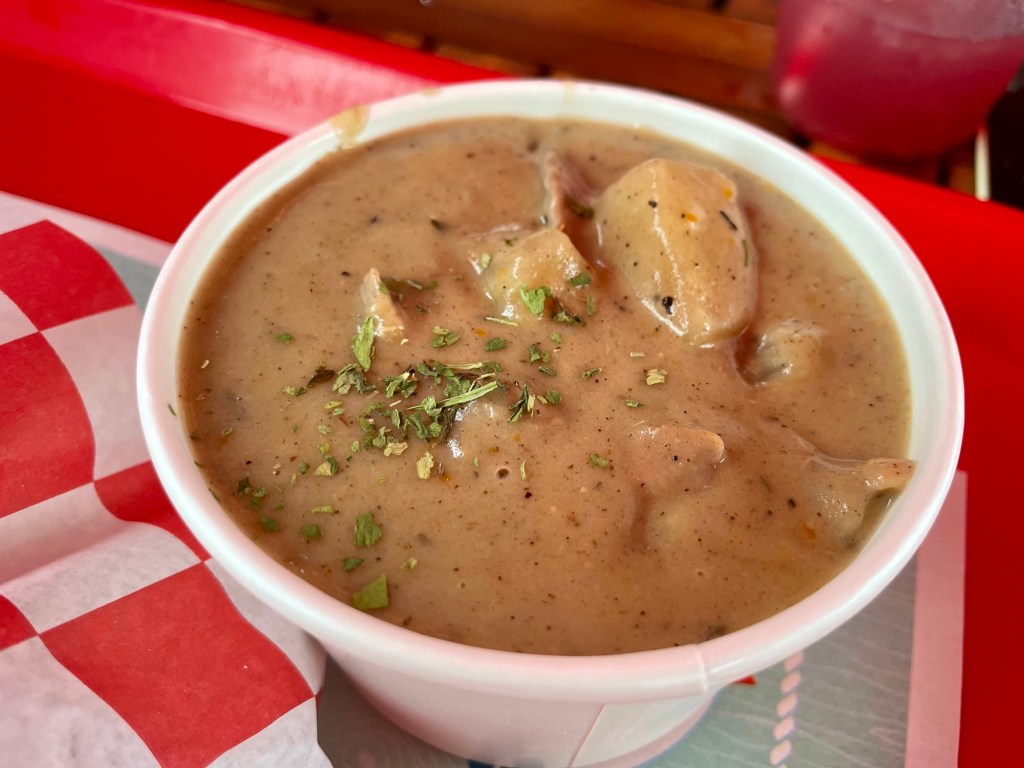
The Lobster Shack is known for their lobster roll, fried clams, and clam chowder – of course we ordered all 3. The lobster roll was fresh and generous with the lobster meat, but at the end of the day it was still just lobster and mayonnaise – good, but nothing too special from other lobster rolls. The clam chowder was average, but the fried clams were great (get the medium size, they really pack it on). It was our first time trying fried clams and we surprisingly liked it way more than we expected!


Apart from the food, the main attraction of this place is the location with a view of the beautiful calm coast right beside you. The seafood is just a bonus!


Some Final Thoughts:
- Prepare to wait in line if you want to dine at Bite Into Maine food truck.
- Start your day hungry so you have space to try out both lobster places.
- Bug light is super cute.
Need more travel recommendations for Maine? Check out these other places!

Discover Acadia National Park: Your Guide to Mount Desert Island
Acadia National Park is the “Crown Jewel” of the North Atlantic Coast providing breathtaking coastal views, mountainous hikes, scenic drives, beaches, and a town with no shortage of restaurants. This national park is a must-do in Maine!

Explore Acadia’s Jordan Pond: Most Popular Trails & Jordan Pond House Restaurant
Jordan Pond is one of the most popular places to visit in Acadia National Park due to its numerous trails, beautiful views, and the ever so popular ‘pop overs’ served at the Jordan Pond House Restaurant. This is a complete guide to the most popular trails with tips on dining at the restaurant.

Hiking Acadia’s Beehive Trail: A Complete Overview
The Beehive Trail in Acadia National Park is one of the most popular hiking trails known for its stunning panoramic views and challenging vertical climbs. This guide has all the information you need to tackle this trail.

Exploring Cape Elizabeth: Iconic Lighthouses and Lobster Rolls
Cape Elizabeth, Maine, is a serene coastal town featuring iconic lighthouses, including the famous Portland Head Light and the nearby smaller Bug Light. Visitors can explore both lighthouses and enjoy renowned lobster rolls at local spots like Bite Into Maine and the Lobster Shack at Two Lights, all in half a day.

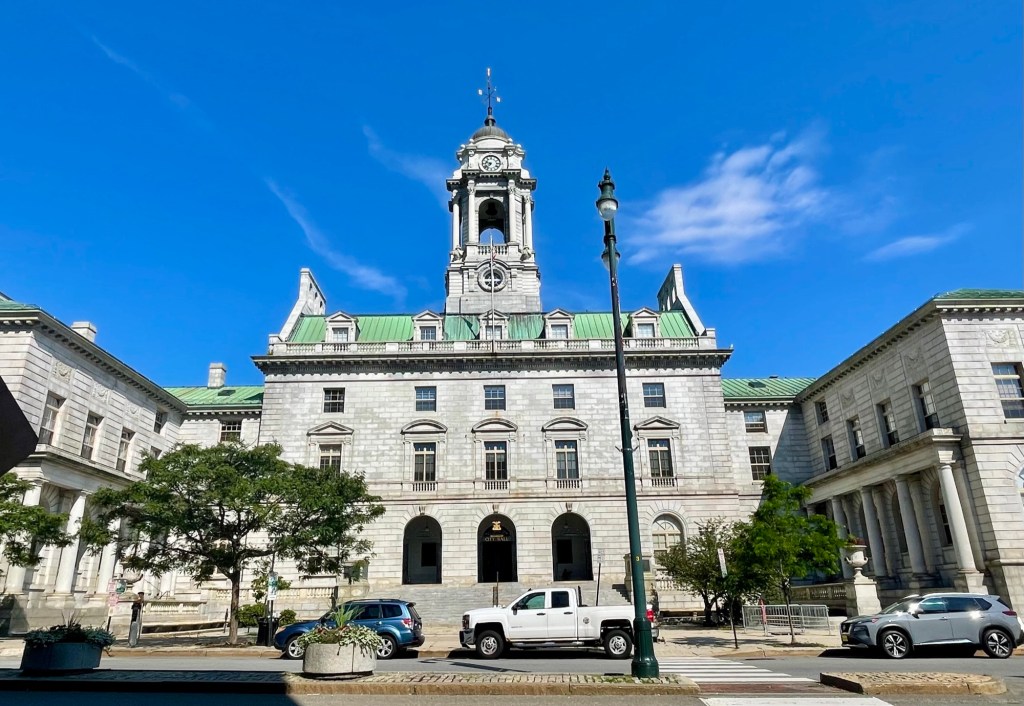
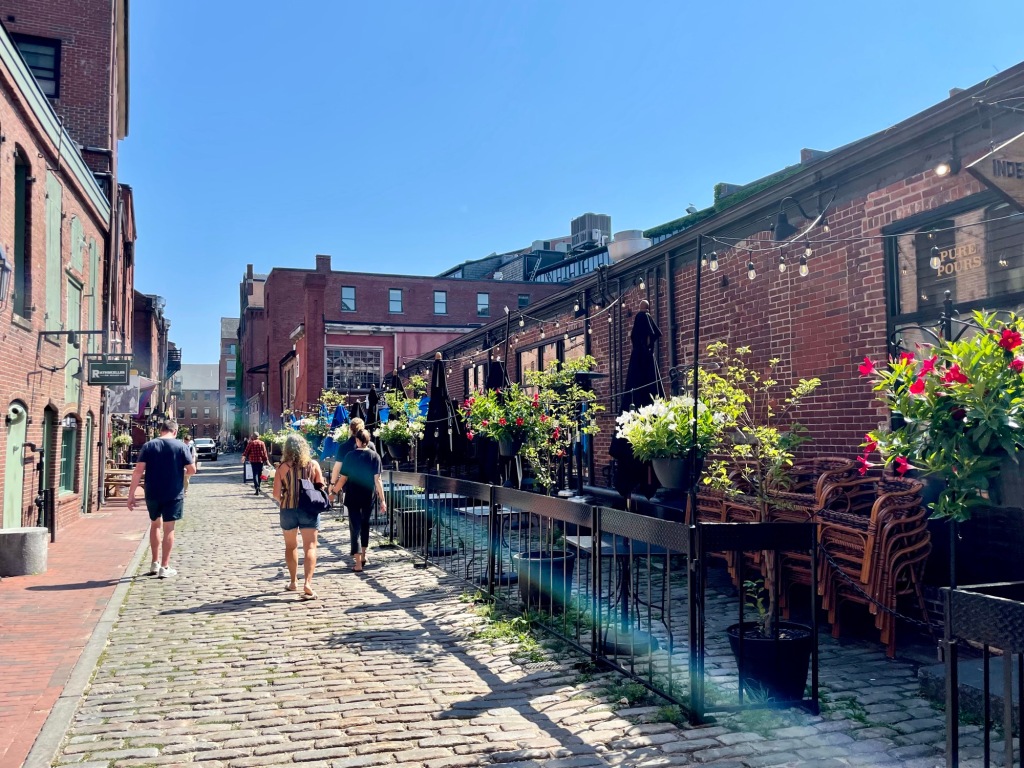
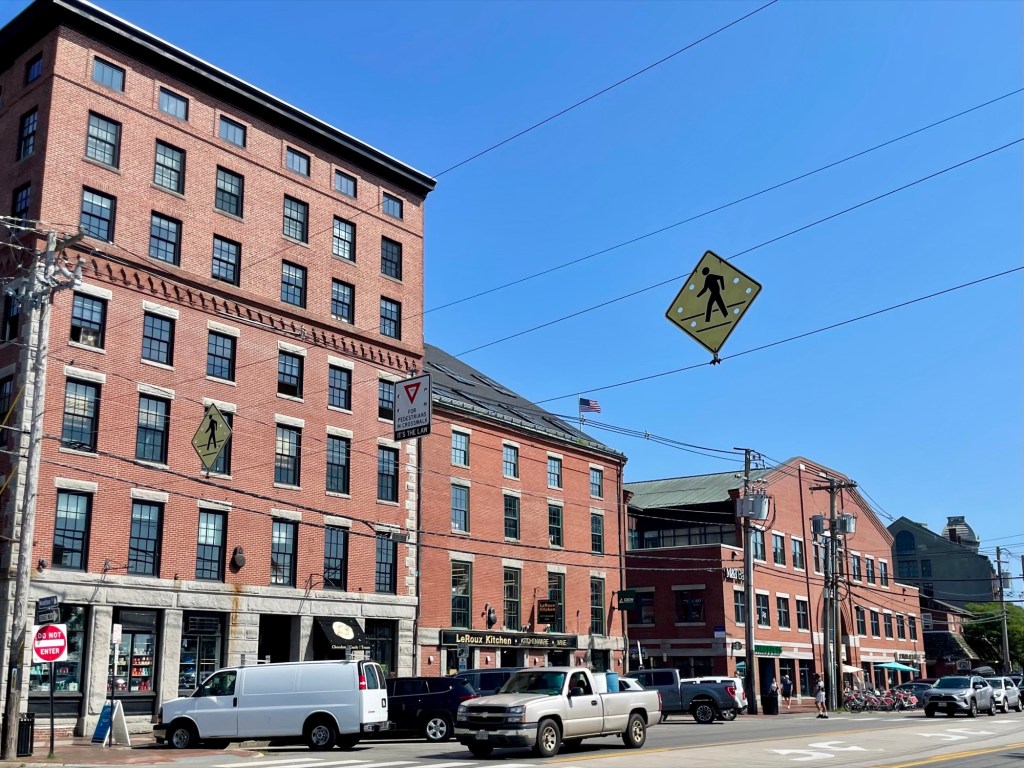
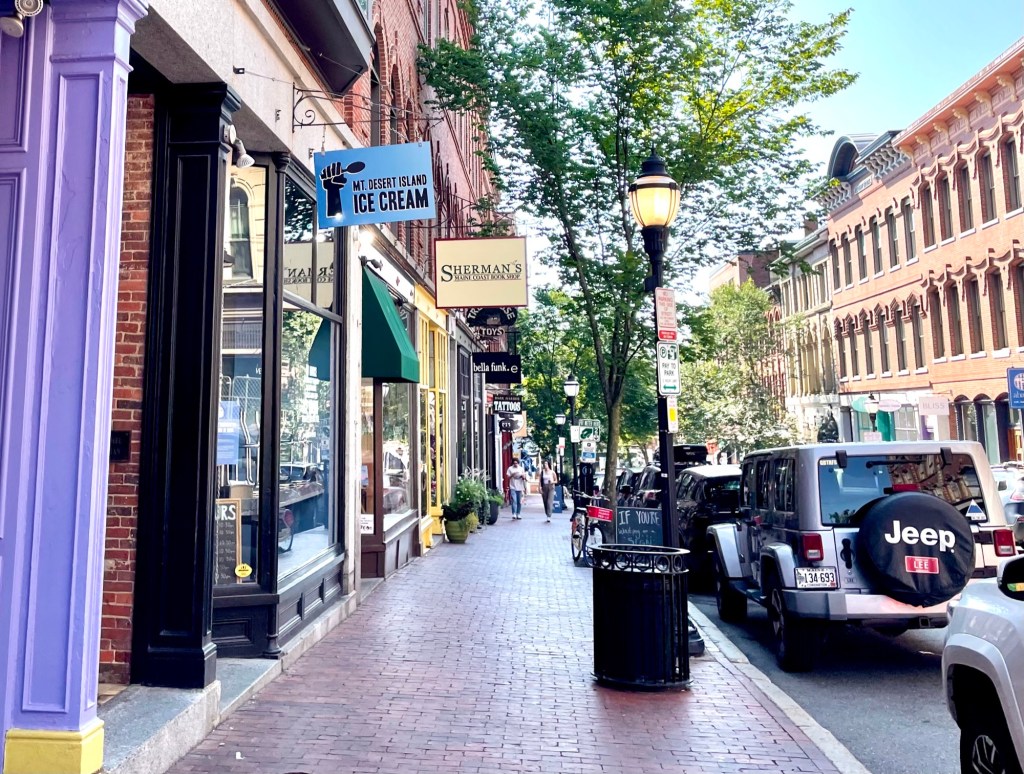
Top Things to Do in Portland, Maine: Eat, Shop, Explore
Portland, Maine, is a charming coastal city known for its vibrant shops and seafood, particularly lobster rolls. Visitors can enjoy its historic streets, numerous dining options, and attractions, including the iconic Portland Head Light. A few hours is sufficient for a quick visit, but extending to a few days allows for deeper exploration.

Mount Battie and Megunticook: Your Camden Hiking Guide
Camden Hills State Park sits just outside the small coastal town of Camden, Maine. This park has a number of hiking trails with the most popular ones being Mount Battie and Mount Megunticook. Both of these trails offer panoramic views of the ocean coast and sweeping colourful fall foliage trees below. If you’re driving through the…

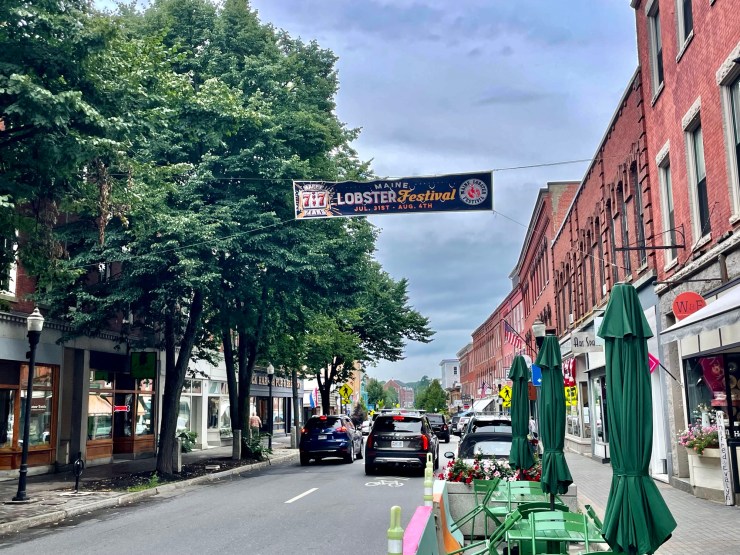
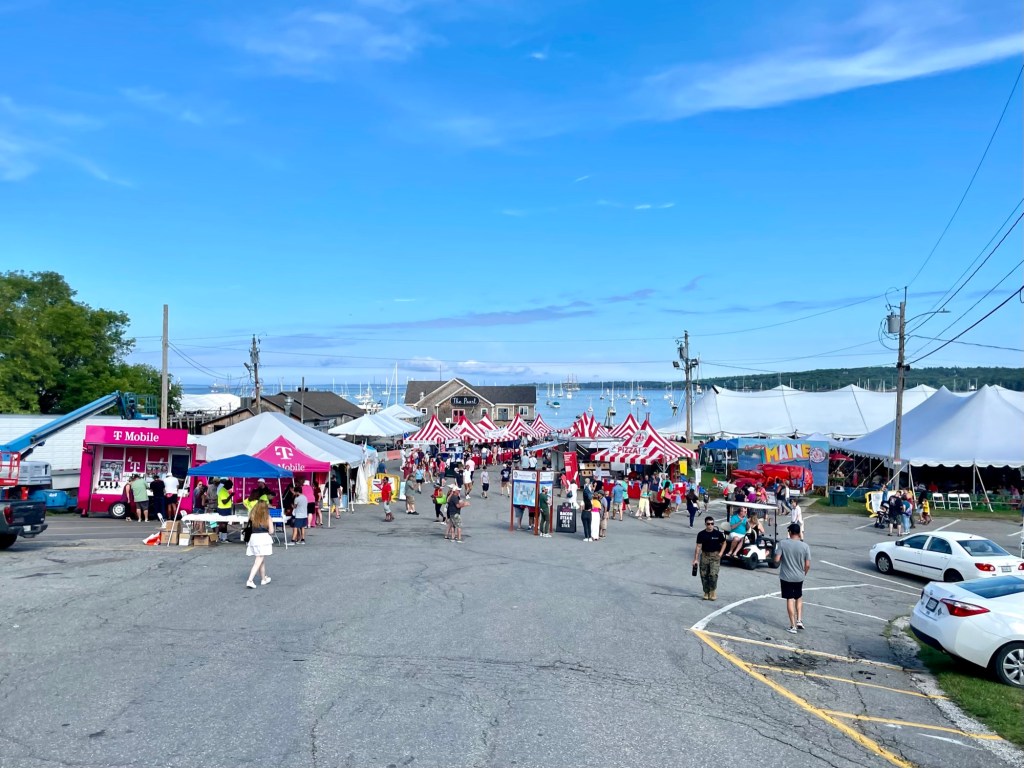
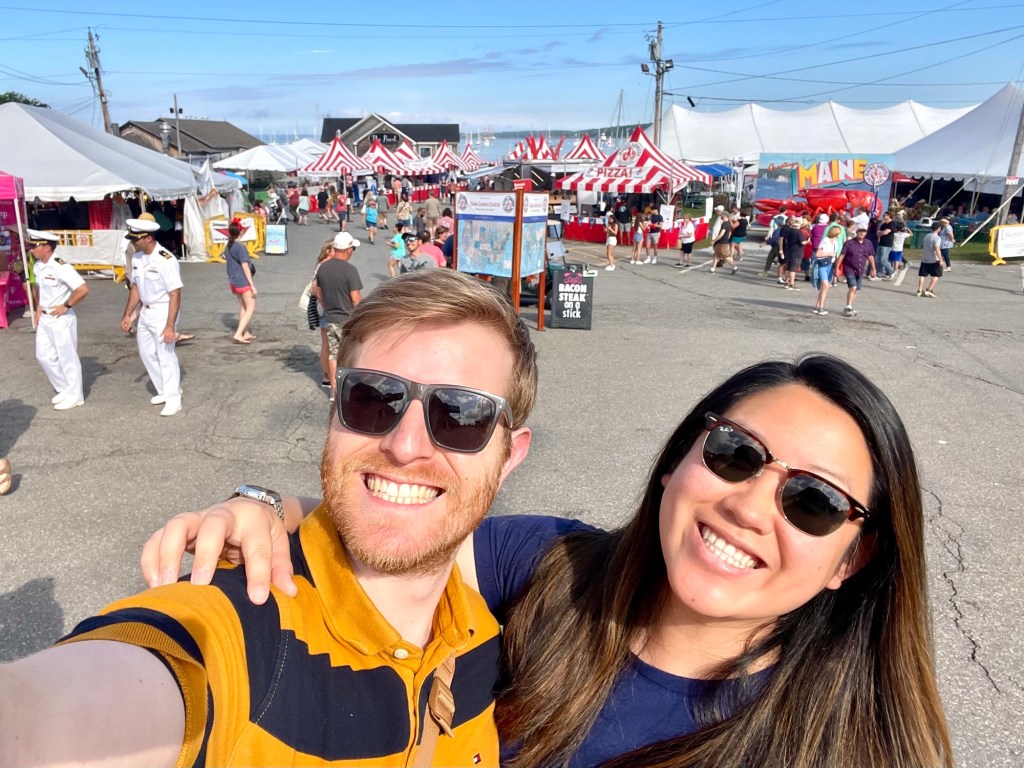
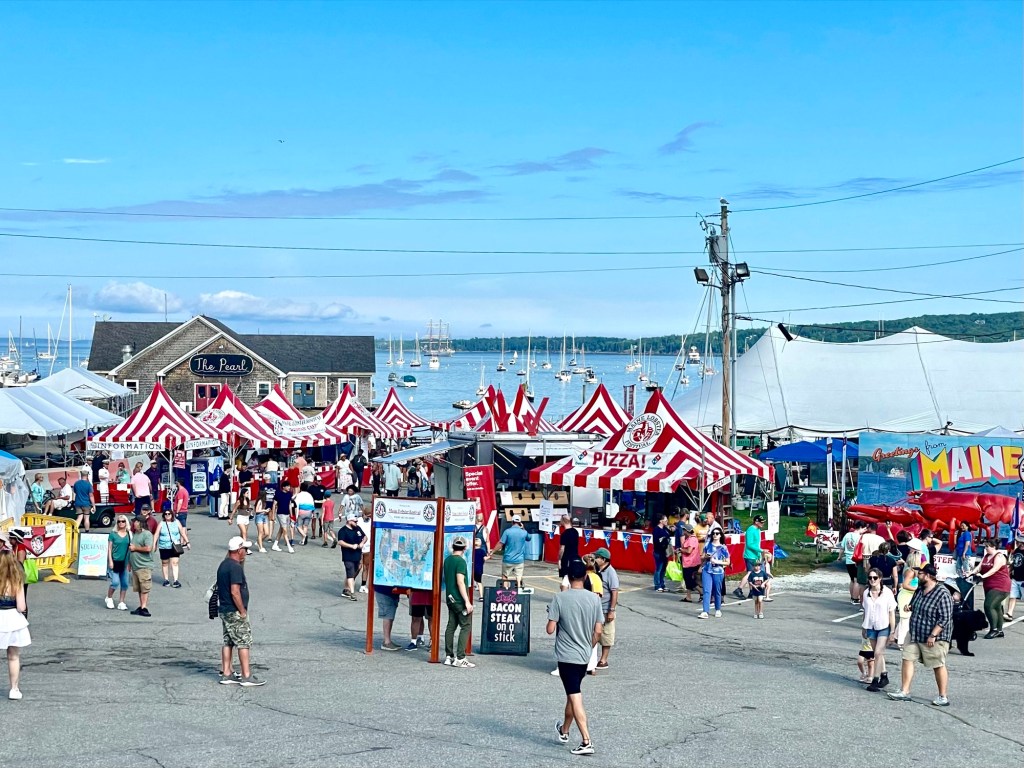
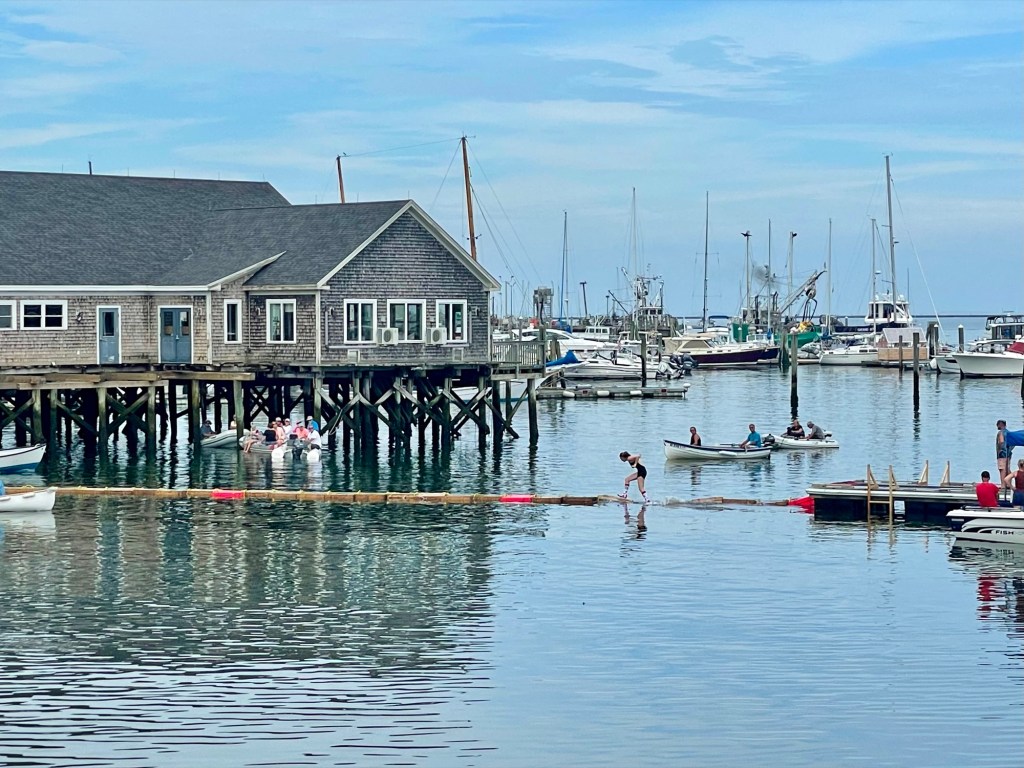
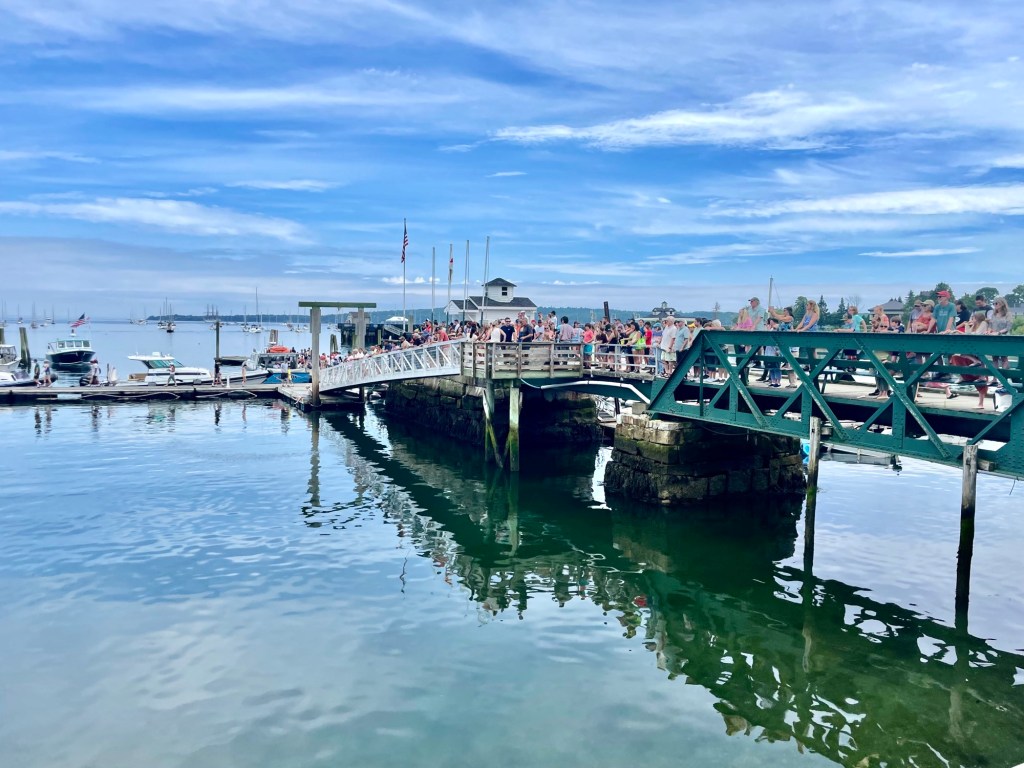
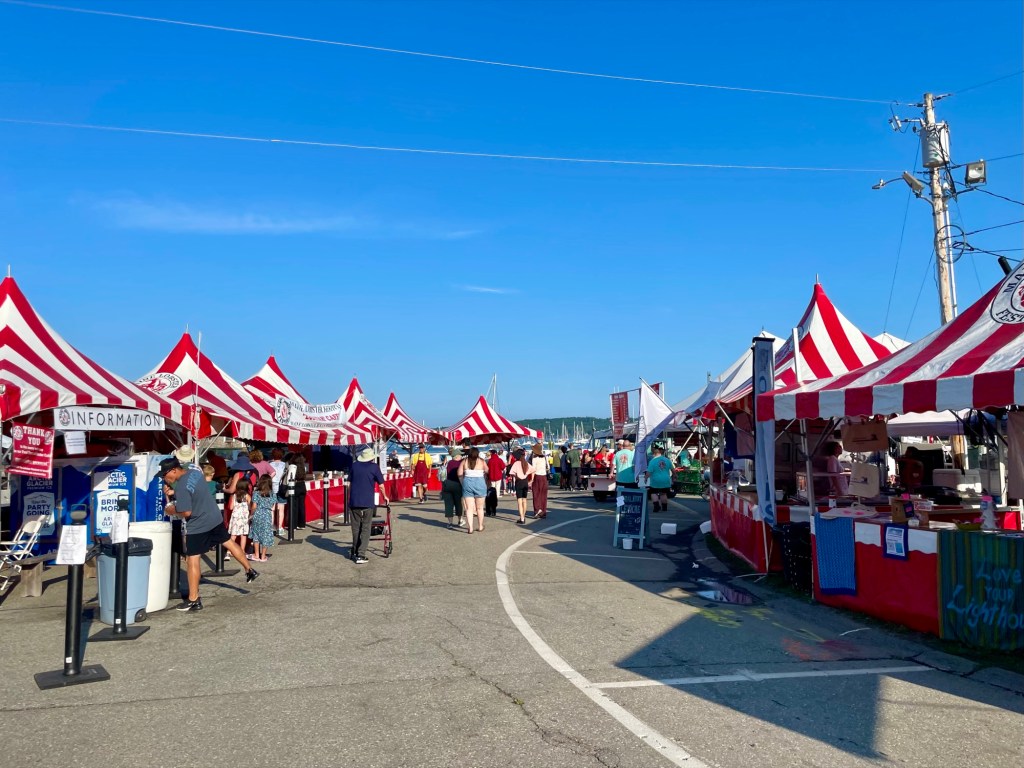
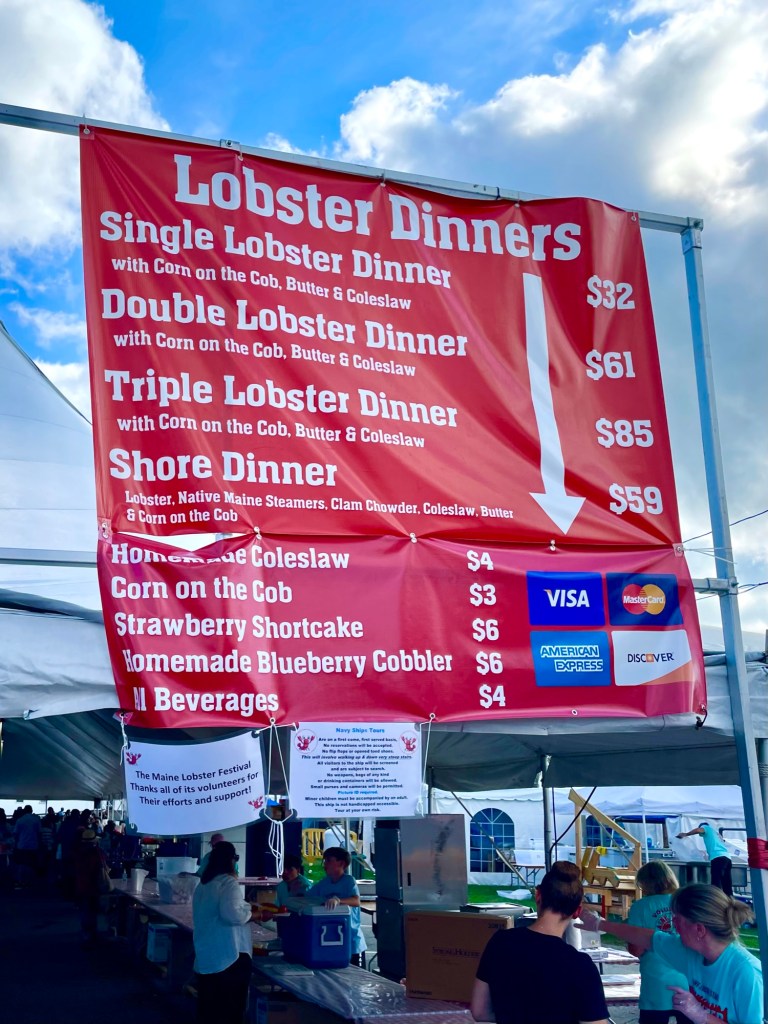
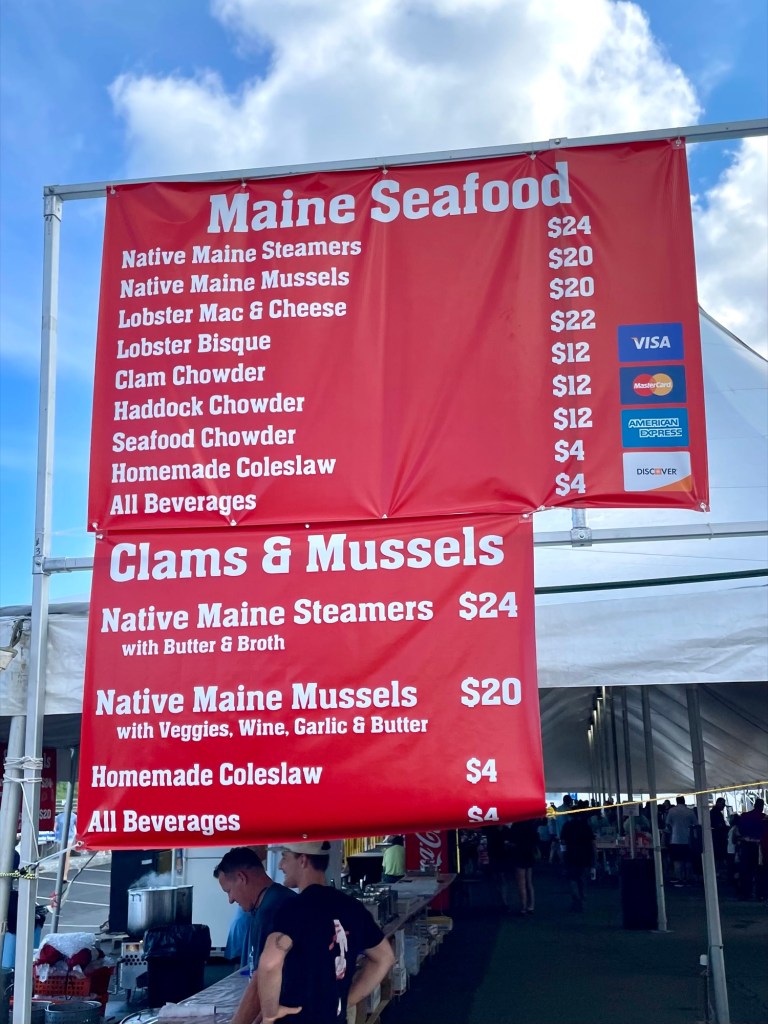
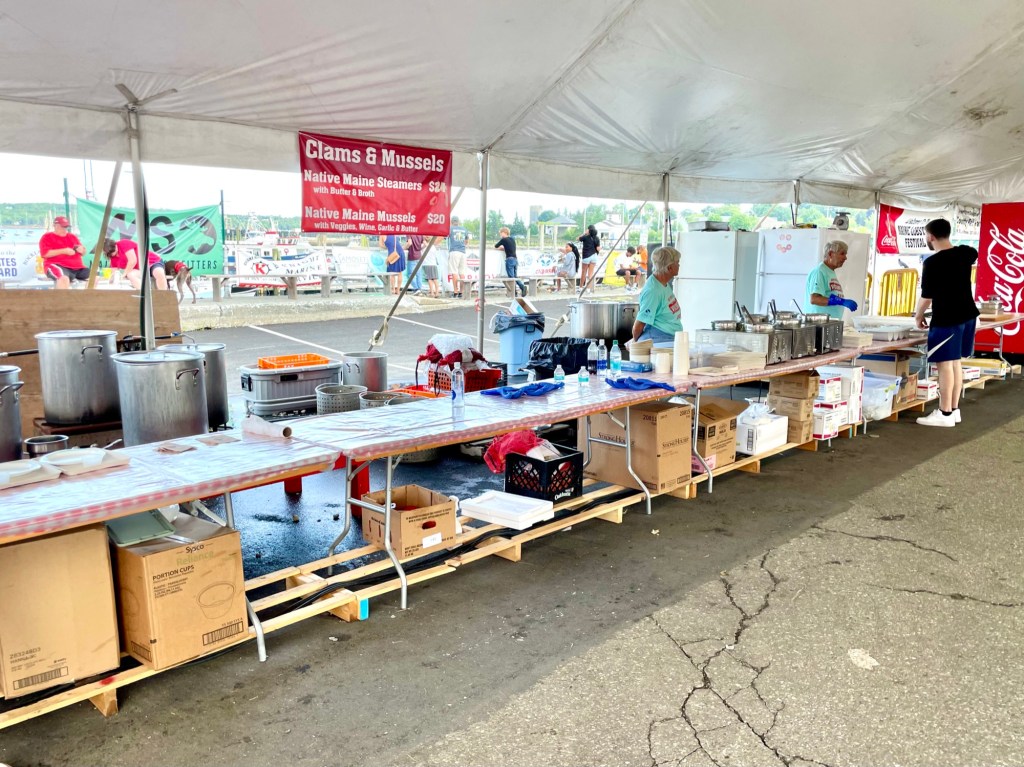
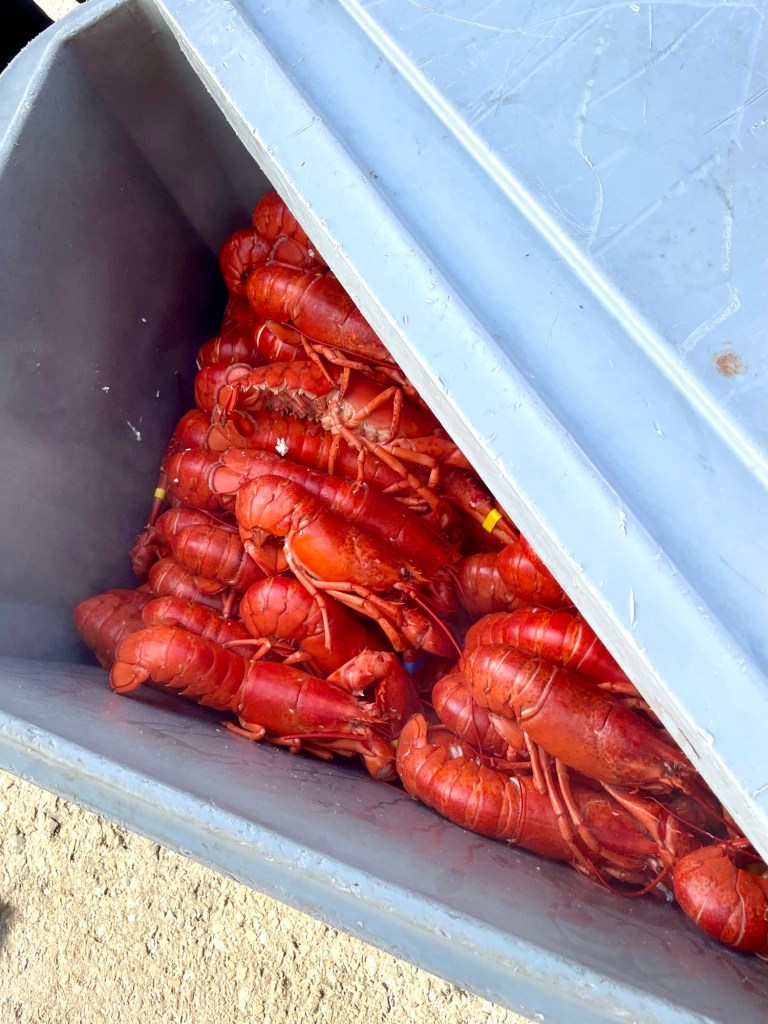
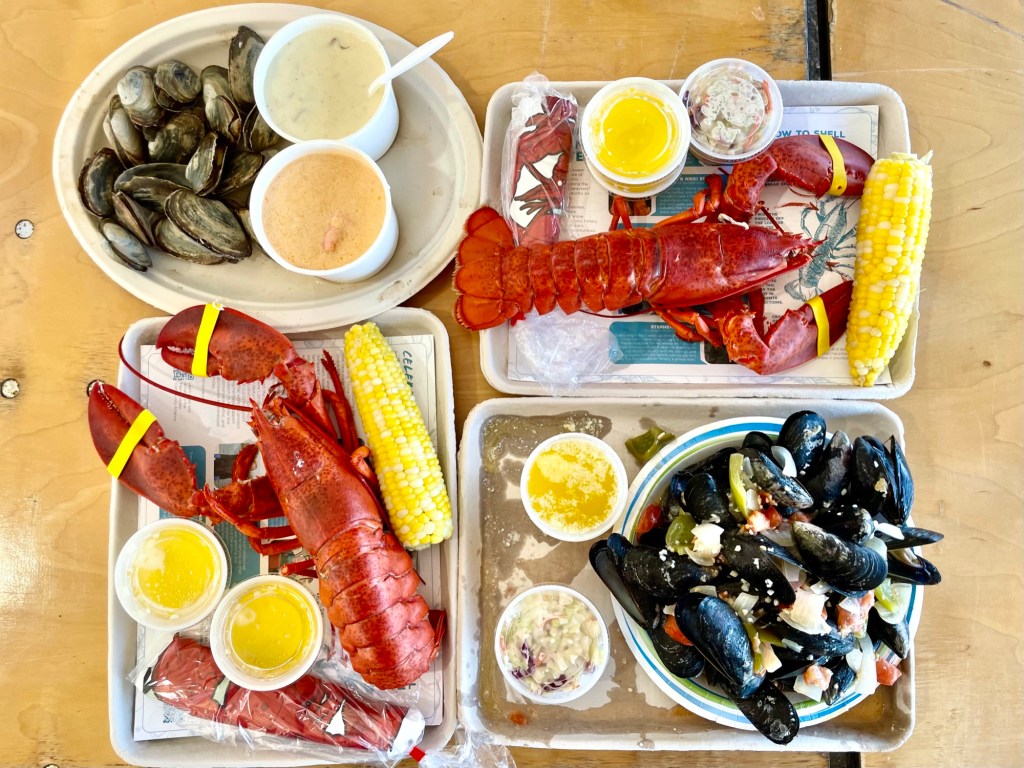
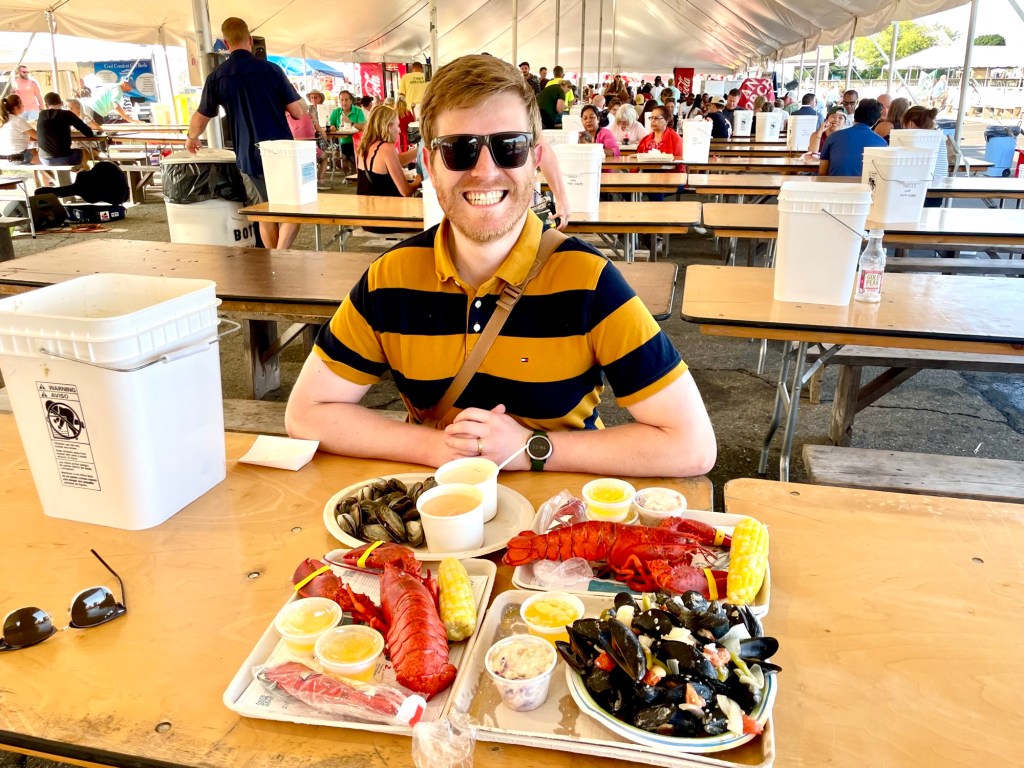
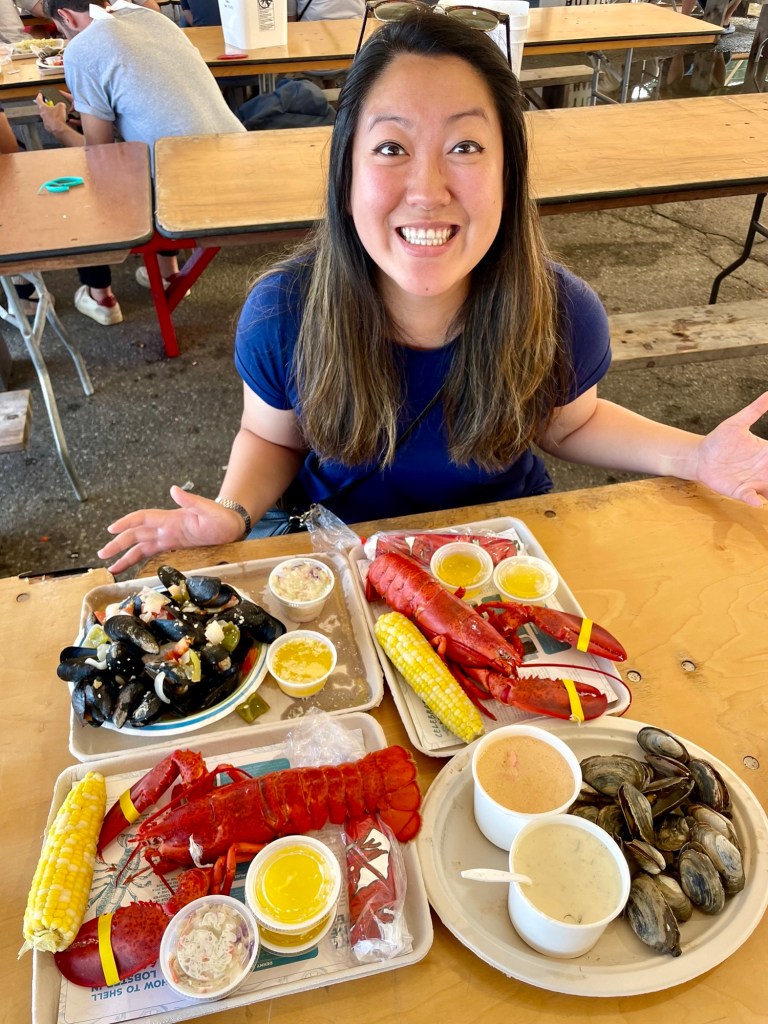
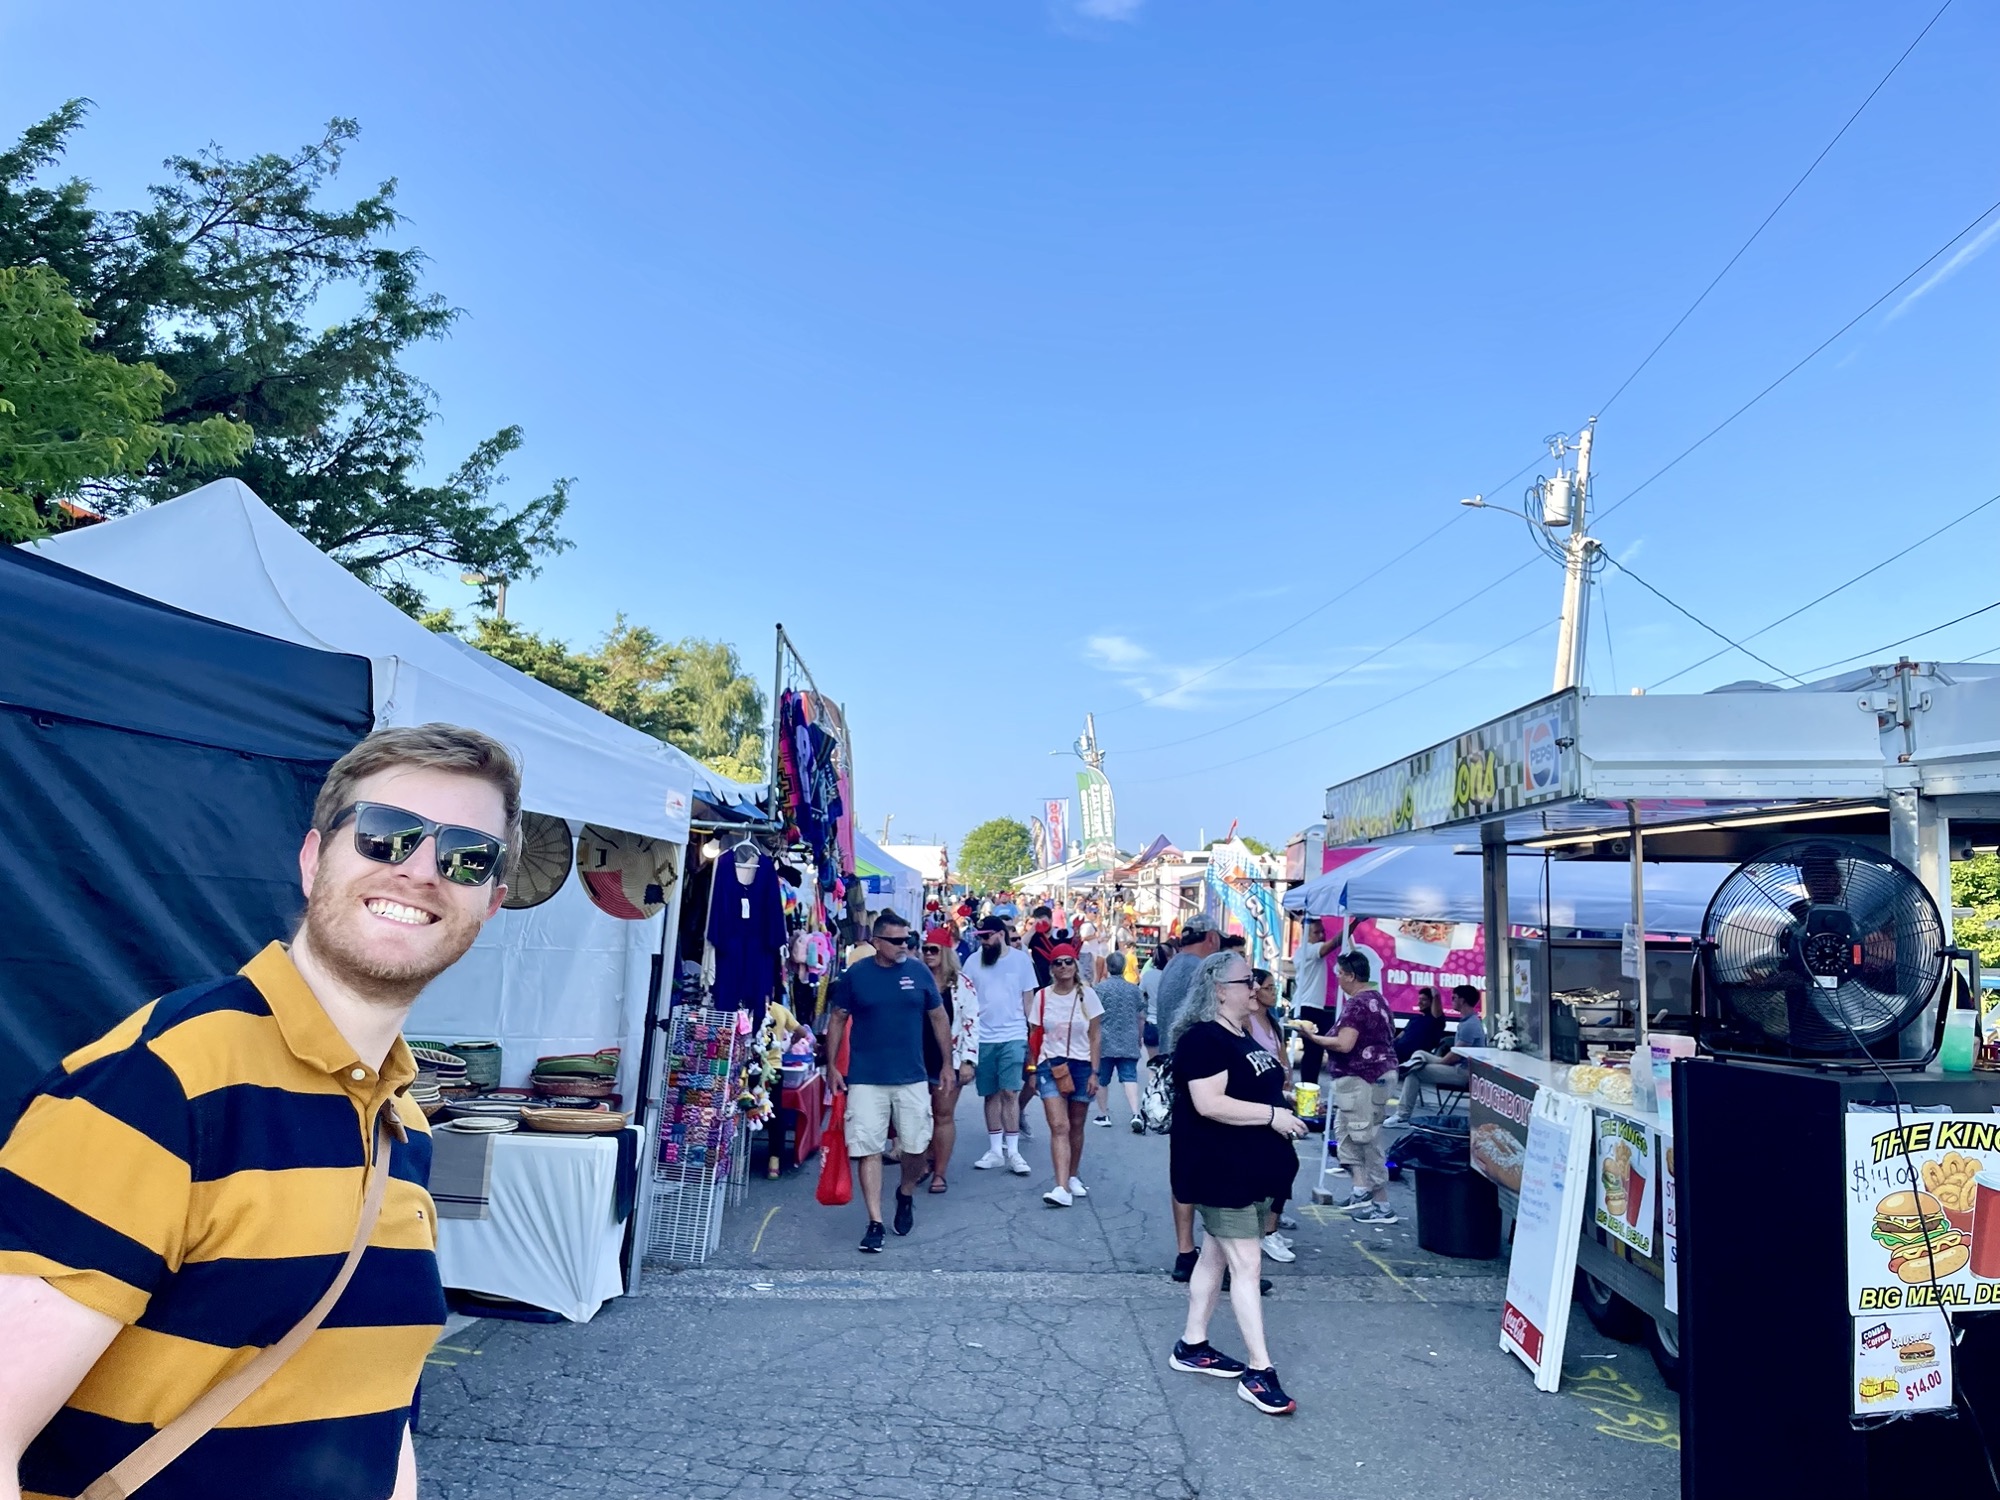
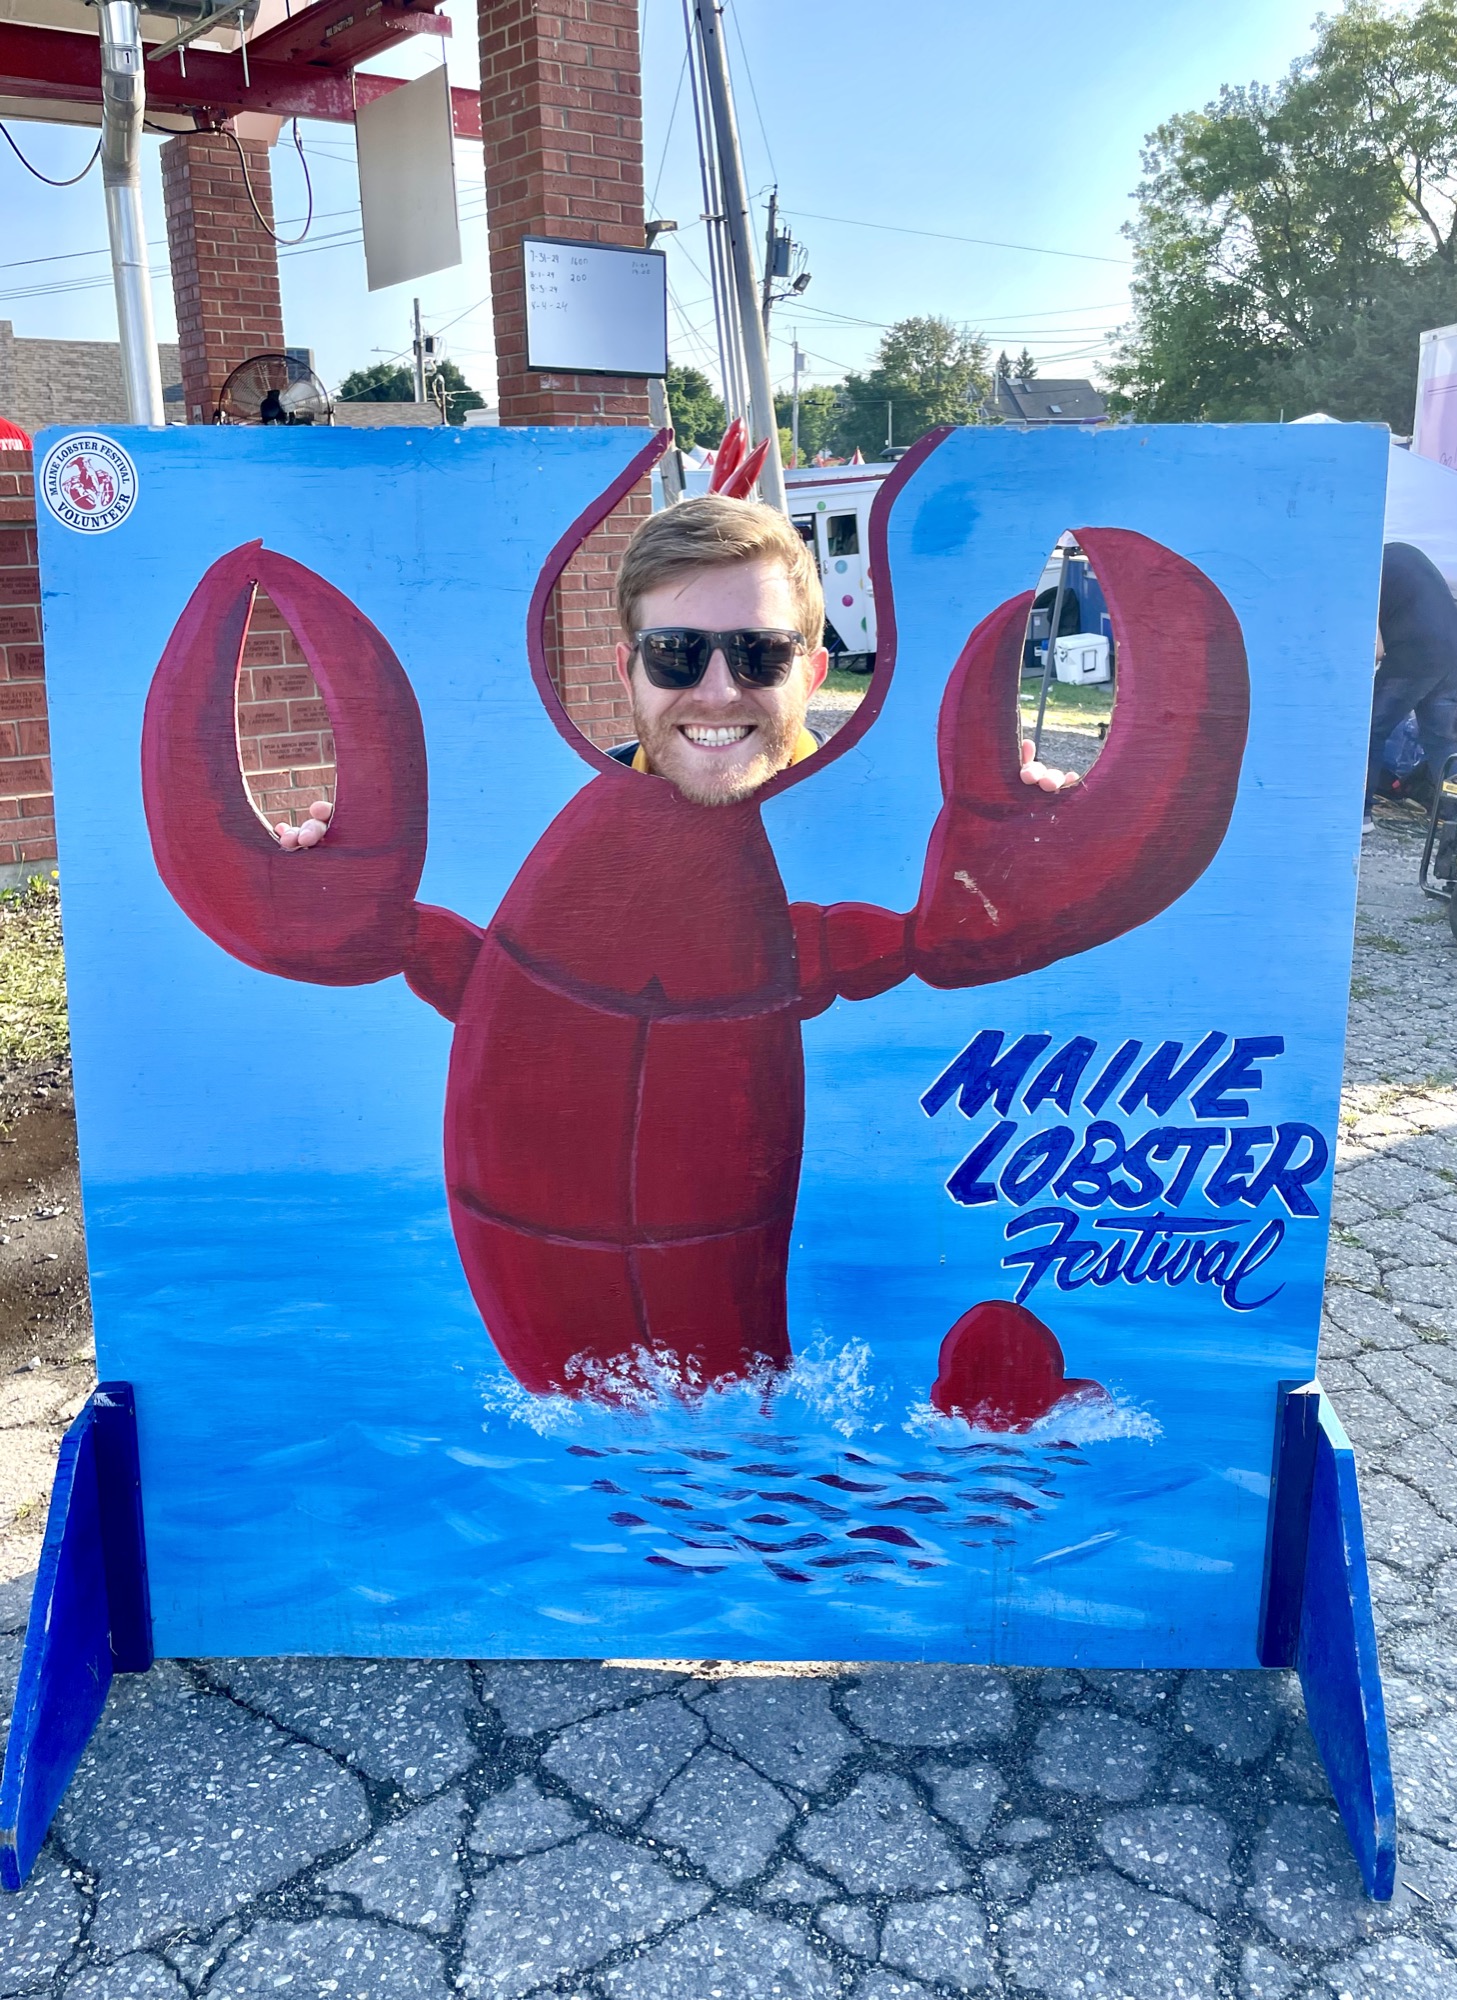
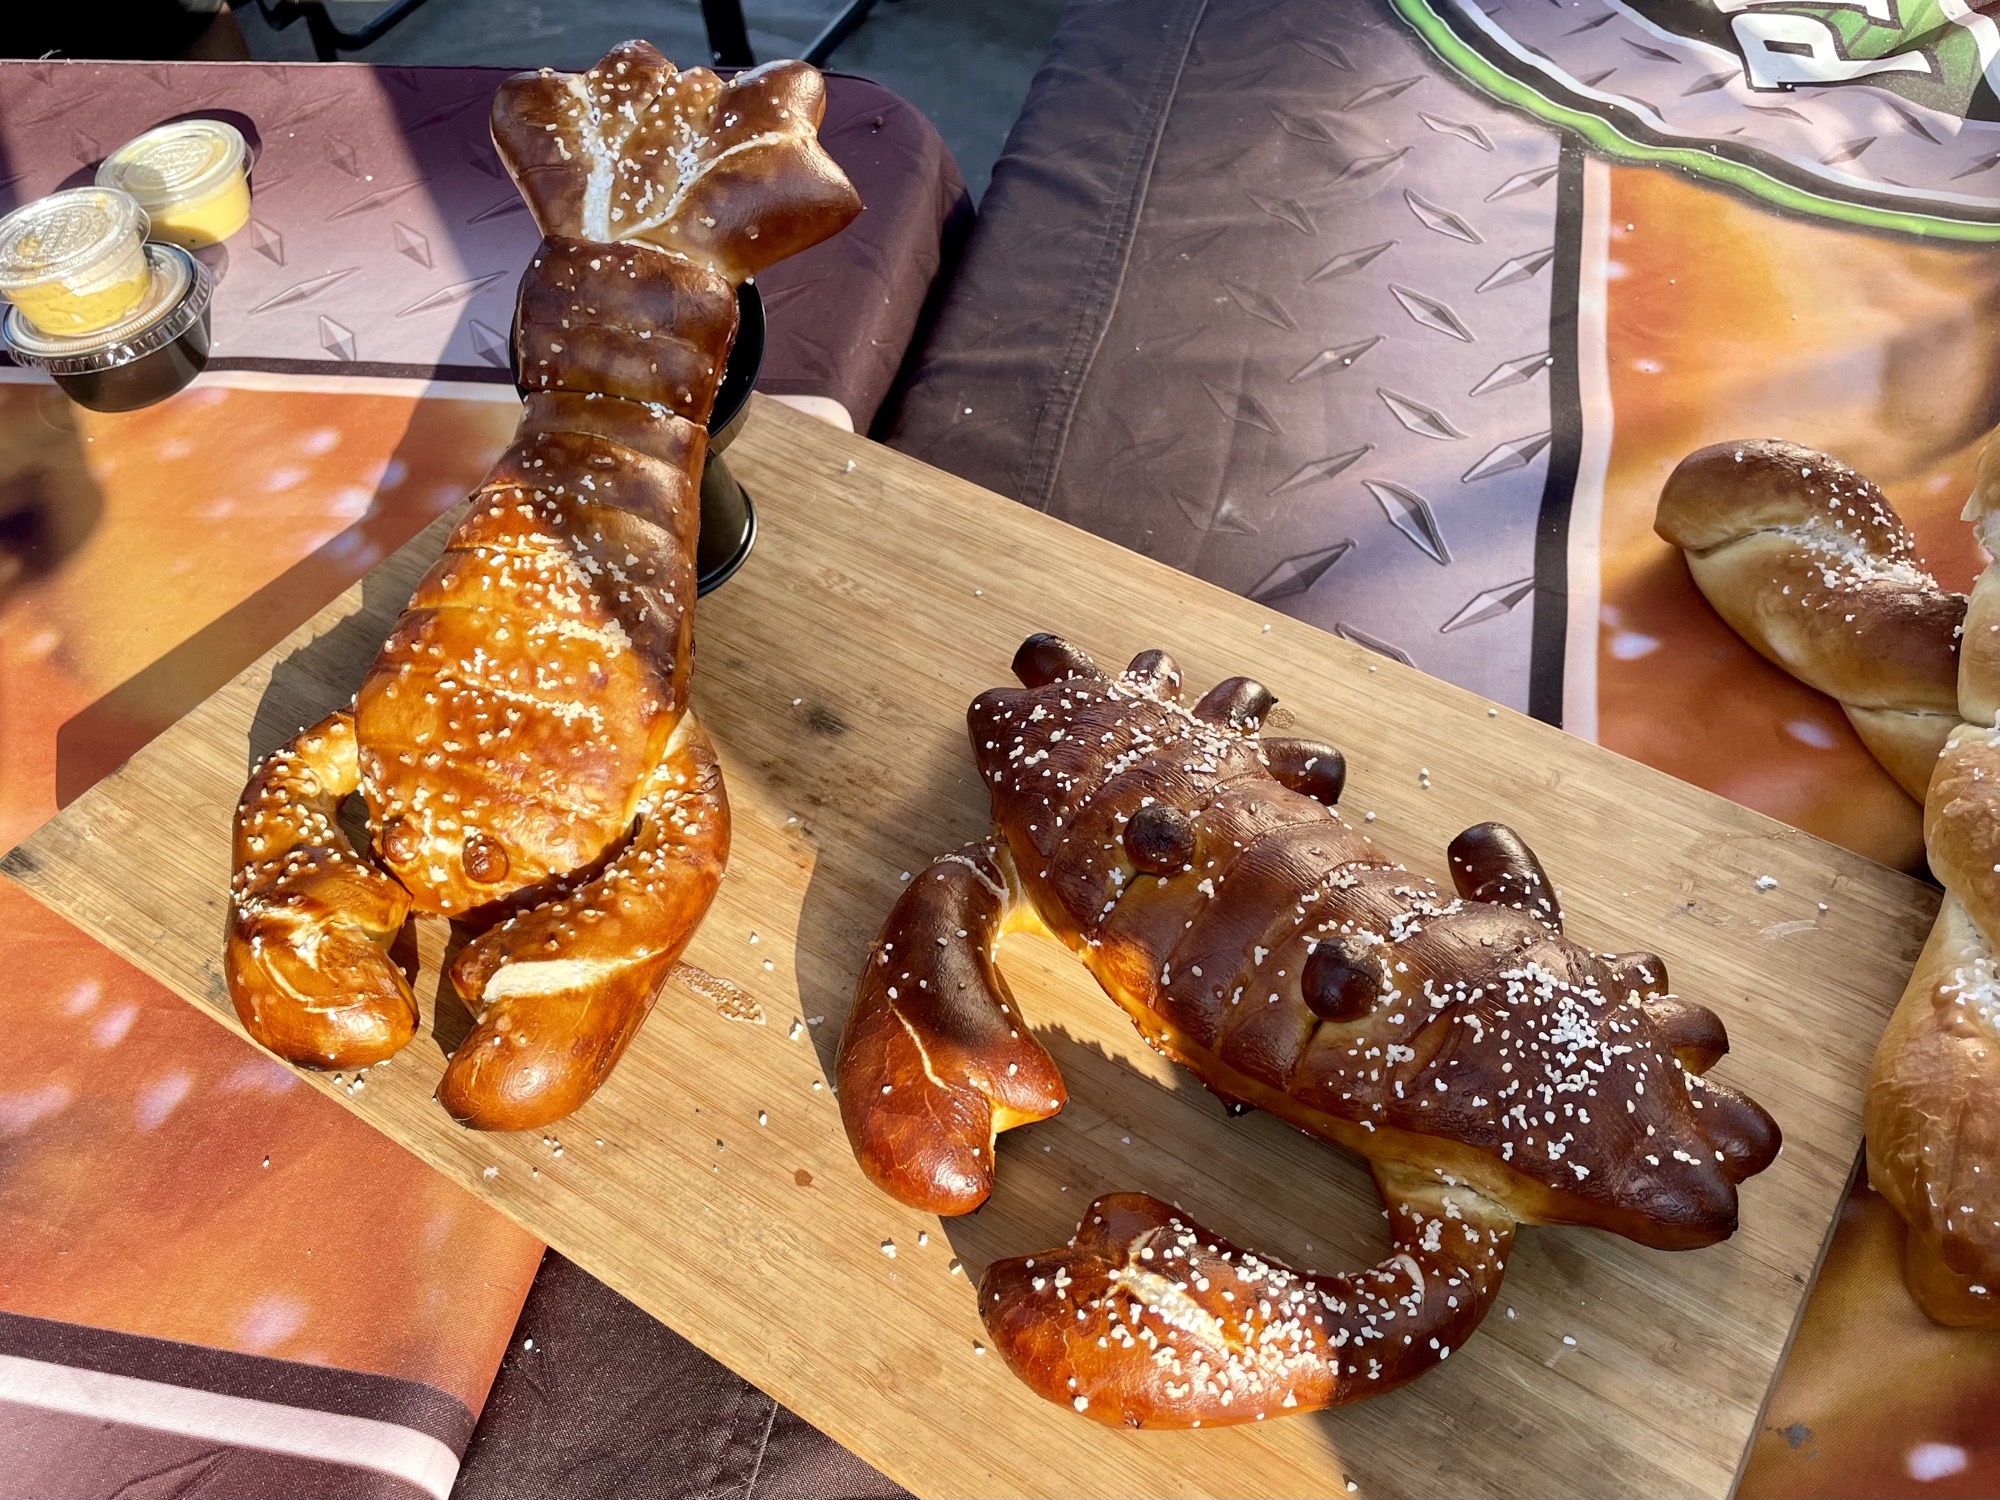
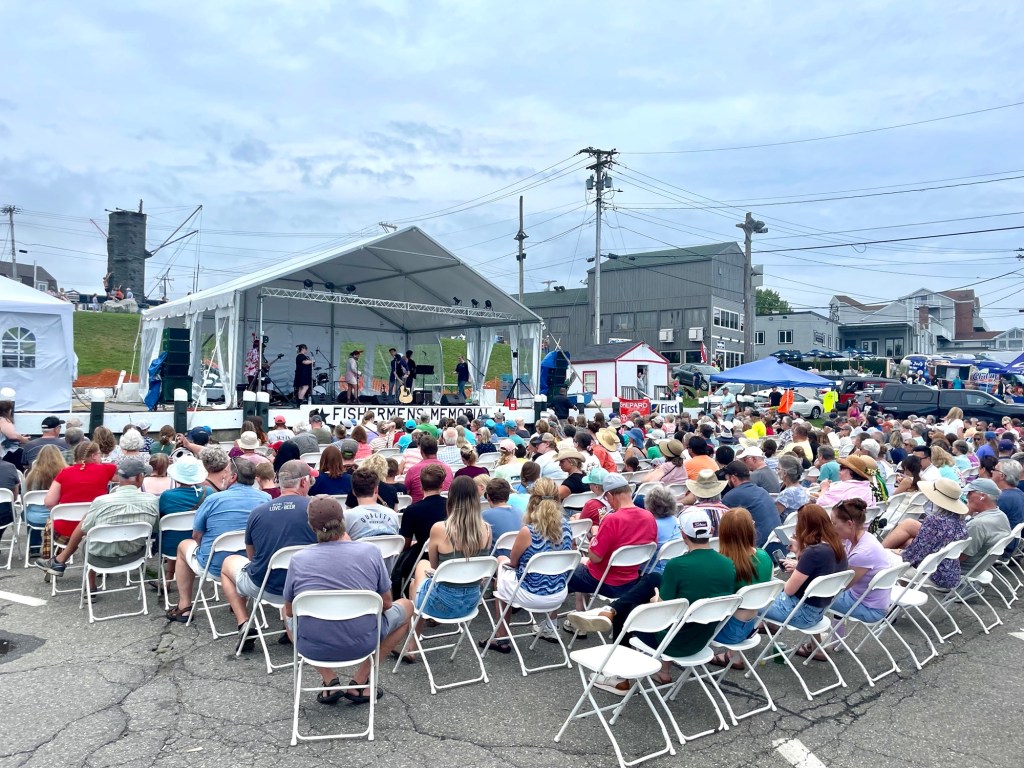
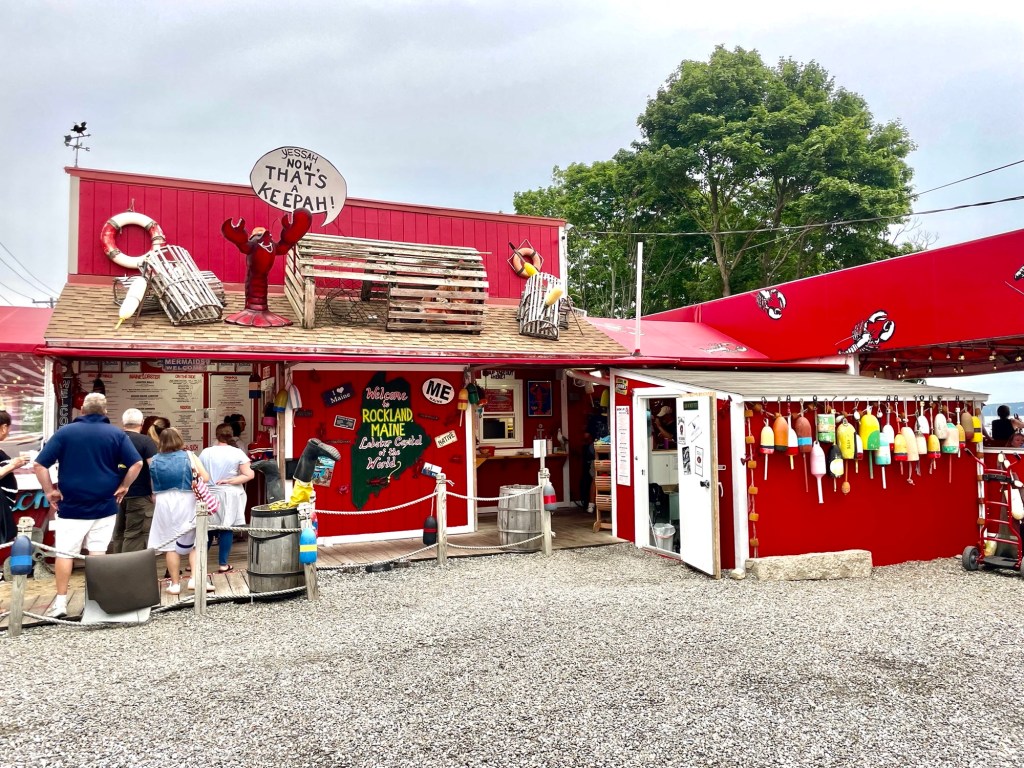
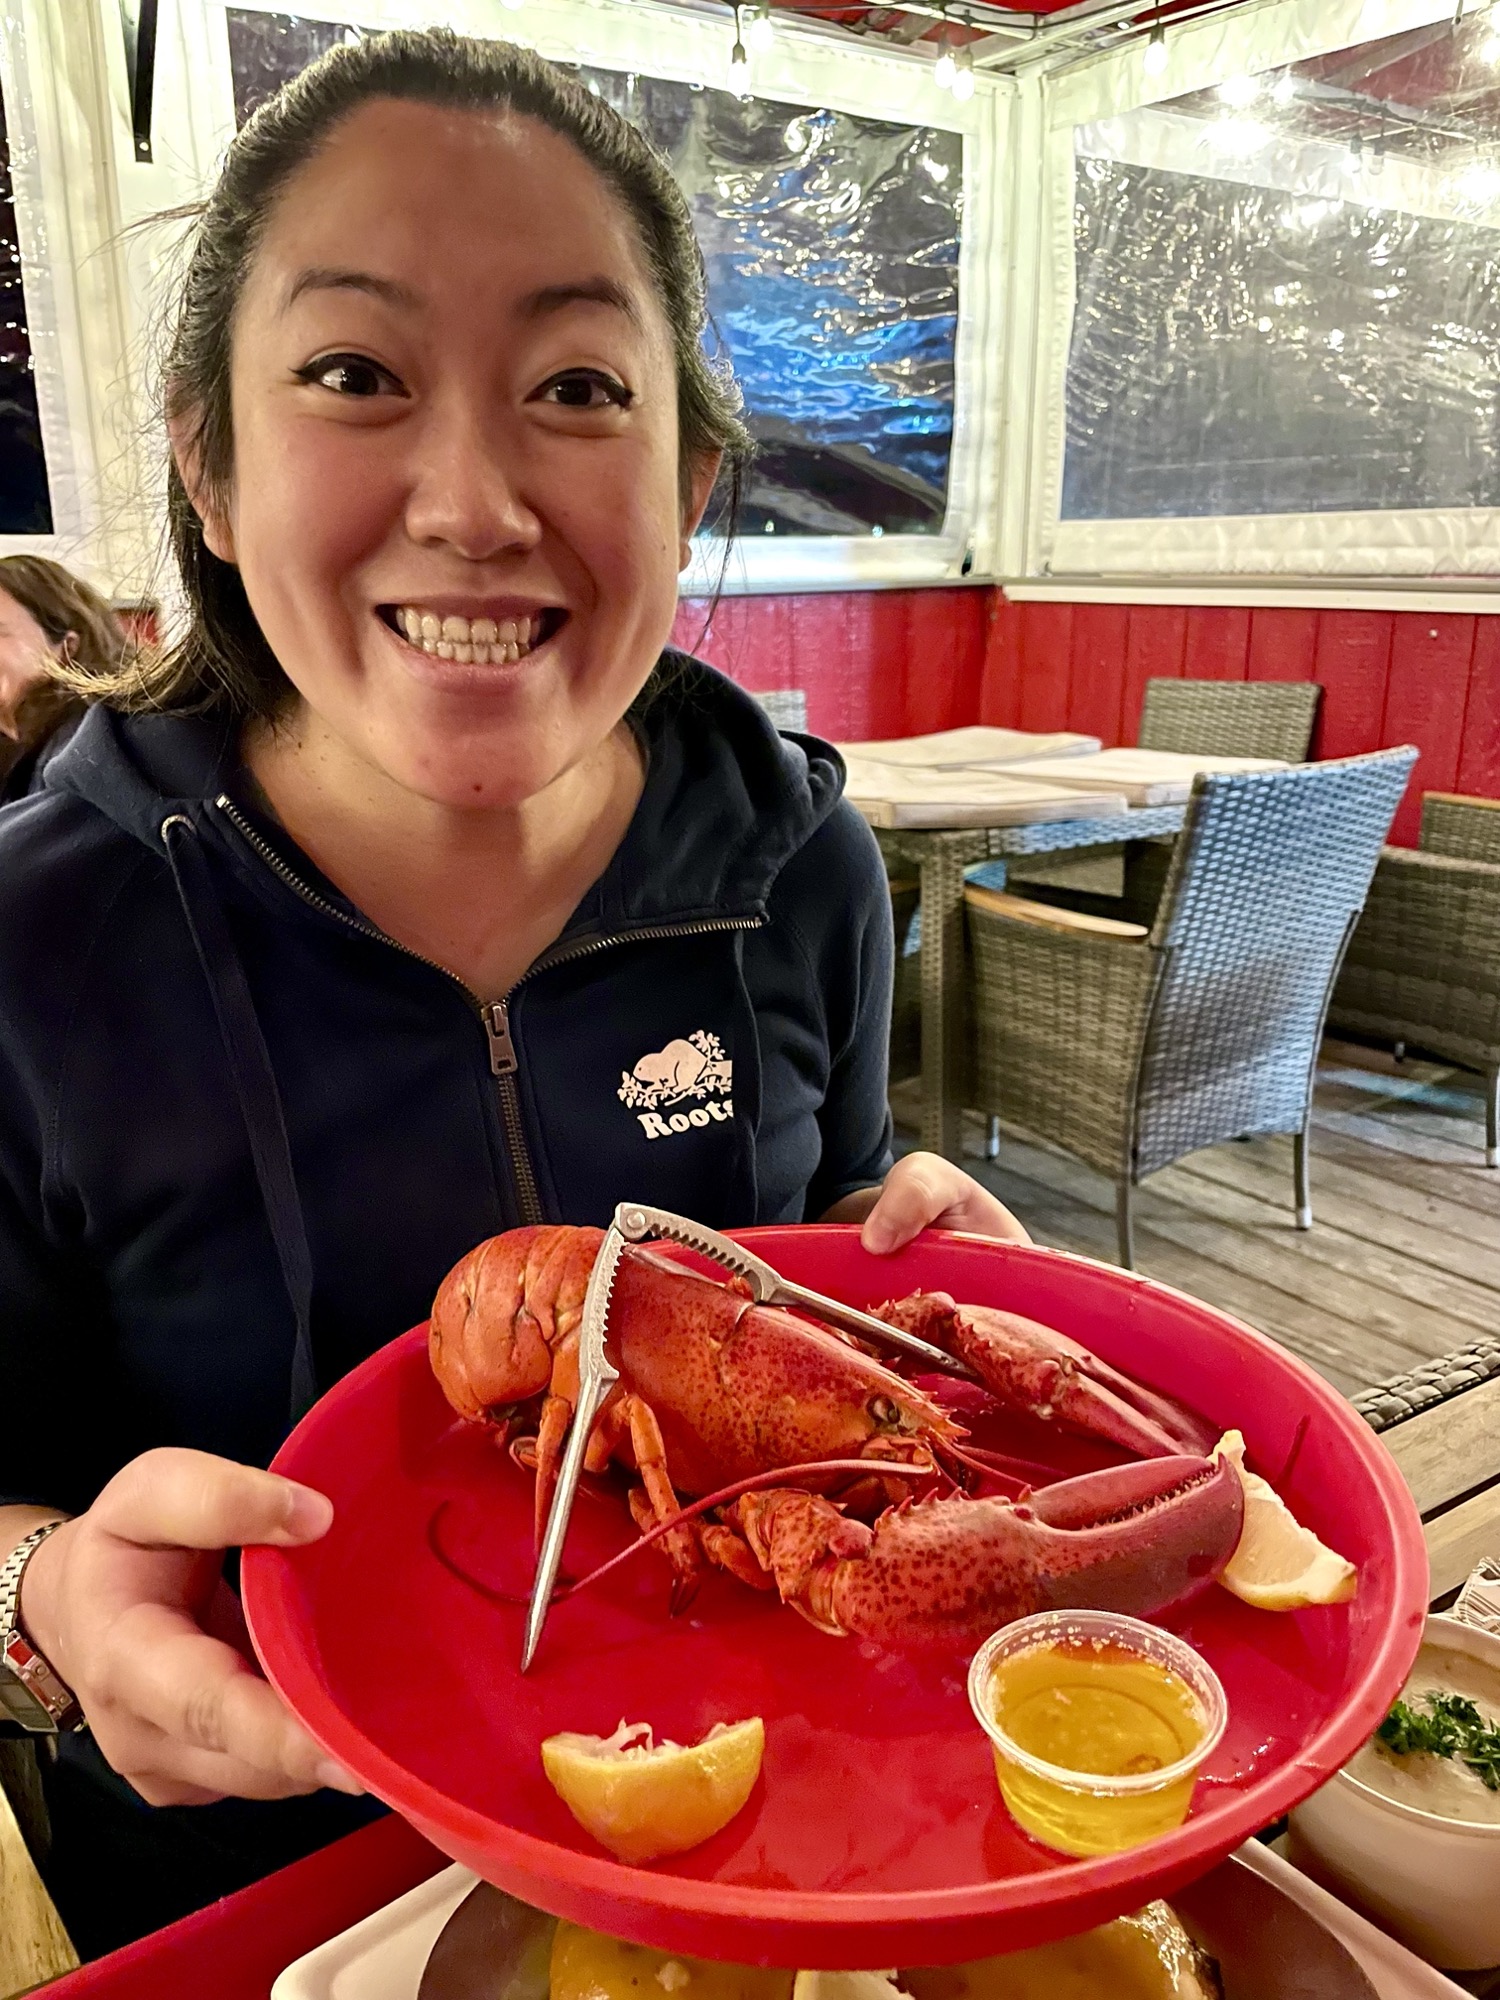
Maine Lobster Festival & Rockland, ME
We travelled to Maine in August to attend the annual Maine Lobster Festival. Here are some honest thoughts on our trip.