Date Published: Jan 26th, 2025 | Last Updated: Jan 26th, 2025
Author: Abby |Category: basics, how-to, <15 mins, easy, sauces, vegetarian
Serves: 1 jar | Prep time: 5 mins | Blend time: 1 minute
Jump to recipe |
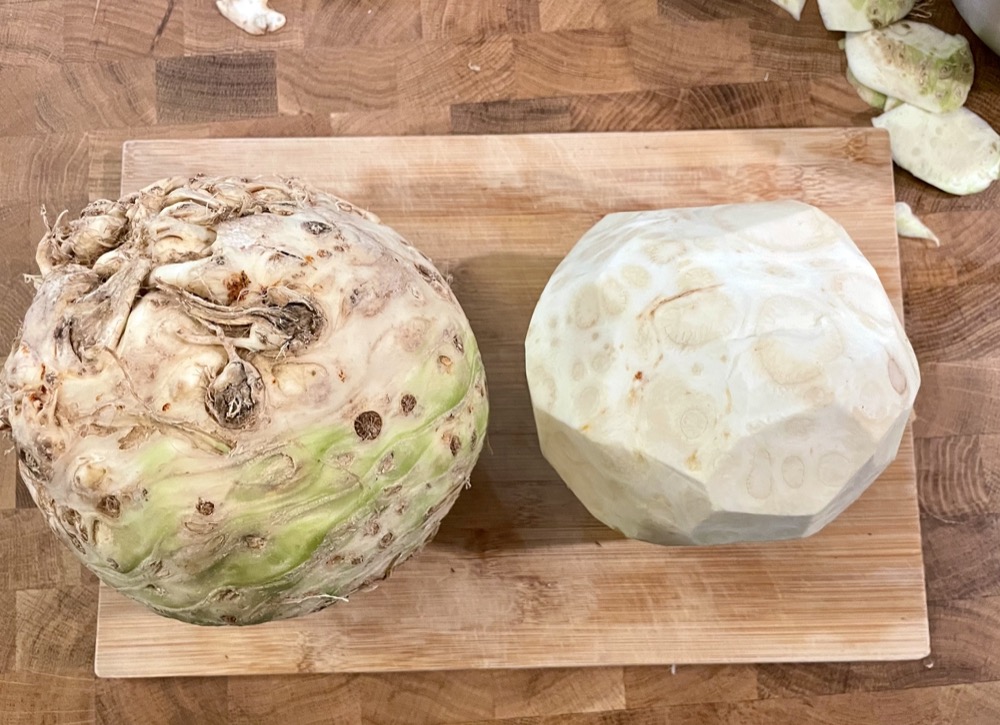
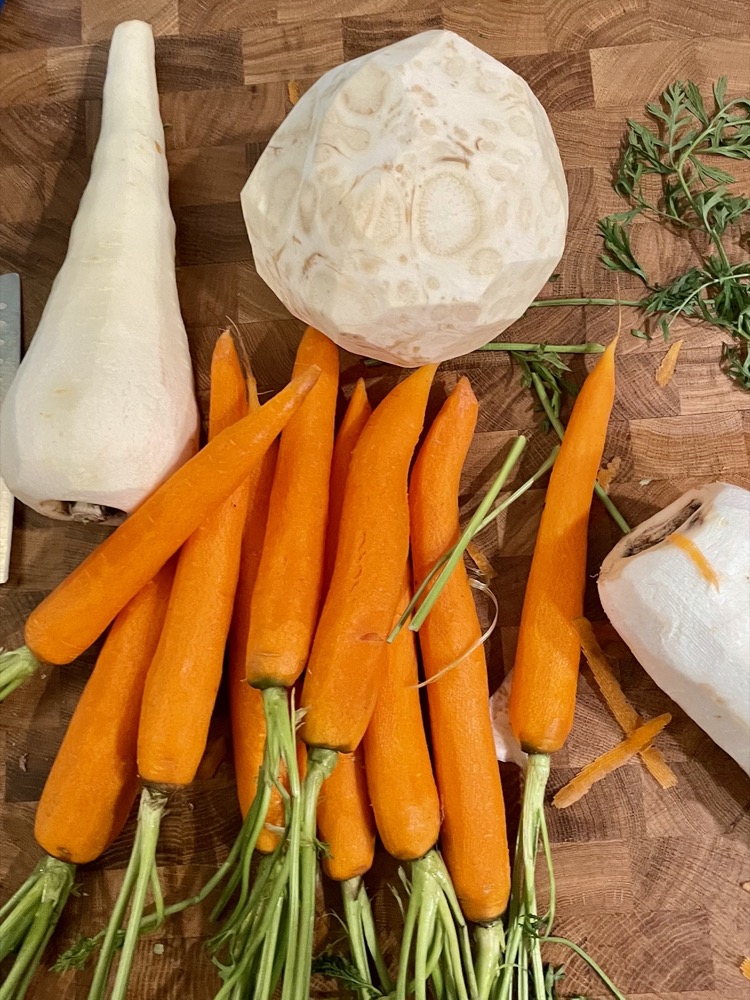
I’m not a fan of horseradish, but recently I needed a small amount for a new recipe I was trying out and for whatever reason I couldn’t find any jarred horseradish at the bodegas near me. Surprisingly, I did manage to find fresh horseradish root instead. I’ve never used fresh horseradish before (I thought the shop worker was giving me a parsnip 😅), but a quick google search showed how easy it was to make my own prepared horseradish. So here I am, sharing another recipe with everyone on what I’ve learned and to document it incase I’m ever in the same situation again in the future. Preparing your own horseradish is actually super easy and you can tailor it to how spicy, mild, or salty you like. The best part is that it keeps in the fridge for months, which perfect if you go through a jar of horseradish super slowly like me.
Anyways, without further ado, here’s the recipe! If you have any comments or suggestions, I’d love to hear from you in the comment section! You can follow me on instagram, youtube and facebook to see all the recipes I post!
Happy cooking!
Ingredients you’ll need:
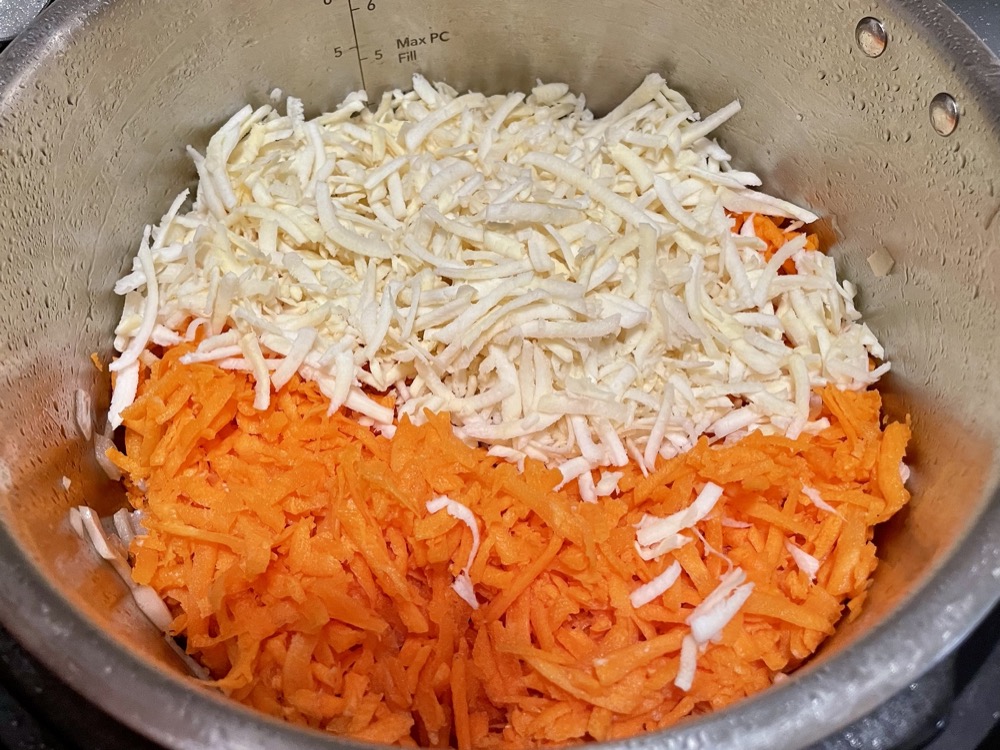
- 240g horseradish root, peeled and chopped
- 1/4 cup water
- 1 Tbsp white vinegar
- Pinch of salt
Directions:
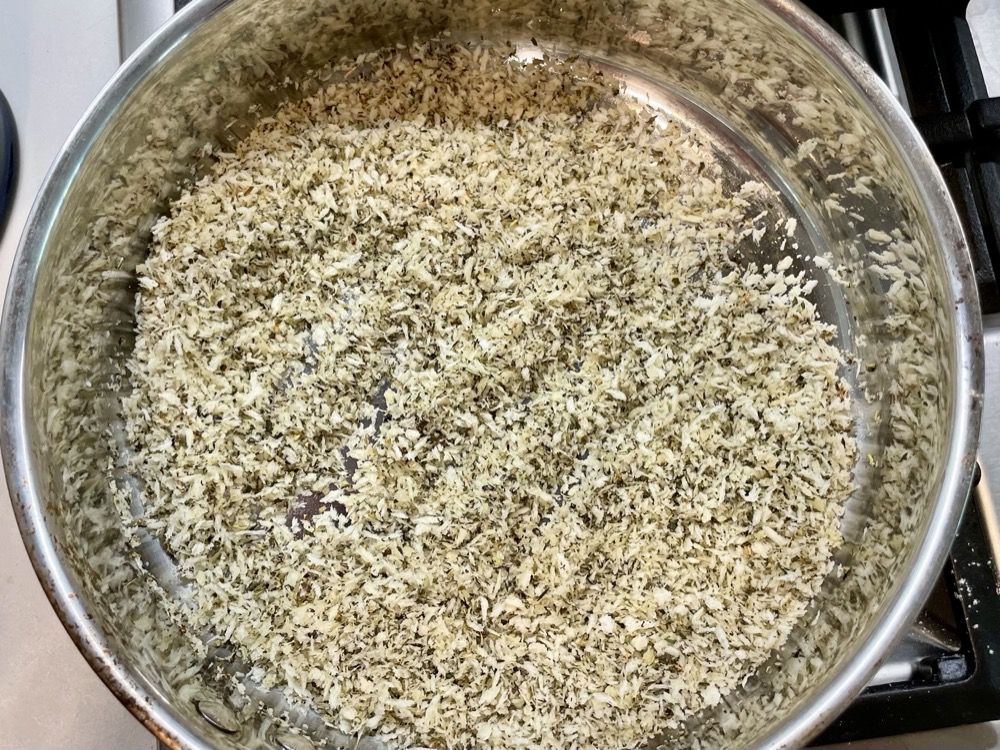
1. Wash, peel, and chop up the horseradish root.

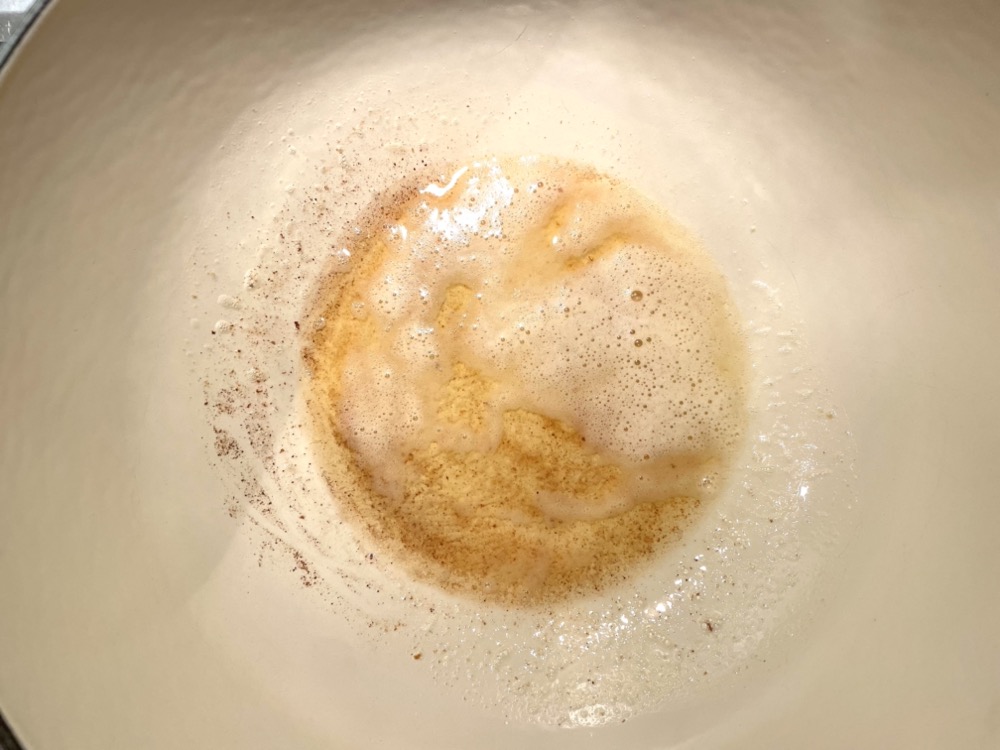
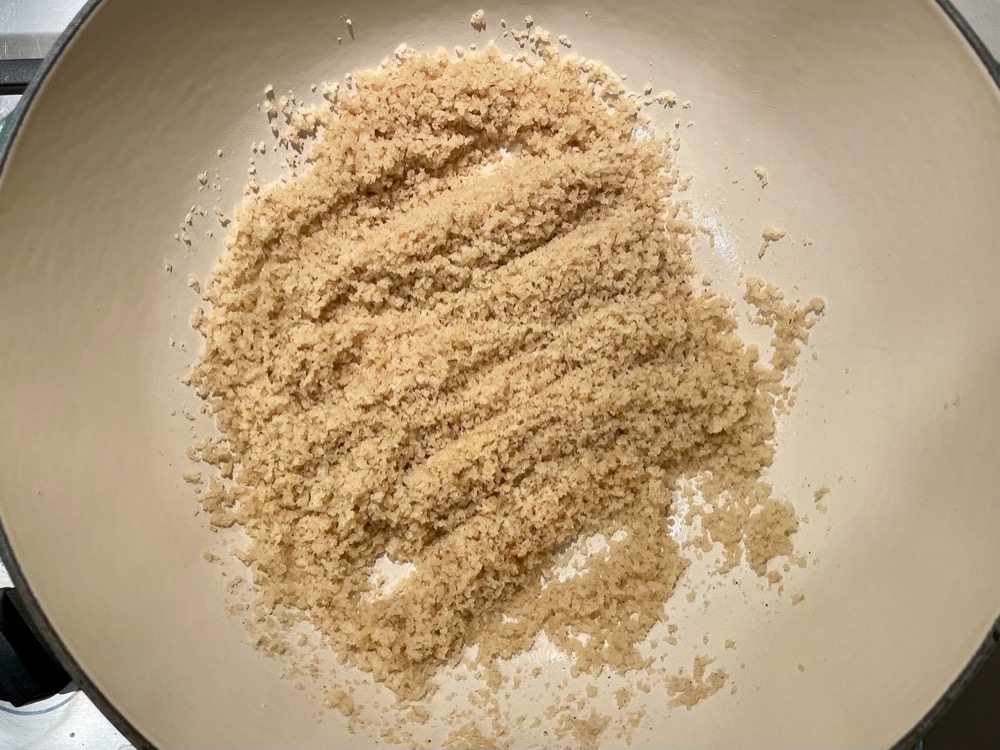
2. Add the horseradish root (peeled and chopped) to a small blender or food processor and add enough water to blend the horseradish into a smooth purée (I added about 1/4 cup). Be careful when opening the blender lid. Horseradish can be pretty pungent and can sting your eyes like an onion if you get a big enough whiff.

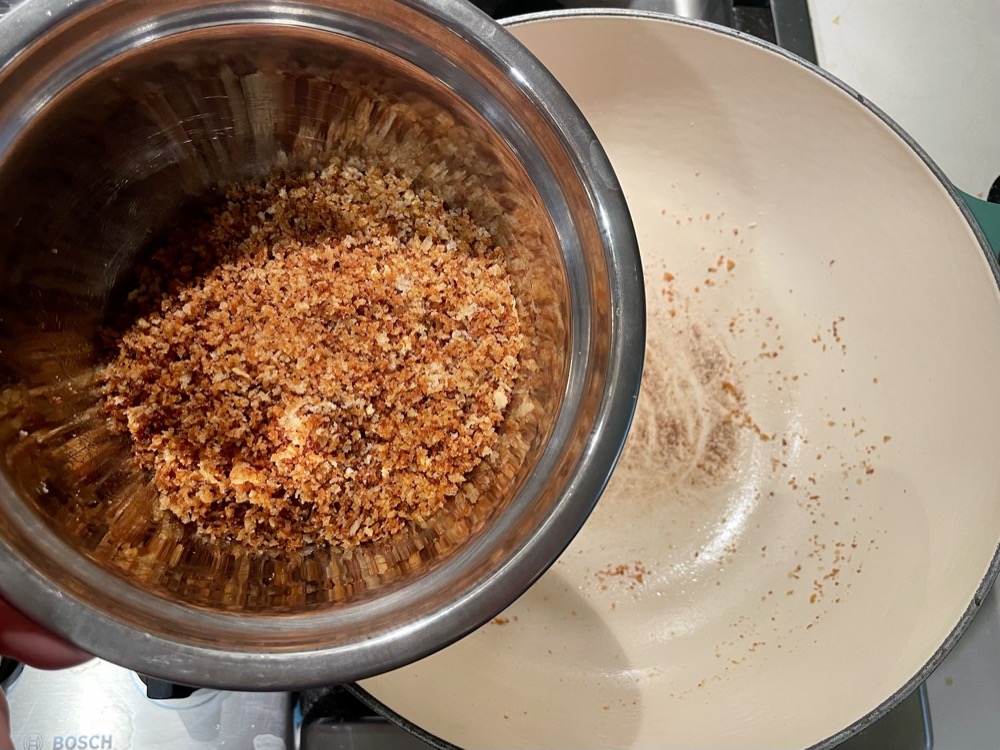
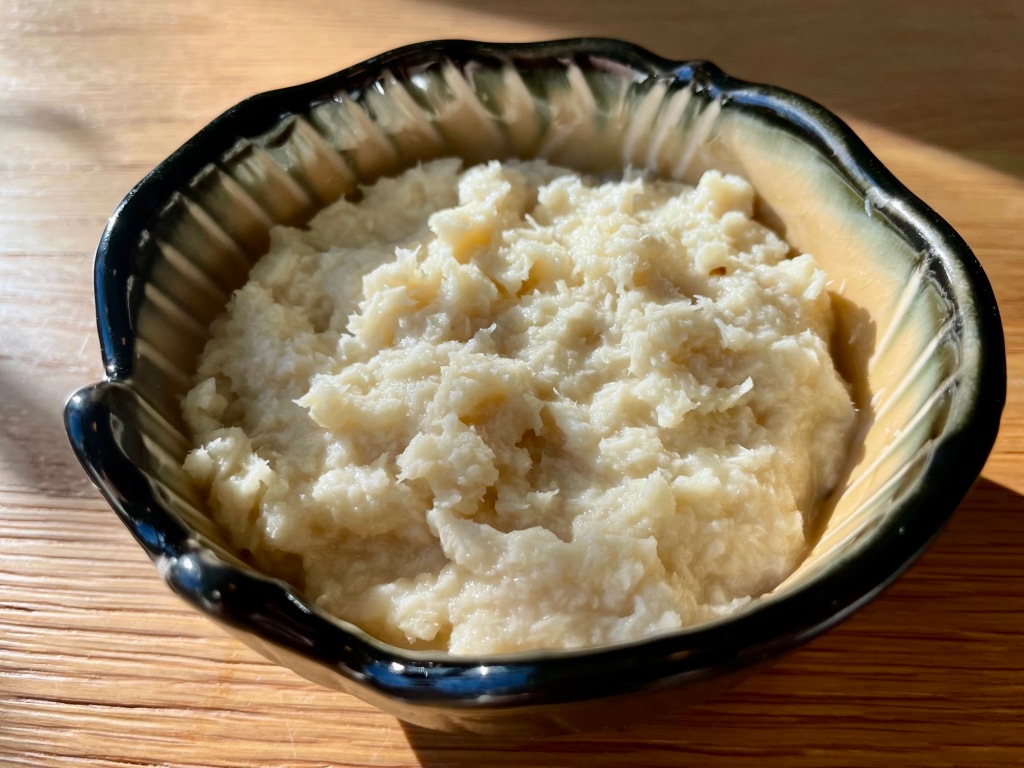
3. Once blended, strain out any excess water, then add in 1 Tbsp of white vinegar and a pinch of salt to offset the spiciness. Done!

Store in an airtight container in the fridge for up to a month.


Summarized Recipe:
How to make horseradish from scratch
Date Published: Jan 26th, 2025 | Last Updated: Jan 26th, 2025
Author: Abby |Category: basics, how-to, <15 mins, easy, sauces, vegetarian
Serves: 1 jar | Prep time: 5 mins | Blend time: 1 minute
Ingredients:
- 240g horseradish root, peeled and chopped
- 1/4 cup water
- 1 Tbsp white vinegar
- Pinch of salt
Directions:
- Wash, peel, and chop the horseradish root.
- Add the horseradish root (peeled and chopped) to a small blender or food processor and add enough water to blend the horseradish into a smooth purée (I added about 1/4 cup).
- Be careful when opening the blender lid. Horseradish can be pretty pungent and can sting your eyes like an onion if you get a big enough whiff.
- Once blended, strain out any excess water, then add in 1 Tbsp of white vinegar and a pinch of salt to offset the spiciness. Store in an airtight container in the fridge for up to a month.