Date Published: Dec 2nd, 2024 | Last Updated: Dec 2nd, 2024
Author: Abby | Category: Travel, USA
Date of travel: Oct 13-14th, 2024
START HERE: This post has everything you need to know about visiting Acadia’s Mount Desert Island.
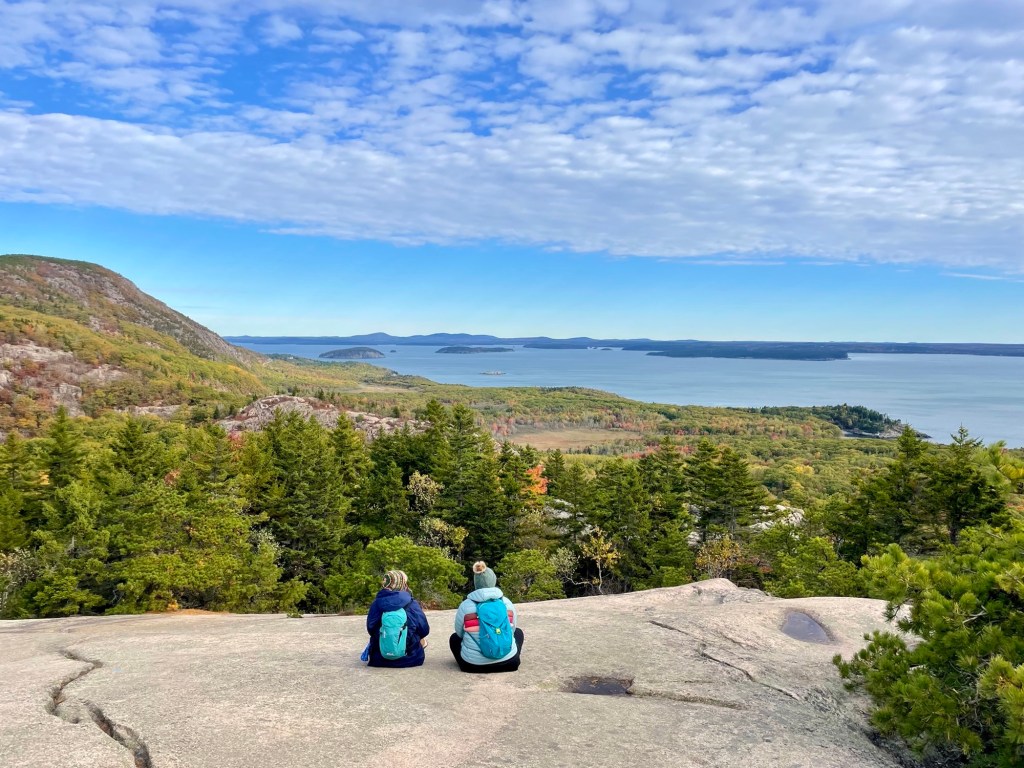
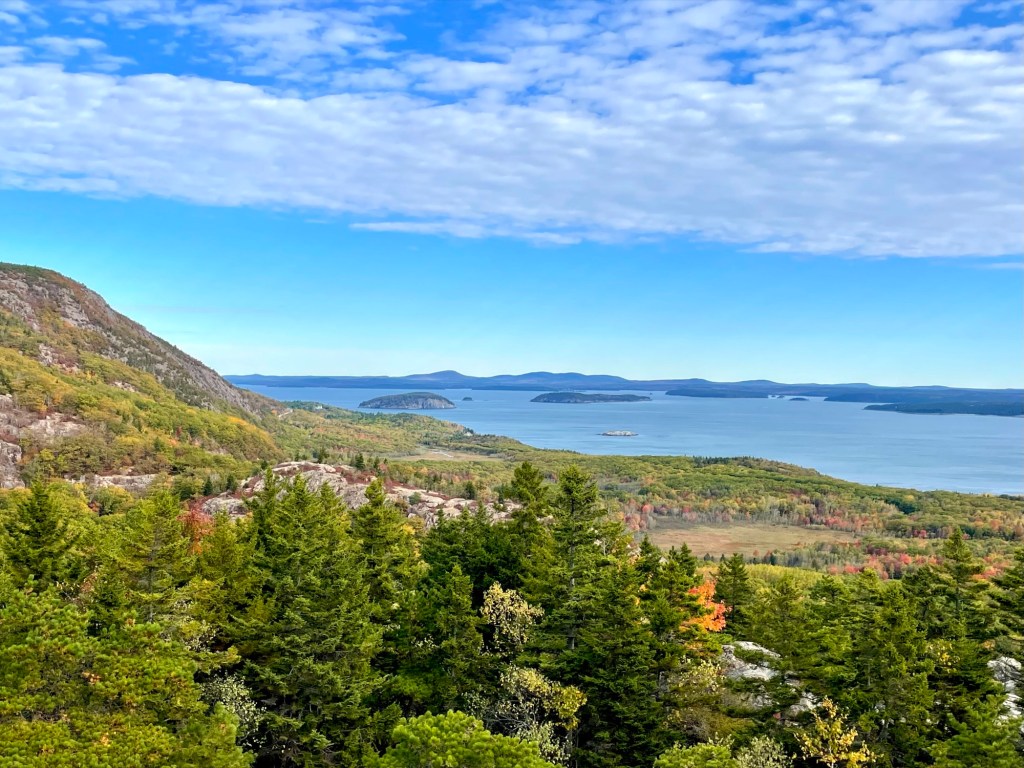
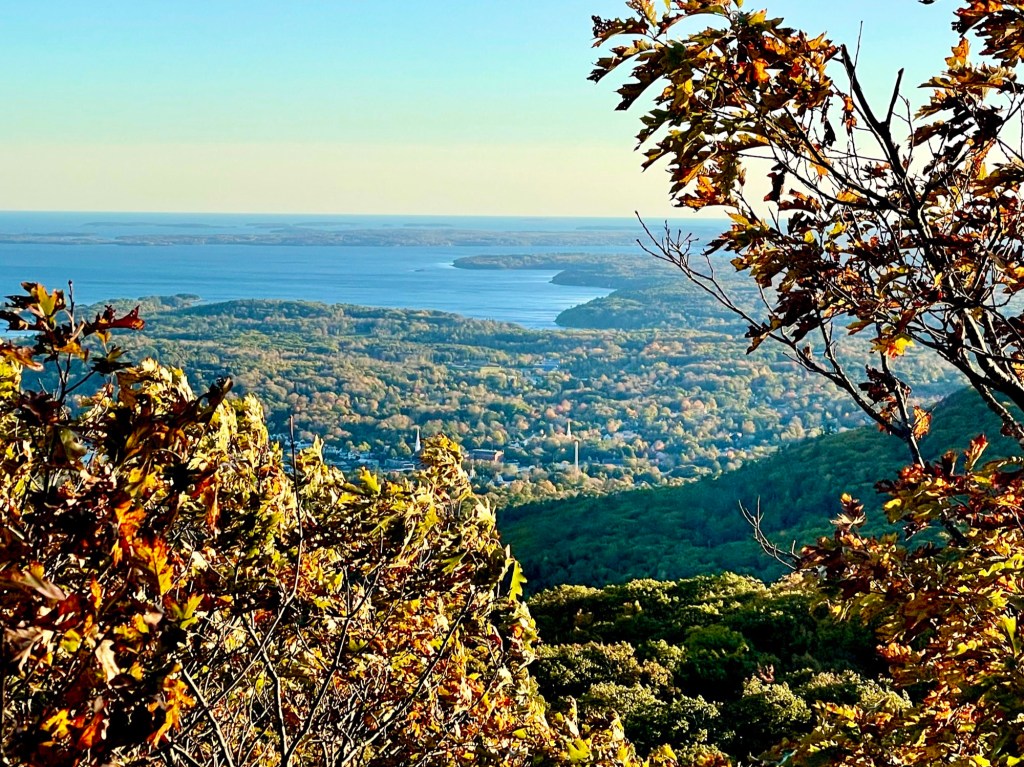
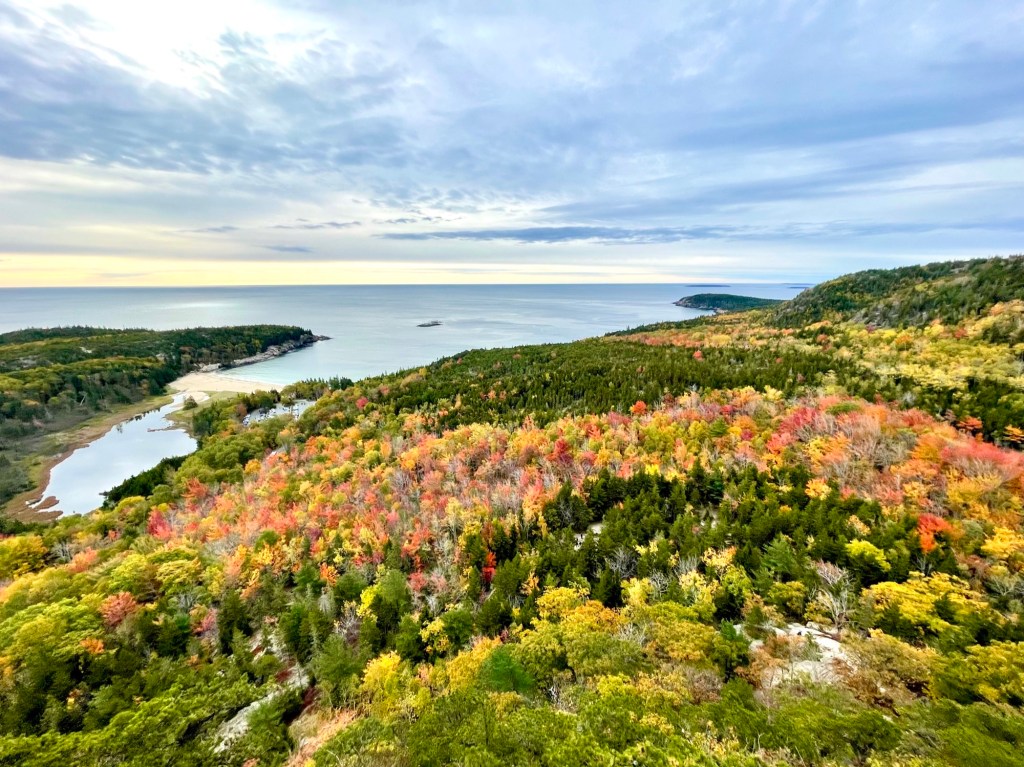
Acadia National Park is the “Crown Jewel” of the North Atlantic Coast providing breathtaking coastal views, mountainous hikes, scenic drives, beaches, and a town with no shortage of restaurants. This national park is a must-do in Maine!
Park Info:
Location: Acadia National Park, Maine (Hulls Cove Visitor Center: 25 Visitor Center Road, Bar Harbor, ME 04609)
Park opening hours: Open 24 hours, year-round. There are road closures in the winter months (check the park website for updated info).
Park website: https://www.nps.gov/acad/index.htm
Park fees: $35 per car (+$6 for Cadillac Mountain vehicle reservation) – https://www.nps.gov/acad/planyourvisit/fees.htm
An Overview
Acadia National Park is made up of 3 areas: Isle au haut, Mount Desert Island, and Schoodic Peninsula. Of these three, Mount Desert Island is the most popular with the most amount of things to do and has the the iconic scenery in this national park. During our trip, we didn’t have time to make it to Schoodic nor Isle au Haut, so I will focus on Mount Desert Island only for this post. We do have plans to visit again next year, so keep a look out for updates!
There is a lot to do here, so if you’re feeling overwhelmed, I’ve done a quick 2-day itinerary to see all the main highlights here.

Although an island, Mount Desert Island is accessible by car via Bar Harbor Road. The most popular things to do are on the East side of the island, including exploring Bar Harbor downtown, Sand Beach, hiking the Beehive Trail, Thunder Hole, Ocean Path, Jordan Pond, the ‘Bubbles’, and Cadillac Mountain. I’ve made a quick map of these places below to give you a rough idea of the proximity of the main attractions. I’ll go into each place in more detail further down in this post.

When to travel:
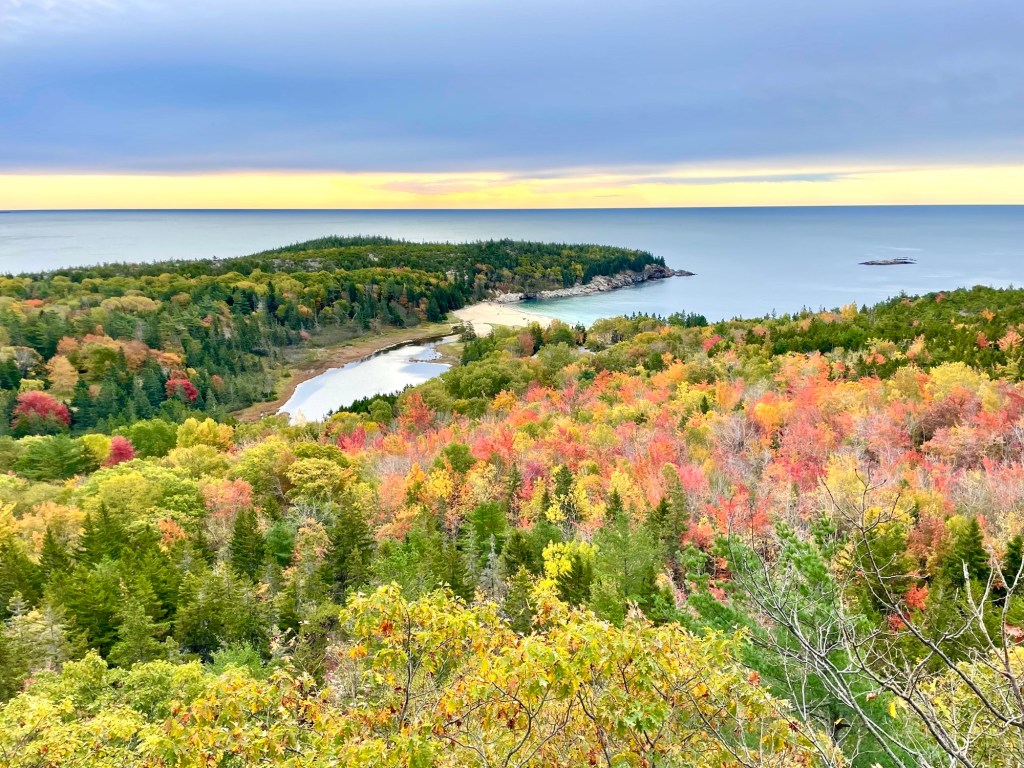
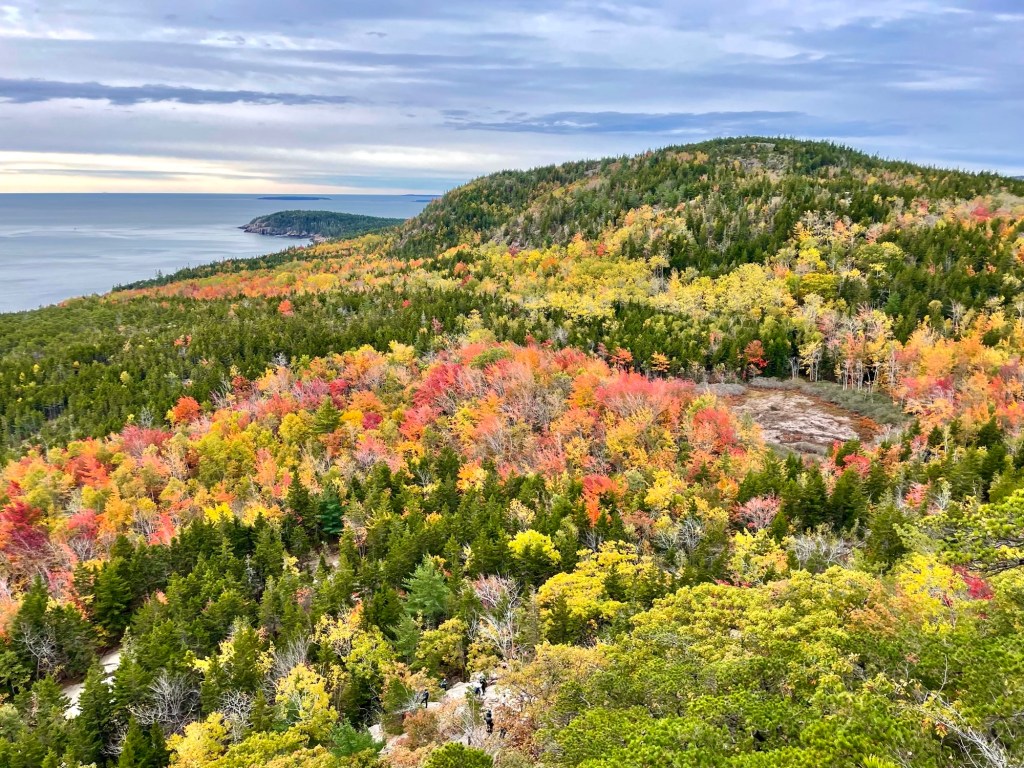
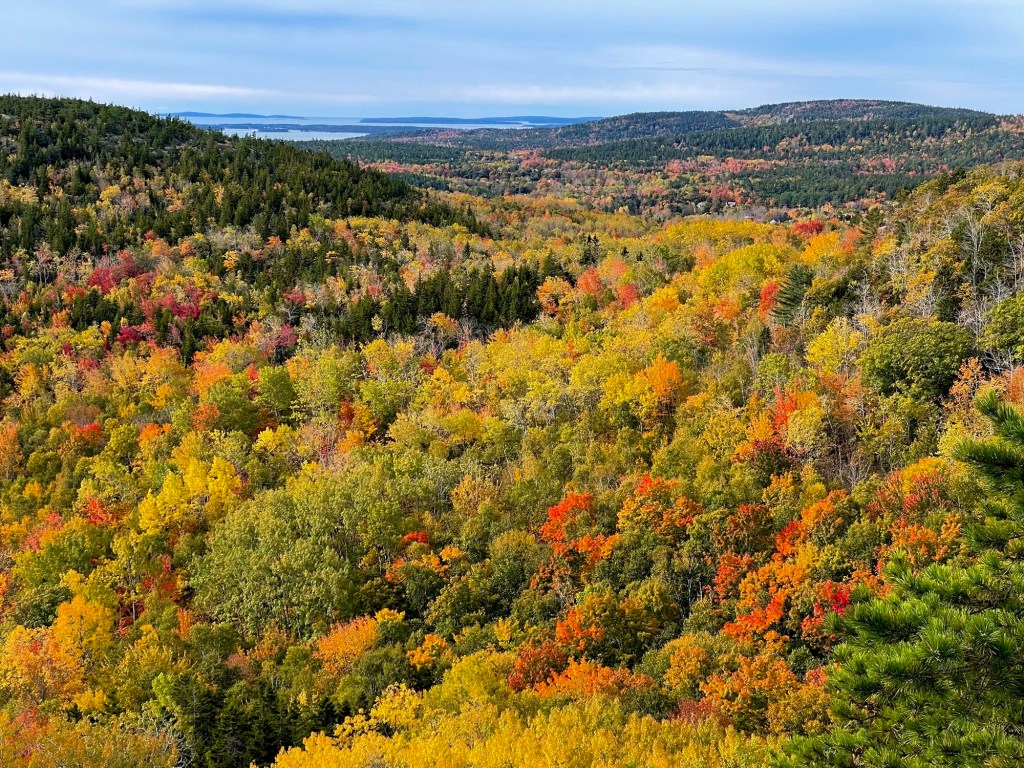
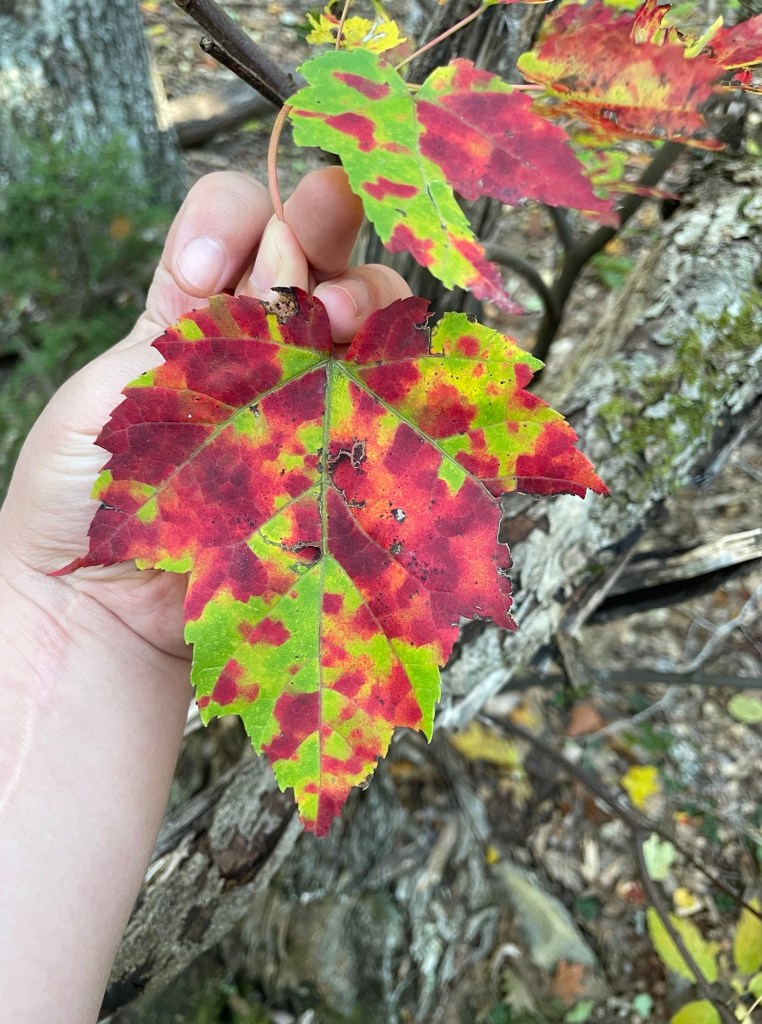
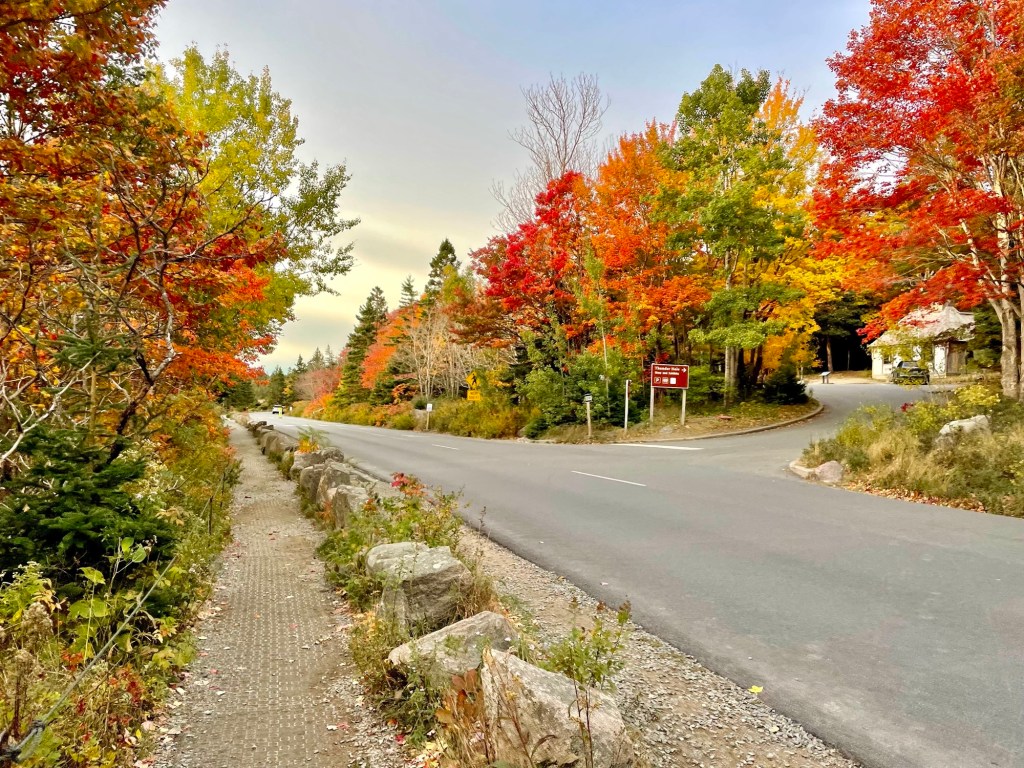
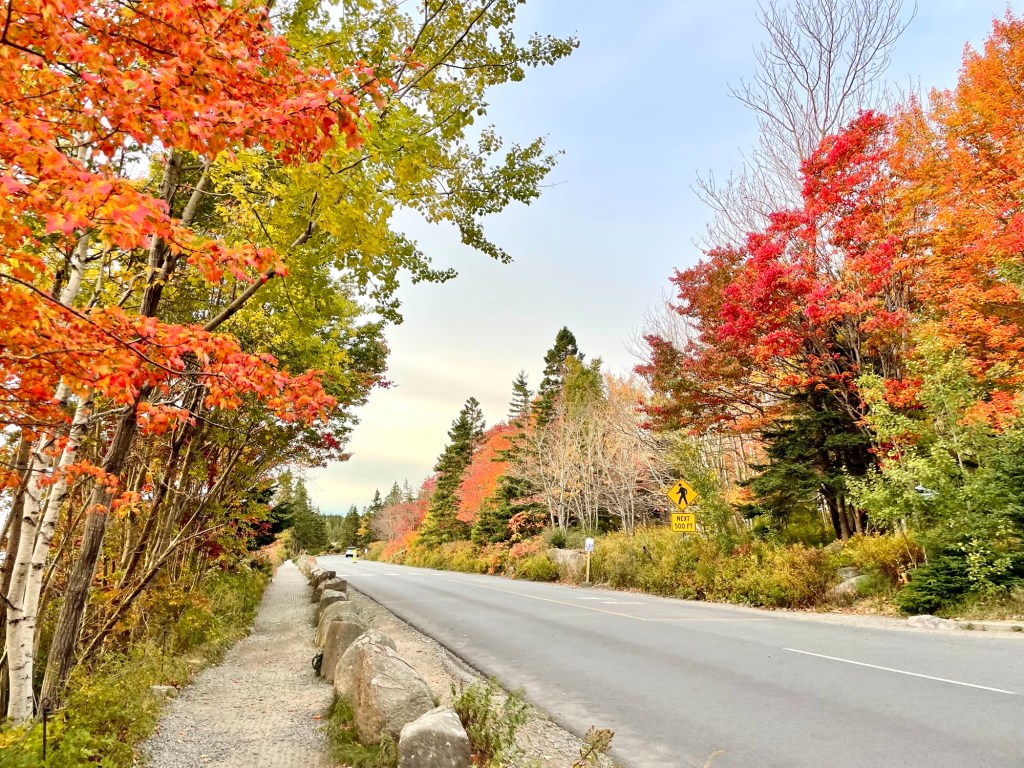
The busy season is between Summer and Autumn. When I say busy, I mean BUSY. Plan wayyyy ahead and book your travel plans at least 3 months in advance if you can. I’d recommend visiting in Autumn for the beautiful orange and red colours of the fall foliage that adds to the already breath-taking landscape.
If you want to time your trip to synchronize with the change in fall colours, here’s a foliage tracker/estimator that can be helpful when planning: https://www.explorefall.com/states/maine. The leaves will usually start changing colours between the end of September to middle of October, depending on the temperature that year. We went in the middle of October this year and while it was perfect for Acadia, it was too early for upstate New York, and just a touch late for New Hampshire 🤷🏻♀️.
Check the park website before you go, as some roads are closed during the winter months and some trails are closed during Peregrine Falcon nesting season in the spring to late summer.
How Many Days Do I Need?
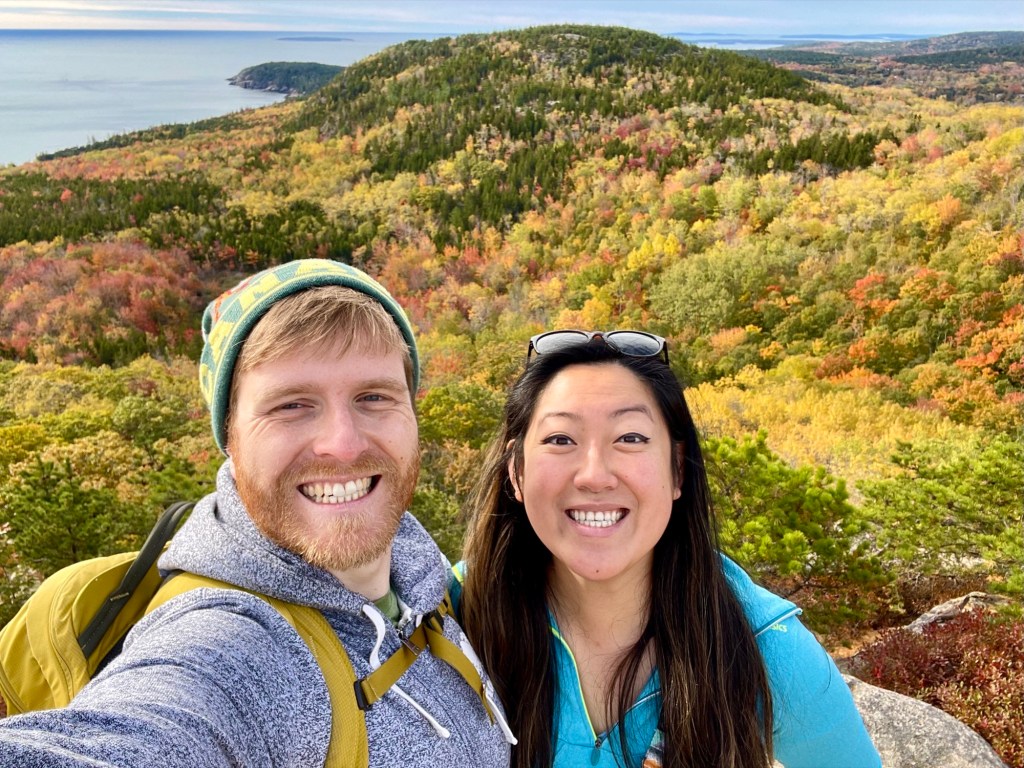
To hit the highlights of Acadia in a flash, you’ll need 2-3 days, but if you want to explore more and take it easy, then I’d recommend staying here a week. Toby and I had limited vacation days and wanted to hit up New Hampshire and Vermont during the fall foliage season as well so we did the Acadia highlights in 2 days. We originally planned for 2.5 days, but we hit some bad weather on our last day and and shortened our stay, skipping a couple attractions. 😦
Check the weather ahead of time since many of the popular hiking trails are weather-dependent, so give yourself an extra day or two for wiggle room incase you need to post-pone any activities like us. Check our 2-day itinerary here.
Where to Stay
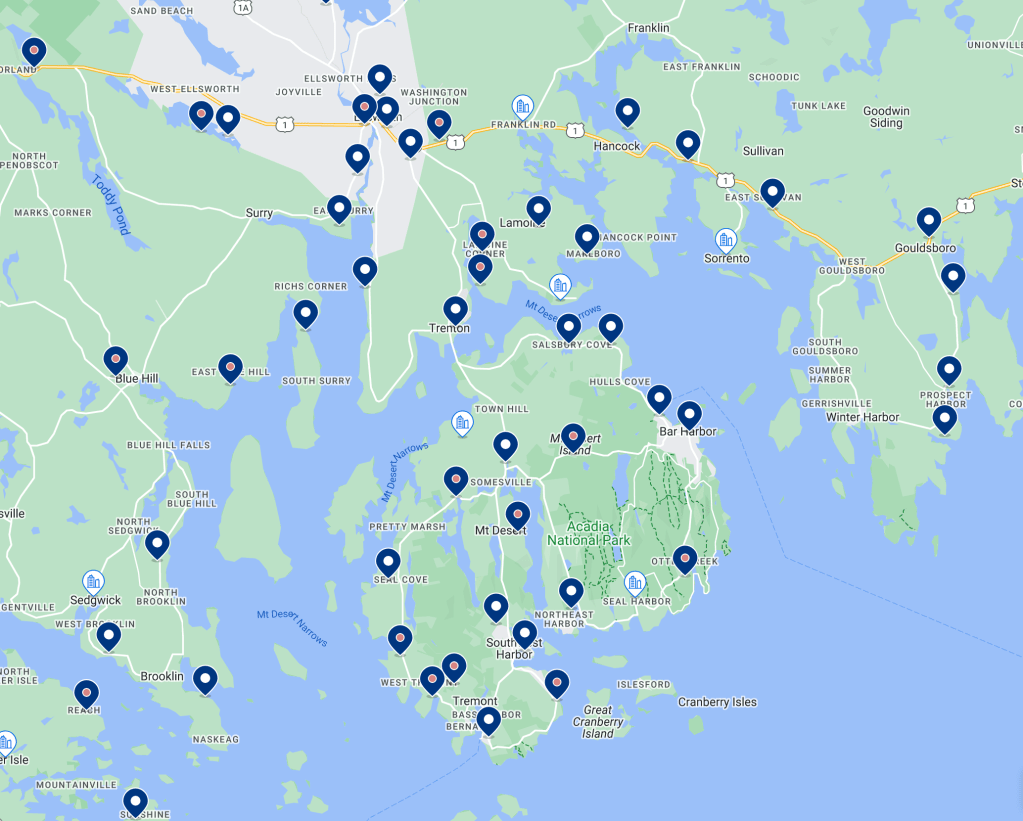
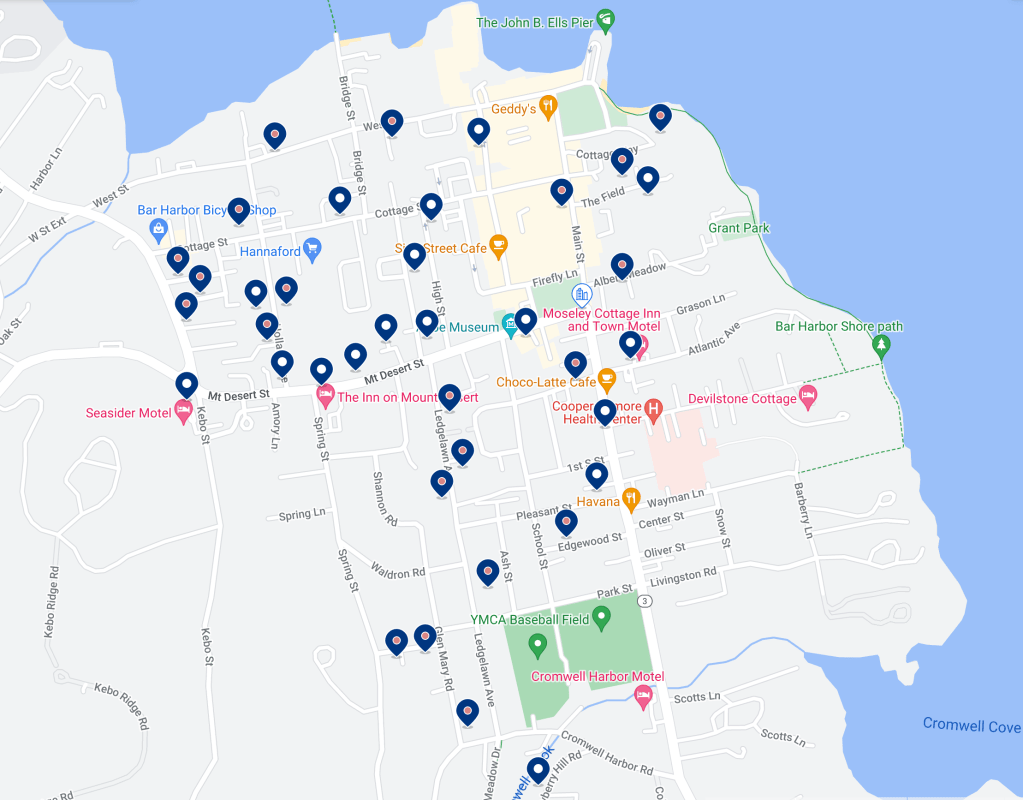
There are a TON of accommodation options around Acadia National Park. You pass by motel after motel the closer you get to Acadia but with that being said, ALL OF IT WILL GET BOOKED UP EARLY. We’ve never encountered such a busy place in our travels before. A month before planning our trip, every single (affordable) accommodation option was booked up around the national park and we snagged the only affordable one remaining all the way in Surry, a 45 mins drive from the park. Although it meant that we had to wake up earlier than planned to get to where we wanted to go, we were just grateful to get a place at all! We travelled at peak season in middle of October, so if you’re planning to do the same, BOOK EARLY. I’ve included a map of available accommodation options from booking.com for the middle of October next year as reference.
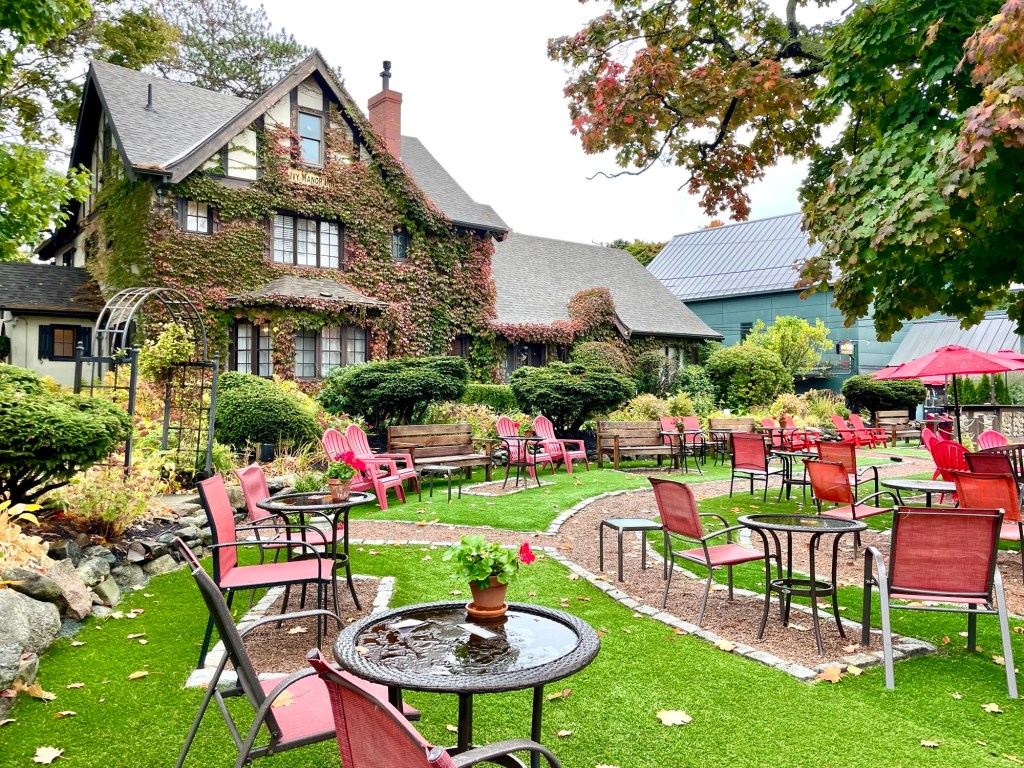
The best place (although more expensive) to stay will be in Bar Harbor town, inside Acadia National Park. Although a small town, it’s got everything you need at your fingertips, including restaurants, shops, grocery stores, bars…etc. It’s also close to the major attractions in the national park as well. I’ve included a screen cap below of available options in Bar Harbor from booking.com for reference. The downtown area is very walkable, so choose to stay closer to Main Street if you want to be in the hustle and bustle. Read more about Bar Harbor below.
If you can’t manage to get a place in Bar Harbor (like us), don’t fret. Anything nearby will be fine. You can always drive to Bar Harbour town and spend an afternoon to walk around (it’s not a big town, you can get through it in a couple hours).
Getting Around Acadia – Driving vs the Bus
You can get around Mount Desert Island by either driving or taking the free Island Explorer Bus.
Driving:
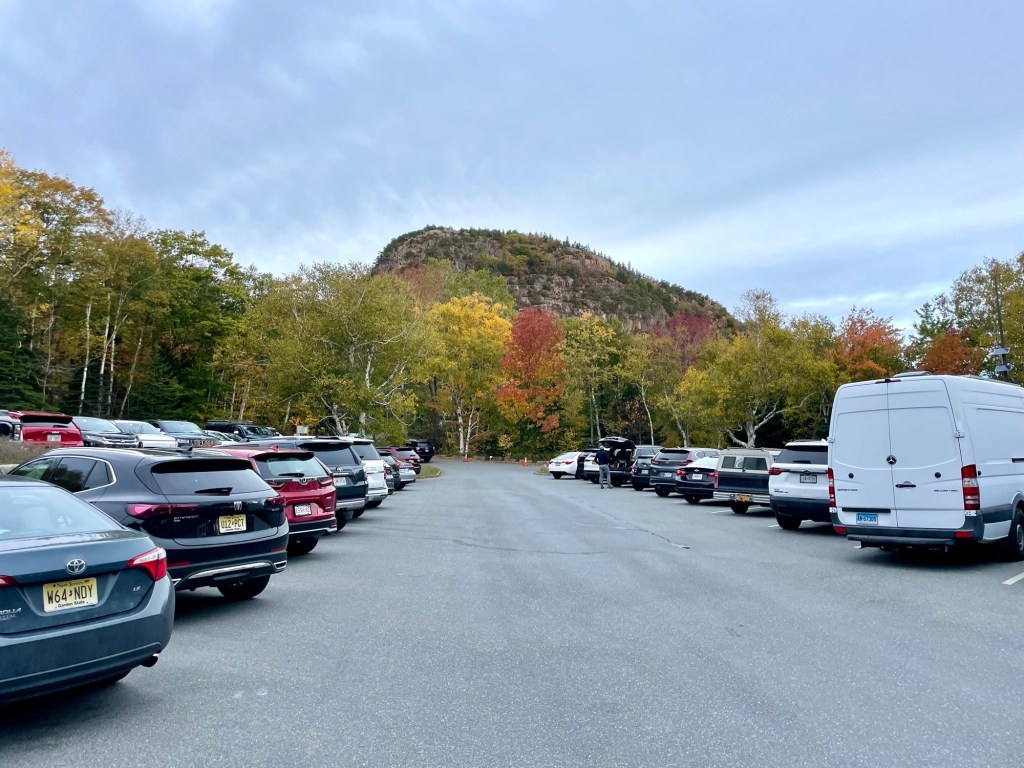
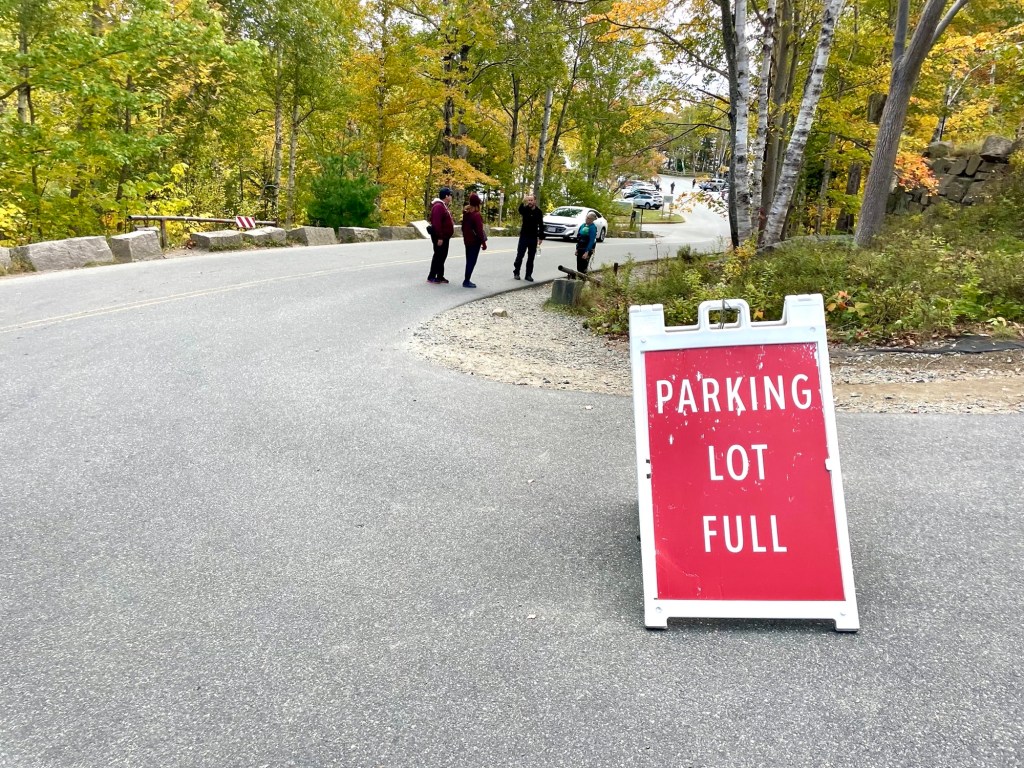
We prefer the freedom of driving our own car, however there are downfalls. Since Acadia gets extremely busy, parking can be an absolute nightmare. If you are visiting popular hikes and trailheads, make sure you arrive early (ideally before 8am) to get a parking spot, otherwise prepare to circle the lots and the side roads again and again until one frees up. We had to do this when we visited Jordan Pond and when we did eventually find a parking spot it was a 30 minute walk away from the trailhead 😭. It was the worst parking experience we’ve ever encountered. When parking lots are full, the rangers will barricade the entrance so you can’t just go in and circle around until one frees up. Therefore, if you only want to drive, start early and also consider that it will limit the number of places you go in a day and you’ll have to factor in the extra time to find a parking spot – for example, we woke up super early and got a great parking spot at Sand Beach parking, however in the afternoon when we wanted to to the Jordan Pond hikes, it was near impossible to find a spot and driving around took up a chunk of our schedule.
Also keep in mind that there is limited cellphone reception, so if you rely heavily on Google maps, maybe have a paper map with you just in case.
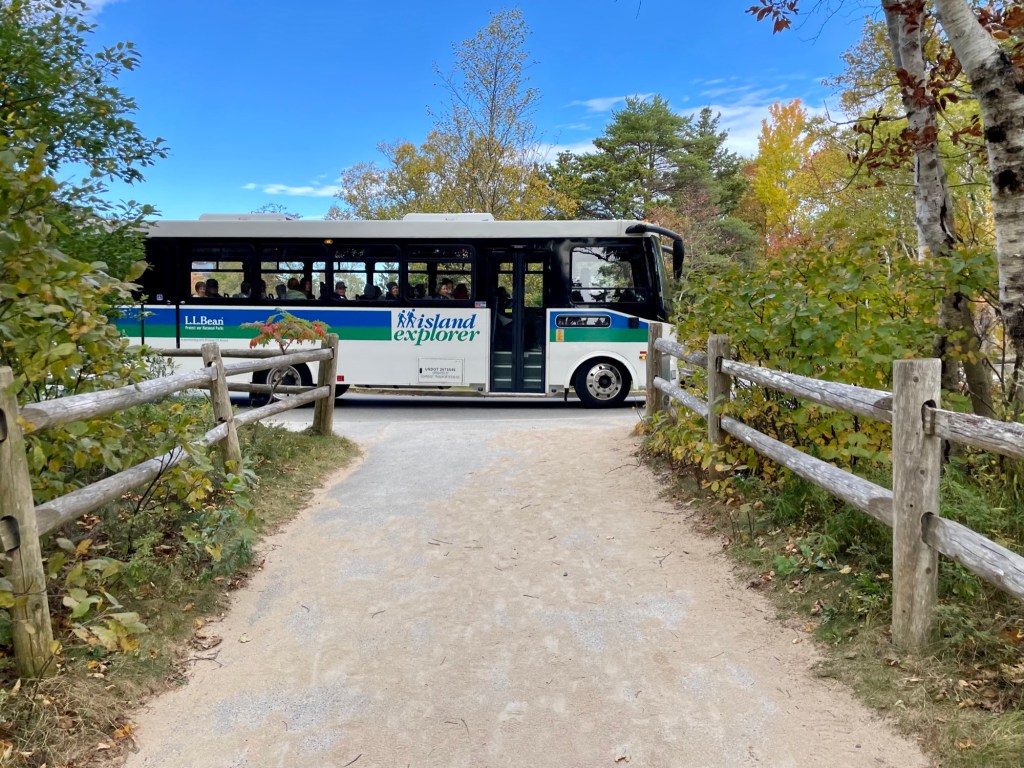
Island Explorer Bus:
This is a free bus service that operates only from Summer to Fall and runs roughly every 30 minutes. It takes you to the most popular places and will stop at most parking lots. Their website here has more information regarding the bus routes: https://www.exploreacadia.com/routefinder.html. The benefit of taking the bus is that it is easy and you don’t have to worry about parking, however the downfall is that you’ll have to take your whole day of hiking essentials with you and make sure you have places where you can fill up your water bottle throughout the day. The bus is also only every 30 minutes, so you’ll have to factor that in as well when you’re planning your day.
What I recommend: a combination of both. Get up early and get parking at your desired lot. If you’re doing the Beehive Trail first thing (which I would recommend), park at the Sand Beach parking lot. If you’re doing the Jordan Pond trails first, then park at the lot there. When you’re ready to move on to the next location, just take the Island Explorer Bus instead of moving your car. It will save you the hassle of having to find parking for your next location. The bus will go to all the parking lots, so even if you can’t get a spot at your desired lot, just park at the next closest one and take the bus. There’s no cost for parking, so you can leave your car at the same place all day.
Park Pass
You will need to purchase a park pass to enter Acadia National Park. There’s no gated entry, but there are plenty of rangers around checking people’s cars for the pass. It’s $35 per car and must be displayed on your windshield. This park pass allows you to go anywhere within the park, however if you wish to drive up Cadillac Mountain (more on that below), you will have to purchase an additional timed vehicle reservation pass ($6 per car). The Cadillac Mountain sunrise tickets sell out quick so plan ahead of time!
The park pass and Cadillac Mountain vehicle pass can both be purchased online ahead of time on the government website: https://www.nps.gov/acad/planyourvisit/fees.htm. You can purchase the park pass in person at the visitor’s centre in town, but not the Cadillac Mountain pass. I’d highly recommend buying both online beforehand and have it printed and ready to go, so you have one less thing to worry about. In peak season, it can be incredibly busy and parking can be a huge hassle – don’t waste your trip waiting in line to look for parking just to buy a park pass!
Travel Tips
Start Early!
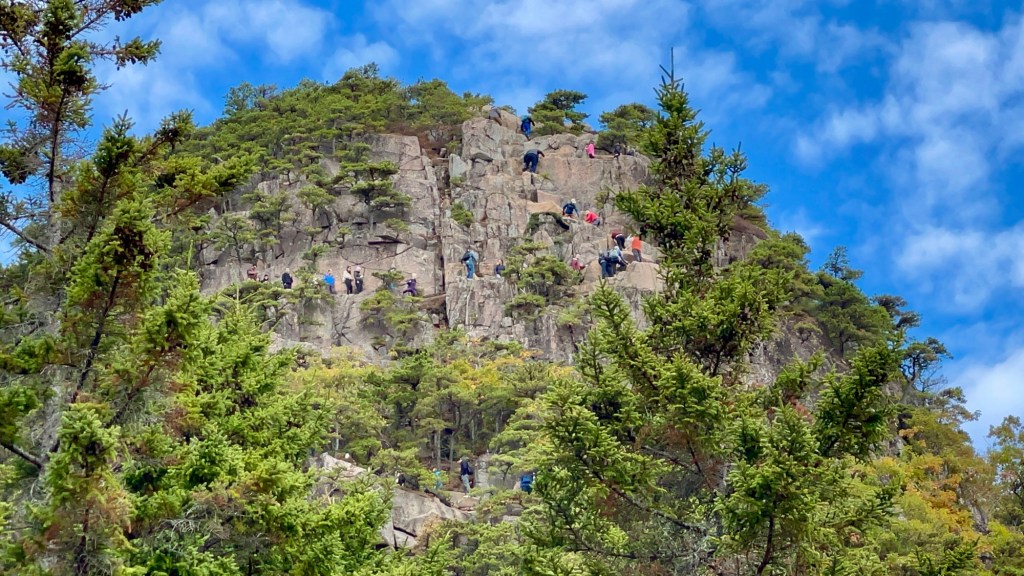
If there’s one piece of travel advice I can give you for visiting Acadia National Park, it’d be to start early! Ideally at sunrise. If you were looking for a relaxing getaway of sleeping in, I’m sorry to disappoint you. Because this place has so much to offer, it gets INCREDIBLY busy especially in the summer and fall season – I’m talking about having to park a half an hour away from your car busy – and everyone wants to hit up the same areas and the same iconic hikes. It gets so busy that not only will you struggle to find parking, but you’ll even have to wait in line to climb up mountains! It gets insane, trust me. Getting up early is the only way to ensure the best time away from the majority of the crowds and the frustrations of finding parking. You’ll appreciate the calmer and quieter surrounding in the early morning and take in nature without all the noise.

Limited Cellphone Service Everywhere
There is very limited cell reception in Acadia. You might get some pockets of good reception on top of mountains, but it’s spotty at best. There’s free wifi at Jordan Pond House and also decent wifi in Bar Harbor town, but apart from that be prepared for your service to jump in and out. I’d recommend picking up a map of the area or screenshot it on your phone before heading out and going on hikes just incase you lose reception and get lost.
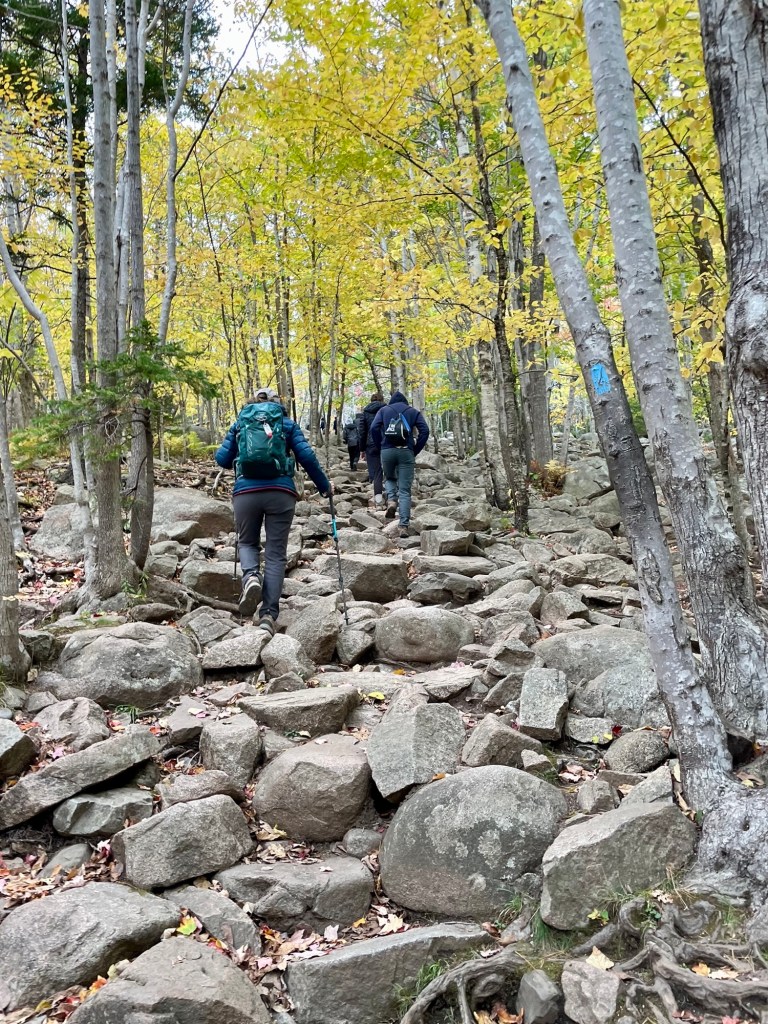
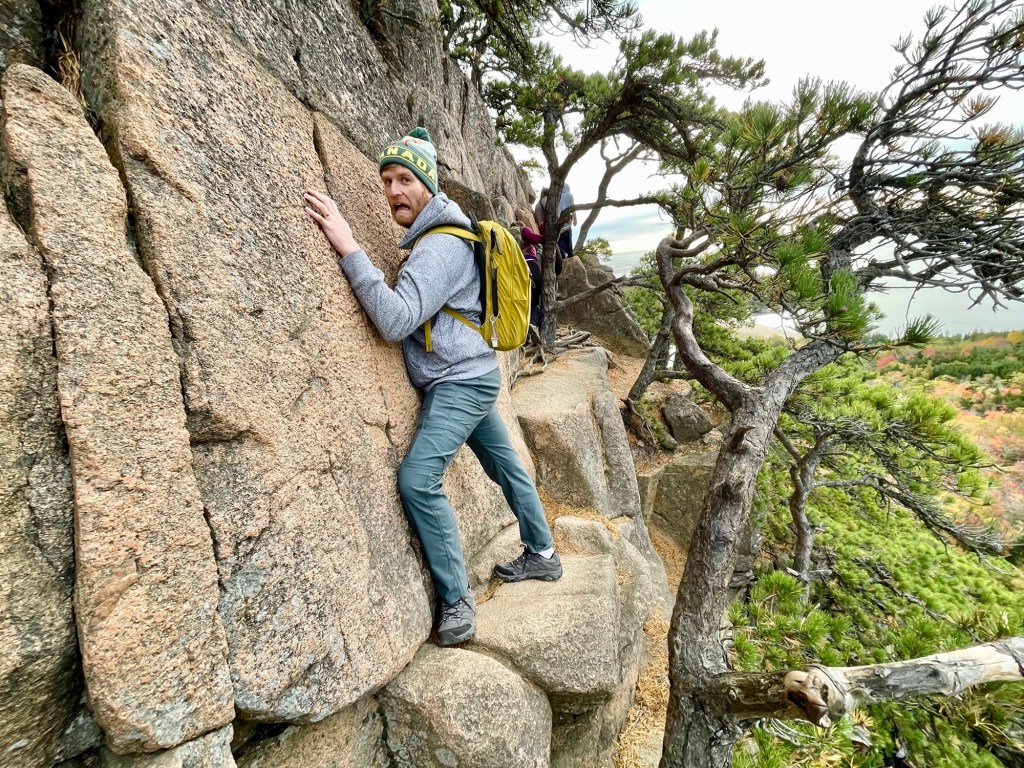
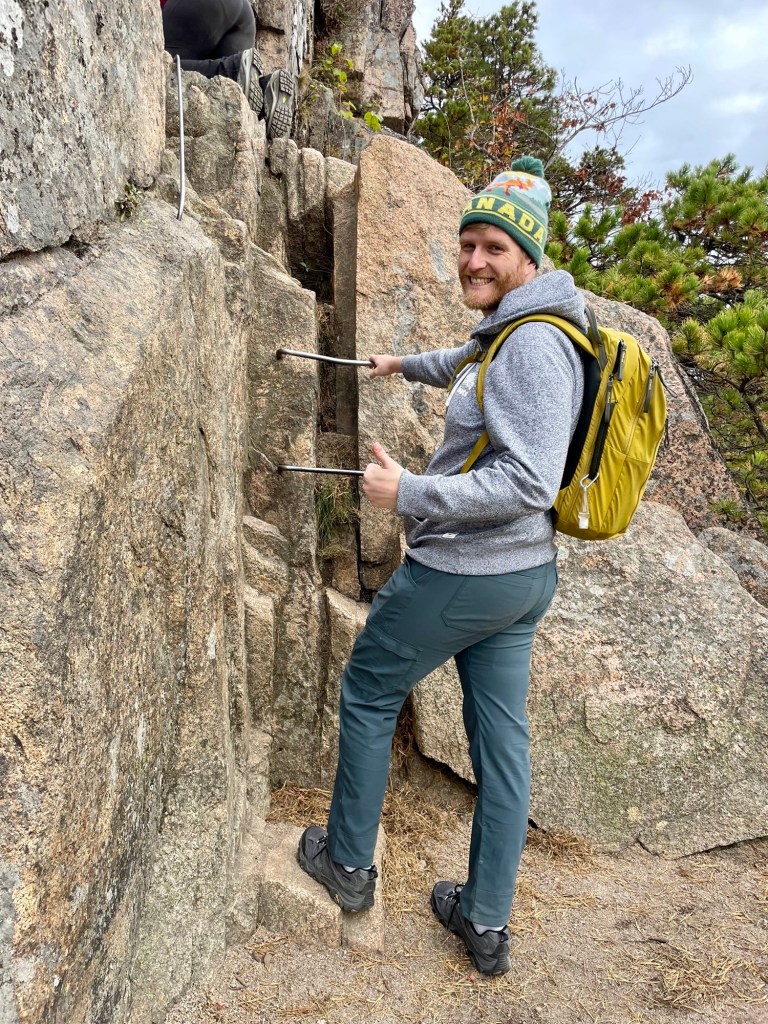
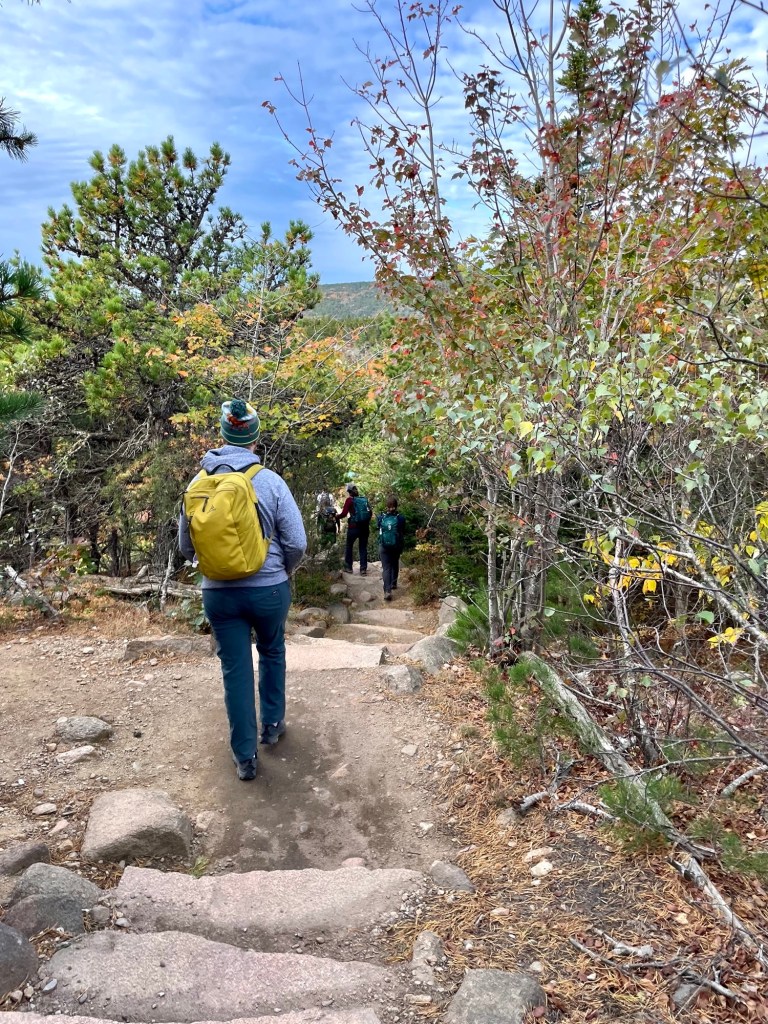
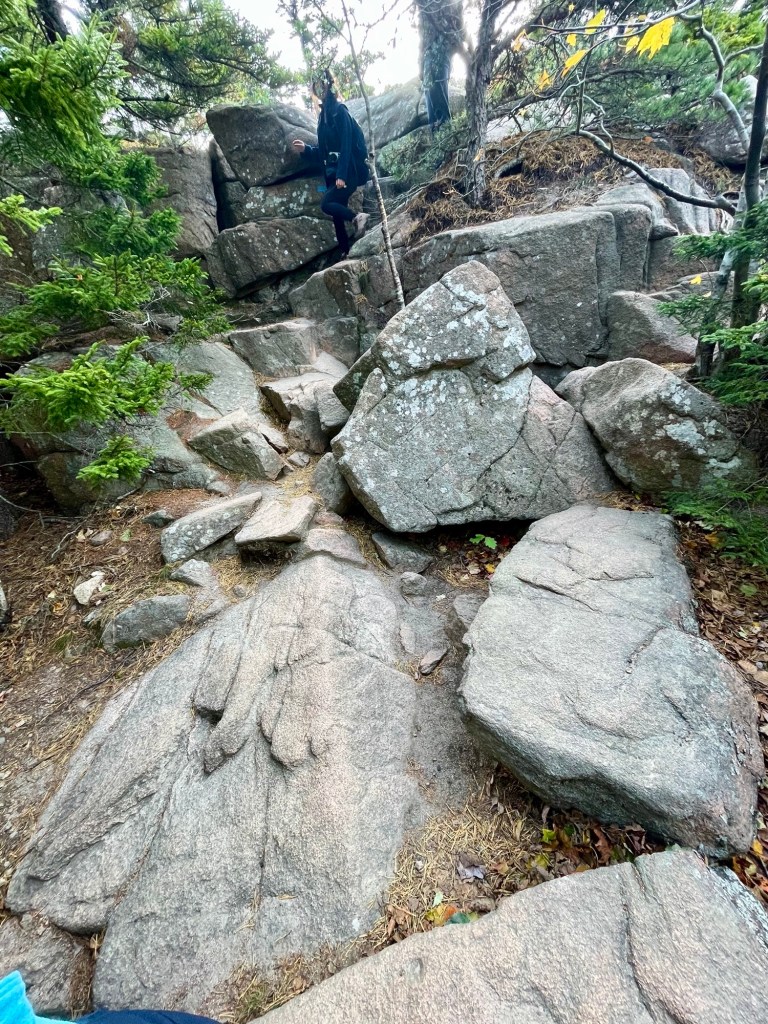
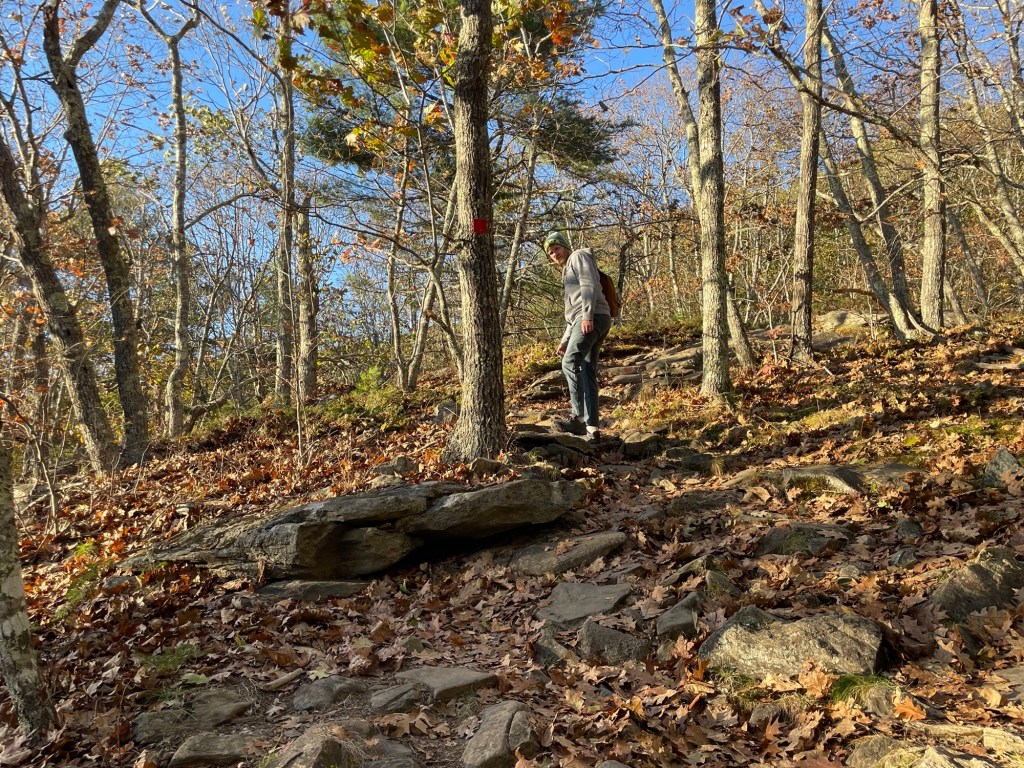
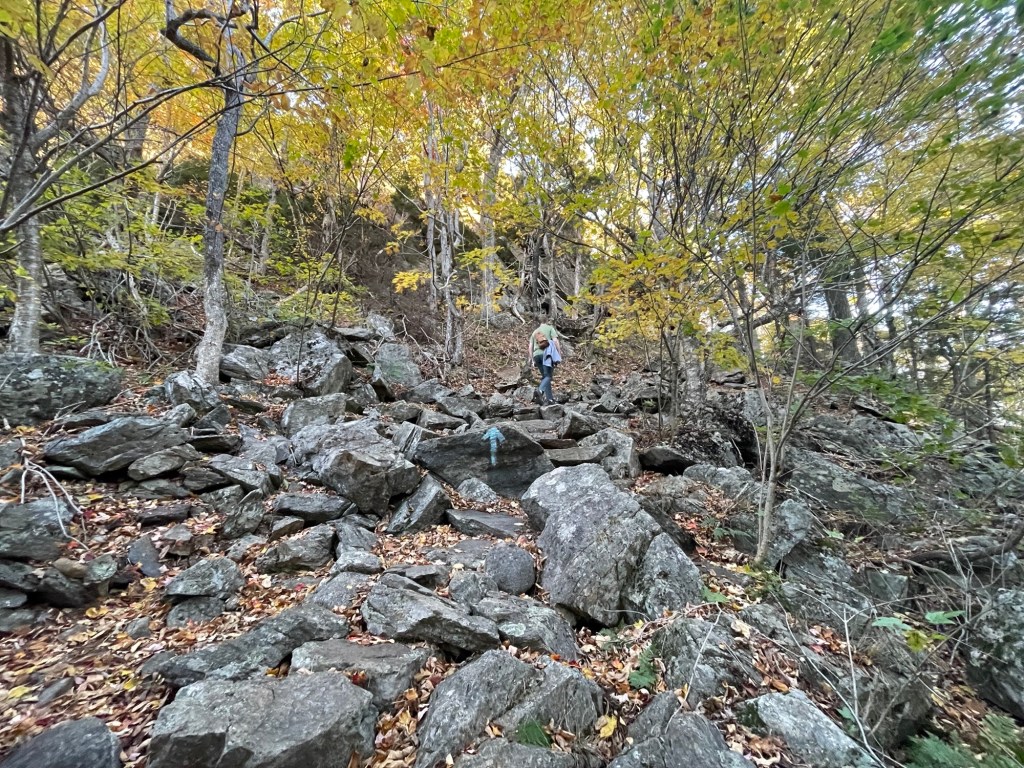
Bring good hiking gear
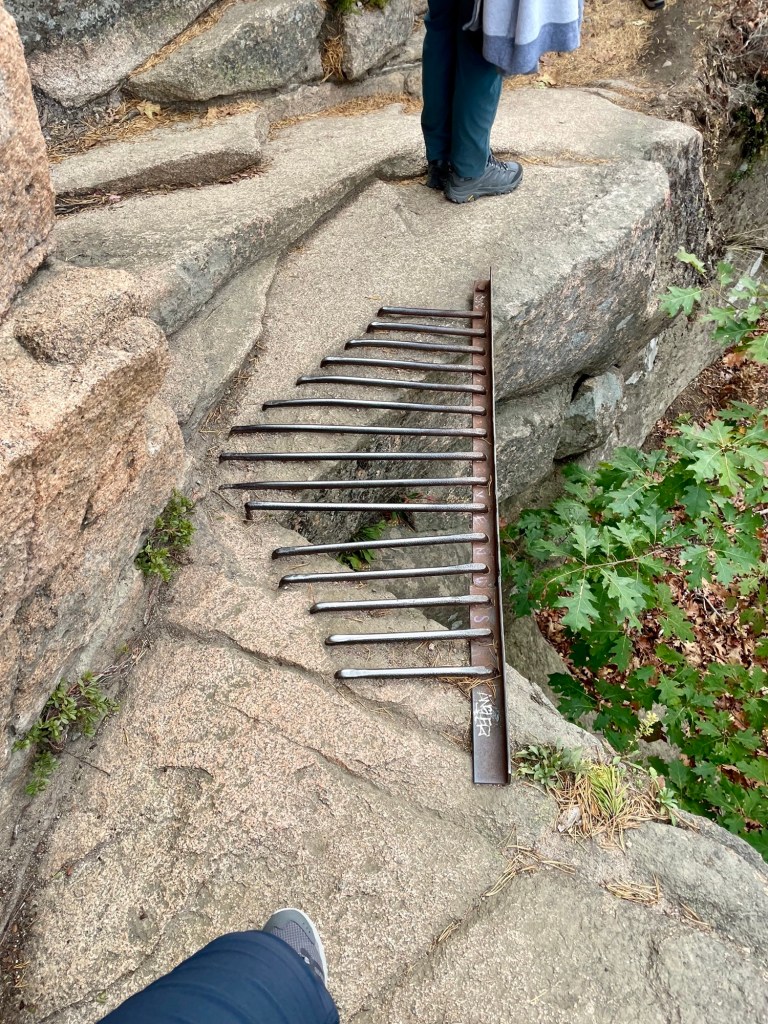
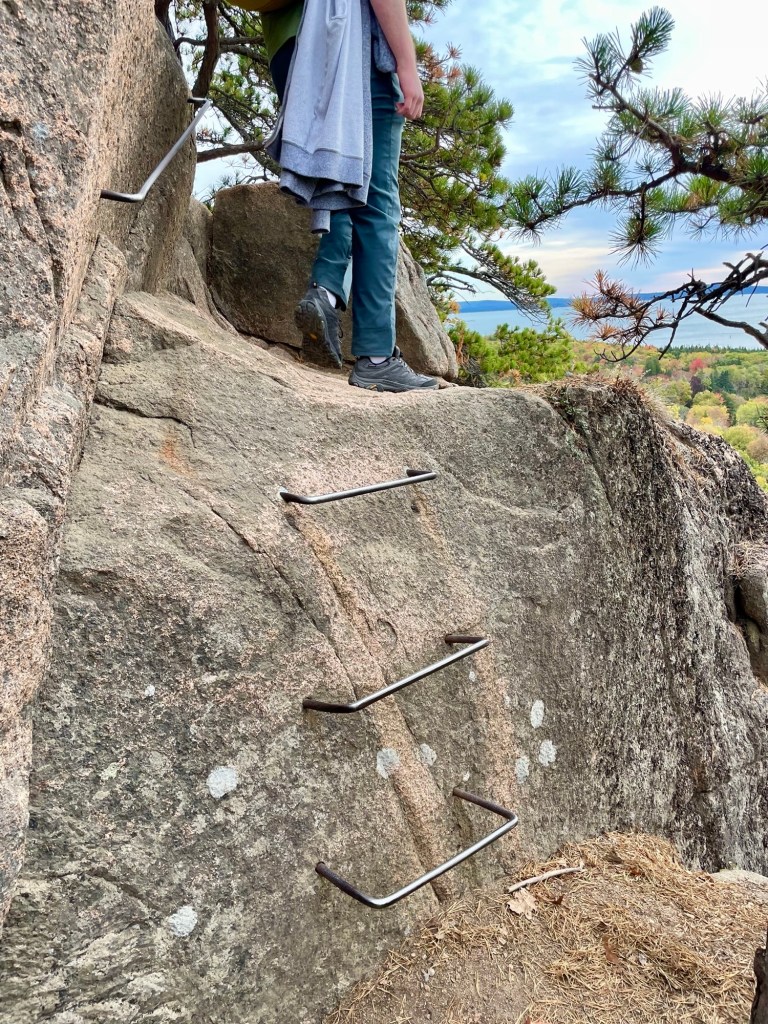
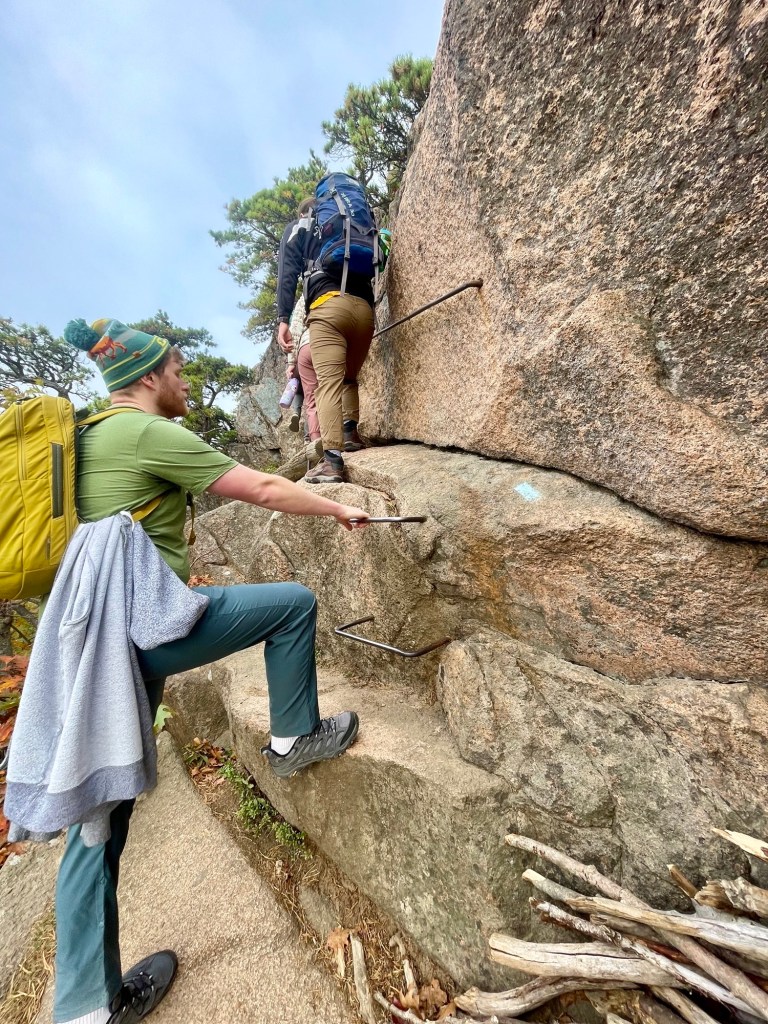
There are plenty of rock-scrambling and cliff-side hikes to embark on in Acadia. If you plan on trekking through these popular hikes, a reliable pair of hiking shoes with good grip is a must! There’s also rock-climbing involved in some of the trails, so I’d also recommend a good pair of hiking pants that will hold up against abrasive surfaces. Hiking sticks can be useful, but depending on your hike, there are some trails that will require your hands to climb up and down rocks and hold on to iron rungs.
Print your park pass before you go
You need to display the Acadia park pass in your windshield when you park. Remember to have it printed and ready to go before you travel or hope that your hotel or accommodation will have a printer you can borrow.
Best Things to Do:
A summary of the best things to do:
- Stroll along Ocean Path for coastal views
- Check out the crashing waves at Thunder Hole 2 hours before high tide
- Hike the Beehive Trail
- Hike the Jordan trails, including the South Bubble Summit
- Eat popovers at Jordan Pond House Restaurant
- Watch the sunrise at Cadillac Mountain (make sure you reserve a vehicle spot ahead of time)
- Explore the small town of Bar harbor
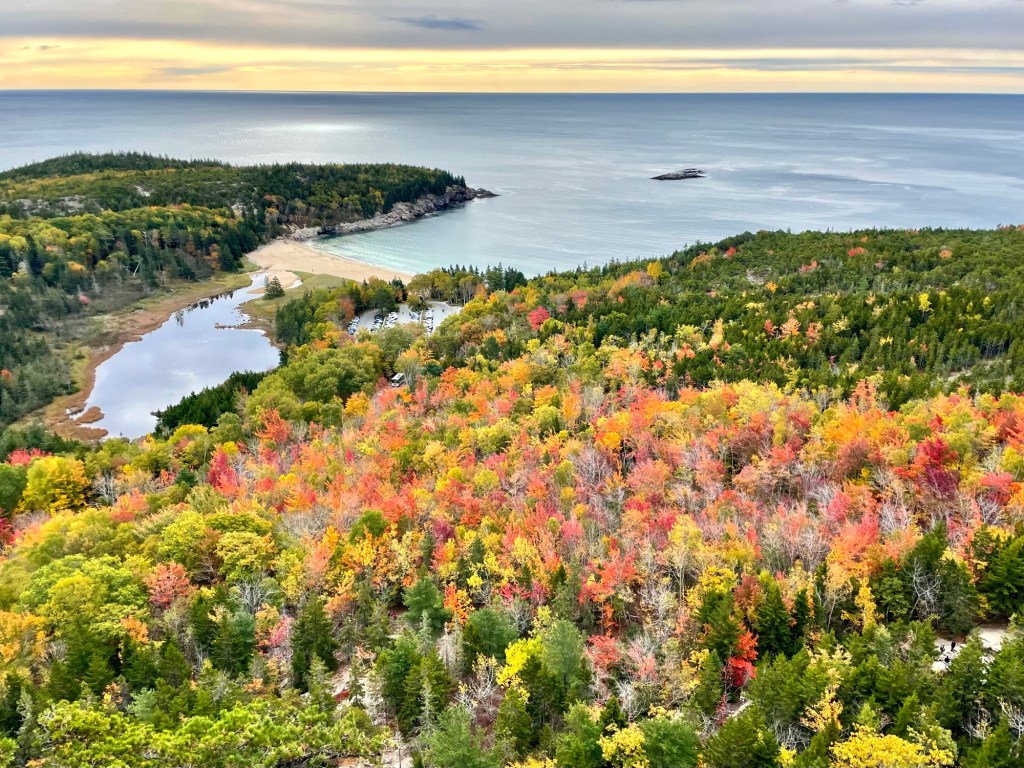
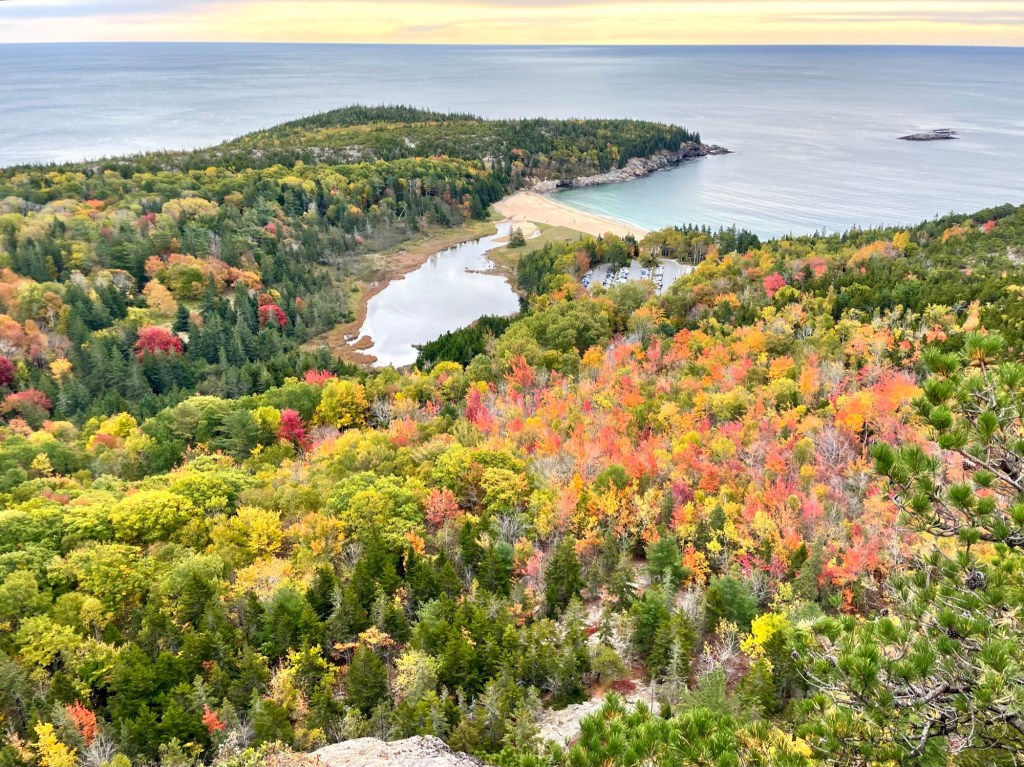
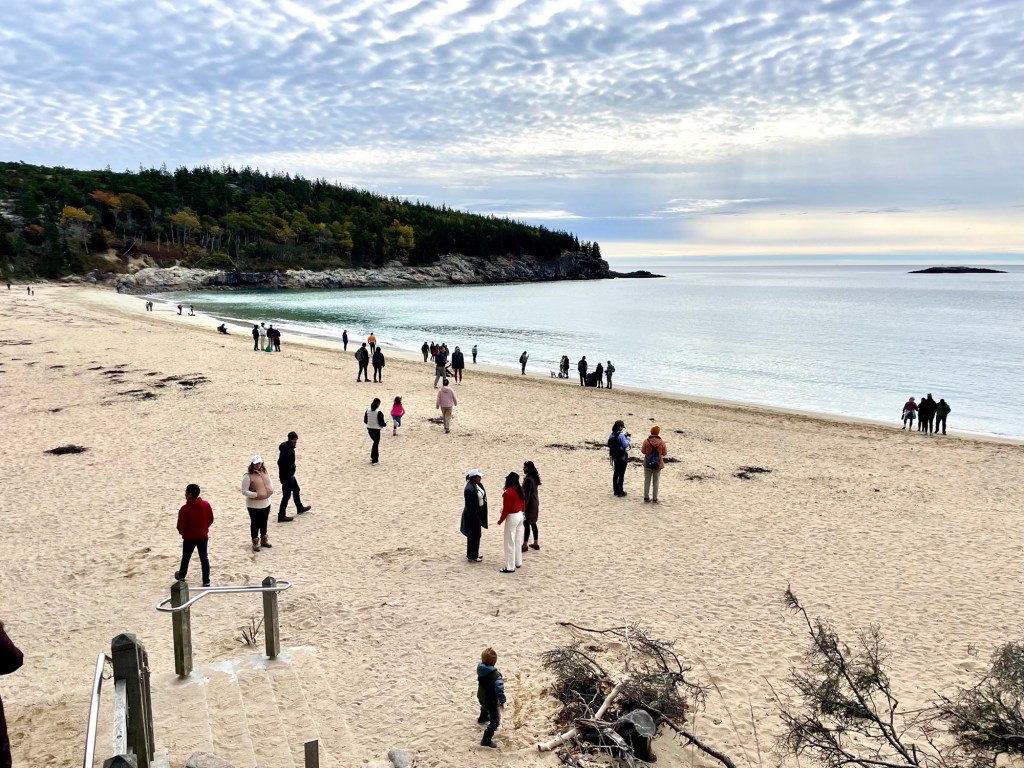
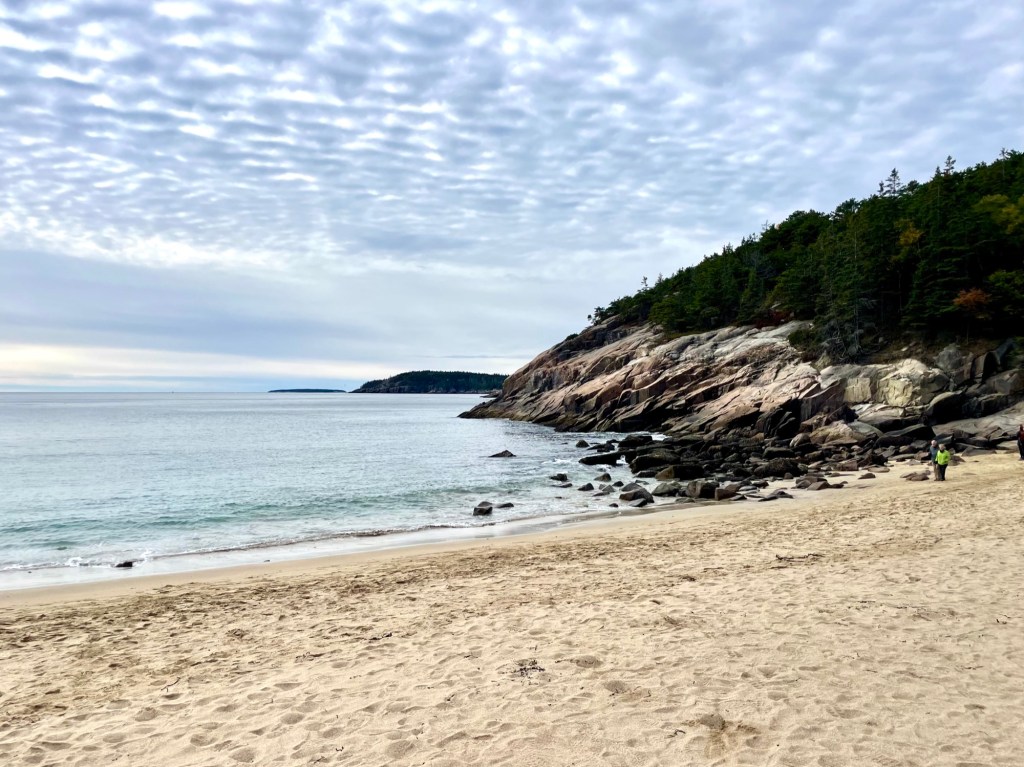
Sand Beach
This is the largest sandy beach in Mount Desert Island and unsurprisingly is a very popular spot in the summertime. This open beach is a lovely place to relax and enjoy the views and sounds of crashing waves or to rest your legs after a long hike. We came here during the fall so the weather was a bit chilly for swimming, but there were still plenty of families here with children playing in the sand.
To access Sand Beach, park at the Sand Beach parking lot and it’s only a few steps away.

Ocean Path
Distance: 6.6km (3.3km each way)
Duration: 1.5 hours out and back, not counting time for photos
Trail type: out & back
Start: Sand Beach parking lot
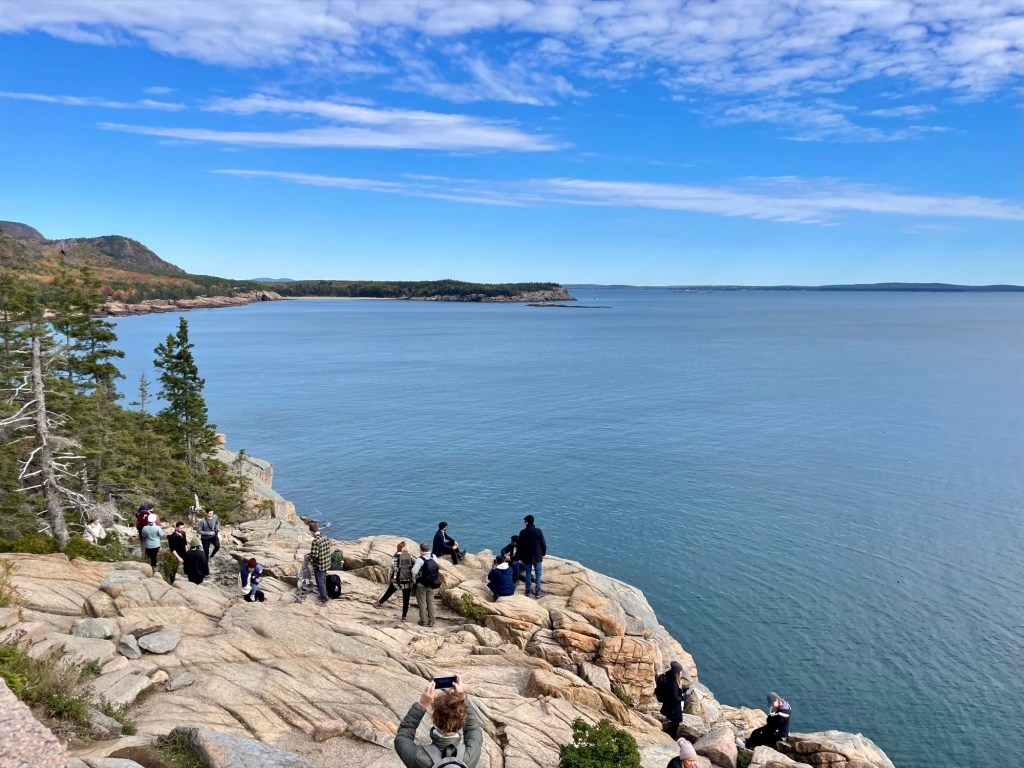
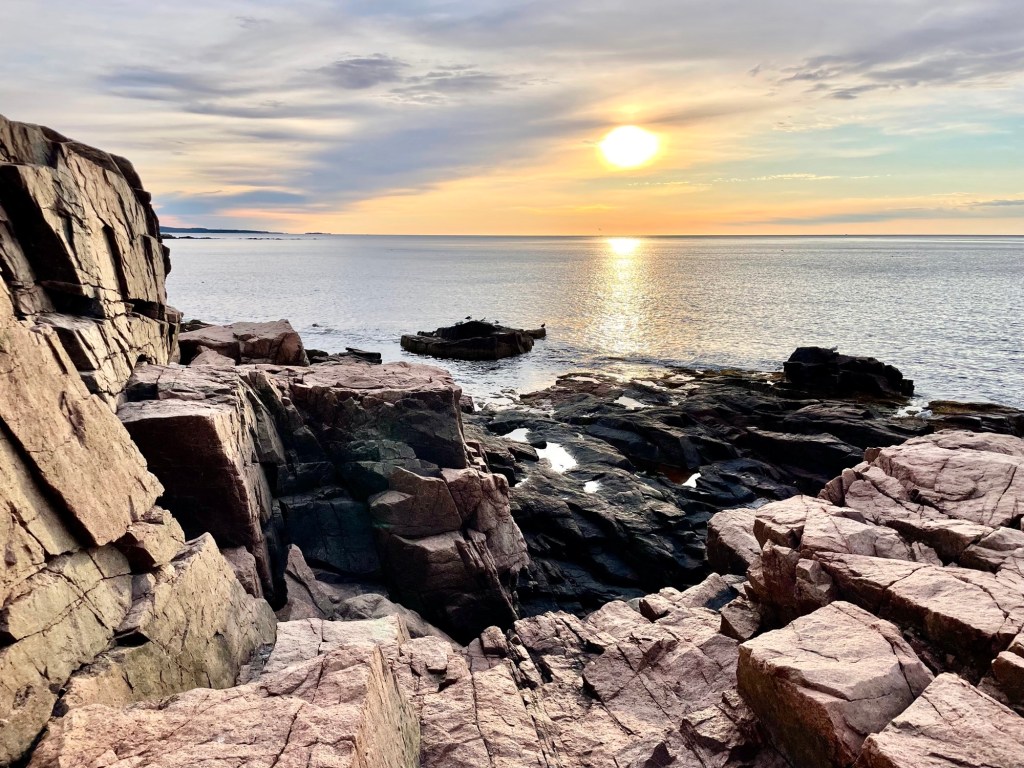
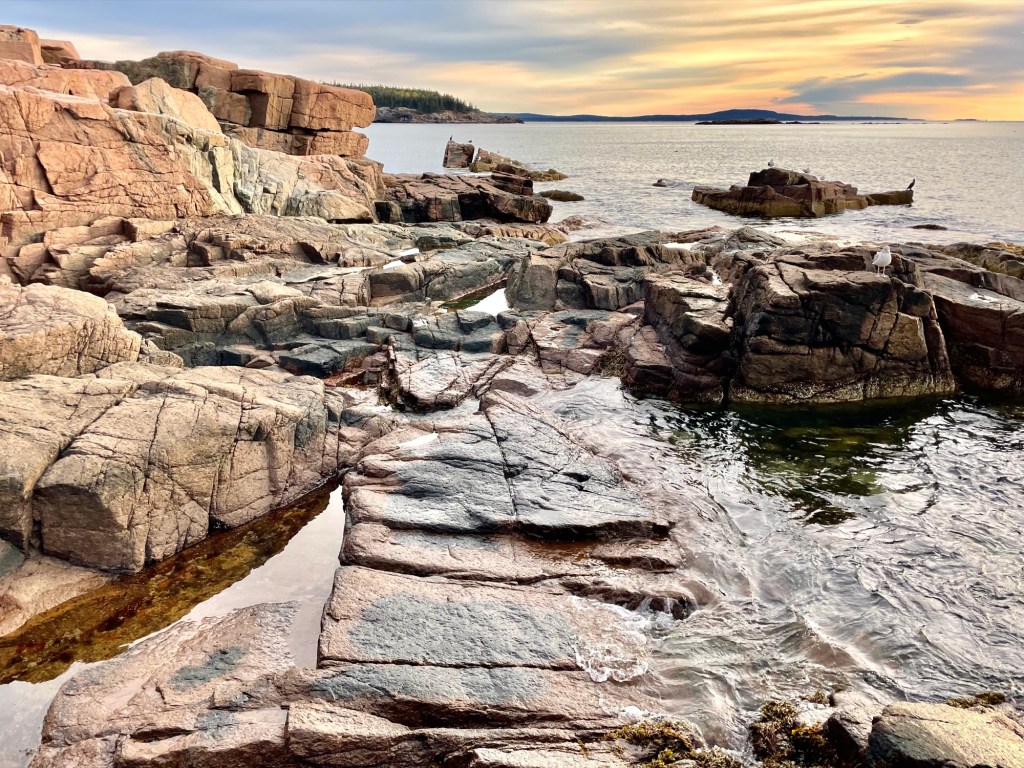
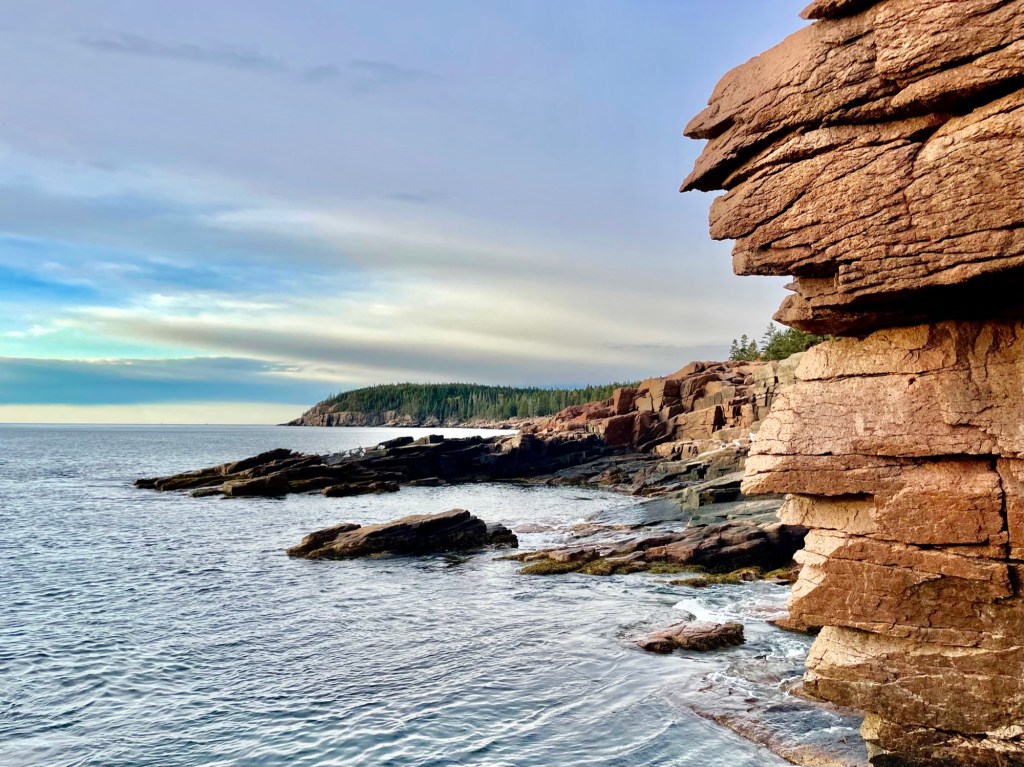
Ocean Path is a lovely walking path along the coast of Maine. The path is narrow and follows along Park Loop Road, but there are multiple small paths to diverge off in the trail to get closer to the views and rocky terrain, best for that perfect Acadia photo. This path is flat and easy to walk on, popular for runners, hikers, photographers, and bird-watchers.


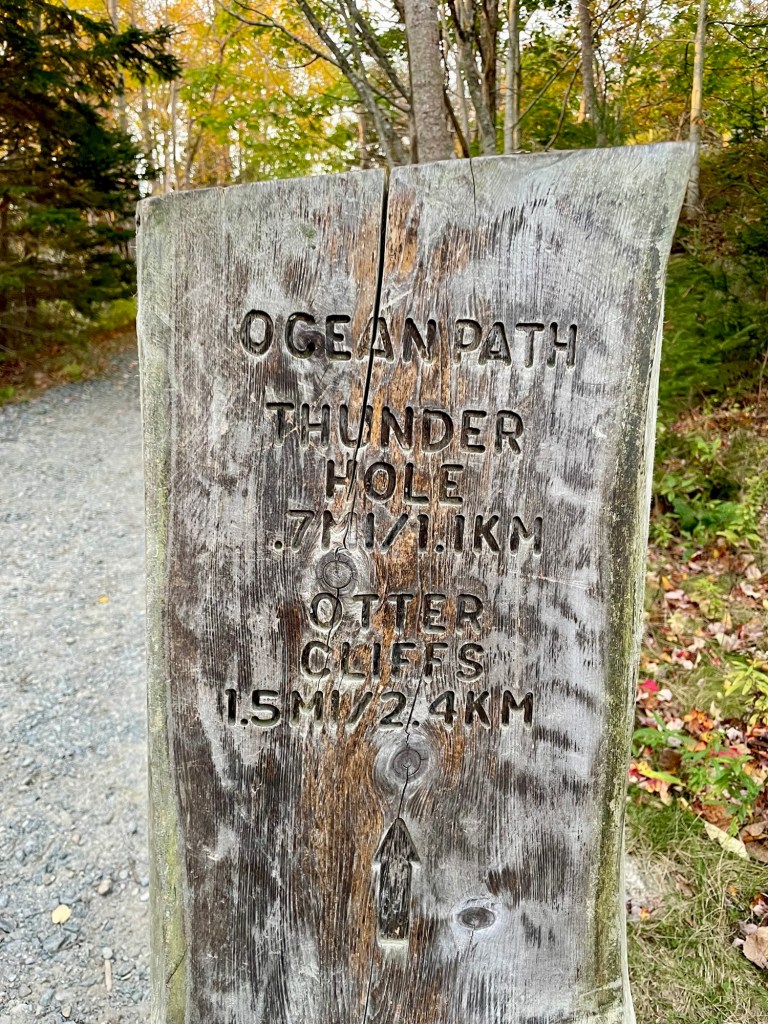
This out and back path starts at Sand Beach parking lot and continues for 3.3km, ending at Otter Point Overlook. Apart from enjoying the views along the way, there are 4 main stopovers on this path: 1) Thunder Hole, 2) Otter Cliff Overlook, 3) Boulder Beach and 4) Otter Point Overlook (marked on the map).
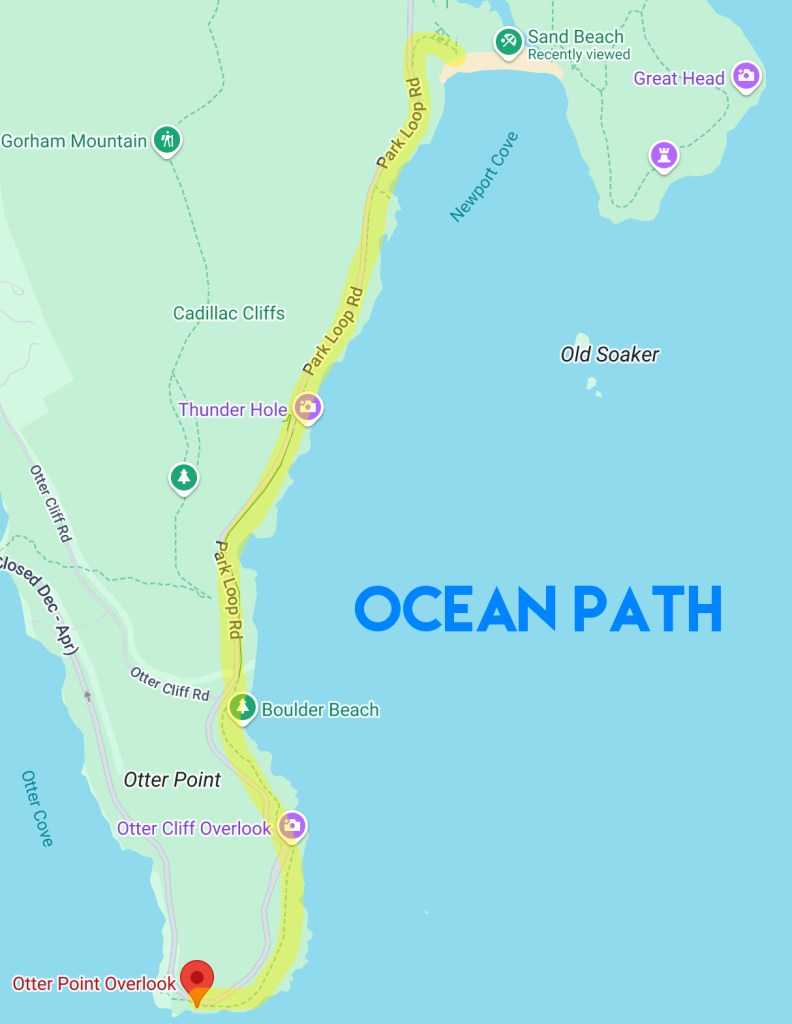
You can choose to walk as much or as little of this path as you like. If you don’t feel like walking, you can drive down Park Loop Road and you’ll see turn offs for small parking lots at each of the stops (but I’d recommend walking to see the views along the way). Note: Park Loop Road is a one-way road to accommodate for road-side parking, so you can only travel from North to South by car.
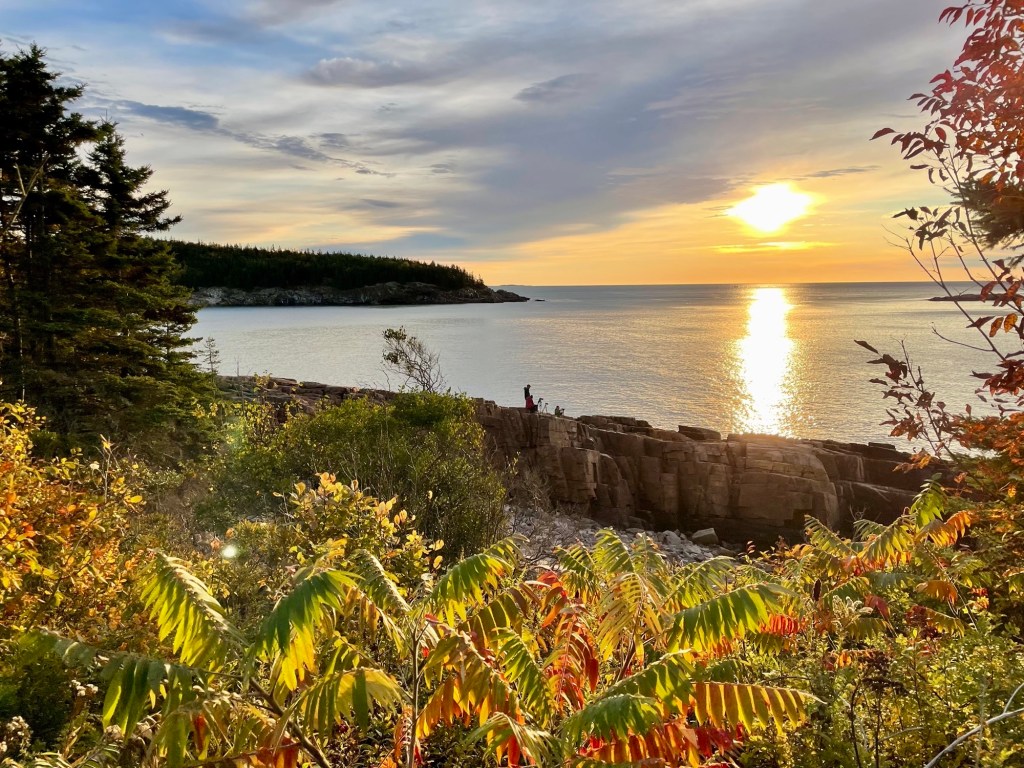
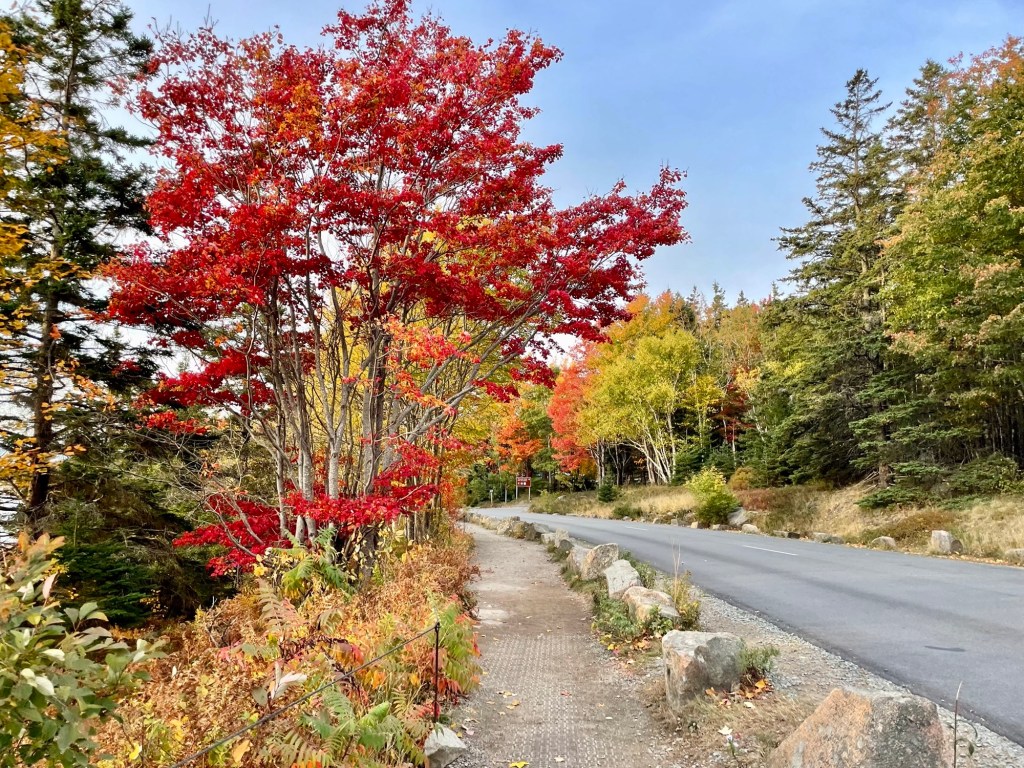
Some photos along Ocean Path on our way to and back from Thunder Hole:


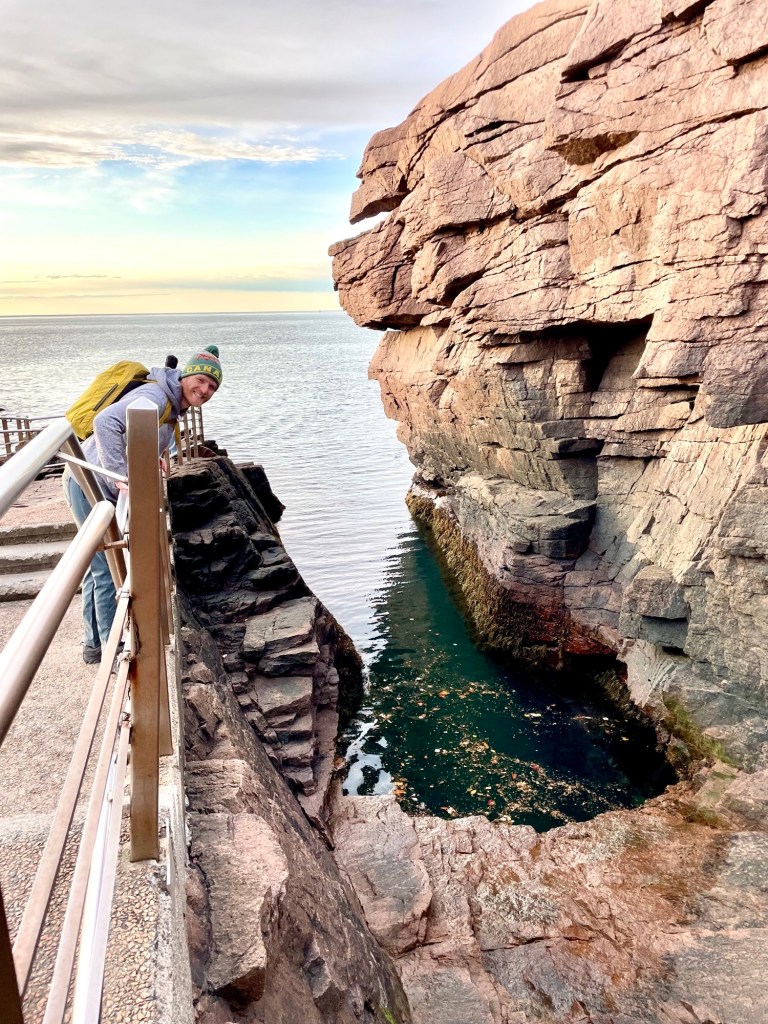
Thunder Hole
Thunder Hole is the most popular stop-off on Ocean Path where you can watch waves crash into the rocks, creating a burst splash of water high into the air. You have to come 2 hours before high tide to experience this. We didn’t manage to get our timing right, but it’s still neat to stop over here anyway. It’s roughly a 20 minute walk to Thunder Hole from Sand Beach via Ocean Path with beautiful views along the way.


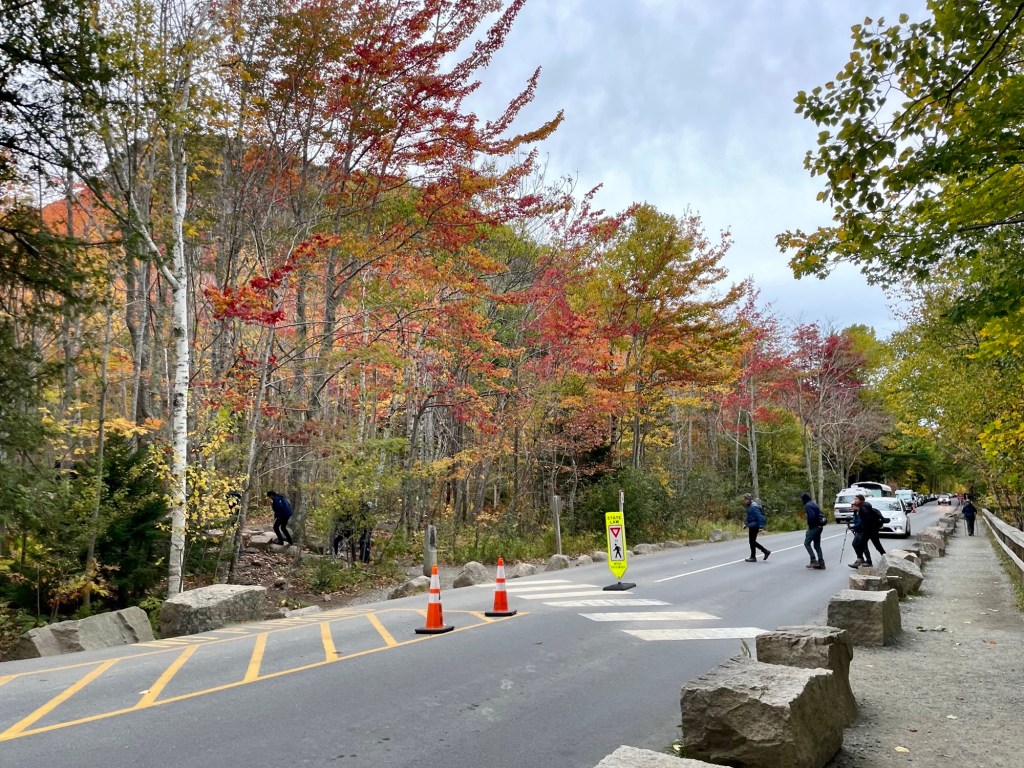
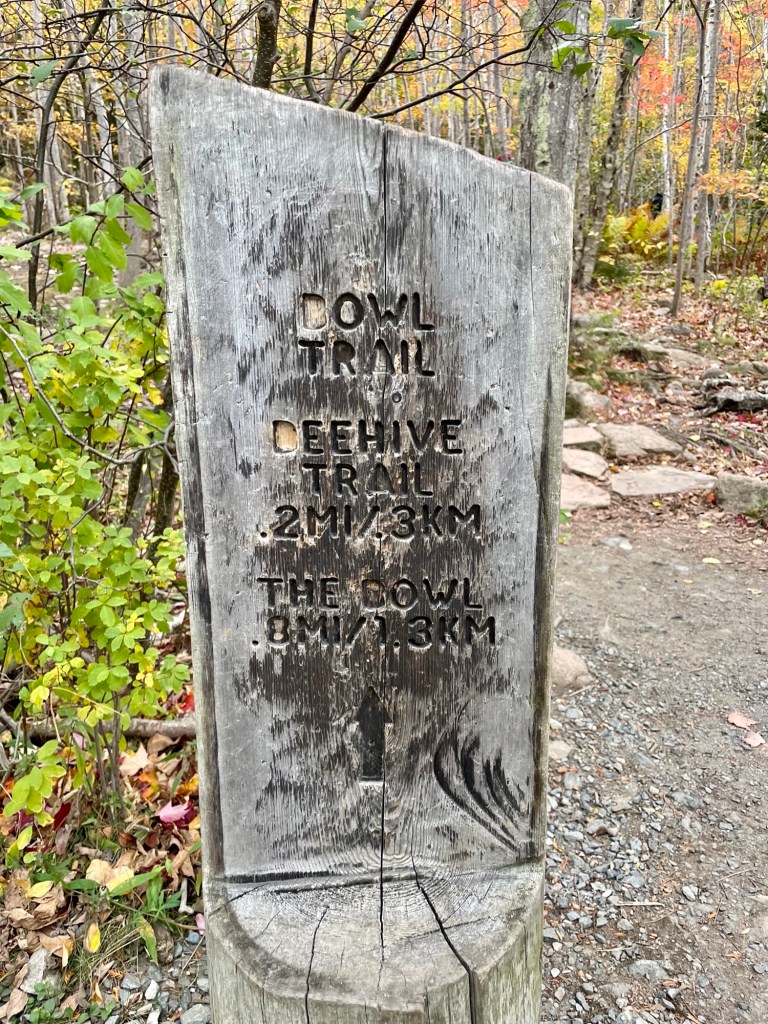
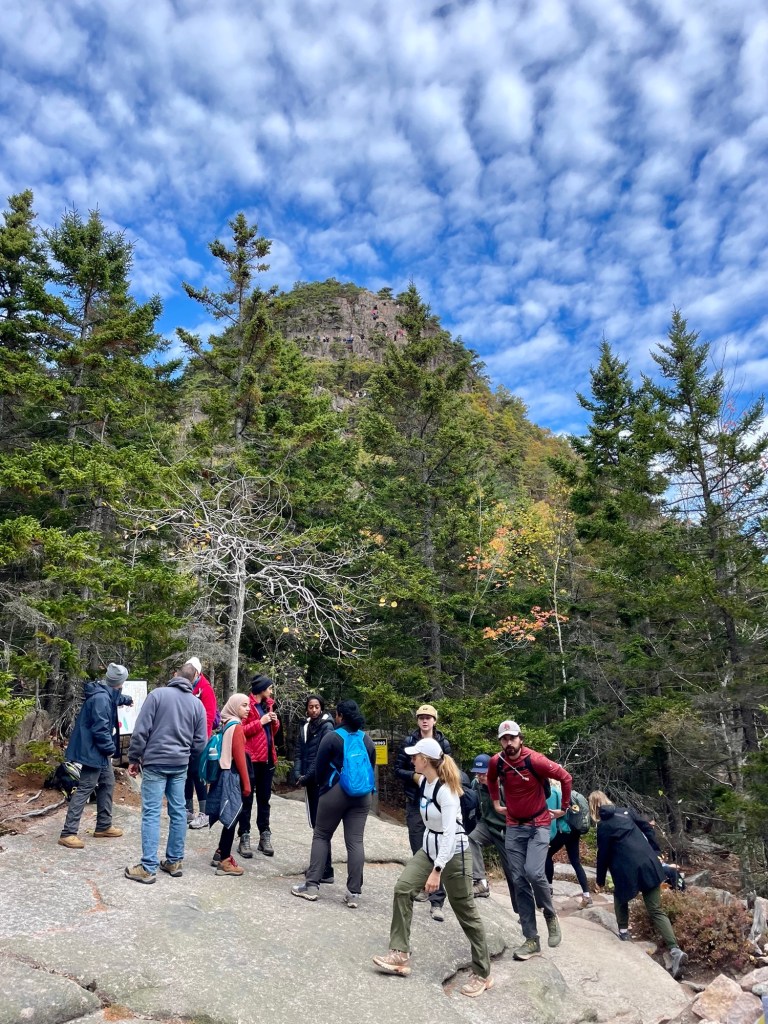
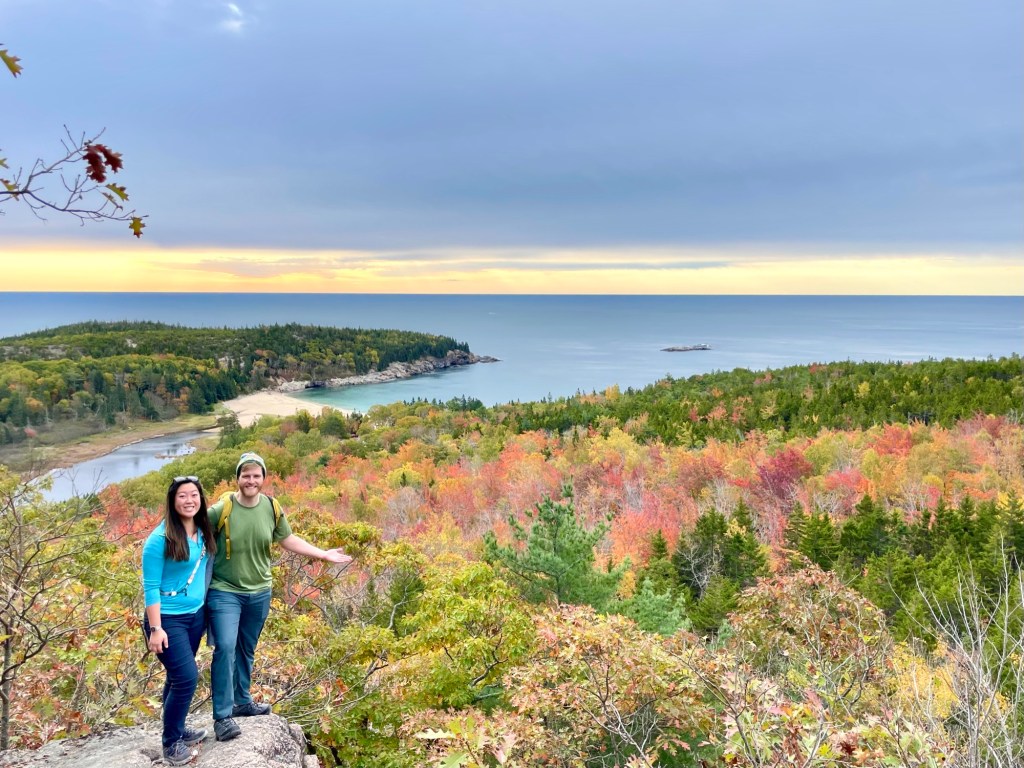
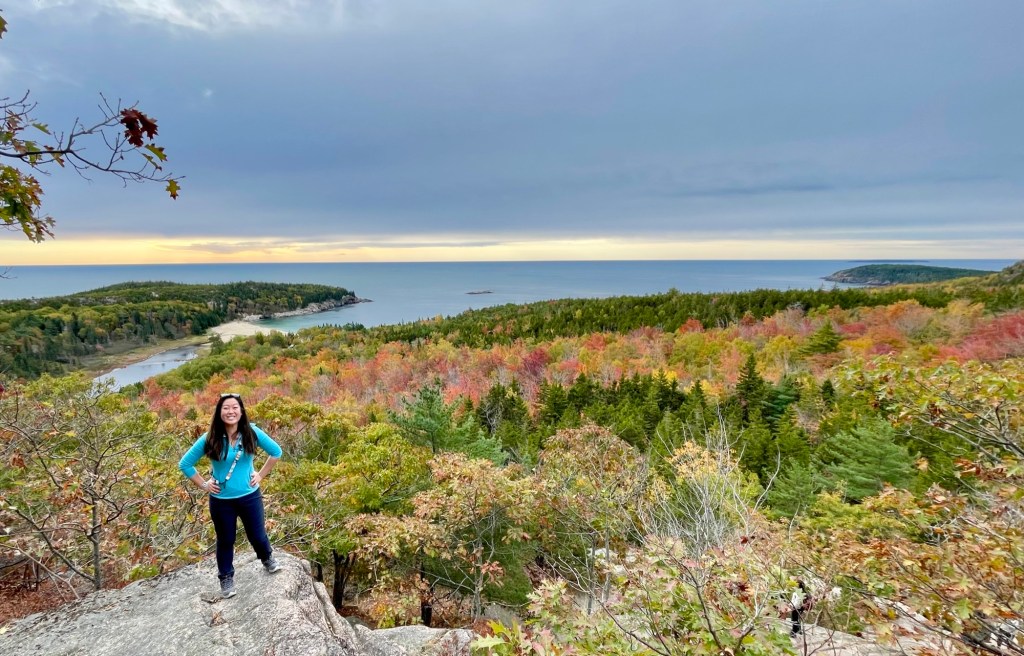
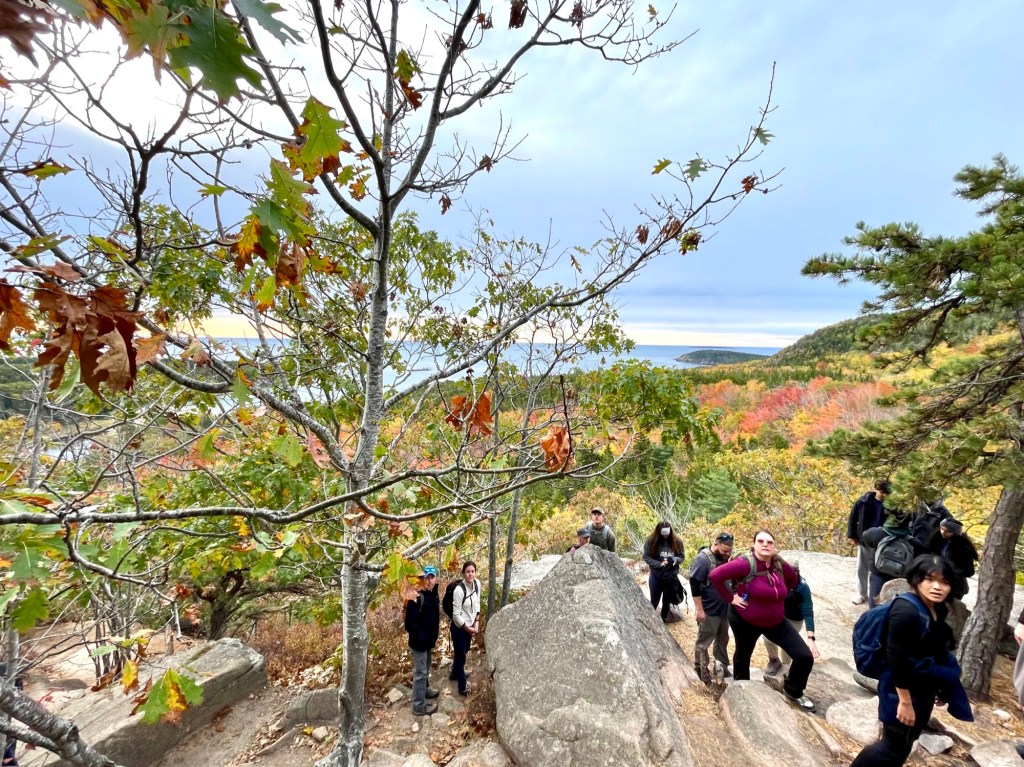
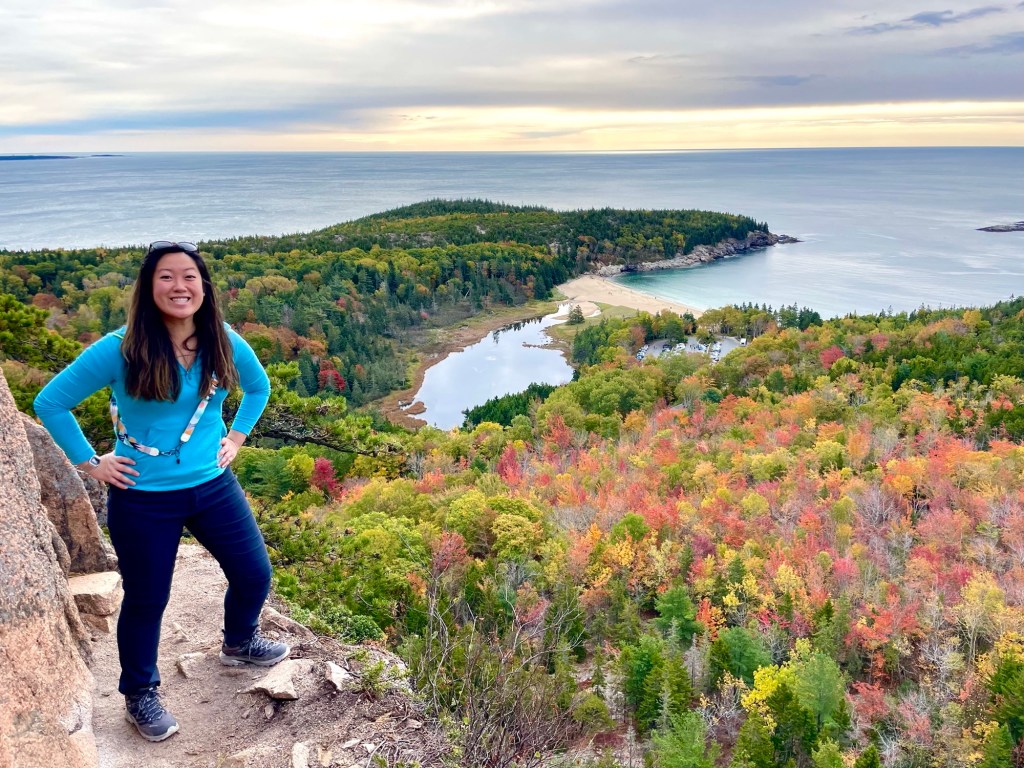
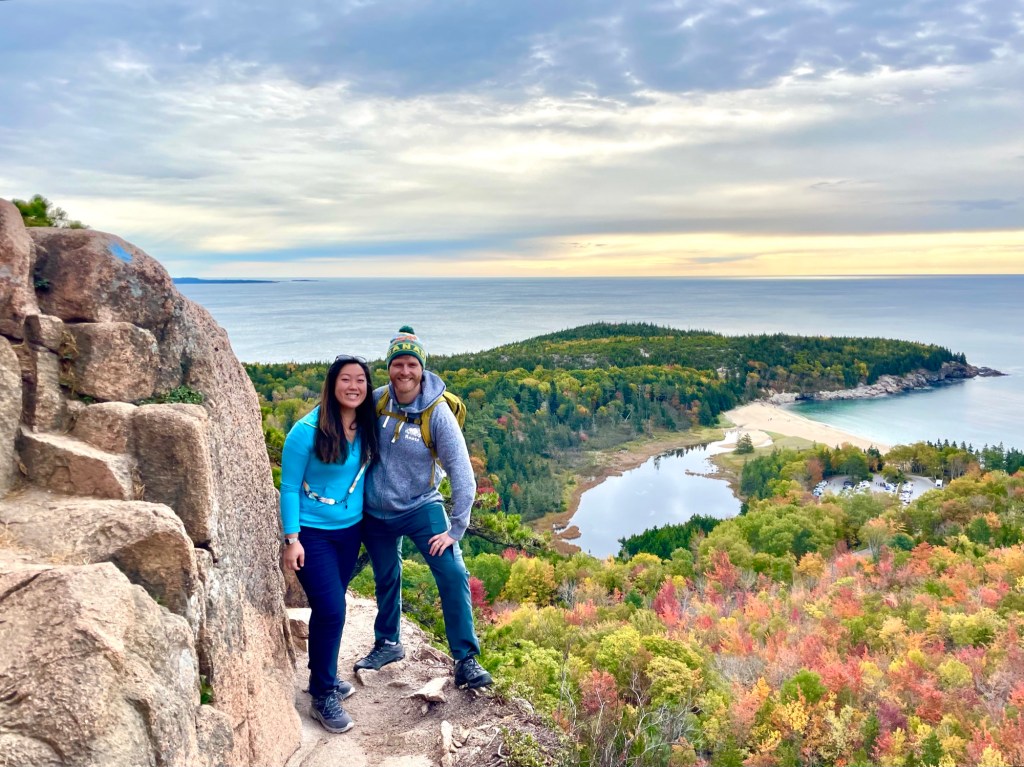
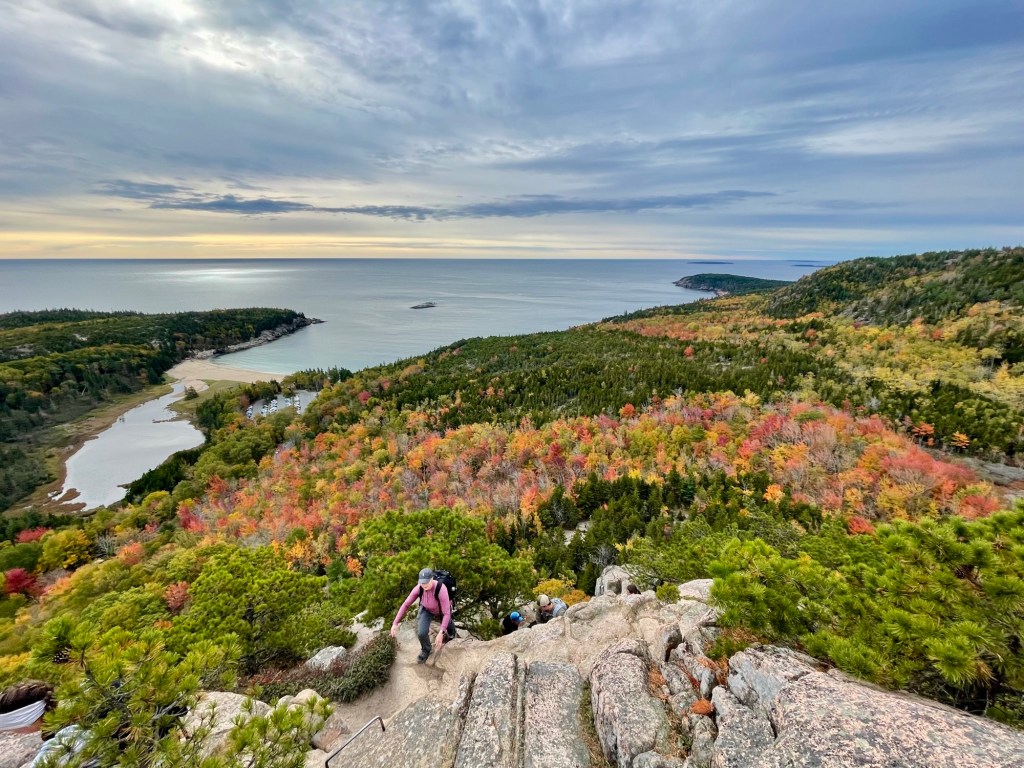
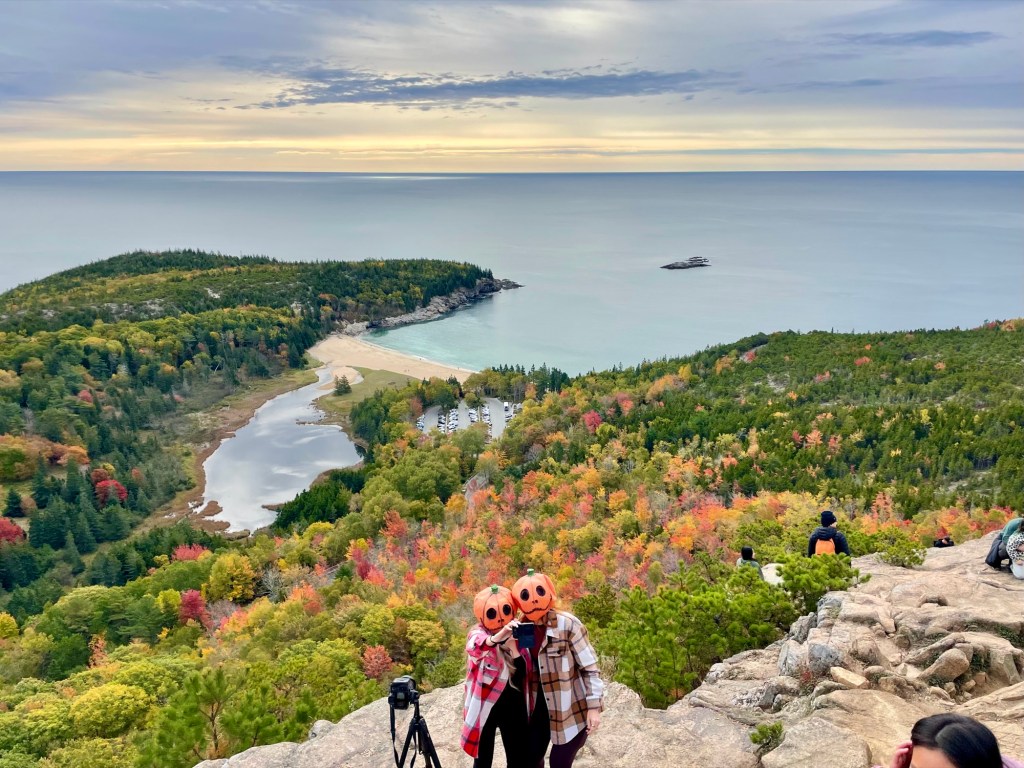
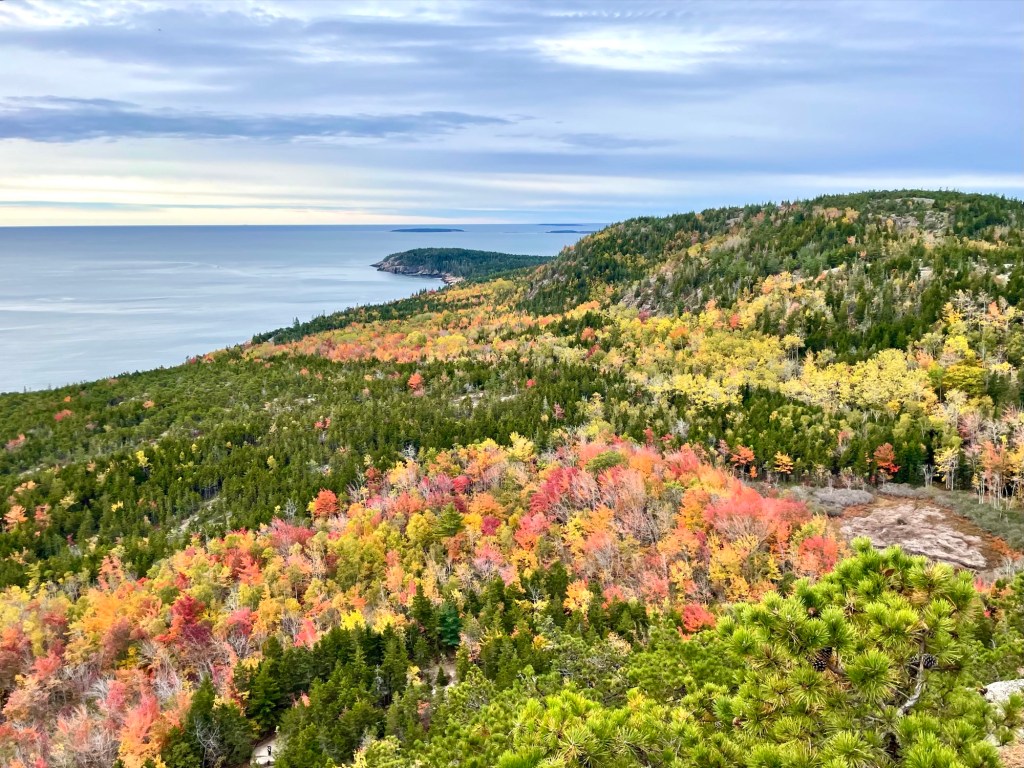
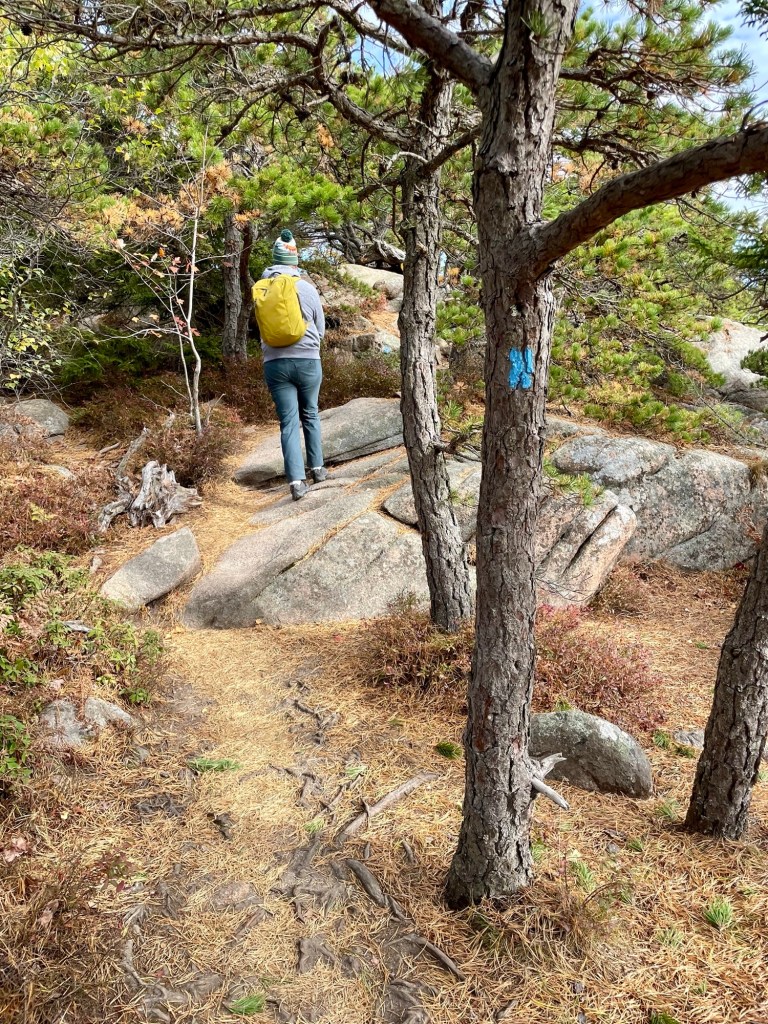
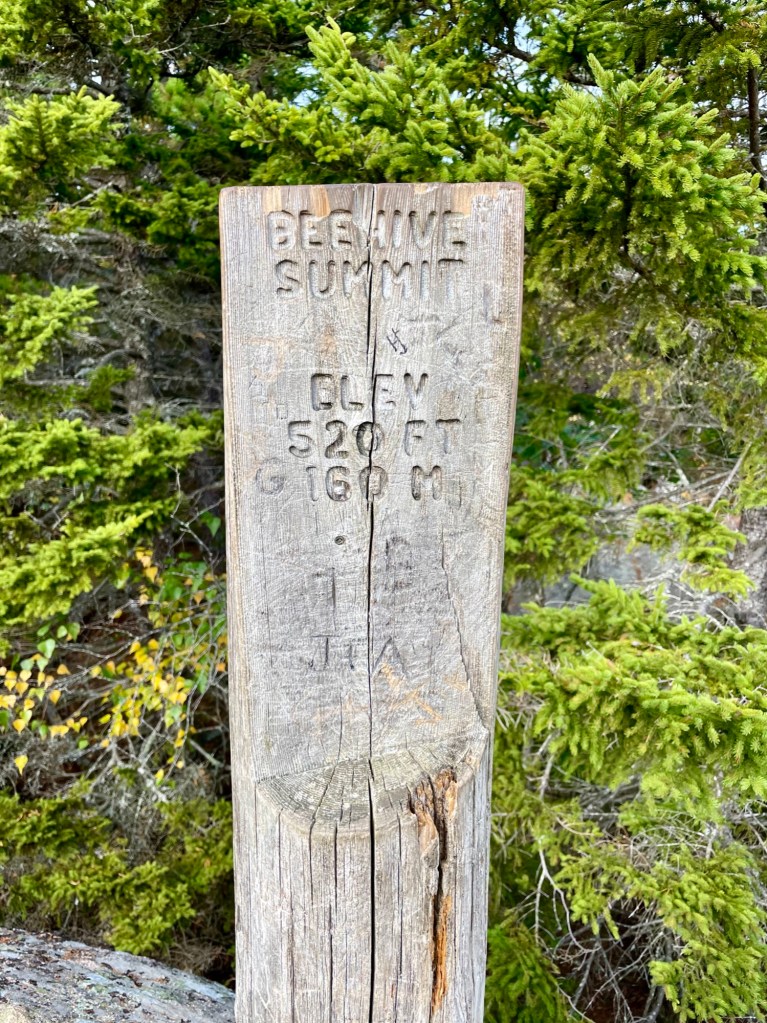
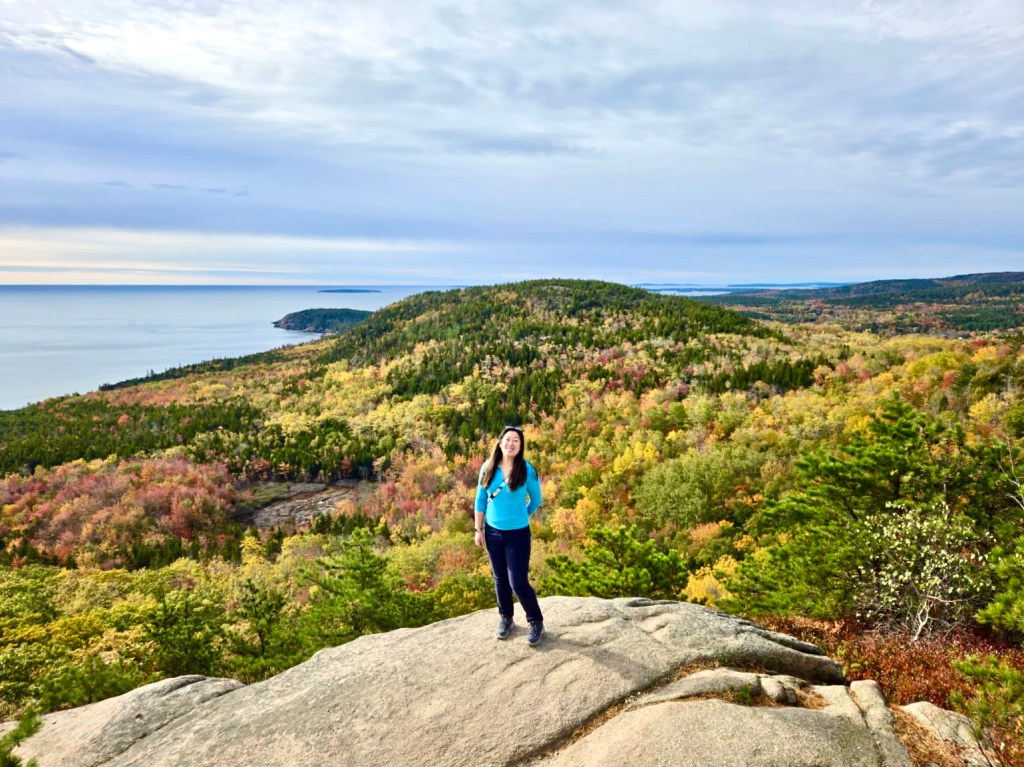
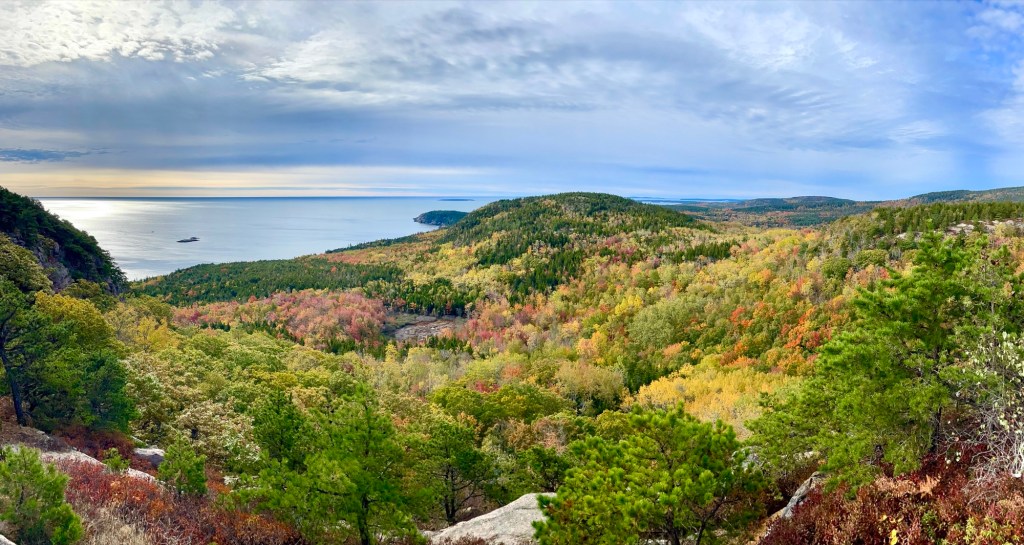
Beehive Trail
The Beehive Trail is one of Acadia National Park’s most popular hikes, offering breath-taking panoramic views. This hike has a reputation for being thrilling and difficult with iron rungs and vertical climbs but we personally didn’t find it bad at all, especially with good pacing. I recommend starting early, wearing good shoes, and dressing in layers. For safety, avoid this hike if it’s raining. Follow this in-depth guide about hiking the Beehive trail here.

Hiking Acadia’s Beehive Trail: A Complete Overview
The Beehive Trail in Acadia National Park is one of the most popular hiking trails known for its stunning panoramic views and challenging vertical climbs. This guide has all the information you need to tackle this trail.
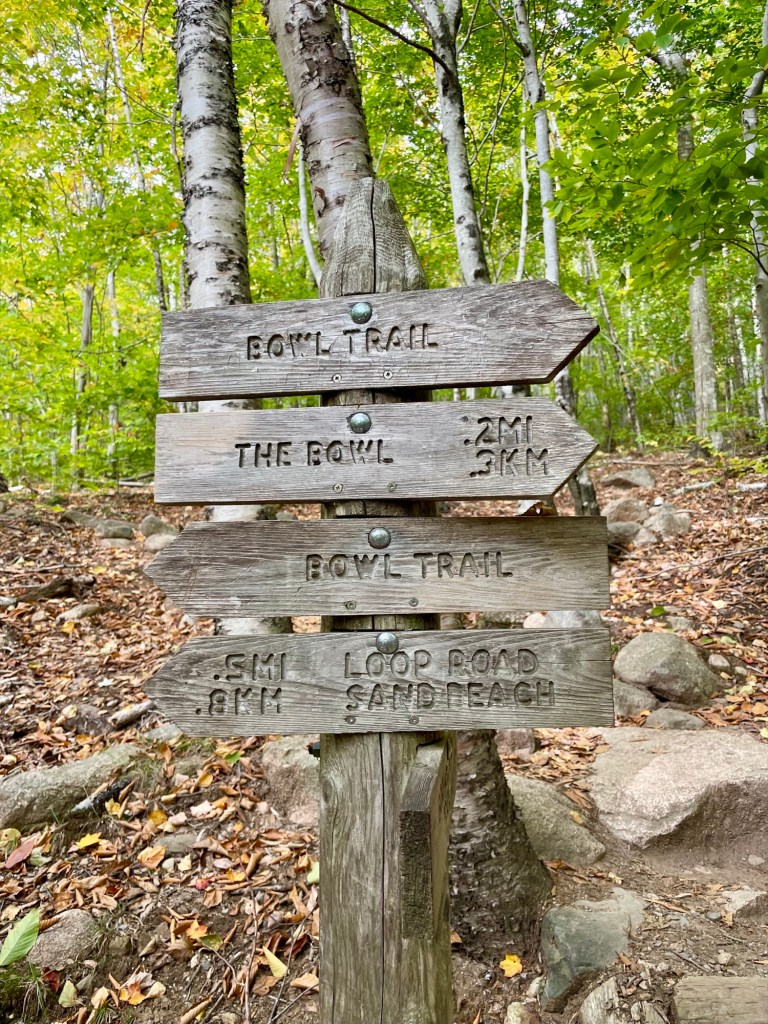
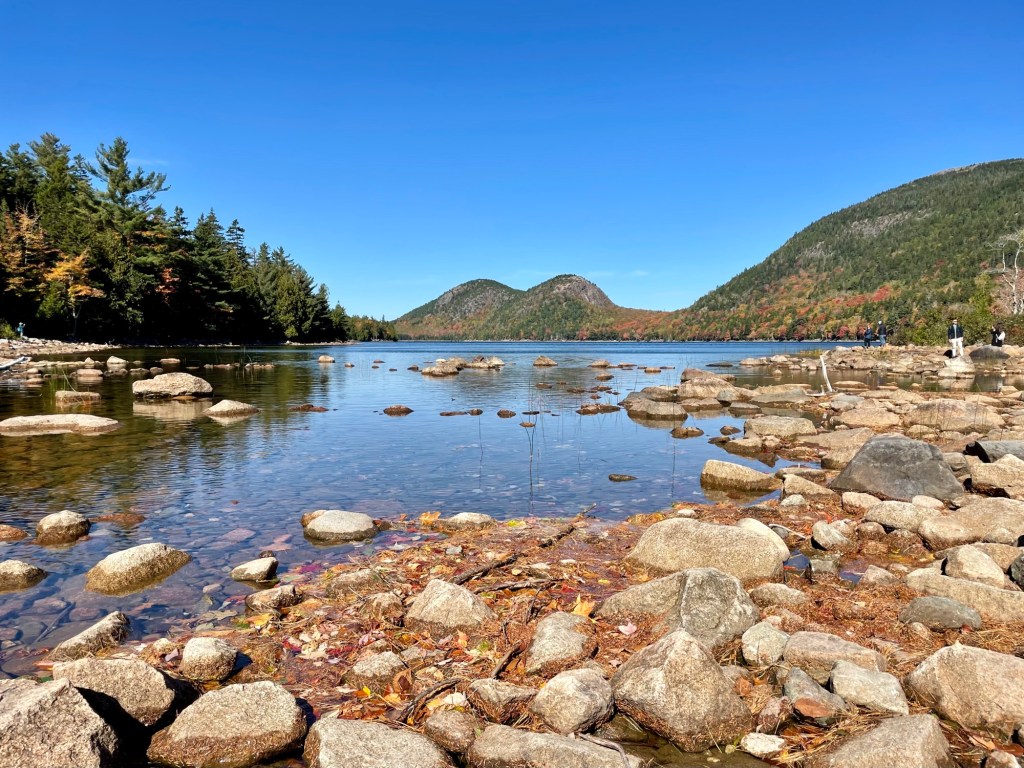
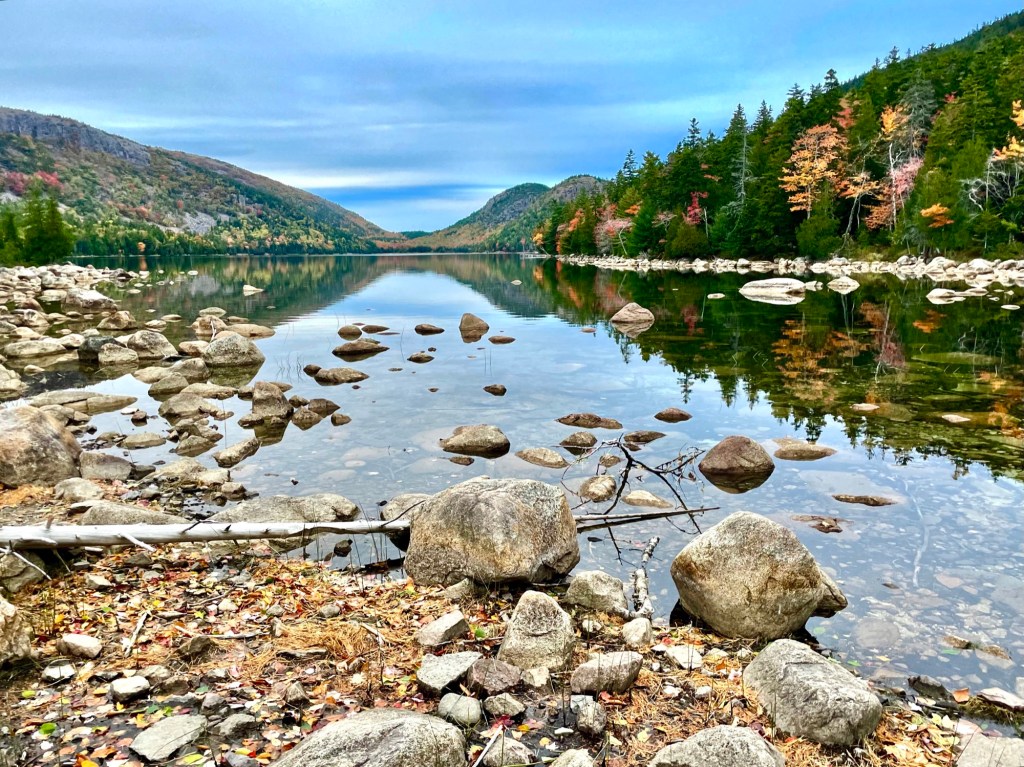
Jordan Pond Trails
There are numerous trails you can hike around the Jordan Pond, and many of them conveniently start at Jordan Pond House Restaurant. The 3 most popular hikes here are the Jordan Pond Path, Jordan Cliffs Trail, and Bubbles Trail. You can also combine all 3 hikes to get the best of all of them – which is what we did! Follow my complete guide to hiking these trails here.


Explore Acadia’s Jordan Pond: Most Popular Trails & Jordan Pond House Restaurant
Jordan Pond is one of the most popular places to visit in Acadia National Park due to its numerous trails, beautiful views, and the ever so popular ‘pop overs’ served at the Jordan Pond House Restaurant. This is a complete guide to the most popular trails with tips on dining at the restaurant.
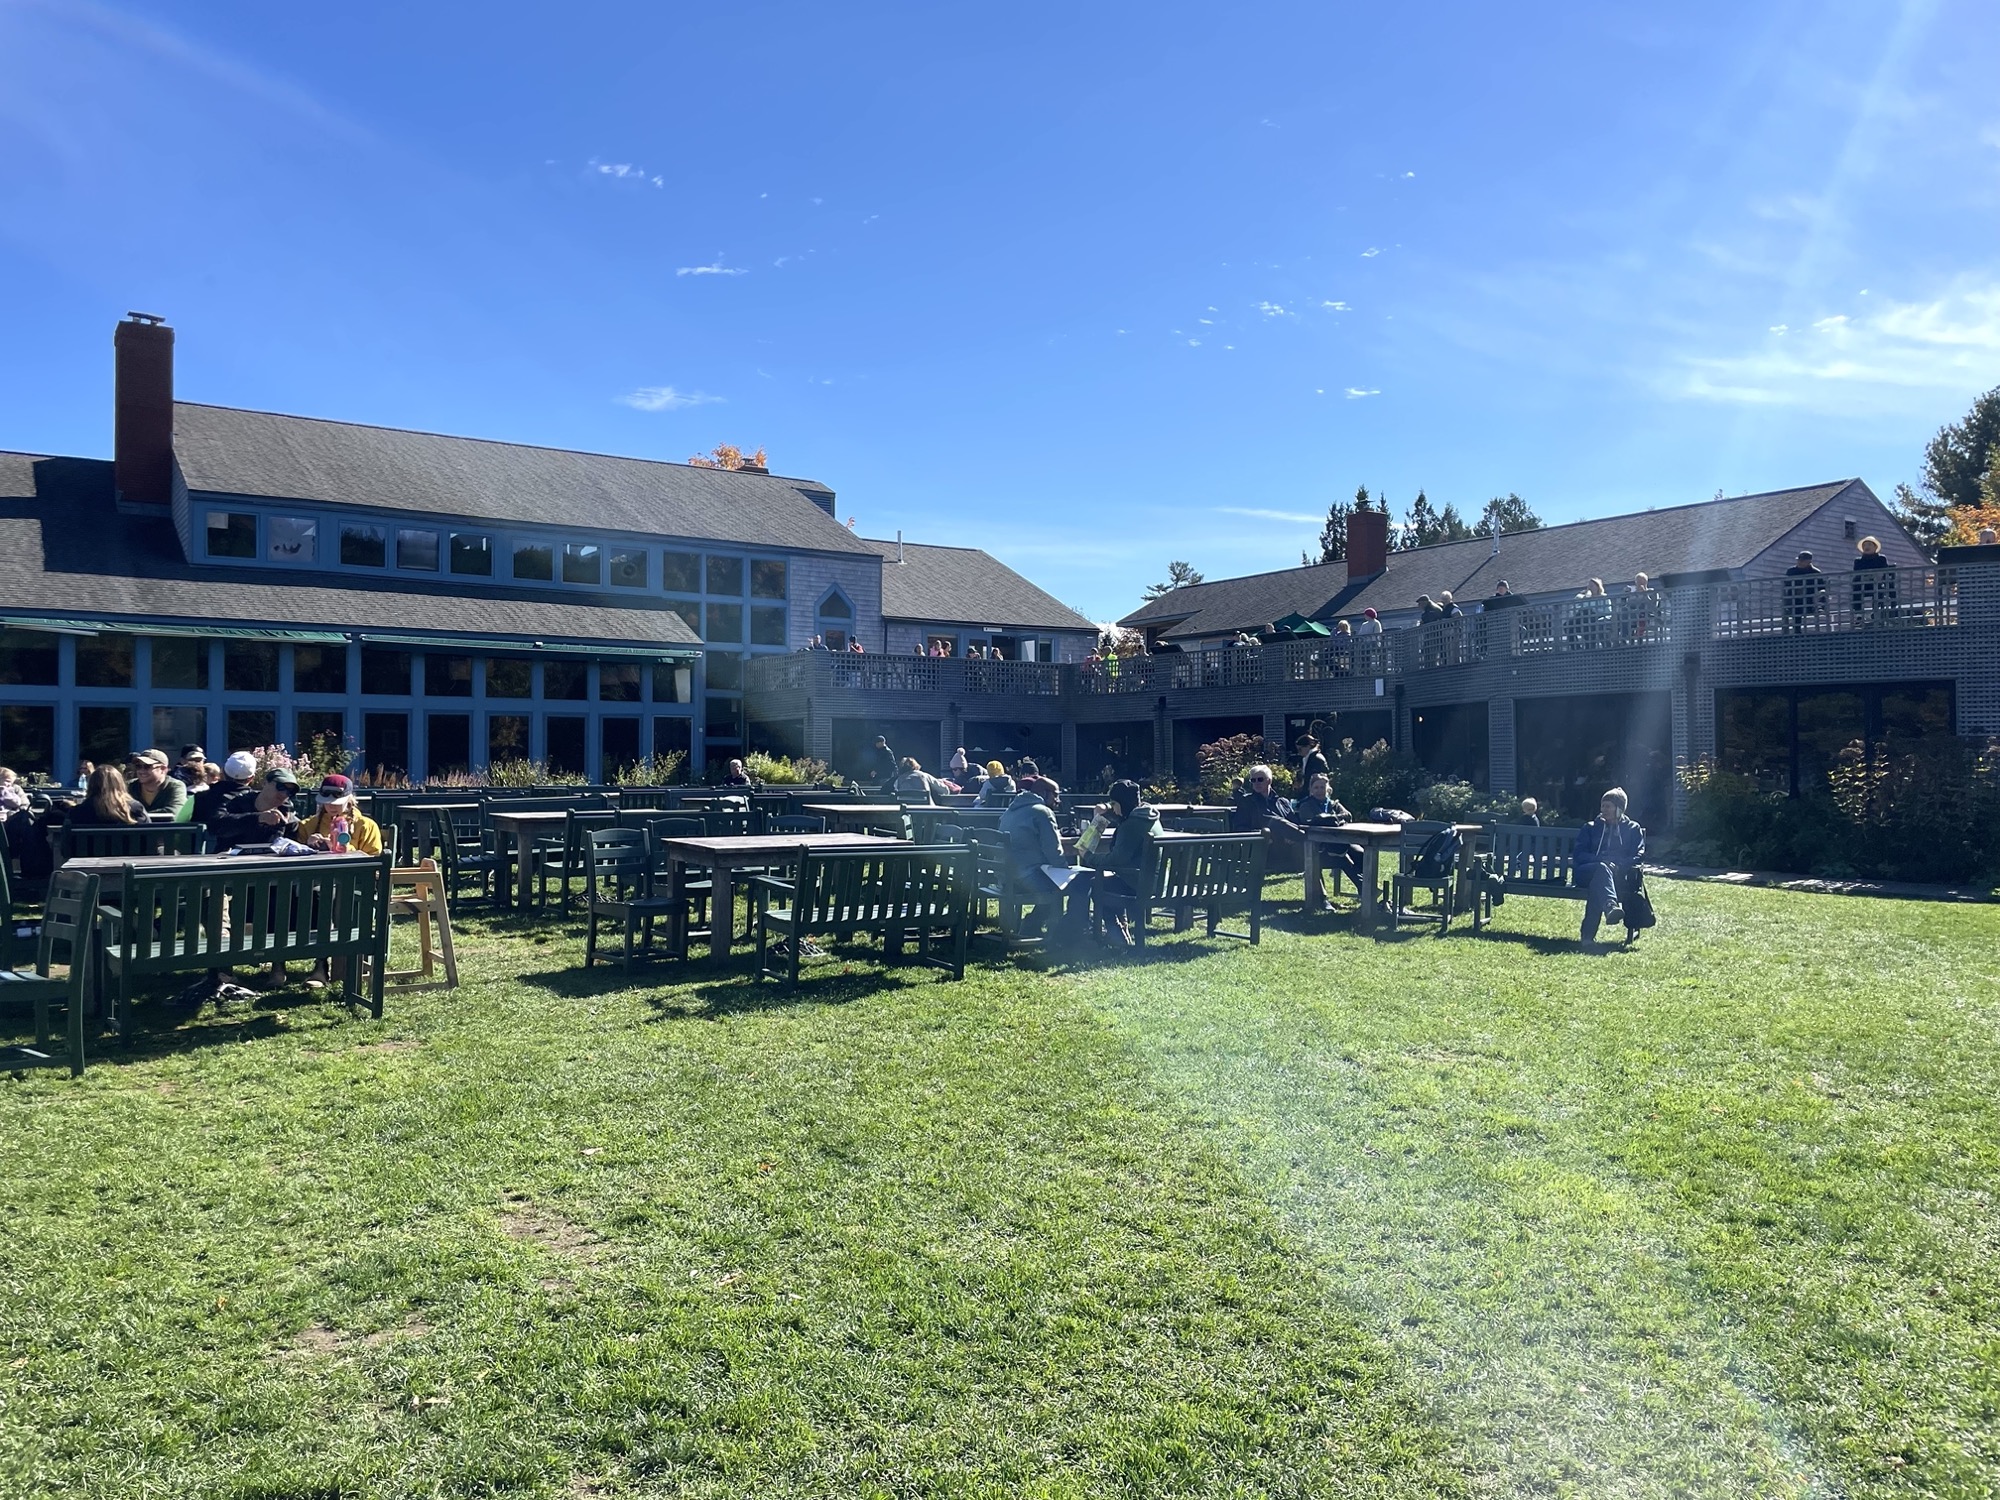
Jordan Pond House Restaurant
Outside of Bar Harbor, there is a very limited selection of restaurants on Mount Desert Island in Acadia National Park. Jordan Pond House Restaurant is the most popular choice not only because of their good food, but also because of its convenient location where many trailheads are located. The back patio of this restaurant also offers views of Jordan Pond and the North and South “bubbles”.
They’re known for their popovers here, which is kind of like a hollow muffin made with a thin batter, served with butter and their local-made jam. It was okay, but for me the star of the meal was their meatloaf sandwich! Find out more about this restaurant here.


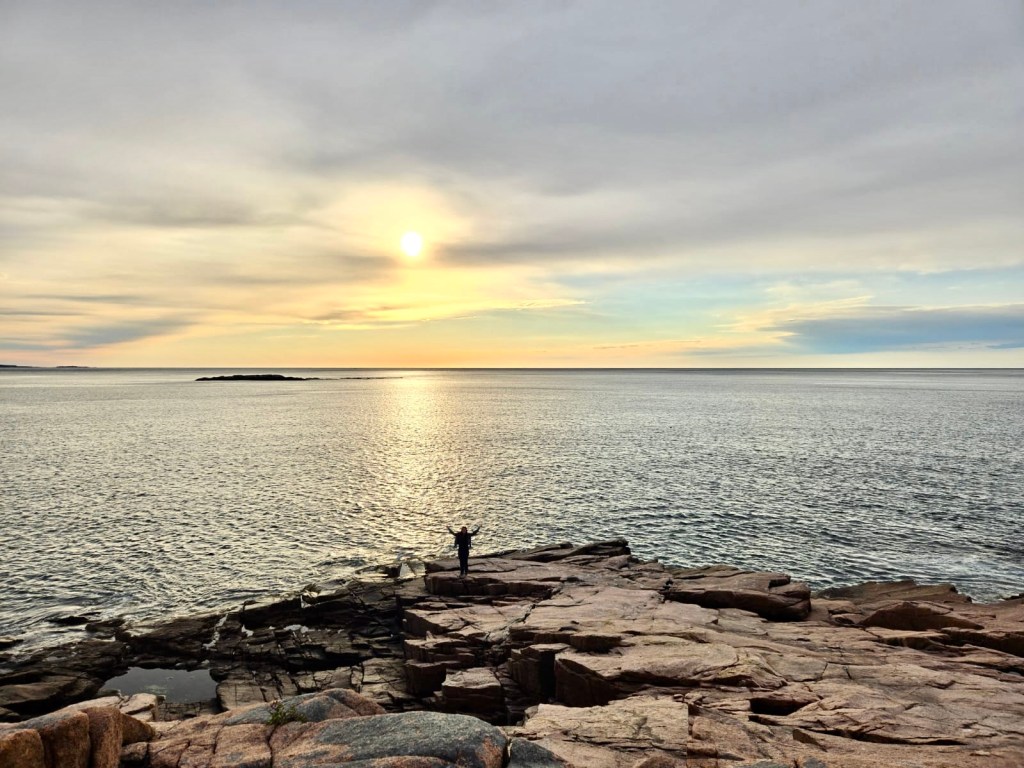
Cadillac Mountain at Sunrise
Cadillac Mountain is the highest point on the eastern seaboard and is famously known to be the best (and first) place to watch the sunrise in Acadia. You can get to the summit by either hiking or driving, but generally driving is the preferred option so you’re not hiking in the dark to get up the mountain by sunrise.
Due to its popularity, Cadillac Mountain is the only place in Acadia National Park where you need a vehicle reservation to drive to the top. You must pre-purchase your reservation ahead of time online on the government website: https://www.recreation.gov/timed-entry/400000. This ticket is in addition to the park pass – you must have both to drive up the mountain. You cannot buy these tickets in person unlike the park pass. 30% of the tickets are released 90 days in advance and the remaining 70% are released 2 days prior at 10am EST.
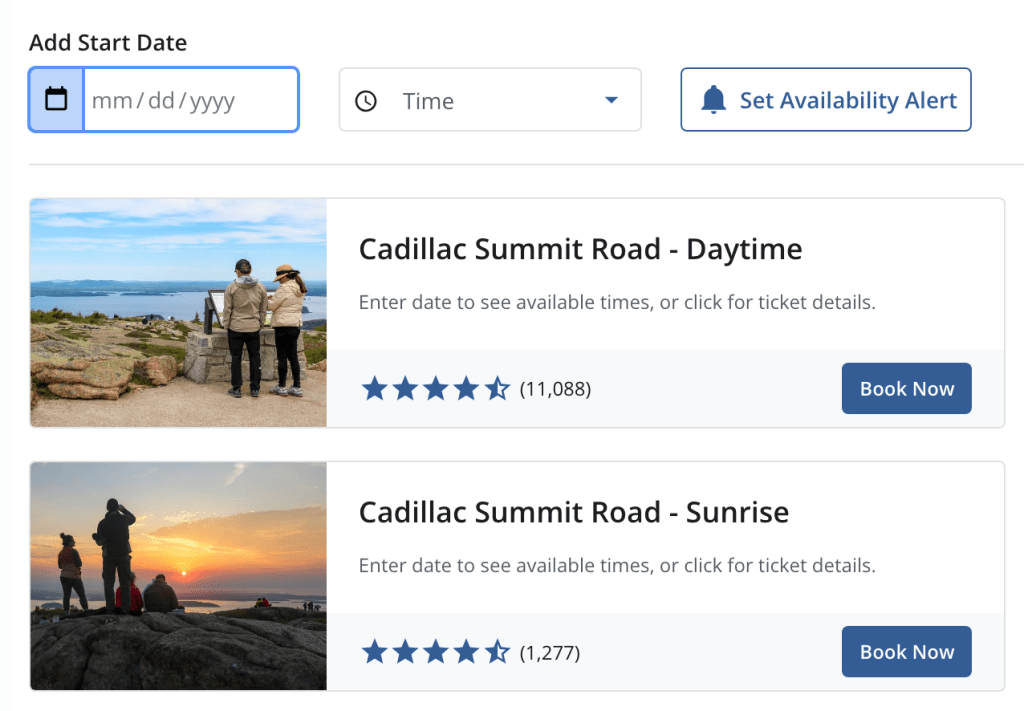
Tips to securing a ticket: When you get to the government website, there are 2 types of tickets to choose from: sunrise and day tickets. Not surprisingly, the sunrise tickets are the most highly sought after. Set your timer and get multiple people on multiple devices because as soon as it hits 10am (eastern time – make sure you’re in the right time zone), you must click immediately for your best chances. I tried this on two occasions and swore I clicked exactly on time and the tickets were already sold out within a SECOND. It was insane. Once you’re in, the system reserves the ticket for you for 15 minutes until you check out. Pro-tip: If you didn’t secure a ticket at 10am, keep refreshing and wait until 10:15am to see if tickets become available. All the people that didn’t check out their tickets within the 15 mins have their tickets timed out and gets put up for sale again. This was actually how I managed to snag our tickets 🤫. Once you check out, you’ll get sent a QR code that they will scan at the gate on the day.
The sunrise tickets are timed to enter between 5:30am – 7:30am, there’s no time limit on how long you can stay up there. It is recommended to arrive 1 hour prior to sunrise. It takes about 20 minutes to drive to the top and only a few minutes from the car park to walk to the views.

Sadly for us, we did everything right, but the weather was not in our favour. We woke up super early and got to the gate entry at 6:20am, about 20 mins before sunrise (a bit late). We knew visibility was going to be poor, but we had hopes of a small break in the clouds for the views so we drove up anyway – after all, we were already there and the $6 was spent. They scanned our QR code at the gate and it only took us 15 minutes to drive to the top (although I’ve heard it can take up to 30 mins due to slower people unfamiliar with driving up mountain roads and it’s single file all the way up). Once we got to the top, there are 2 parking lots. You’ll pass the smaller West lot first which is farther away (seems like the overflow lot), then you’ll reach the East lot, which is a semi-circle and is directly in front of the trail. You want to park in the East lot. When we visited, the weather was so bad that you could barely see 10 feet in front of you so we just got out to have a quick peak, then got back into our car and headed straight for a warm breakfast in Bar Harbor.

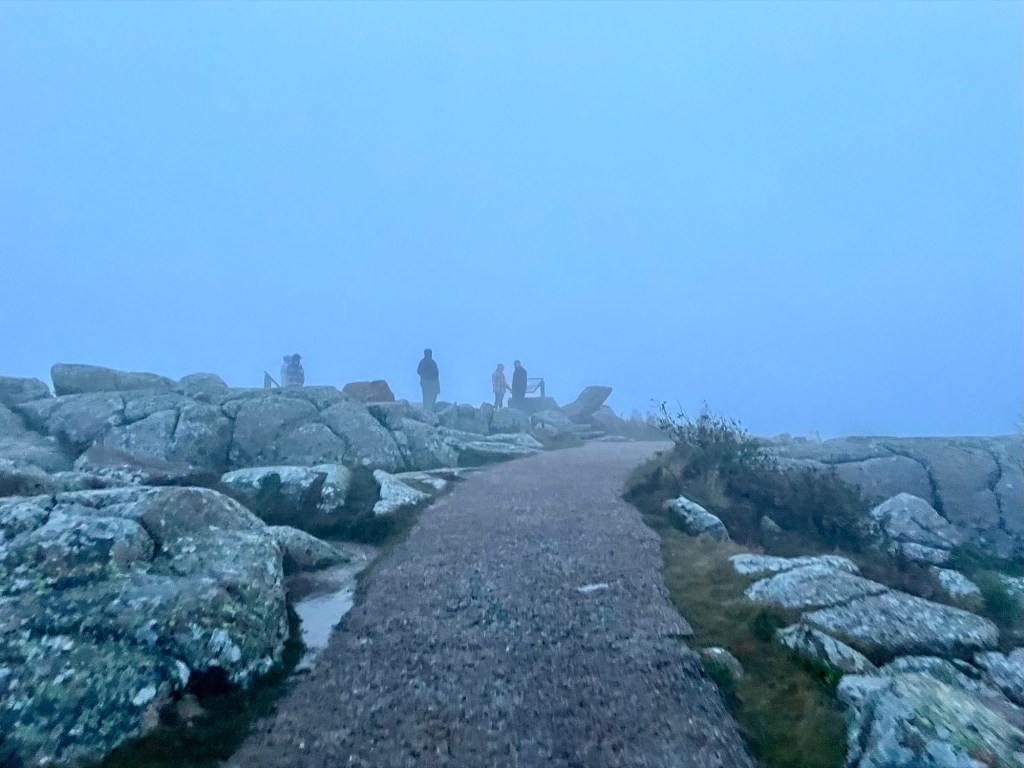
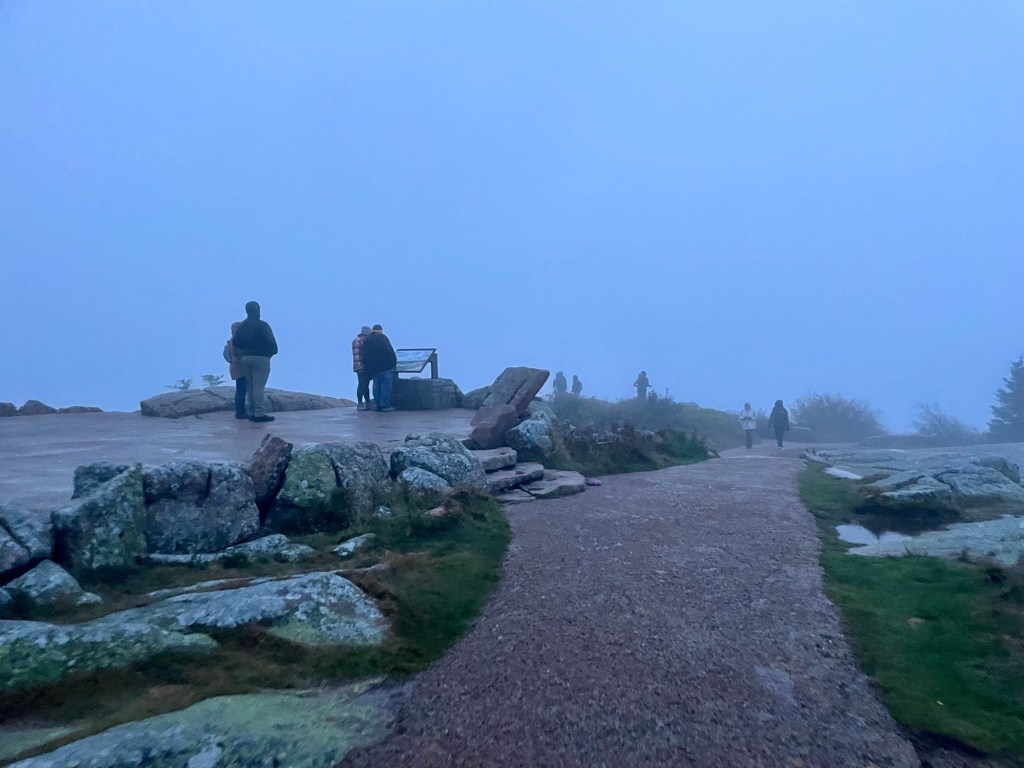
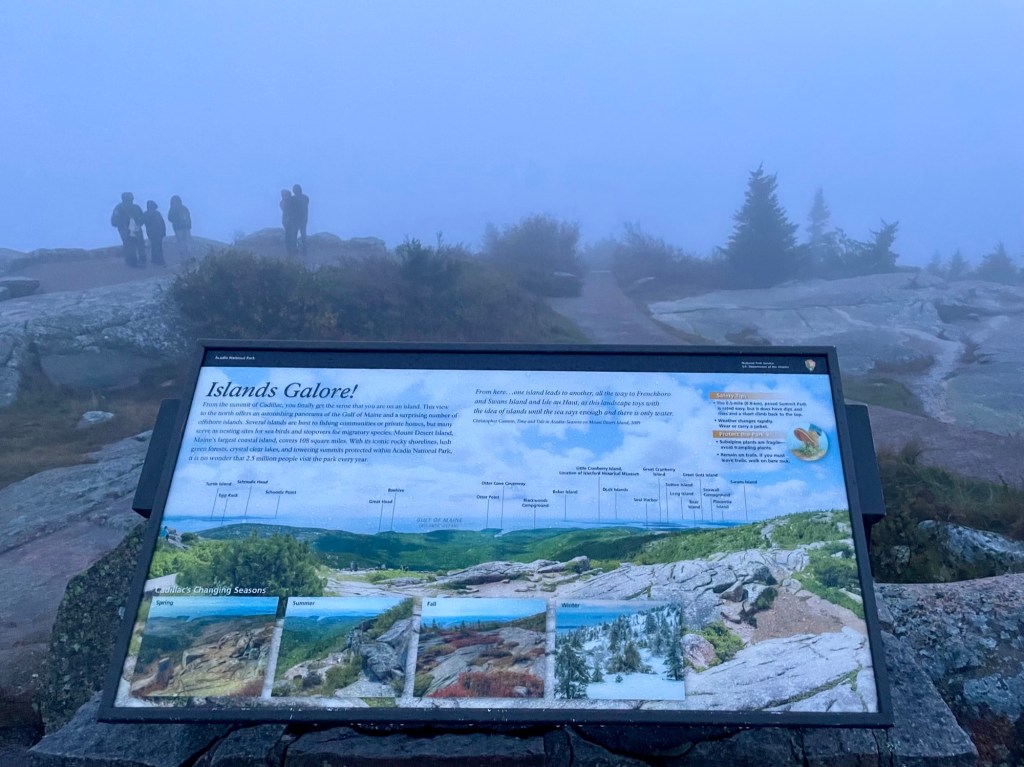

There’s a short and easy 500m trail around the Cadillac Summit that was supposed to be nice to see. I guess we’ll have to try again next time. 🤷🏻♀️
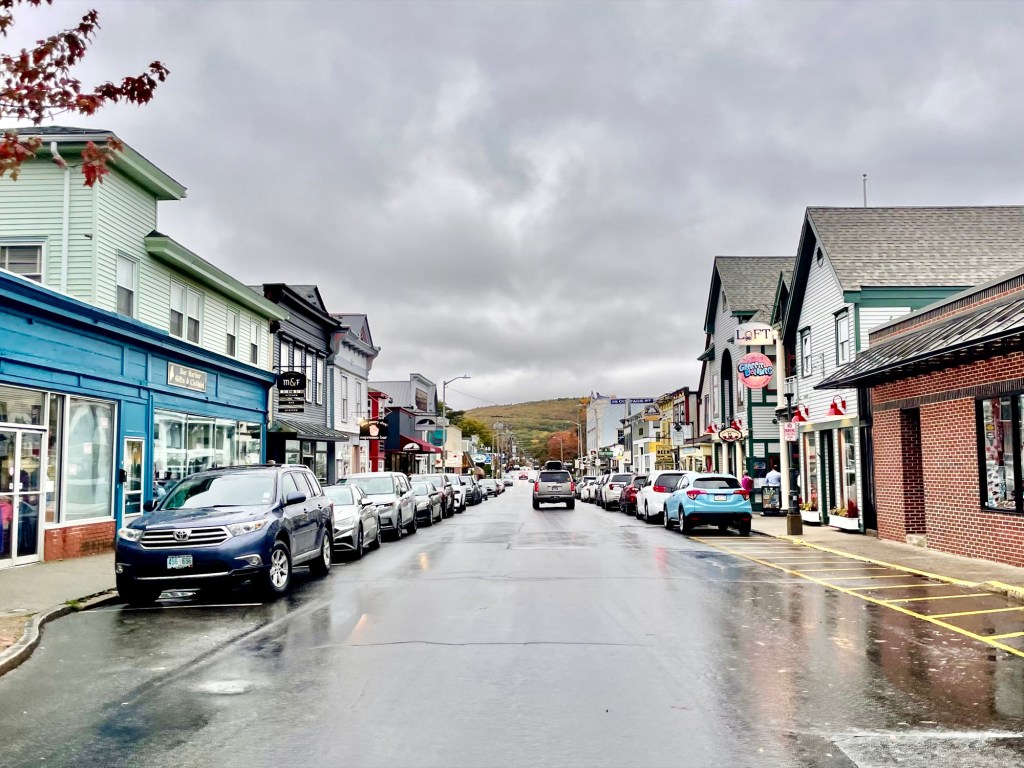
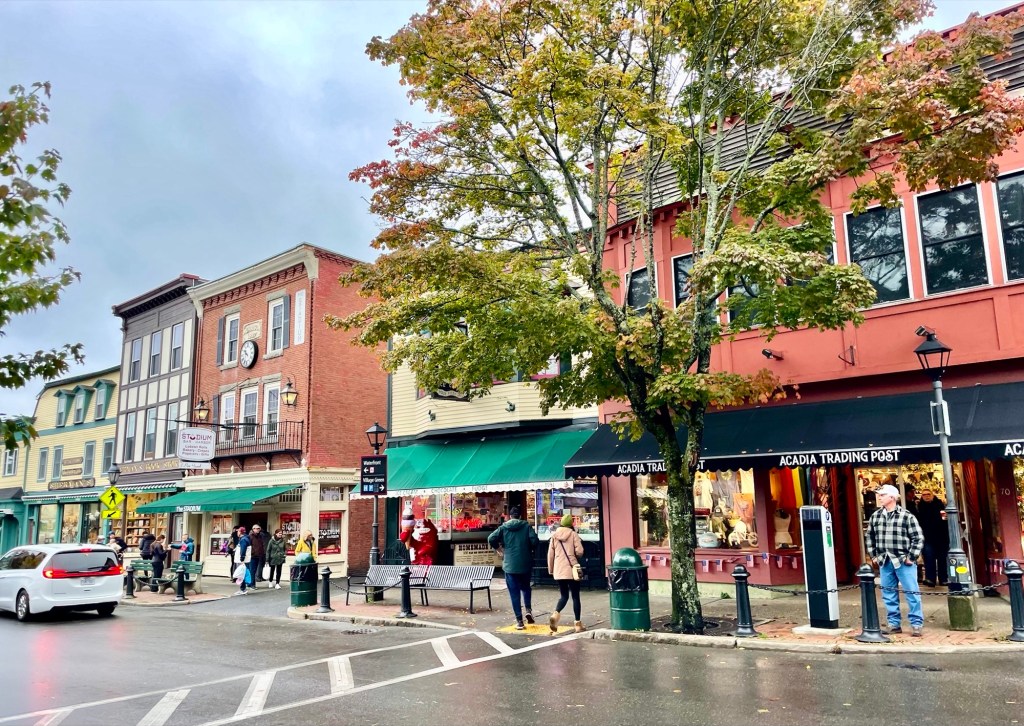
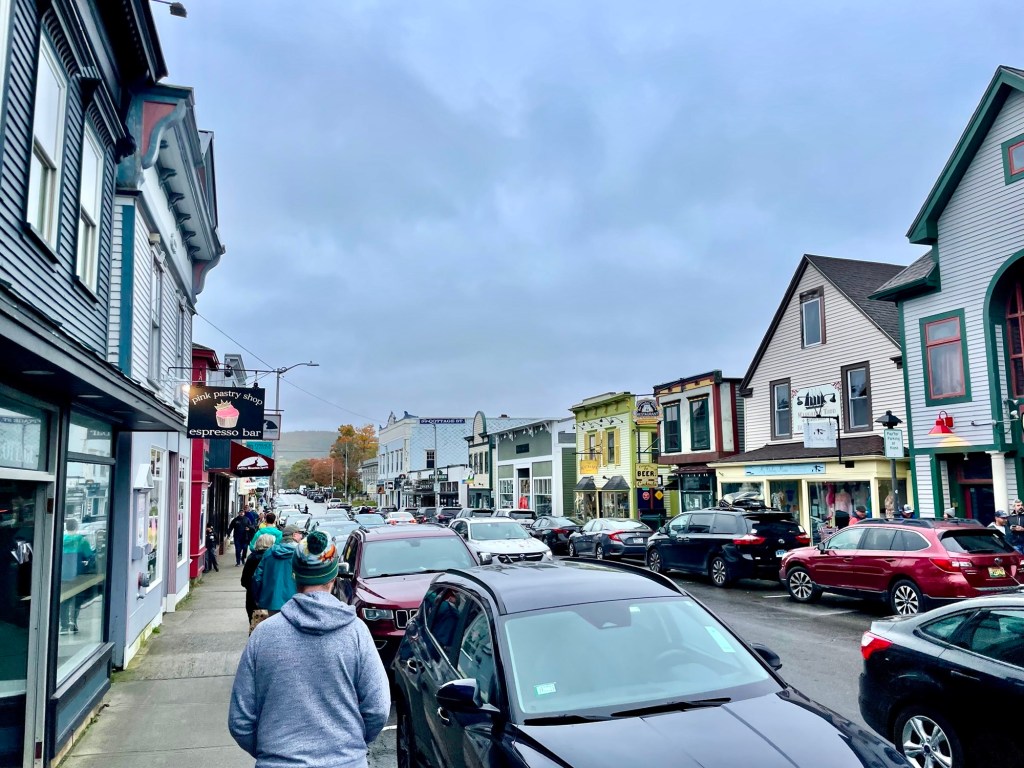
Bar Harbor
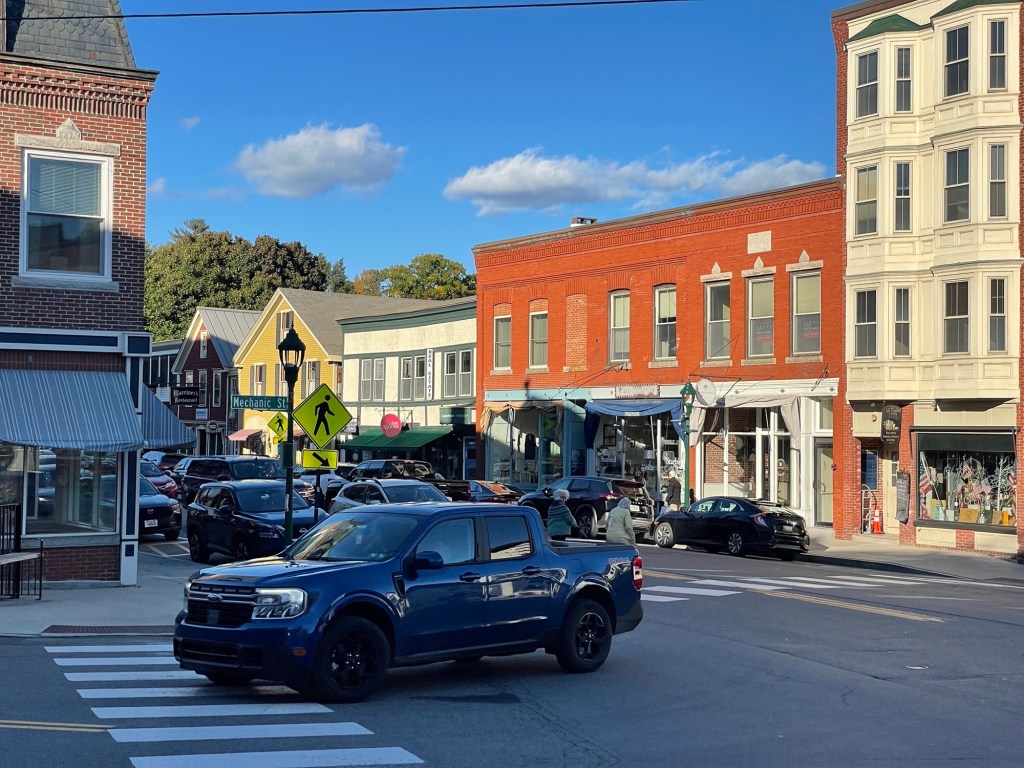
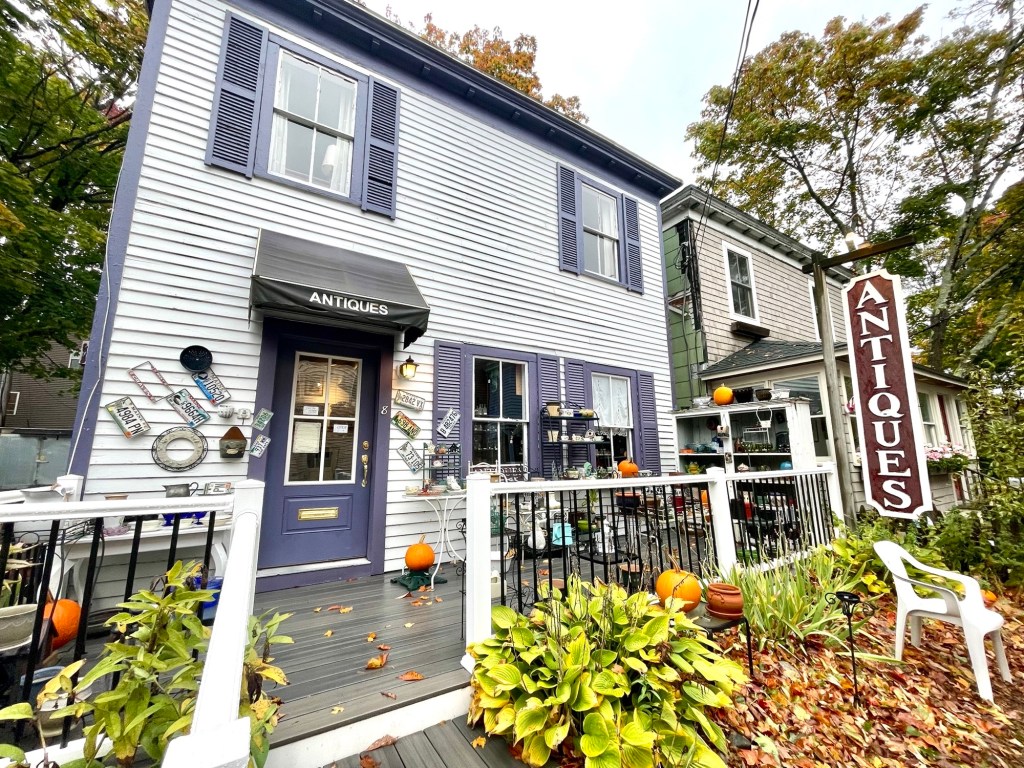
Bar Harbor is the only major town in Acadia National Park. Here you’ll find lots of cute shops, souvenirs, restaurants, hiking gear, and even a big grocery store for all your food needs. There are also tons of accommodation options in this small town that get booked out way in advance during the busy season.
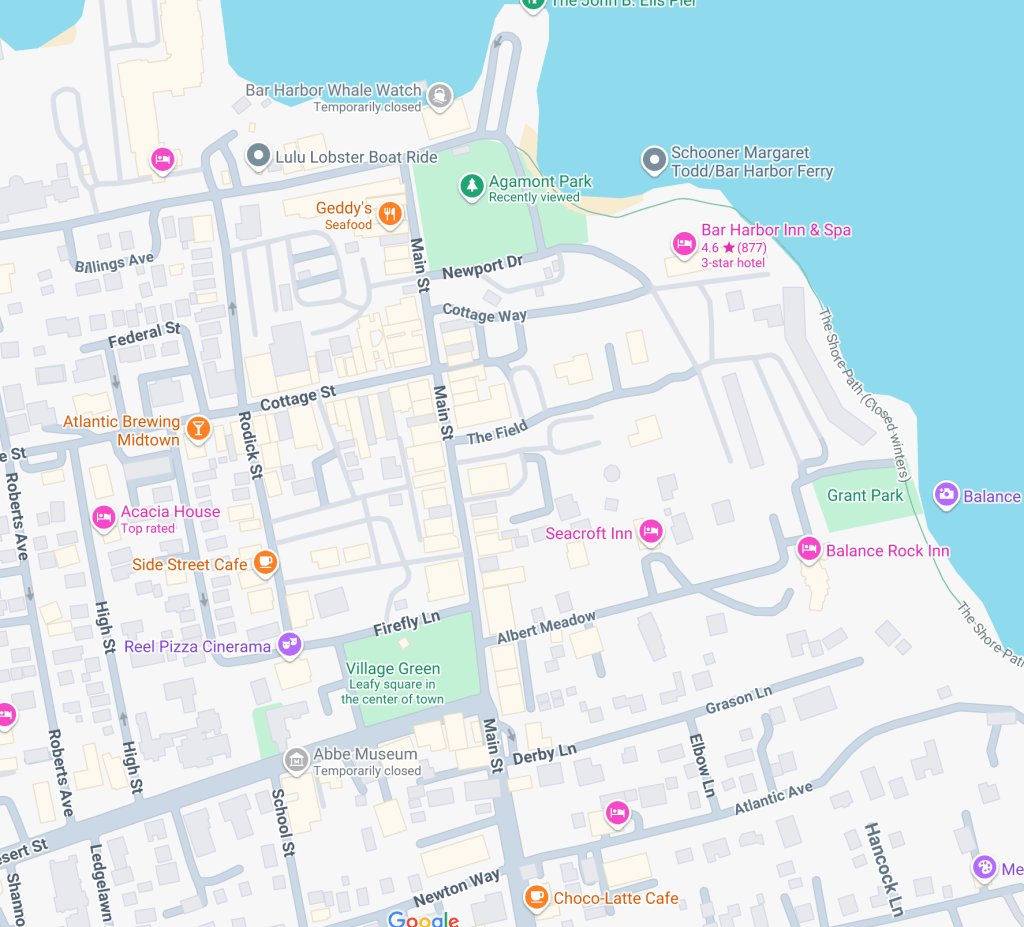
You don’t need to spend a ton of time in Bar Harbor, an afternoon is enough to explore this small town. It only takes about 15 minutes to walk from one end to the other. Main Street is the street with the most shops. There are TONS of seafood restaurants around here and of course, lobster rolls – when in Maine!


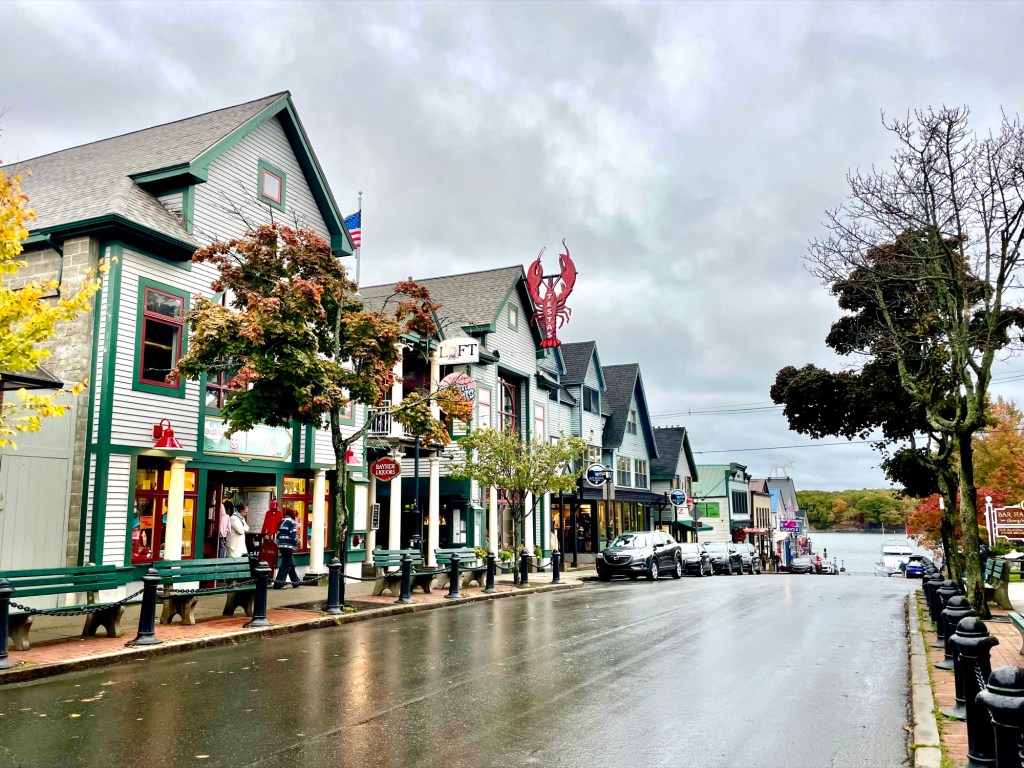


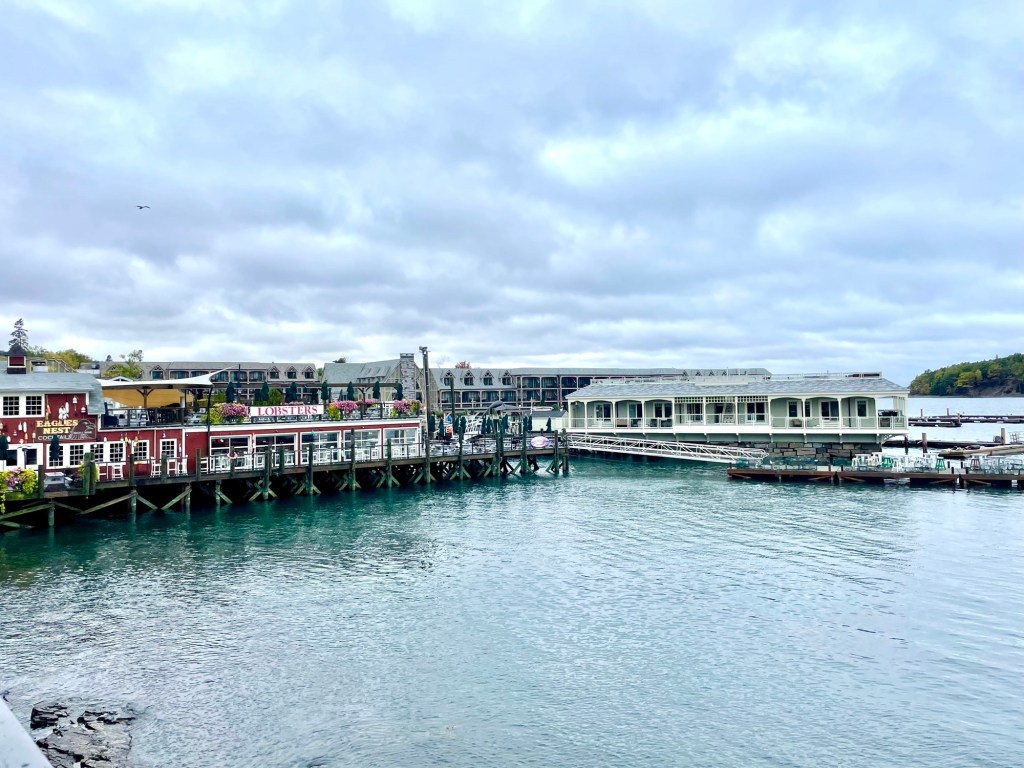
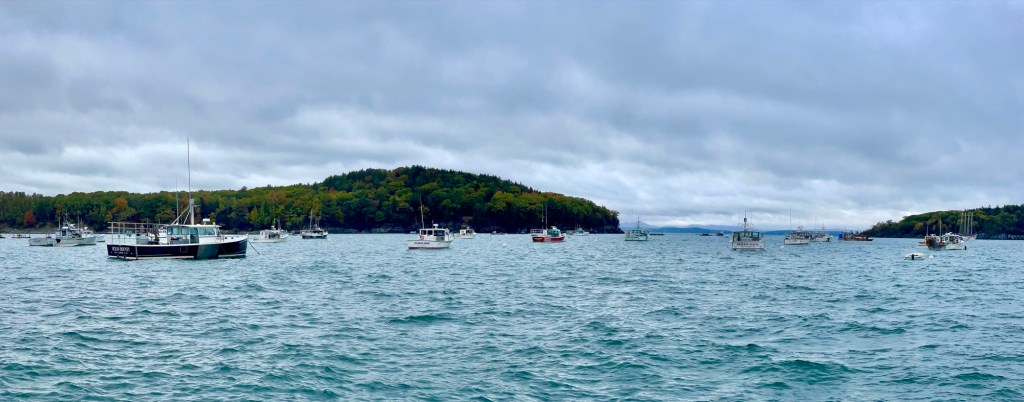
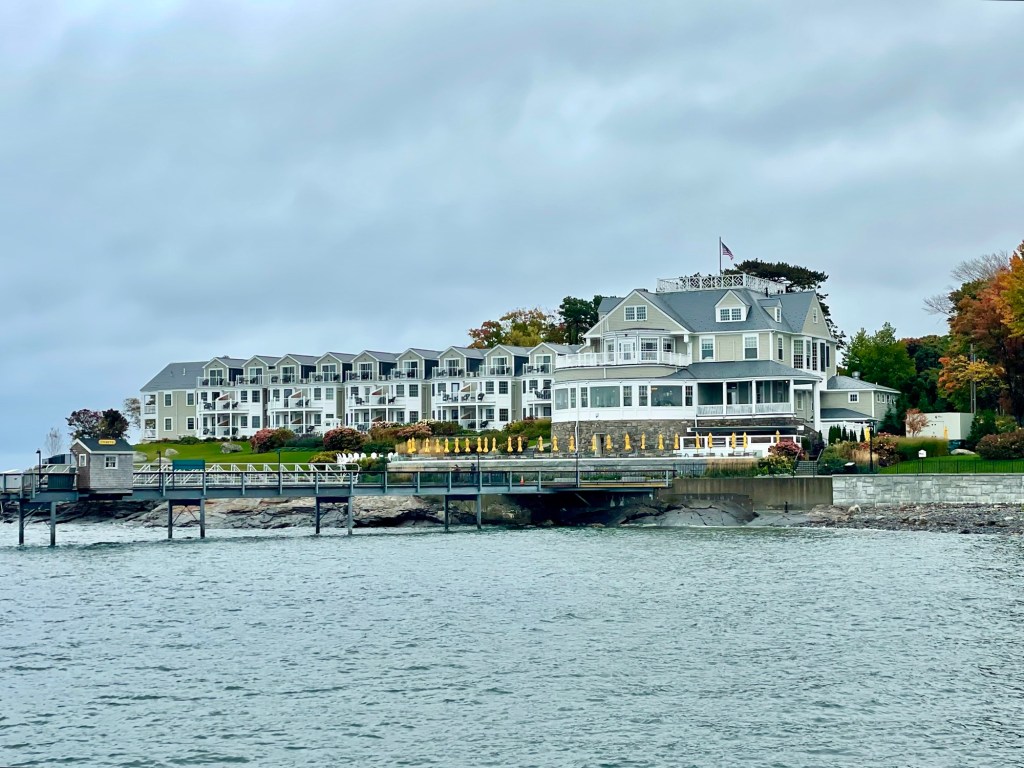
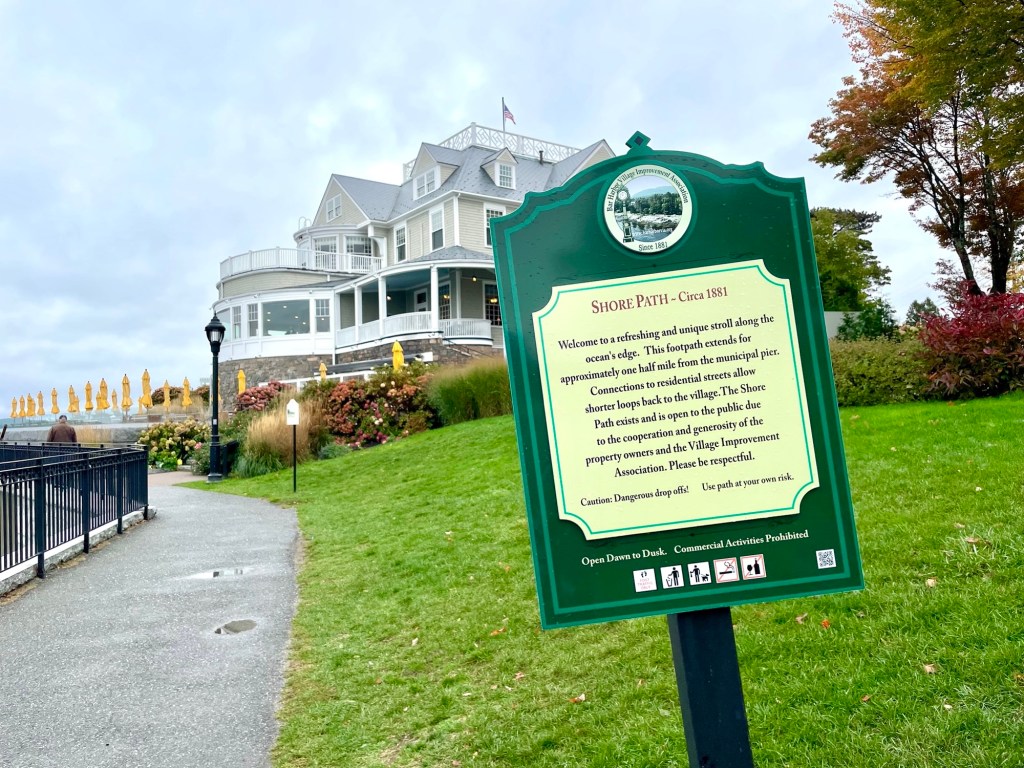
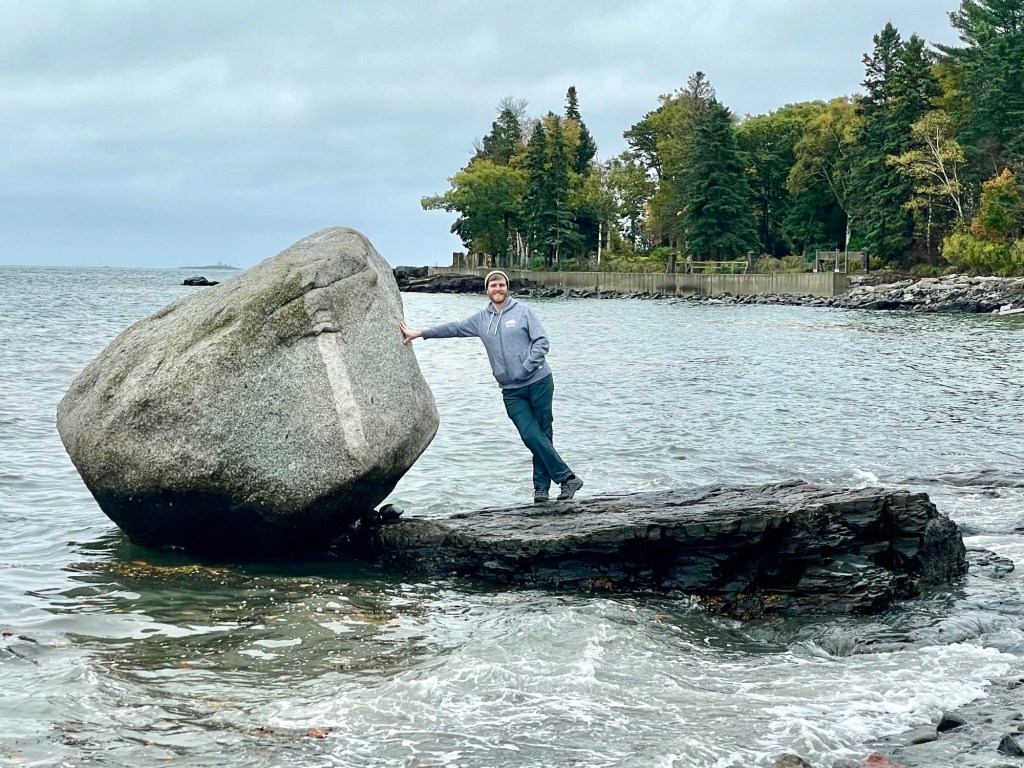
Take a stroll down The Shore Path that starts at the North end of town from Agamont Park. From here, you can see a ton of lobster boats anchored in the water (we counted at least 26). Continue walking on the path that wraps around Bar Harbour Inn, a big beautiful inn with spa amenities (looked expensive). The path can go for a while but we stopped wen we reached the small beach at Balance Rock and took a right to head back onto the Main Street, weaving through the beautiful old houses in the quiet neighbourhood.


If you need to stock up on supplies, there is a large corporate grocery store that sits at the edge of town called Hannafords.
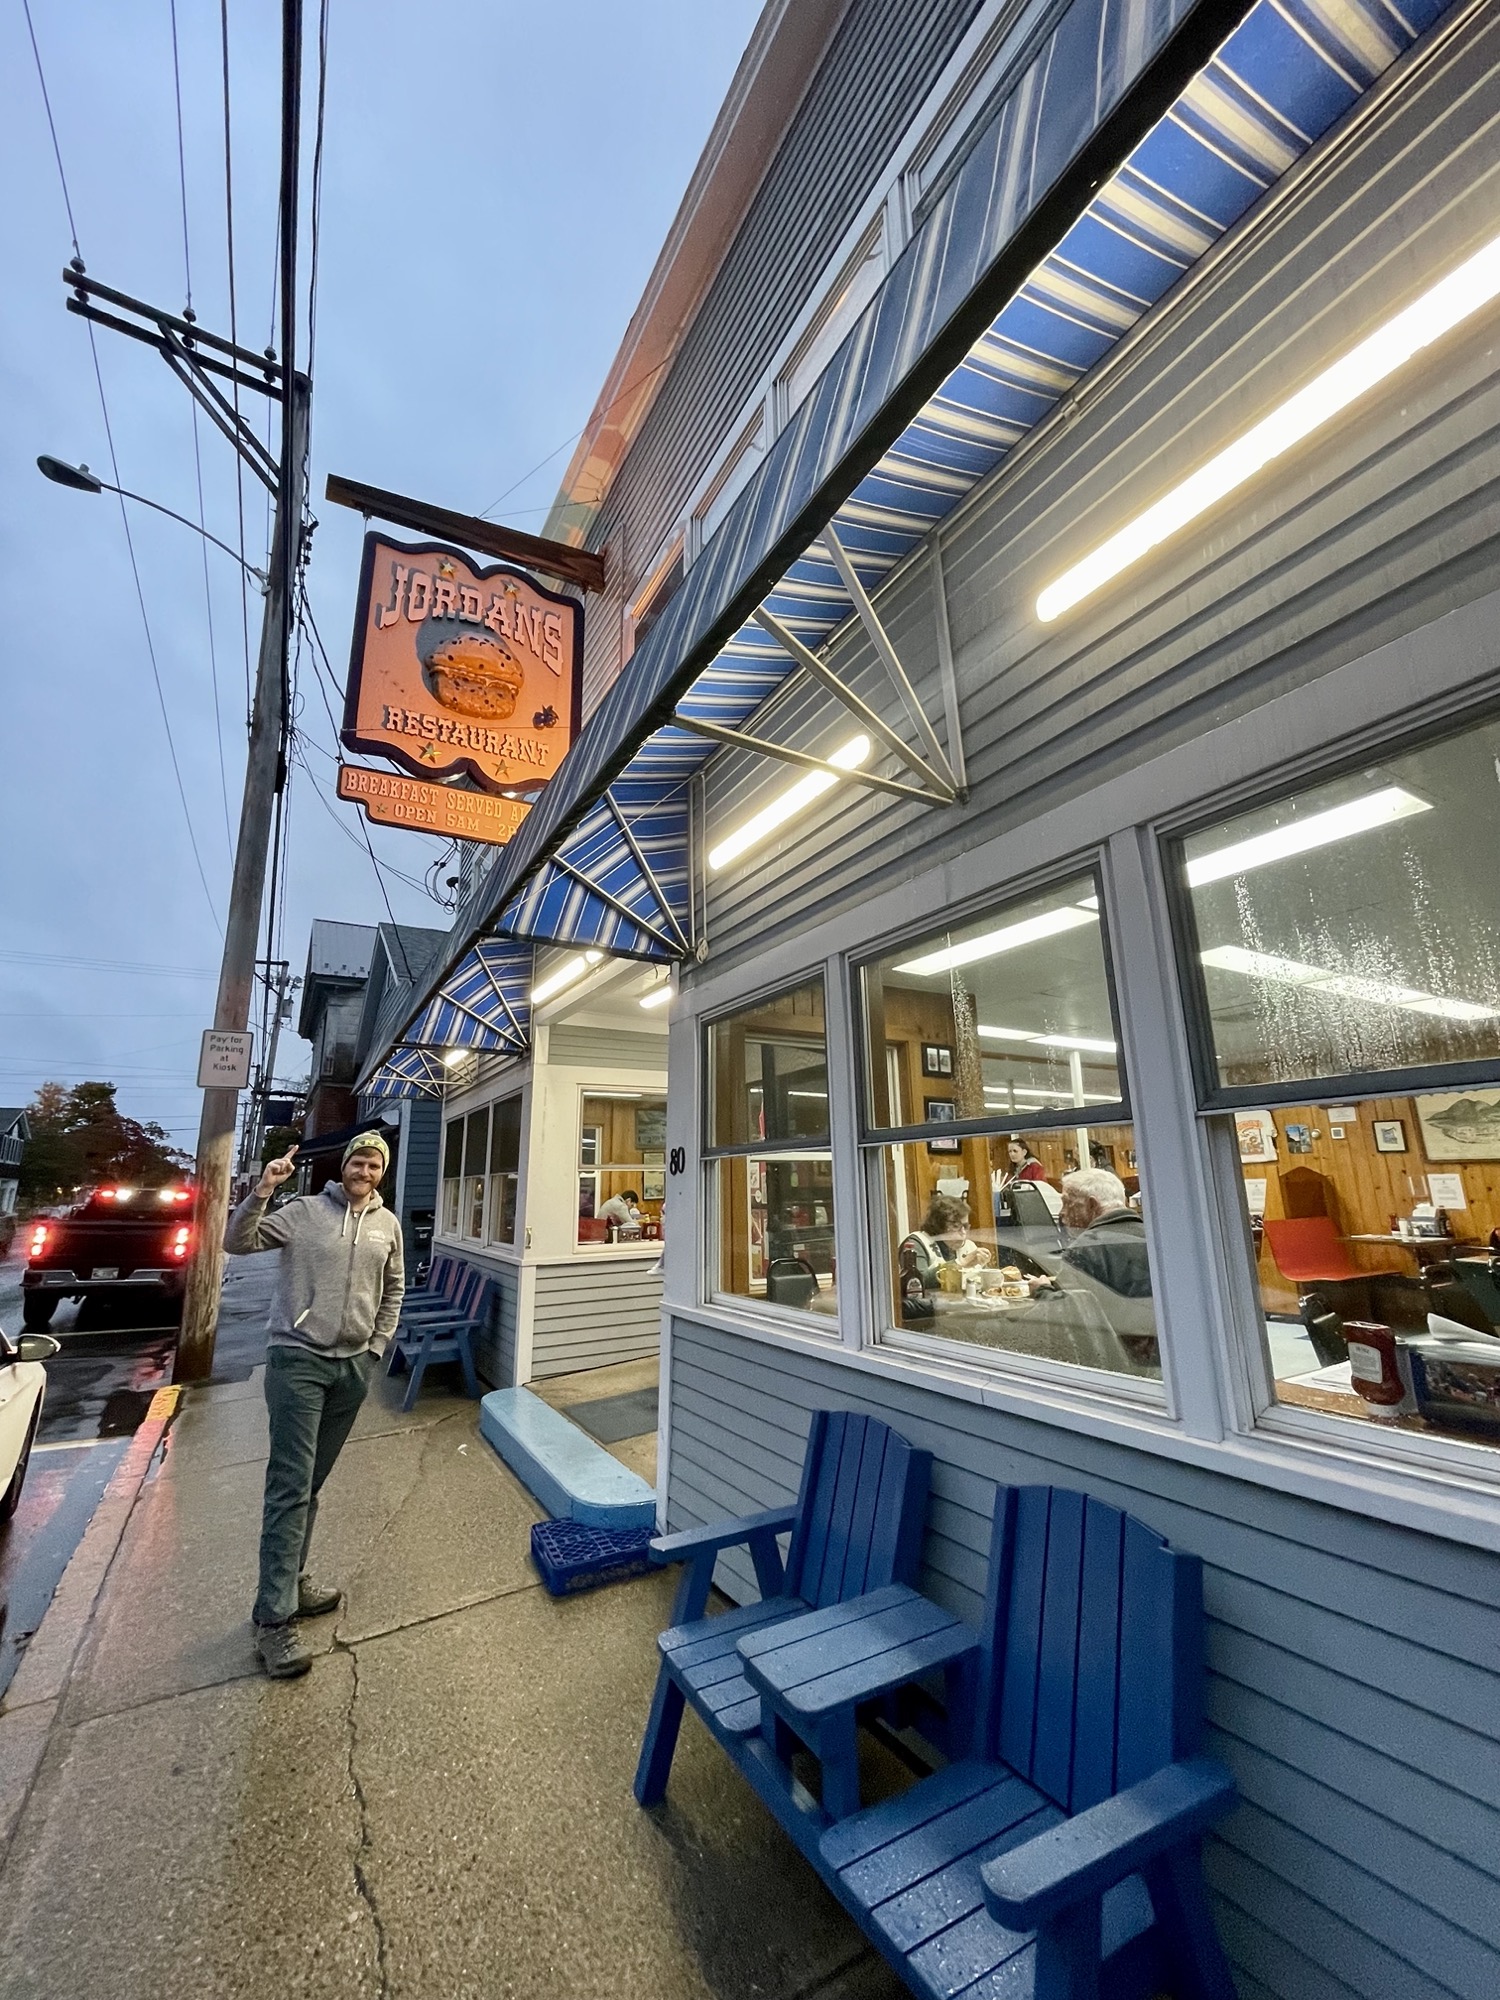
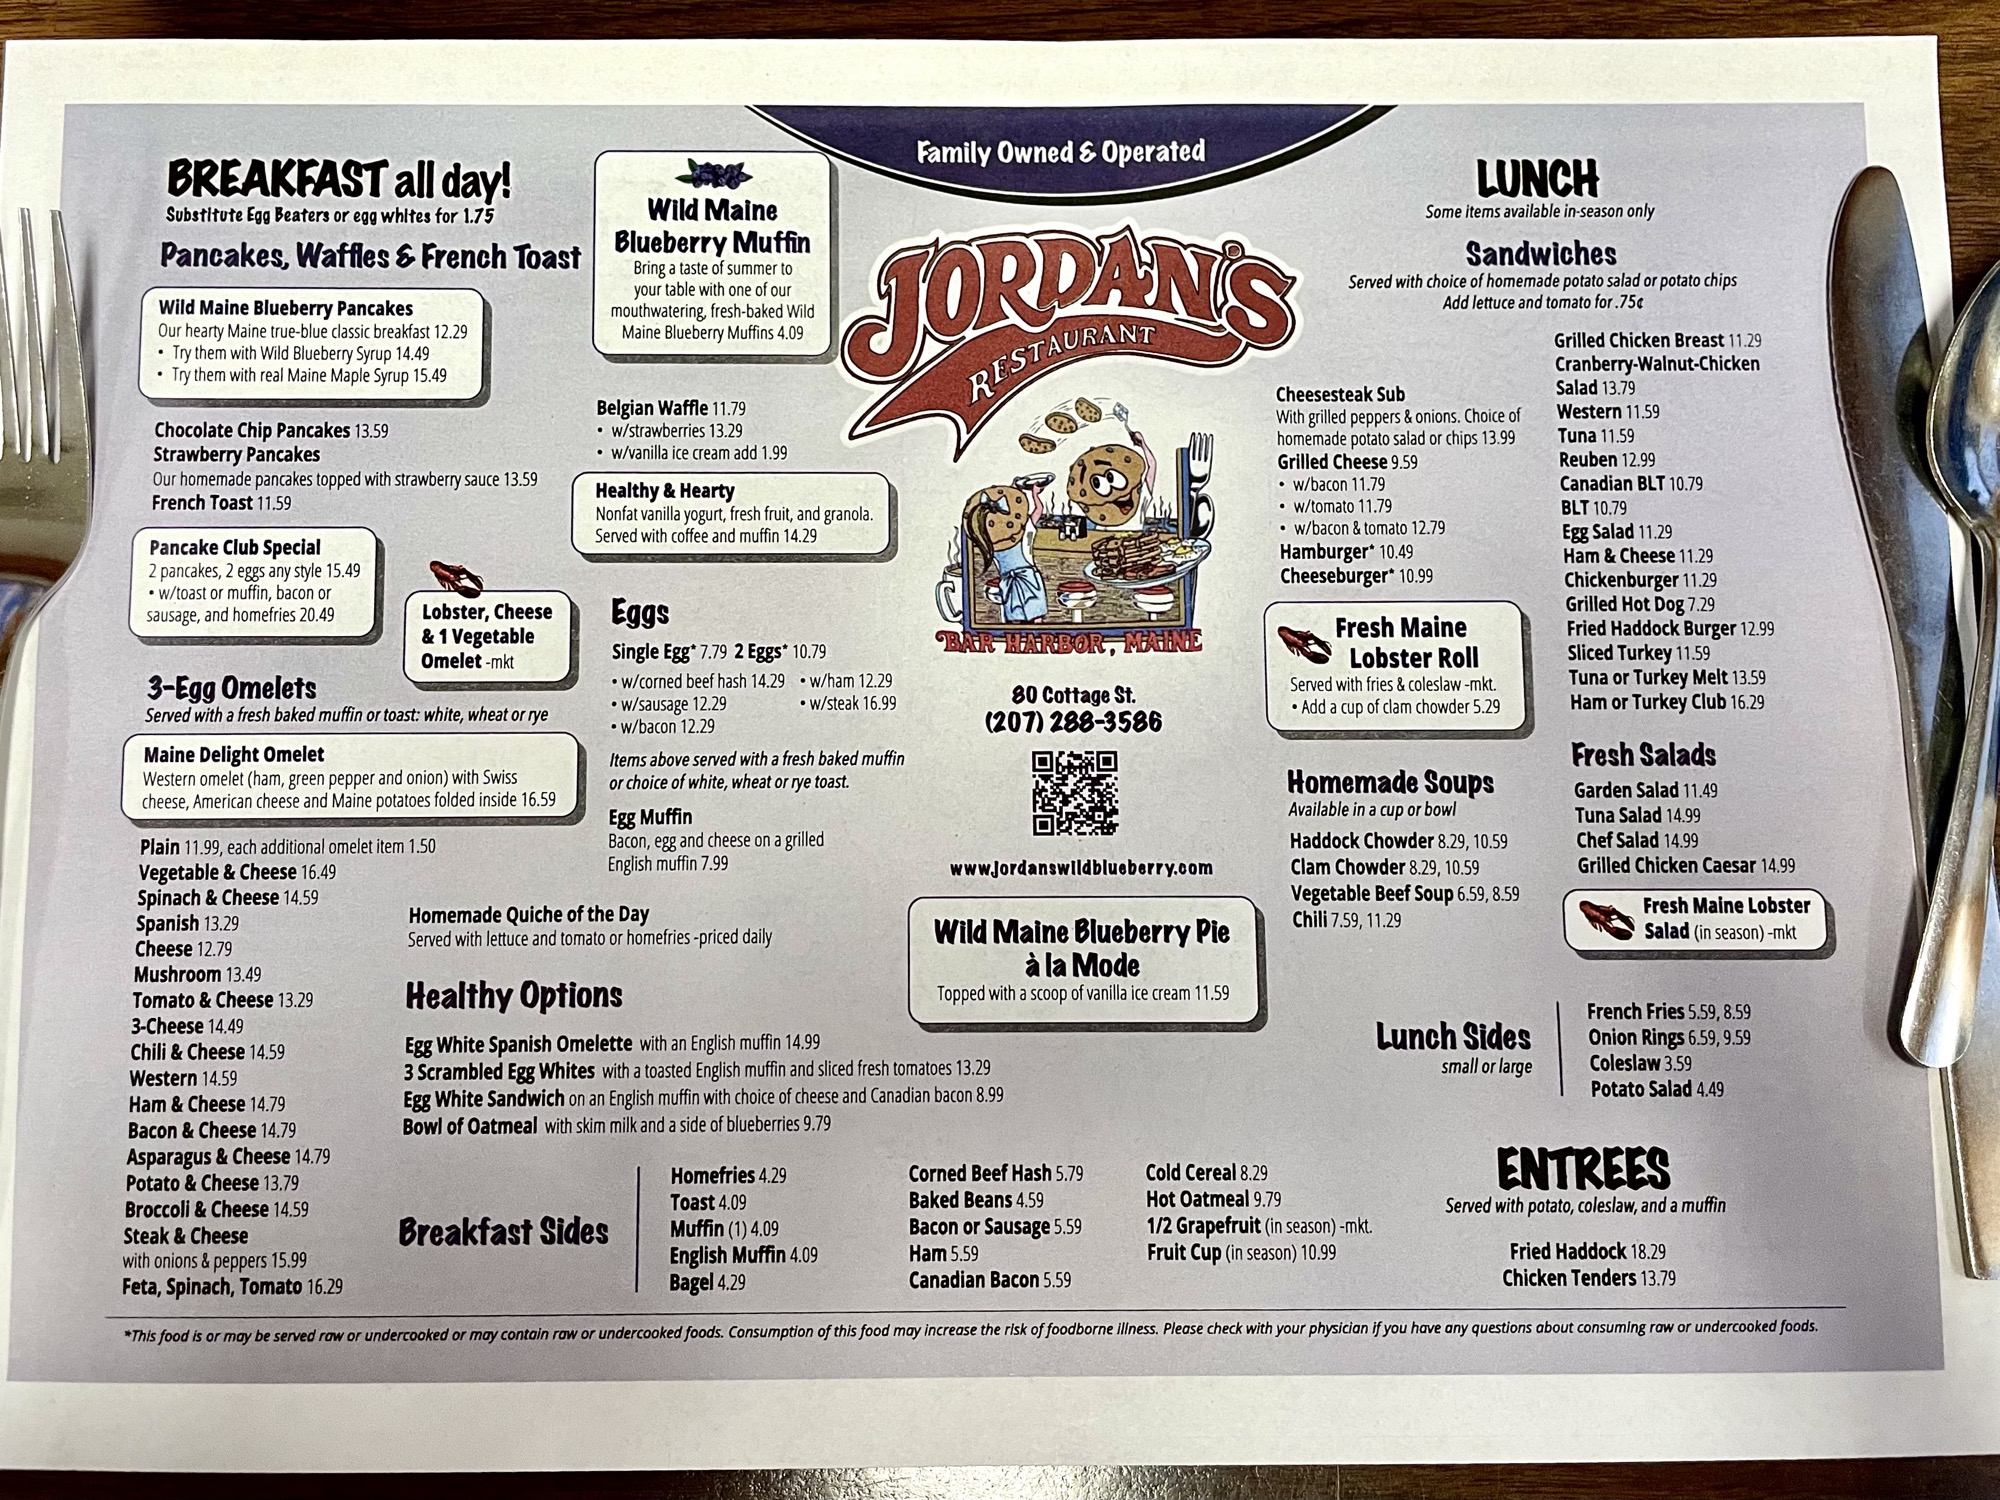
We had breakfast at a highly rated local diner called Jordans Restaurant (conveniently located next to Hannfords). They open at 5am, which was perfect for us after our big disappointment with the gloomy weather on Cadillac Mountain. When we arrived at 7am, the diner was already half full. By the time we left an hour later, there was a line up out the door! They have a decent sized menu, boasting their wild blueberry muffin and wild blueberry pancakes – we got both (and Toby added chocolate chips to the pancake). We also got the lobster roll, clam chowder, and lobster cheese omelette – if you haven’t noticed, we often order too much food because I want to try it all 😅. Overall it was an okay meal. I liked the home fries and the lobster roll was great (soft fluffy toasted buttered bun). The pancakes with the wild blueberry sauce was good but the lobster omelette and blueberry muffin was just okay. The staff was real friendly and the place had a great buzz about it.


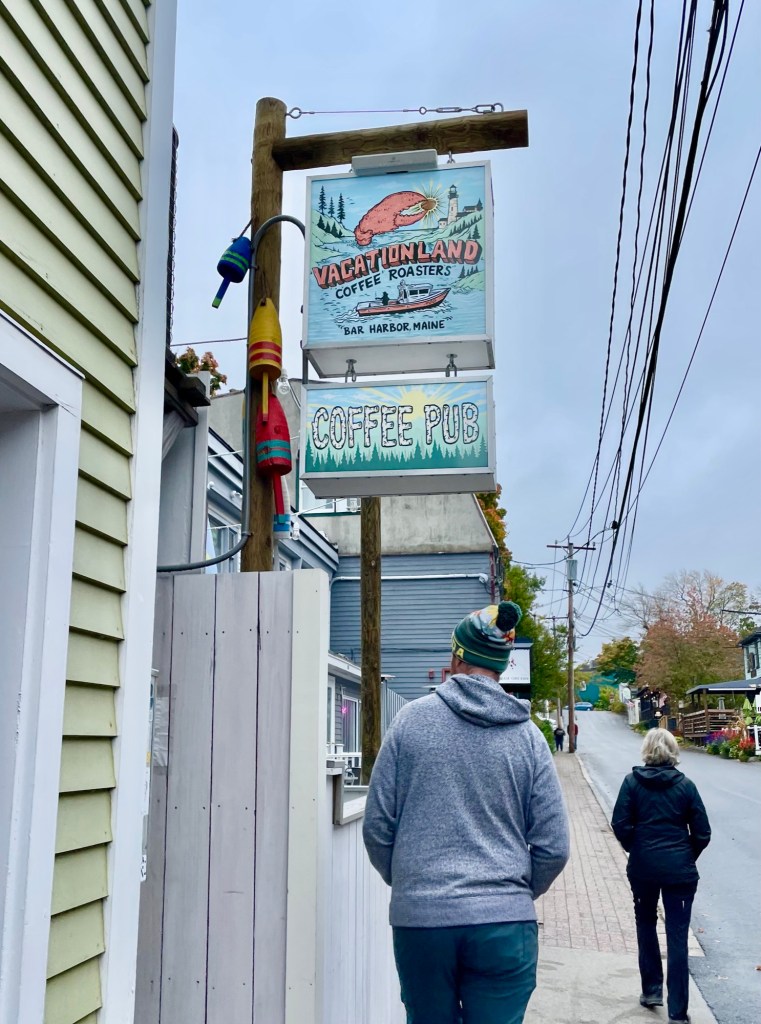
If you’re looking for great coffee, there’s a cool local shop called Vacationland Coffee Roasters where they roast their own beans onsite and will package it fresh for you. What actually drew me here was the super cool logo with the lobster claw pinching a coffee bean. I bought a bag of beans just for the logo 😅.
Overwhelmed? I got you. Here’s an ideal travel itinerary to hit all the highlights in 2 days:
I’ve put together an ideal sample itinerary to hit the highlights of Acadia National Park from our experience (our real itinerary was a bit more messy):
Before you go:
- Check the tide times for Thunder Hole and estimate to arrive at Thunder Hole 2 hours before high tide. Depending on when you go, you will have to adjust your itinerary to either do Thunder Hole before or after the other activities to get there at the right time. There is a parking lot at Thunder Hole that gets pretty busy so plan accordingly. You can also walk from Sand Beach parking lot via Ocean Path – takes about 20 minutes. You really only need 10 mins at Thunder Hole to watch the waves crash.
- Make a lunch reservation at Jordan Pond House, timing will depend on where you are able to fit Thunder Hole in.
- *Book your Cadillac Mountain vehicle pass 2 days in advance.
Day 1: Beehive Trail, Ocean Path, Thunder Hole, Jordan Pond Trails
- 7am (or earlier): Get to Sand Beach parking lot by 7am to secure a parking spot.
- 7am – 9am: Hike the Beehive Trail when the sun rises to avoid the crowds. This hike takes roughly 1.5-2 hours, depending on your pace and crowds.
- 9am-10:30am: Finish the Beehive Trail and head towards Sand Beach to take in the views of the ocean, then walk the Ocean Path (conveniently also starts from the Sand Beach parking lot). Ocean path does link up to Thunder Hole, so if the timing is right you can head there after hiking the Beehive Trail.
- 11am – Noon: Arrive at Jordan Pond House for your lunch reservation, or if you didn’t secure a reservation, get there before 11am and line up to get seated. If you were able to make a late booking, you’ll have more freedom in your time.
- 12-4pm: Hike the Jordan Pond Trails (takes about 3-4 hours, be mindful of the time of sunset that day).
- 4pm onwards: The loop finishes back at the restaurant. Depending on how tired you are, you can have dinner here or head to Bar Harbor for more restaurant options. Have an early rest and wake up early the next day.
- Note: you can also flip the hikes around and do Jordan Pond Trails first, then lunch at Jordan Pond House and Beehive Trail last, however the Beehive Trail is one of the busiest trails and it will get PACKED in the afternoon, whereas the Jordan Pond Trails are not as busy.
Day 2:
- 5:30-7:30am: Arrive at the Cadillac Mountain summit before sunrise (make sure you have a vehicle reservation pass).
- 7:30a – 9am: Enjoy the sunrise views and walk around the Summit Loop.
- 9am – 10am: Breakfast in town at Bar Harbor – we went to Jordan’s Restaurant. Quick service, decent food, nice people.
- 10am onwards: Spend the rest of the day exploring Bar Harbour
- Browse the shops
- Walk across the foot bridge to Bar Island at low tide to get some views of Bar Harbor from a distance (make sure you come back before the water level rises again!)
- Book a lobster boat tour with LuLu Lobster Boat Tour (tour times are usually 9am, 11:30am, 2:30pm) – https://lululobsterboat.com/
- Have lunch or dinner in one of the many restaurants in town
- Sunset at Bass Harbor Head Lighthouse
- This is optional and a VERY busy place at sunset. We did not end up doing this due to timing and weather, but other visitors have recommended coming 3 hours before sunset just to get a parking spot due to the very small lot that’s there. It’s roughly a 30 minute drive from Bar Harbor.
Less popular places that came up in my research for this trip but we didn’t get to go due time constraints, so I’ll make a list here for reference on our next trip to Acadia. You’d need at least another day to fit the rest of this into the itinerary:
- Beech Cliff Ladder Trail – we didn’t get to go due to weather, but this hike (strenuous, roughly 2 hours) provides beautiful views over Echo Lake. It’s not as exhilarating as the Beehive Trail or Precipice Trail but there are still iron rings, ladders, and cliff-side walks. Park at the Echo Lake Beach Entrance for the trailhead.
- Precipice Trail – I didn’t put this in my original itinerary because of the multiple warnings and thrilling things about this hike, but after doing the Beehive Trail which was also meant to be scary but wasn’t bad at all, I think we’ll give this hike a go next time. It’s the most dangerous hike in Acadia and will take you anywhere between 1-3 hours. Arrive early for a parking spot (what else is new?).
- Walk across the foot bridge to Bar Island at low tide from Bar Harbor to get views of Bar Harbor.
- Drive around to the other little towns (ie. Southwest Harbor and Northeast Harbor)
- Watch the sunset at Bass Harbor Head Lighthouse
- Visit Echo Lake
- Visit the other two Acadia regions: Schoodic Point and a day in Isle au Haut
- LuLu Lobster Boat Tour (9am, 11:30am, 2:30pm) – https://lululobsterboat.com/
Need more travel recommendations for Maine? Check out these other places!

Discover Acadia National Park: Your Guide to Mount Desert Island
Acadia National Park is the “Crown Jewel” of the North Atlantic Coast providing breathtaking coastal views, mountainous hikes, scenic drives, beaches, and a town with no shortage of restaurants. This national park is a must-do in Maine!

Exploring Cape Elizabeth: Iconic Lighthouses and Lobster Rolls
Cape Elizabeth, Maine, is a serene coastal town featuring iconic lighthouses, including the famous Portland Head Light and the nearby smaller Bug Light. Visitors can explore both lighthouses and enjoy renowned lobster rolls at local spots like Bite Into Maine and the Lobster Shack at Two Lights, all in half a day.

Top Things to Do in Portland, Maine: Eat, Shop, Explore
Portland, Maine, is a charming coastal city known for its vibrant shops and seafood, particularly lobster rolls. Visitors can enjoy its historic streets, numerous dining options, and attractions, including the iconic Portland Head Light. A few hours is sufficient for a quick visit, but extending to a few days allows for deeper exploration.

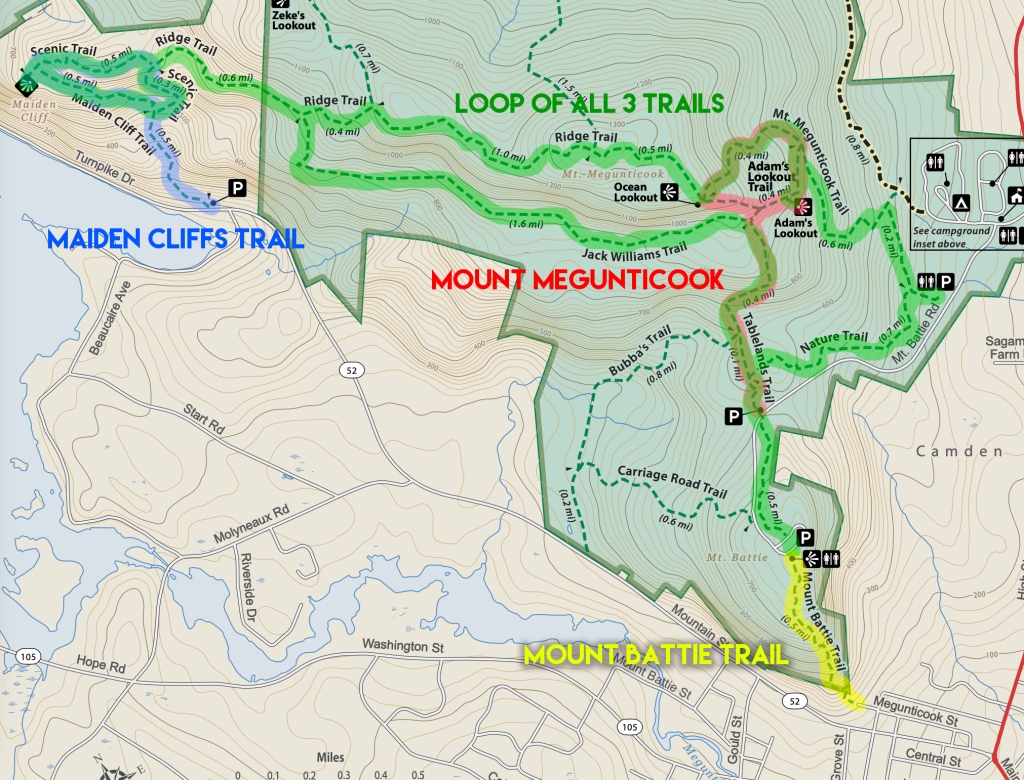
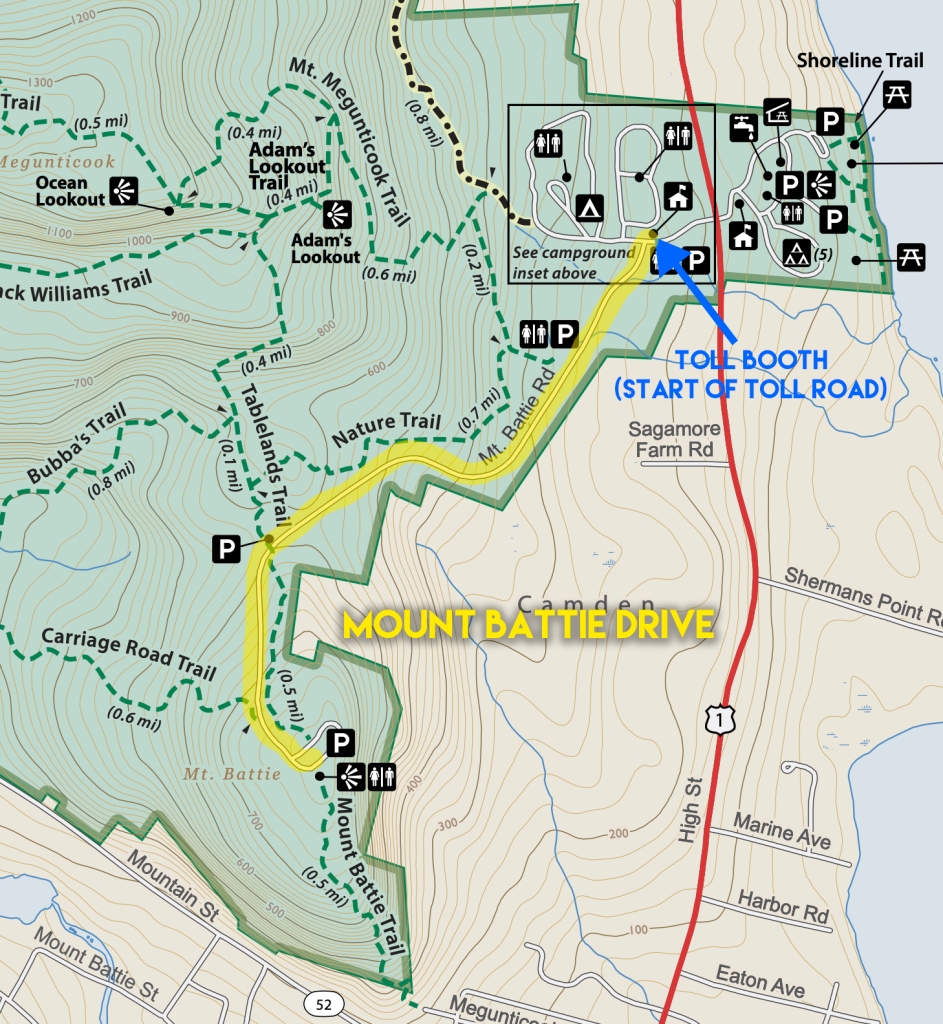
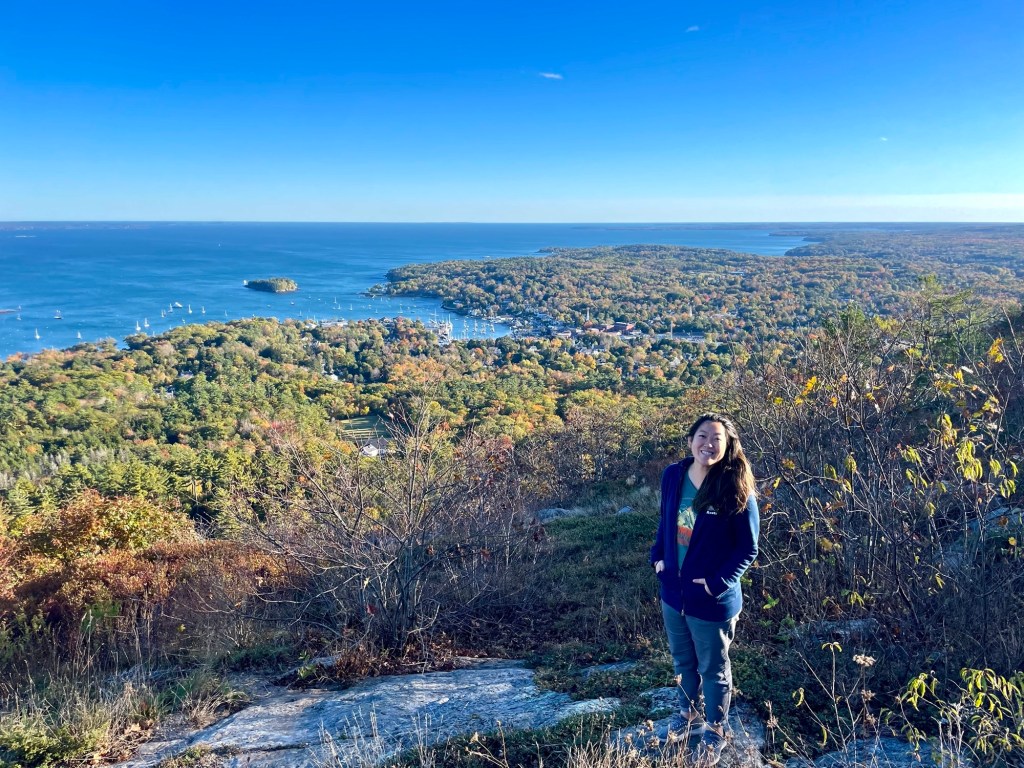
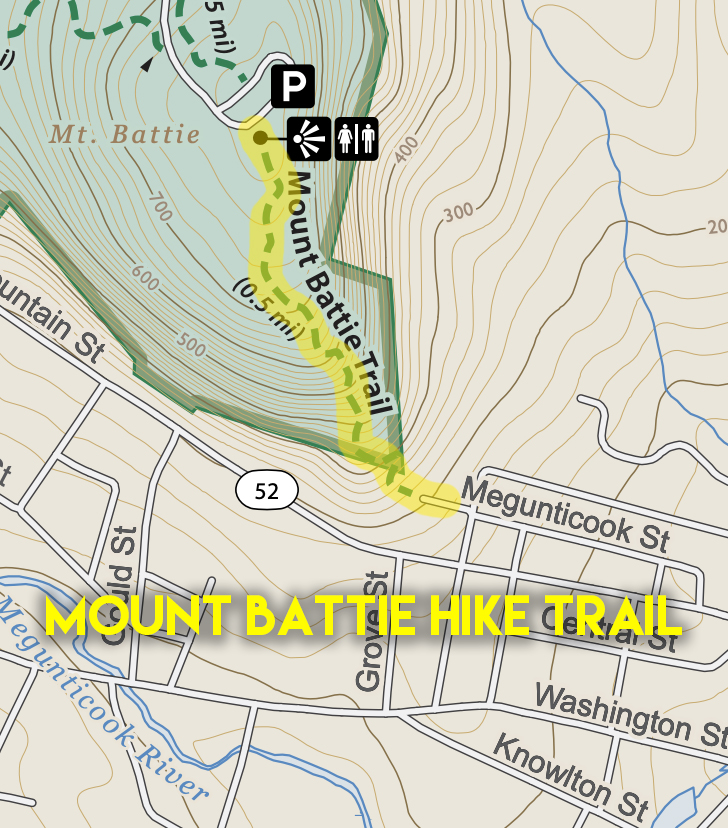
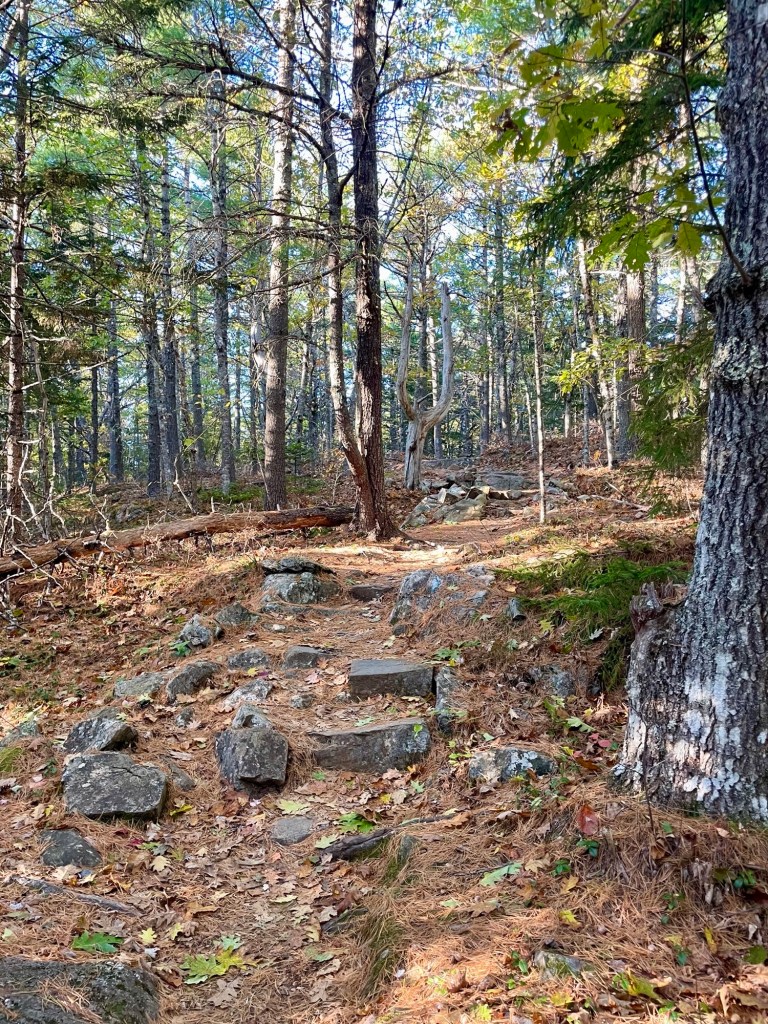
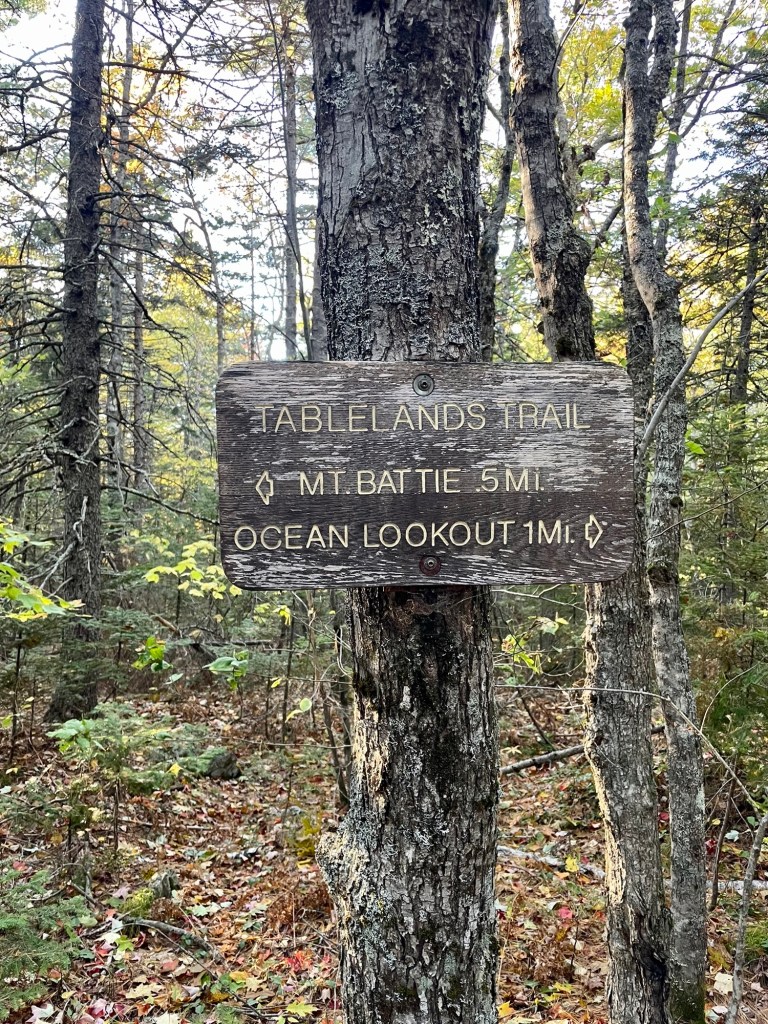
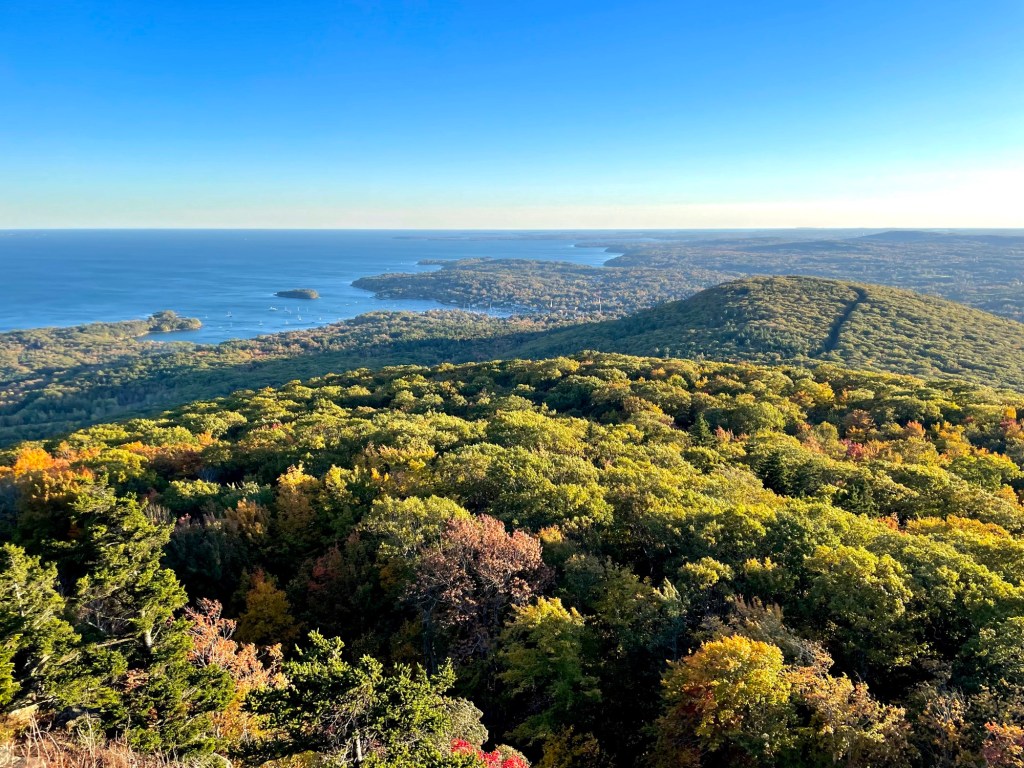
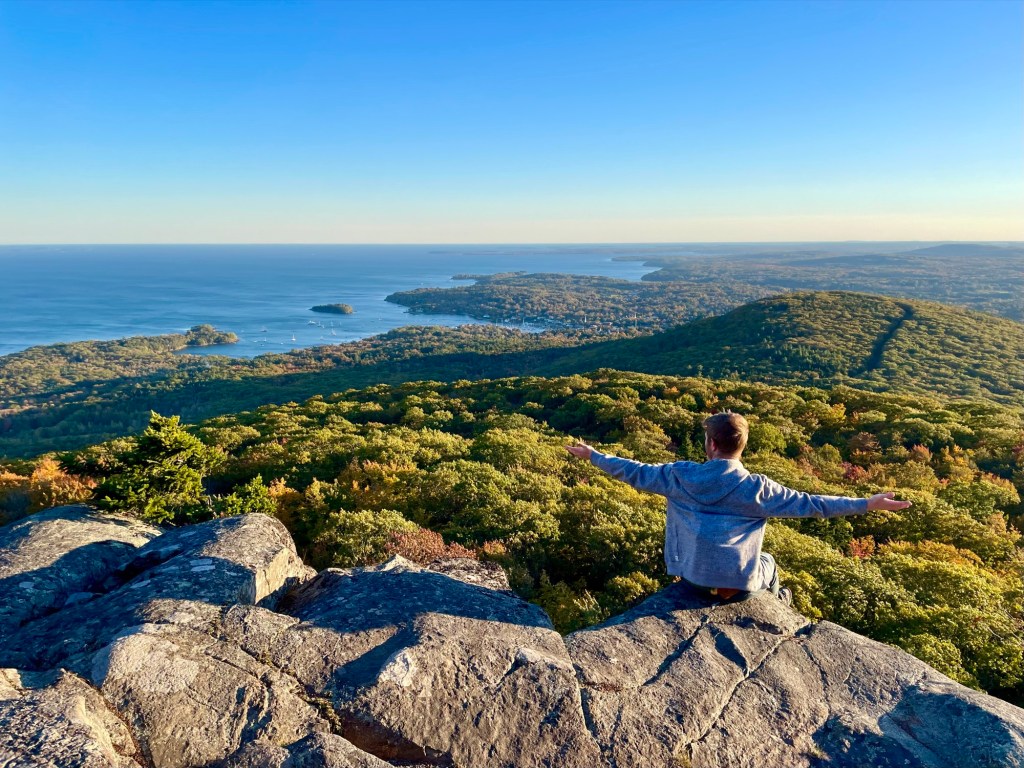
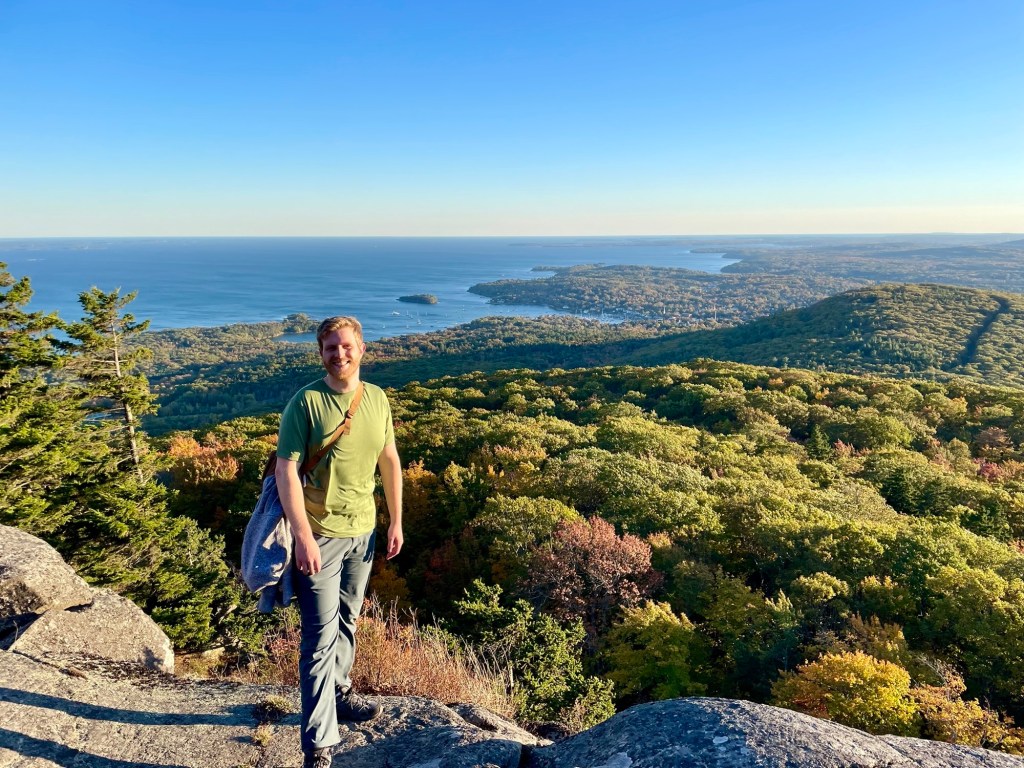
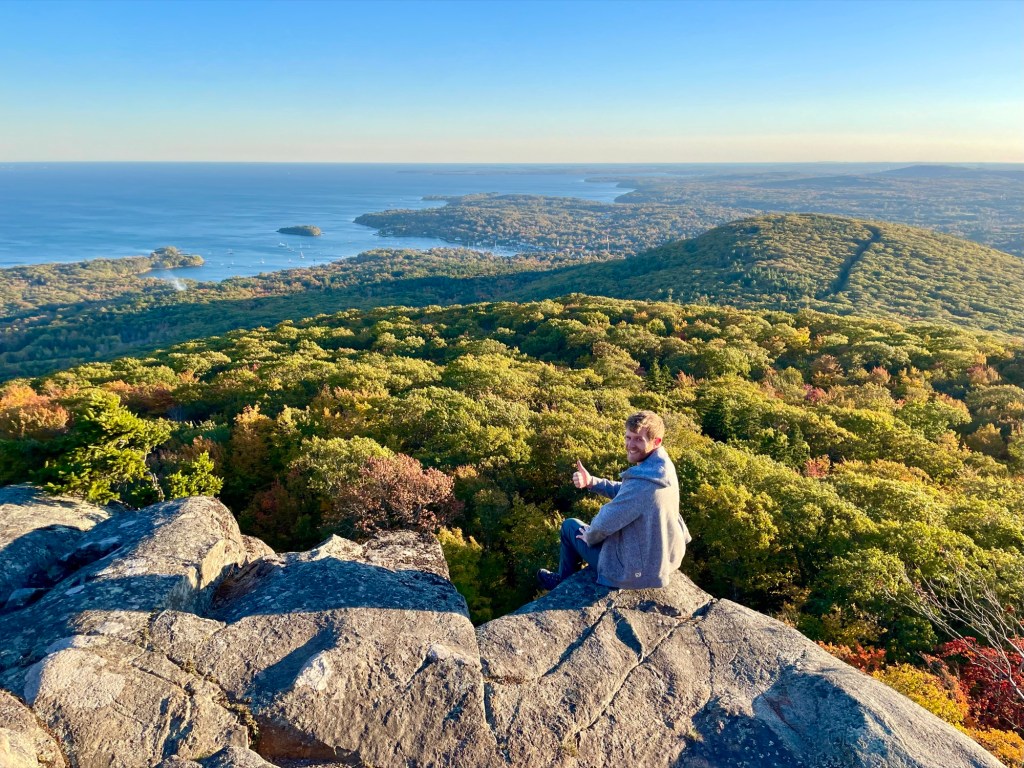
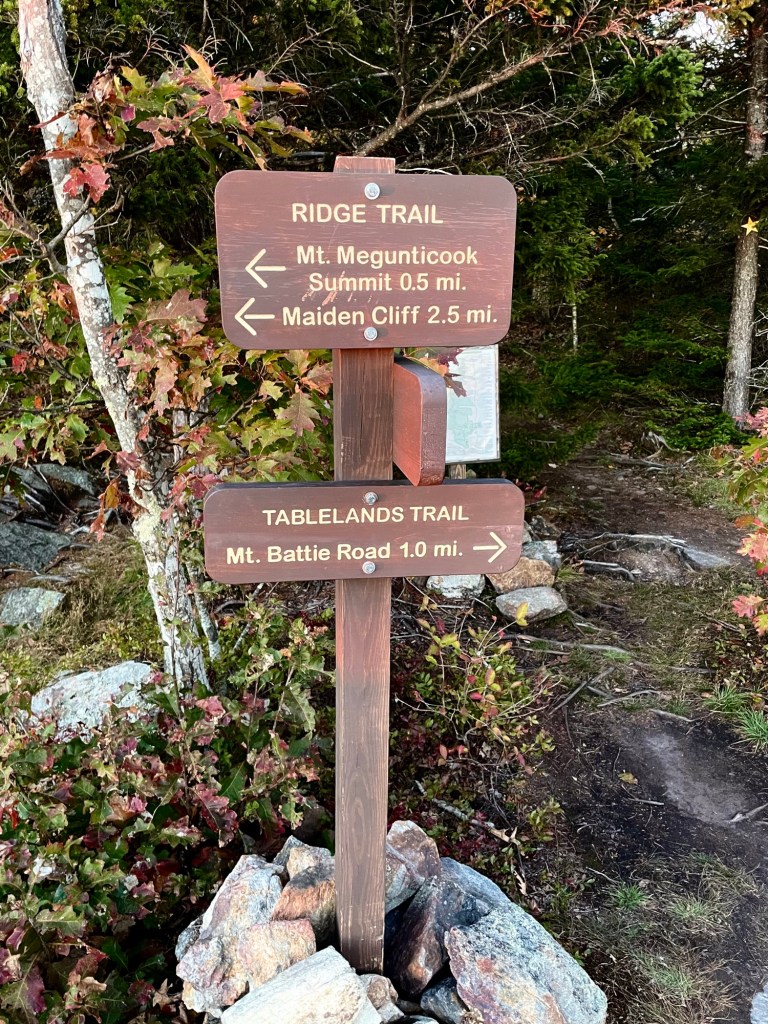
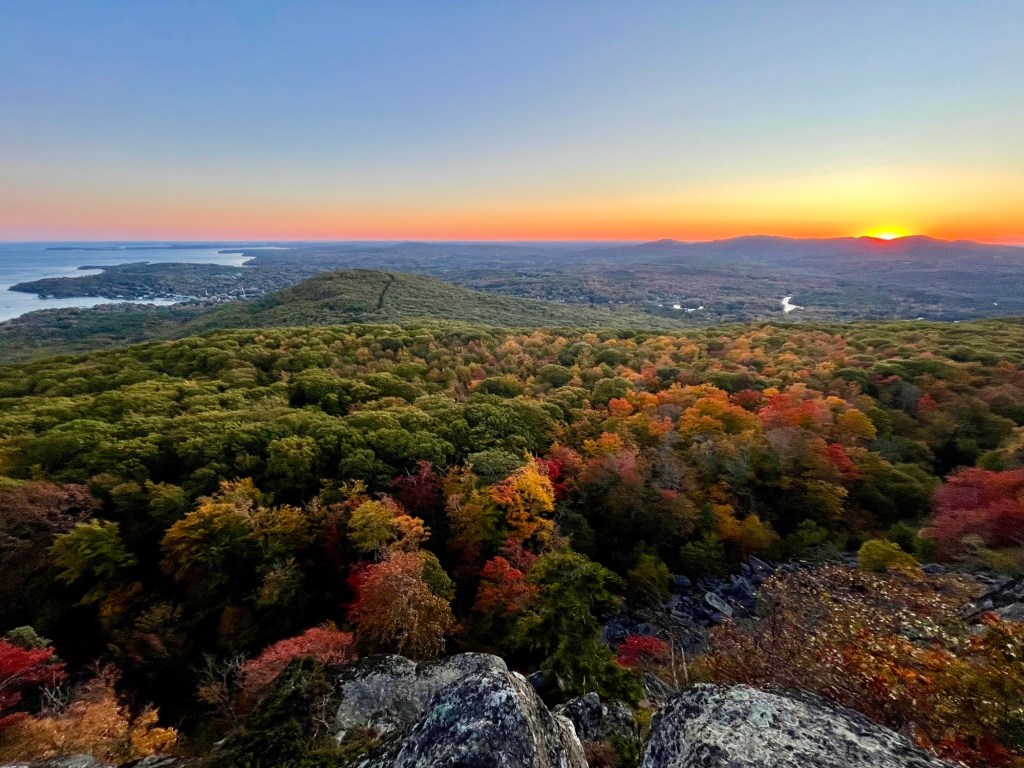
Mount Battie and Megunticook: Your Camden Hiking Guide
Camden Hills State Park sits just outside the small coastal town of Camden, Maine. This park has a number of hiking trails with the most popular ones being Mount Battie and Mount Megunticook. Both of these trails offer panoramic views of the ocean coast and sweeping colourful fall foliage trees below. If you’re driving through the…

Maine Lobster Festival & Rockland, ME
We travelled to Maine in August to attend the annual Maine Lobster Festival. Here are some honest thoughts on our trip.