Date Published: March 2nd, 2025 | Last Updated: March 2nd, 2025
Author: Abby |Category: dips, vegetarian, easy, healthy, snacks
Serves: 3 cups | Prep time: 15 mins | Cook time: 15 mins
Jump to recipe |
Since moving to the US 2 years ago, Toby and I have had a lot more exposure to Mexican/Latin cuisine. There’s a severe lack of good Mexican food in Melbourne and Toby’s mind has been blown away by all the amazing choices within arms reach. Our South Slope neighbourhood is full of so many authentic Mexican restaurants that sometimes we need a Spanish translator app just to order our food (seriously, once we asked one of our Spanish-speaking co-workers to order our food for us 😅). We joke that every new shop is either going to be a cannabis dispensary, bodega, or Mexican restaurant.
We have had more than our share of amazing burritos, tacos, and empanadas in this neighbourhood and it often comes with a red, green, and sometimes orange sauce. These sauces tend to be a house-made chilli salsa in varying degrees of spiciness and no two sauces are the same between restaurants. I usually gravitate towards the green sauce which is made with a green chilli but on one occasion the green sauce had hints of avocado flavour and took me by surprise. It was so good that I went right back and ordered a large container of it just to keep in the fridge. This avocado salsa verde recipe is a result of that sauce. Although I haven’t been able to recreate it to exactly the same sauce, this end result came out so good that I’ve decided to share it anyway. I hope you enjoy!
What are Tomatillos?
A tomatillo is also known as a Mexican husk tomato. To me it looks exactly like a green tomato, but with a papery shell/husk on the outside. You must remove the shell/husk before using them and the underlying skin can have a slightly sticky residue that comes off with a quick rinse. Tomatillos can be used raw or cooked. The flavour of a tomatillo is a bit unique in that in can have a tartness to it when eaten raw, but it mellows out when cooked.

Avoiding a bitter salsa verde
A common complaint when making salsa verde is that it can turn out a bit bitter. I came across this in my first few batches and it took a bit of research to figure out why – the tomatillos! Before this recipe, tomatillos were foreign to me and I had to learn how to use them. They are the most common cause for a bitter salsa verde due to a number of reasons:
- Unripe tomatillos – a ripe tomatillo should be:
- Bright green under the husk
- Have a tight husk (the fruit fills up the husk rather than a small and shrunken fruit within which can indicate that it was harvested too early)
- Have some firmness but not too hard (under-ripe) nor mushy (over-ripe)
- Overcooked tomatillos – tomatillos should be cooked until they just turn colour from a bright green to a more pale/army green colour. Overcooking your tomatillo is one of the most common causes for bitterness.
- Remove the ribs and stem base – The stem base can be a cause of bitterness so I like to remove it before blending it in my salsa. Some people also claim that the seeds and ribs can also cause the bitter flavour and will scoop it out as well.
- Taste! The best way to avoid a bitter salsa verde is to taste your tomatillos and its components after its cooked before blending it with the rest of your ingredients so you know if you need to make any corrections.
Anyways, without further ado, here’s the recipe! If you have any comments or suggestions, I’d love to hear from you in the comment section! You can follow me on instagram, youtube and facebook to see all the recipes I post!
Happy cooking!
Ingredients you’ll need:
- 2-3 (200g) tomatillos
- 1 medium (100g) avocado, deseeded and peeled (weight is after deseeding and peeling)
- 1 large (90g) red shallot (or a quarter of a red onion)
- 7g cilantro, leaves and stem
- 1/2 (10g) fresh jalapeño, deseeded, for mildly spicy. Add more to your liking, you can also use serrano chili
- 2 large (7g) garlic cloves, peeled
- 1/2 Tbsp fresh lime juice
- 1 tsp salt, or more to taste
Directions:
Preheat oven to 400˚F/200˚C.
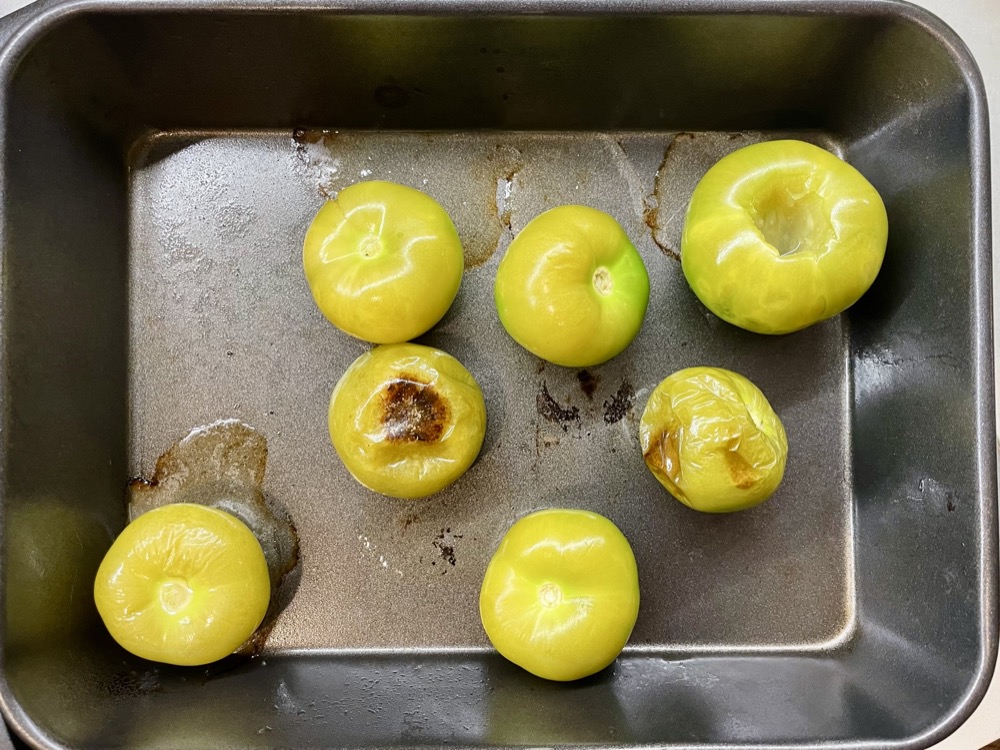
Remove the outer husks of the tomatillos, rinse off the sticky residue, remove the rib/stem base, then place it on a baking tray. Add a drizzle of oil over the tomatillos and bake in the preheated oven for 10-15 minutes, or until soft with a light golden brown on top (the colour will turn from a bright green to a lighter/army green).

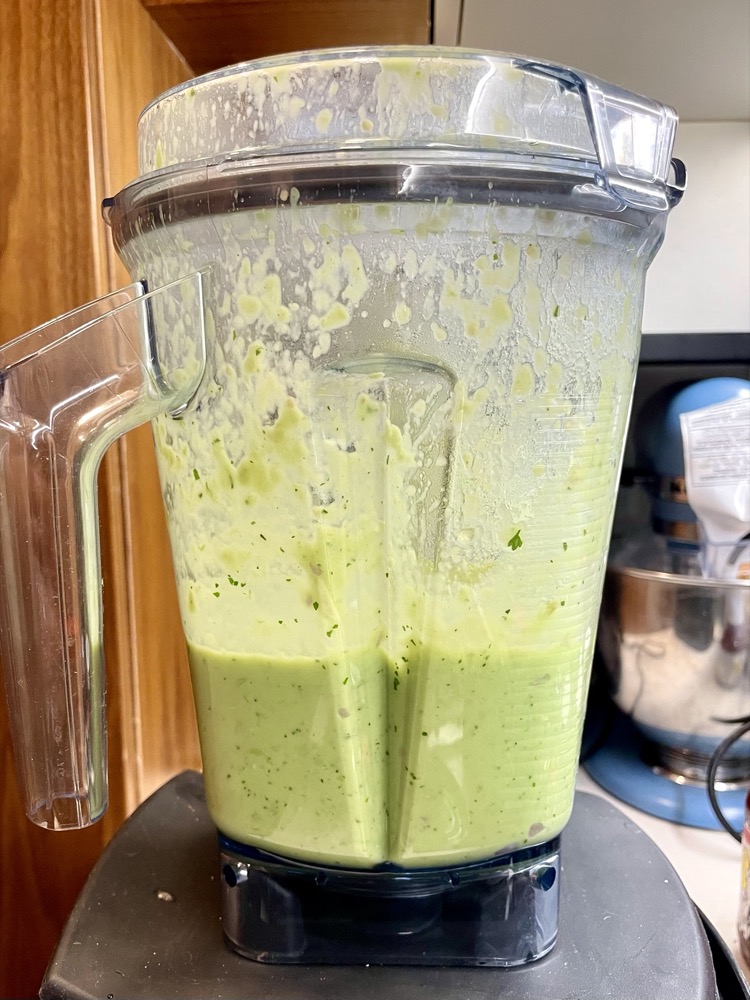
While the tomatillos are roasting, prepare and add the rest of the ingredients to a blender: avocado, red shallots, cilantro, jalapeño, garlic, lime juice, and salt.
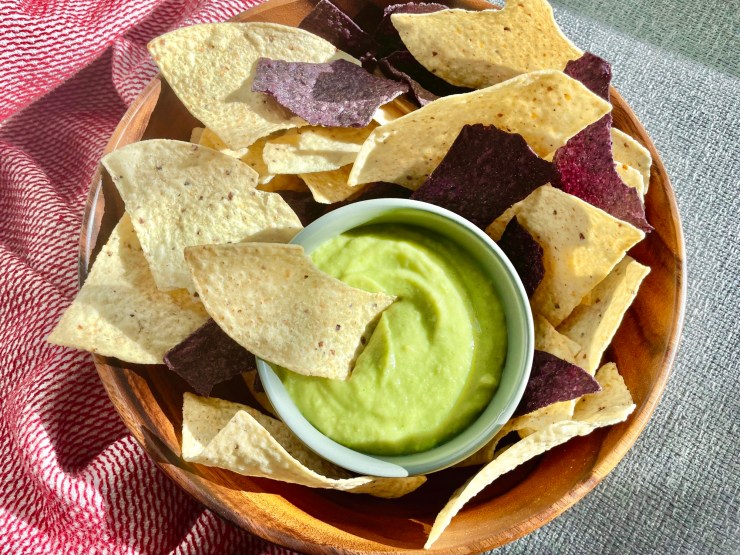
Once the tomatillos are done roasting, add them to the blender with the rest of the ingredients and blend on HIGH until smooth. Taste and adjust salt, lime juice, and jalapeños to your liking. Done!

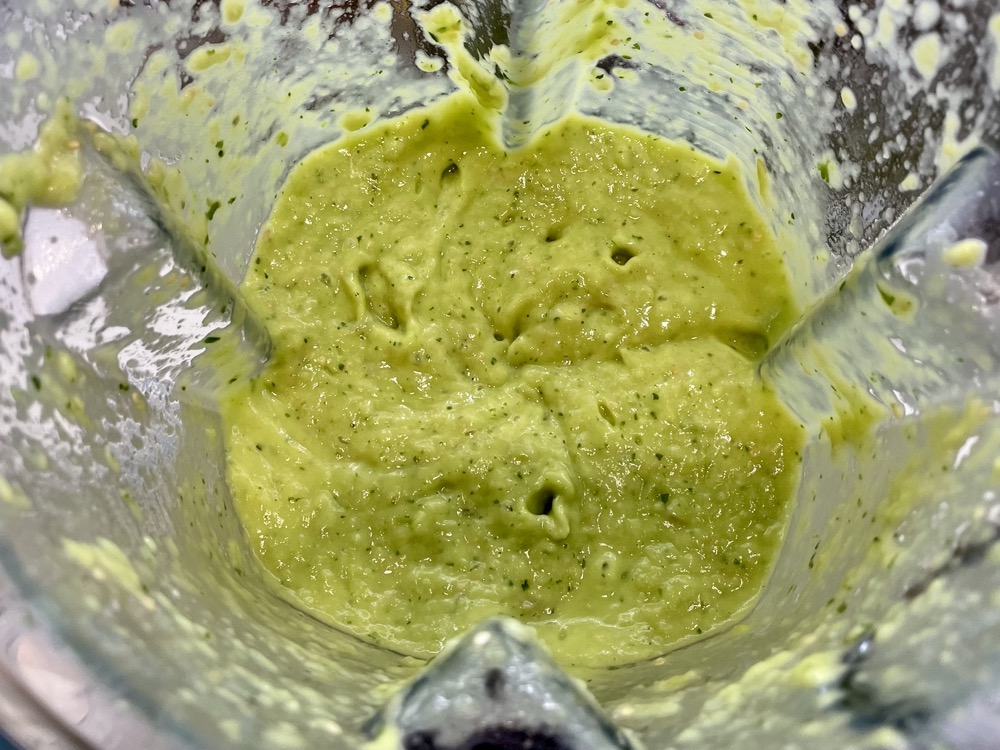
Tip: If it’s too spicy, add more avocado.


Summarized Recipe:
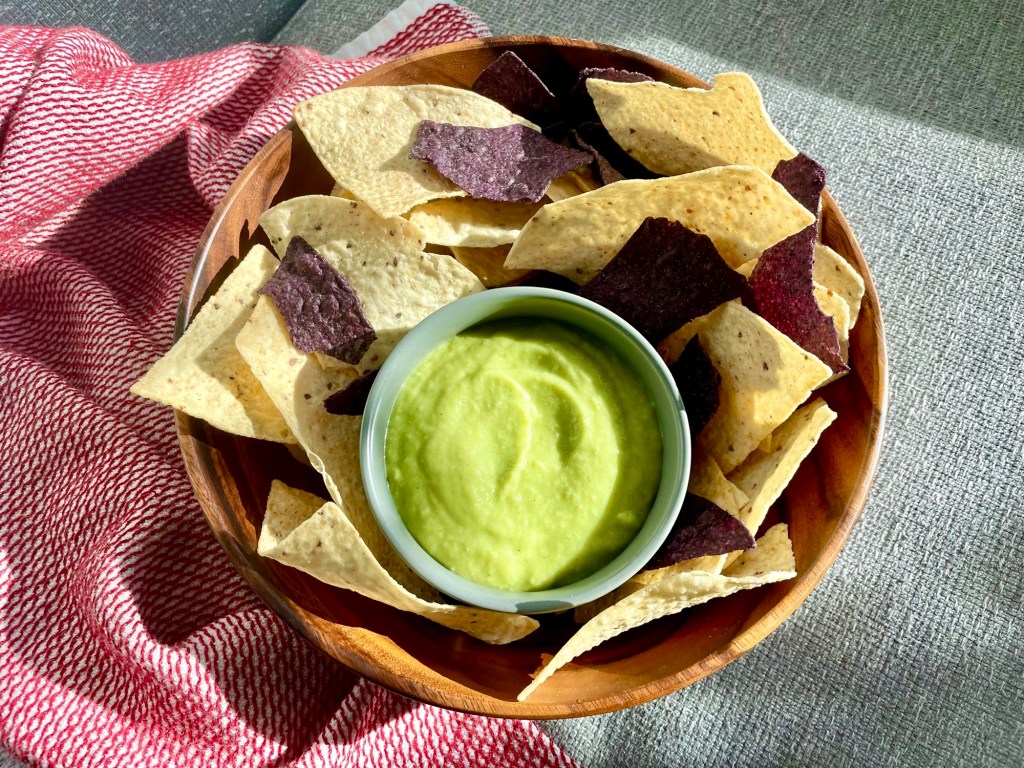
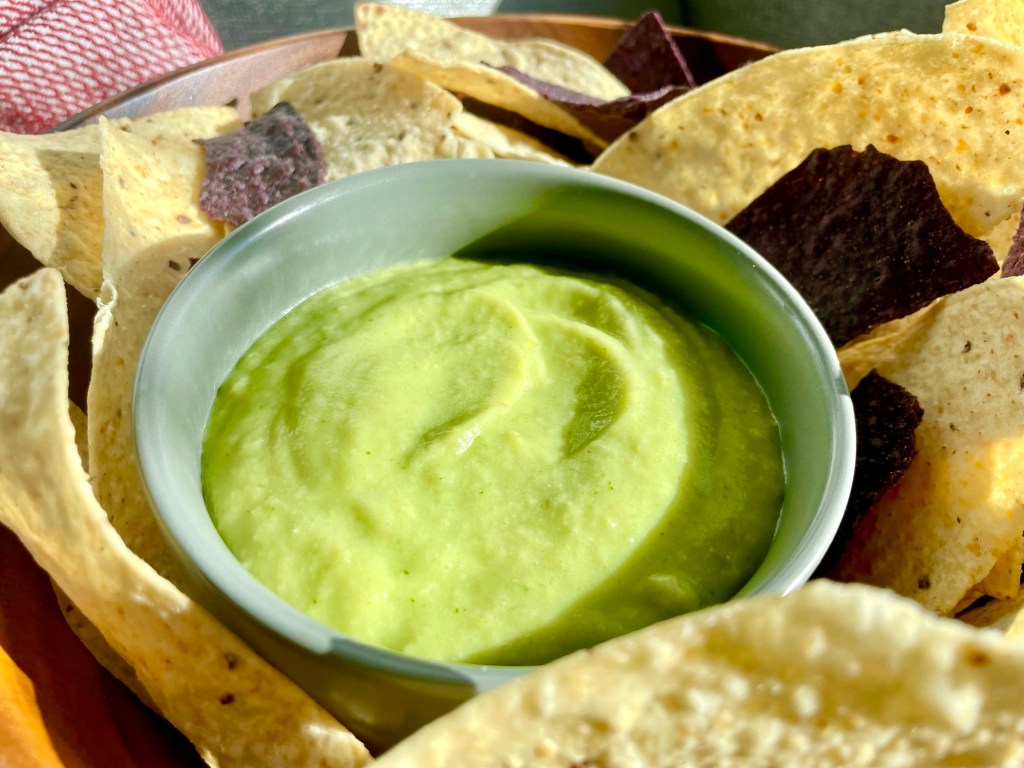
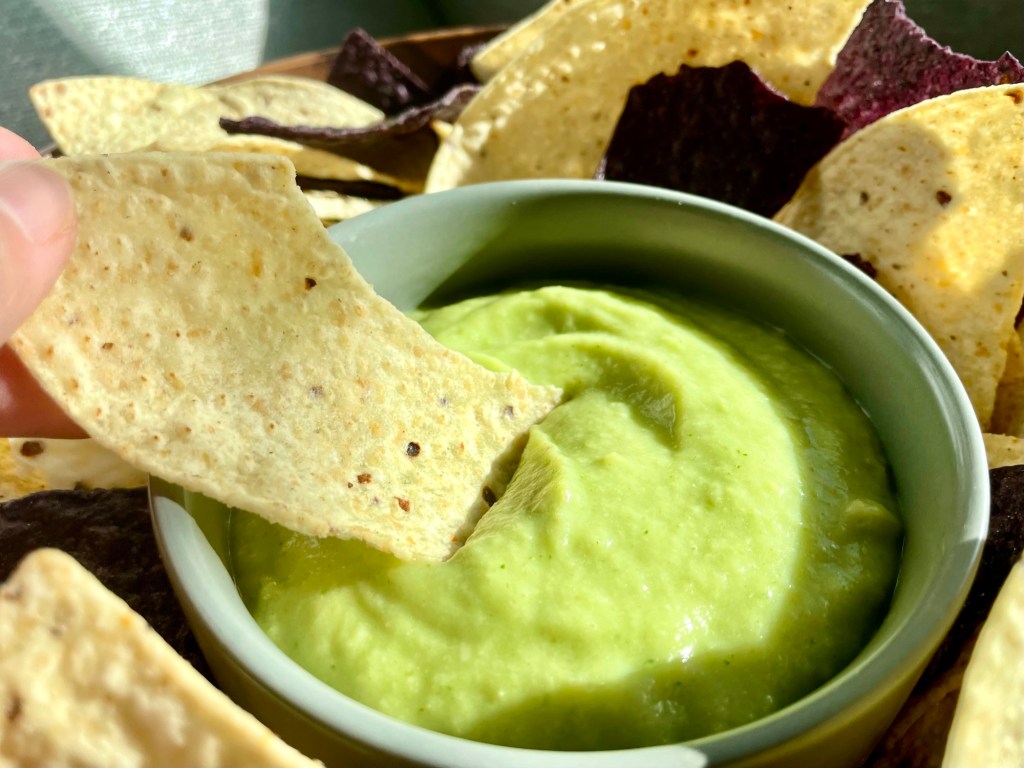
Avocado Salsa Verde
Date Published: March 2nd, 2025 | Last Updated: March 2nd, 2025
Author: Abby |Category: dips, vegetarian, easy, healthy, snacks
Serves: 3 cups | Prep time: 15 mins | Cook time: 15 mins
Ingredients:
- 2-3 (200g) tomatillos
- 1 medium (100g) avocado, deseeded and peeled (weight is after deseeding and peeling)
- 1 large (90g) red shallot (or a quarter of a red onion)
- 7g cilantro, leaves and stem
- 1/2 (10g) fresh jalapeño, deseeded, for mildly spicy. Add more to your liking, you can also use serrano chili
- 2 large (7g) garlic cloves, peeled
- 1/2 Tbsp fresh lime juice
- 1 tsp salt, or more to taste
Directions:
- Preheat oven to 400˚F/200˚C.
- Remove the outer husks of the tomatillos, give it a rinse, then place it on a baking tray. Add a drizzle of oil over the tomatillos and bake in the preheated oven for 10-15 minutes, or until soft with a light golden brown on top (the colour will turn from a bright green to a lighter/army green).
- While the tomatillos are roasting, prepare and add the rest of the ingredients to a blender: avocado, red shallots, cilantro, jalapeño, garlic, lime juice, and salt.
- Once the tomatillos are done roasting, add them to the blender with the rest of the ingredients and blend on HIGH until smooth. Taste and adjust salt, lime juice, and jalapeños to your liking. Done!
- Tip: If it’s too spicy, add more avocado.