Date Published: July 20th, 2024 | Last Updated: July 20th, 2024
Author: Abby |Category: how-to, easy
Prep time: 5 mins | Cook time: 40 mins
Jump to recipe |
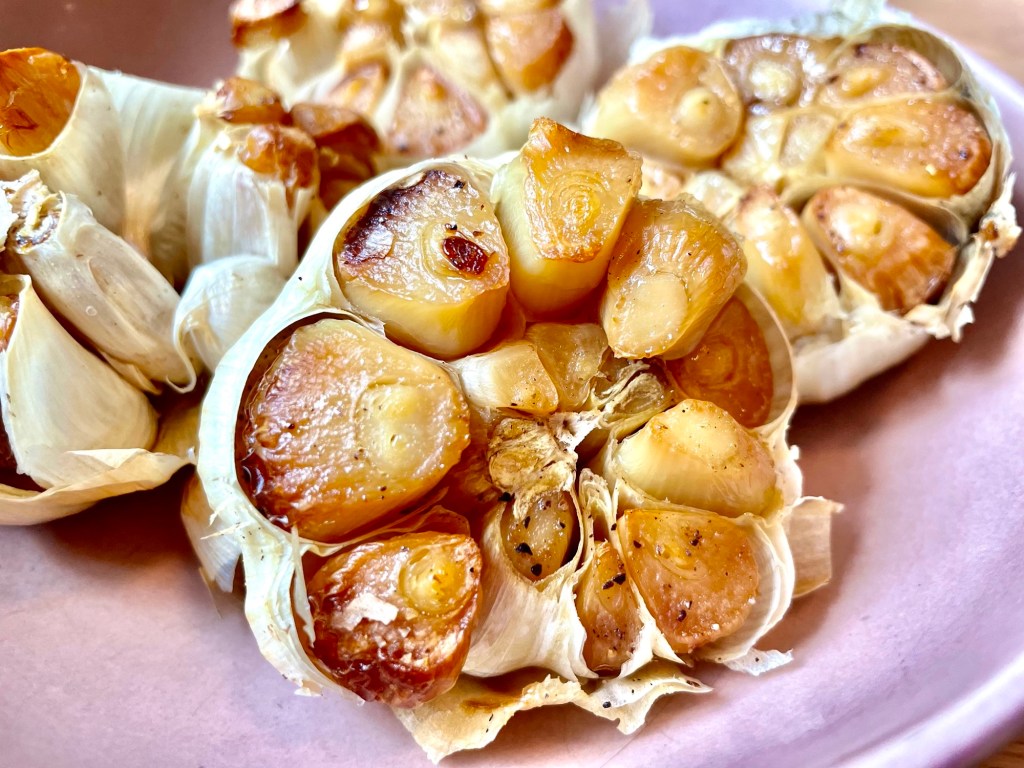
Roasted garlic is one of those magical ingredients that’s packed with so much flavour and yet so easy to make. It’s so versatile and easy to use – you can put it in so many things to easily add an extra depth of flavour or just spread it over plain toast with a drizzle of olive oil for a quick snack. You’ll be amazed how easy it is to make and the best part is that it keeps well in the fridge for up to a week covered in olive oil so you can make a bit extra and continue to use it throughout the week without putting in the effort. 🙂
If you have any comments or suggestions, I’d love to hear from you in the comment section! You can follow me on instagram, youtube and facebook to see all the recipes I post!
Happy cooking!
Ingredients you’ll need:
- Garlic bulbs – however many you’d like to roast
- Drizzle of olive oil
- Pinch of salt
- Pinch of black pepper
Directions:
Preheat the oven to 375˚F (190˚C).
Prepare a small square baking tray and pour in a drizzle of olive oil.

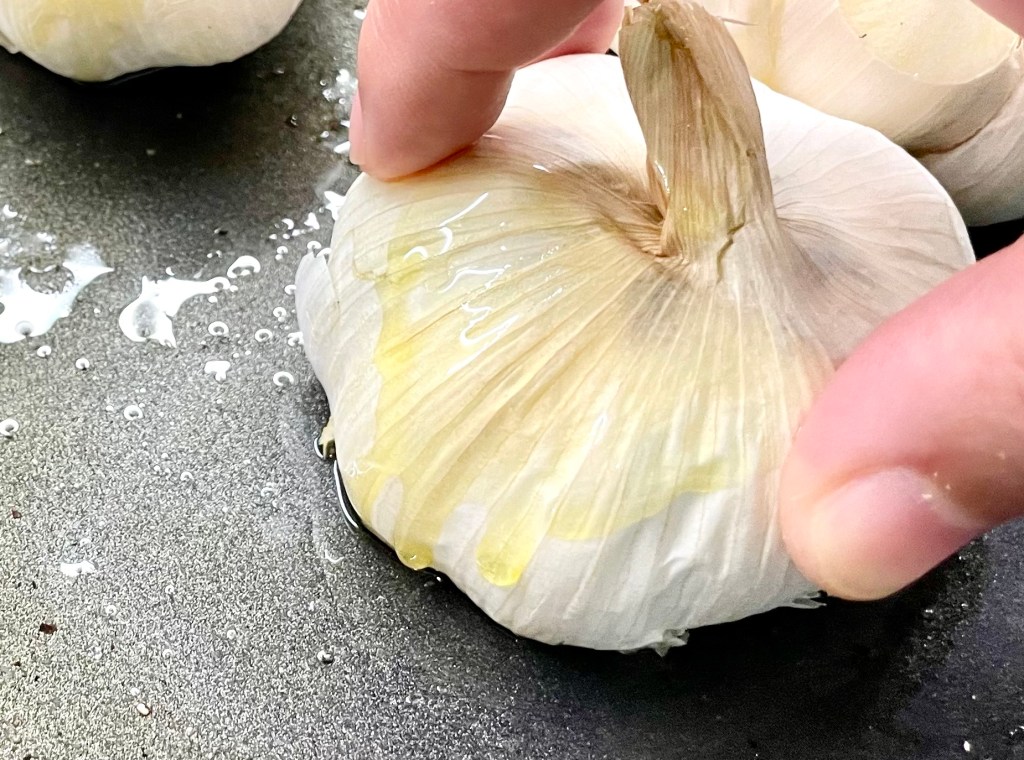
Slice the base off of the garlic bulbs (the flat side – see photo) and dip the exposed side into the olive oil and place the bulbs in the tray, cut side up.

Sprinkle salt and pepper over top. Make sure all the exposed garlic cloves are covered in oil so it doesn’t burn.
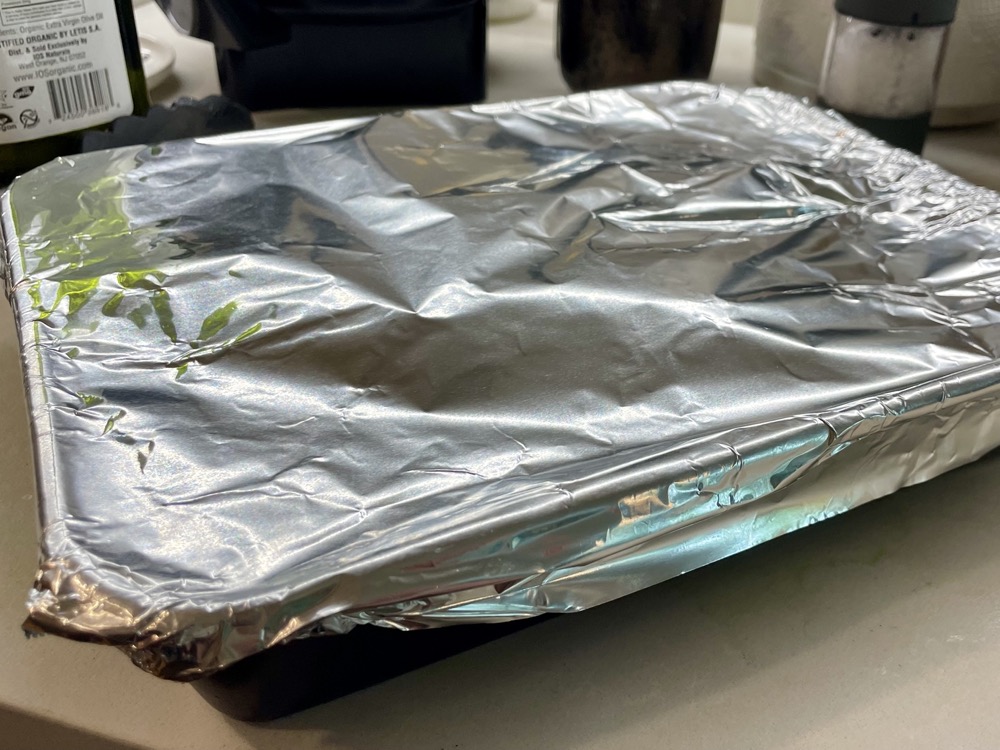
Cover the tray with aluminum foil and bake in the preheated oven for 40 minutes.
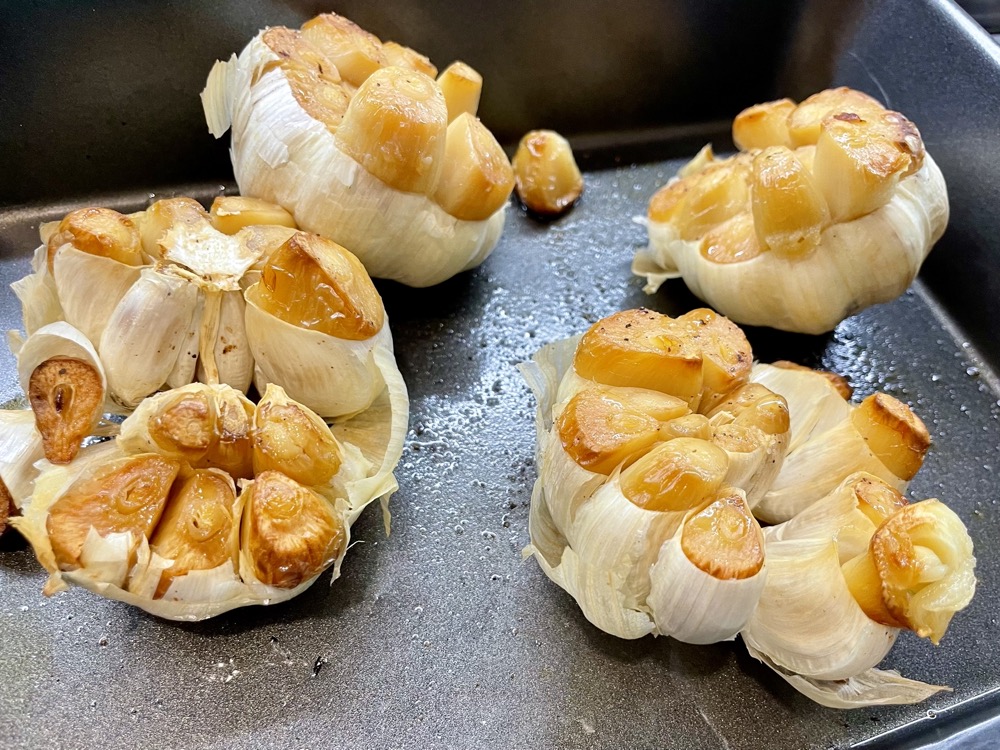

After 40 mins, take it out of the oven, carefully remove the foil and let the roasted garlic cool down. Once cool enough to handle, gently remove the garlic cloves from the outer layer. Done!

Summarized Recipe:
Roasted Garlic (a how-to guide)
Date Published: July 20th, 2024 | Last Updated: July 20th, 2024
Author: Abby |Category: how-to, easy
Prep time: 5 mins | Cook time: 40 mins
Ingredients:
- Garlic bulbs – however many you’d like to roast
- Drizzle of olive oil
- Pinch of salt
- Pinch of black pepper
Directions:
- Preheat the oven to 375˚F (190˚C).
- Prepare a small square baking tray and pour in a drizzle of olive oil.
- Slice the base off of the garlic bulbs (the flat side – see photo) and dip the exposed side into the olive oil and place the bulbs in the tray, cut side up. Sprinkle salt and pepper over top. Make sure all the exposed garlic cloves are covered in oil so it doesn’t burn.
- Cover the tray with aluminum foil and bake in the preheated oven for 40 minutes.
- After 40 mins, take it out of the oven and carefully remove the foil and let the roasted garlic cool down. Once cool enough to handle, gently remove the garlic cloves from the outer layer. Done!