Date Published: Sept 21st, 2025 | Last Updated: Sept 21st, 2025
Author: Abby |Category: mains, Asian, <15mins, <30 mins, easy
Serves: 2 | Prep time: 10 minutes | Cook time: 10 minutes
Jump to recipe |
This Green Curry Mussel recipe has been on the back burner since I started this website during COVID. I’m glad to finally be able to publish it! Back during the lockdown pandemic era (seems like so long ago now!), like many, I was really into experimenting in the kitchen and I had just recently discovered how to make my own Thai Green Curry Paste from scratch! From that recipe, I became more and more adventurous in ways I could use up that curry paste. Toby’s favourite recipe from that adventure is the fried prawn toasts (see the posts below). Mine is this recipe. I would have never thought to pair green curry and mussels together until I saw it on the menu at the mussel stand in Queen Victoria Market one day and it was mind-blowingly delicious!
This is my take on green curry mussels. This recipe uses the bold and rich flavours of a traditional Thai Green Curry paste, cooked together in coconut milk, then tossed together with fresh mussels to give an aromatic and creamy mussel dish. I hope you enjoy!

Thai Green Curry Paste
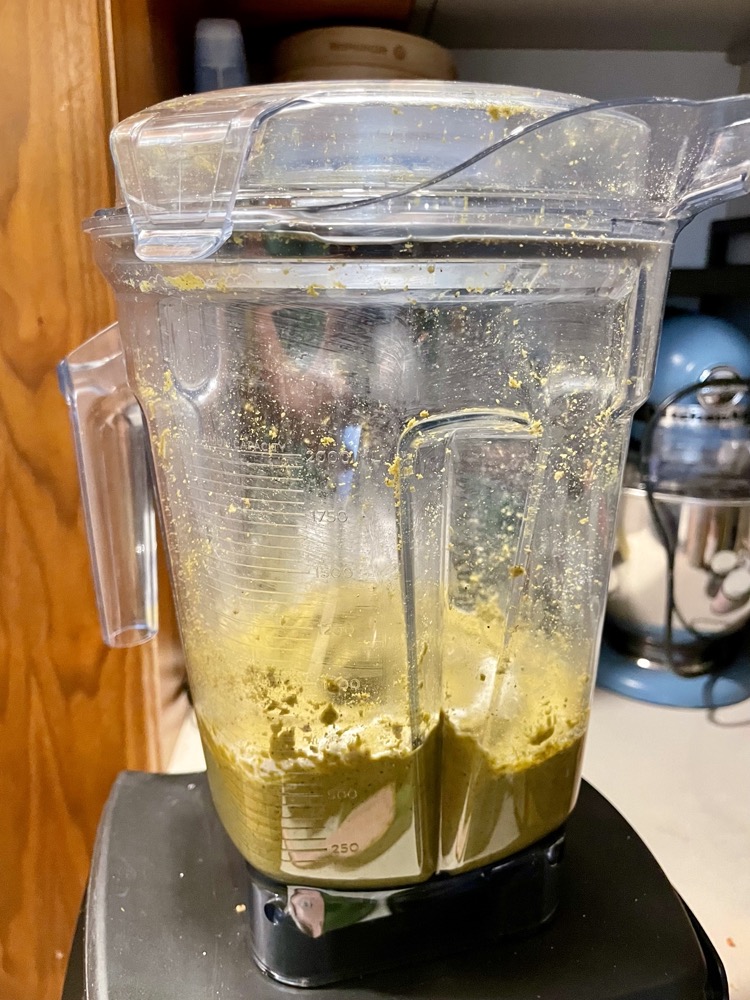
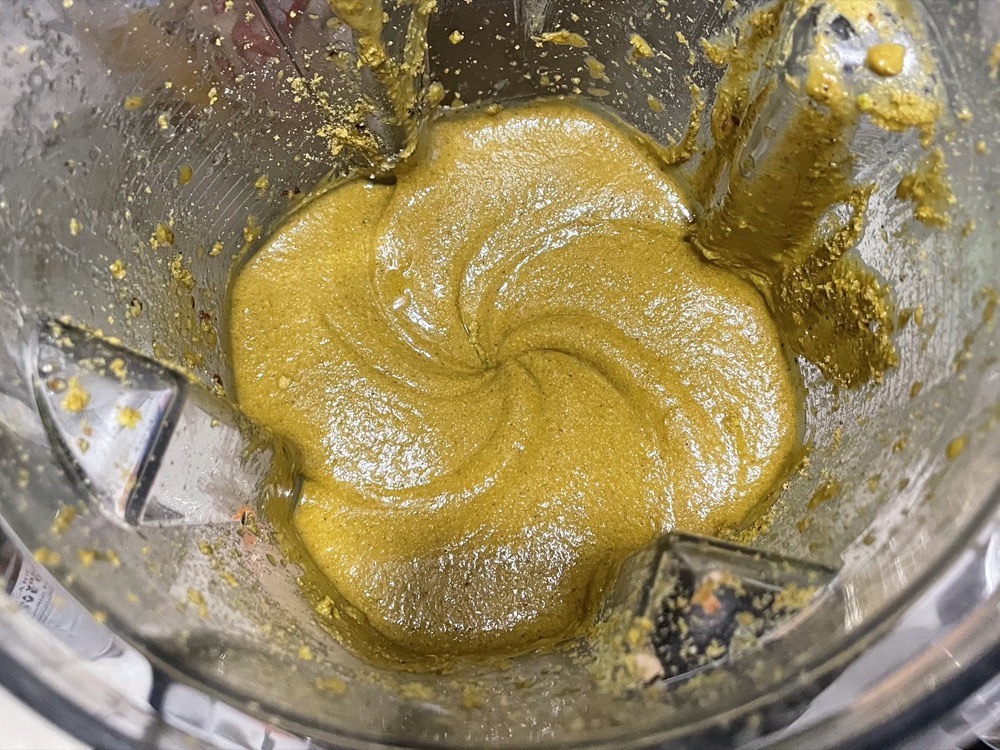
Brace yourself. There are a BUTTLOAD of ingredients that go into this Thai green curry paste (17 to be exact) but it’s packed with flavour and beautiful aromas. It does…
Keep reading
Green Curry Prawn Toast
These prawn toasts are so easy to make! You can serve it as an appetizer or a snack for a party. They make good use of the homemade Thai green…
Keep reading
Green Curry Fish Soup
This healthy green curry soup uses soy milk and fresh green curry paste for maximum flavour and minimum calories and fat. It’s so quick and easy to whip this up…
Keep reading
Thai Green Curry (Chicken, Beef, Fish or Veg)
Although the flavours are complex, making a Thai curry is actually really straight forward and simple as long as you have the green curry paste, which is where most of…
Keep readingThis recipe is easy and cooks up quickly!
Anyways, without further ado, here’s the recipe! If you have any comments or suggestions, I’d love to hear from you in the comment section! You can follow me on instagram, youtube and facebook to see all the recipes I post!
Happy cooking!
Ingredients you’ll need:
- 1kg live mussels, cleaned and pot-ready
- 1/2 cup homemade green curry paste
- 1 can (400ml) coconut milk
Directions:
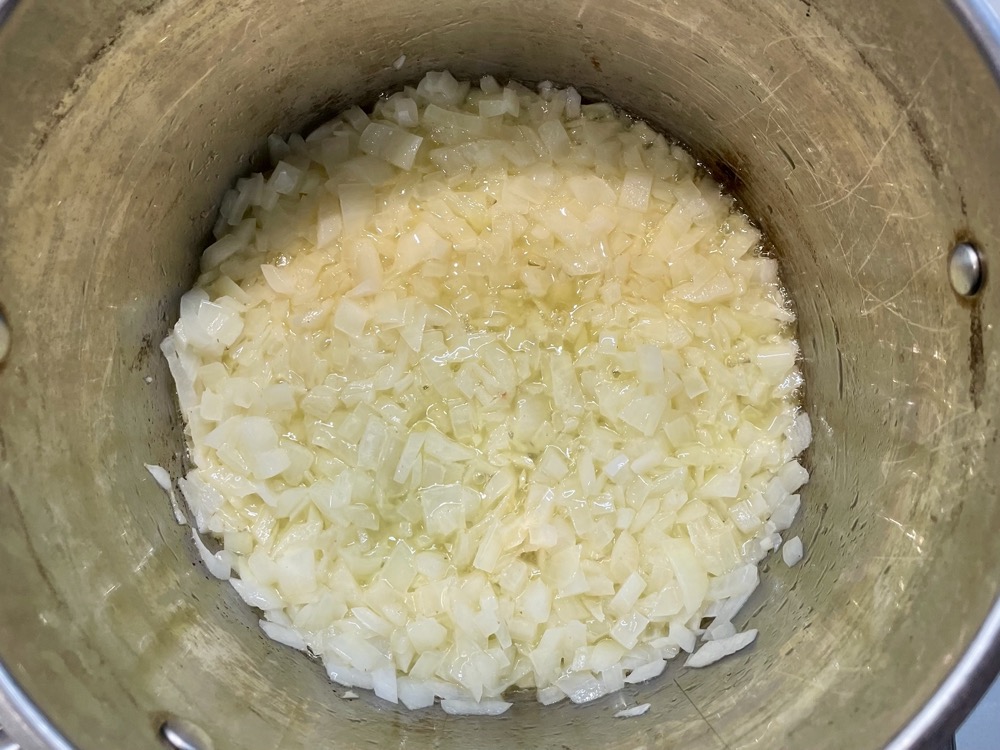
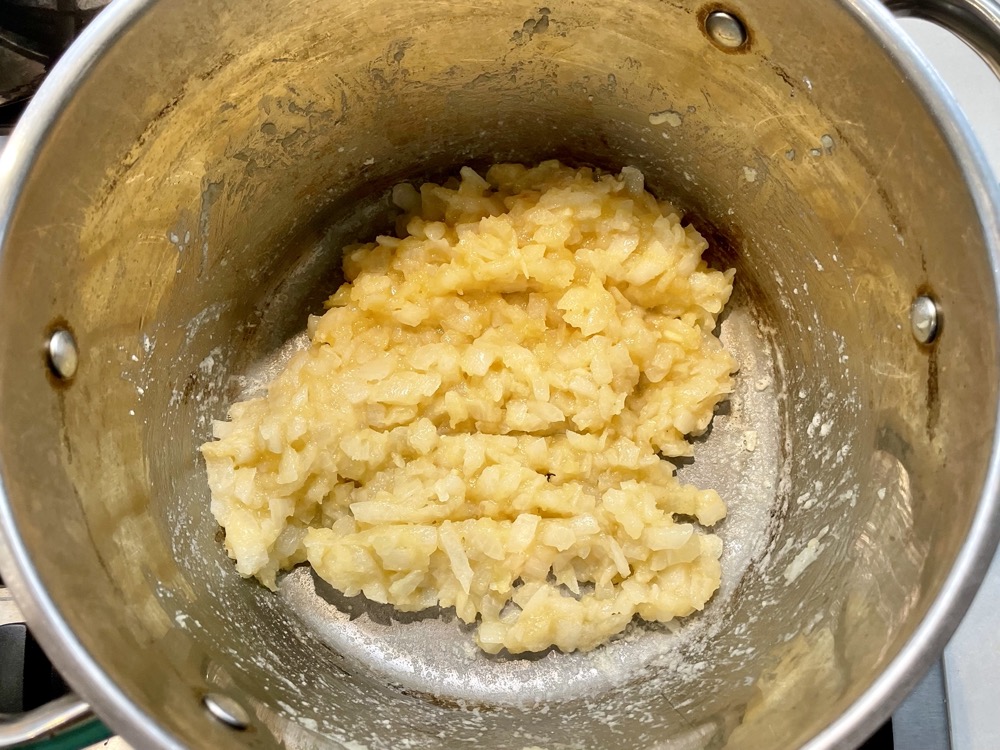
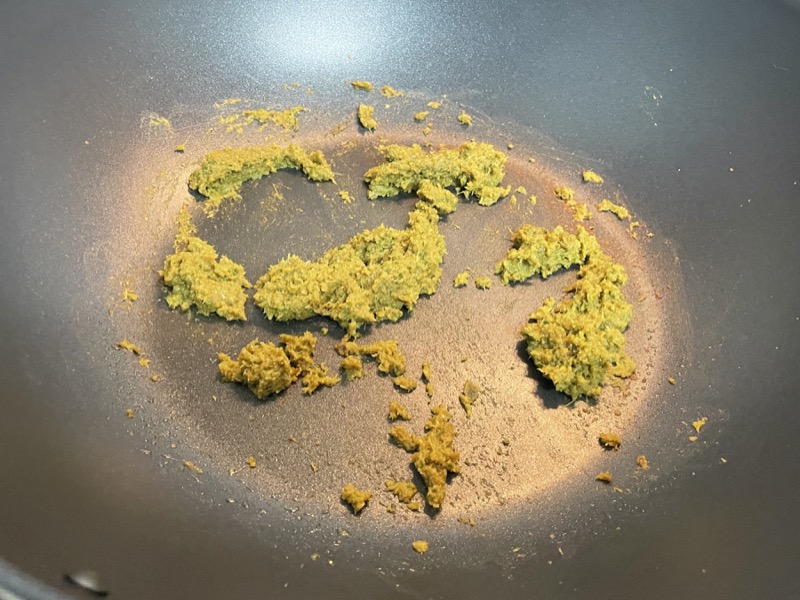
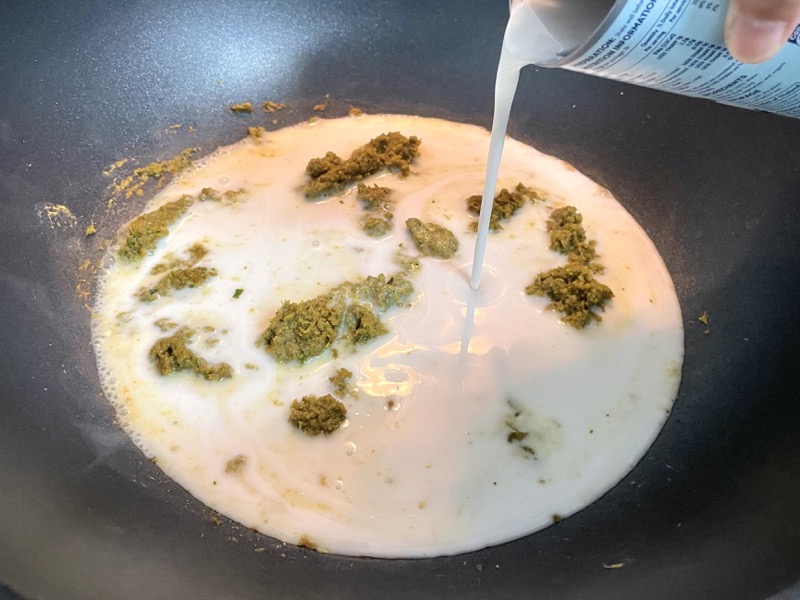
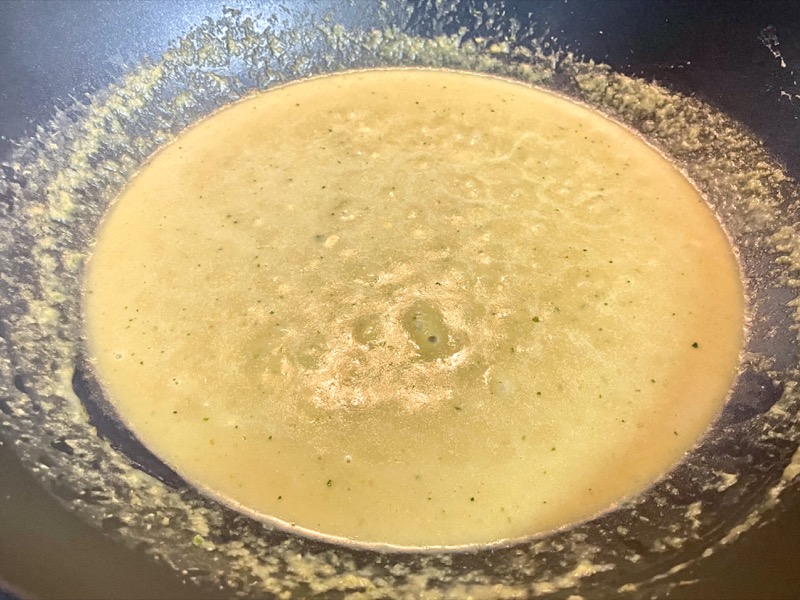
Heat a large pan or wok on MED heat and sauté the green curry paste in a drizzle of oil until the paste dries out a bit and turns slightly brown (2-3 minutes). Add in the can of coconut milk and mix it all together. Let the sauce simmer until you get a thickened sauce.

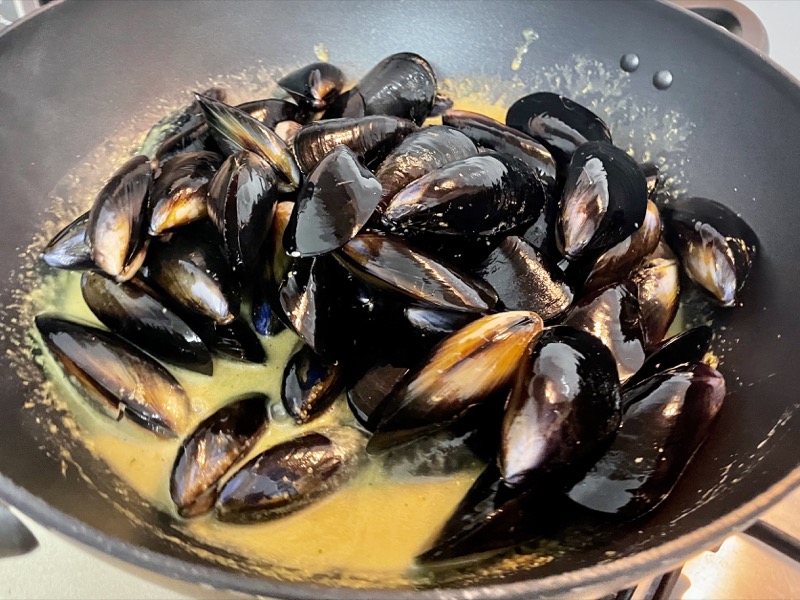
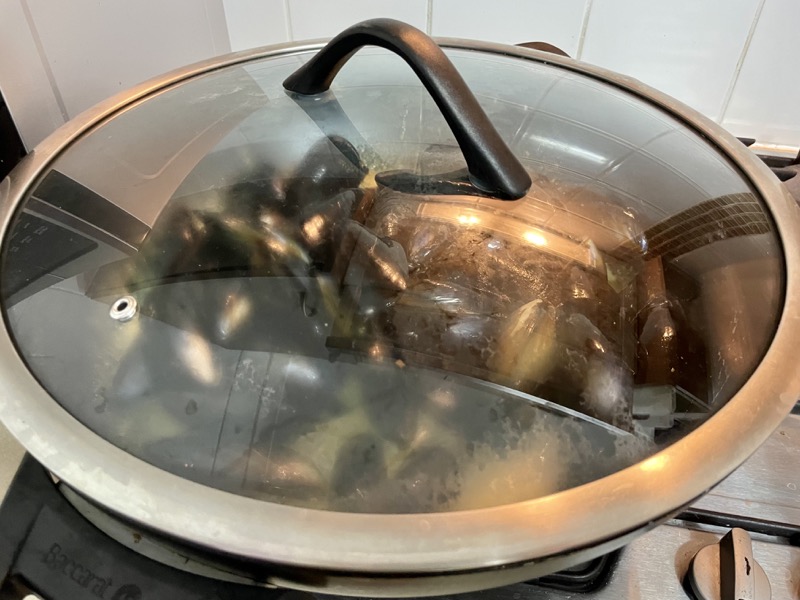
Add in the mussels and stir. Put the lid on and let the mussels steam for 4-5 minutes until they all open up. Turn off the heat and serve!


Summarized Recipe:
Green Curry Mussels
Date Published: Sept 21st, 2025 | Last Updated: Sept 21st, 2025
Author: Abby |Category: mains, Asian, <15mins, <30 mins, easy
Serves: 2 | Prep time: 10 minutes | Cook time: 10 minutes
Ingredients:
- 1kg live mussels, cleaned and pot-ready
- 1/2 cup homemade green curry paste
- 1 can (400ml) coconut milk
Directions:
- Heat a large pan or wok on MED heat and sauté the green curry paste in a drizzle of oil until the paste dries out a bit and turns slightly brown (2-3 minutes).
- Add in the can of coconut milk and mix it all together. Let the sauce simmer until you get a thickened sauce.
- Add in the mussels and stir. Put the lid on and let the mussels steam for 4-5 minutes until they all open up. Turn off the heat and serve!