Date Published: Sept 18th, 2025 | Last Updated: Sept 18th, 2025
Author: Abby | Category: soup, mains
Serves: 8 | Prep time: 20 mins | Cook time: 45 mins
Jump to recipe |
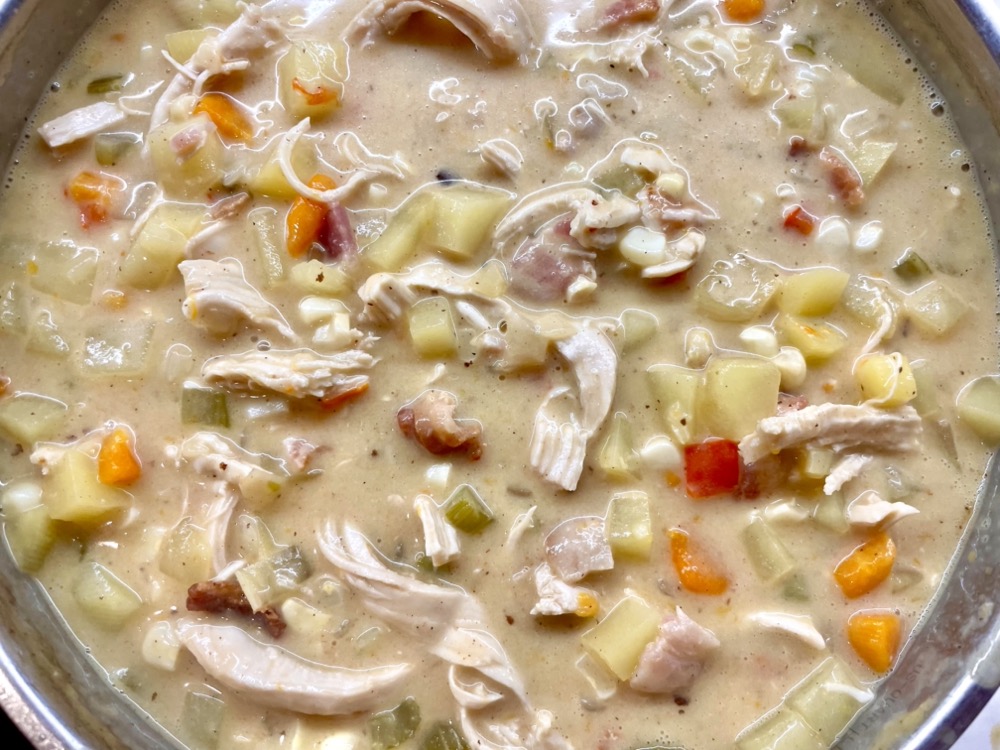
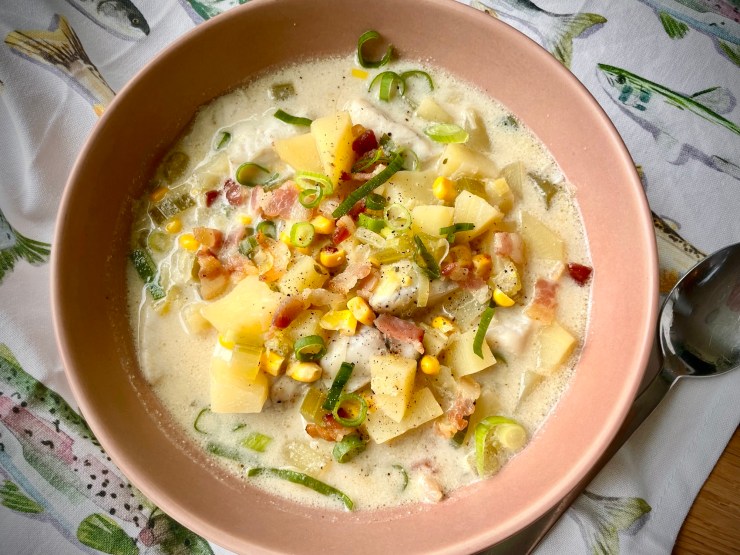
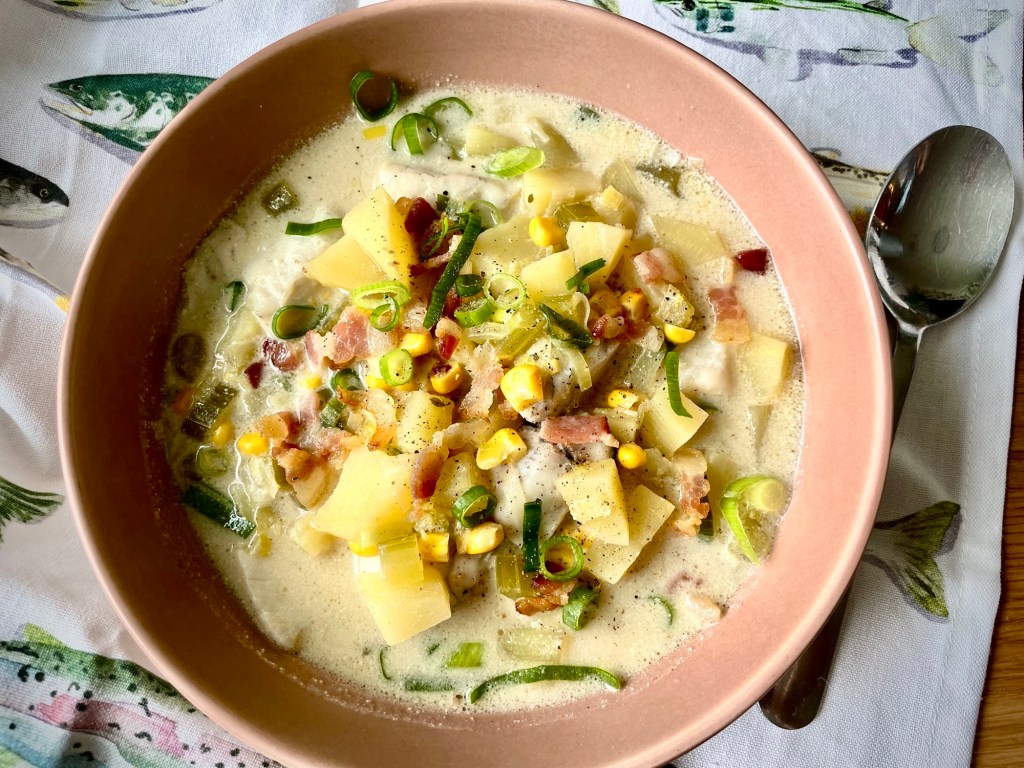
This Miso Fish Chowder tastes just like a clam chowder, but is thinner, more brothy, made with fish instead of clams and not as heavy. It’s made with white miso for an umami punch and packs in a ton of flavour.
The original recipe is from NYT Cooking but I’ve made a few changes with addition of ingredients and also doubled the batch because this soup is just so damn good that it always disappears too quickly. My recipe will make enough to serve 8, but feel free to halve the recipe if you like, but this soup freezes incredibly well and is perfect for meal-prep days.

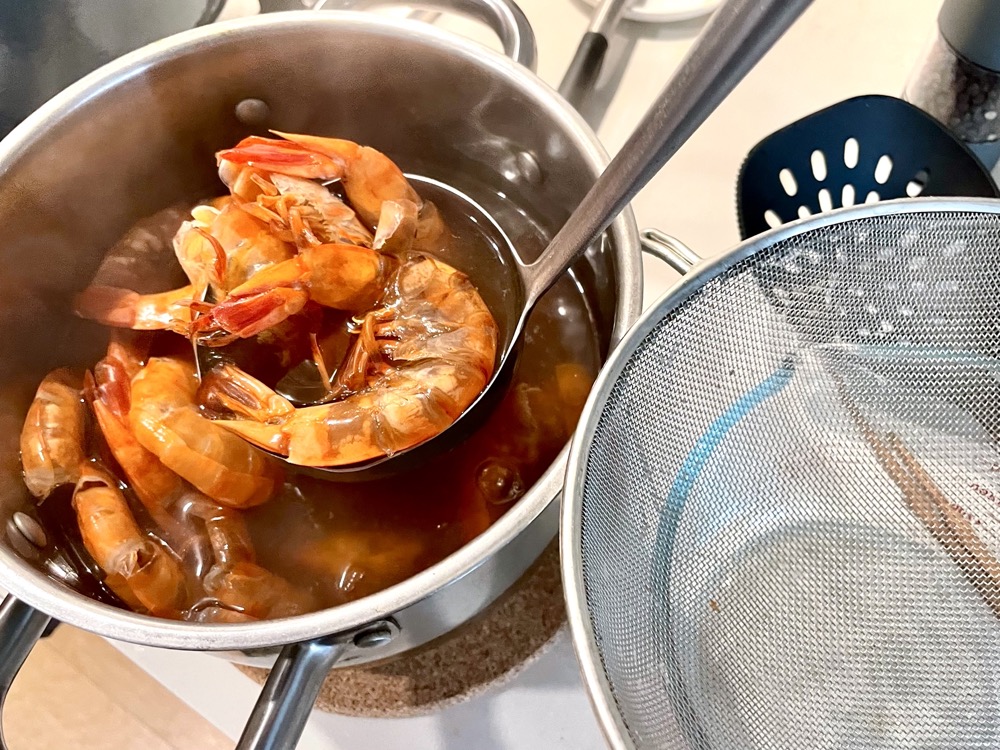
Although this recipe doesn’t have actual clams in it, it does use clam juice as one of its main ingredients. Clam juice is the broth that comes from steaming clams. While it doesn’t sound the most appetizing, it is important in this recipe to get that seafood/clam/umami flavour infused into the soup. There are a couple brands out there, but one of the most popular ones is by Bar Harbor. I found these bad boys at my local Whole Foods near the seafood section for about $4 per bottle.
Anyways, without further ado, here’s the recipe! If you have any comments or suggestions, I’d love to hear from you in the comment section! You can follow me on instagram, youtube and facebook to see all the recipes I post!
Happy cooking!
Ingredients you’ll need:
- 1kg (2 lbs) skinless white fish fillets (cod or barramundi work well), sliced to 3cm pieces
- Pinch of salt
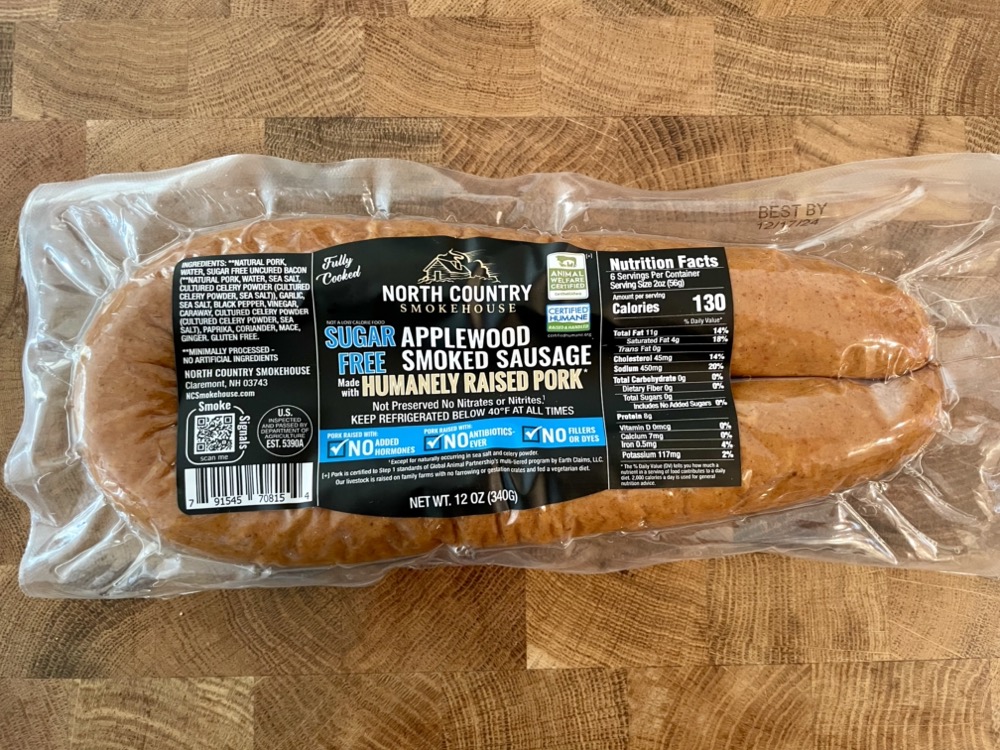
- 8 slices of bacon, diced
- 3 Tbsps unsalted butter
- 3 stalks of celery, diced
- 2 leeks, white part only, cleaned and sliced
- Pinch of fresh ground black pepper
- 2/3 cup (200g) white/shiro miso
- 1.2kg (2.5 lbs) potatoes, peeled and cut into 2.5cm cubes
- 960ml (4x 8oz bottles) clam juice
- 4 cups water
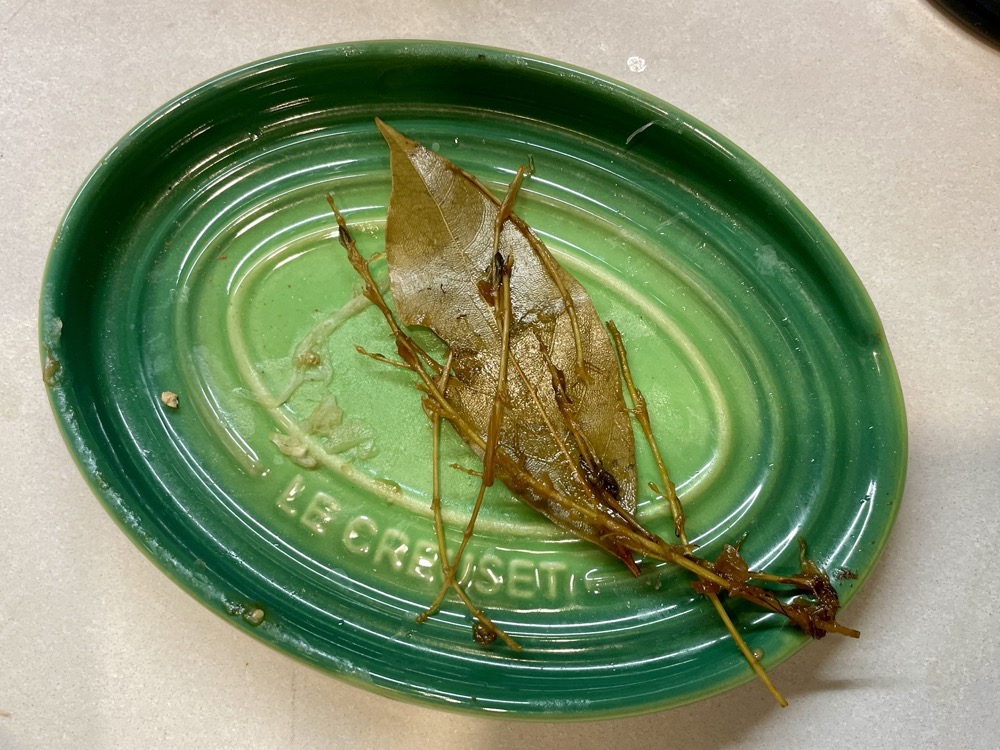
- 2 sprigs of fresh thyme
- 1 cup heavy cream
- 5 scallions, sliced, white and green parts separated
- 1 can of whole sweet corn kernels, drained
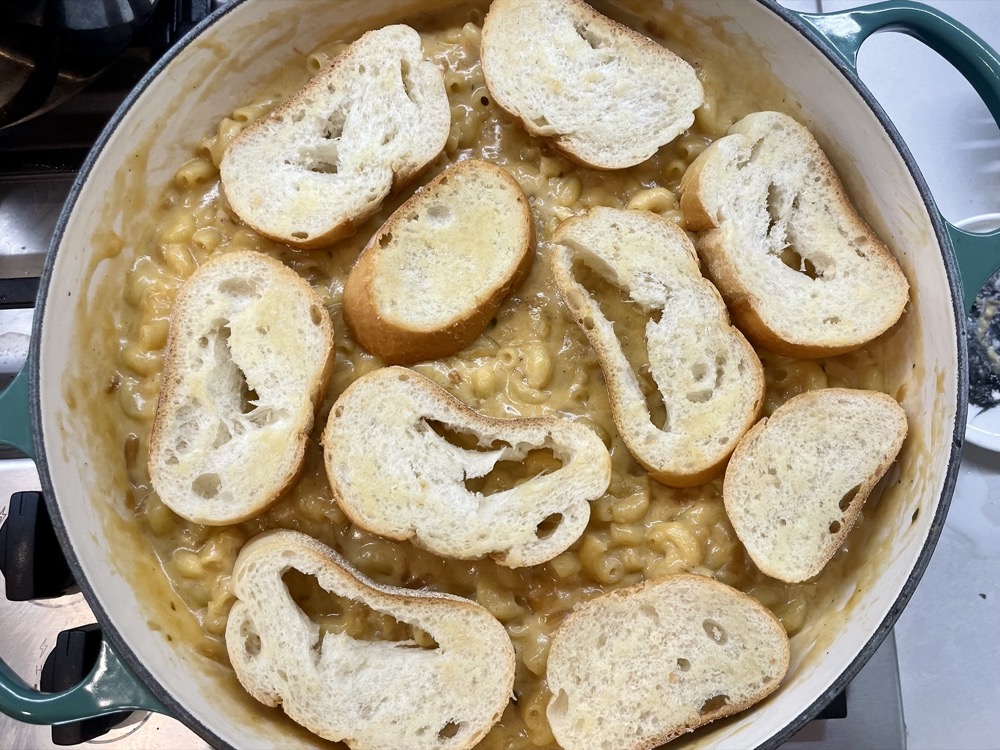
- Serve: oyster crackers or crusty bread
Directions:
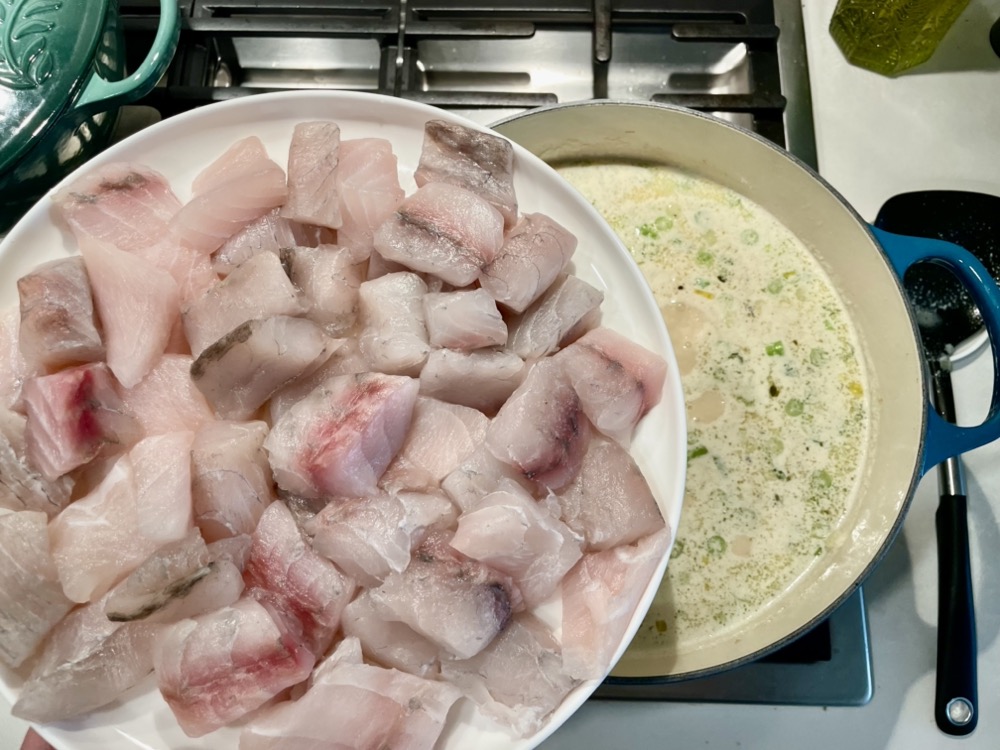
Add a pinch of salt to both sides of the fish pieces and set aside until ready to use.

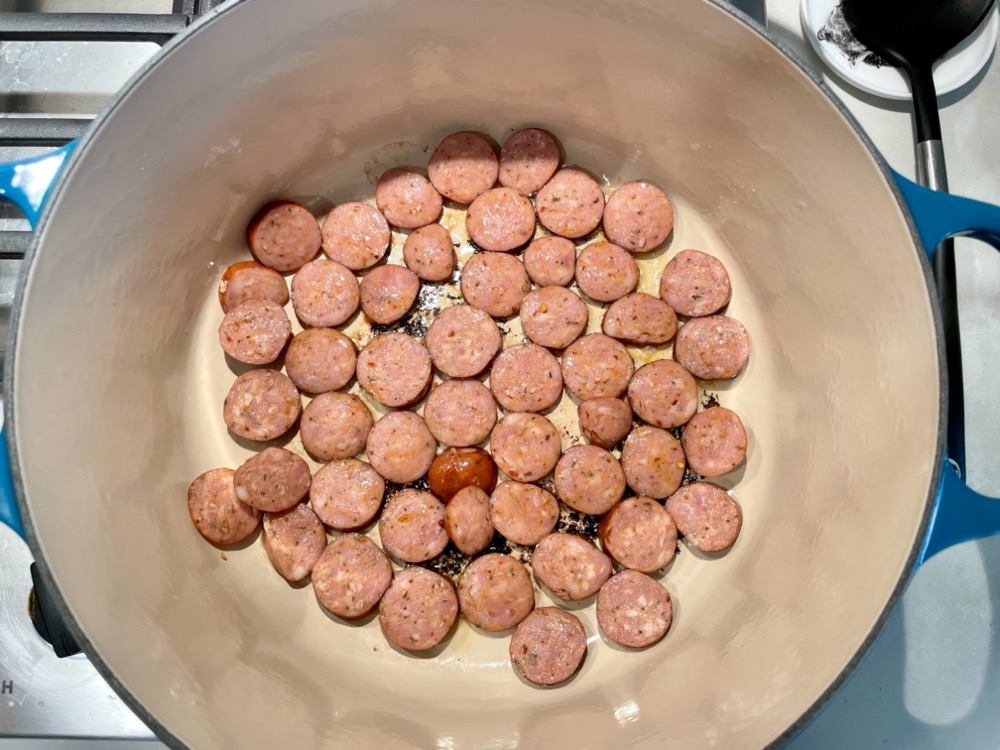
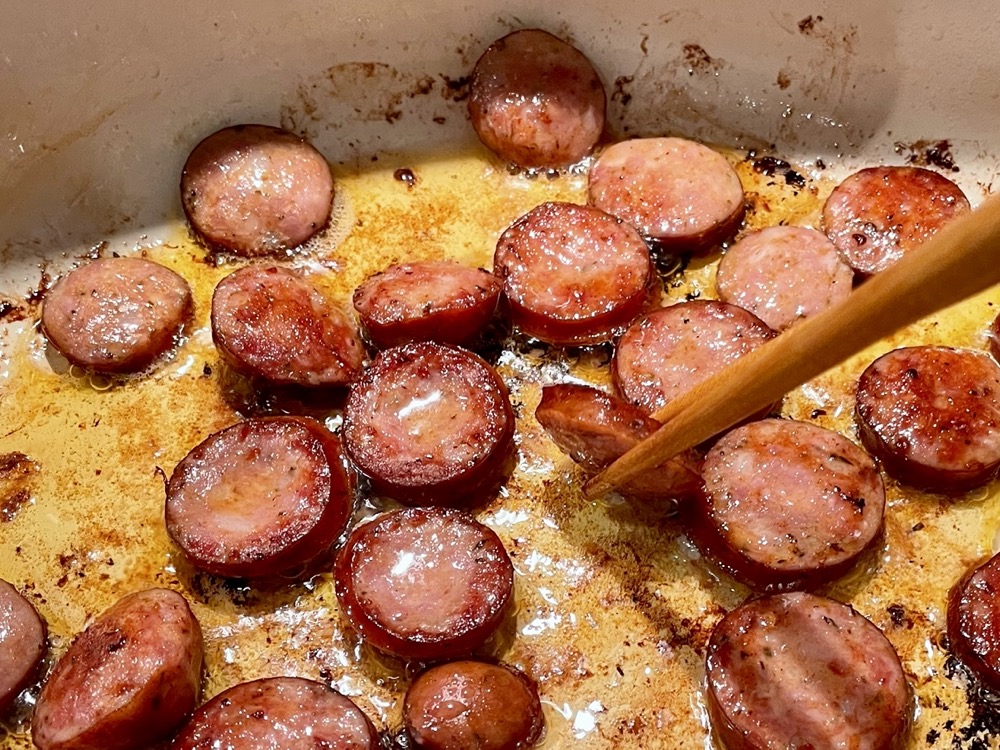
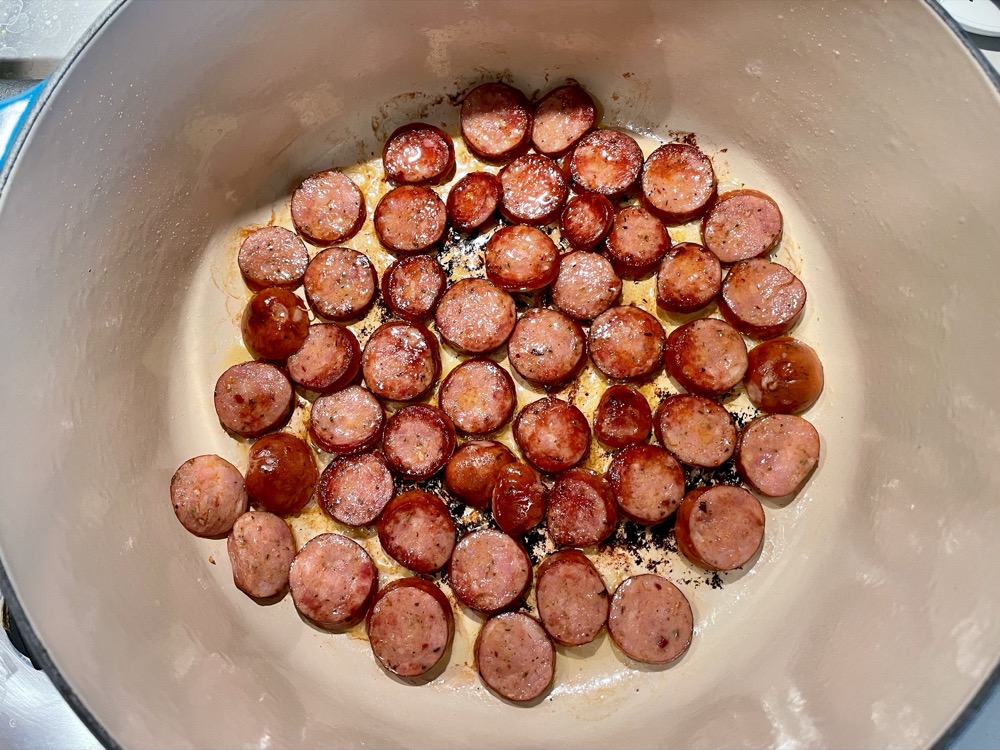
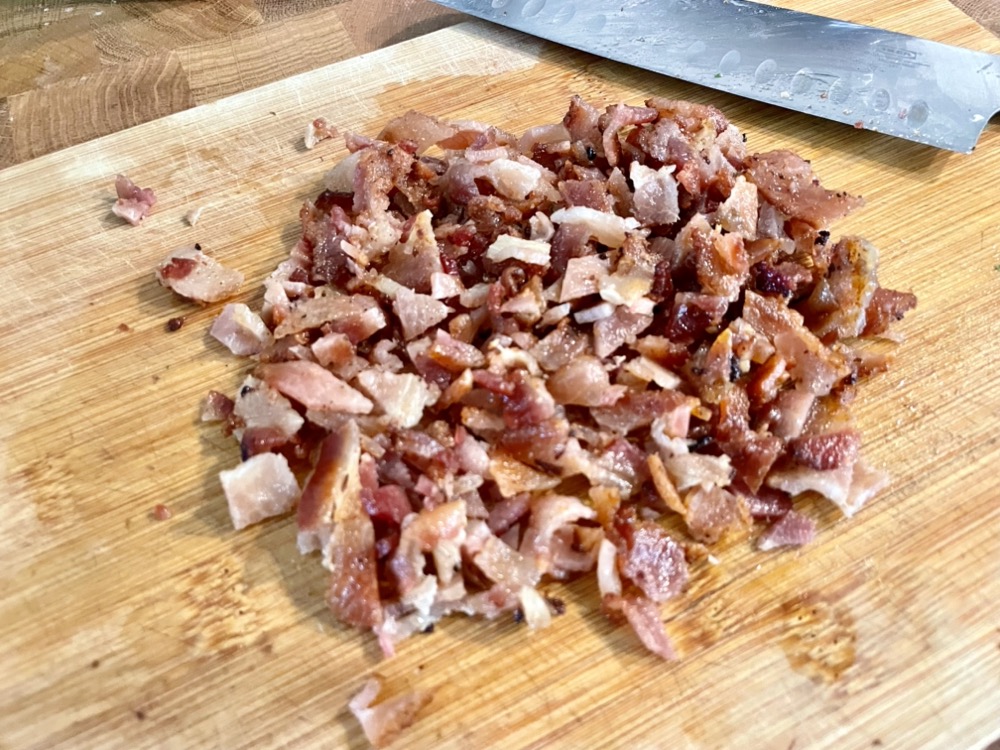
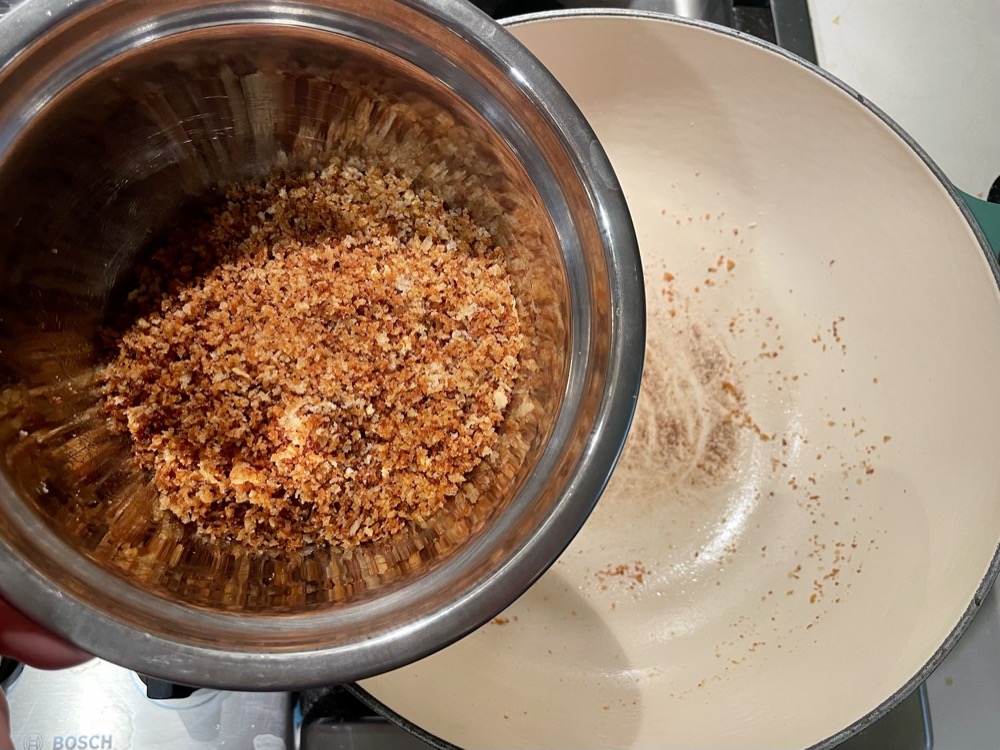
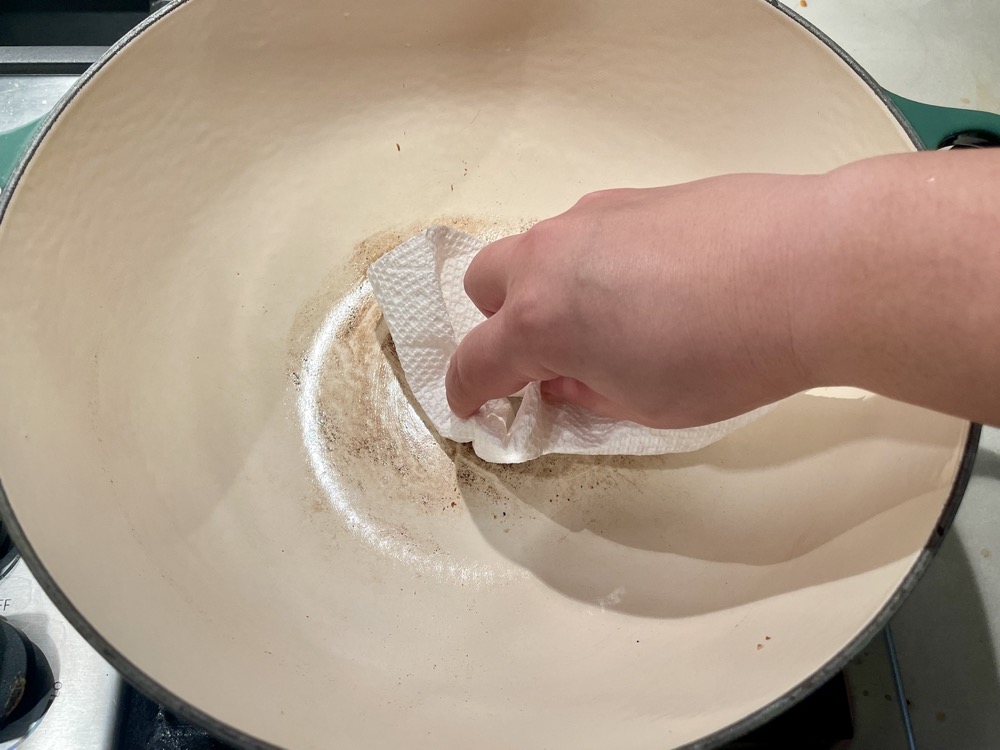
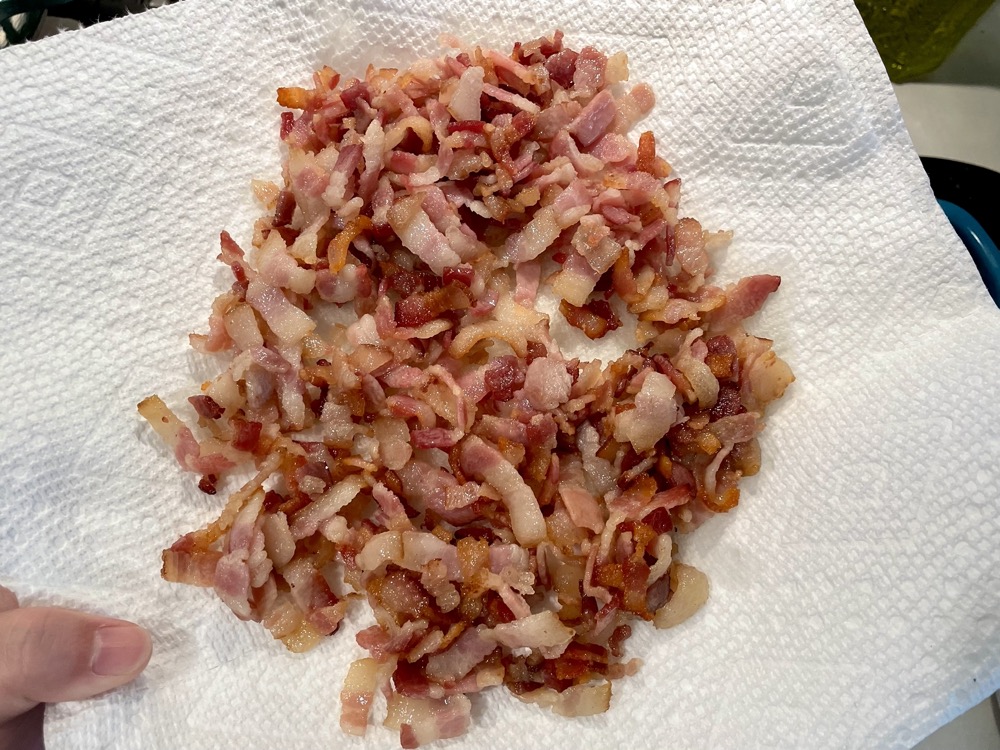
In a large soup pot on MED heat, add in the diced bacon and sauté until crispy (~5 minutes) then set aside onto a paper towel-lined plate.

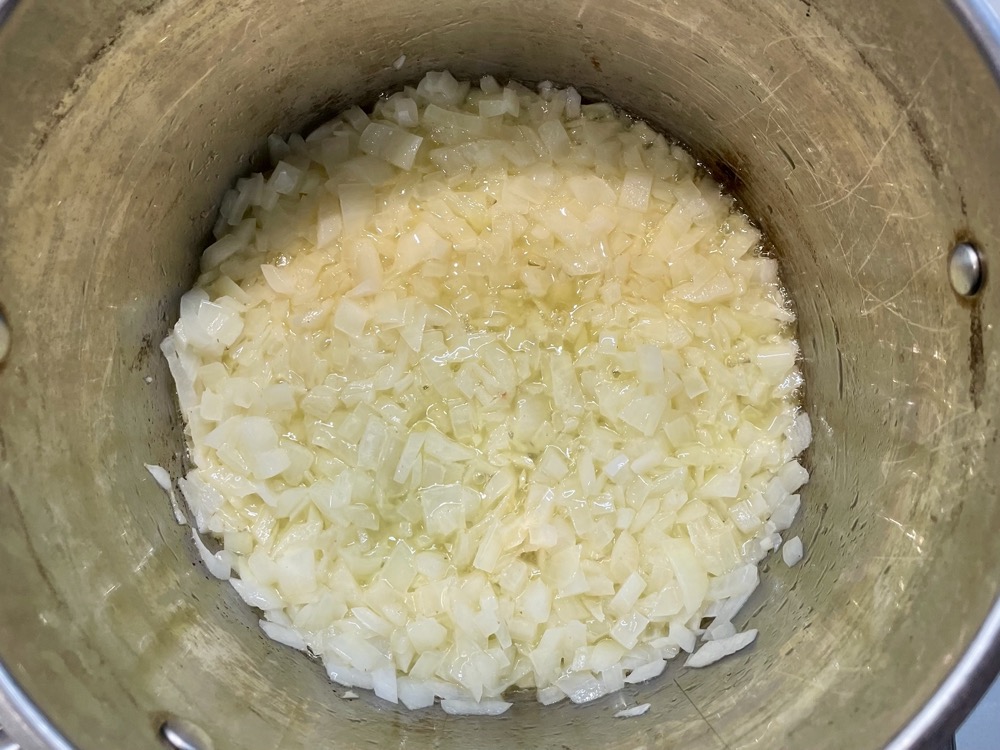
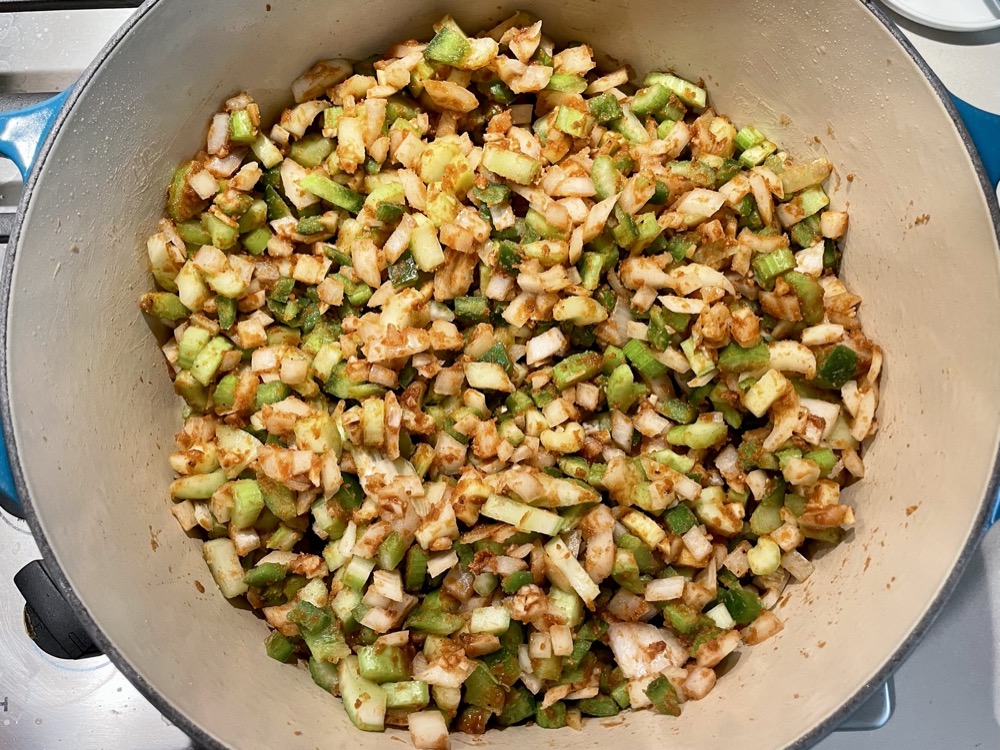
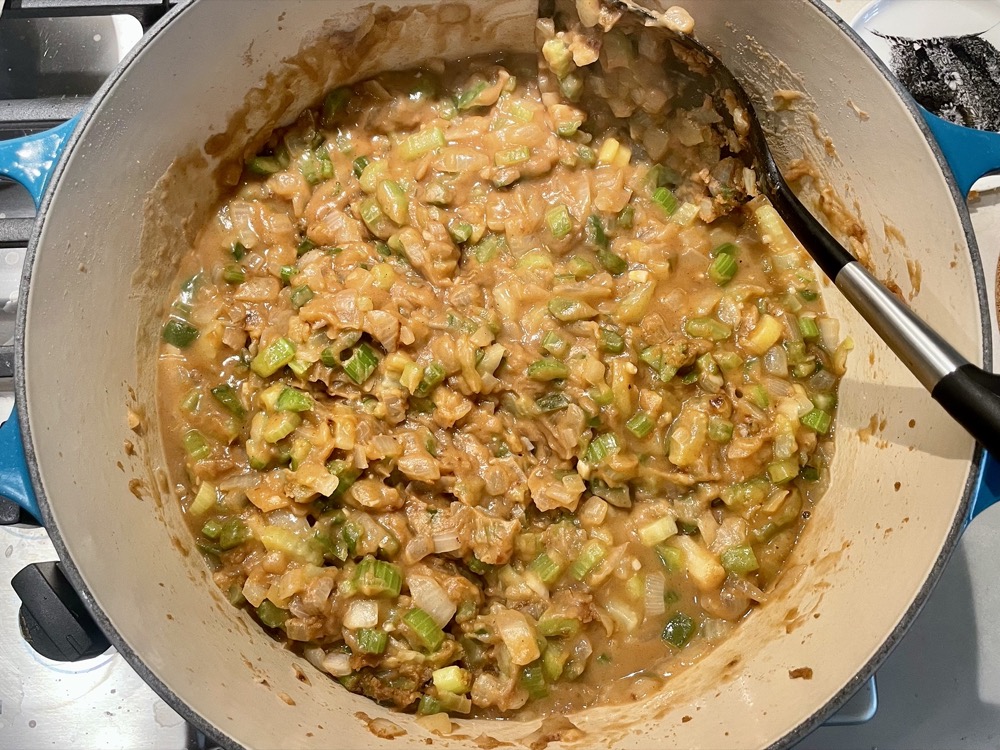
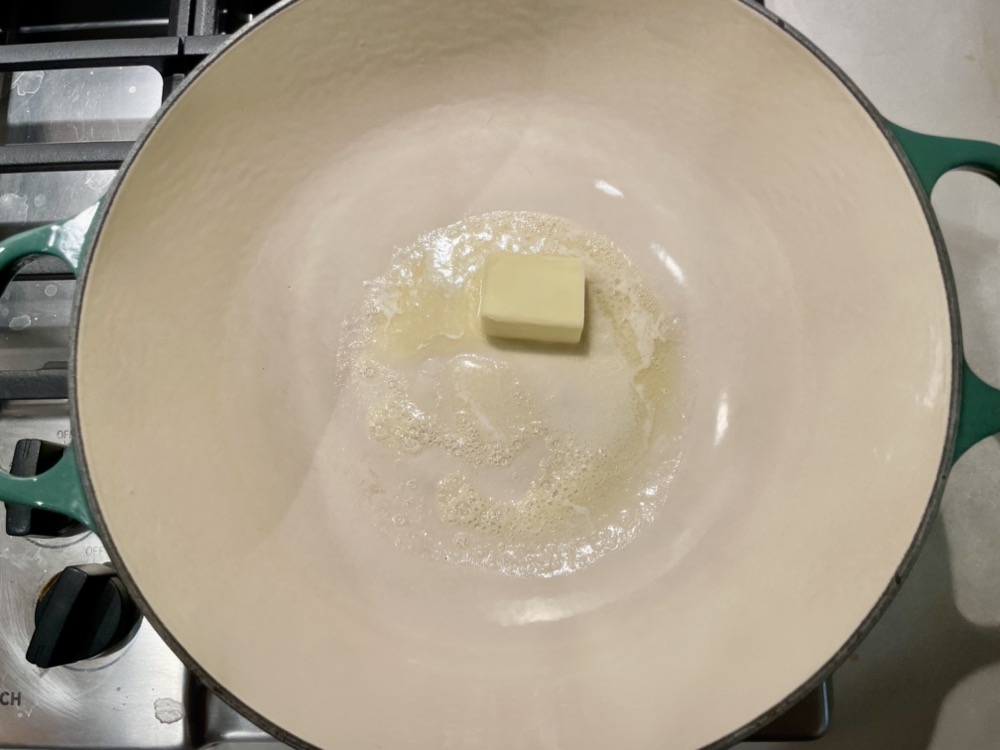
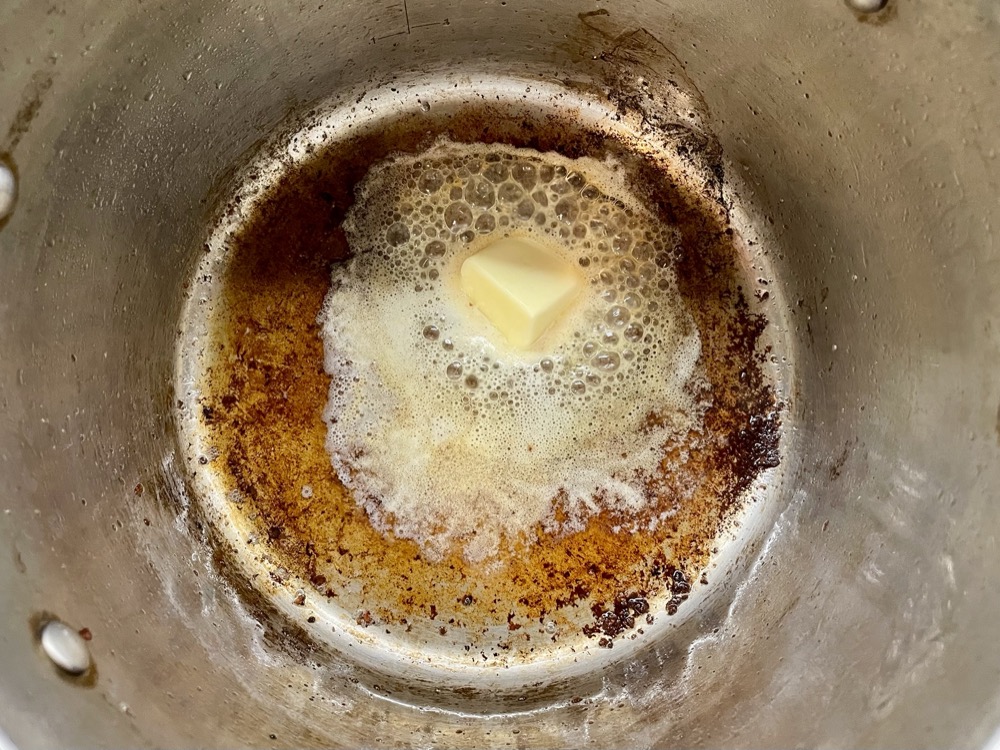
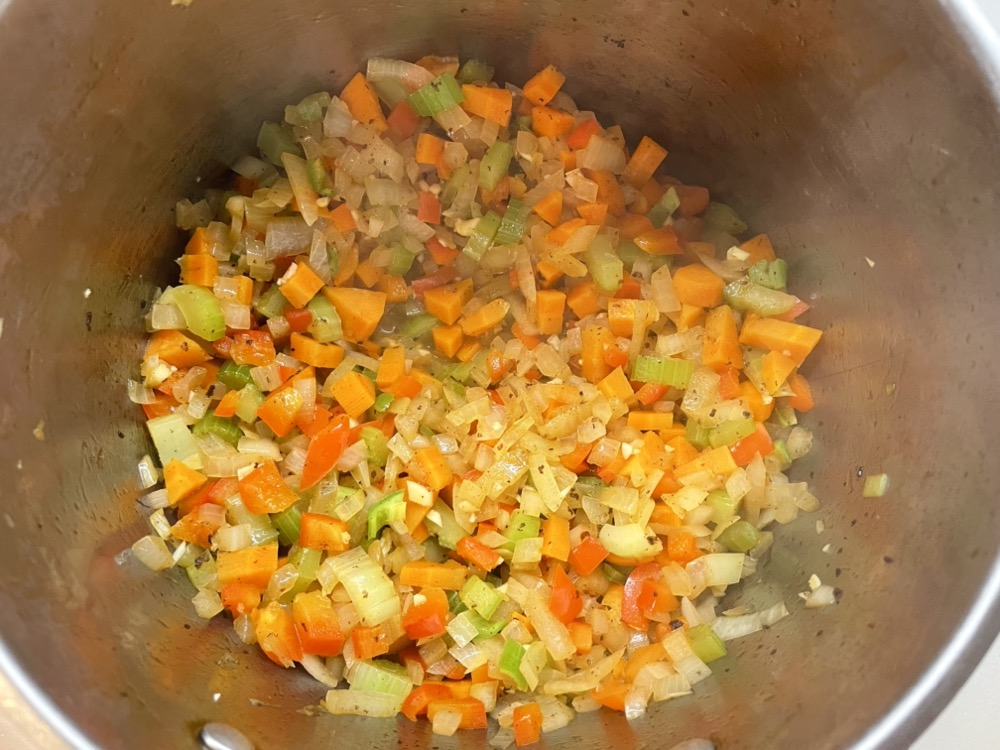
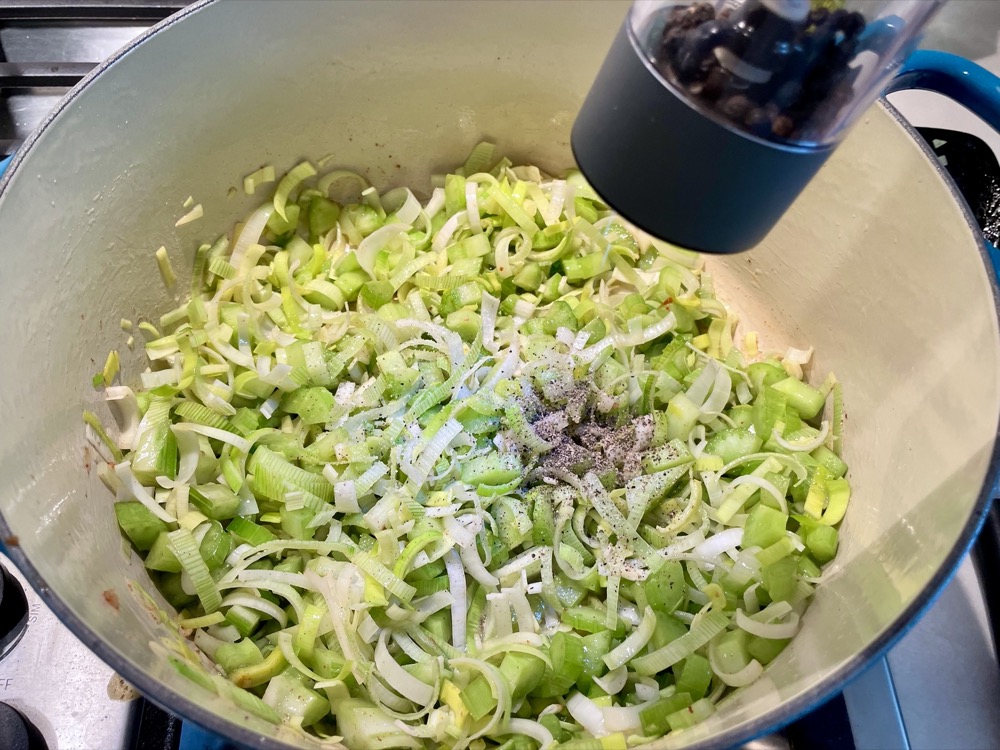
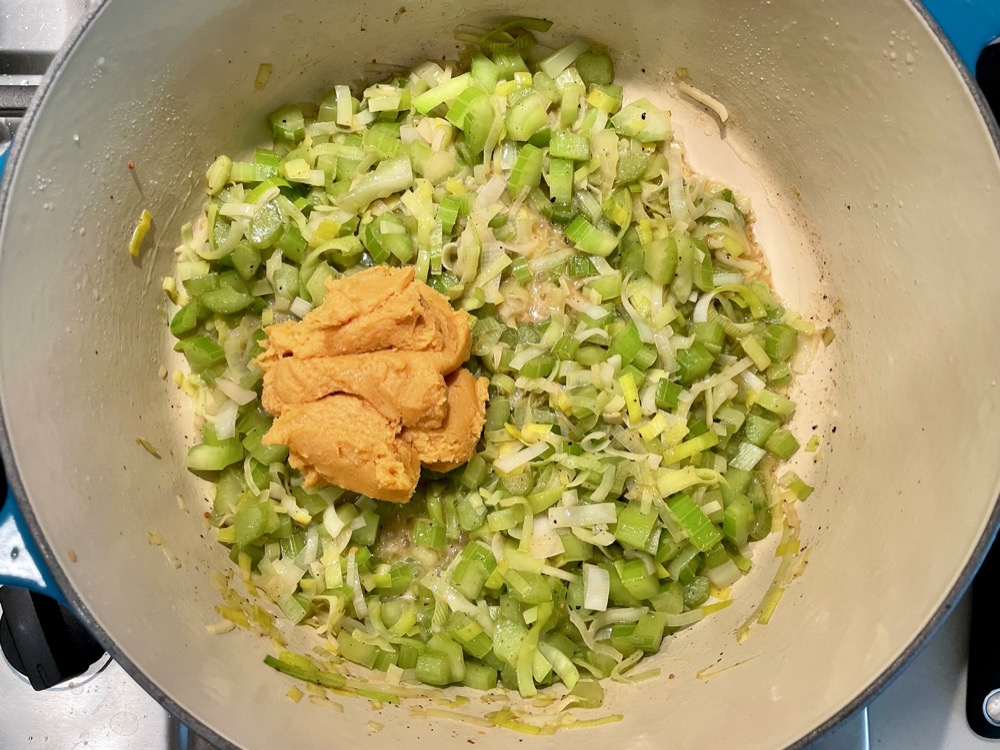
In the same pot, using the residual bacon grease, add in 3 Tbsps butter and stir until melted. Add in the celery, leeks, pinch of salt and pinch of black pepper. Sauté until the celery has softened (~8 minutes).


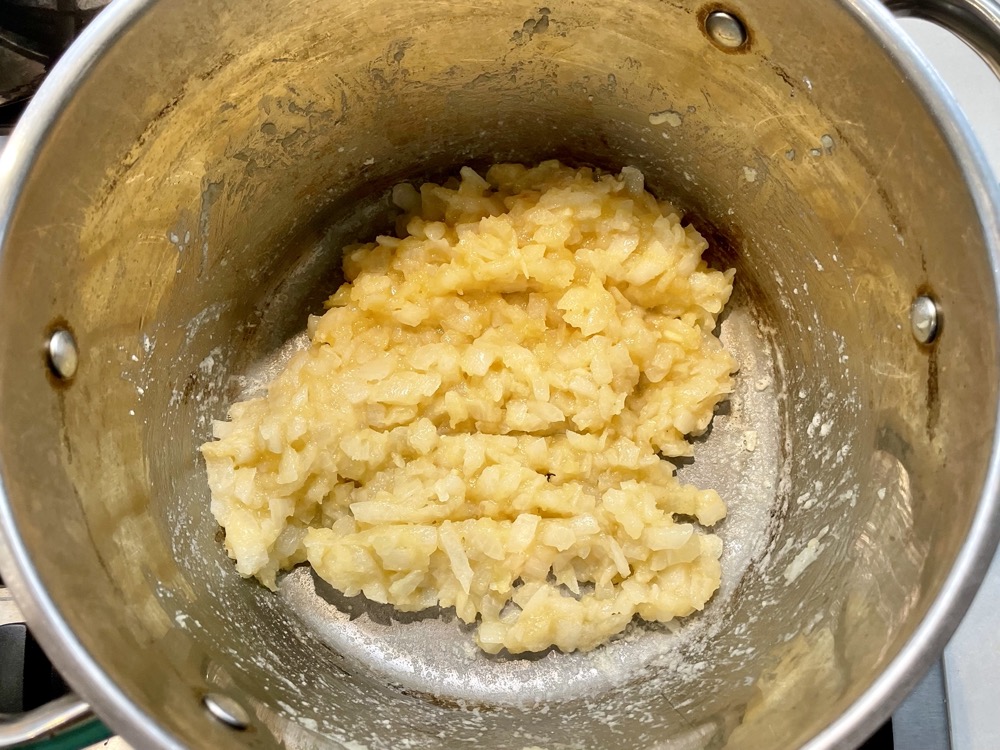
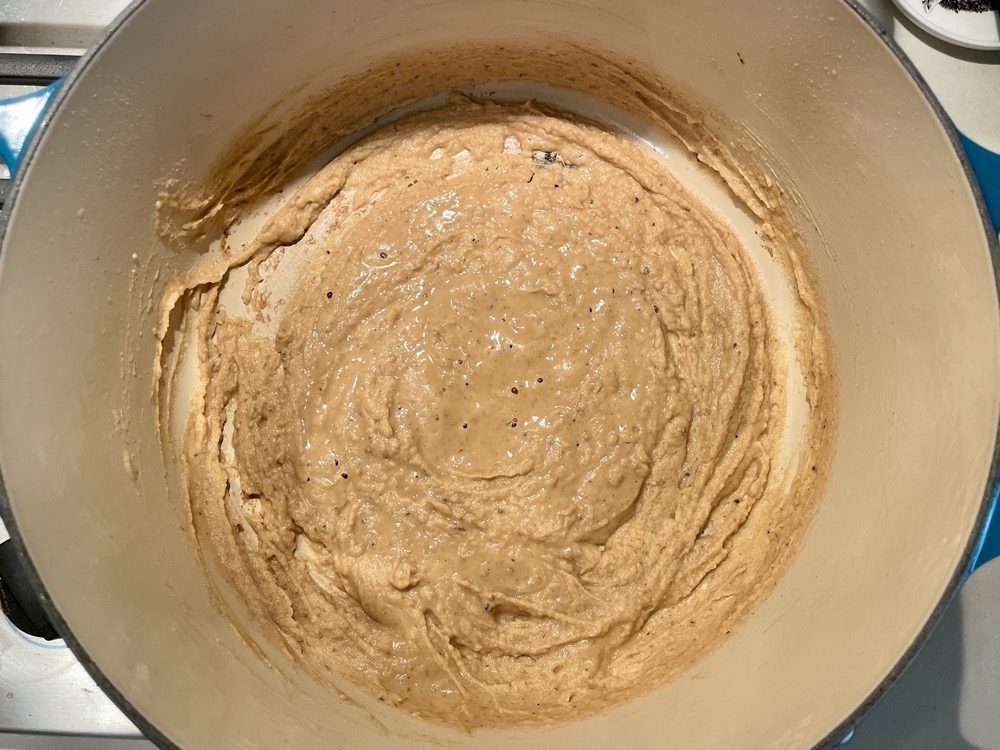
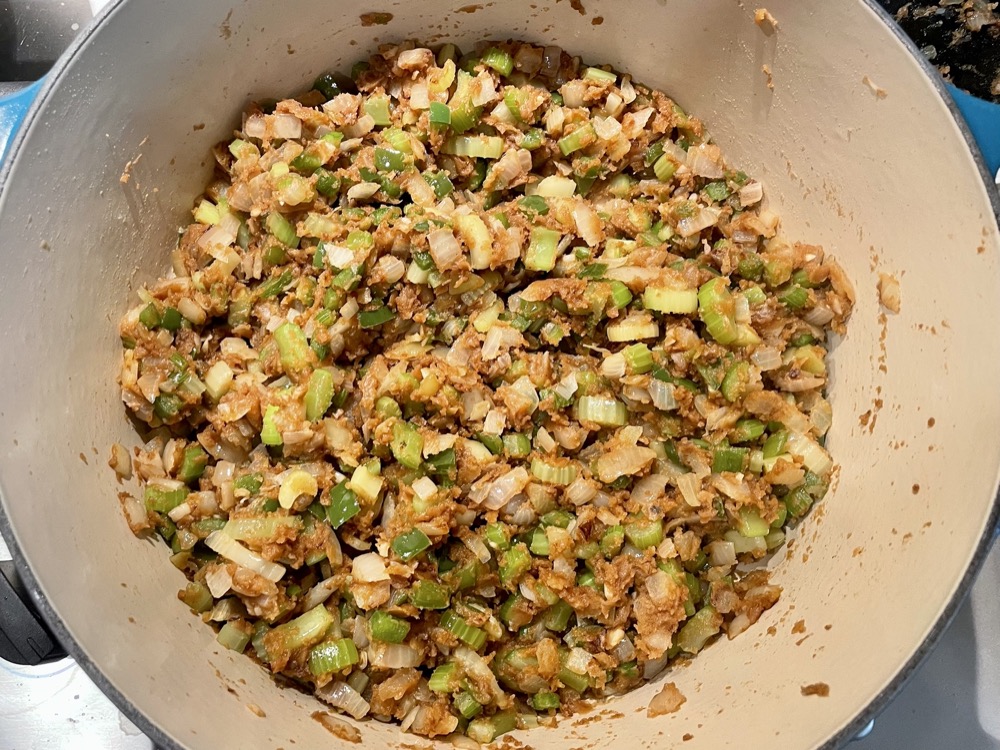
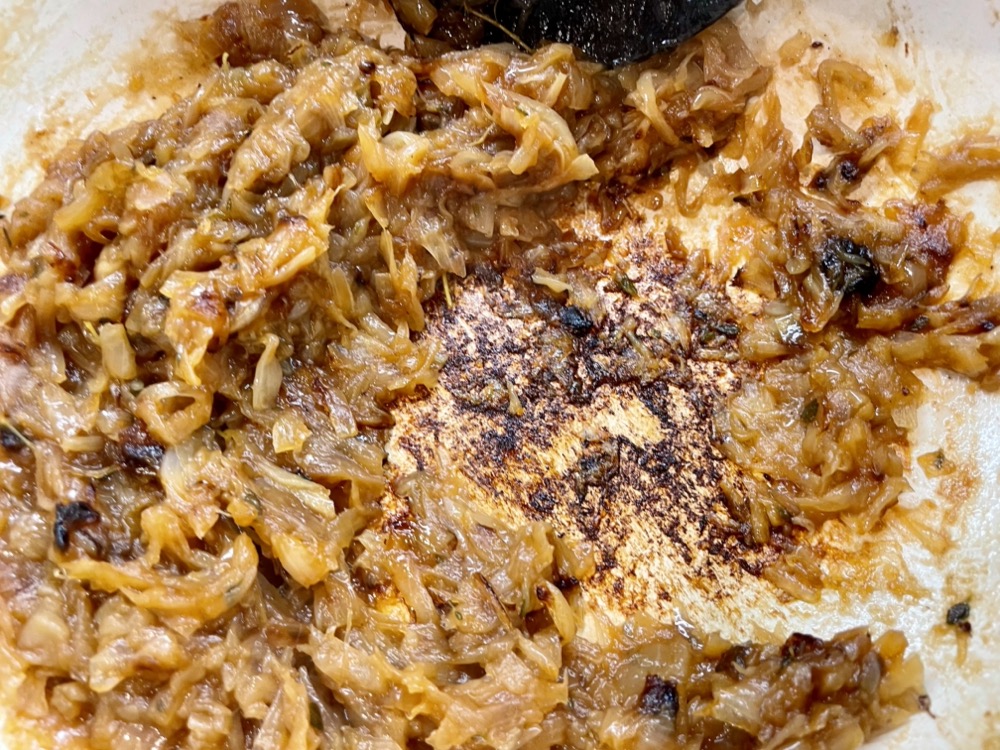
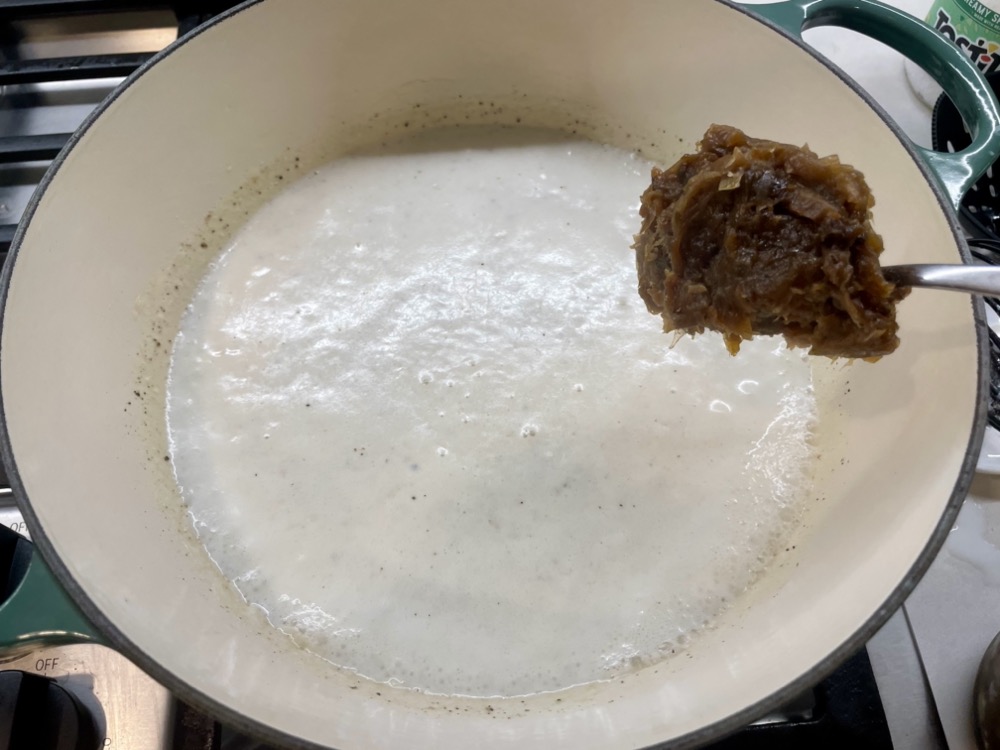
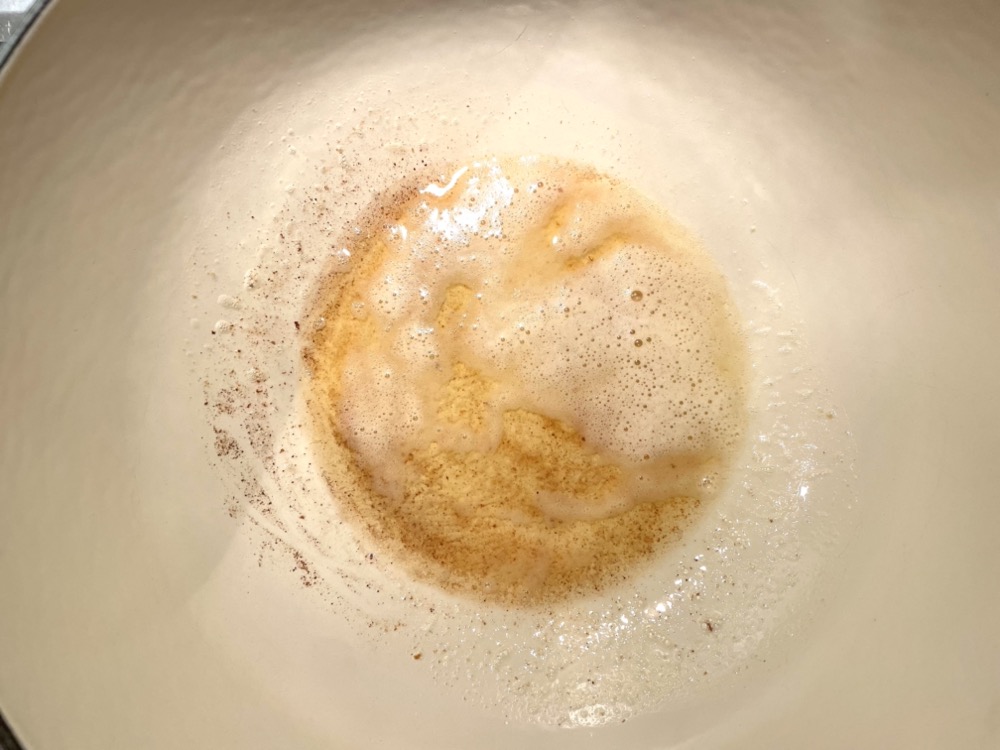
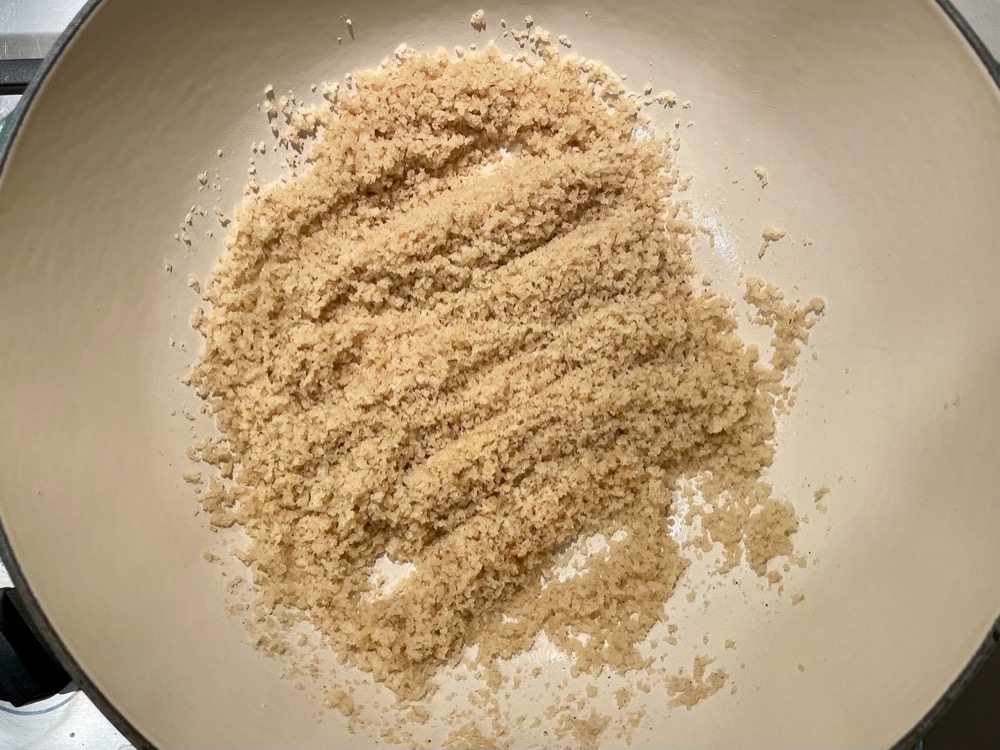
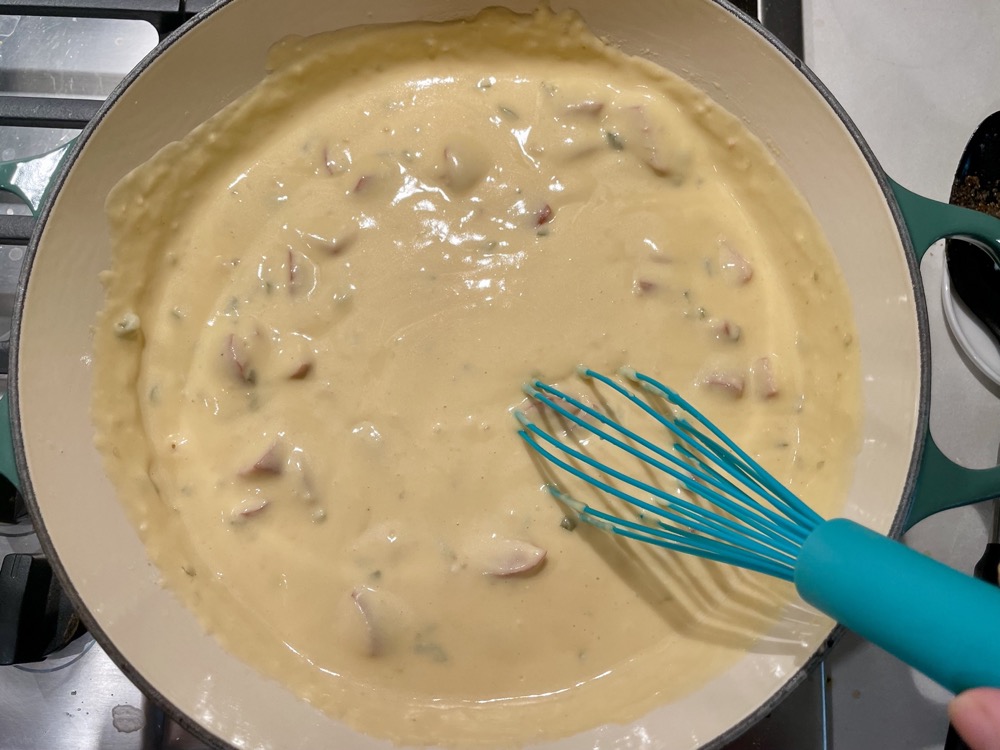
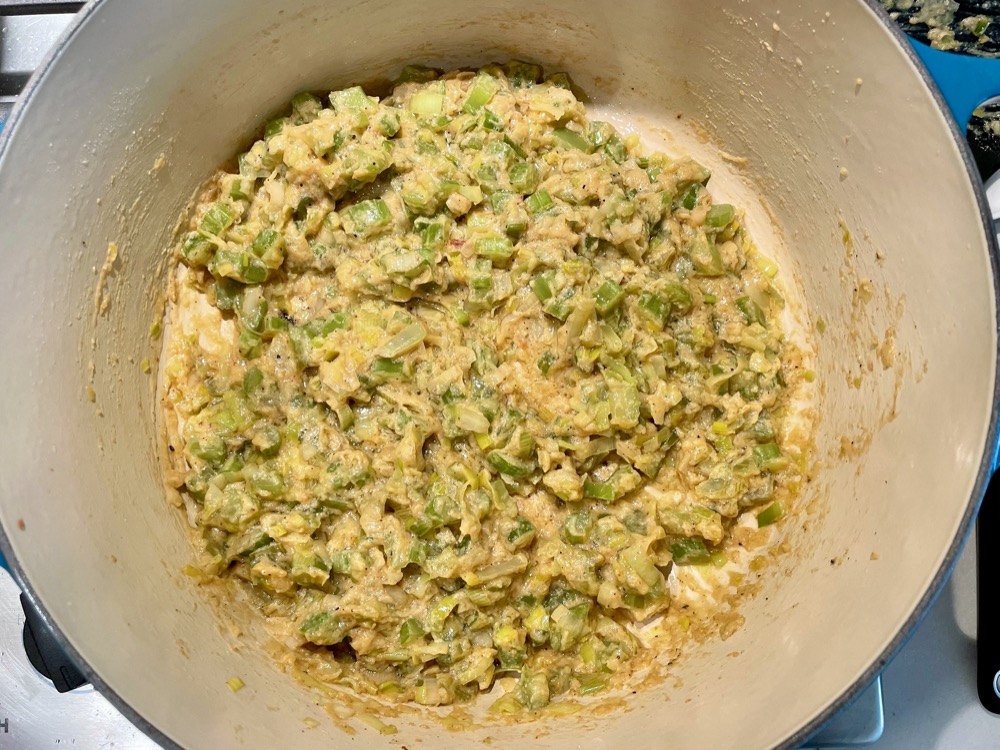
Next add in the white miso paste and mix well until there are no clumps and sauté for 3 minutes to slightly caramelize the miso.
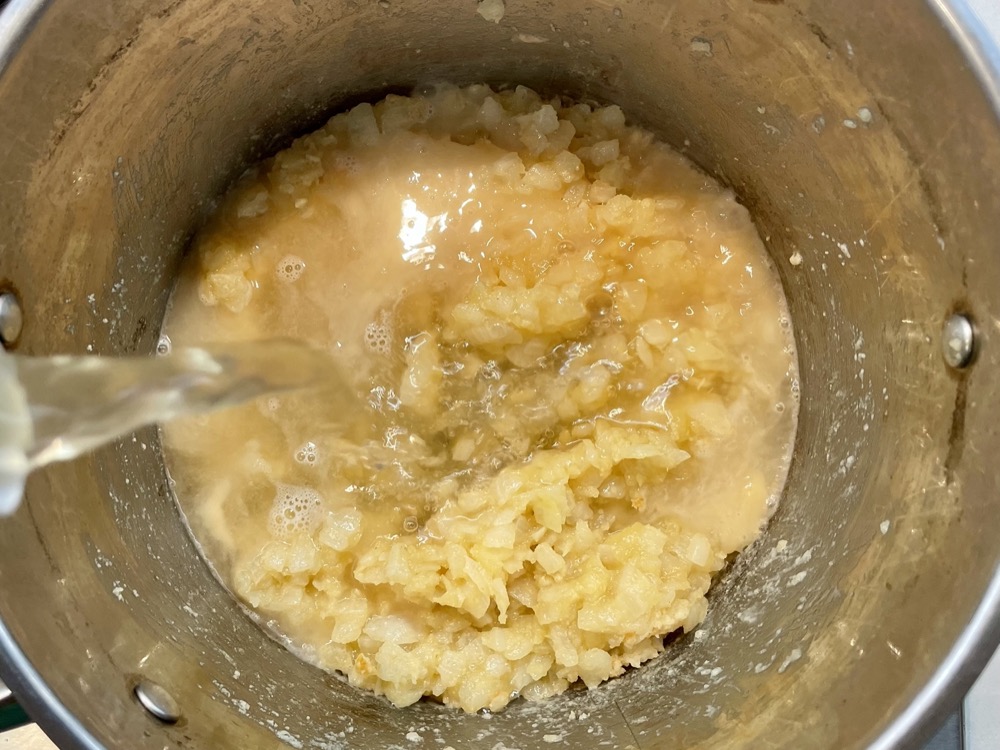
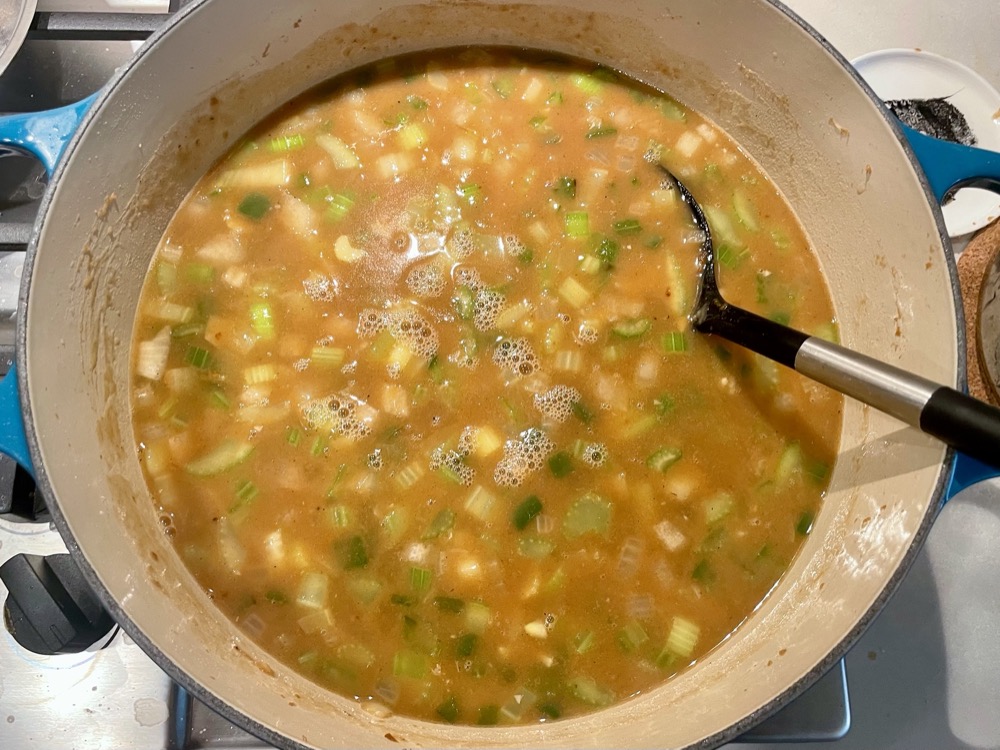
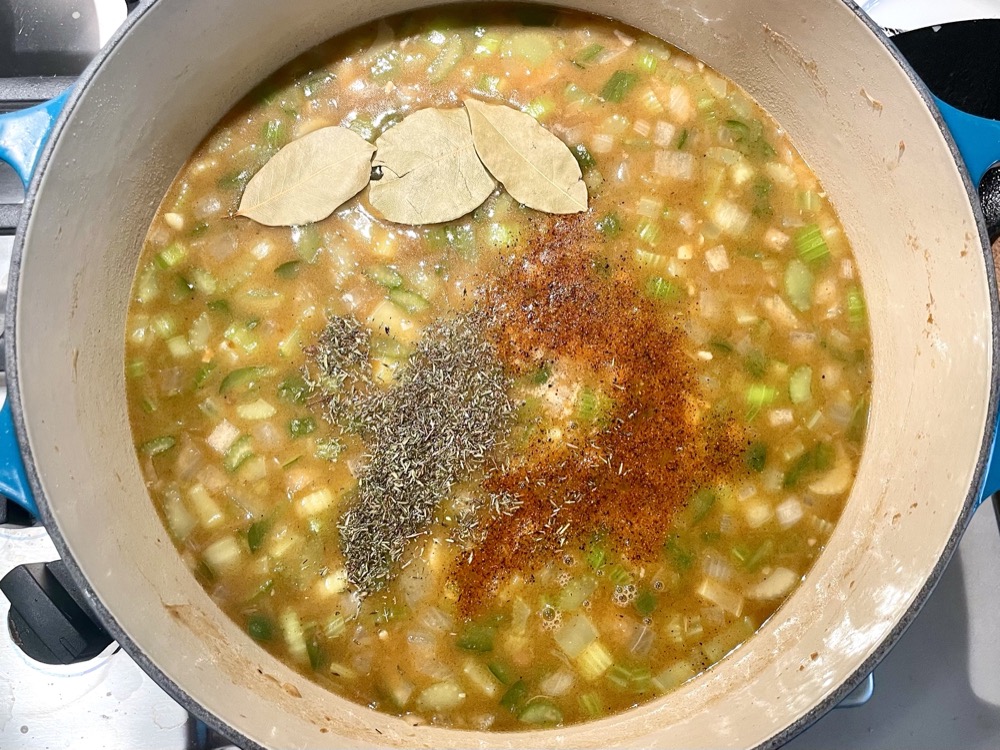
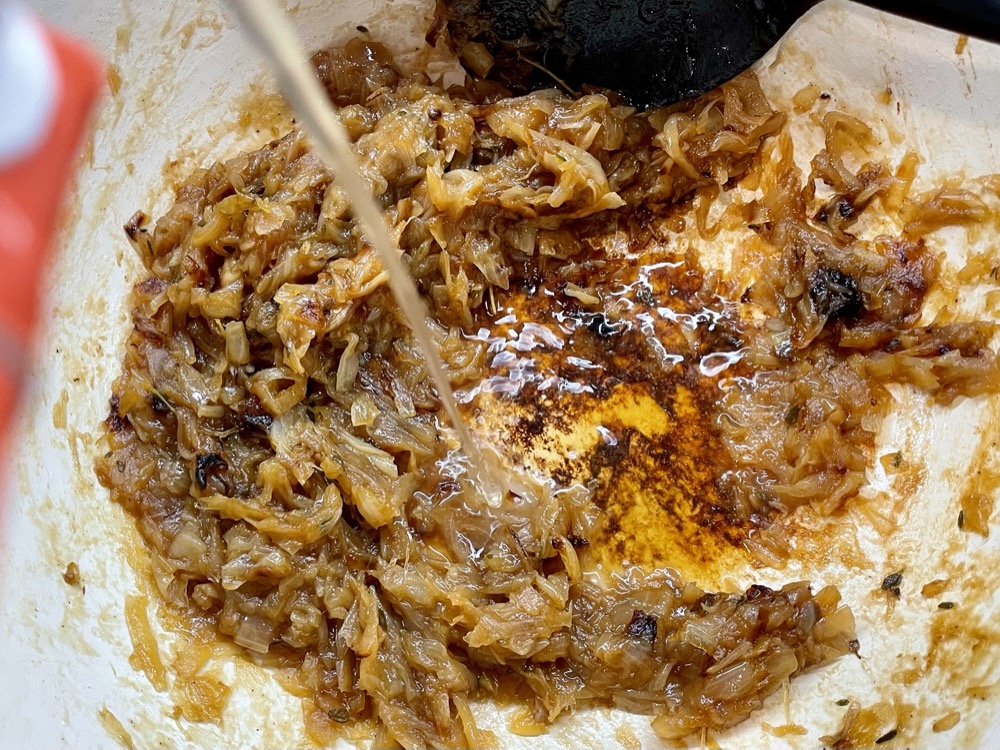
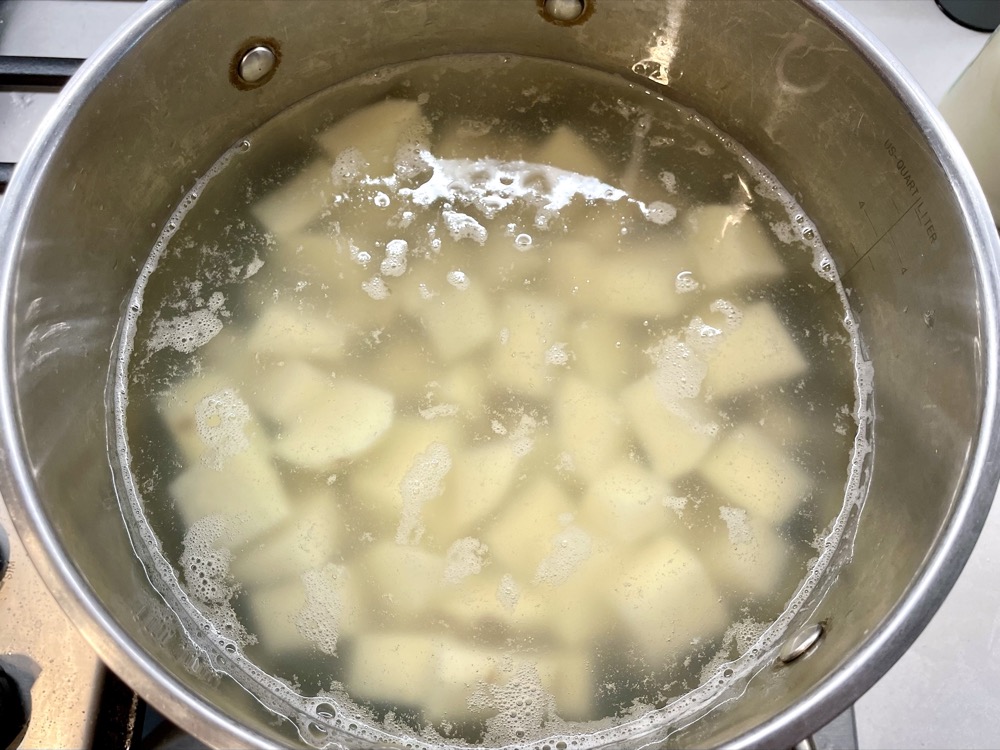
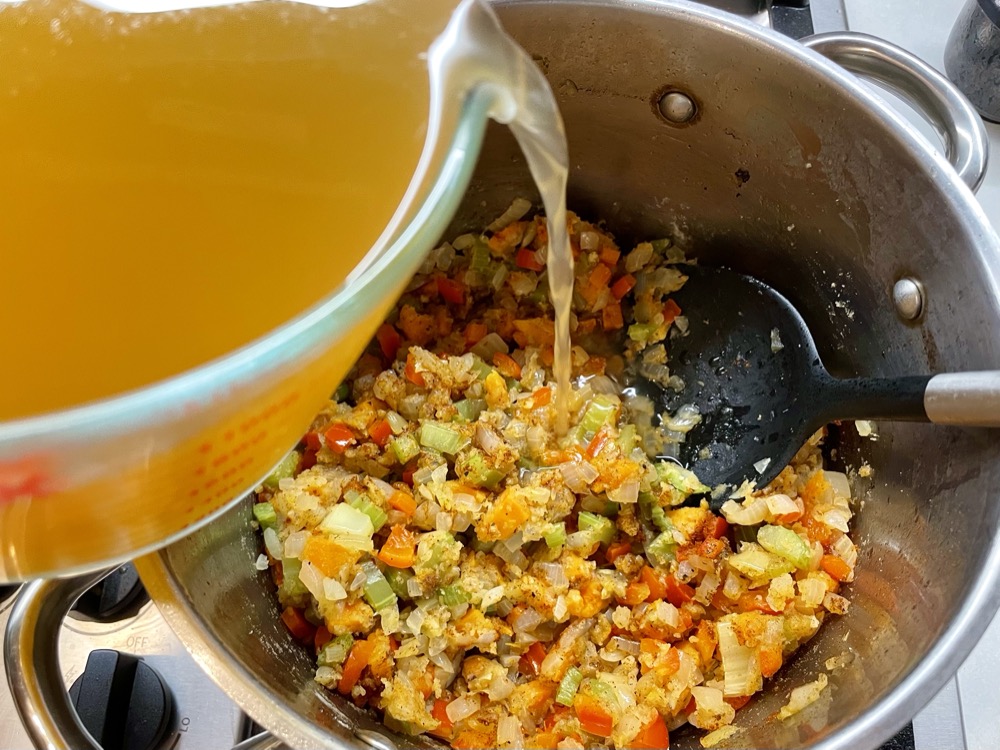
Add in the potatoes, clam juice, 4 cups water, and 2 sprigs thyme. Mix well, turn the heat on to HIGH to let the soup come to a boil, then turn the heat down to LOW and simmer until the potatoes are soft enough to break with a spoon (15 minutes).


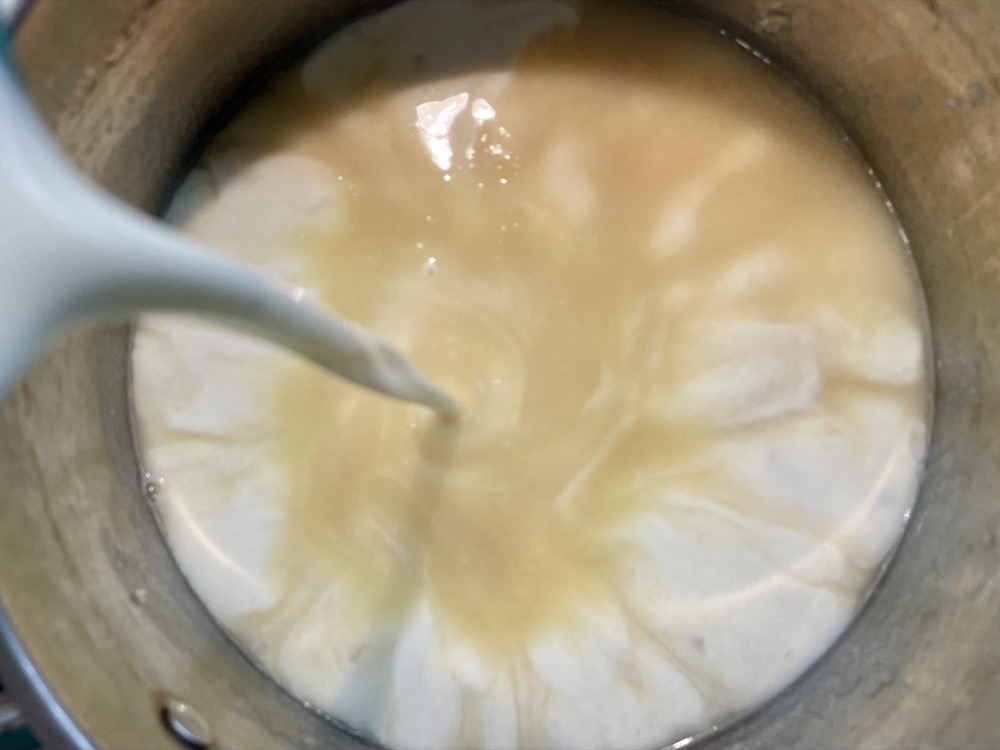
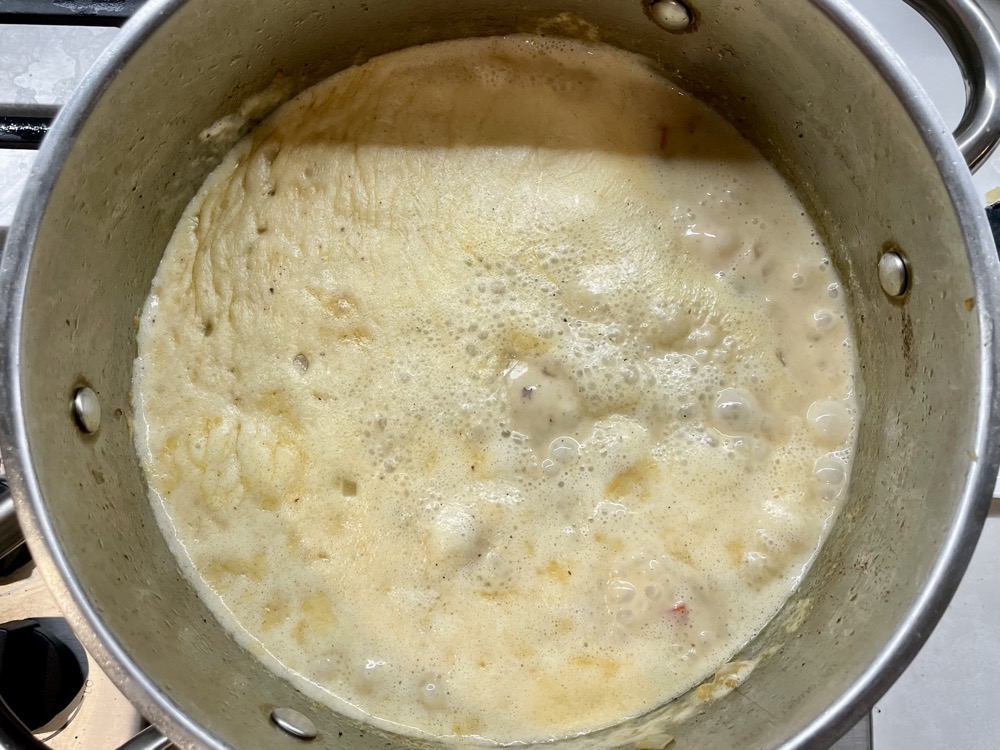
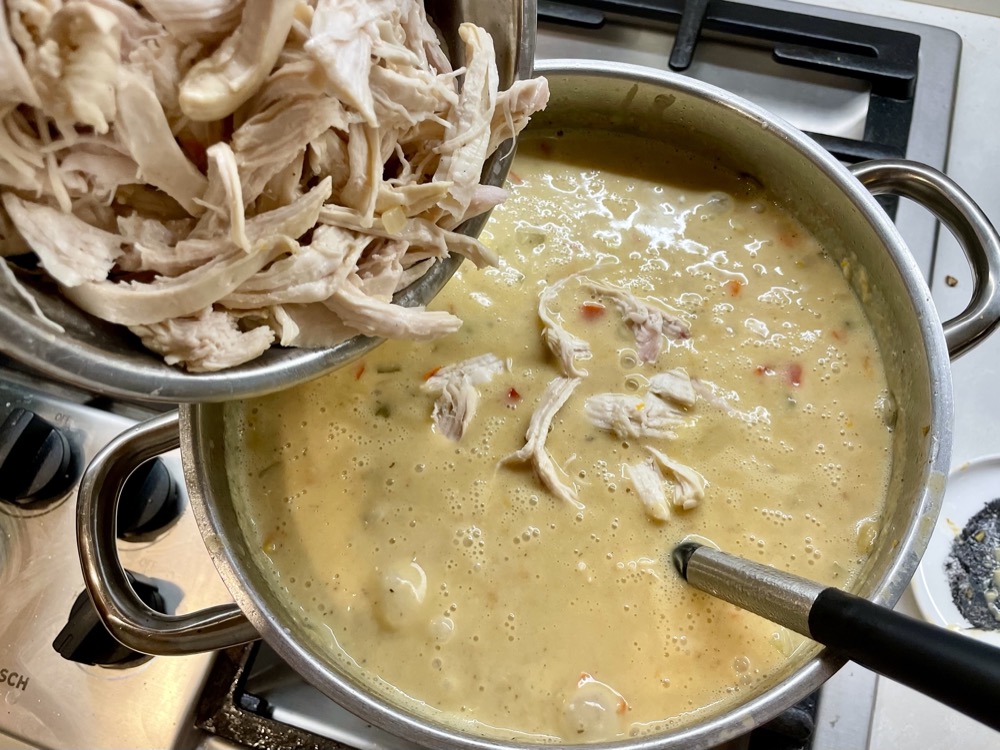
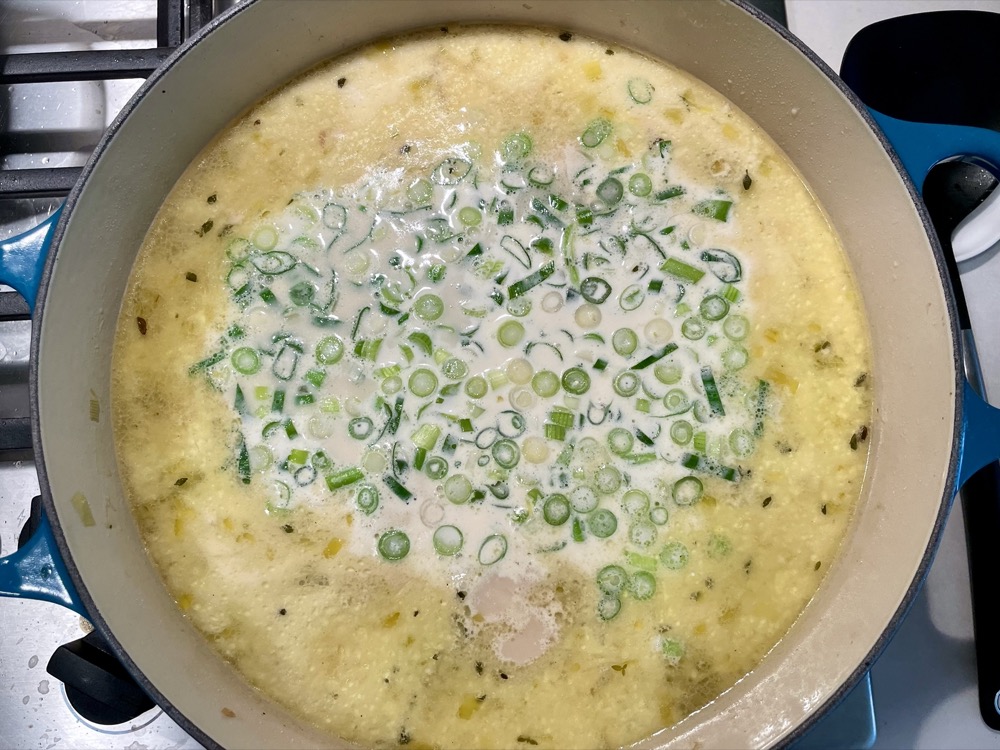
Add in the 1 cup heavy cream and the white part of the sliced scallions. Let the soup come to a simmer then add in the fish pieces (from step 1). Continue to simmer until the fish is flakey and cooked (~5 minutes).
Stir in the corn kernels until heated through, then turn off the heat. Taste and adjust salt and pepper as needed.


To serve, ladle the soup into bowls and sprinkle on the cooked crispy bacon (from step 2) and the green part of the sliced scallions to garnish. Serve with oyster crackers or crusty bread. Enjoy!


Summarized Recipe:
Miso Fish Chowder
Date Published: Sept 18th, 2025 | Last Updated: Sept 18th, 2025
Author: Abby | Category: soup, mains
Serves: 8 | Prep time: 20 mins | Cook time: 45 mins
Ingredients:
- 1kg (2lbs) skinless white fish fillets (cod or barramundi work well), sliced to 3cm pieces
- Pinch of salt
- 8 slices of bacon, diced
- 3 Tbsps unsalted butter
- 3 stalks of celery, diced
- 2 leeks, white part only, cleaned and sliced
- Pinch of fresh ground black pepper
- 2/3 cup (200g) white/shiro miso
- 1.2kg (2.5 lbs) potatoes, peeled and cut into 2.5cm cubes
- 960ml (4x 8oz bottles) clam juice
- 4 cups water
- 2 sprigs of fresh thyme
- 1 cup heavy cream
- 5 scallions, sliced, white and green parts separated
- 1 can of whole sweet corn kernels, drained
- Serve: oyster crackers or crusty bread
Directions:
- Add a pinch of salt to both sides of the fish pieces and set aside until ready to use.
- In a large soup pot on MED heat, add in the diced bacon and sauté until crispy (~5 minutes) then set aside onto a paper towel-lined plate.
- In the same pot, using the residual bacon grease, add in 3 Tbsps butter and stir until melted. Add in the celery, leeks, pinch of salt and pinch of black pepper. Sauté until the celery has softened (~8 minutes).
- Next add in the white miso paste and mix well until there are no clumps and sauté for 3 minutes to slightly caramelize the miso.
- Add in the potatoes, clam juice, 4 cups water, and 2 sprigs thyme. Mix well, turn the heat on to HIGH to let the soup come to a boil, then turn the heat down to LOW and simmer until the potatoes are soft enough to break with a spoon (15 minutes).
- Add in the 1 cup heavy cream and the white part of the sliced scallions. Let the soup come to a simmer then add in the fish pieces (from step 1). Continue to simmer until the fish is flakey and cooked (~5 minutes).
- Stir in the corn kernels until heated through, then turn off the heat. Taste and adjust salt and pepper as needed.
- To serve, ladle the soup into bowls and sprinkle on the cooked crispy bacon (from step 2) and the green part of the sliced scallions to garnish. Serve with oyster crackers or crusty bread. Enjoy!