Date Published: Sept 27th, 2025 | Last Updated: Sept 27th, 2025
Author: Abby |Category: Asian, easy, mains
Serves: 6-8 | Prep time: overnight | Cook time: 45 minutes
Jump to recipe |
Char Siu is a staple at any Chinese BBQ restaurant and still remains one of our favourite Chinese BBQ dishes when visiting these joints. Although it seems daunting, making Char Siu is actually quite simple: mix up the marinade, marinate the pork overnight, then bake! This is a great dish to serve when catering for a party since pork shoulder/pork butt is a pretty cheap cut of meat and the delicious flavours of the sticky sauce is easy to impress!
What is Char Siu?
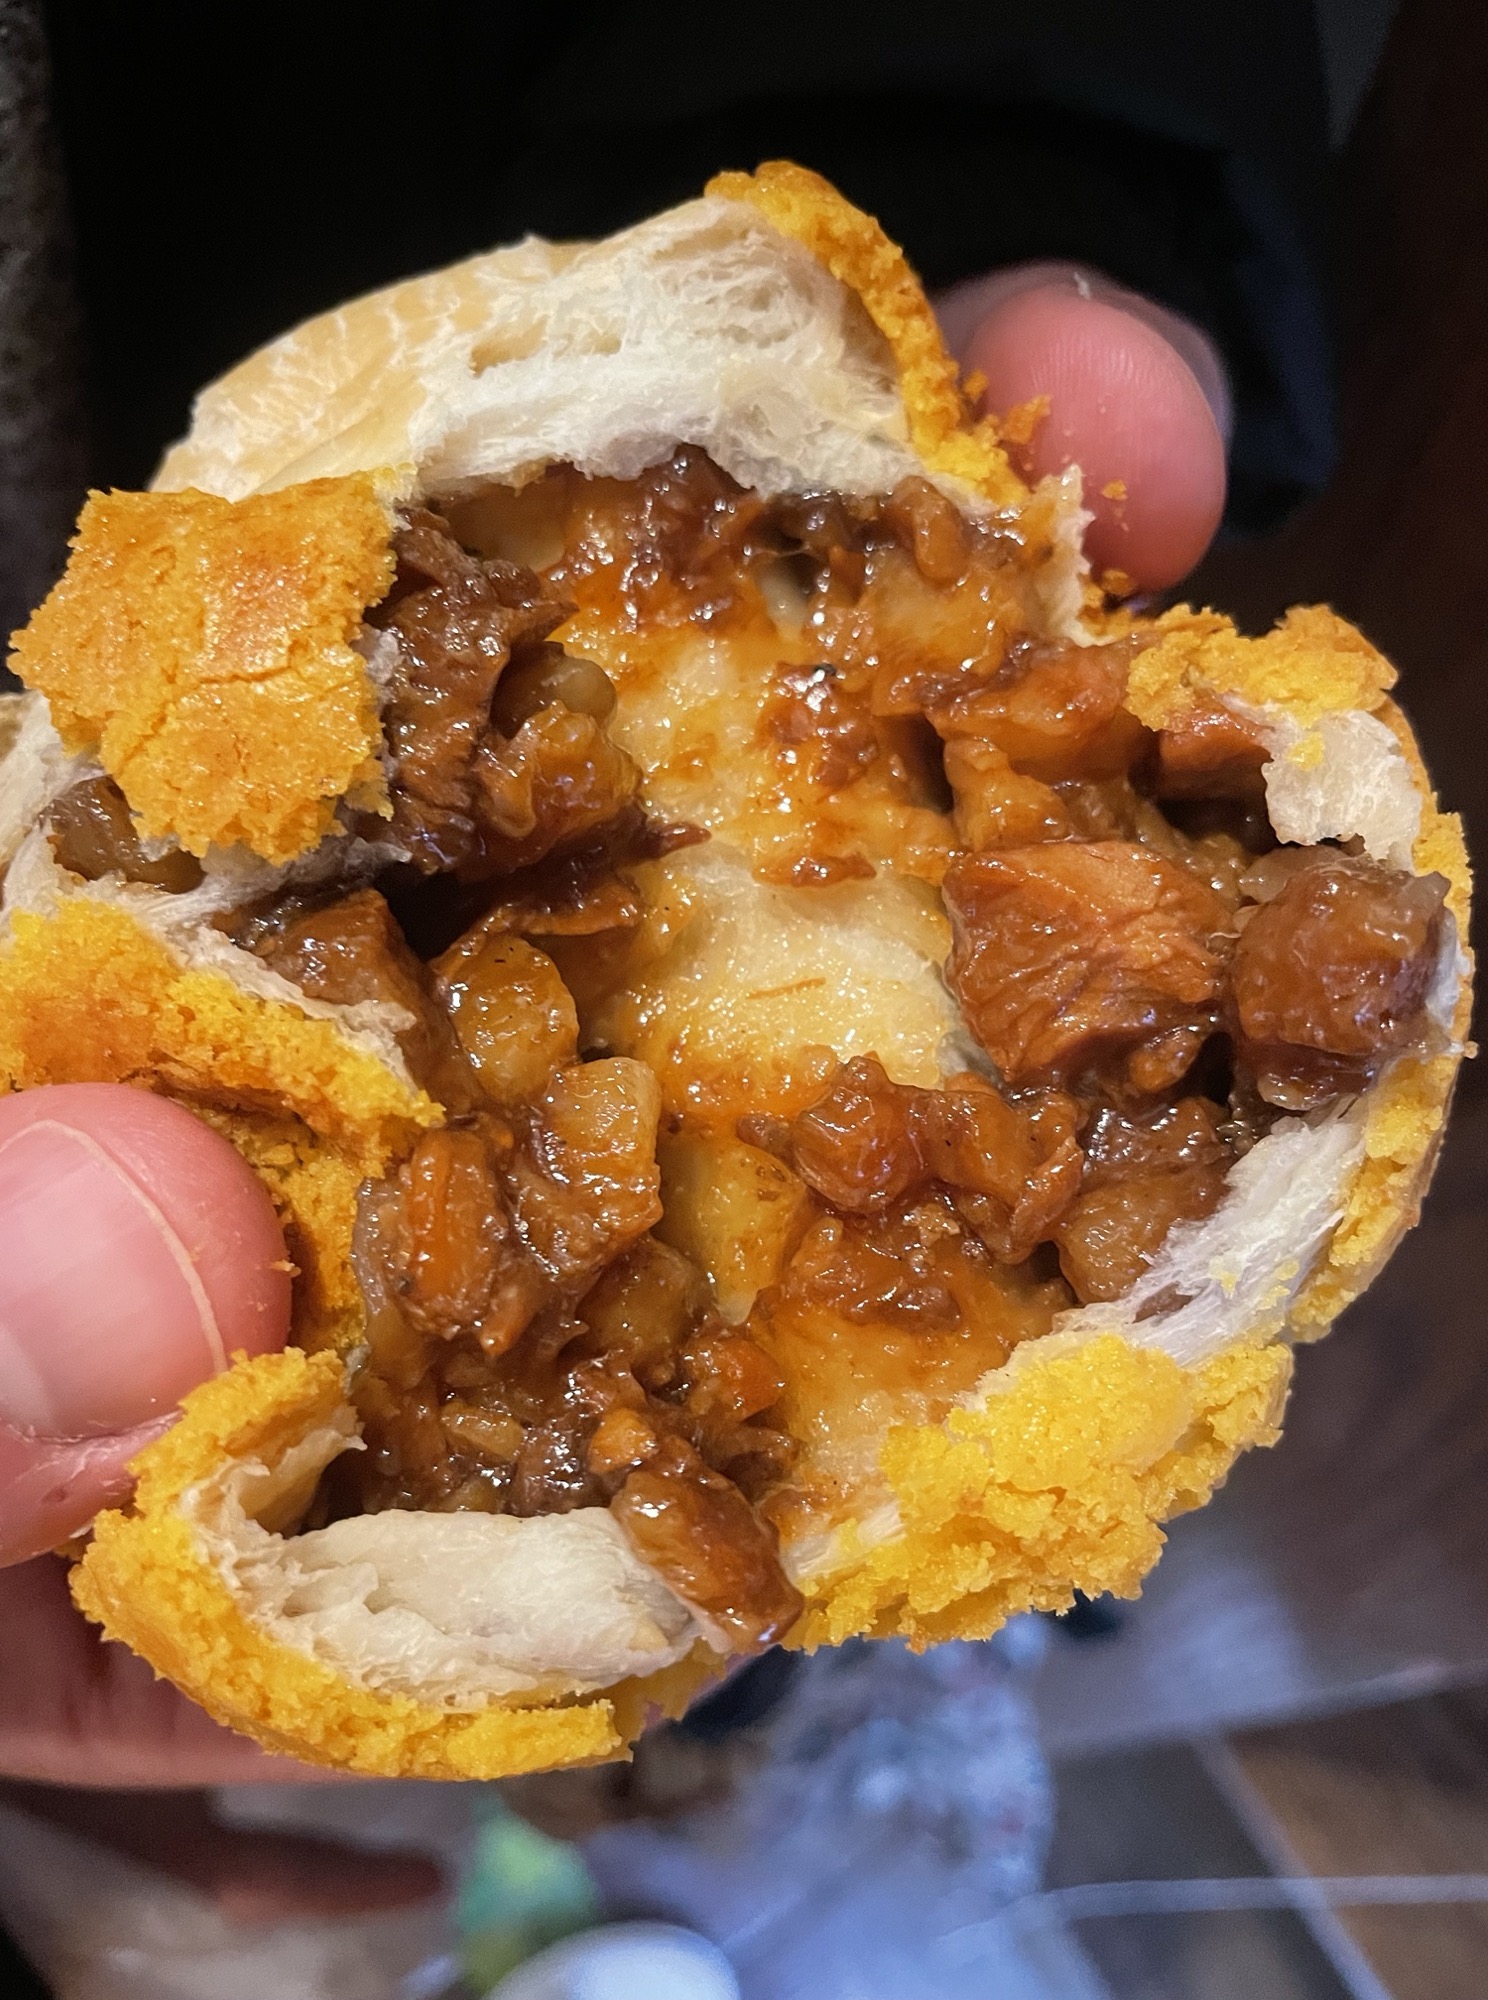
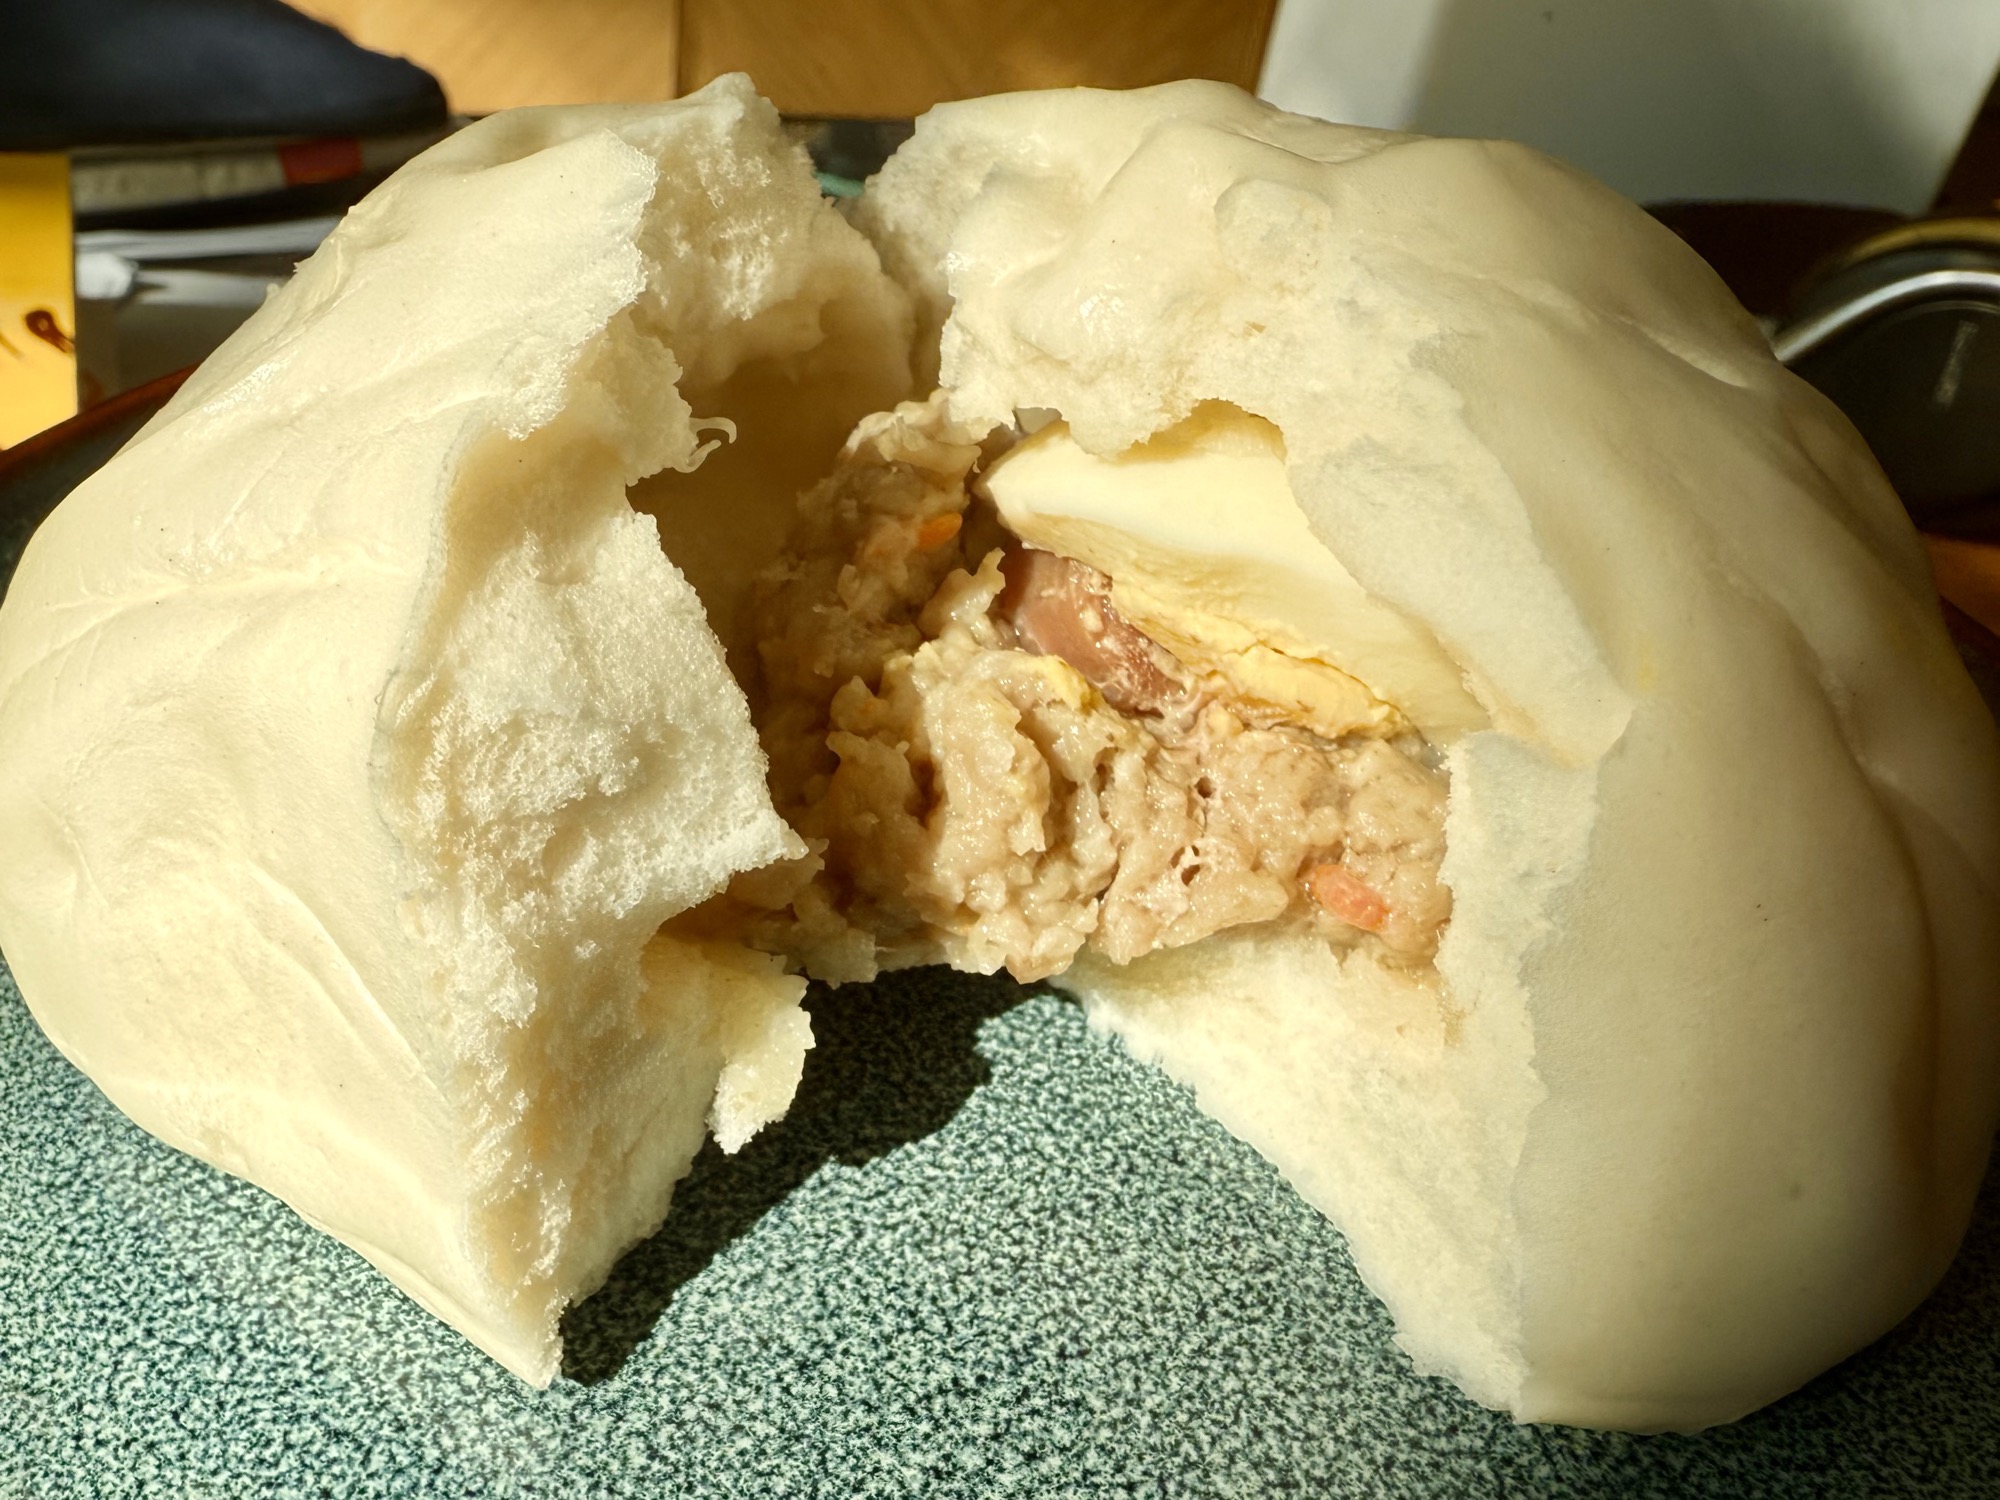
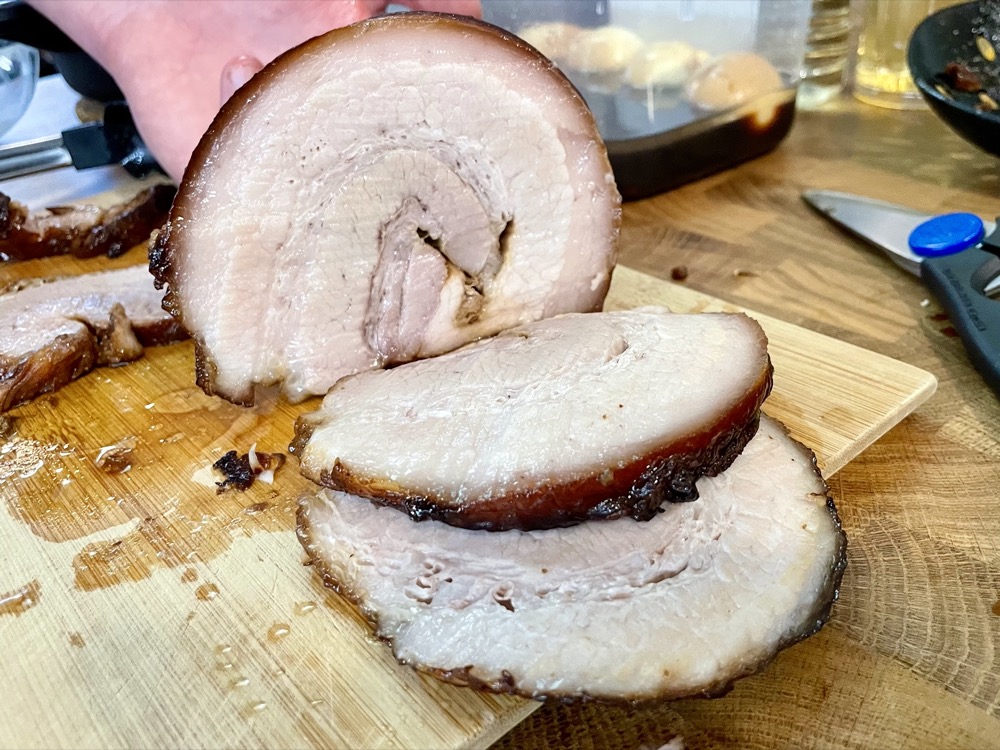
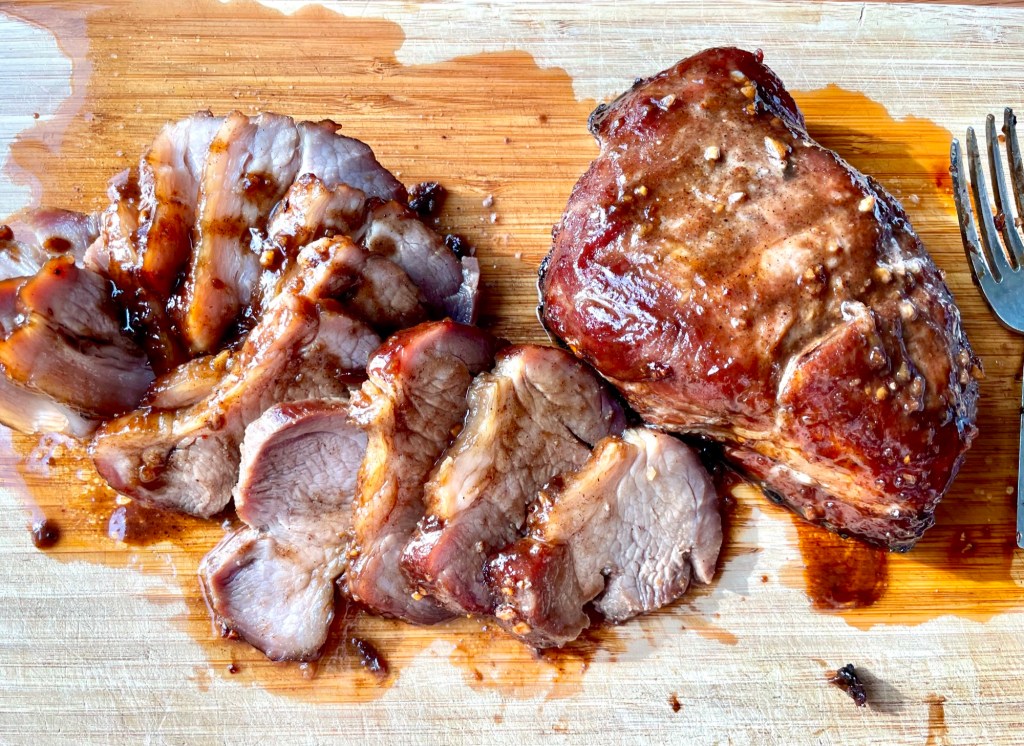
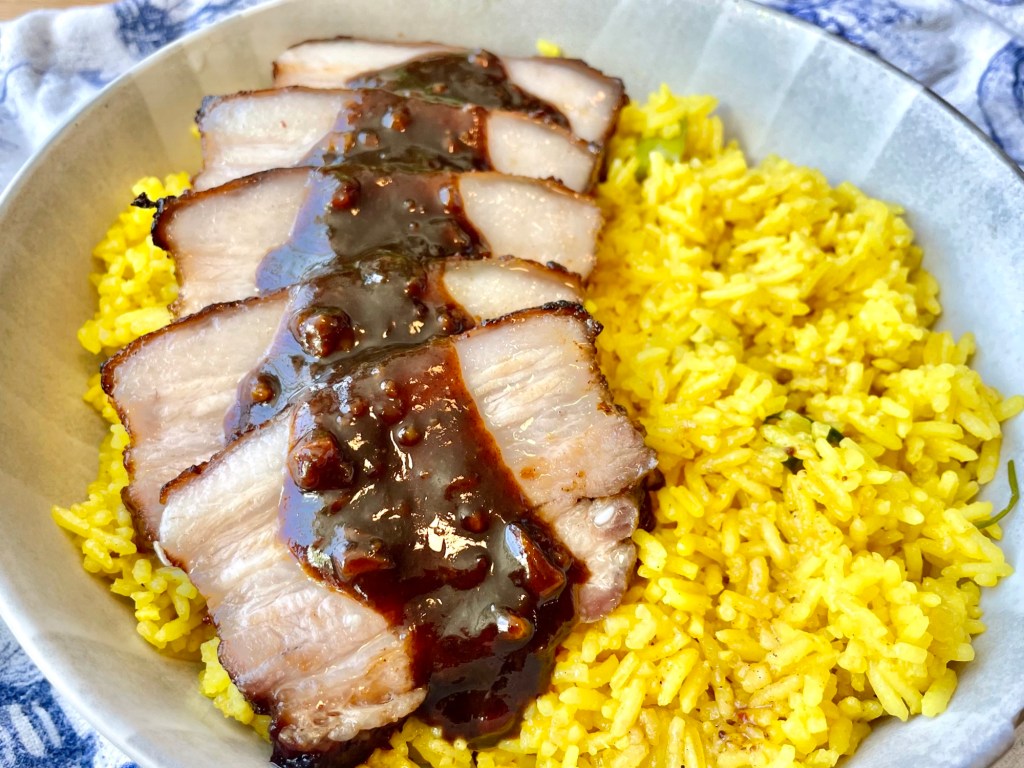
Char Siu is Chinese BBQ pork that’s moist, juicy, and covered in an iconic sweet, savoury, and umami sticky glaze. You’ll find it in any Chinese BBQ restaurant served in slices over rice or chopped up and stuffed inside buns for the classic Char Siu Bao (BBQ Pork Bun). Some restaurants add red food colouring to their sauce to make the meat look a little red – I’ve skipped this step in my recipe because I didn’t have any on hand, but feel free to add it in if you want the classic restaurant look.


Char Siu is not to be confused with Chashu!
Char Siu is the Chinese BBQ pork dish whereas Chashu is the Japanese fatty pork belly slices you often see served in ramen. While both are insanely delicious, they are completely different dishes. This recipe is for the Chinese BBQ pork Char Siu, however if you’re looking for a good Chashu recipe, I’ve got you covered in my Tonkotsu Ramen recipe below!


Legit Tonkotsu Ramen from scratch (in an Instant Pot)
A tonkotsu ramen is a beautiful bowl of a rich pork bone broth with noodles, chashu, a ramen egg, and your choice of toppings. This legit restaurant-quality tonkotsu ramen recipe will blow your mind away!
What is fermented red bean curd?
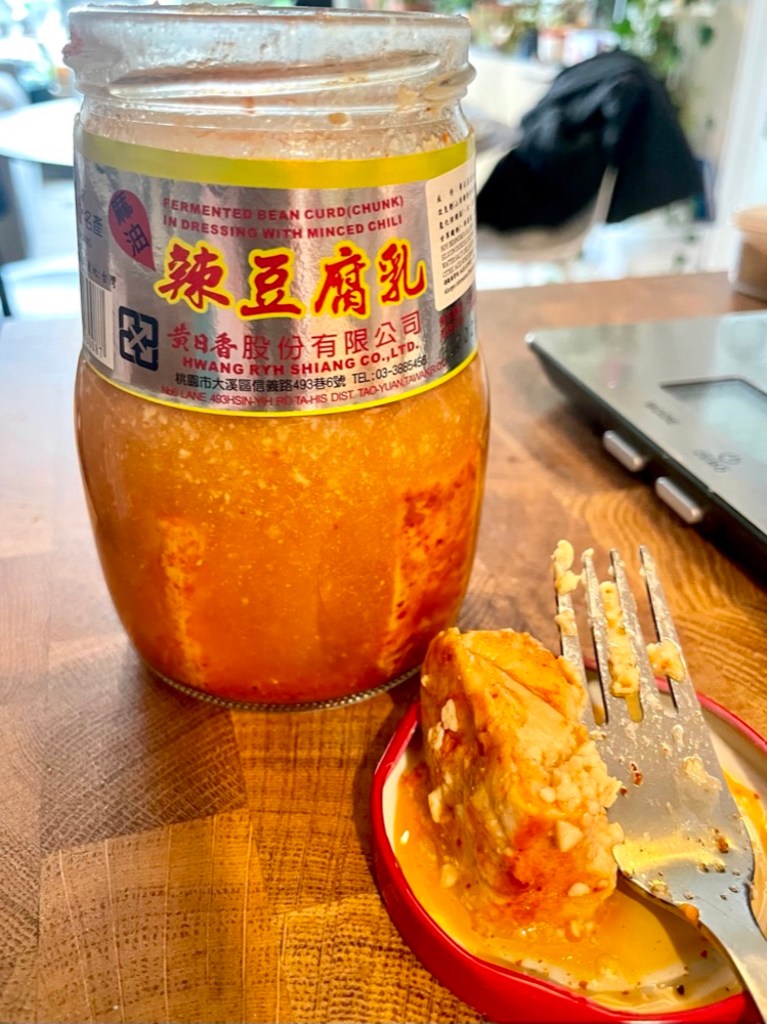
If you are not familiar with this pungent beauty, strap in. Fermented red bean curd (also known as fermented tofu) is a Chinese condiment that is made with cubes of tofu that is fermented in a brine of red yeast rice and rice wine. The end result is an umami flavour bomb that can be a bit overwhelming when eaten on its own. It’s often used in sauces as a flavour enhancer or paired with congee.
At first glance it can definitely look off-putting. If you’ve never had it before, I’d recommend only trying the tiniest amount at first (I’m talking about less than a pea size, maybe just a dab). The flavour profile is very salty but with a creamy/cheesy texture. Even if you’re not a fan of the taste, I’d still recommend using it in this recipe to give it that extra depth of flavour that makes all the difference between this char siu recipe to the next. Be careful when taking it out of the jar – it comes in little cubes and is very soft and easily breaks apart.
When I was younger I hated this stuff and I’d cringe every time my dad took it out of the fridge. The flavour was too overwhelming for me, but as I got older I learned to love it and I can’t think of any better condiment than this to go with my congee (move over, pork floss).
Which cut of pork is best?
Pork shoulder or pork butt is the best and most traditional cut of pork to use to make char siu. You can also use pork belly as well, however I find it too fatty when eaten in slices but works very well when chopped up and used in a BBQ pork bun recipe.
Anyways, without further ado, here’s the recipe! If you have any comments or suggestions, I’d love to hear from you in the comment section! You can follow me on instagram, youtube and facebook to see all the recipes I post!
Happy cooking!
Ingredients you’ll need:
- Marinade:
- 3 cloves garlic, minced
- 2 pieces (44g) spicy fermented red bean curd
- 1 Tbsp (22g) honey
- 1 Tbsp (14g) Shaoxing wine
- 1 Tbsp (20g) soy sauce
- 1 Tbsp (20g) oyster sauce
- 1 tsp (6g) dark soy sauce
- 1 tsp (2g) 5-spice powder
- 1/4 tsp (1g) white pepper
- 1/4 cup (50g) brown sugar, packed
- 500g pork shoulder (try to get a fattier piece) or slab of pork belly, skin removed (I prefer pork shoulder)

Directions:
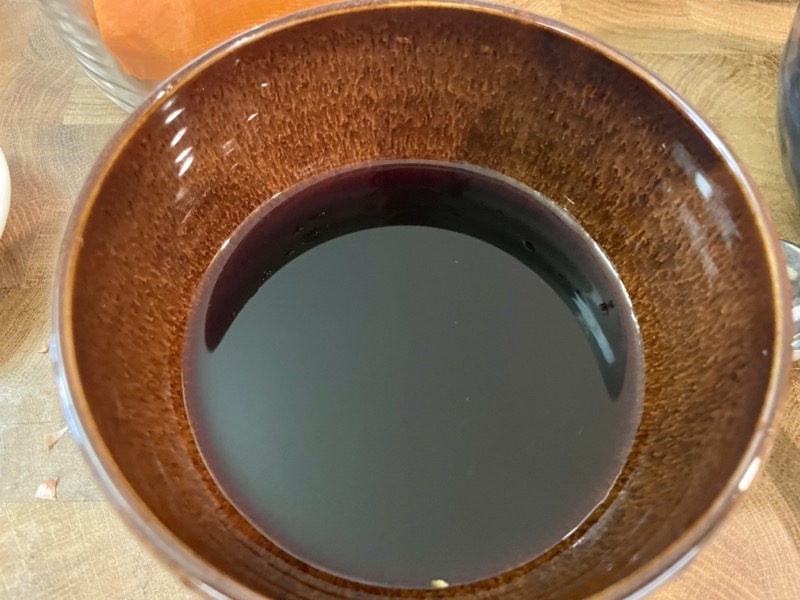
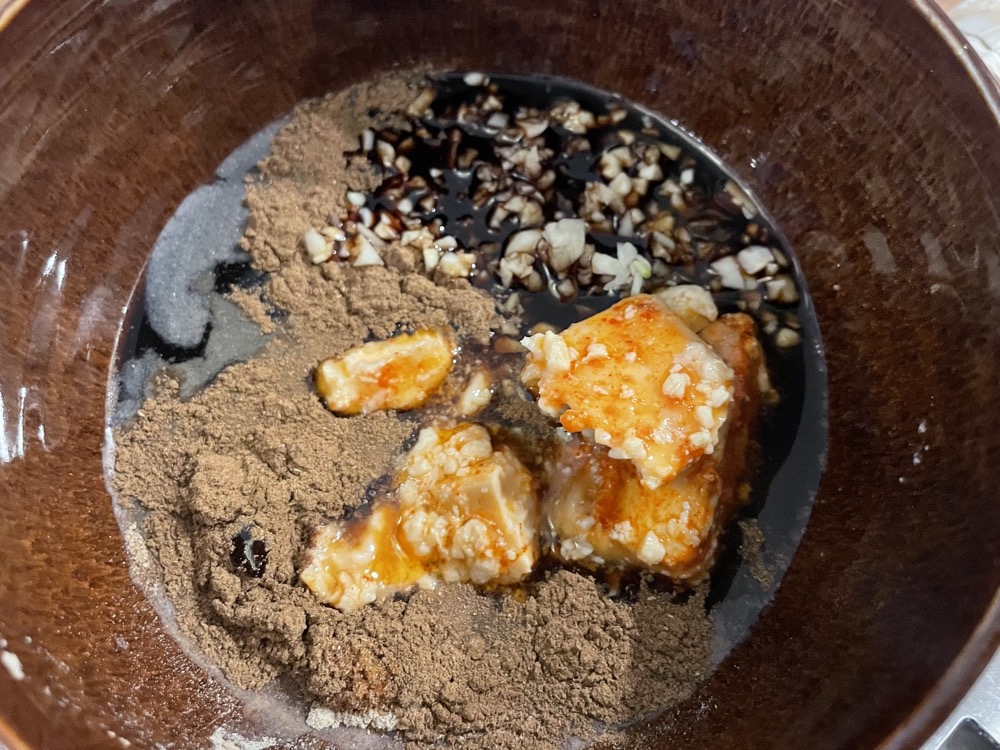
In a mixing bowl, combine all the ingredients of the marinade: 3 cloves minced garlic, 2 pieces fermented red bean curd, 1 Tbsp honey, 1 Tbsp Shaoxing wine, 1 Tbsp soy sauce, 1 Tbsp oyster sauce, 1 tsp dark soy sauce, 1 tsp 5-spice powder, 1/4 tsp white pepper, and 1/4 cup packed brown sugar. Mix well until there are no clumps.

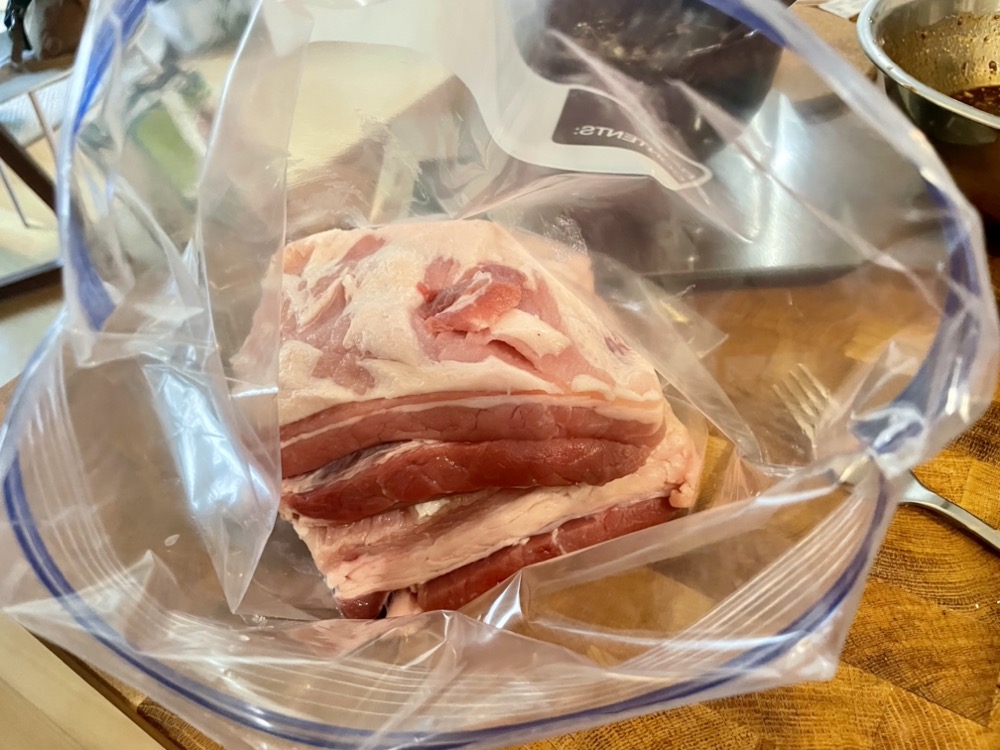
Put the marinade in a resealable plastic bag along with the pork and squeeze out any air. Let it marinate in the fridge overnight.


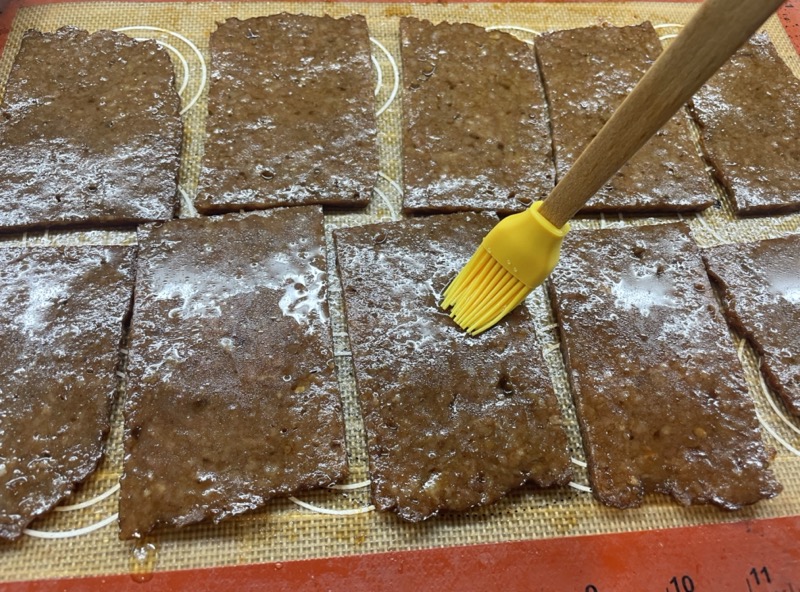
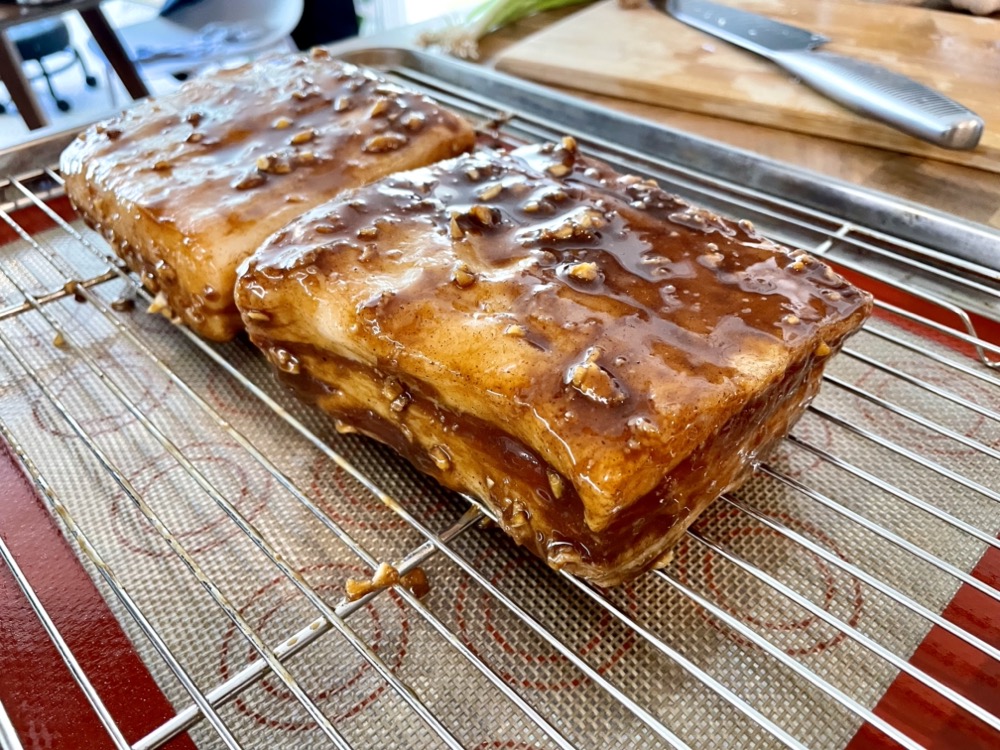
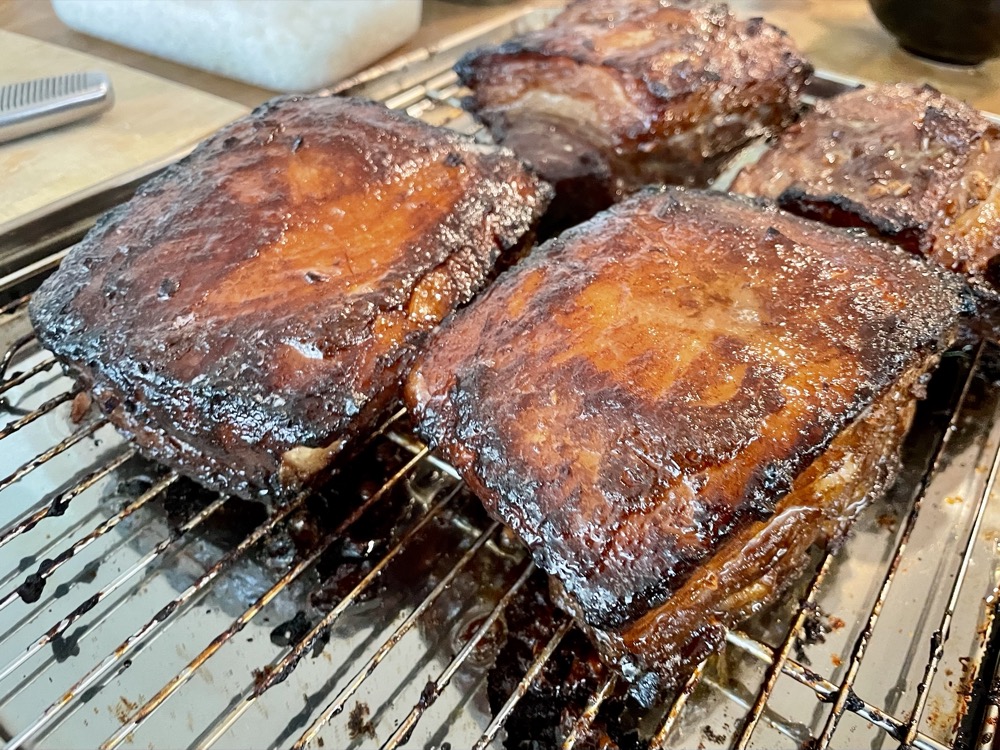
The next day, preheat the oven to 200˚C/400˚F. Shake off excess marinade and place the marinated pork onto a wire rack over a tray. Brush extra marinade over the top and bake in the preheated oven for 15-20 minutes. Flip each pork piece over, brush with more marinade and bake again for 15-20 minutes or until the internal temperature reaches 63˚C/145˚F.

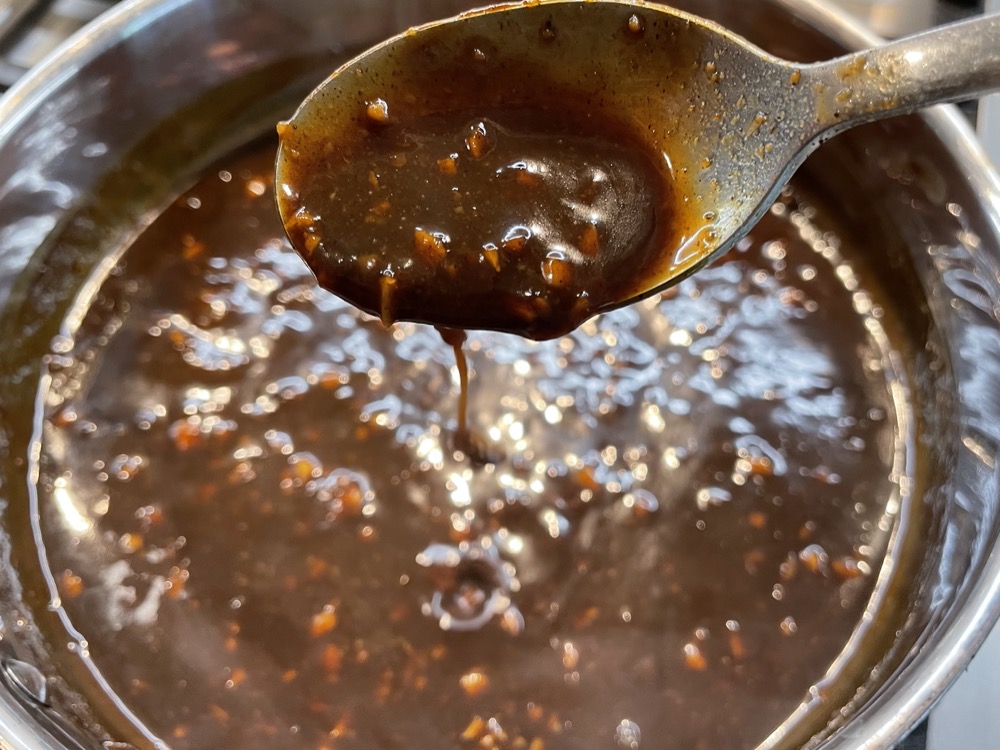
While the pork is cooking, pour the leftover marinade into a saucepan and turn the heat on to MED. Let the sauce bubble and simmer while continuously stirring for 3-4 minutes until it slightly thickens (don’t worry about reducing it too much since the sauce will thicken further as it cools).


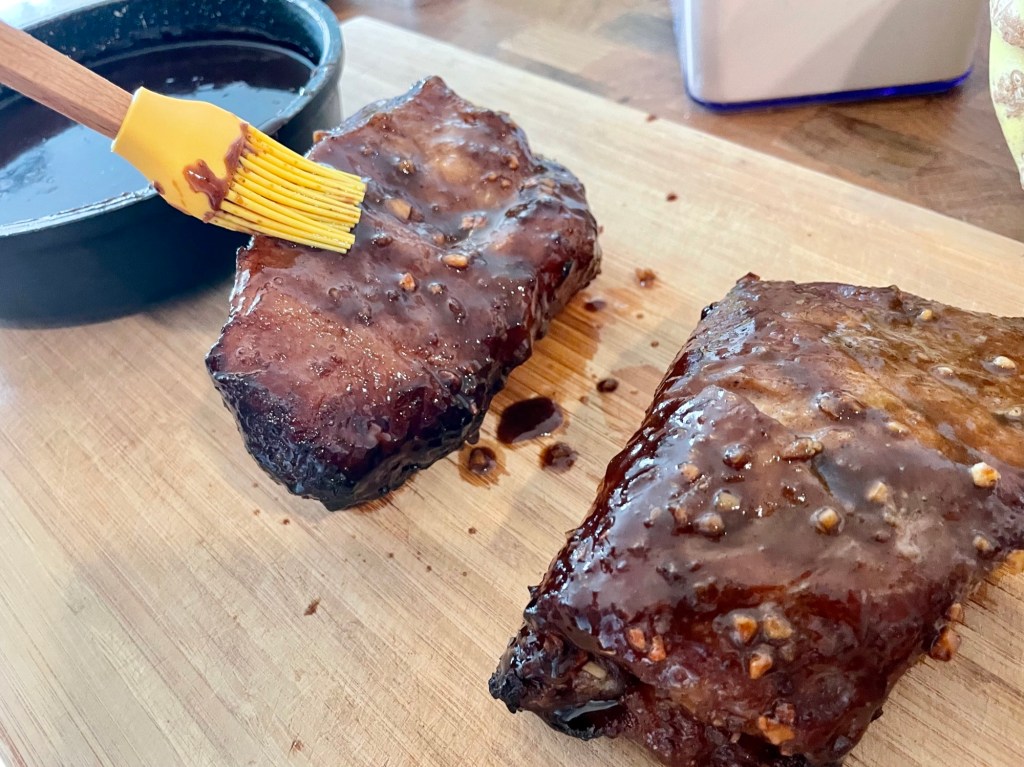
At the end of the cook time, you should have a nice char/dark brown caramelization over the top of the pork. If you don’t, BROIL for 1 minute on each side until you get get the dark brown char. Remove from the oven and brush the reduced marinade (from step 4) over the top and let it rest for 10 minutes before slicing. Serve immediately after slicing. Enjoy!


Summarized Recipe:
Char Siu: An Authentic Chinese BBQ Pork Recipe
Date Published: Sept 27th, 2025 | Last Updated: Sept 27th, 2025
Author: Abby |Category: Asian, easy, mains
Serves: 6-8 | Prep time: overnight | Cook time: 45 minutes
Ingredients:
- Marinade:
- 3 cloves garlic, minced
- 2 pieces (44g) spicy fermented red bean curd
- 1 Tbsp (22g) honey
- 1 Tbsp (14g) Shaoxing wine
- 1 Tbsp (20g) soy sauce
- 1 Tbsp (20g) oyster sauce
- 1 tsp (6g) dark soy sauce
- 1 tsp 5-spice powder
- 1/4 tsp white pepper
- 1/4 cup (50g) brown sugar, packed
- 500g pork shoulder (try to get a fattier piece) or slab of pork belly, skin and excessive fat removed (I prefer pork shoulder)
Directions:
- In a mixing bowl, combine all the ingredients of the marinade: 3 cloves minced garlic, 2 pieces fermented red bean curd, 1 Tbsp honey, 1 Tbsp Shaoxing wine, 1 Tbsp soy sauce, 1 Tbsp oyster sauce, 1 tsp dark soy sauce, 1 tsp 5-spice powder, 1/4 tsp white pepper, and 1/4 cup packed brown sugar. Mix well until there are no clumps.
- Put the marinade in a resealable plastic bag along with the pork and squeeze out any air. Let it marinate in the fridge overnight.
- The next day, preheat the oven to 200˚C/400˚F. Shake off excess marinade and place the marinated pork onto a wire rack over a tray. Brush extra marinade over the top and bake in the preheated oven for 15-20 minutes. Flip each pork piece over, brush with more marinade and bake again for 15-20 minutes or until the internal temperature reaches 63˚C/145˚F.
- While the pork is cooking, pour the leftover marinade into a saucepan and turn the heat on to MED. Let the sauce bubble and simmer while continuously stirring for 3-4 minutes until it slightly thickens (don’t worry about reducing it too much since the sauce will thicken further as it cools).
- At the end of the cook time, you should have a nice char/dark brown caramelization over the top of the pork. If you don’t, BROIL for 1 minute on each side until you get get the dark brown char. Remove from the oven and brush the reduced marinade (from step 4) over the top and let it rest for 10 minutes before slicing. Serve immediately. Enjoy!