Date Published: Aug 17th, 2022 | Last Updated: April 16th, 2024
Author: Abby |Category: <15mins, easy, appetizers, sides, breads, quick and easy, snacks
Serves: 6 pieces | Prep time: 5 mins | Cook time: 4 mins per piece x 6
Jump to recipe |
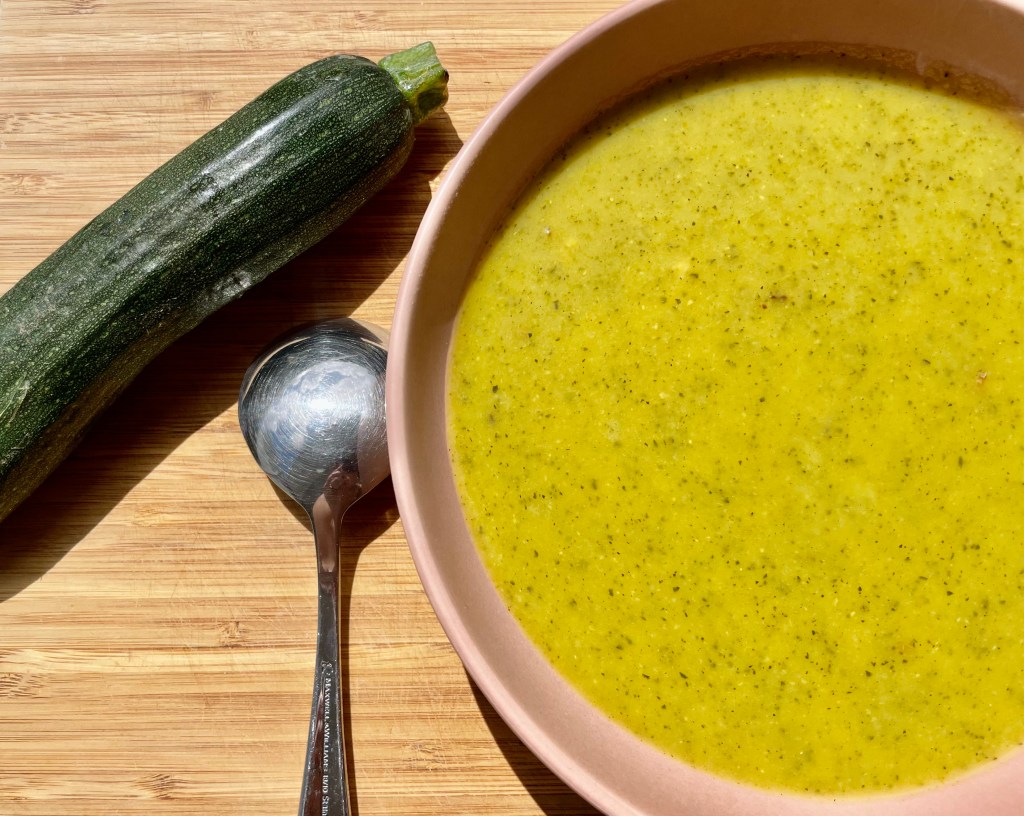
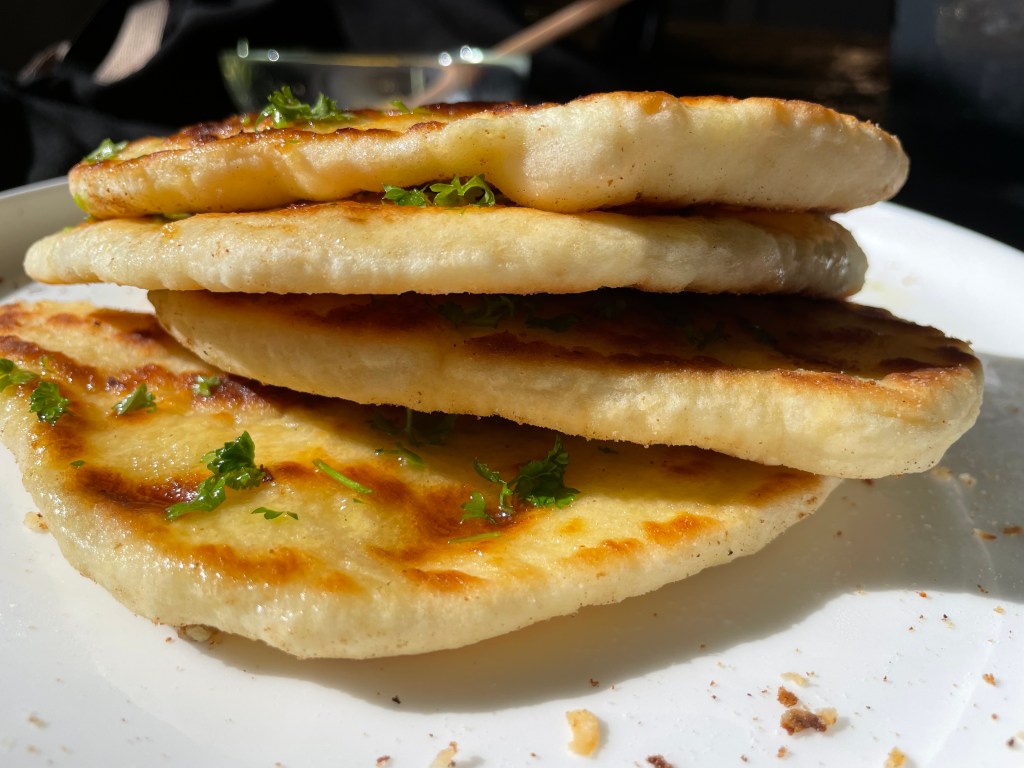
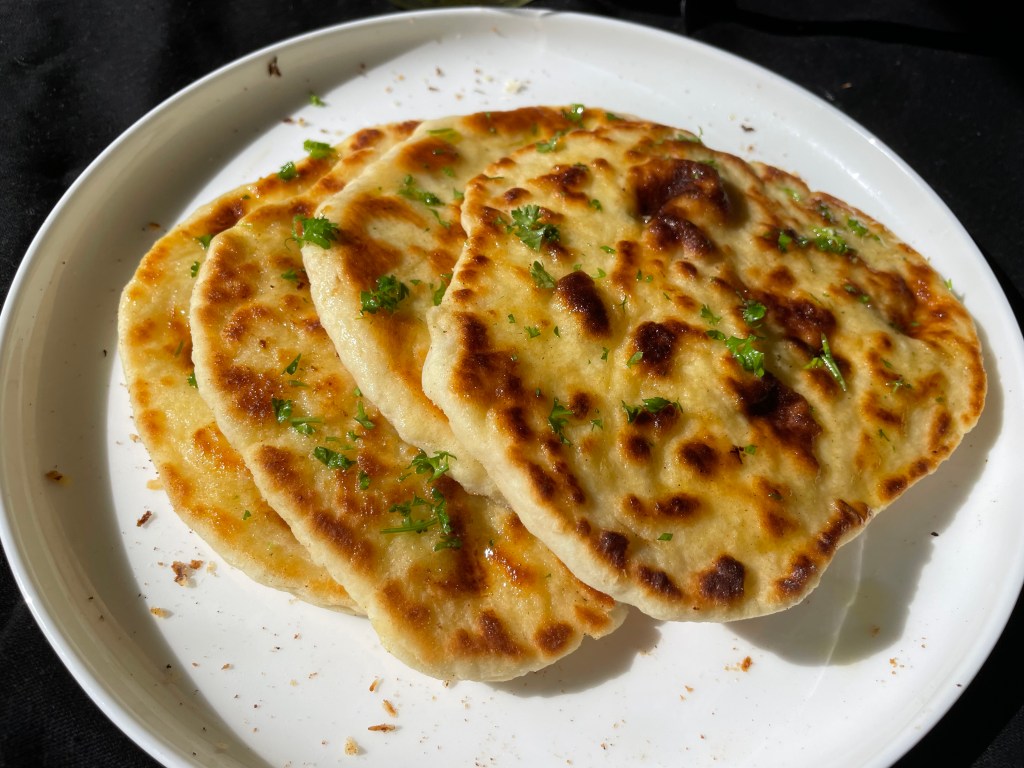
This two-ingredient naan is easy, fuss-free, and makes a quick side dish to any saucy dish or soup. I originally found the recipe from a Coles weekly magazine and was amazed that it actually turned out well (after a couple tweaks)! It has a beautiful fluffy texture with the classic chewiness of naan. It’s super quick: no yeast, no resting time, no proofing, and minimal kneading. It’s great for a last minute on-the-go side dish. All you need are two ingredients: Greek yogurt and self-raising flour in a 1:1 ratio by weight.
You’ve got to give this simple recipe a try – you’ll be amazed by how quick and easy it comes together!
If you have any comments or suggestions, I’d love to hear from you in the comment section! You can follow me on instagram, youtube and facebook to see all the recipes I post!
Happy cooking!
Ingredients you’ll need:
- 280g Greek yogurt
- 280g self-raising flour + more for kneading
- 1 tsp cooking/kosher salt (optional to leave out if you’re pairing it with a salty dish)
- For brushing: 100g melted butter (or olive oil)
- Garnish: 1/4 cup fresh parsley, chopped
Directions:


In a bowl, combine the Greek yogurt, self-raising flour, and salt (if using) until you get a loose sticky dough. Turn the dough over on a floured surface and knead by hand until you get a smooth ball of dough (~5mins). Add more flour as needed until the dough is no longer sticky.
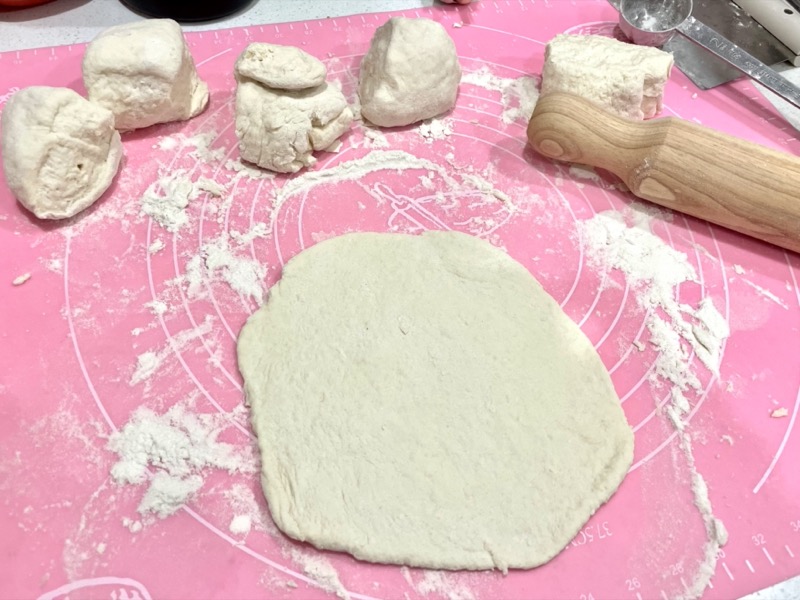
Divide the dough into 6 equal pieces and use a rolling pin to flatten each one into 1cm thickness round or oval shapes. Make sure it’s not too thick since they puff up and double in thickness once cooked.

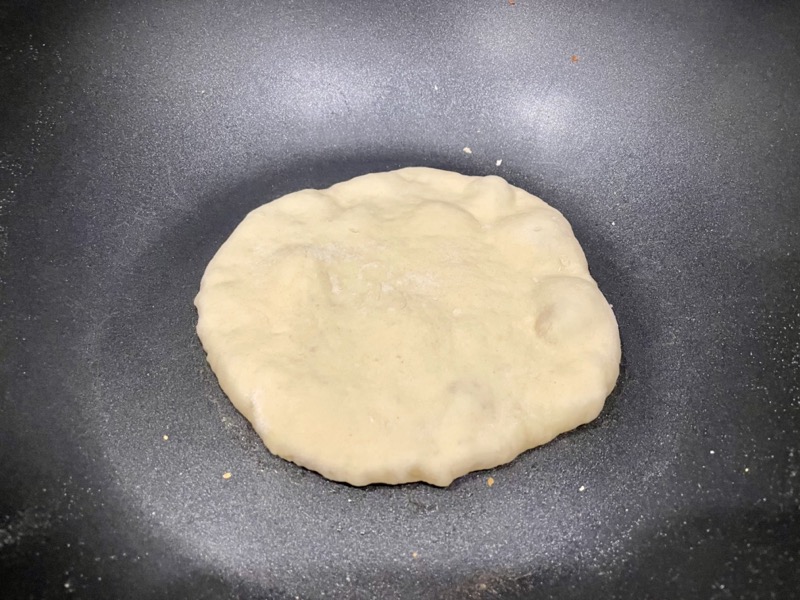

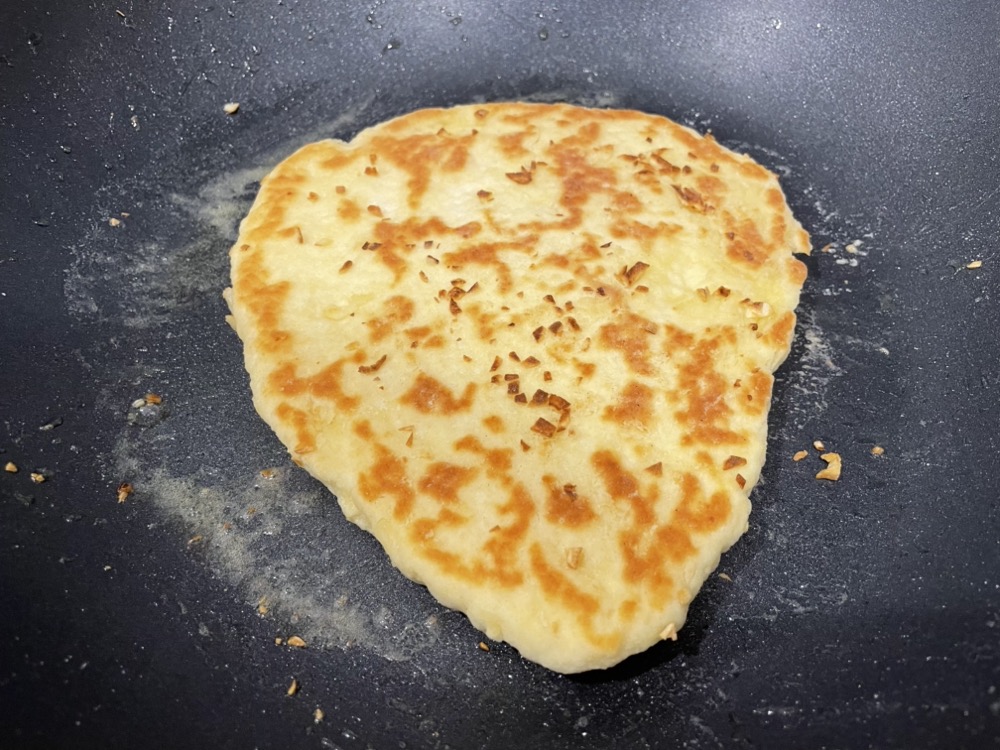
Heat up a flat pan/skillet on MED-HIGH heat. Brush the melted butter (or olive oil) on one side of the naan and cook oiled side down for 2 mins until it puffs up and bubbles. Brush the other side with butter/oil before flipping and cook for another 1-2 mins or until golden brown then remove from the pan. Repeat with the rest of the dough balls. Brush with a bit more butter on each side before serving.
If making garlic naan, brush the naan with a butter/garlic parsley mixture instead.


Summarized Recipe:
Quick and So Easy 2-Ingredient Naan
Date Published: Aug 17th, 2022 | Last Updated: April 16th, 2024
Author: Abby |Category: <15mins, easy, appetizers, sides, breads, quick and easy, snacks
Serves: 6 pieces | Prep time: 5 mins | Cook time: 4 mins per piece x 6
Ingredients:
- 280g Greek yogurt
- 280g self-raising flour + more for kneading
- 1 tsp cooking/kosher salt (optional to leave out if you’re pairing it with a salty dish)
- For brushing: 100g melted butter (or olive oil)
- Garnish: 1/4 cup fresh parsley, chopped
Directions:
- In a bowl, combine the Greek yogurt, self-raising flour, and salt (if using) until you get a loose sticky dough.
- Turn the dough over on a floured surface and knead by hand until you get a smooth ball of dough (~5mins). Add more flour as needed until the dough is no longer sticky.
- Divide the dough into 6 equal pieces and use a rolling pin to flatten each one into 1cm thickness round or oval shapes. Make sure it’s not too thick since they puff up and double in thickness once cooked.
- Heat up a flat pan/skillet on MED-HIGH heat. Brush the melted butter (or olive oil) on one side of the naan and cook oiled side down for 2 mins until it puffs up and bubbles. Brush the other side with butter/oil before flipping and cook for another 1-2 mins or until golden brown then remove from the pan. Repeat with the rest of the dough balls. Brush with a bit more butter on each side before serving.
- If making garlic naan, brush the naan with a butter/garlic parsley mixture instead.