Date Published: April 16th, 2024 | Last Updated: April 16th, 2024
Author: Abby |Category: asian, quick, easy, Taiwanese, vegetarian, sides, healthy, low cal
Serves: 1 large jar, about 6 portions as sides | Prep time: 1 hour | Cook time: marinate for 4 hours
Jump to recipe
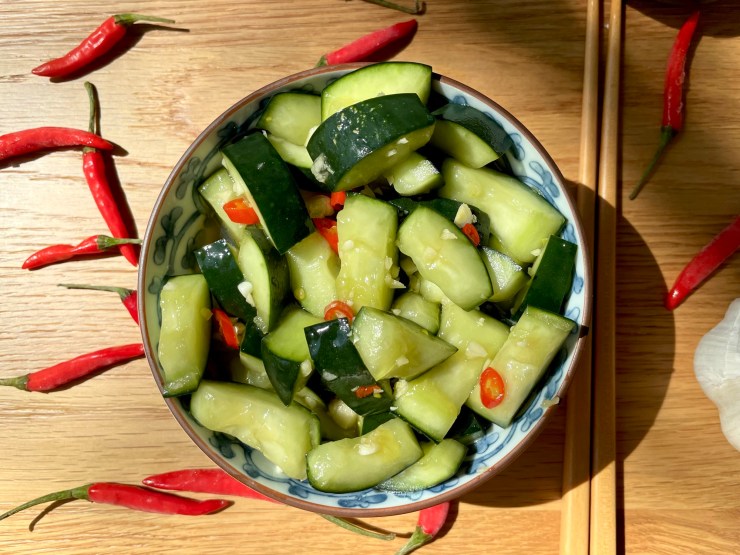
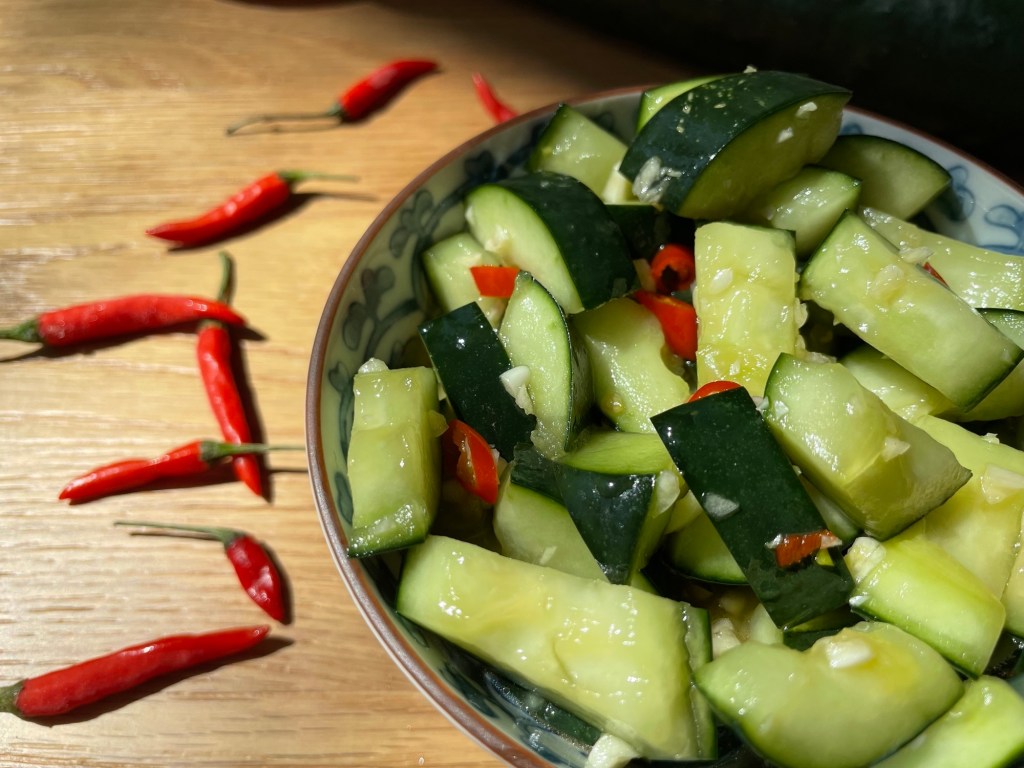
Pickled smashed cucumber is a common side dish in Taiwan that pairs well with almost anything. You can find it in pre-packed lunch boxes or in self-serve portions in small restaurants in the market. It cuts the grease and cleanses your palate. This mildly spicy and very garlicky version is super easy and you can make it in 5 minutes (after soaking the cucumbers in salt for 1 hour 🤫). You can serve it immediately, but it’s best served after marinating for at least 4 hours or overnight.
Anyways, without further ado, here’s the recipe! If you have any comments or suggestions, I’d love to hear from you in the comment section! You can follow me on instagram, youtube and facebook to see all the recipes I post!
Happy cooking!
Ingredients you’ll need:
- 2 large (450g/1lb) cucumbers
- 1 tsp kosher salt
- Pickling liquid:
- 2 garlic cloves, minced
- 2 bird’s eye chilli, thinly sliced
- 1 Tbsp soy sauce
- 1 tsp sesame oil
- 1/4 cup white sugar
- 1/4 cup rice vinegar
Directions:


Cut the cucumbers in half lengthwise and again crosswise. Use a large knife on its flat side to smash the cucumber until cracked then slice into bite sized pieces (see photo).
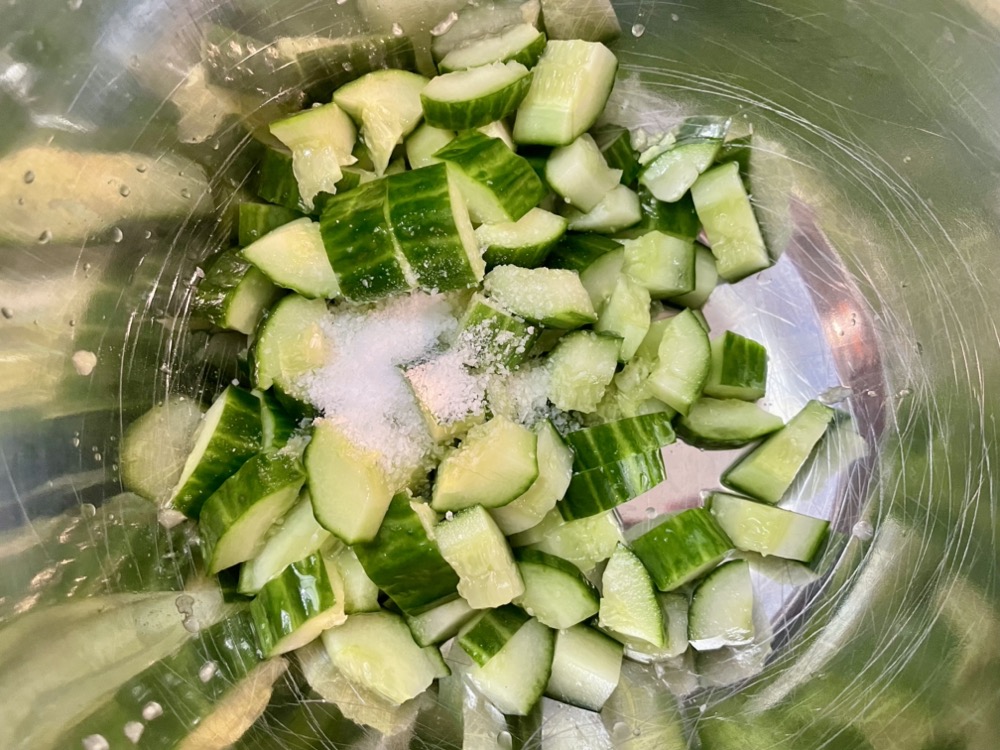


Place the smashed cucumber in a strainer over a bowl and mix in 1 tsp of salt. Let the cucumber sit for 1 hour at room temperature to allow excess water to be released. After 1 hour, discard the released cucumber water and rinse the salt off the cucumber. Set aside in a colander.


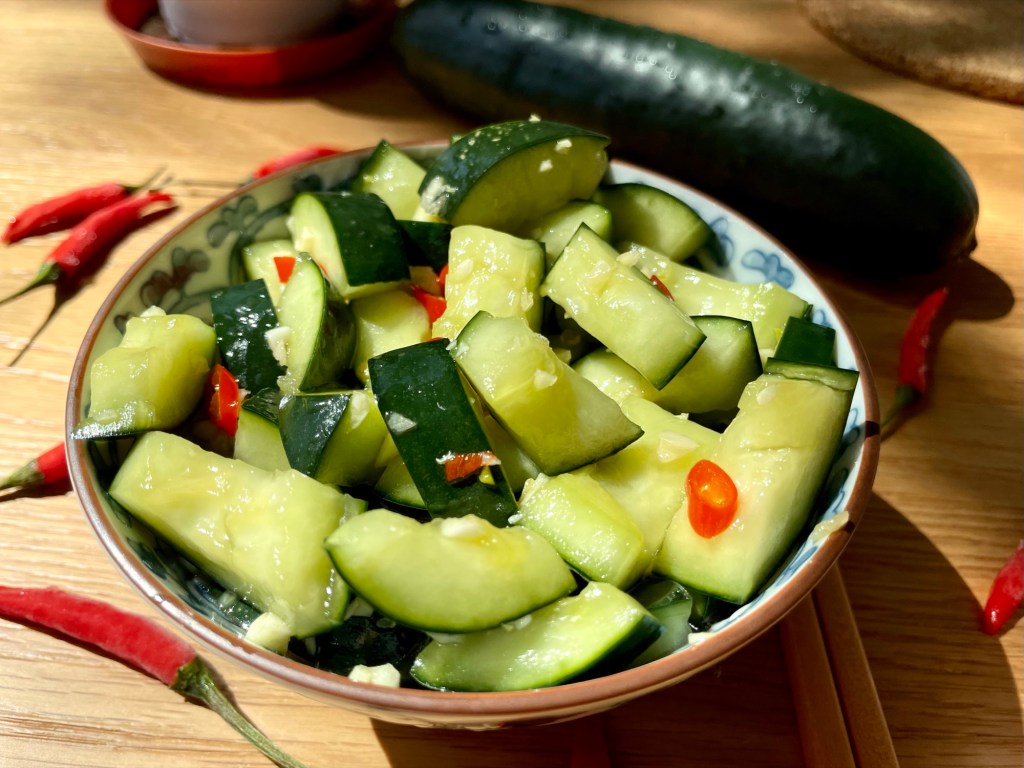
In a large glass jar (with a lid), add in the pickling liquid ingredients: garlic, chilli, soy sauce, sesame oil, sugar, and rice vinegar. Put on the lid and shake until the sugar has dissolved. Add in the smashed cucumbers (from step 1), ensuring all the cucumber is submerged in the pickling liquid. Close the lid and let it marinate for at least 4 hours in the fridge or overnight. Done! Keeps in the fridge for up to 1 week, best eaten within 3 days.


Summarized Recipe:
Taiwanese Pickled Garlic Smashed Cucumber
Date Published: April 16th, 2024 | Last Updated: April 16th, 2024
Author: Abby |Category: asian, quick, easy, Taiwanese, vegetarian, sides, healthy, low cal
Serves: 1 large jar, about 6 portions as sides | Prep time: 1 hour | Cook time: marinate for 4 hours
Ingredients:
- 2 large (450g/1lb) cucumbers
- 1 tsp kosher salt
- Pickling liquid:
- 2 garlic cloves, minced
- 2 bird’s eye chilli, thinly sliced
- 1 Tbsp soy sauce
- 1 tsp sesame oil
- 1/4 cup white sugar
- 1/4 cup rice vinegar
Directions:
- Cut the cucumbers in half lengthwise and again crosswise. Use a large knife on its flat side to smash the cucumber until cracked then slice into bite sized pieces (see photo). Place the smashed cucumber in a strainer over a bowl and mix in 1 tsp of salt. Let the cucumber sit for 1 hour at room temperature to allow excess water to be released. After 1 hour, discard the released cucumber water and rinse the salt off the cucumber. Set aside in a colander.
- In a large glass jar (with a lid), add in the pickling liquid ingredients: garlic, chilli, soy sauce, sesame oil, sugar, and rice vinegar. Put on the lid and shake until the sugar has dissolved. Add in the smashed cucumbers (from step 1), ensuring all the cucumber is submerged in the pickling liquid. Close the lid and let it marinate for at least 4 hours in the fridge or overnight. Done! Keeps in the fridge for at least 2-3 days.