Date Published: Nov 11th, 2025 | Last Updated: Nov 11th, 2025
Author: Abby | Category: breads, Czech, dessert, pastry, snacks, vegetarian
Makes: 3 loaves (enough for a party or one Toby 😂) | Prep time: 1.5 hours | Cook time: 1 hour
Jump to recipe |
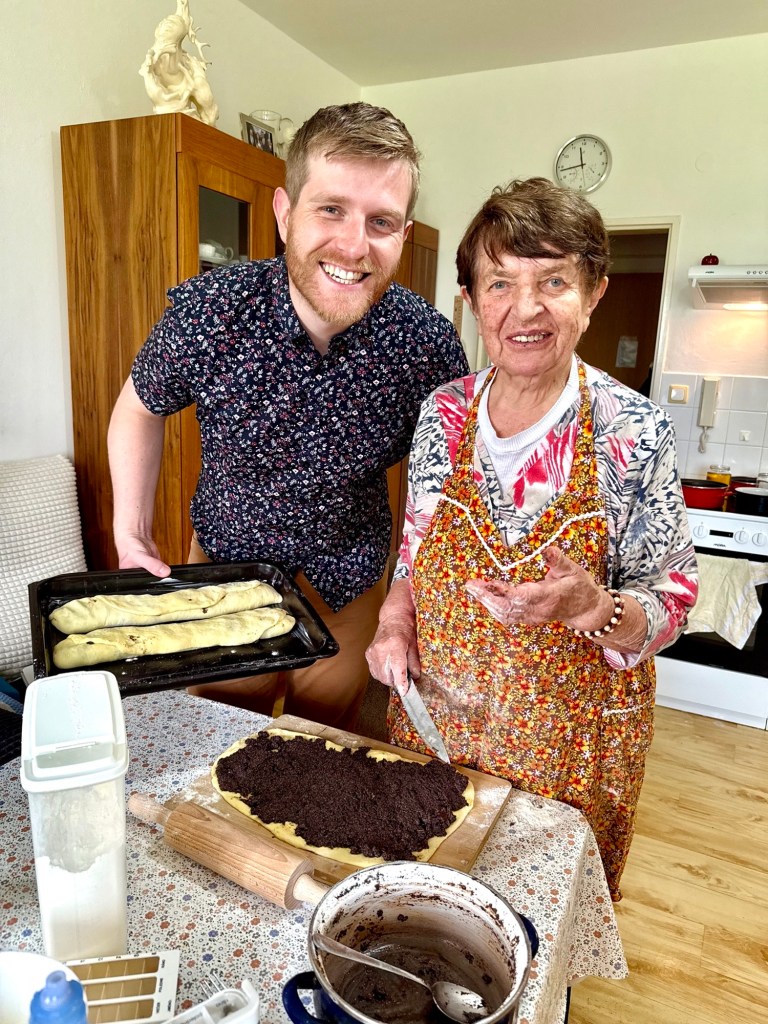
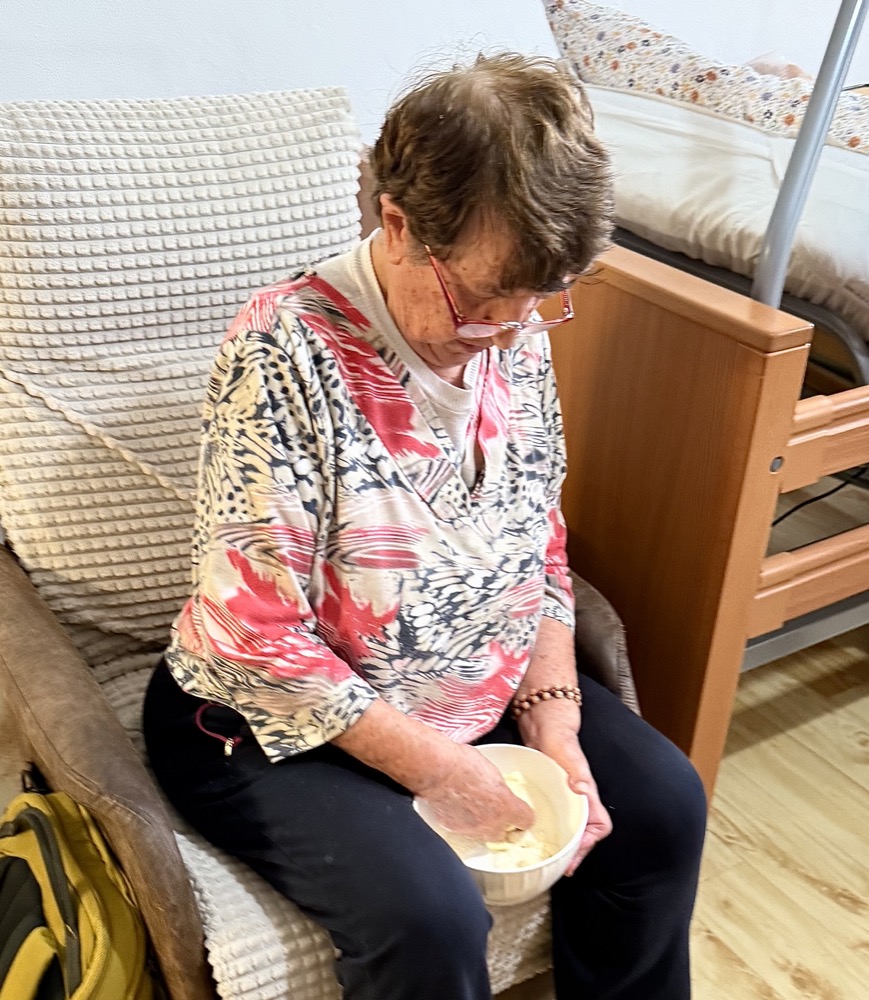
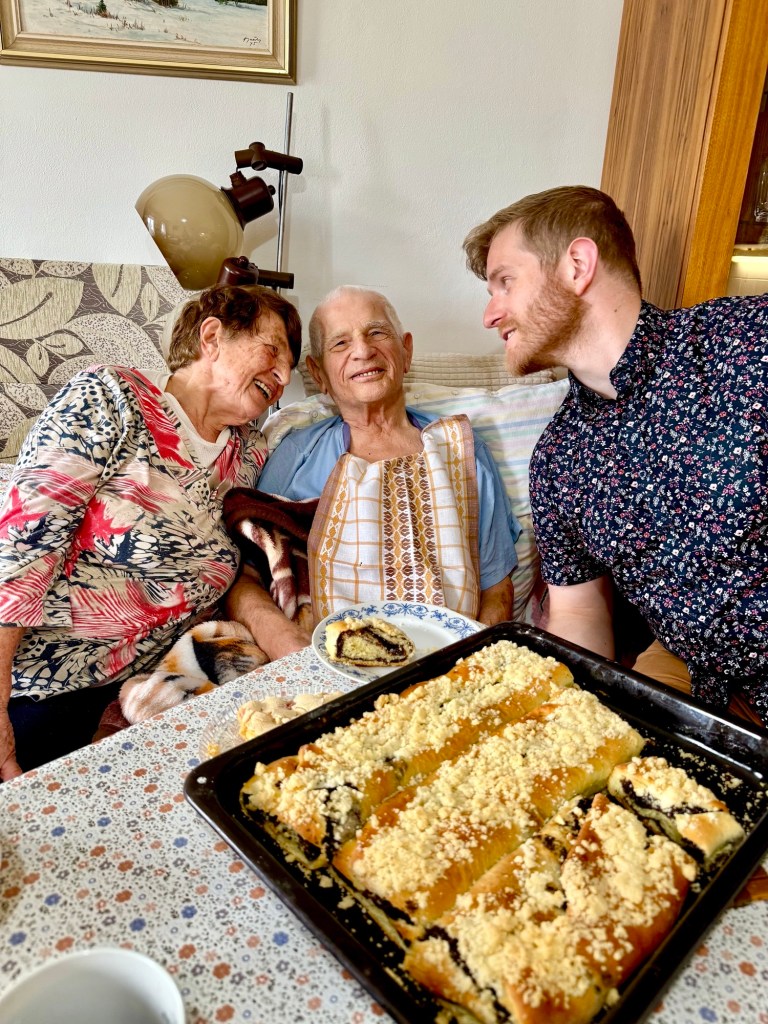
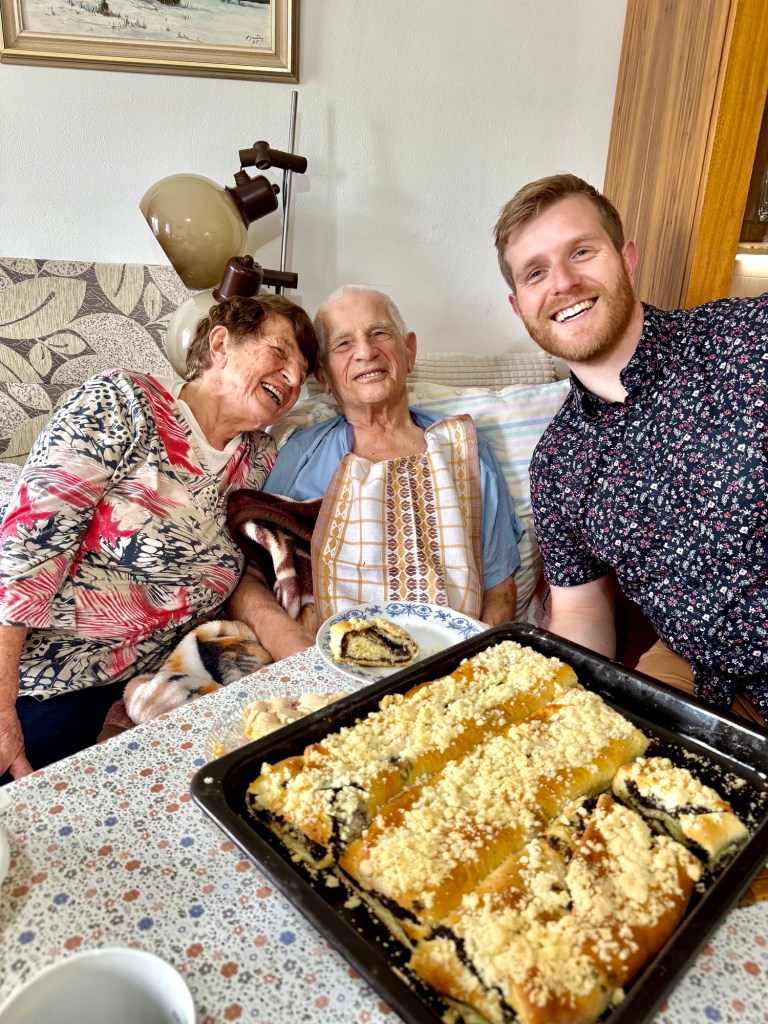
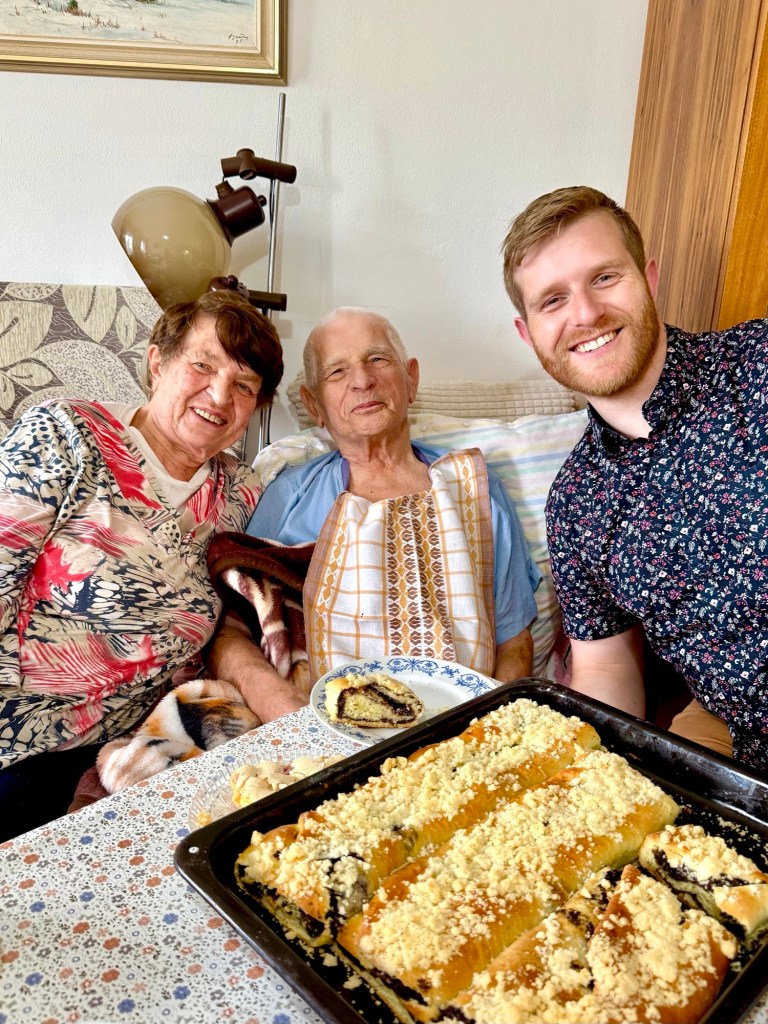
This is Toby’s all time favourite food that his babička (grandmother) makes when he visits her in Czech (next to Svíčková, of course!). We’ve been trying to learn this recipe for years, but true to OG-style grandma cooking, she measures nothing and everything is done by eyeballing it. I can usually get away by guessing the amounts she puts in when it comes to savoury cooking but baking requires precise measurements, so finally during our visit this past summer, we bought her some measuring spoons (which was surprisingly quite difficult to find to Czech) and whipped out the kitchen scale. Thanks to Toby’s translating and our diligent watchful eye on her every step (this lady moves fast in the kitchen!), I’m happy to report that we FINALLY learned her secrets and I’m very excited to add her recipe to my collection and share it with you all! 😊

What is Makovec?
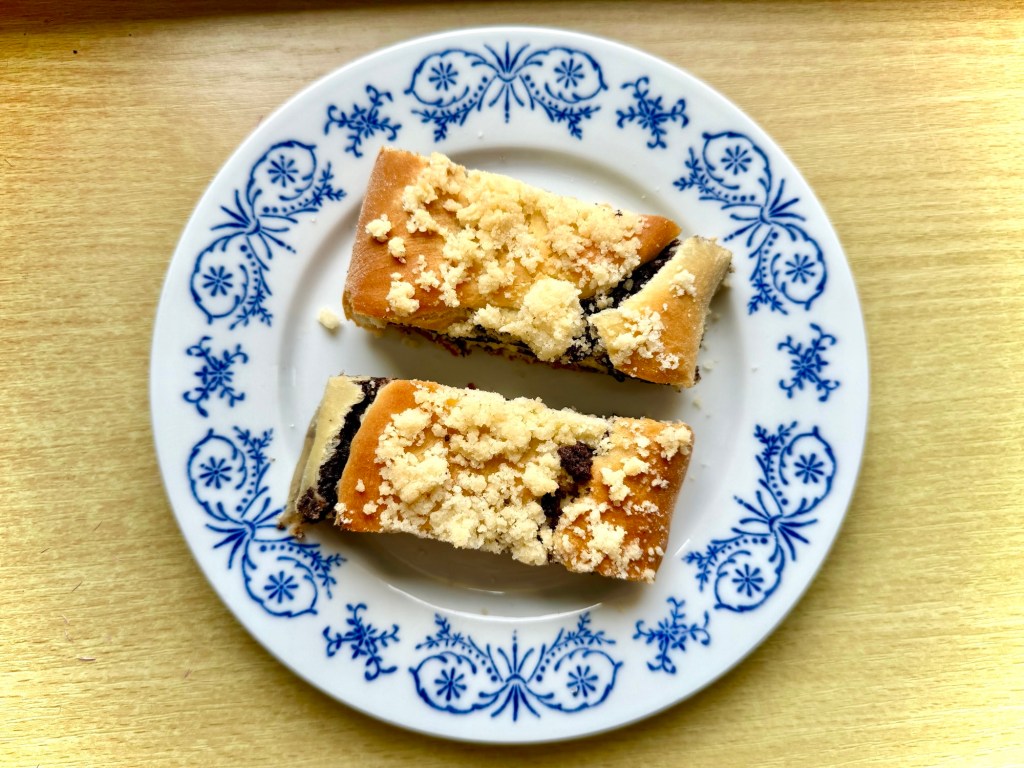
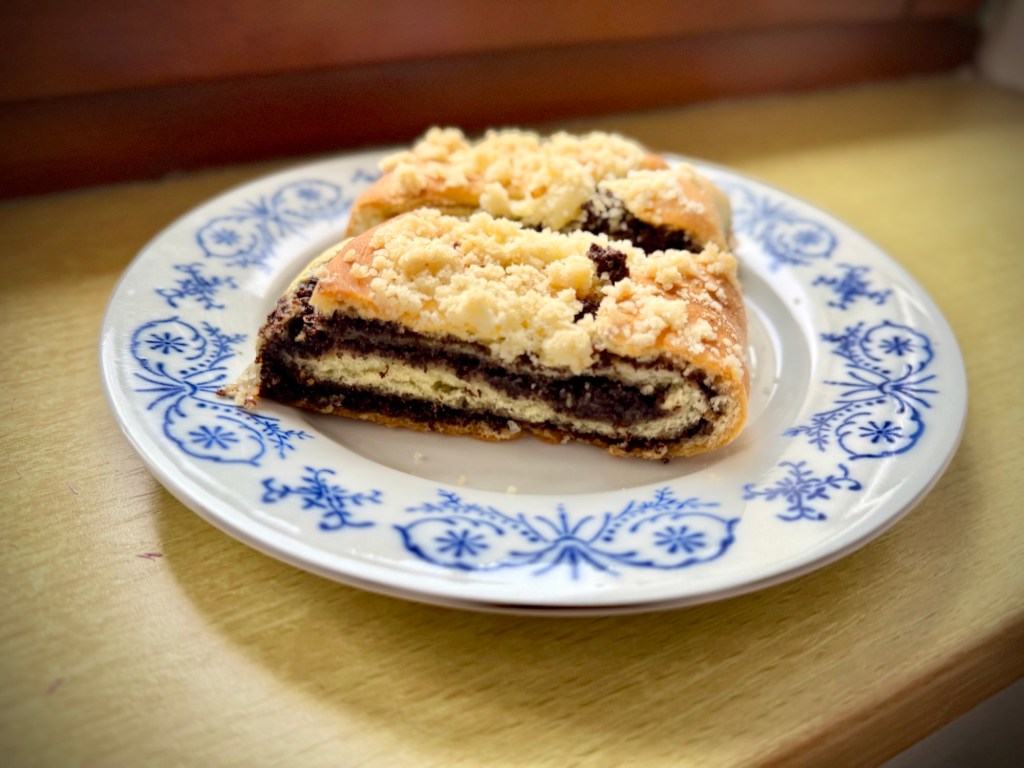
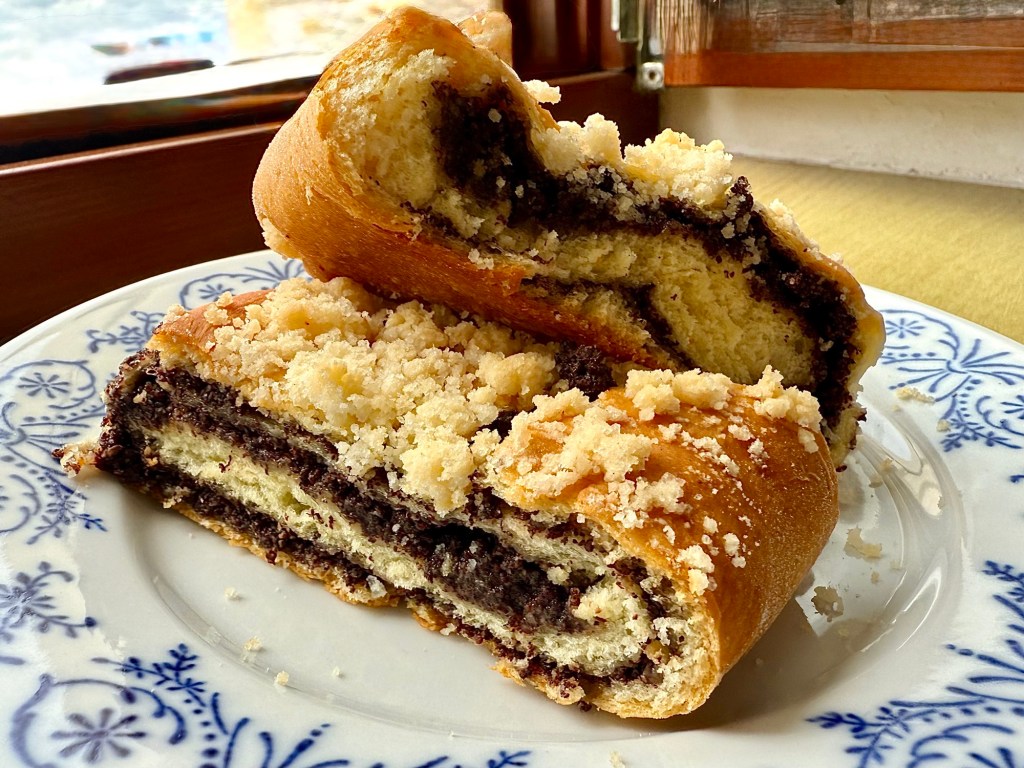
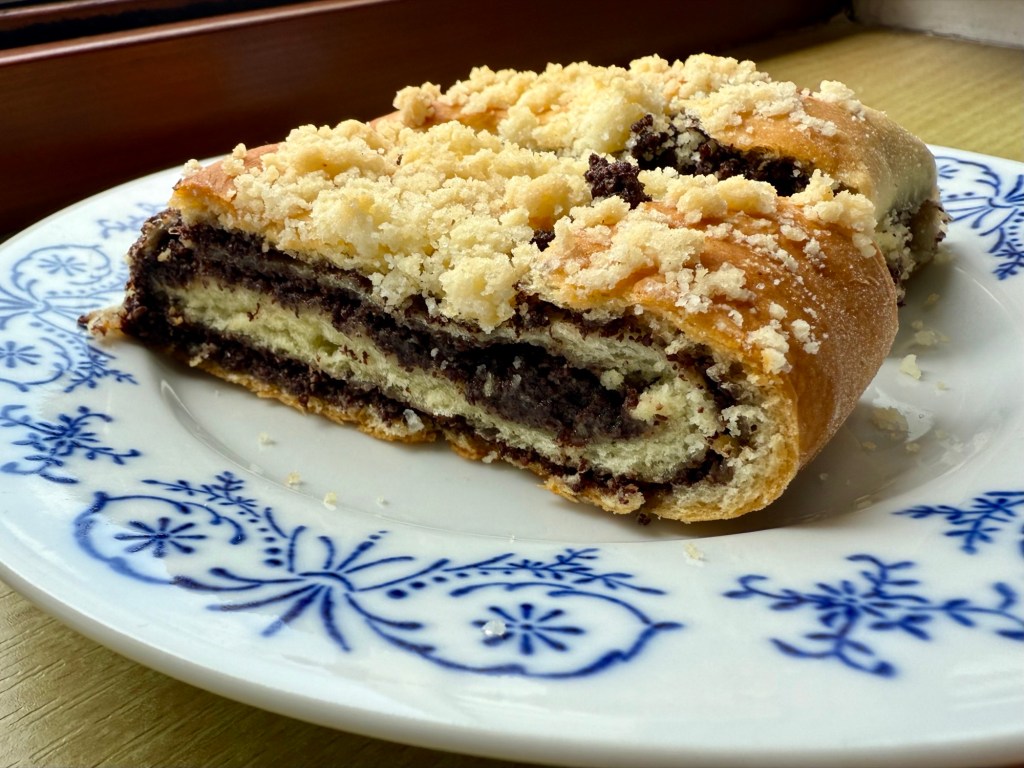
Makovec (pronounced: Mah-ko-vets) is a traditional Czech poppy seed roll pastry. It’s made of a light and fluffy bread-like pastry that’s rolled around a sweet filling made of freshly ground poppy seeds.

(Note: Some people use the term Makovec to describe a square poppy seed cake rather than the roll. According to Toby and babi, they’ve always referred to makovec as the roll.)
What makes this recipe so special from the others?
There are many variations of makovec around. Some people make it with raisins in the mixture, others put a lemon icing overtop. The neighbouring countries of Poland call it makowiec and Slovakia calls it maková štrúdla. This recipe is specifically Toby’s grandmother’s version. Call it nostalgic bias, but Toby and I have travelled quite a bit and he always gets super excited when he sees someone selling poppy seed cake, but no matter how many farmers markets and European bakeries we visit, nothing compares to babi’s version. Her version is made with strawberry jam mixed in the poppy seed filling for that extra strawberry flavour, and she finishes it off with a streusel crumb topping (which I’ve never seen anyone else do!). The ratio of bread to filling is also on point 👌 – too many times we find that there’s too much bread and not enough filling – poppy seed is not a robust flavour on its own so if there’s too much bread it drowns out the filling.
Grinding Poppy Seeds – Is it necessary?
Yes! Poppy seeds are the star of this dessert and it is imperative to grind down the seeds for a few reasons:
- Flavour: Grinding the seeds releases their natural rich oils and flavours. Eating unground poppy seed on its own is quite flavourless.
- Forming a paste: Ground seeds absorb moisture and is essential to form a paste when we’re cooking down the filling. You won’t get the texture we’re looking for unless the seeds are ground.
- Texture: Ground seeds are less gritty and provides a smoother texture when eating.
How to Grind Poppy Seeds
The best way to grind down poppy seeds is to use a dedicated poppy seed grinder. It’s usually about $40-$50 and is worth the investment if you’re into poppy seed desserts. We use this one from Tescoma: https://a.co/d/iUgRhGq. We found it to be reasonably priced with good reliability.
If you don’t have a poppy seed grinder, you can use a clean coffee grinder, spice grinder, mortar and pestle, or a food processor.
If you’re lucky and live near a European grocer, check if they have pre-ground poppy seeds for sale. I see it everywhere sold in Czech grocery stores due to the sheer popularity of poppy seed food items, but rarely outside of central Europe. Pre-ground poppy seeds can spoil quickly so sometimes it’s sold out of the refrigerated section.


Some Myths and Truths About Poppy Seeds
Poppy seeds have the notorious reputation of causing people to test falsely positive for opiates on urine drug tests (remember that episode of Seinfeld where Elaine tested positive after eating a poppy seed bagel?). I always thought that you needed to ingest very large amounts of it to test positive, but on an episode of Mythbusters, Adam tested positive within half an hour of eating a large slice of poppy seed cake and Jamie tested positive 2 hours after eating 3 poppy seed bagels! So if you’re in a situation where they do routine urine testing, you might want to hold off on making this or ask for a blood test instead. 😅
Despite possibly testing false positive for opiates, you won’t actually feel any opiate-related effects or “highs” from eating poppy seeds. Toby has eaten TRAYS of makovec (which is a LOT Of poppy seeds) and seen no ill effects.
How does this happen, you ask? Poppy seeds themselves have no opium content, however the milky white fluid that comes from the seed pod of the poppy called the “latex” is what contains the opium content. There is a possibility of contamination of the latex onto the seeds during the harvesting process, but don’t worry, poppy seeds sold for general use/foods are all washed prior to sale. In fact, there are actually legalities around buying unwashed poppy seeds. In the United States, at least 12 deaths have been reported in association with the use of tea made from unwashed poppy seeds causing lethal opiate overdose! (Here’s a pdf from the DEA if you want to learn more about poppy seeds: https://www.deadiversion.usdoj.gov/drug_chem_info/unwashed_poppy_seed.pdf)
Anyways, if you’re a fan of poppy seed pastries, give this recipe a try! It looks like a long recipe, but it’s not all that difficult, just very wordy to describe.
I’ve had to tweak her recipe a little due to difficulty of obtaining certain ingredients outside of Europe (I’m looking at you, coarse flour 😒), but after multiple taste tests, Toby gave the stamp of approval that it’s just like babi’s! The photos in this post are a mix of photos from when she taught us how to make this dish in Czech and me re-making them in our apartment back in Brooklyn.
Note: To make the most accurate version of this recipe, I would recommend using the grams/mls measurements as this was what I used to measure her recipes, however I’ve also included a cup conversion as well.
I’d love to hear from you in the comment section! You can follow me on instagram, youtube and facebook to see all the recipes I post!
Happy cooking!
Ingredients you’ll need:
*I recommend to use the metric measurements (grams/mls) for accuracy of the ingredients to have it as close to babička’s version as possible.
- Poppy seed filling:
- 500ml (2 cups) whole milk
- 250g (1.75 cups) poppy seeds, ground
- 120g (1.25 cups) granulated sugar
- 1/2 tsp kosher salt
- 175g (1/2 cup) strawberry jam (or more to taste)
- 4g (1/2 Tbsp) ground cinnamon
- 28g (2 Tbsps) cocoa powder
- 1 tsp vanilla extract
- Dough:
- Yeast prep:
- 60ml (1/4 cup) milk
- 7g (1 packet) of active dry yeast
- 1 tsp granulated sugar
- 50g (1/4 cup) granulated sugar
- 50g (3.5 Tbsps) butter, softened
- 1 large egg, divided into yolk and egg white
- 1 tsp kosher salt
- 350g (2.75 cups) all-purpose flour, sifted (+ more for dusting and rolling)
- 175ml (3/4 cup) + 1/2 Tbsp whole milk, room temperature
- Yeast prep:
- Streusel:
- 50g (1/4 cup) granulated sugar
- 50g (3.5 Tbsps) butter, softened
- 70g (1/2 cup) all-purpose flour
Directions:
A) Make the poppy seed filling:
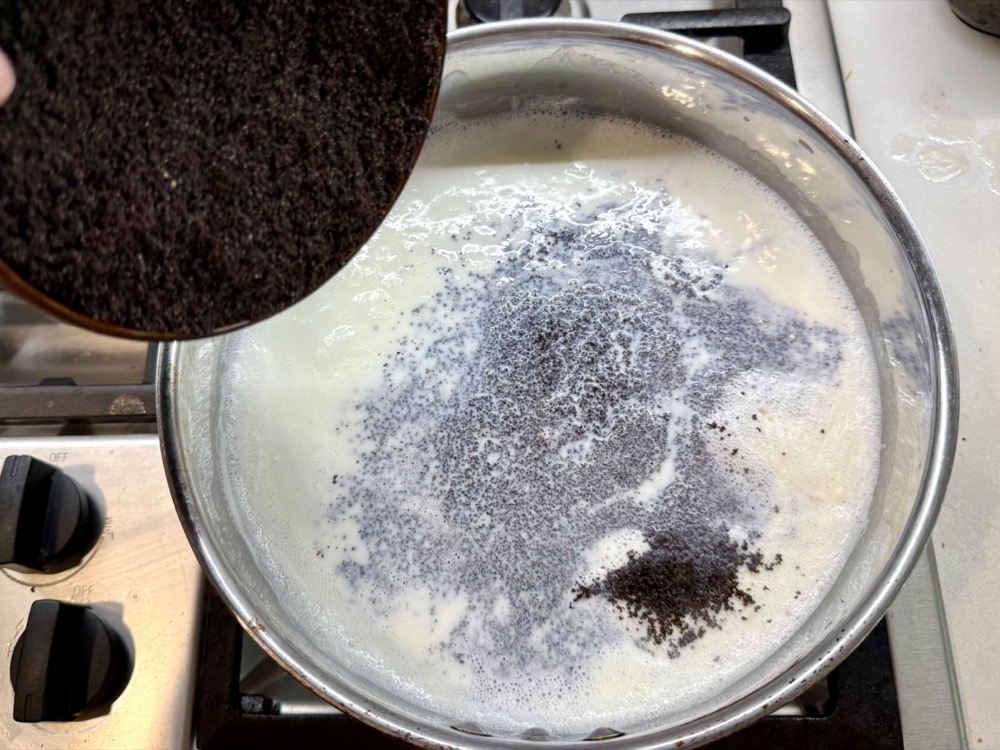
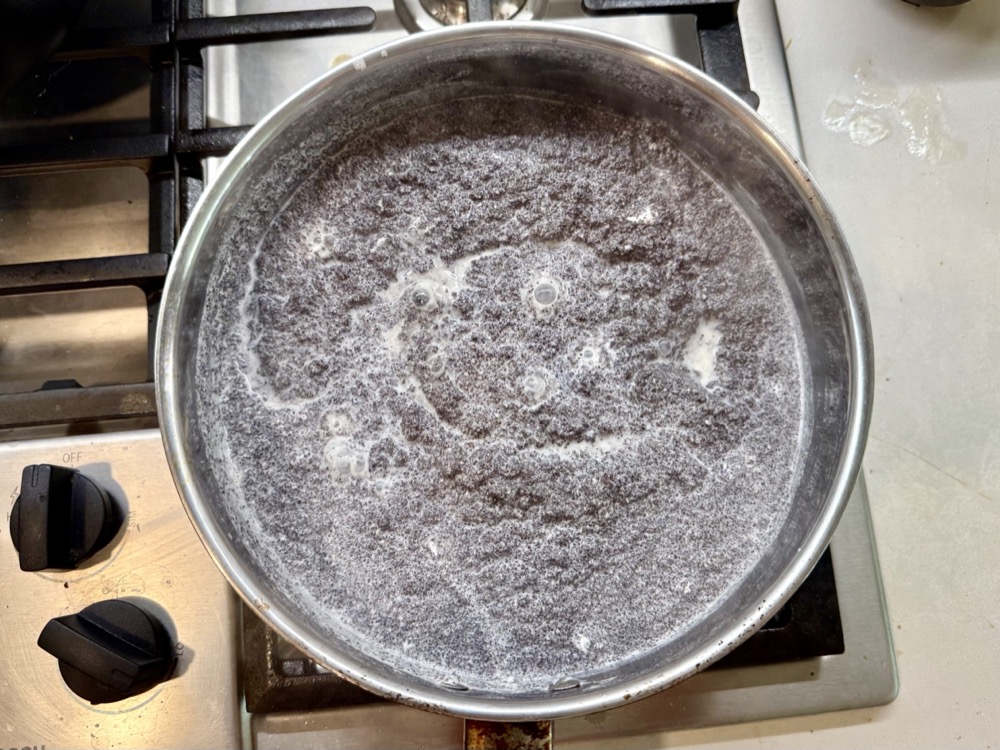
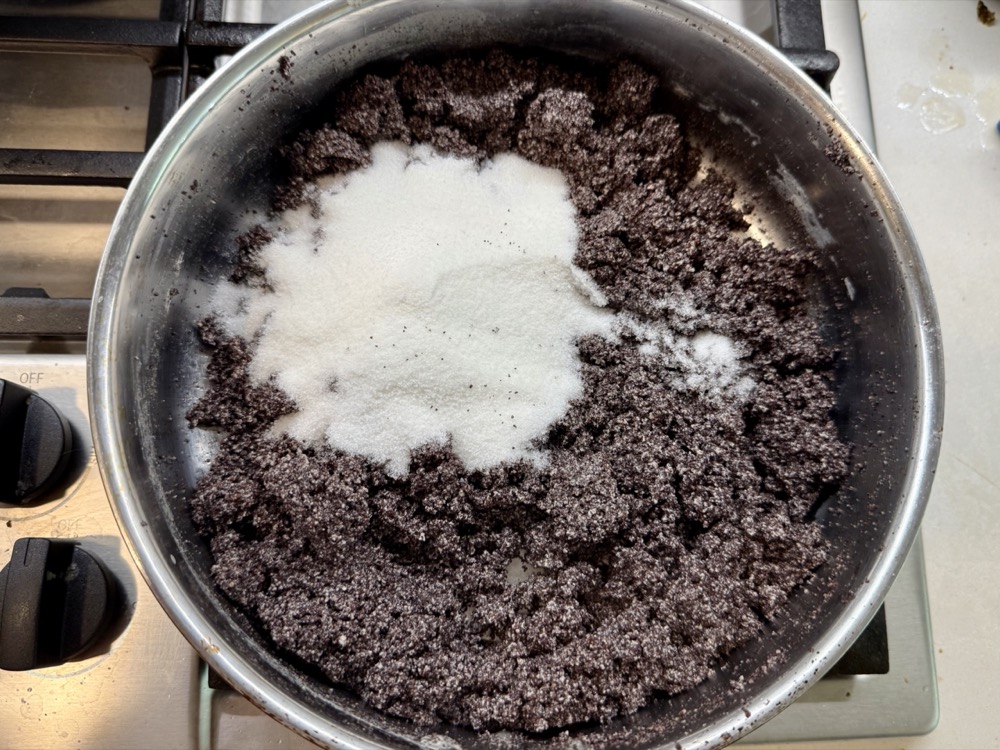
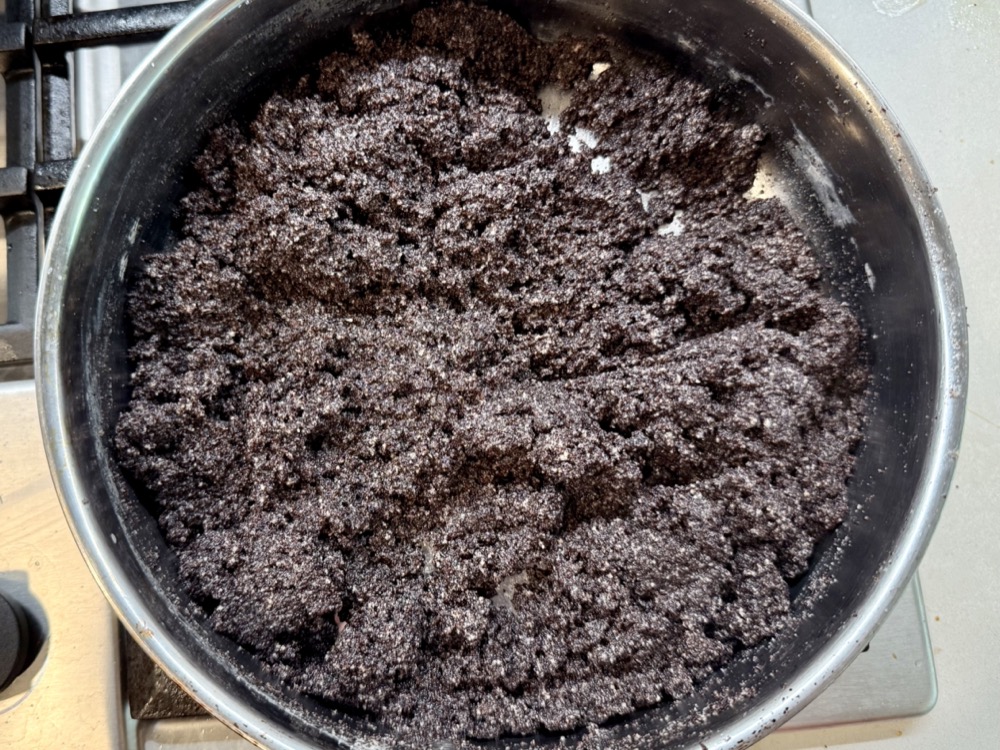
In a wide-based pan on MED heat, add in 500ml of milk. When the milk boils, add in 250g ground poppy seeds and mix together. It will thicken as you mix. Once the mixture boils again, turn down the heat to LOW and continue to stir until you get a dry crumbly mixture without any liquid left (see photo) – this can take up to 20 minutes.


Pro-tips:
- You can use any type of pan or pot, but a wide-based pan will increase your surface area and quicken the process.
- Make sure you don’t have any liquid left in your mixture or else your filling will be too wet.
When you get a dry mixture, turn the heat OFF and take the pan off of the heat. Add in 120g of sugar and 1/2 tsp salt and stir until combined. Set aside to cool completely.
While you’re waiting for the filling to cool, you can start making the dough in the next section.
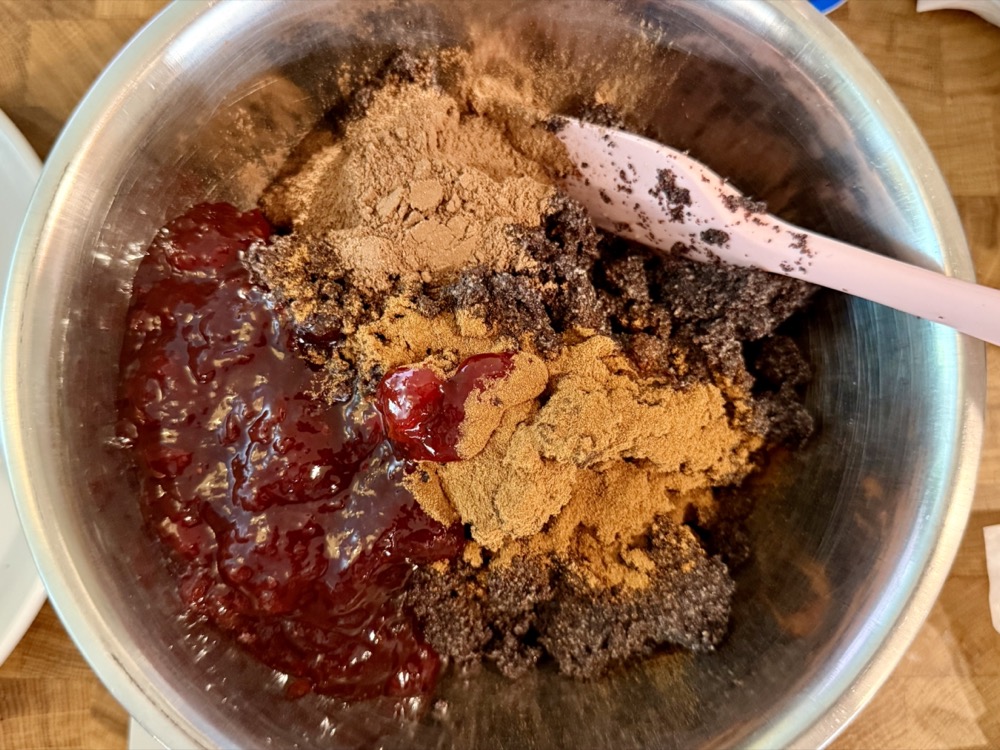
Once the mixture fully cools, add in 175g strawberry jam, 1/2 Tbsp ground cinnamon, 2 Tbsps cocoa powder, and 1 tsp of vanilla extract. Mix well and set aside.

B) Make the dough while the poppy seed filling cools:
Activate the yeast:
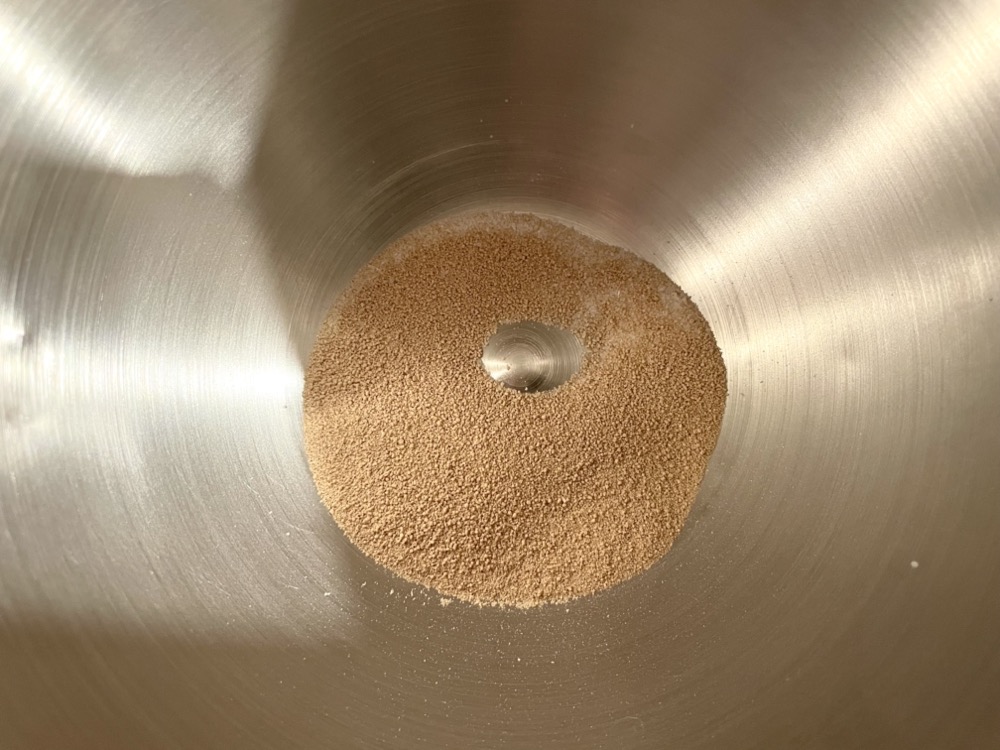
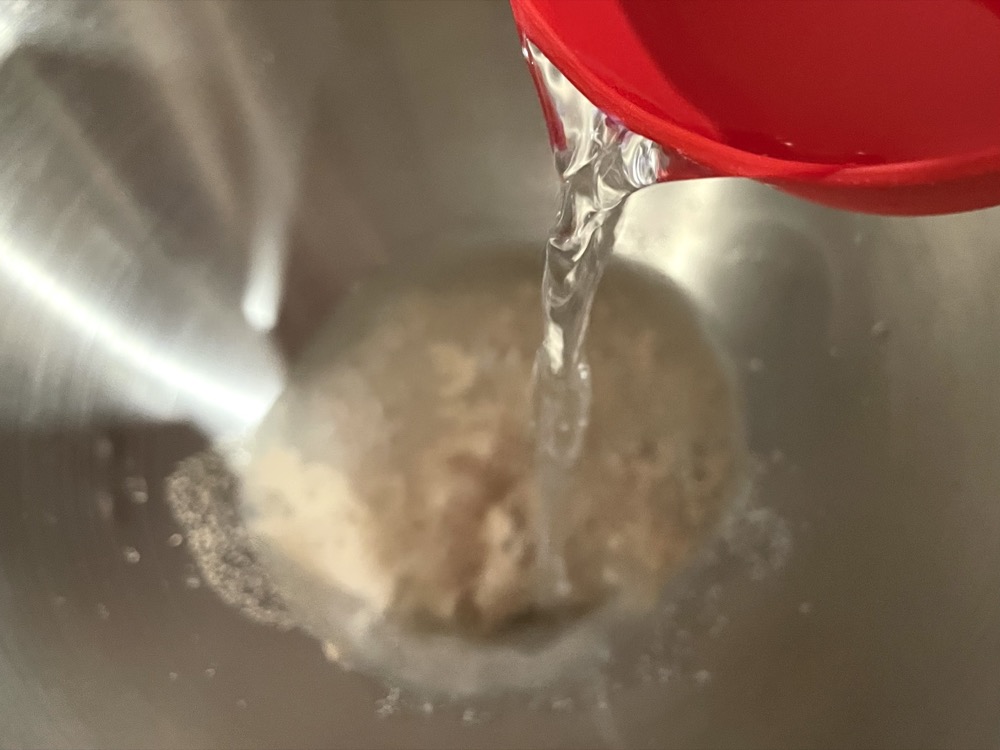
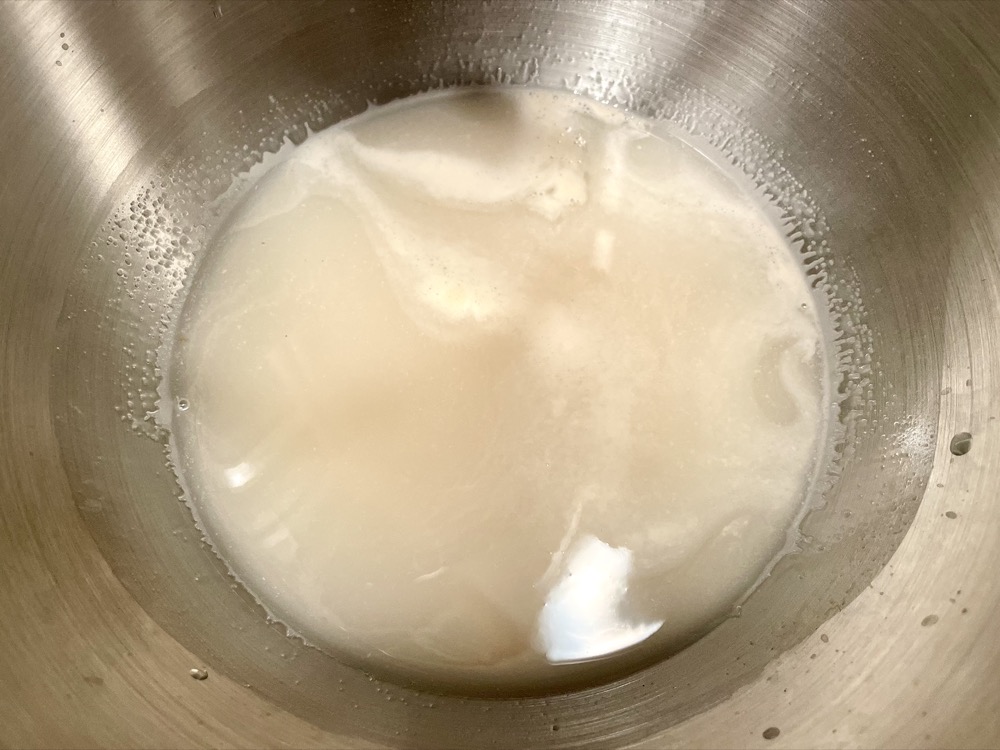
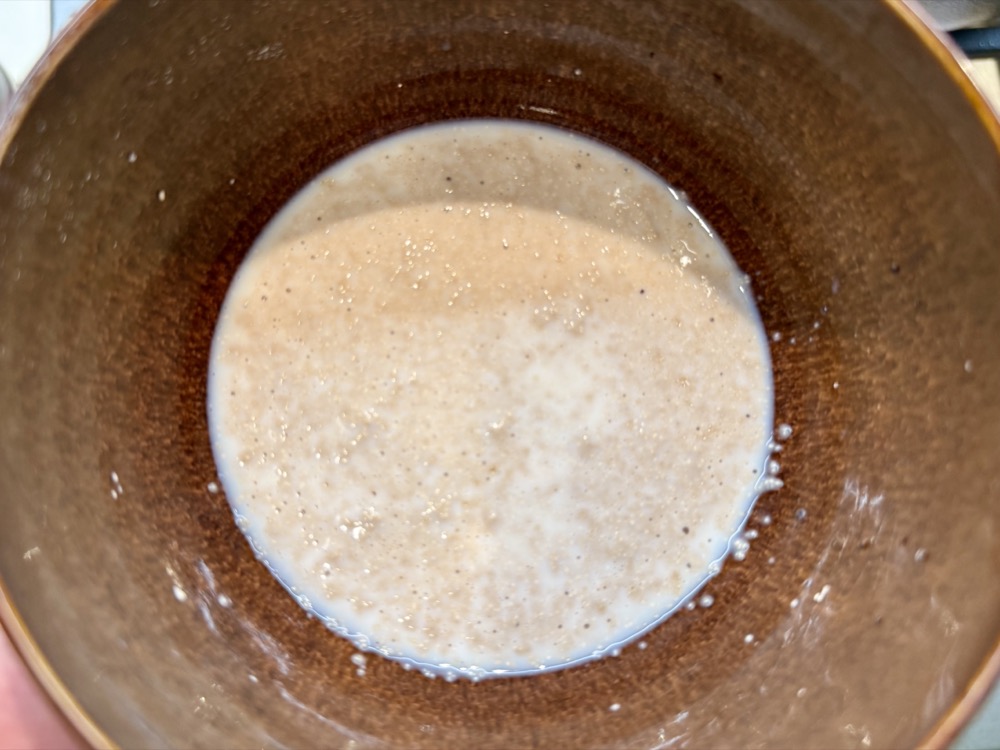
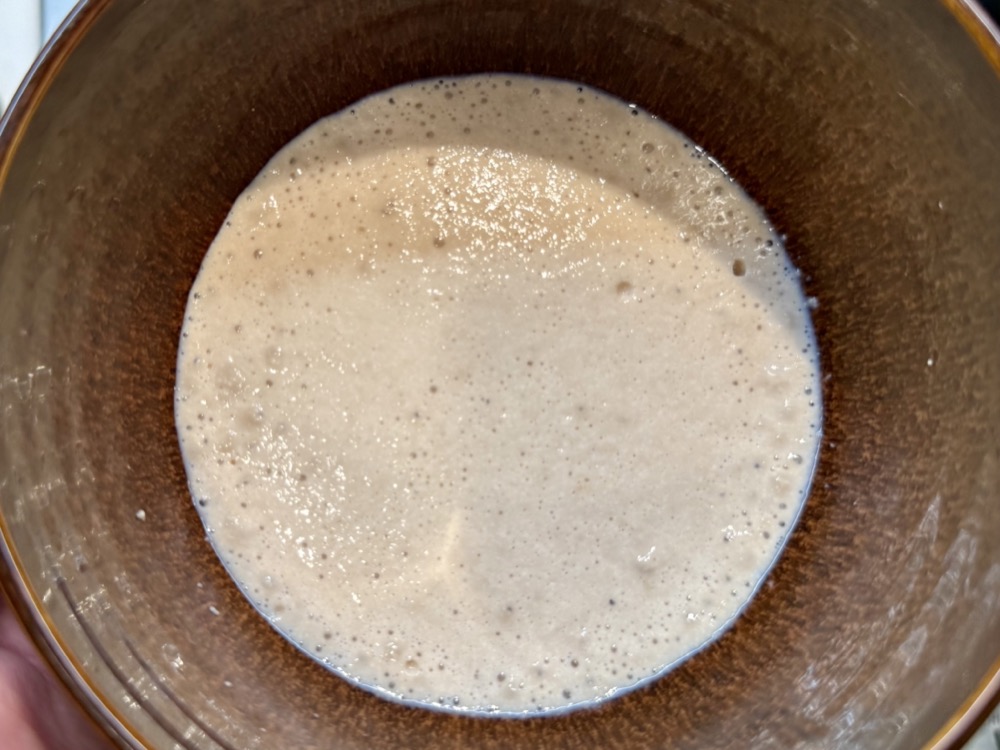
In a small bowl, add in 1/4 cup of milk and microwave for 10 seconds at a time until it’s warmed (make sure it’s not too hot or it will cook the yeast). Add in 7g (1 packet) active dry yeast and 1 tsp sugar. Mix until well-combined, cover and set aside. The yeast is activated once it gets frothy (5-10mins).


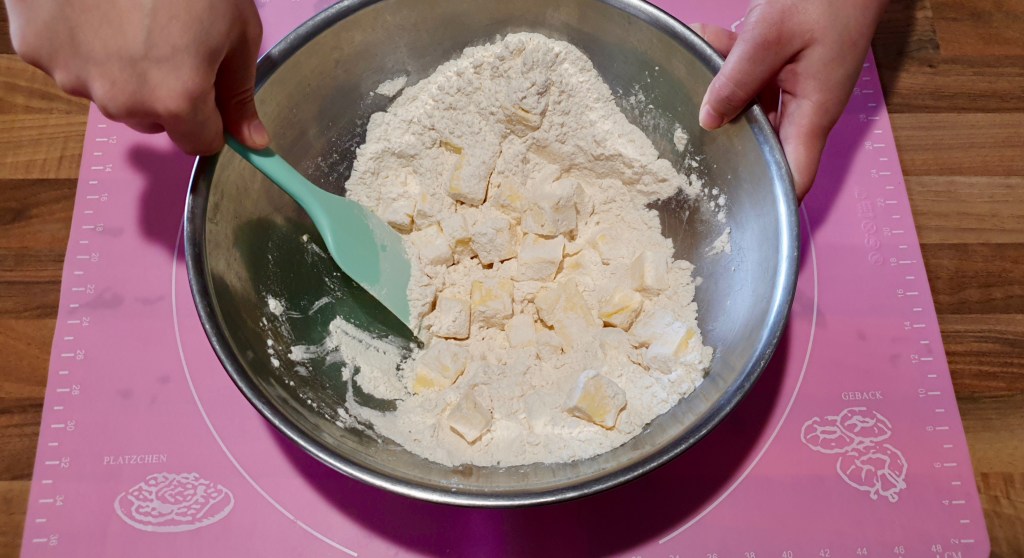
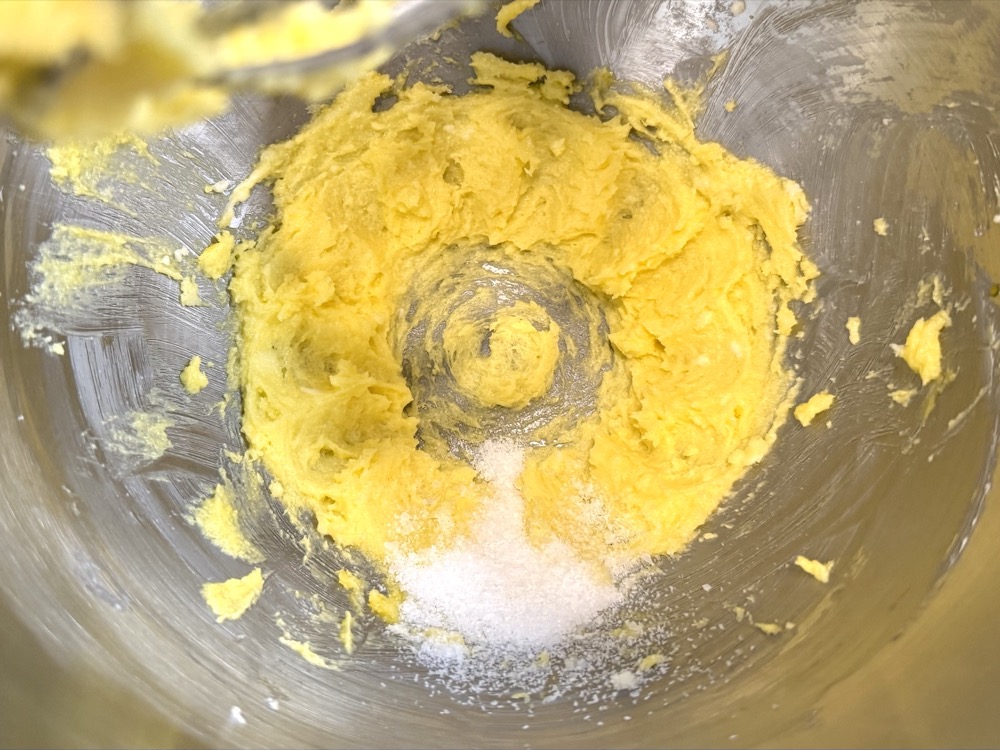
In a separate mixing bowl, add in 50g sugar, 50g softened butter, and 1 large egg yolk. Mix on HIGH speed for 2-3 minutes until the mixture is well-combined and a little fluffy.


To the sugar/butter mixture, add in 1 tsp salt, and the frothed yeast mixture (from step 1).

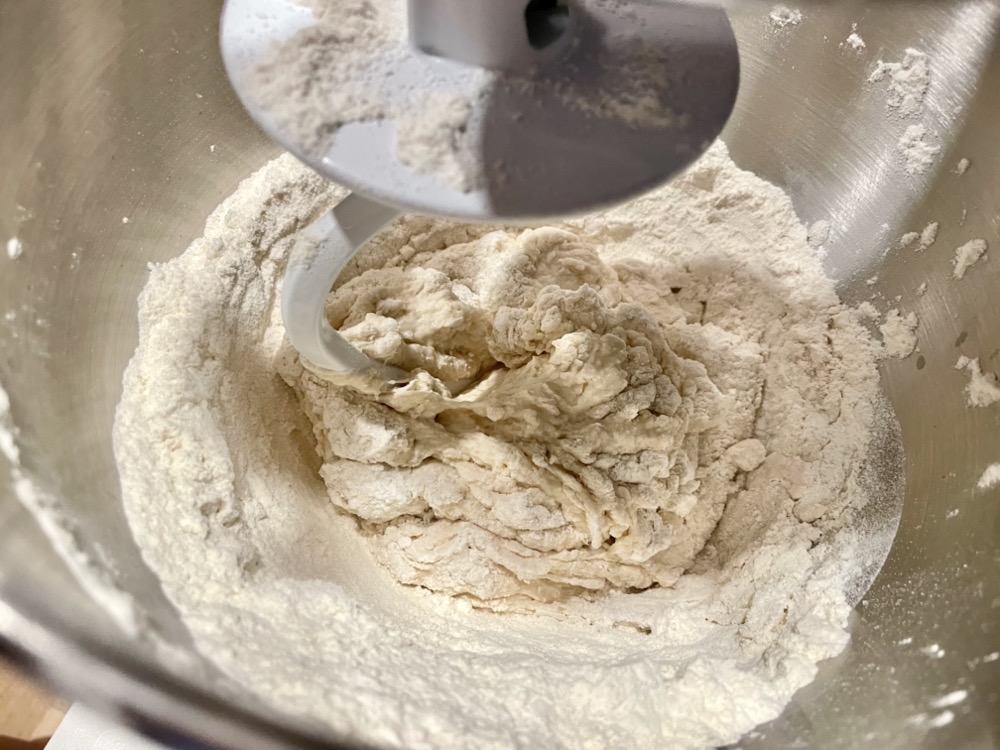
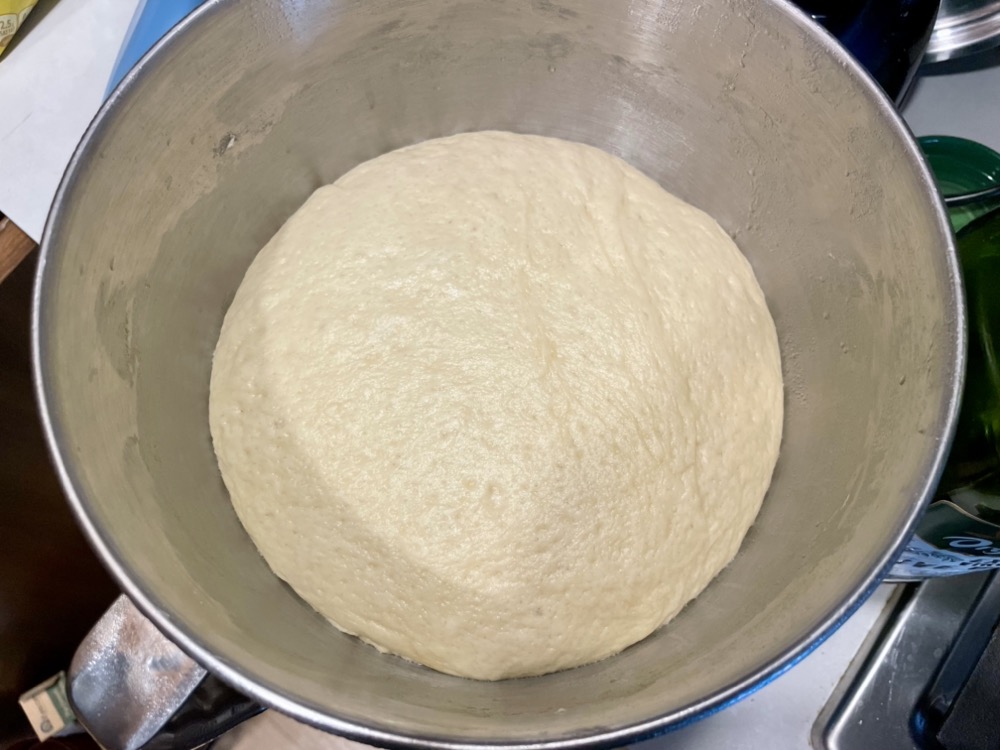
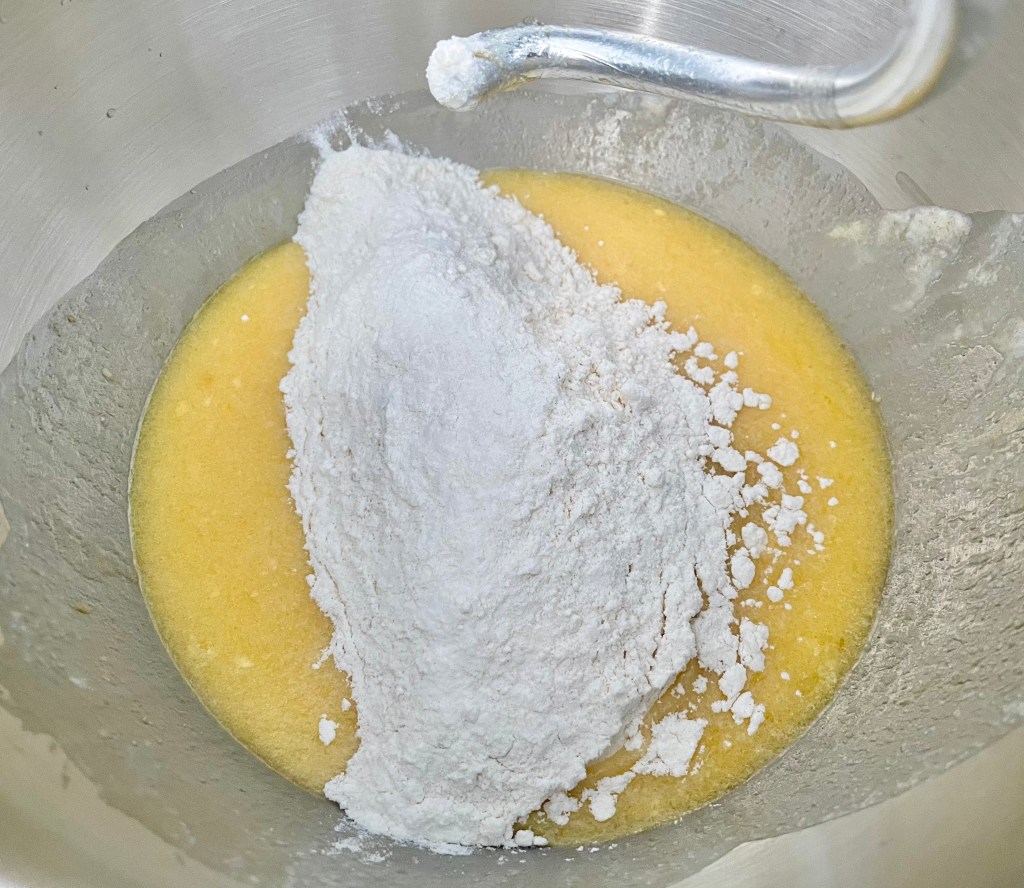
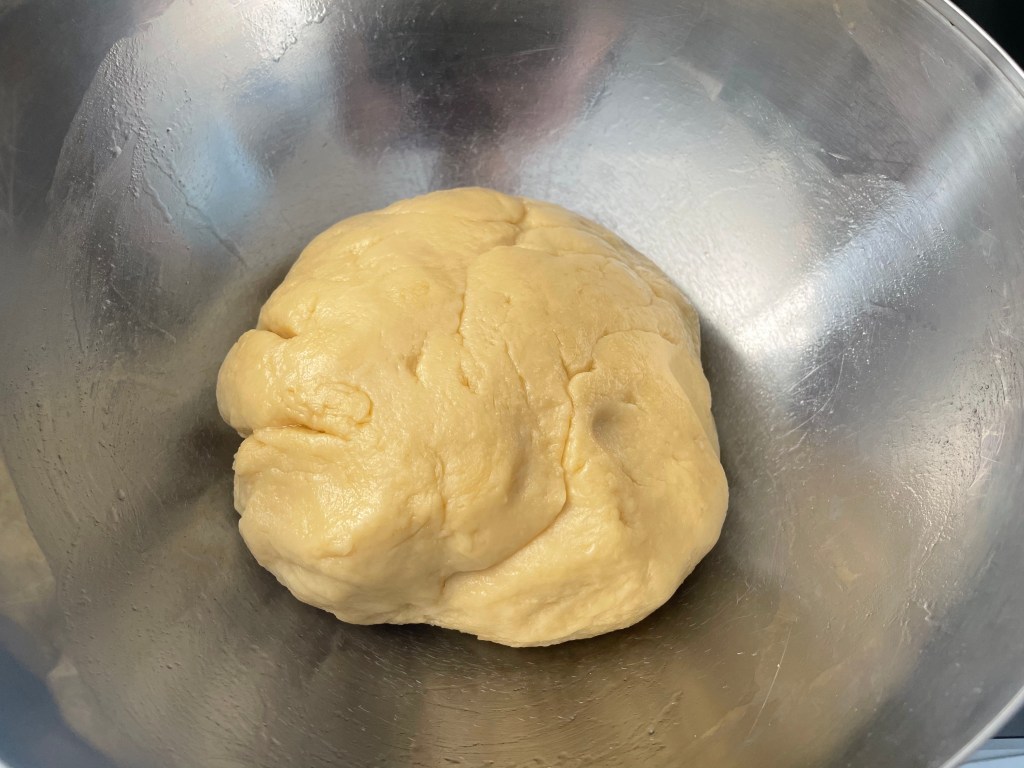
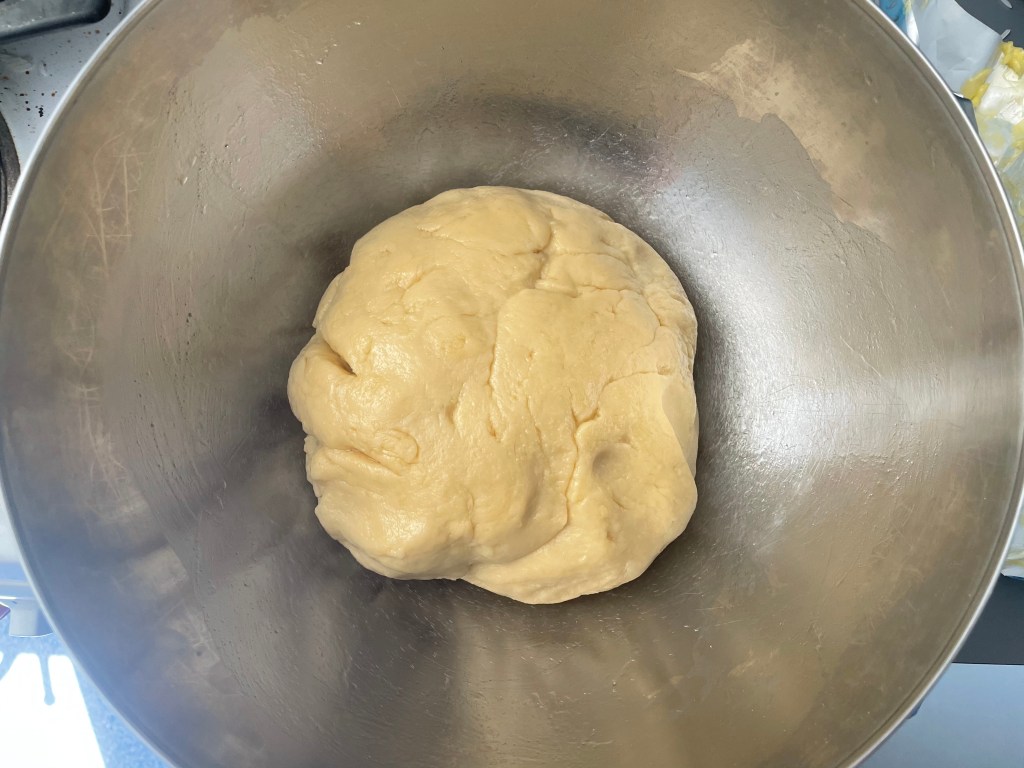
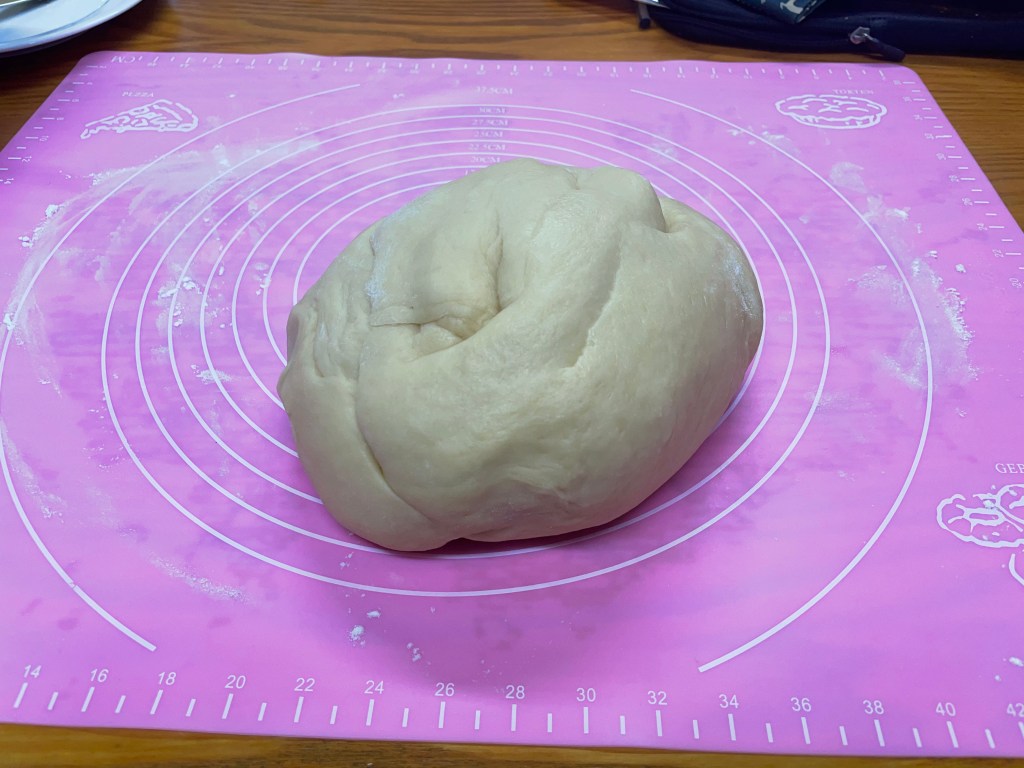
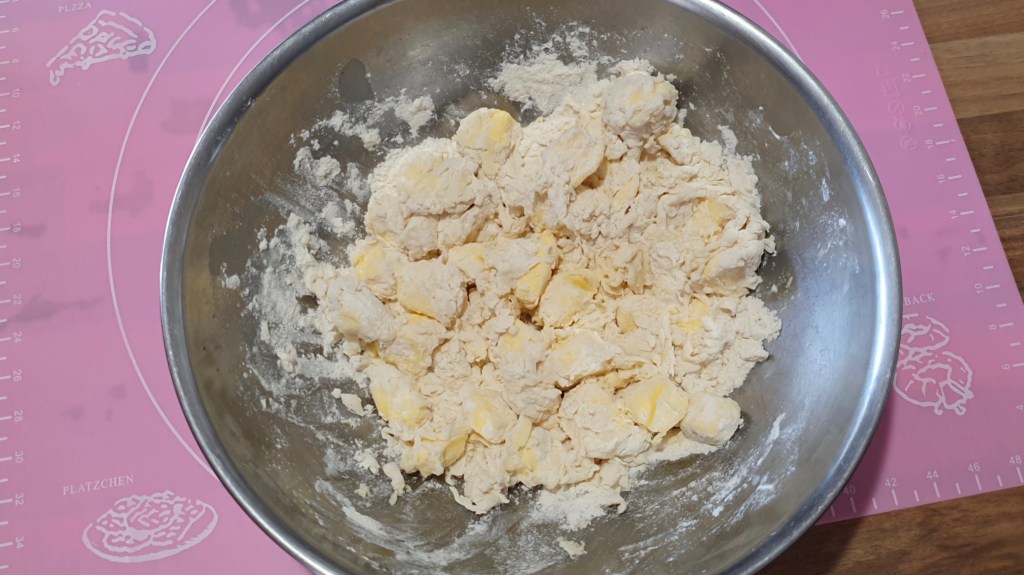
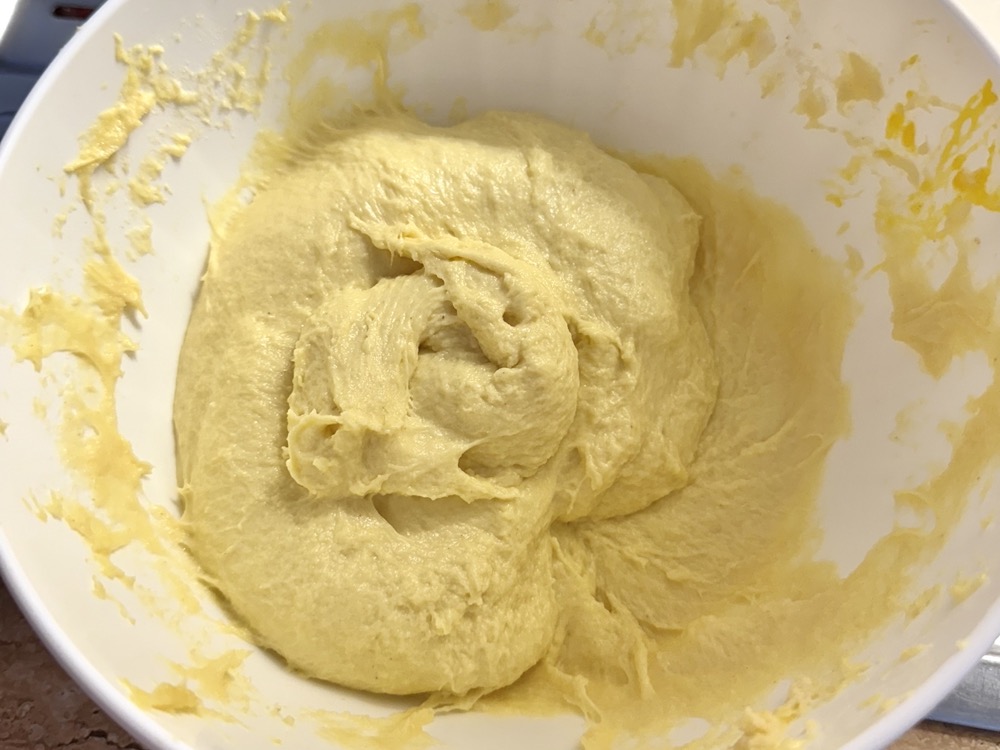
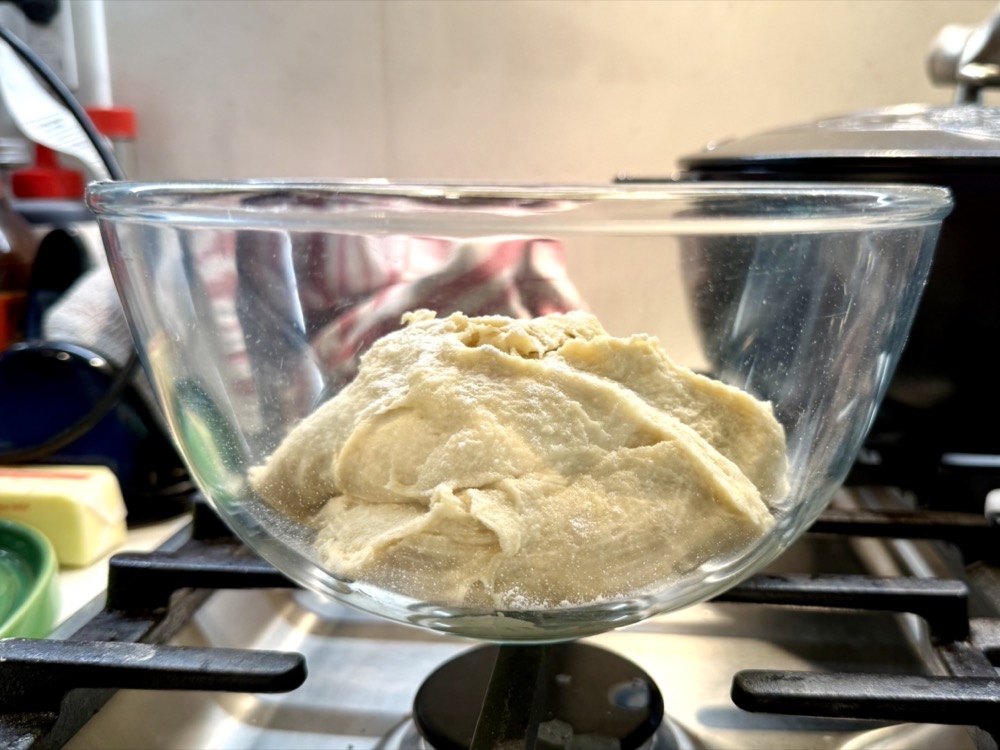
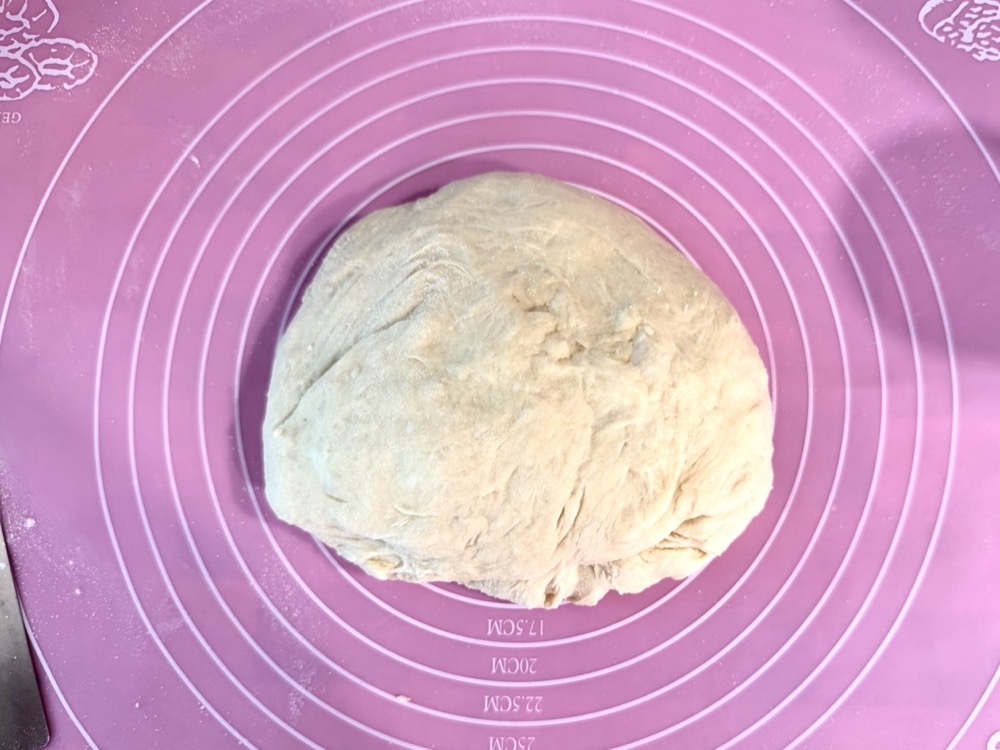
Mix well then alternate adding in 1/3 amount at a time the 350g sifted flour and the 175ml room temperature milk. Once the mixture gets too thick for the mixer, either use a dough hook attachment (if you’re using an electric mixer) or knead by hand. The dough is complete when you get a formed but sticky dough (see photo below) – this took about 5-7 minutes on an electric mixer.


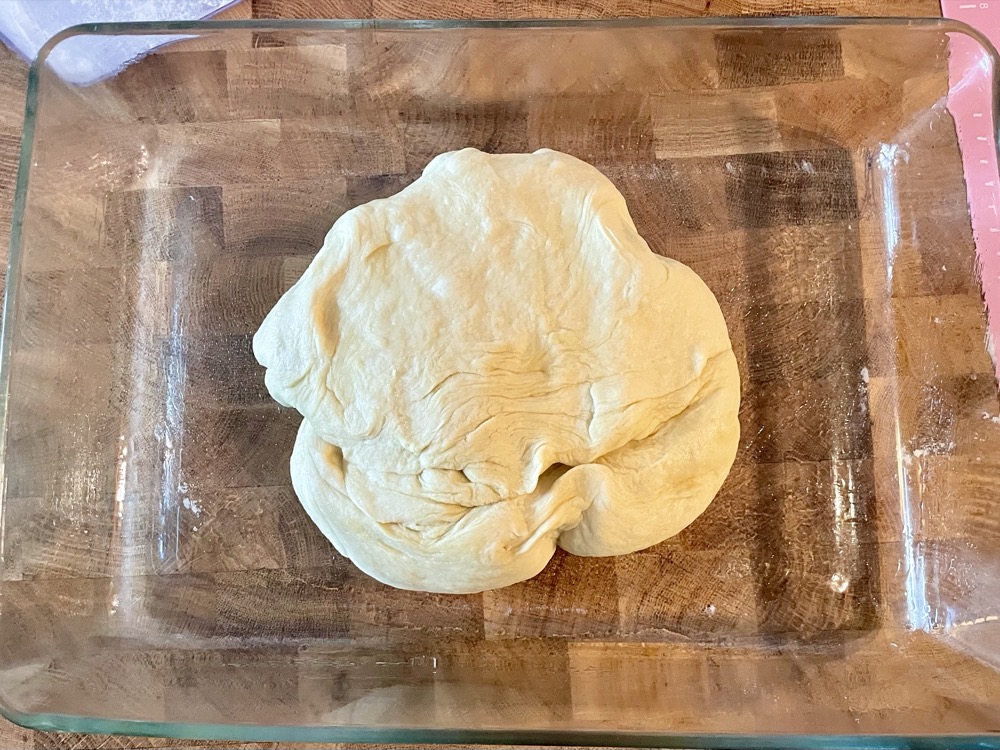
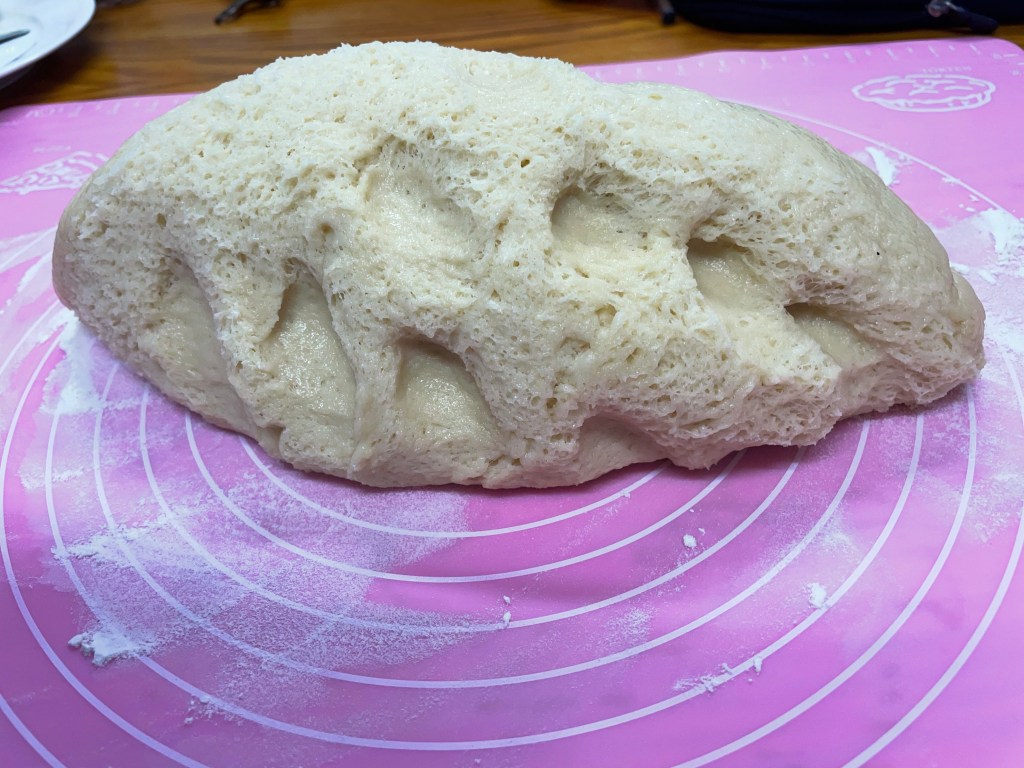
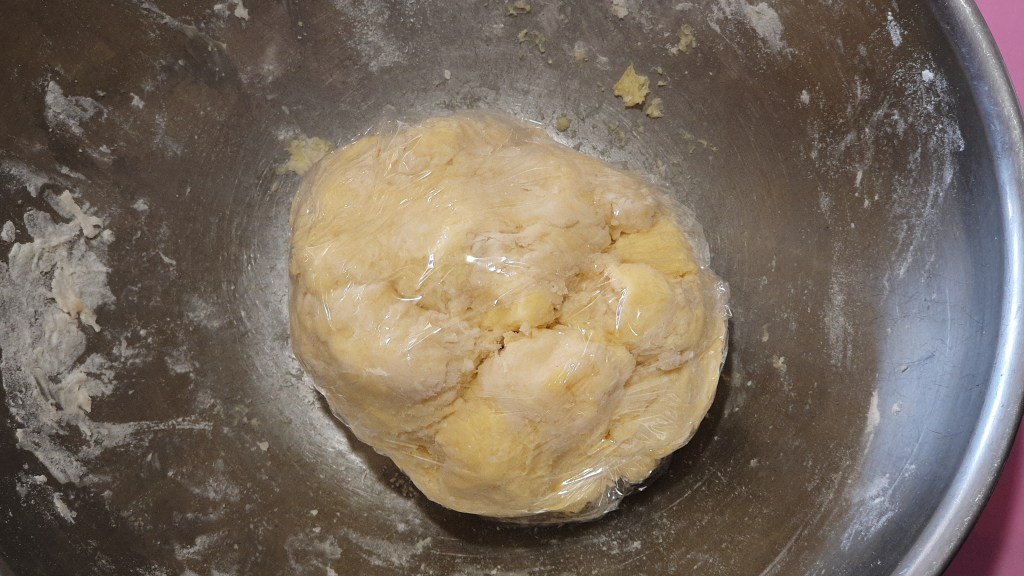
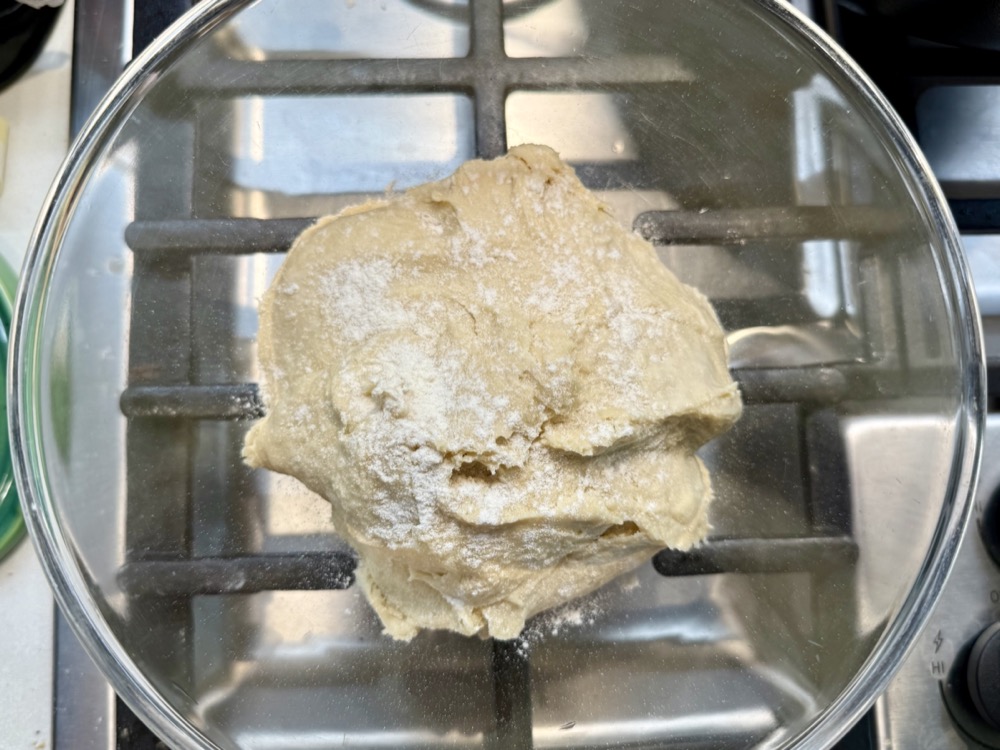
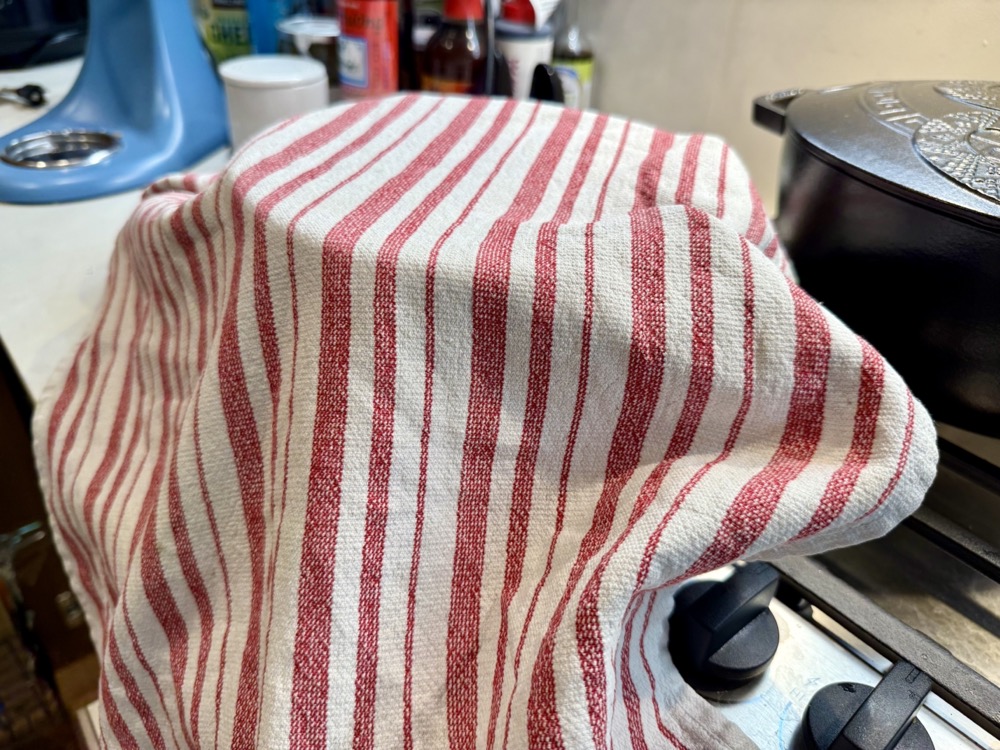
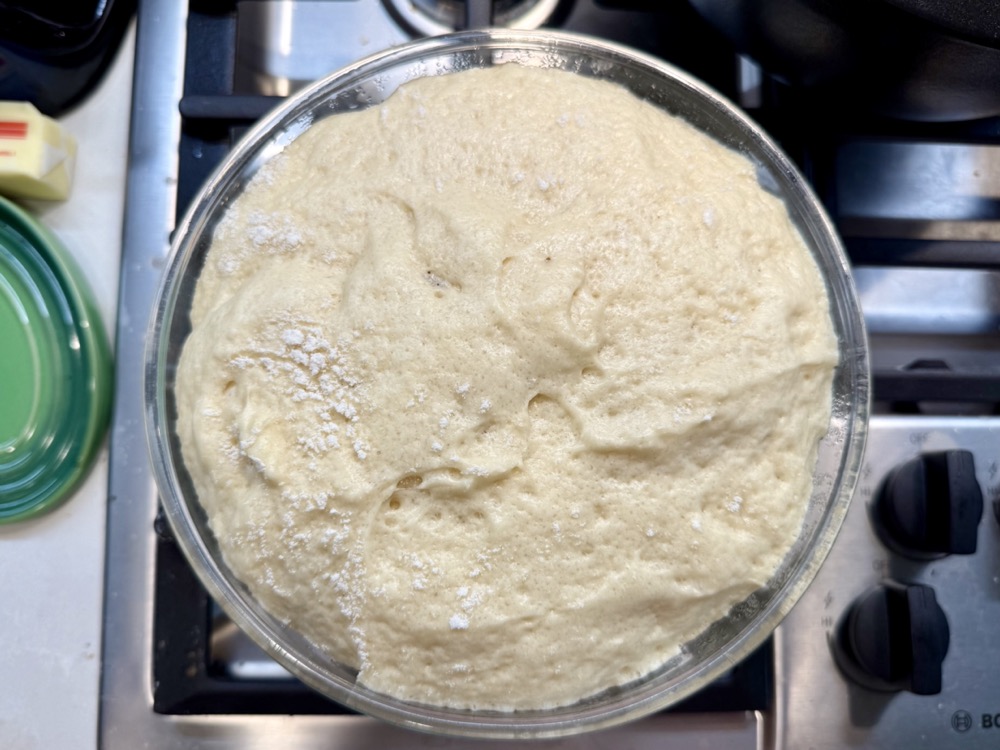
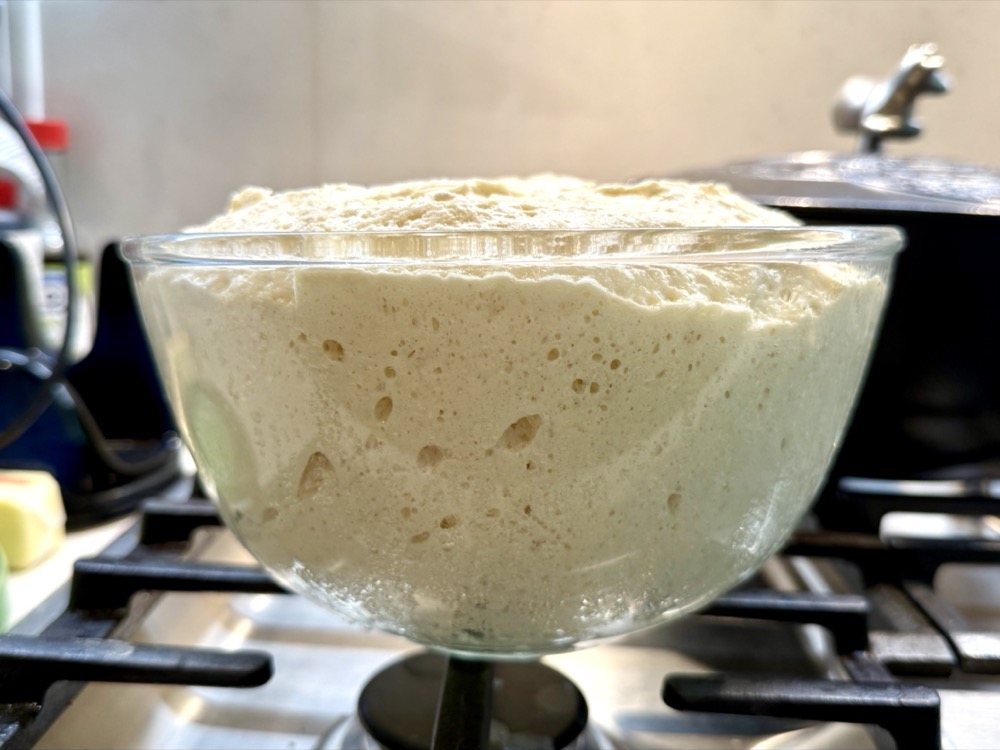
Once the dough forms, scrape it all together, add a dusting of flour on top then cover with a tea towel and let it rest in a warm place until doubled in size (~45 mins – 1 hour).
If you don’t have a warm place, use my fail-proof oven proofing method here.

You can finish off the poppy seed filling (if cooled) while you wait and make the streusel in the next step.
C) Make the streusel:
In a small bowl, add in 50g of sugar, 50g of butter, and 70g of flour.
Mix/pinch/squish it by hand for 2-3 minutes until you get a crumbly mixture (see photo). Set aside.


D) Roll out the dough & assemble:
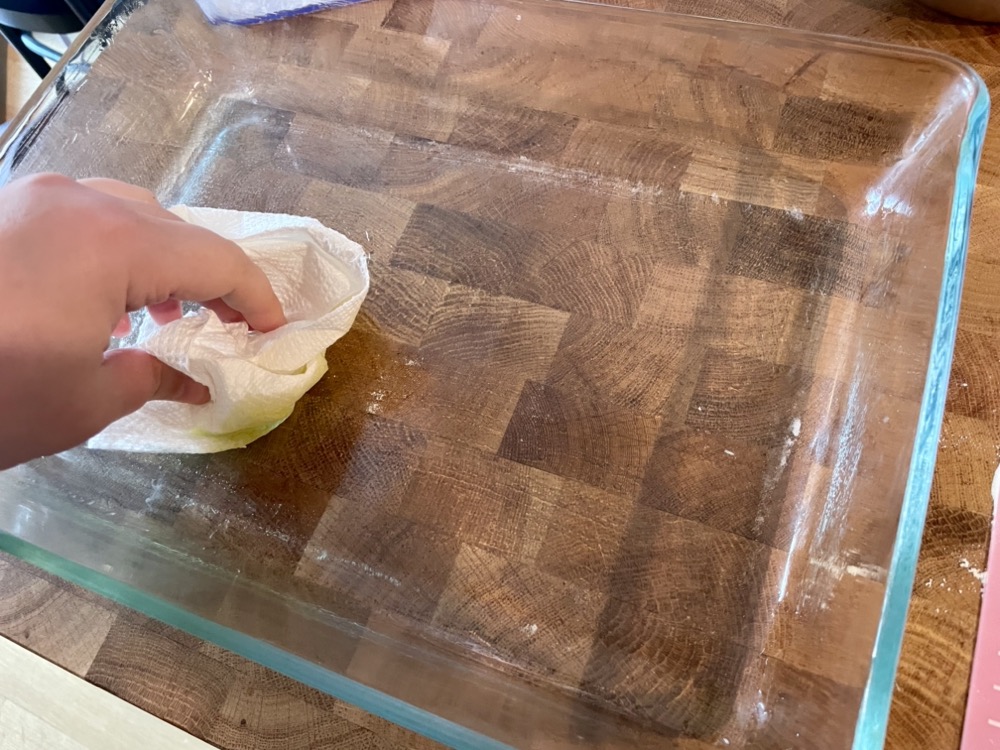
Prepare a greased or lined 9×13” baking tray.
Preheat the oven to 180˚C/350˚F.
Once the dough has risen, scrape out the dough onto a floured surface and knead it a few times to remove the bubbles. Weigh the dough and divide it evenly into 3 portions.


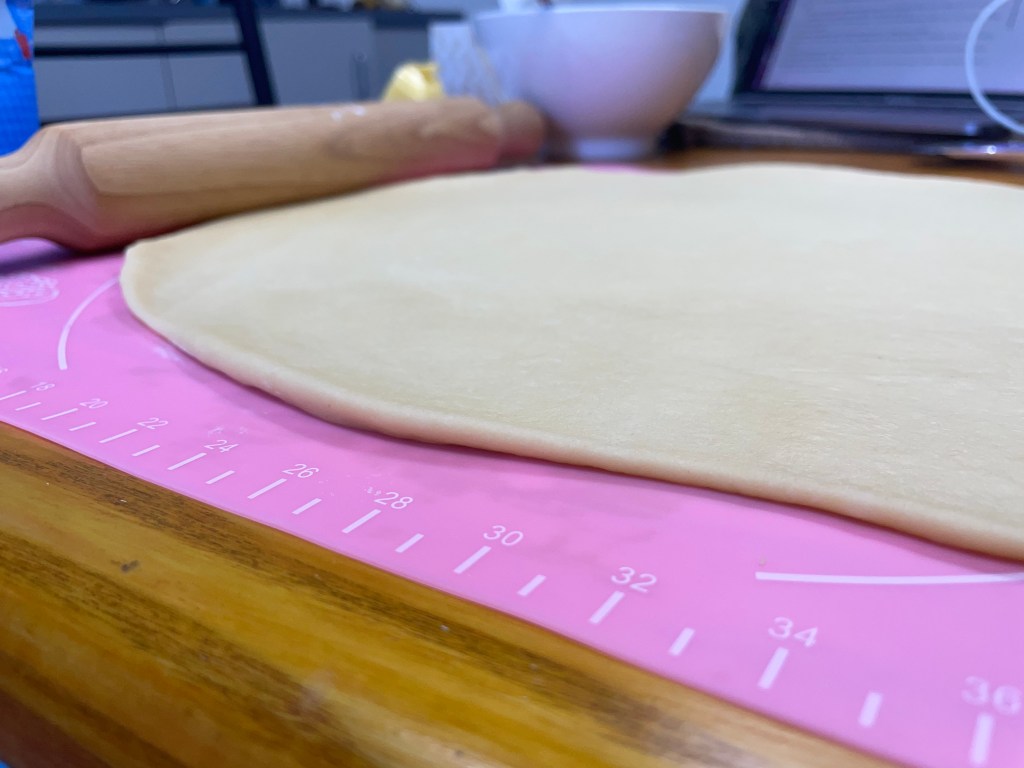
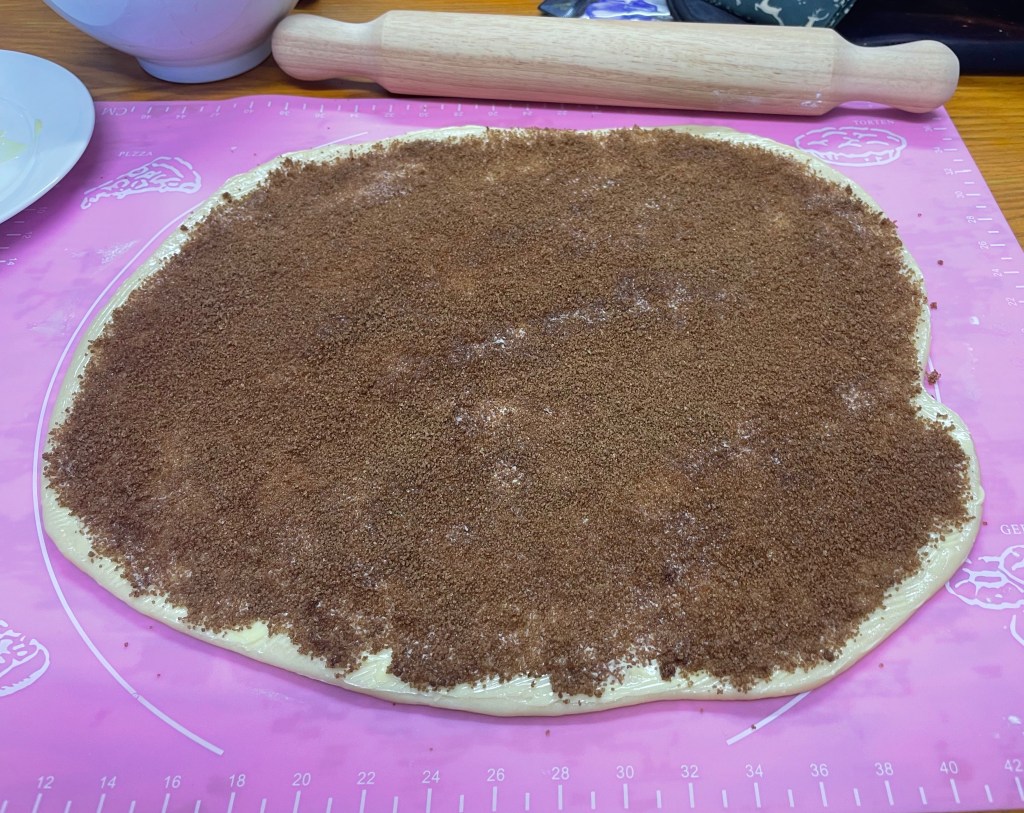
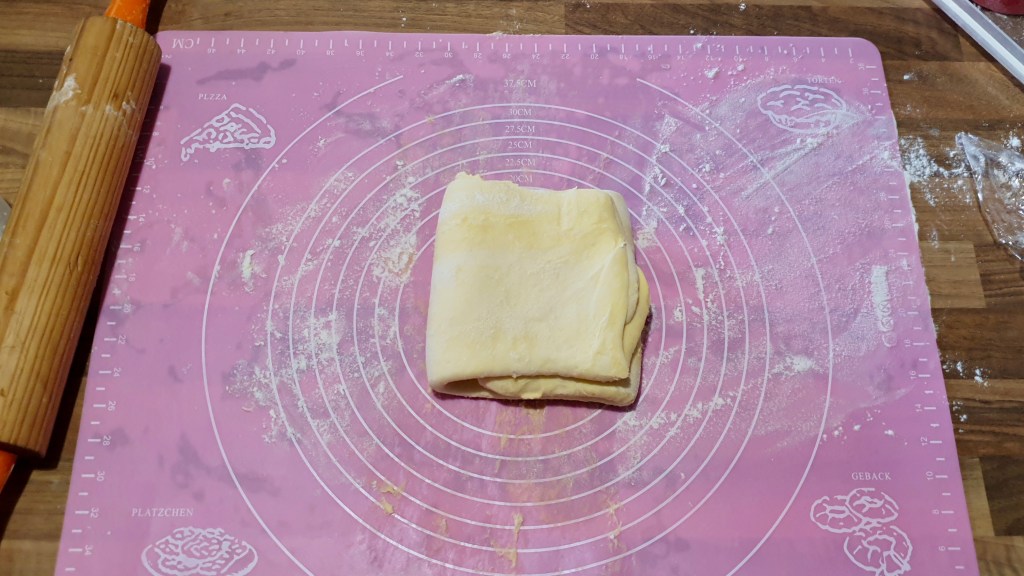
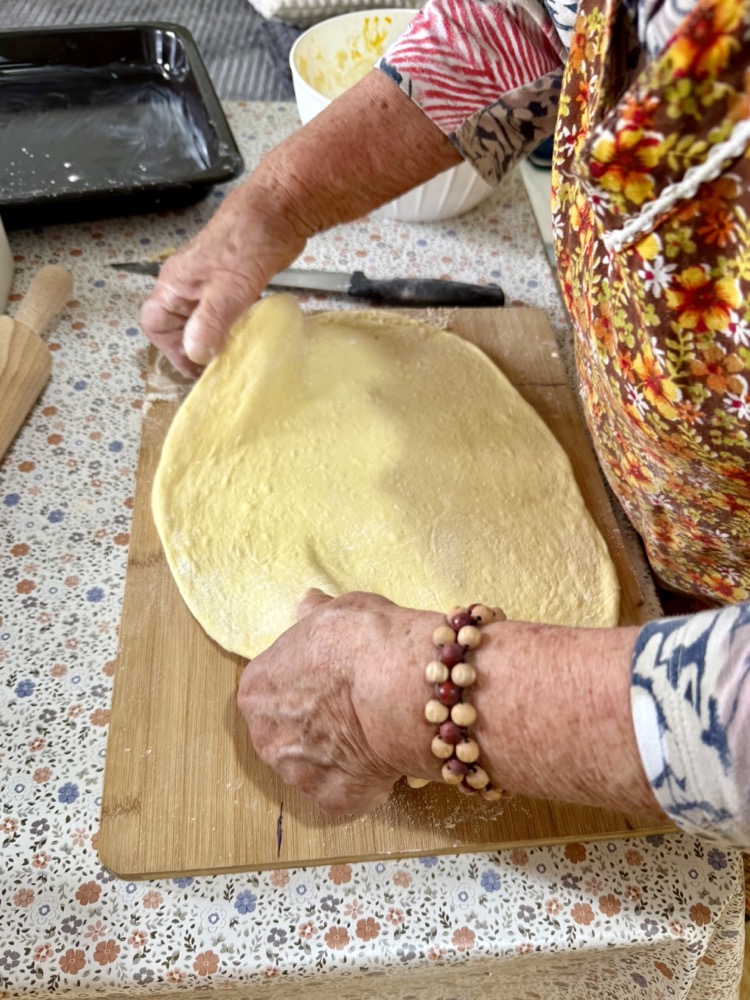
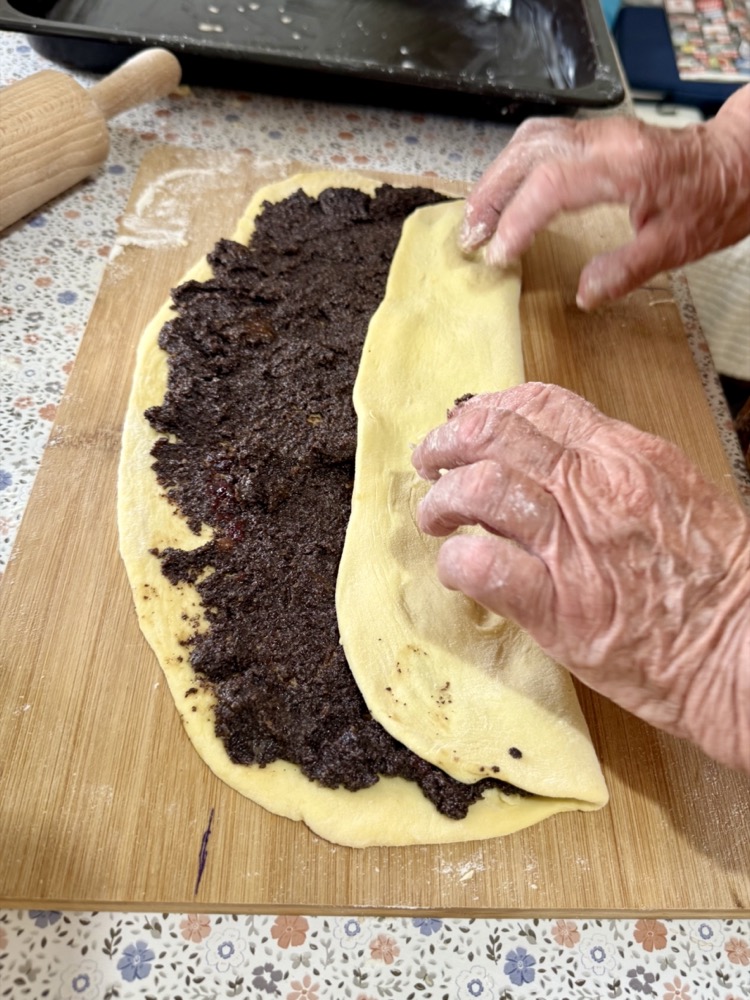
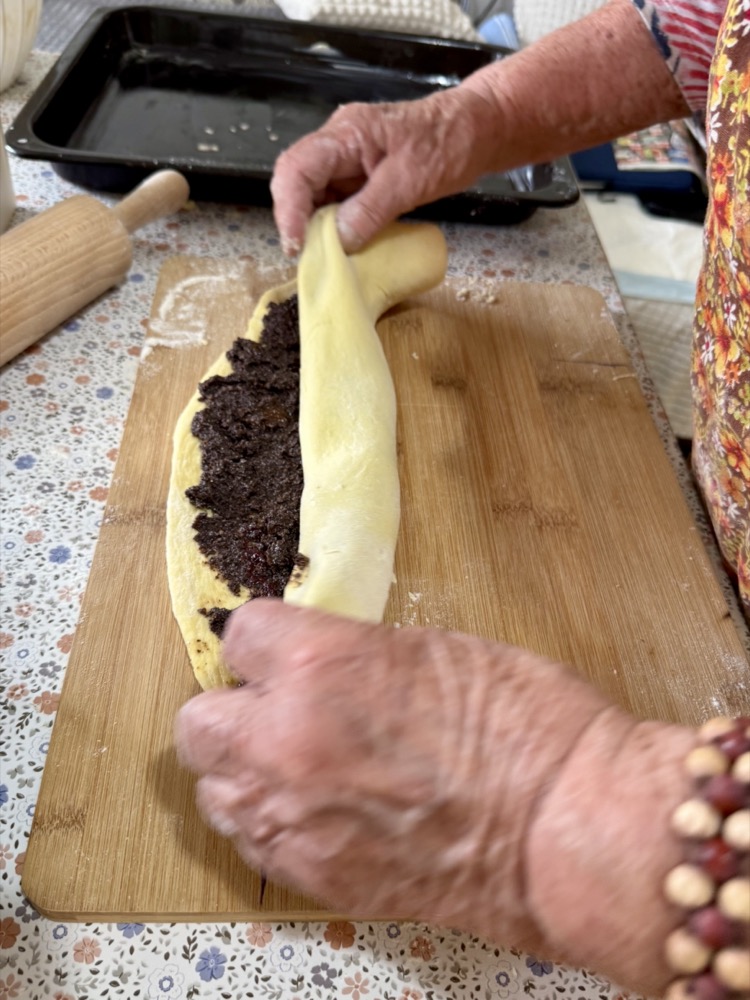
Take one dough ball (keep the other two covered with a tea towel to prevent it from drying out) and roll it out onto a floured surface. Flip the dough and roll it out a couple times on the floured surface until you get a rectangle shape about 0.5cm thick (see photo) and roughly the length of your baking tray. Evenly spread 1/3 of the finished poppy seed/jam mixture onto the rolled dough, leaving 1-2cm from the edge of the dough.


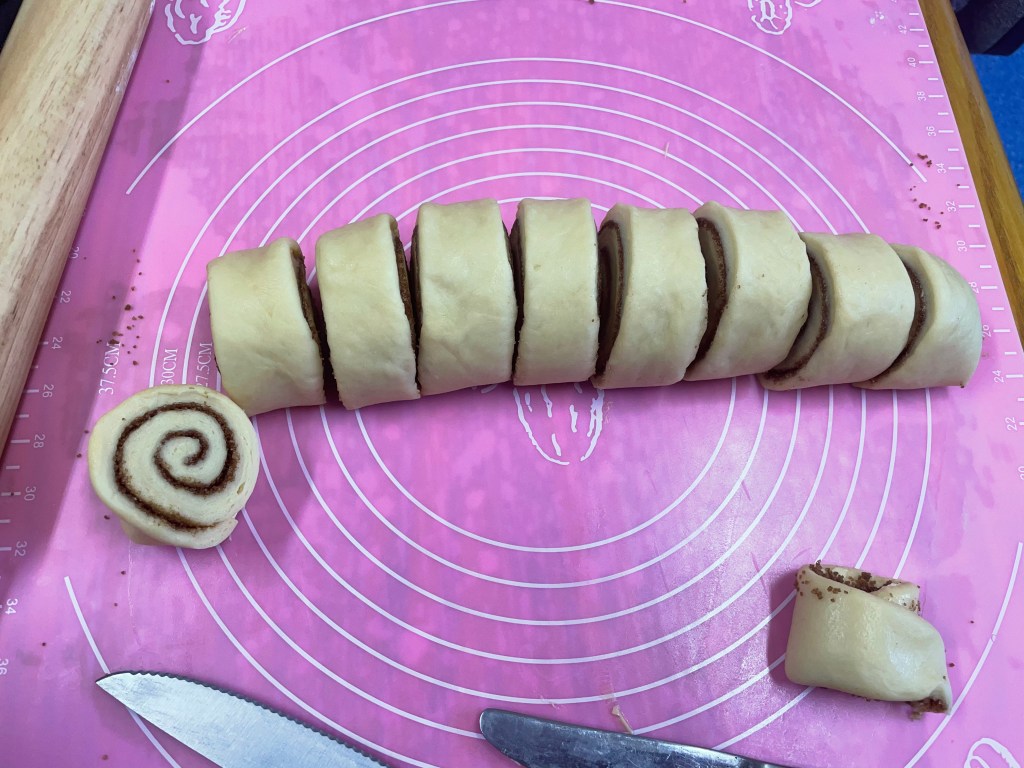
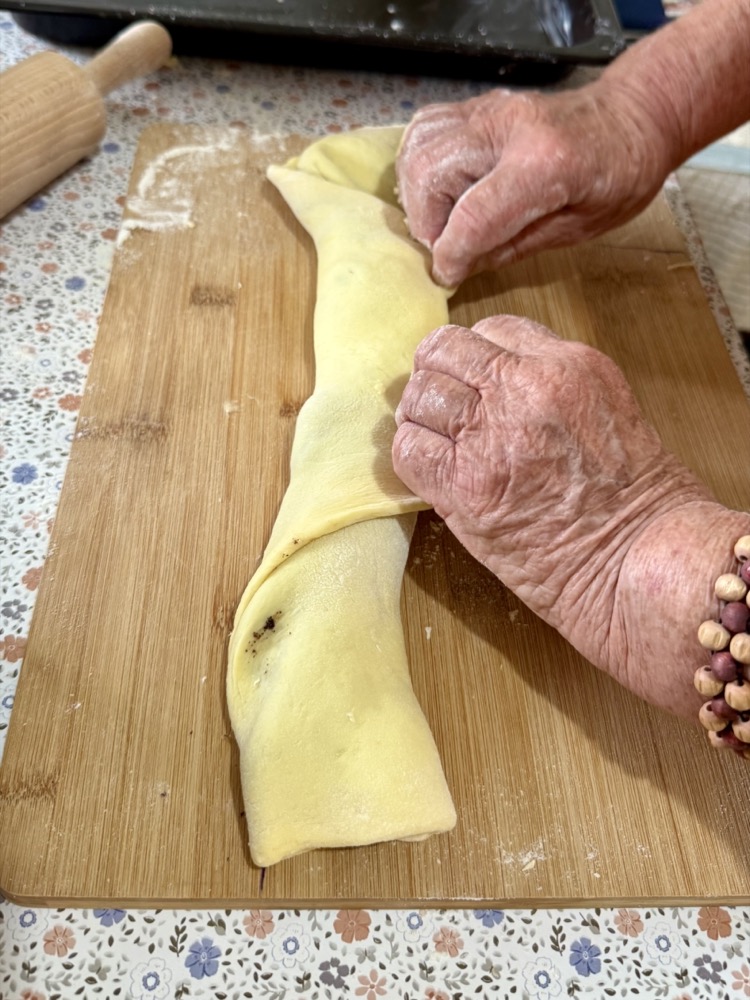
To form the roll: Grab the bottom edge and fold the dough up by 1/4, then roll up by 1/4 again, then fold the upper 1/4 edge down over the roll and pinch the edges to seal in the poppy seed mixture (see photos). Gently pick up the roll and place this onto the prepared baking tray. Don’t worry if you have some areas of thinner dough or where some poppy seed filling sticks out.
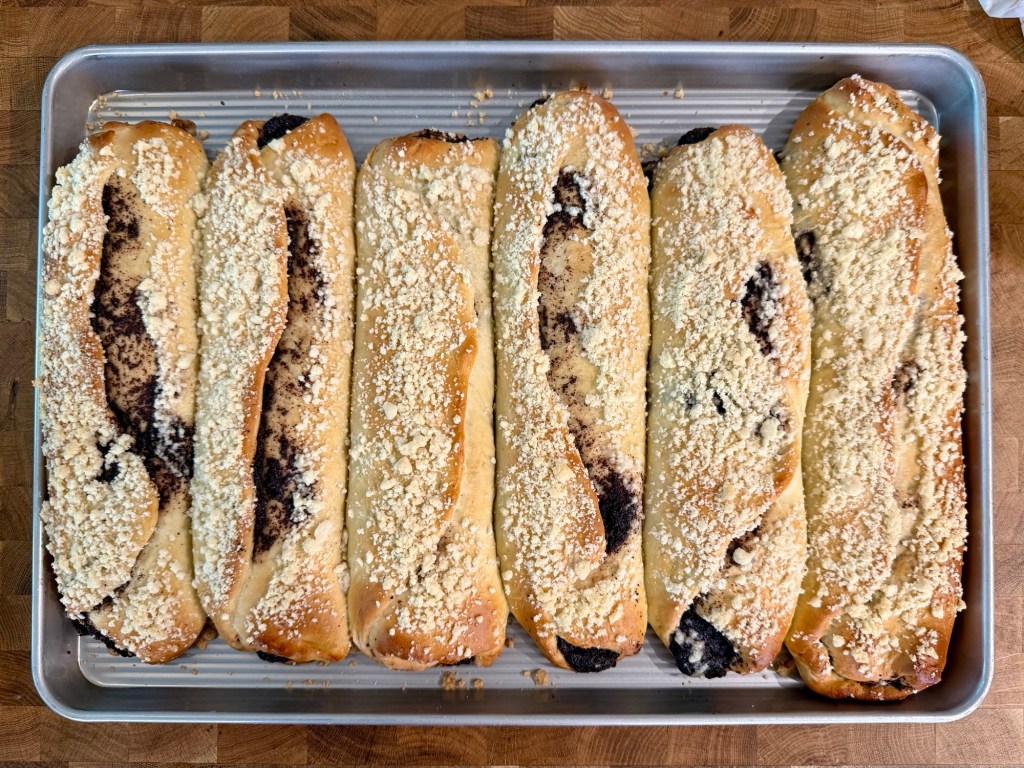
Repeat steps 4-6 with the other two dough balls. Leave about a 2cm space between each roll on the baking tray so they don’t stick together when they bake.


E) Make the egg wash and add the streusel:
In a small bowl, beat the remaining egg white with 1/2 Tbsp of milk and brush this mixture over the top and sides of each roll.

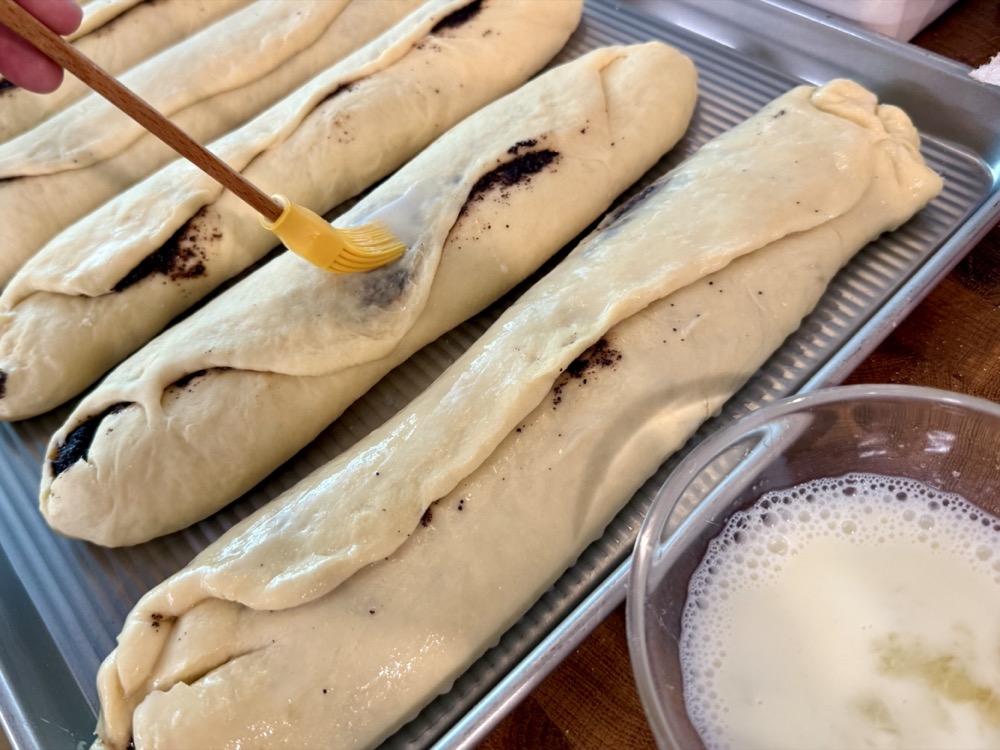
This step creates a moist sticky surface for the streusel to stick better. Babicka actually uses rum but to limit the number of ingredients and to use up the egg white, I’ve elected to use the egg wash method. There is no difference in taste if you use rum or an egg/milk mixture.
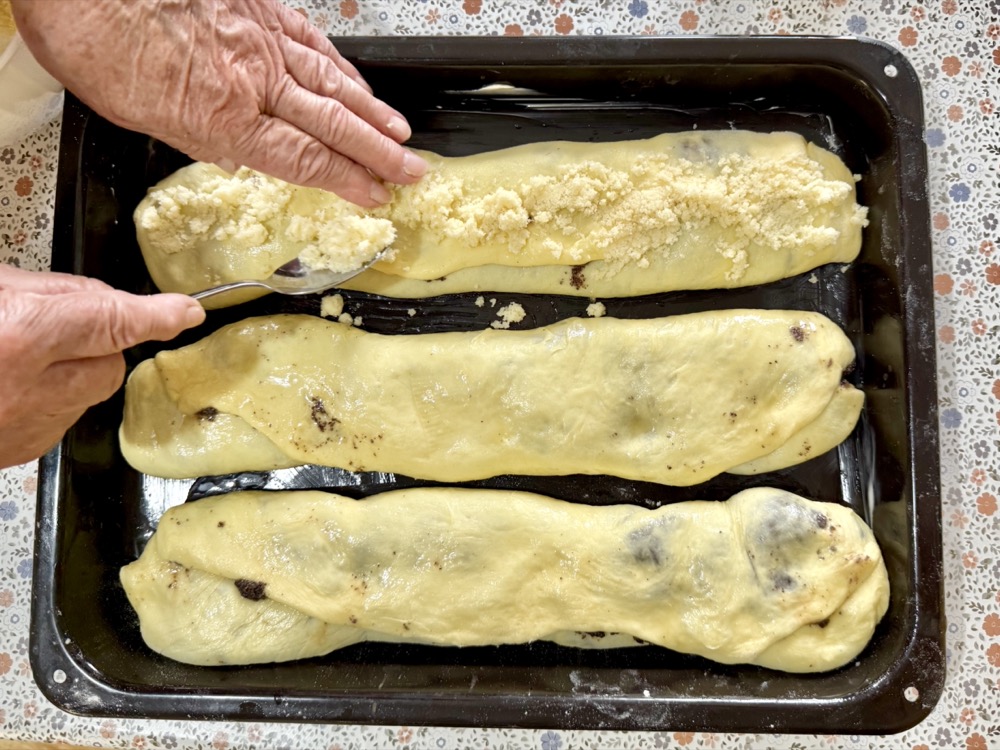
Evenly sprinkle 1/3 of the streusel on top of each roll. Gently push it into the dough if it seems to be rolling off.

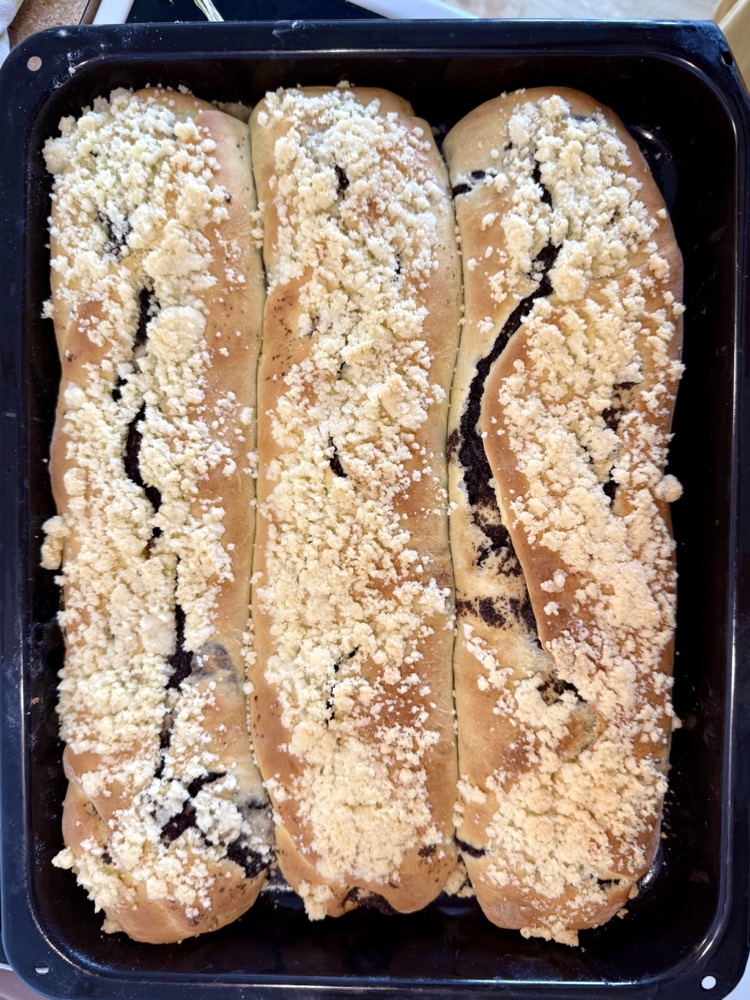
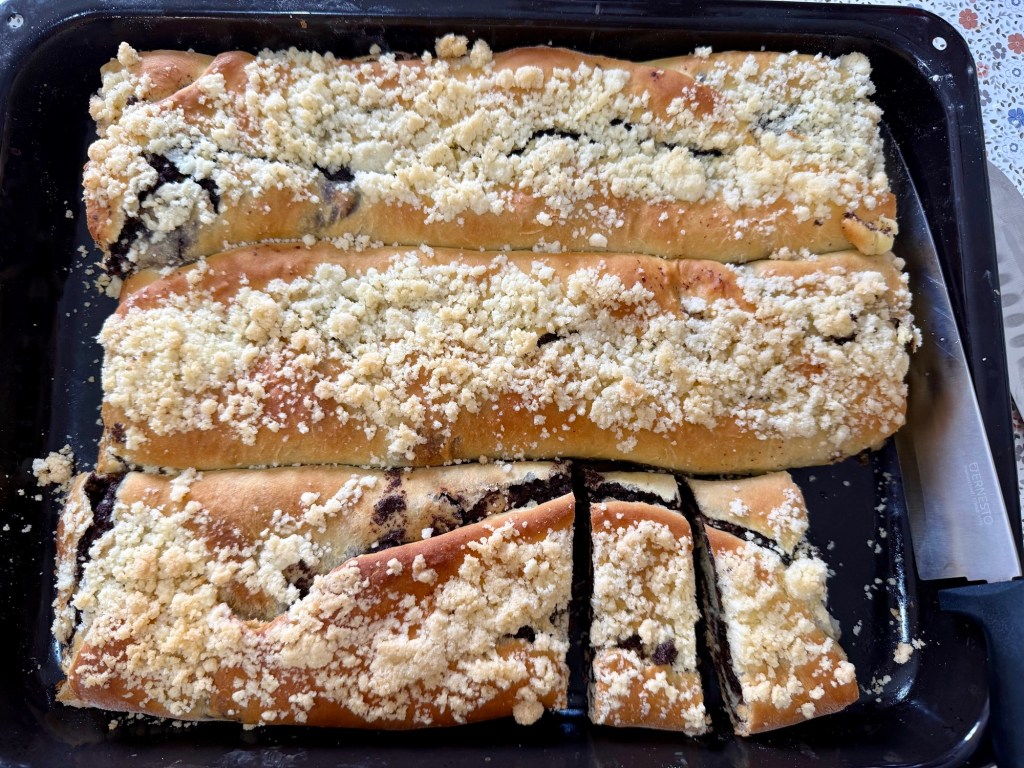
Bake in the preheated oven until golden brown (~25-30 minutes), turning the pan halfway through the cook time to bake evenly. DONE! Let it cool slightly before slicing then serve immediately.

Storage:
- Store in an air-tight container and eat within 2 days at room temperature or up to 5 days in the refrigerator.
- To freeze: slice the makovec and freeze in an air-tight container – mine’s still in the freezer from 3 months ago and still going strong! To reheat: microwave from frozen for 30 seconds at a time until warmed.
- Note: once you refrigerate or freeze it, the bread firms up slightly.


Summarized Recipe:
Babička’s Makovec (Czech Poppy Seed Roll)
Date Published: Nov 11th, 2025 | Last Updated: Nov 11th, 2025
Author: Abby | Category: breads, Czech, dessert, pastry, snacks, vegetarian
Makes: 3 loaves (enough for a party or one Toby 😂) | Prep time: 1.5 hours | Cook time: 1 hour
Ingredients: I recommend to use the metric measurements (grams/mls) for accuracy of the ingredients to have it as close to babička’s version as possible.
- Poppy seed filling:
- 500ml (2 cups) whole milk
- 250g (1.75 cups) poppy seeds, ground
- 120g (1.25 cups) granulated sugar
- 1/2 tsp kosher salt
- 175g (1/2 cup) strawberry jam (or more to taste)
- 4g (1/2 Tbsp) ground cinnamon
- 28g (2 Tbsps) cocoa powder
- 1 tsp vanilla extract
- Dough:
- Yeast prep:
- 60ml (1/4 cup) milk
- 7g (1 packet) of active dry yeast
- 1 tsp granulated sugar
- 50g (1/4 cup) granulated sugar
- 50g (3.5 Tbsps) butter, softened
- 1 large egg, divided into yolk and egg white
- 1 tsp kosher salt
- 350g (2.75 cups) all-purpose flour, sifted (+ more for dusting and rolling)
- 175ml (3/4 cup) + 1/2 Tbsp whole milk, room temperature
- Yeast prep:
- Streusel:
- 50g (1/4 cup) granulated sugar
- 50g (3.5 Tbsps) butter, softened
- 70g (1/2 cup) all-purpose flour
Directions:
- Make the poppy seed filling:
- In a wide-based pan on MED heat, add in 500ml of milk. When the milk boils, add in 250g ground poppy seeds and mix together. It will thicken as you mix. Once the mixture boils again, turn down the heat to LOW and continue to stir until you get a dry crumbly mixture without any liquid left (see photo) – this can take up to 20 minutes.
- Pro-tips:
- You can use any type of pan or pot, but a wide-based pan will increase your surface area and quicken the process.
- Make sure you don’t have any liquid left in your mixture or else your filling will be too wet.
- Pro-tips:
- When you get a dry mixture, turn the heat OFF and take the pan off of the heat. Add in 120g of sugar and 1/2 tsp salt and stir until combined. Set aside to cool completely.
- You can skip ahead and make the dough in this time while you wait for it to cool.
- Once the mixture fully cools, add in 175g strawberry jam, 1/2 Tbsp ground cinnamon, 2 Tbsps cocoa powder, and 1 tsp of vanilla extract. Mix well and set aside.
- In a wide-based pan on MED heat, add in 500ml of milk. When the milk boils, add in 250g ground poppy seeds and mix together. It will thicken as you mix. Once the mixture boils again, turn down the heat to LOW and continue to stir until you get a dry crumbly mixture without any liquid left (see photo) – this can take up to 20 minutes.
- Make the dough while the poppy seed filling cools:
- Activate the yeast:
- In a small bowl, add in 1/4 cup of milk and microwave for 10 seconds at a time until it’s warmed (make sure it’s not too hot or it will cook the yeast).
- Add in 7g (1 packet) active dry yeast and 1 tsp sugar. Mix until well-combined, cover and set aside. The yeast is activated once it gets frothy (5-10mins).
- In a separate mixing bowl, add in 50g sugar, 50g softened butter, and 1 large egg yolk. Mix on HIGH speed for 2-3 minutes until the mixture is well-combined and a little fluffy.
- To the sugar/butter mixture, add in 1 tsp salt, and the frothed yeast mixture (from step 1). Mix well then alternate adding in 1/3 amount at a time the 350g sifted flour and the 175ml room temperature milk. Once the mixture gets too thick for the stand mixer, either use a dough hook attachment (if you’re using an electric mixer) or knead by hand. The dough is complete when you get a formed but sticky dough (see photo above) – this took about 5-7 minutes on an electric mixer.
- Once the dough forms, scrape it all together, add a dusting of flour on top then cover and let it rest in a warm place until doubled in size (~45 mins – 1 hour).
- If you don’t have a warm place, use my fail-proof oven proofing method here.
- You can finish off the poppy seed filling (if cooled) while you wait and make the streusel in the next step.
- Activate the yeast:
- Make the streusel:
- In a small bowl, add in 50g of sugar, 50g of butter, and 70g of flour.
- Mix/pinch/squish it by hand for 2-3 minutes until you get a crumbly mixture (see photo). Set aside.
- Roll out the dough & assemble:
- Prepare a greased or lined 9×13” baking tray.
- Preheat the oven to 180˚C/350˚F.
- Once the dough has risen, scrape out the dough onto a floured surface and knead it a few times to remove the bubbles. Weigh the dough and divide it evenly into 3 portions.
- Take one dough ball (keep the other two covered with a tea towel to prevent it from drying out) and roll it out onto a floured surface. Flip the dough and roll it out a couple times on the floured surface until you get a rectangle shape about 0.5cm thick (see photo) and roughly the length of your baking tray.
- Evenly spread 1/3 of the finished poppy seed/jam mixture onto the rolled dough, leaving 1-2cm from the edge of the dough.
- To form the roll: Grab the bottom edge and fold the dough up by 1/4, then roll up by 1/4 again, then fold the upper 1/4 edge down over the roll and pinch the edges to seal in the poppy seed mixture (see photos). Gently pick up the roll and place this onto the prepared baking tray.
- Repeat steps 4-6 with the other two dough balls. Leave about a 2cm space between each roll on the baking tray so they don’t stick together when they bake.
- Make the egg wash and add the streusel:
- In a small bowl, beat the remaining egg white with 1/2 Tbsp of milk and brush this mixture over the top and sides of each roll.
- This step creates a moist sticky surface for the streusel to stick better. Babicka actually uses rum but to limit the number of ingredients and to use up the egg white, I’ve elected to use the egg wash method. There is no difference in taste if you use rum or egg/milk mixture.
- Evenly sprinkle 1/3 of the streusel on top of each roll. Gently push it into the dough if it seems to be rolling off.
- Bake in the preheated oven until golden brown (~25-30 minutes), turning the pan halfway through the cook time to bake evenly. DONE! Let it cool slightly before slicing then serve immediately.
- In a small bowl, beat the remaining egg white with 1/2 Tbsp of milk and brush this mixture over the top and sides of each roll.