Date Published: July 22nd, 2024 | Last Updated: July 22nd, 2024
Author: Abby |Category: mains, soups, sides
Serves: 4-6 (as a main) | Prep time: 30 mins | Cook time: 30 mins
Jump to recipe |
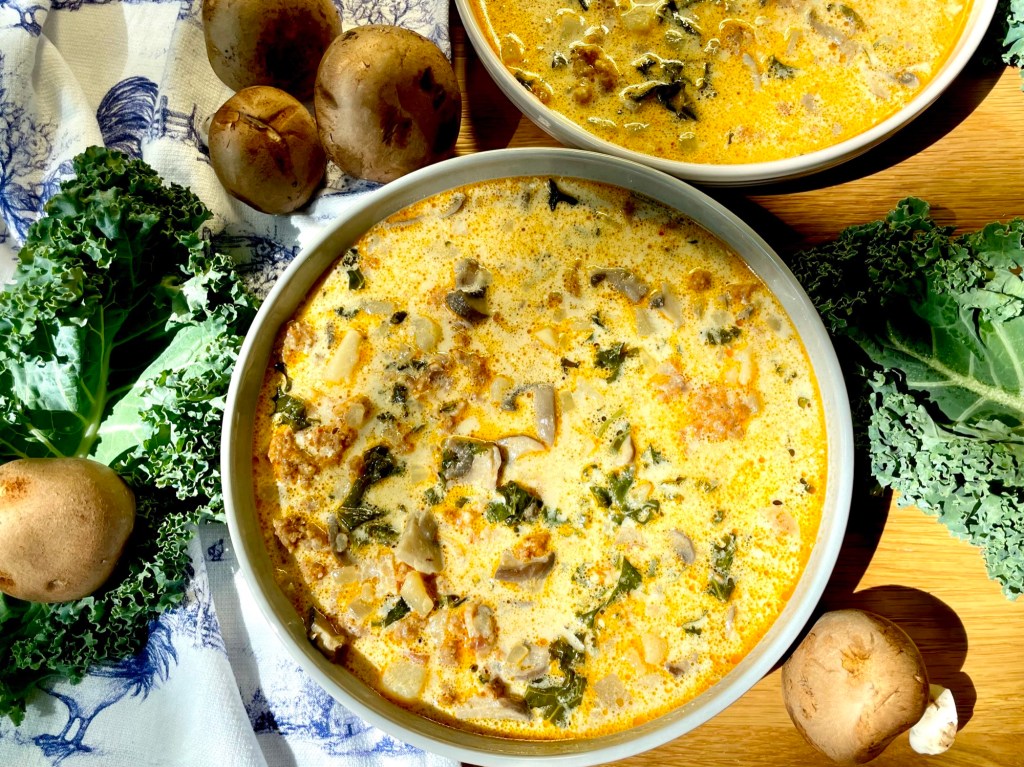
Zuppa Toscana is a deliciously indulgent soup that consists of sausage, kale, and bacon. In this version I add in mushrooms and corn, two of my favourite produce!
This soup is an adaptation of a copycat version of the one at Olive Garden, but I have no idea how close this is because I’ve never actually been to Olive Garden 😅. Let me explain. There weren’t many near me in Canada growing up and there aren’t any in Australia where I’ve spent a good chunk of my adult years. Now that we live in New York City, there’s one in Times Square, however with so many amazing restaurants in NYC, the list of restaurants to try are never-ending and forever getting longer and Olive Garden is sadly on the bottom of the list since I hear so many mixed reviews about it. Perhaps if we ever leave New York and head to somewhere with fewer exciting restaurant options, we’ll hit up the local Olive Garden. Despite the mixed reviews, one item I do hear about time and time again (apart from the breadsticks) is their Zuppa Toscana soup. I had no idea what kind of soup it was, but I knew it had to be something good for it to be so popular! I found a copycat version from GimmeSomeOven and it turned out AMAZING the first time. I’ve made this a few times now and tweaked it a little to suit my liking by changing the proportions and adding in mushrooms and corn (two of my favourite produce). I must say, this is now one of my top comfort soups!
Anyways, without further ado, here’s the recipe! If you have any comments or suggestions, I’d love to hear from you in the comment section! You can follow me on instagram, youtube and facebook to see all the recipes I post!
Happy cooking!
Ingredients you’ll need:
- 6 strips of bacon
- 450g (1 lb) spicy Italian ground sausage (without sausage casing)
- 1 large yellow onion, diced
- 350g white or portobello mushrooms, sliced (optional)
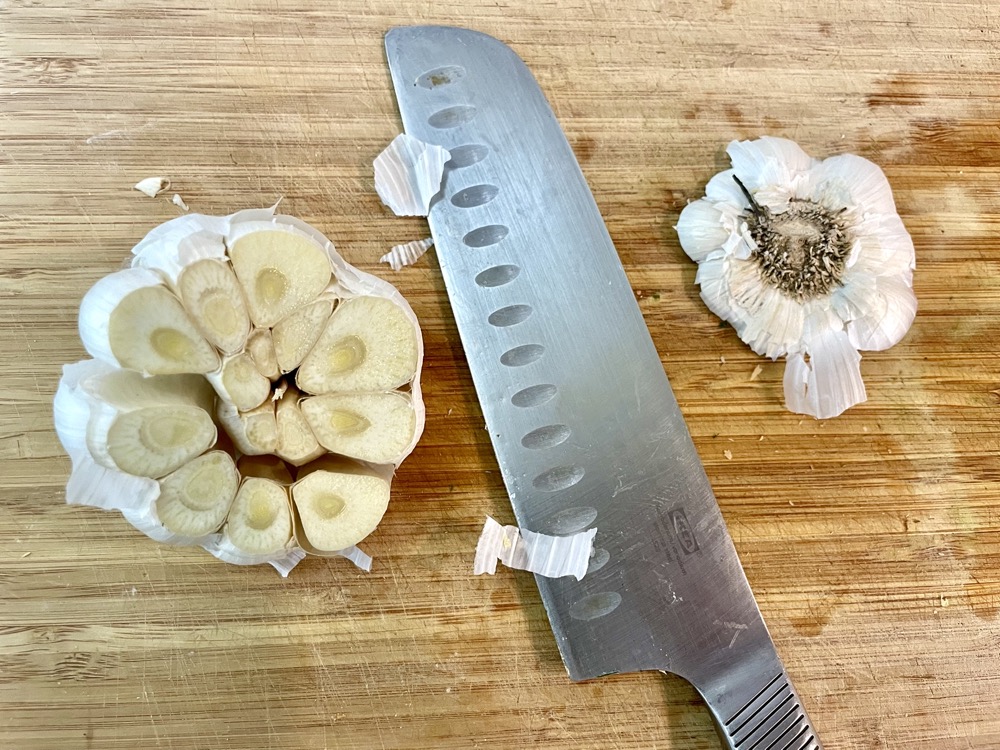
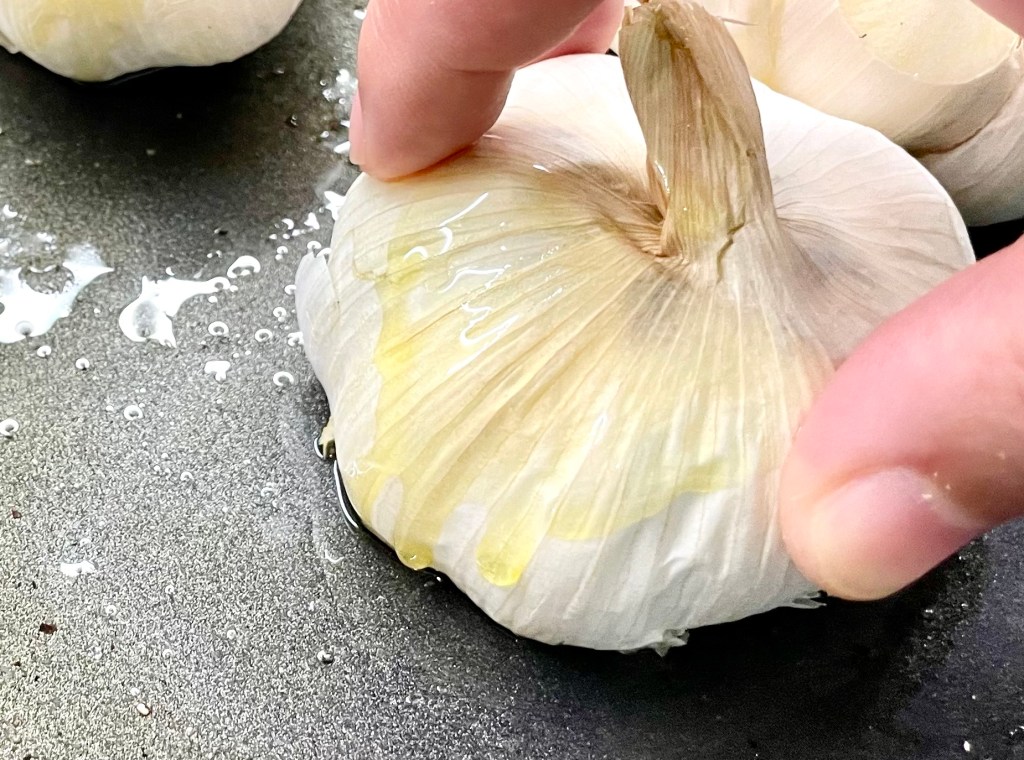
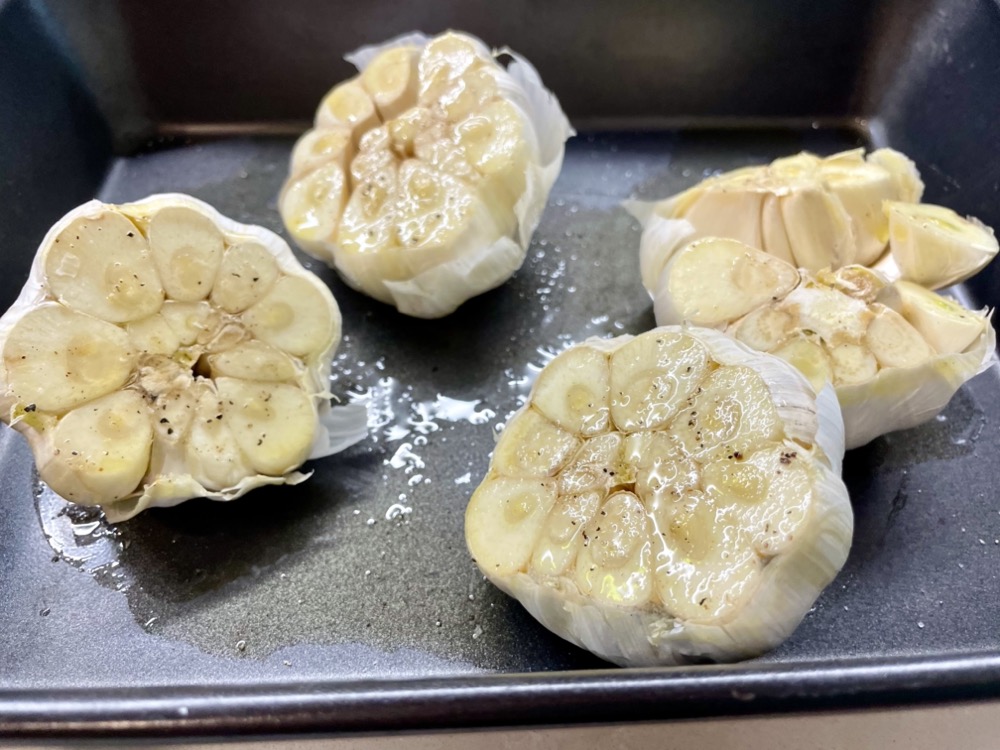
- 4 cloves garlic, minced
- 1 large (~800g) Yukon gold potato, peeled & diced to 1″ cubes
- 6 cups chicken stock
- 4 packed cups kale, stem removed and leaves chopped
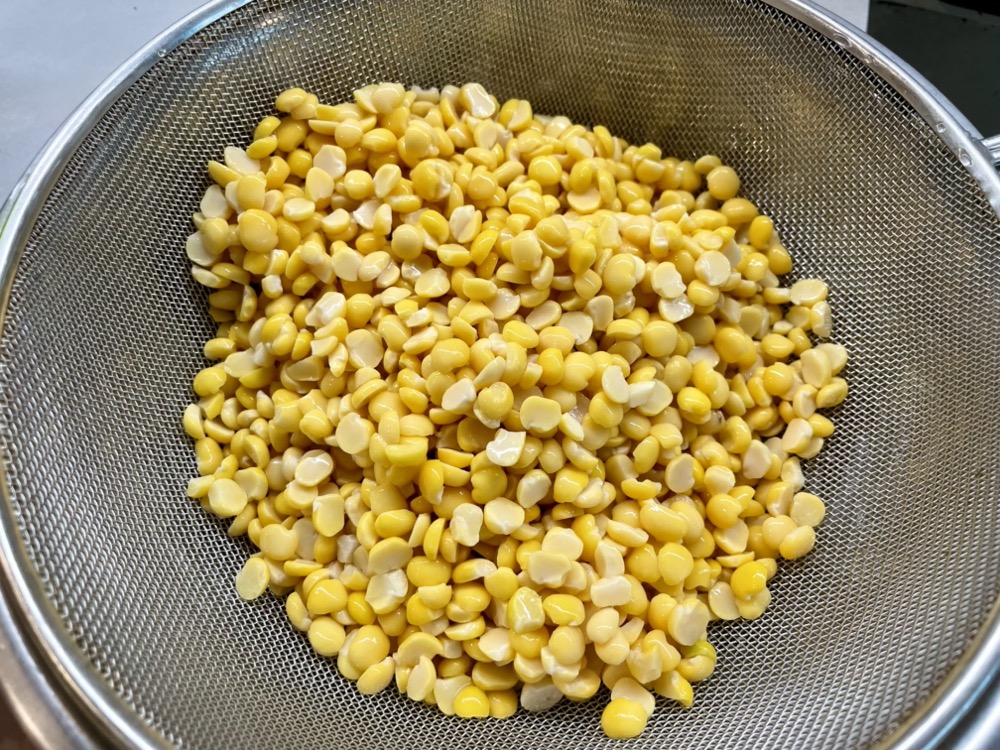
- 1 can (430g) of sweet whole corn kernels, drained (optional)
- 1.25 cups heavy cream
- Salt & pepper to taste
Directions:
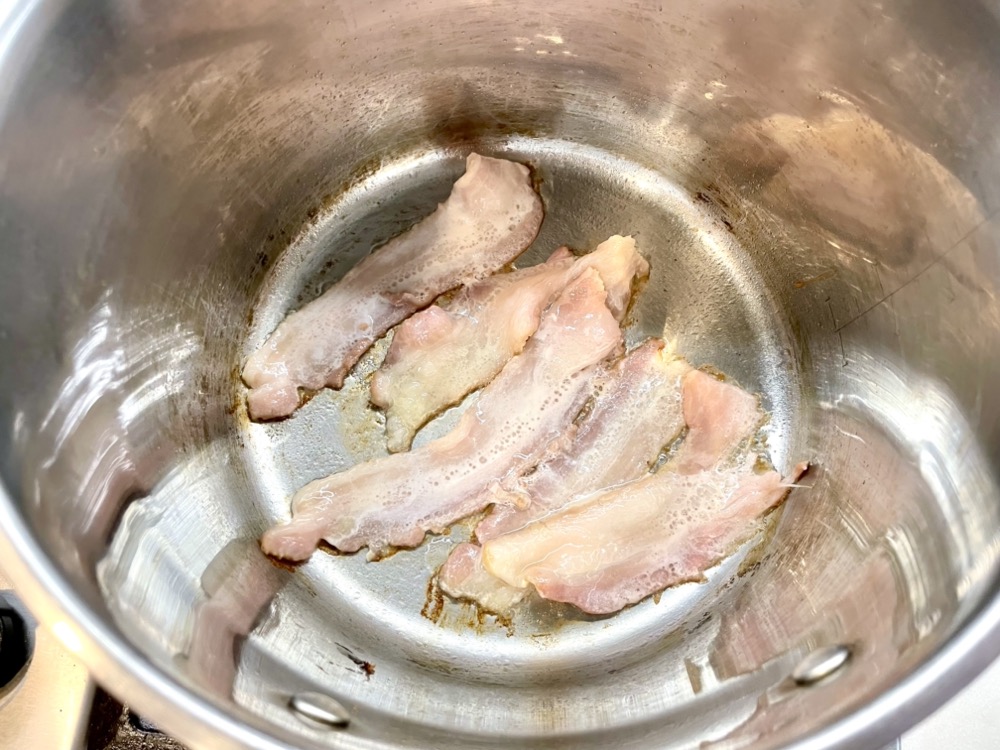
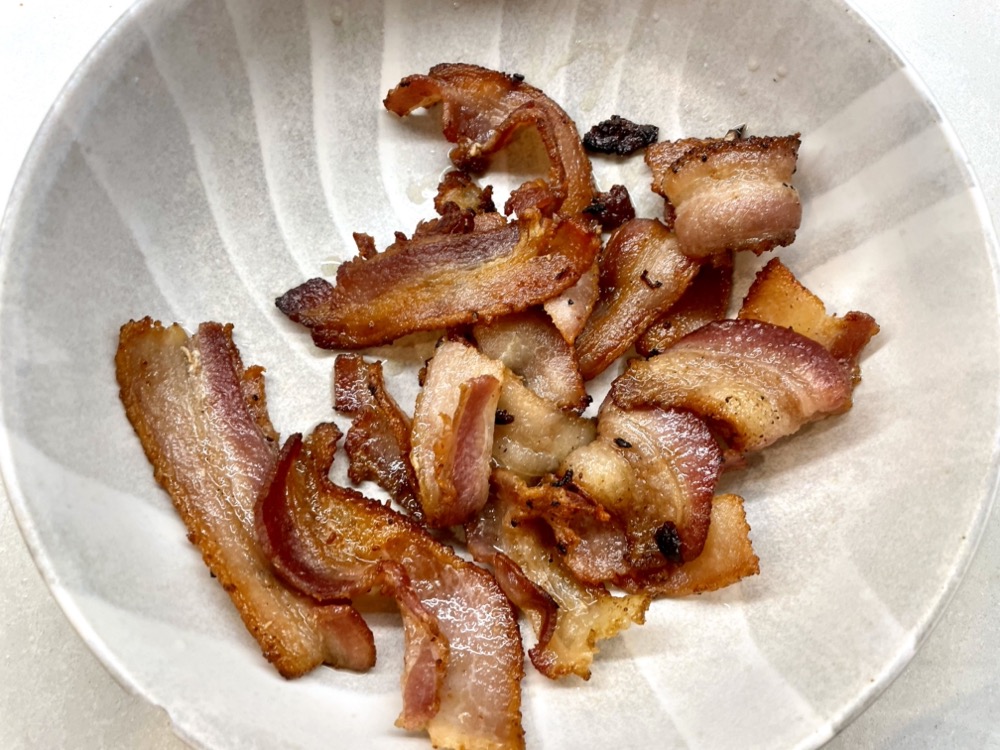
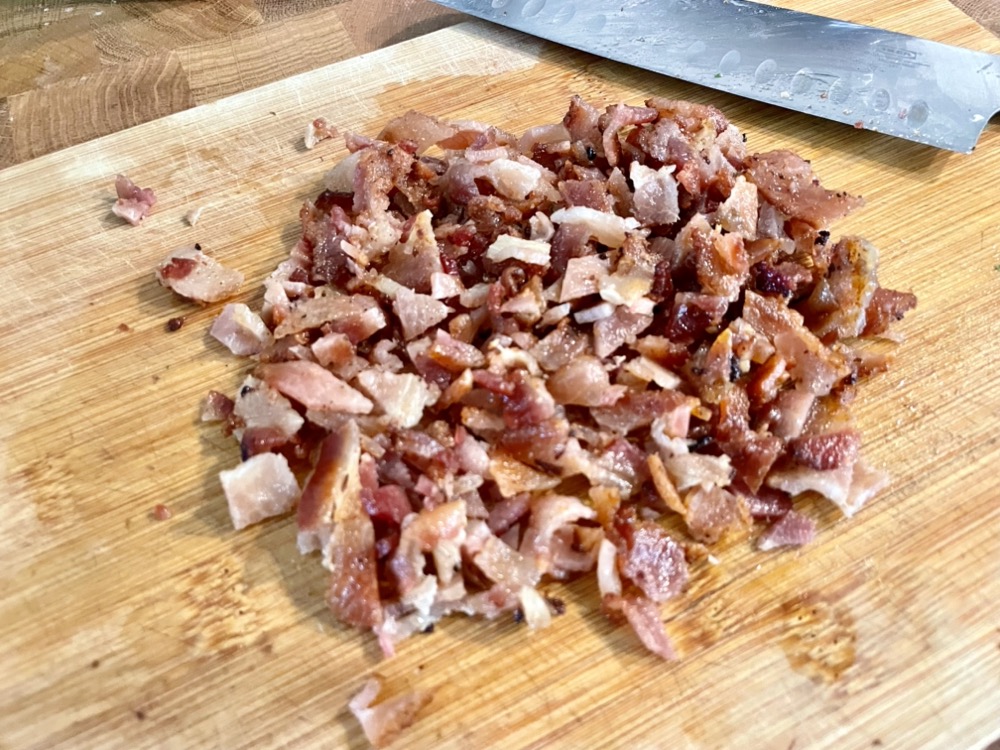
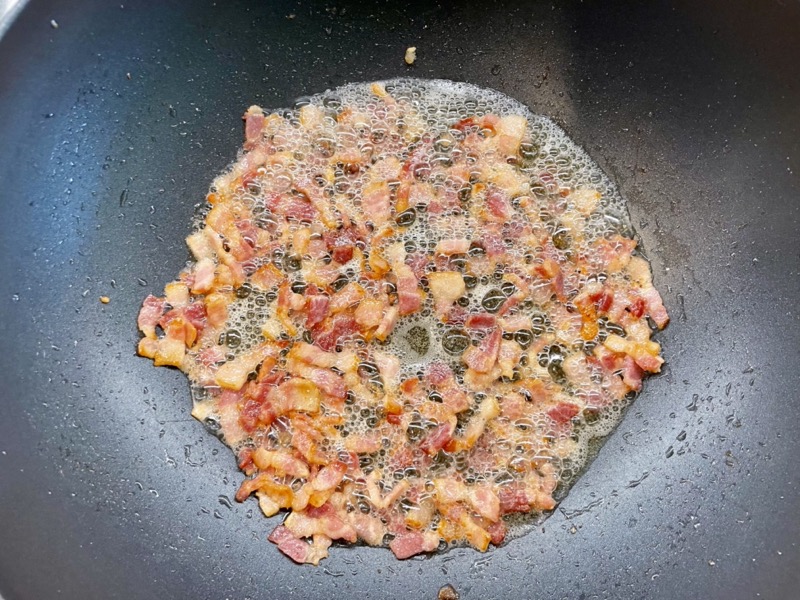
In a stock pot on MED-HIGH heat, cook the strips of bacon in batches on both sides until crispy then set aside on a plate. Once cool enough to handle, chop the bacon into small pieces.


In the same pot, add in the ground sausage and continue to cook until the outside is browned, chopping up the ground sausage into small pieces as you sauté (~3-5 mins). Remove the sausage into a bowl and set aside.


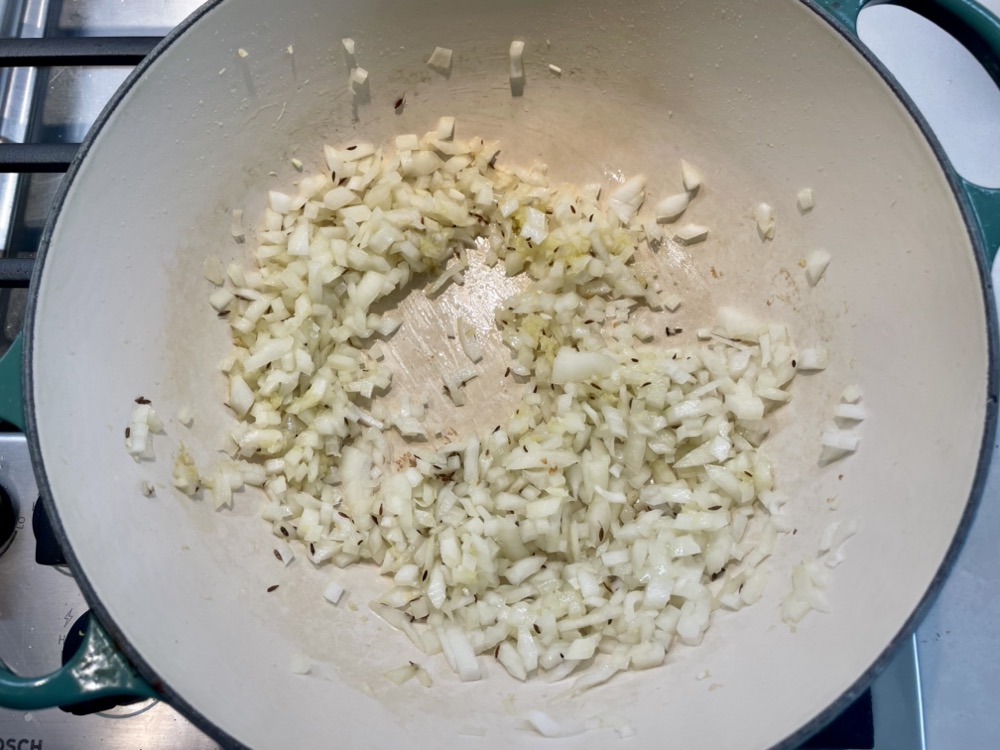
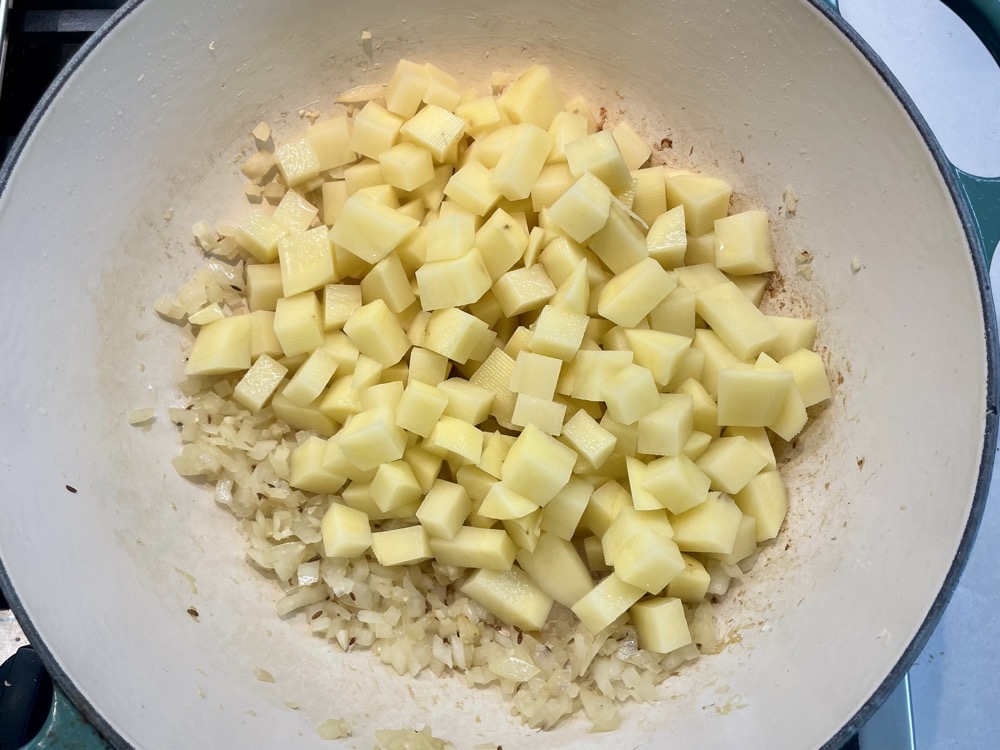
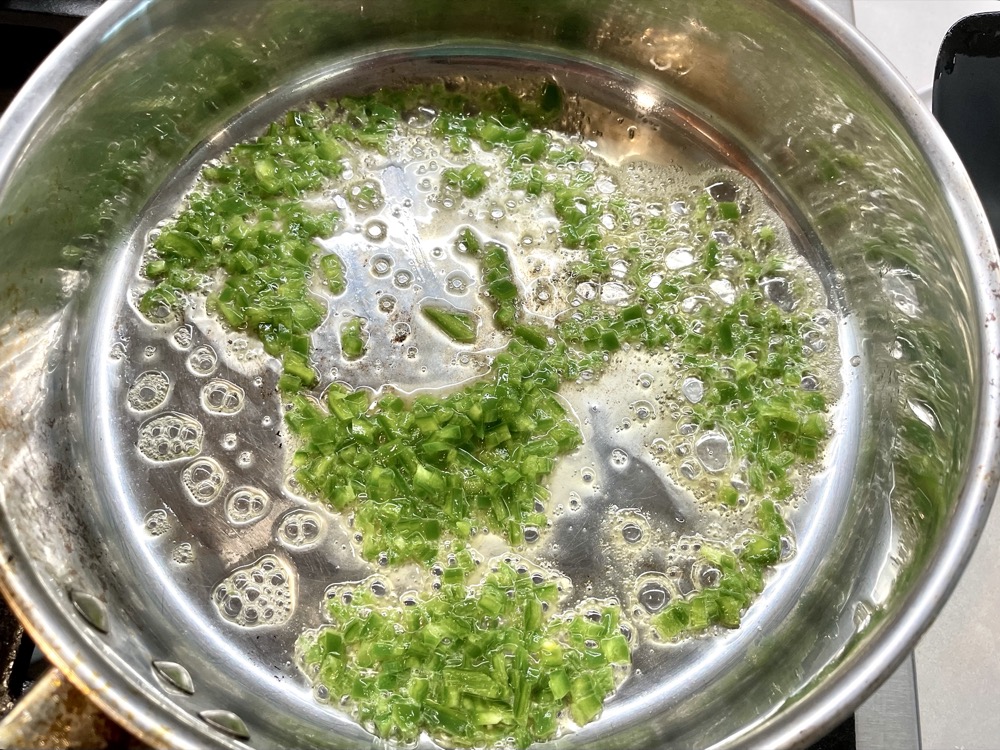
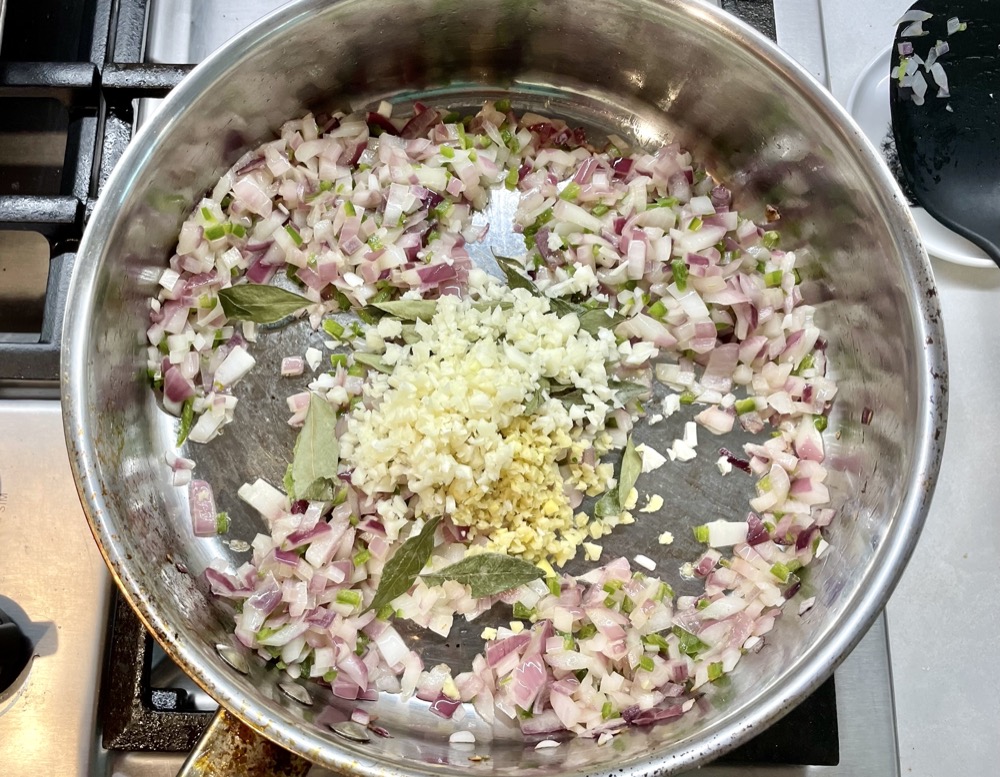
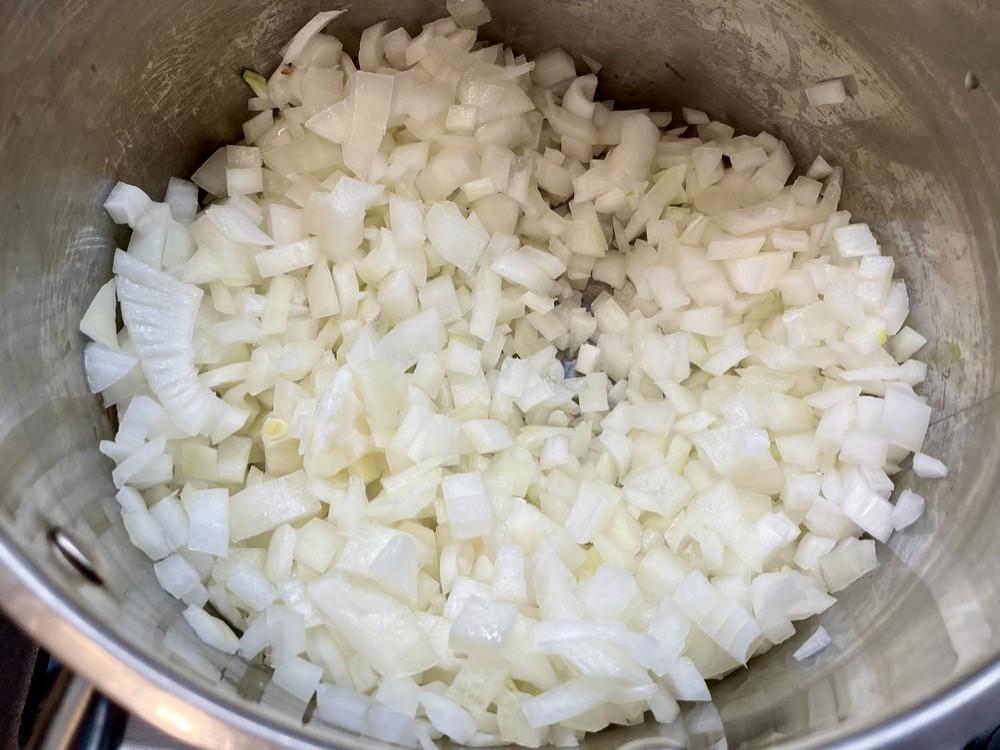
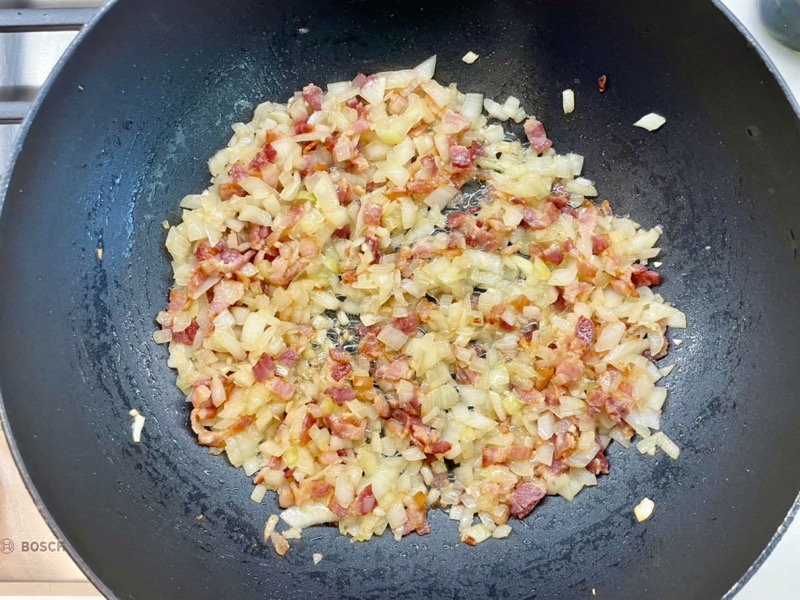
Remove all but 1 Tbsp of oil from the pot and add in the diced onions. Cook for 5-7 mins until the onion softens.


Add in the sliced mushrooms and garlic. Continue to sauté for another 3 minutes until the mushrooms soften.


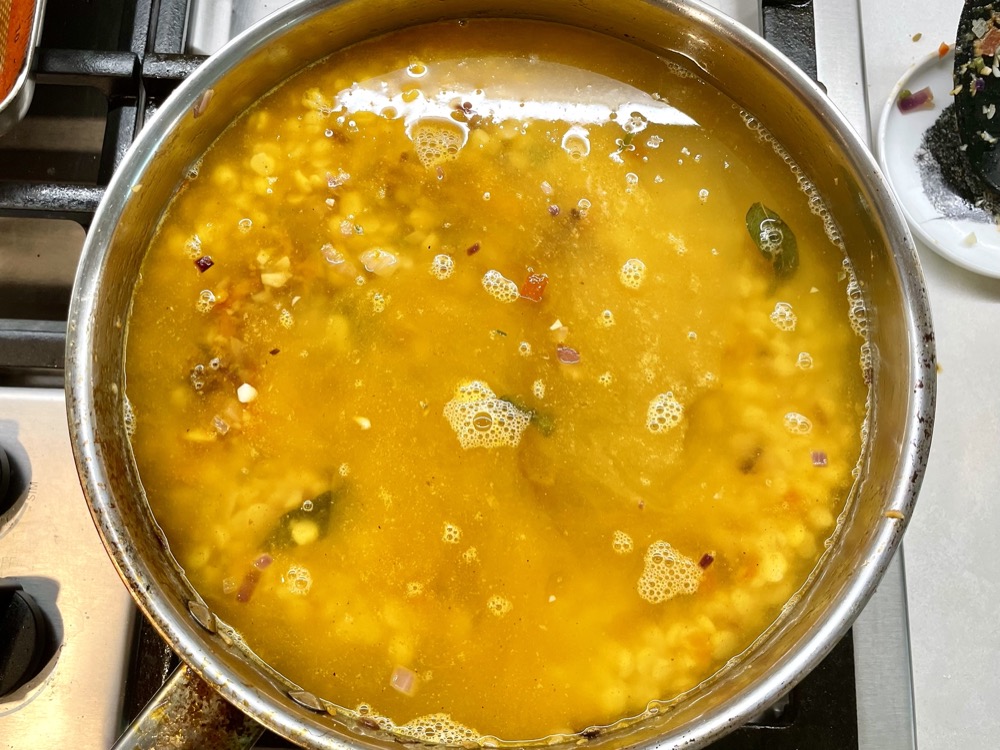
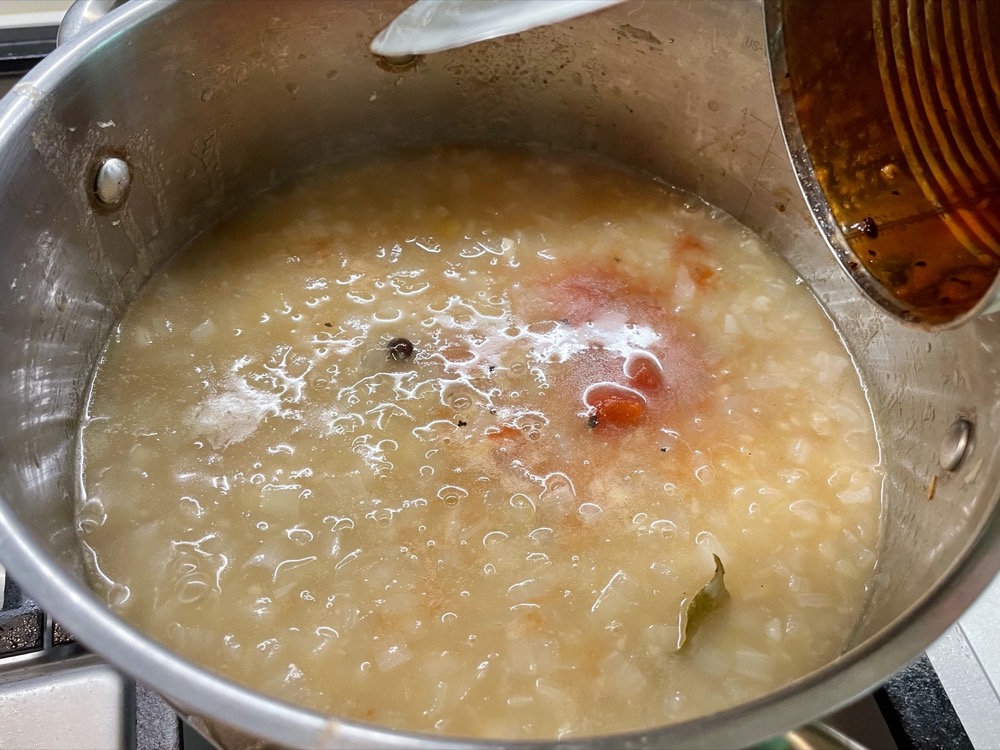
Next, add in the diced potato, chicken stock, and the ground sausage (from step 2) (avoid adding in any pooled oil from the ground sausage).


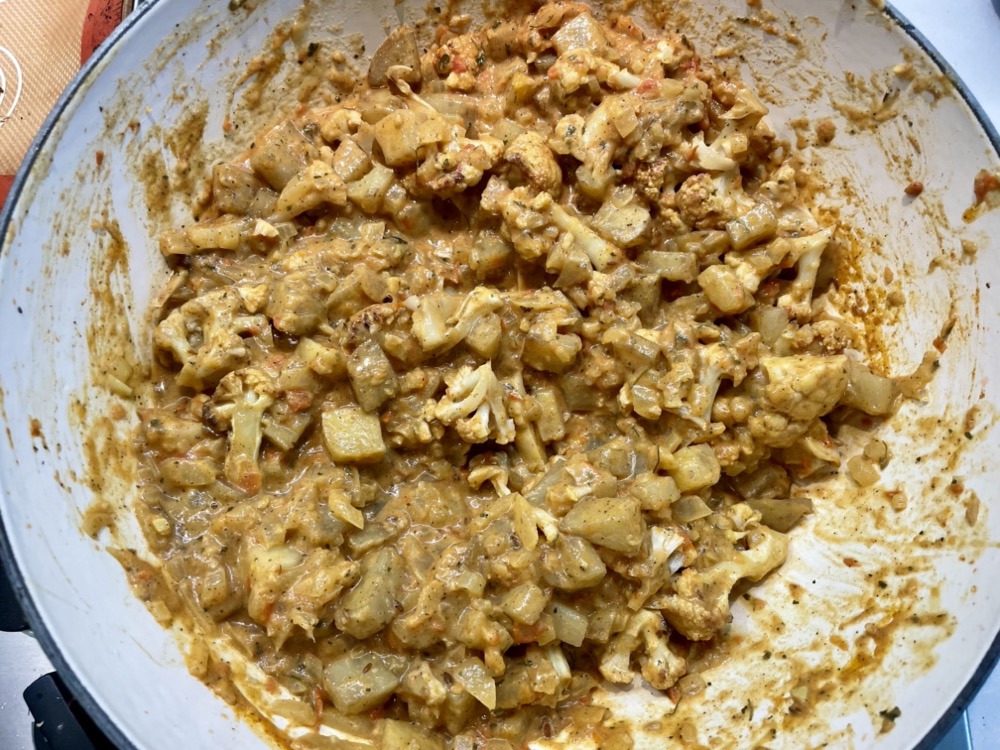
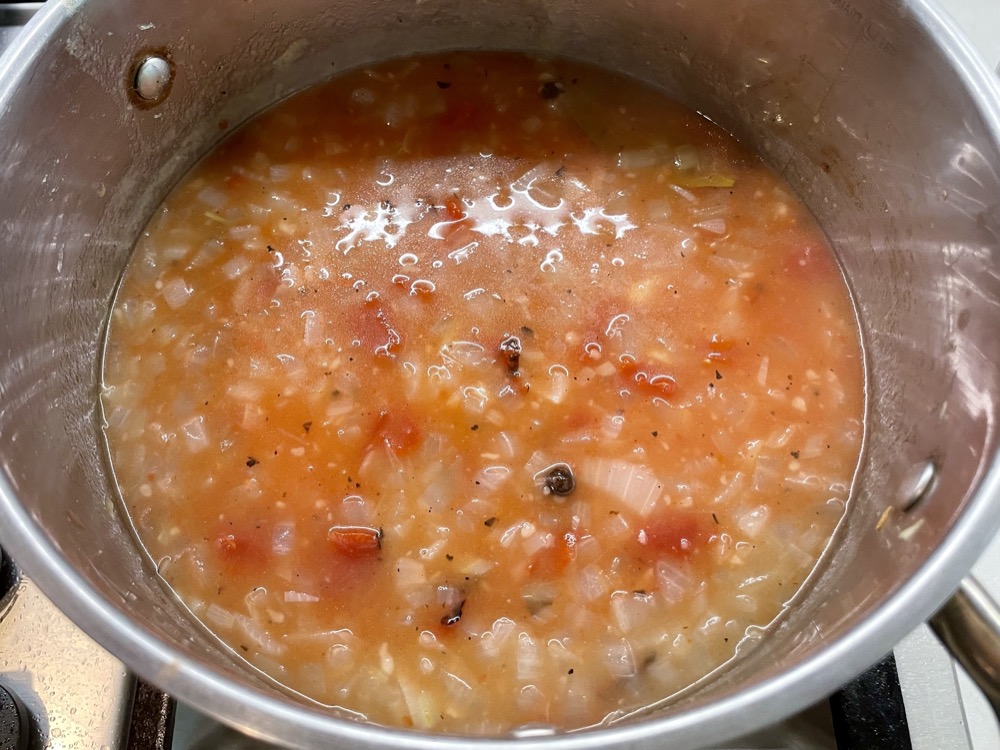
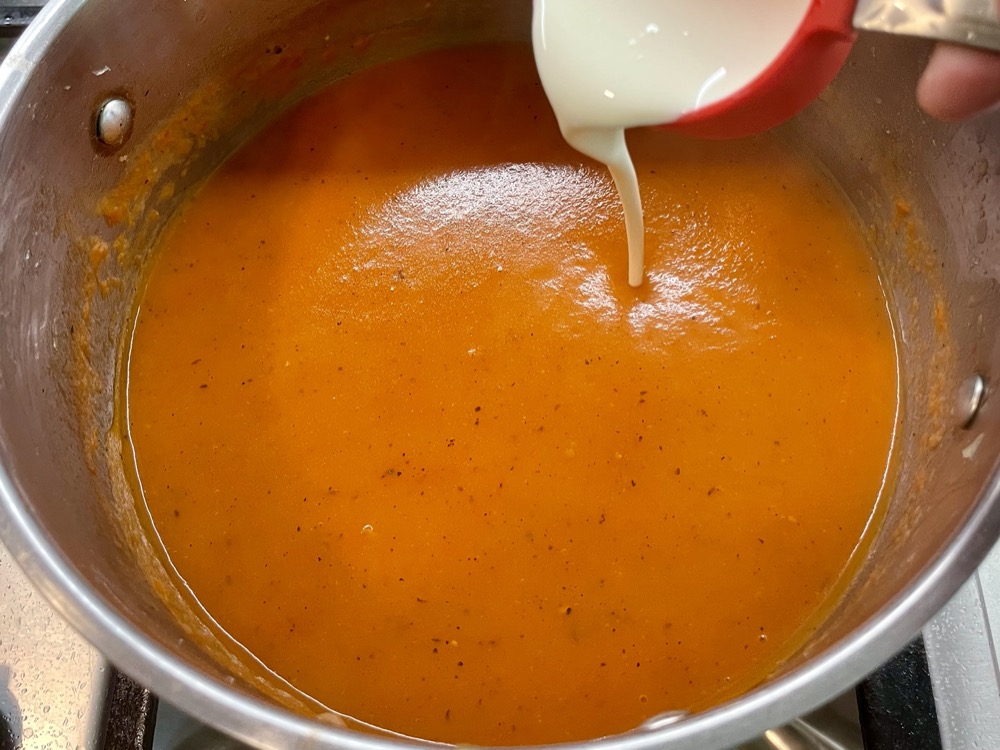
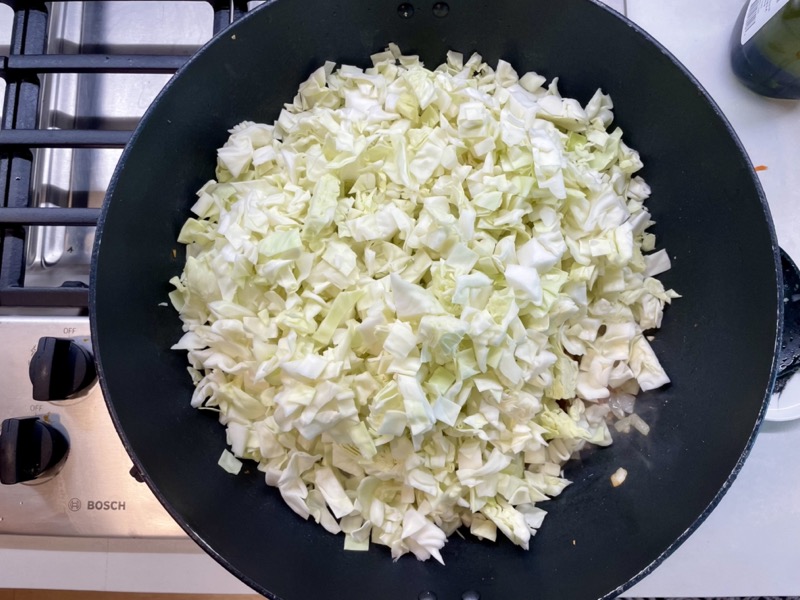
Bring the heat up to HIGH and let the soup come to a boil, then turn the heat back down to low and let it simmer until the potato is nearly cooked (~8-10 minutes). Stir in the kale, corn kernels, and heavy cream and continue to let the soup simmer until the potato is fully cooked (about 5 more minutes).


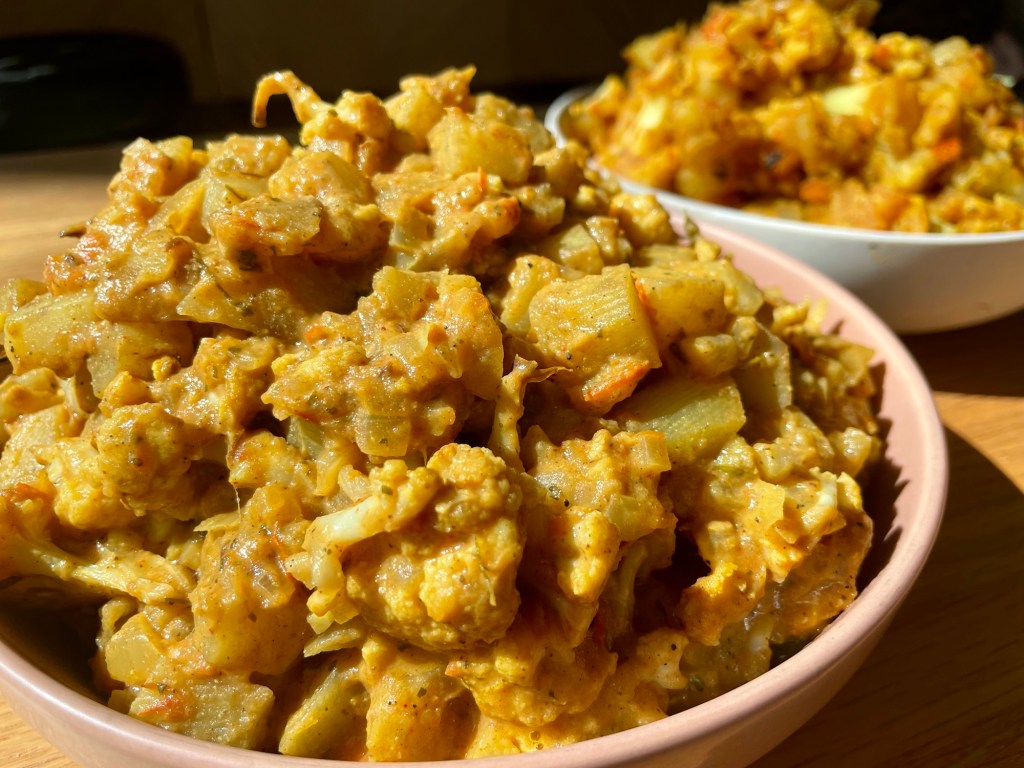
Mix in the bacon (from step 1) and then taste and adjust salt and pepper as needed. Done!


Summarized Recipe:
Zuppa Toscana – Creamy Sausage, Kale, Bacon, Mushroom Soup
Date Published: July 22nd, 2024 | Last Updated: July 22nd, 2024
Author: Abby |Category: mains, soups, sides
Serves: 4-6 (as a main) | Prep time: 30 mins | Cook time: 30 mins
Ingredients:
- 6 strips of bacon
- 450g (1 lb) spicy Italian ground sausage (without sausage casing)
- 1 large yellow onion, diced
- 350g white or portobello mushrooms, sliced (optional)
- 4 cloves garlic, minced
- 1 large (~800g) Yukon gold potato, peeled & diced to 1″ cubes
- 6 cups chicken stock
- 4 packed cups kale, stem removed and leaves chopped
- 1 can (430g) of sweet whole corn kernels, drained (optional)
- 1.25 cups heavy cream
- Salt & pepper to taste
Directions:
- In a stock pot on MED-HIGH heat, cook the strips of bacon in batches on both sides until crispy then set aside on a plate. Once cool enough to handle, chop the bacon into small pieces.
- In the same pot, add in the ground sausage and continue to cook until the outside is browned, chopping up the ground sausage into small pieces as you sauté (~3-5 mins). Remove the sausage into a bowl and set aside.
- Remove all but 1 Tbsp of oil from the pot and add in the diced onions. Cook for 5-7 mins until the onion softens.
- Add in the sliced mushrooms and garlic. Continue to sauté for another 3 minutes until the mushrooms soften.
- Next, add in the diced potato, chicken stock, and the ground sausage (from step 2) (avoid adding in any pooled oil from the ground sausage). Bring the heat up to HIGH and let the soup come to a boil, then turn the heat back down to low and let it simmer until the potato is nearly cooked (~8-10 minutes).
- Stir in the kale, corn kernels, and heavy cream and continue to let the soup simmer until the potato is fully cooked (about 5 more minutes). Mix in the bacon (from step 1) and then taste and adjust salt and pepper as needed. Done!