Date Published: Sept 24th, 2025 | Last Updated: Sept 24th, 2025
Author: Abby |Category: appetizer, snacks, asian, <30 mins, easy, healthy, low-cal
Serves: 1 plate as an appetizer | Prep time: 10 mins | Cook time: 10 mins
Jump to recipe |
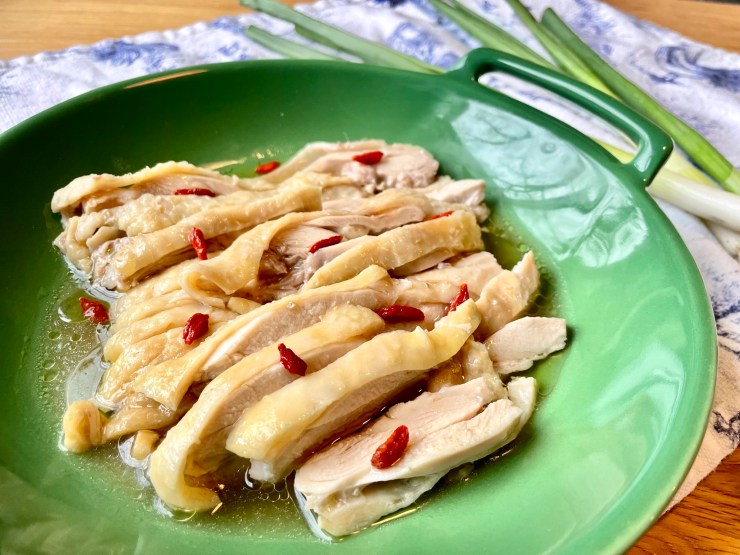
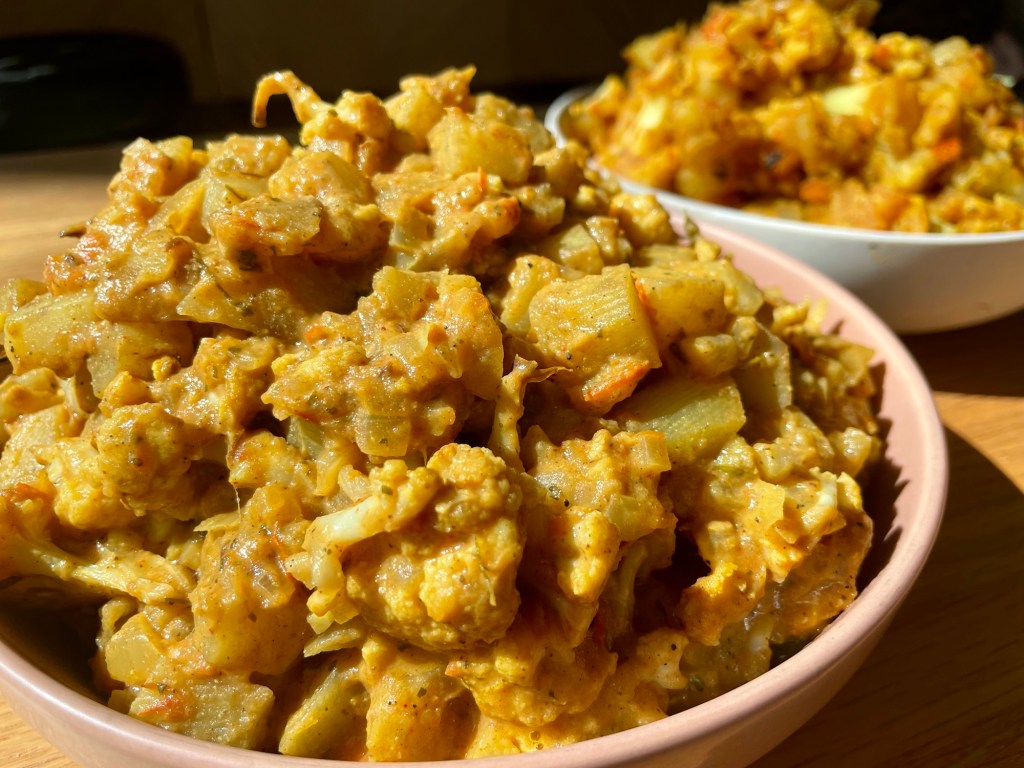
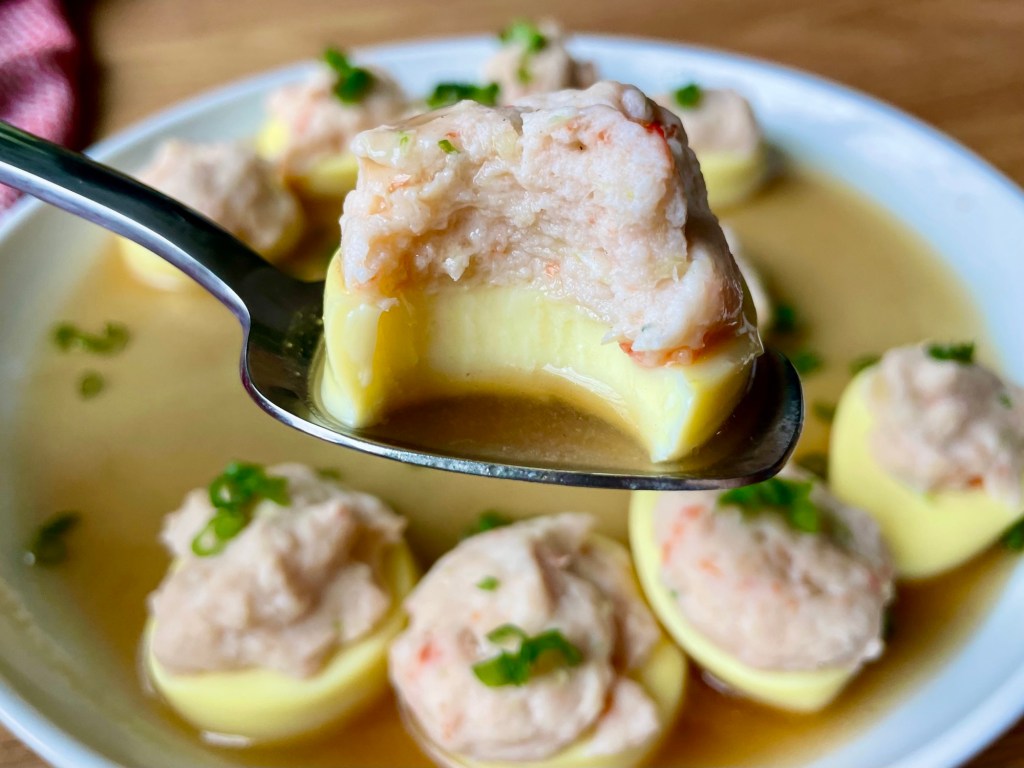
This shrimp and egg tofu bites dish is a super easy Asian appetizer/snack that cooks up quickly and looks impressive. If you’re in a pinch for a dinner party or just feeling snacky, this is the recipe for you! It’s made of homemade shrimp paste and soft egg tofu, finished off with a simple savoury sauce.
A note on egg tofu:
If you’re unfamiliar with egg tofu, it is a soft tofu (not quite silken) that has a yellow-tinge in colour and is often packaged in a plastic tube, like the picture on the right. You can find it in the tofu section of most Asian supermarkets.

Anyways, without further ado, here’s the recipe! If you have any comments or suggestions, I’d love to hear from you in the comment section! You can follow me on instagram, youtube and facebook to see all the recipes I post!
Happy cooking!
Equipment you’ll need:
- Food processor (optional but it will make your life easier)
- Large steaming basket or a metal trivet in a wok with a lid
Ingredients you’ll need:
- Shrimp mixture:
- 6 large (140g) raw shrimp, deshelled and deveined
- 1 Tbsp (13g) ginger, peeled and roughly chopped
- 2 green onions (white and green parts separated)
- 1 tsp Shaoxing wine (Chinese cooking wine)
- 1/2 tsp corn starch
- 1/2 tsp sesame oil
- 1/8 tsp ground white pepper
- 1/8 tsp kosher salt
- 1 package egg tofu
- Sauce:
- 1/3 cup water
- 1/2 tsp soy sauce
- 1 tsp oyster sauce
- 1/4 tsp sesame oil
- 1/8 tsp ground white pepper
- 1/8 tsp granulated sugar
- 1/2 tsp corn starch
Directions:
Slice the egg tofu into 2.5cm thick rounds and place on a heat-proof plate.
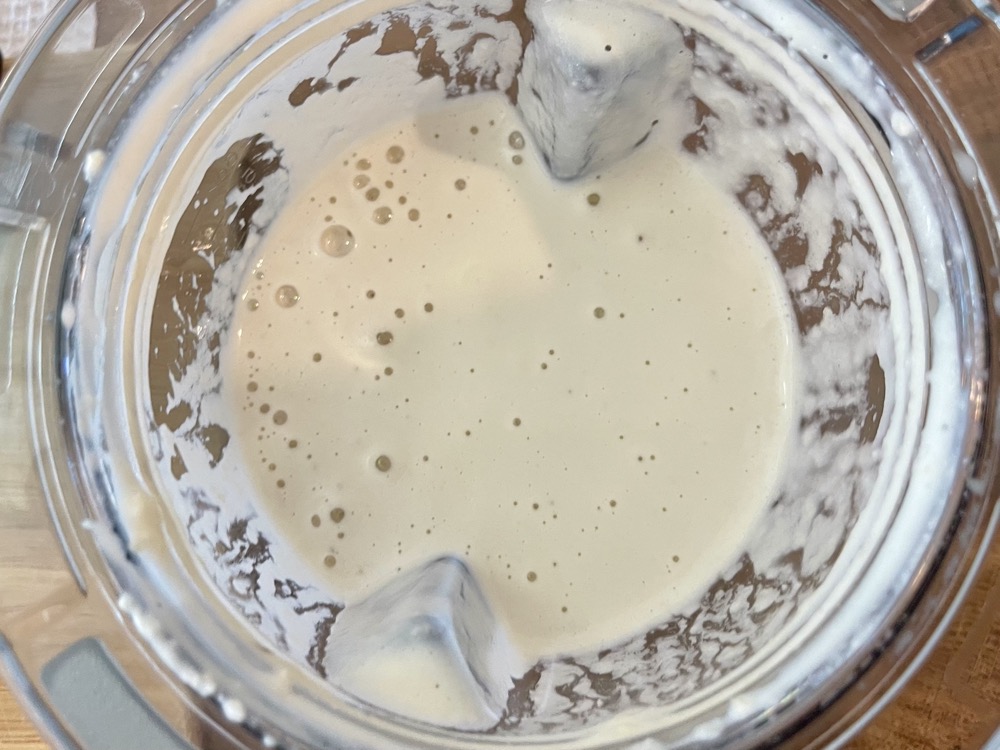
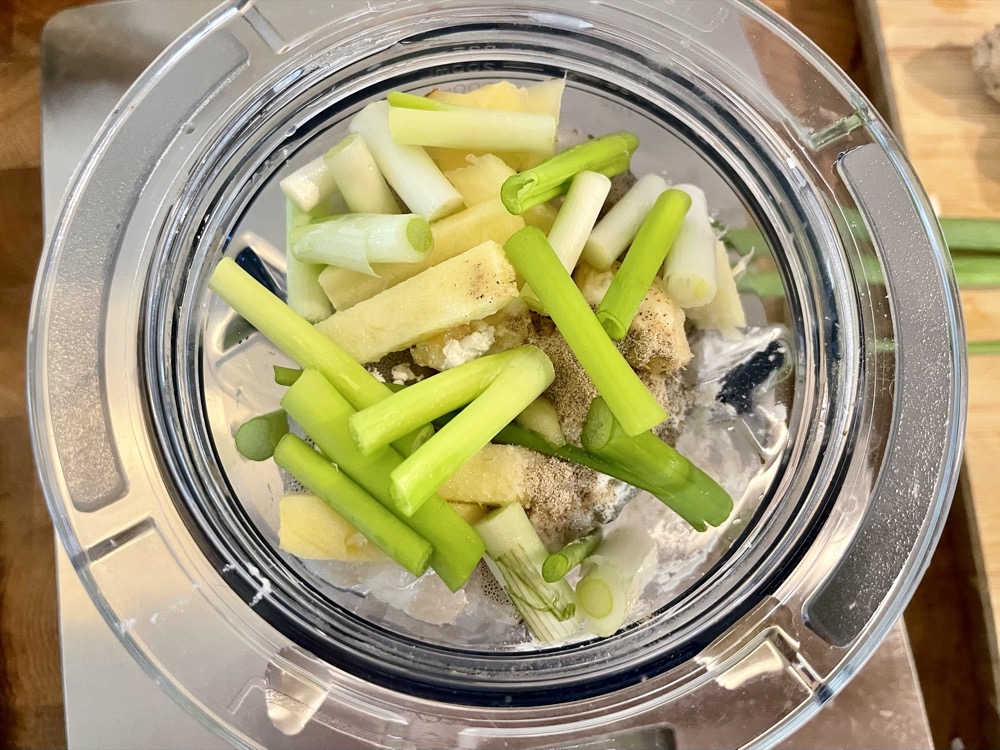
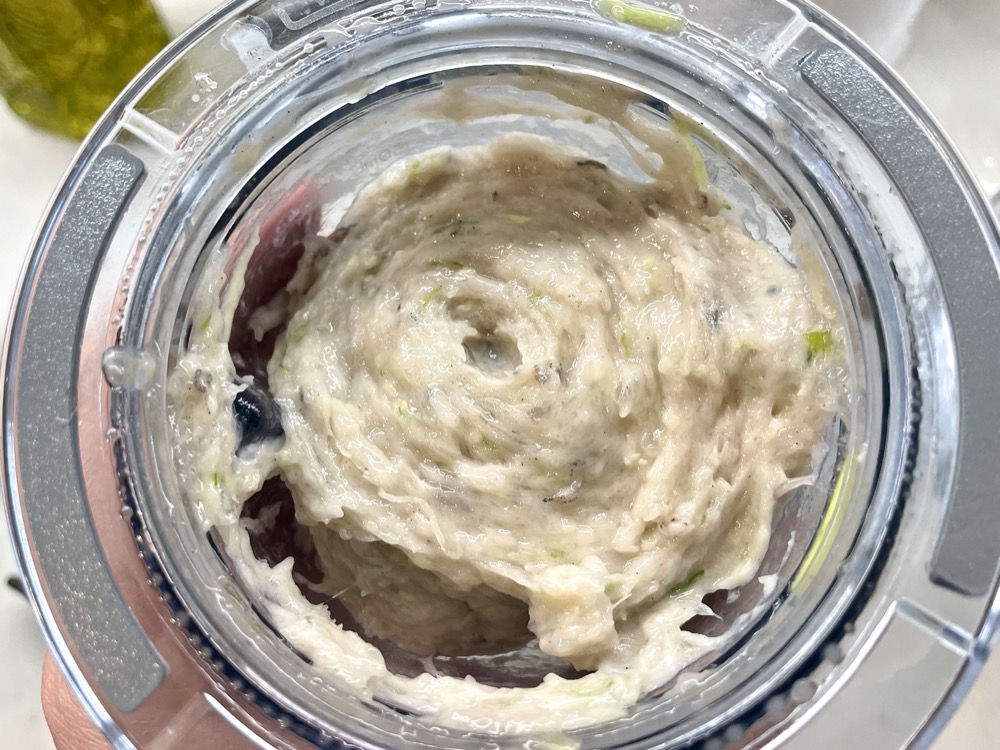
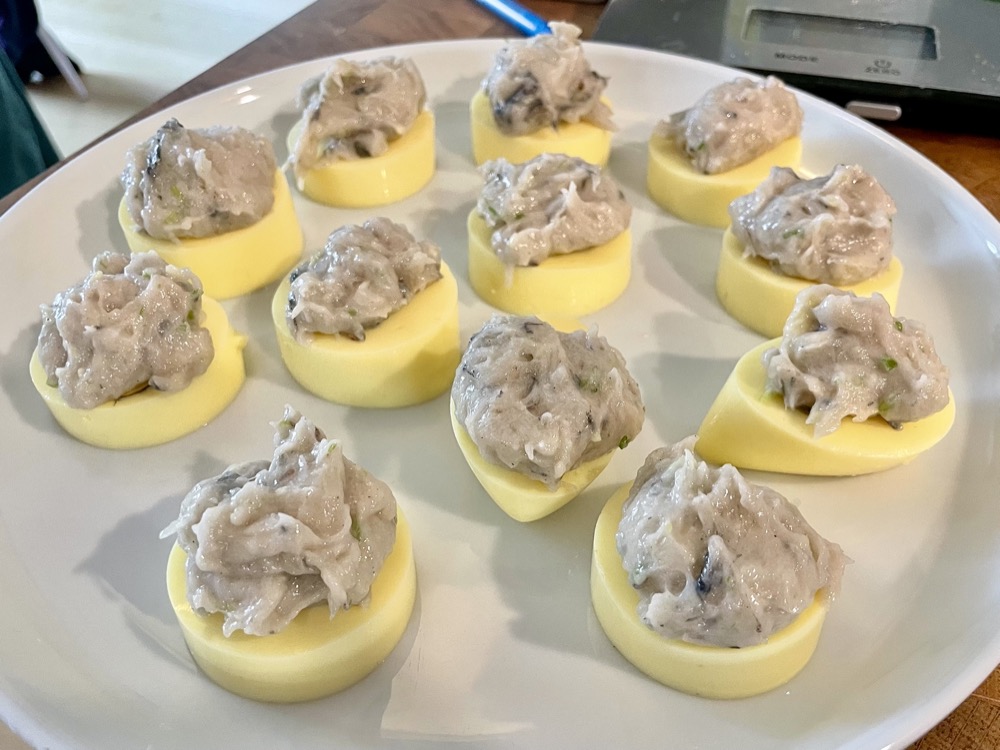
In a food processor, add in your shrimp mixture: raw shrimp, 1 Tbsp ginger, 2 green onions (white part only), 1 tsp Shaoxing wine, 1/2 tsp corn starch, 1/2 tsp sesame oil, 1/8 tsp ground white pepper, and 1/8 tsp salt. Blend until you get a smooth paste.
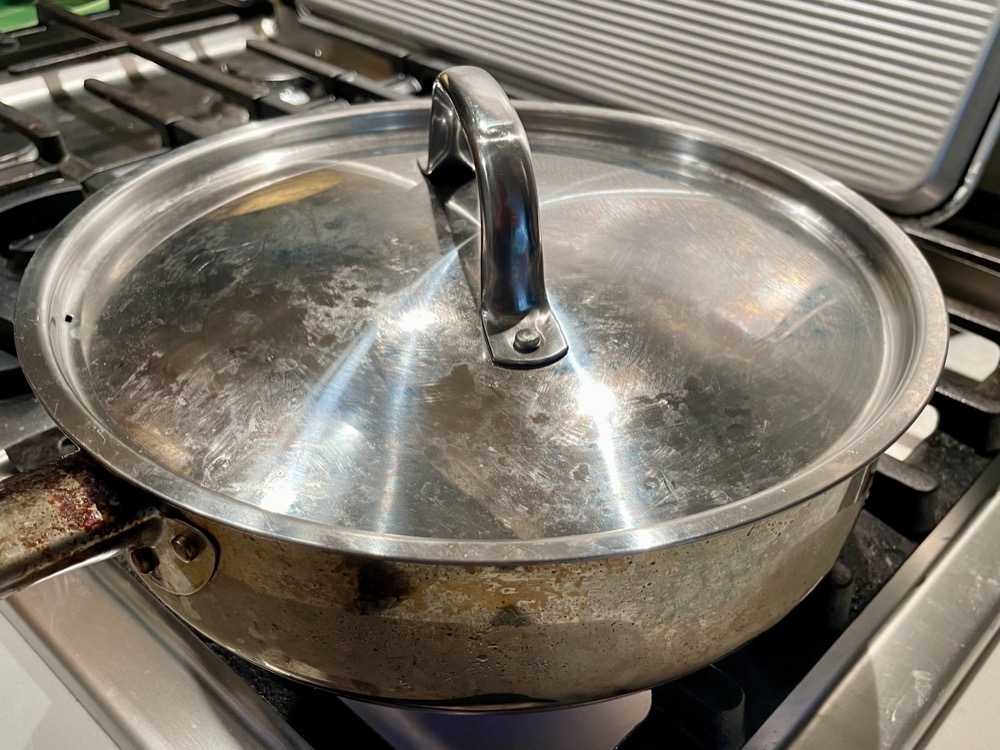
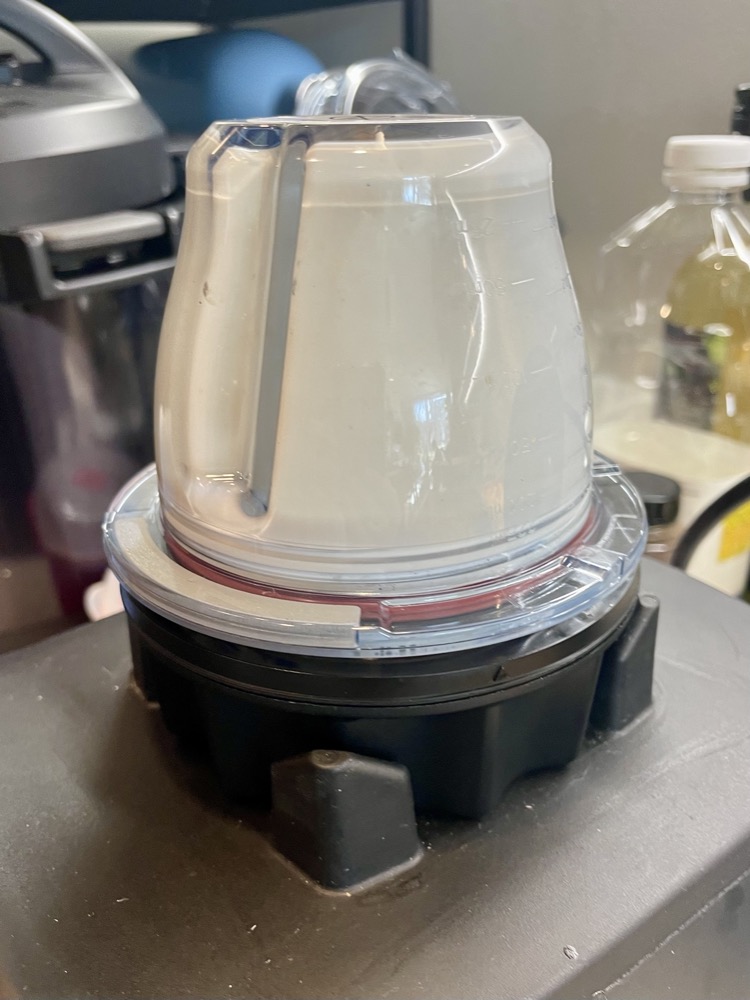
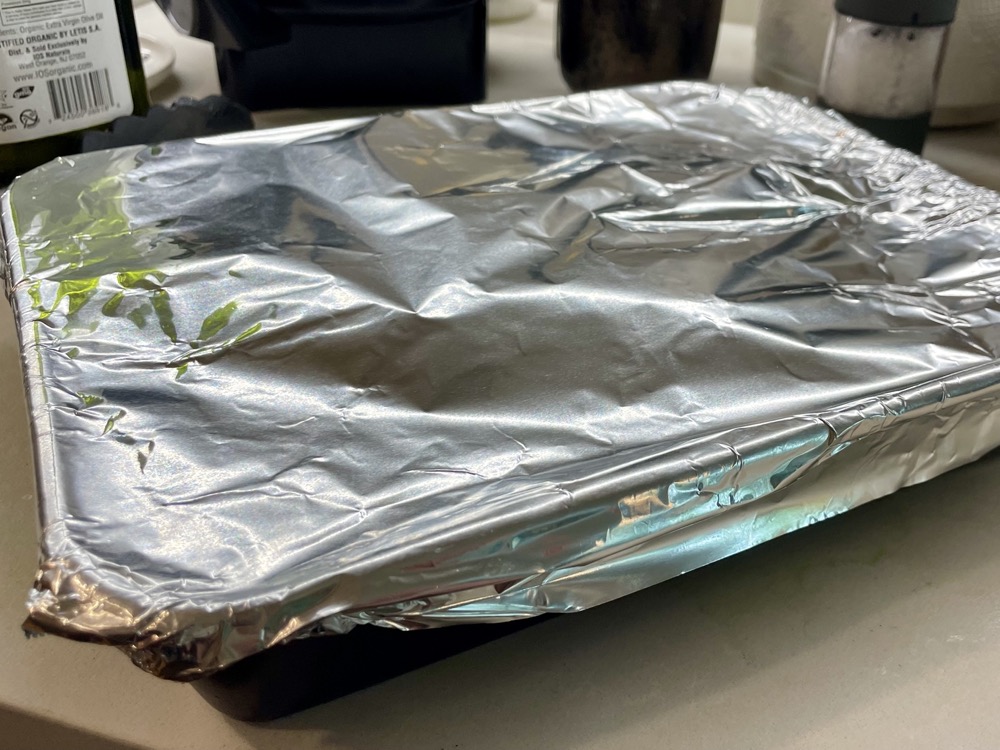
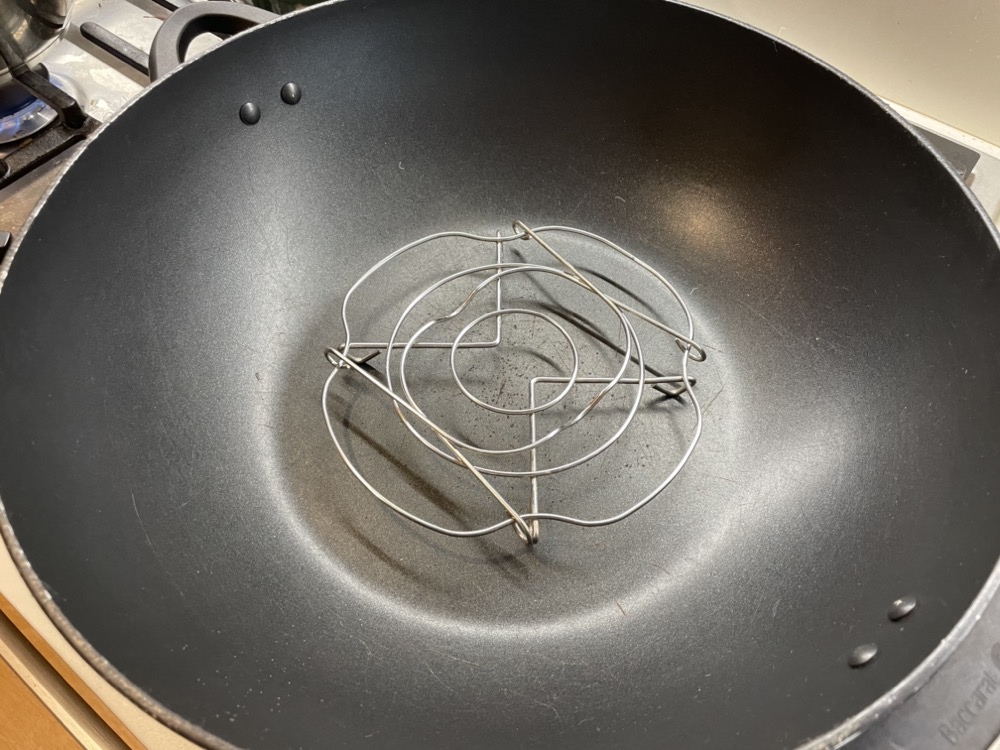
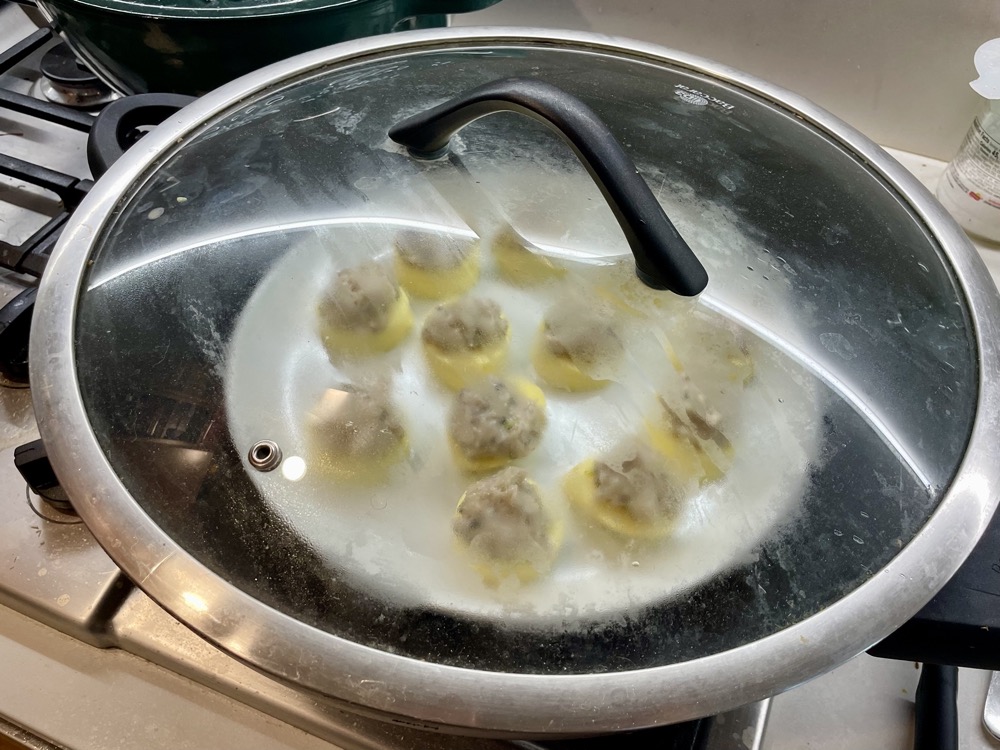
Carefully spoon a tablespoon of the shrimp mixture onto each egg tofu round. Place the plate in a steaming basket and steam for 10 minutes until the shrimp is set and cooked all the way through. If you don’t have a steaming basket, you can add a few centimetres of hot water into a wok and place the plate of shrimp tofu on an elevated plate or tray in the centre and add the lid over (as pictured).


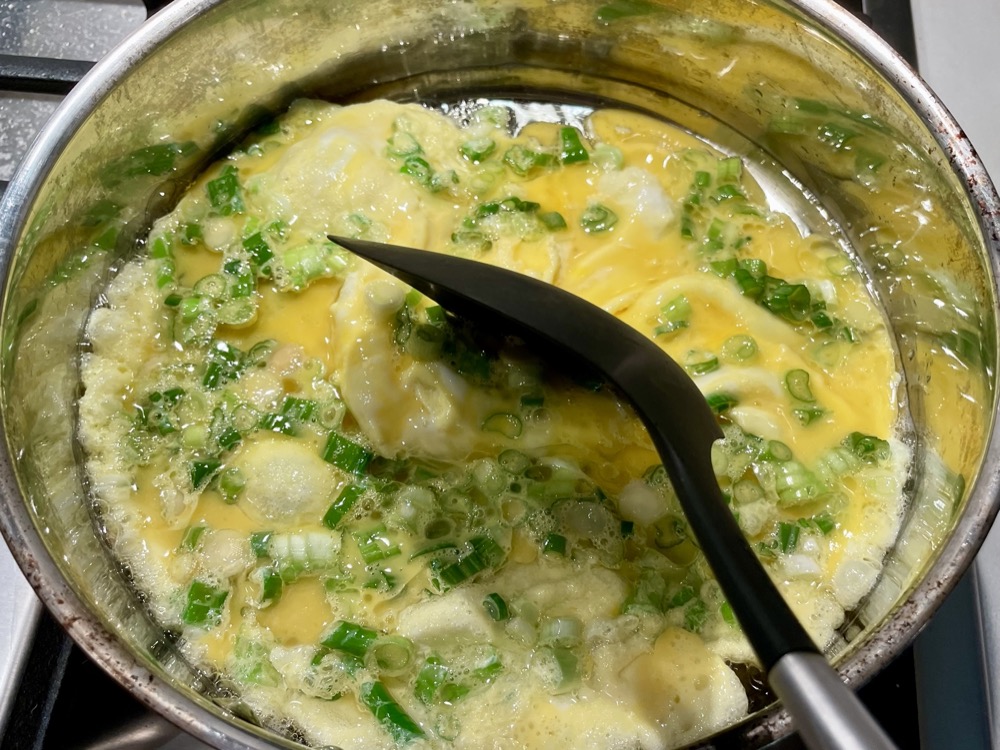
Make the sauce: While the shrimp and tofu steams, make the sauce by combining all the sauce ingredients (1/3 cup water, 1/2 tsp soy sauce, 1 tsp oyster sauce, 1/4 tsp sesame oil, 1/8 tsp white pepper, 1/8 tsp sugar, 1/2 tsp corn starch). Whisk until there are no lumps, then heat the sauce in a small pan on MED heat until it simmers and thickens (3-5 minutes) then turn off the heat.


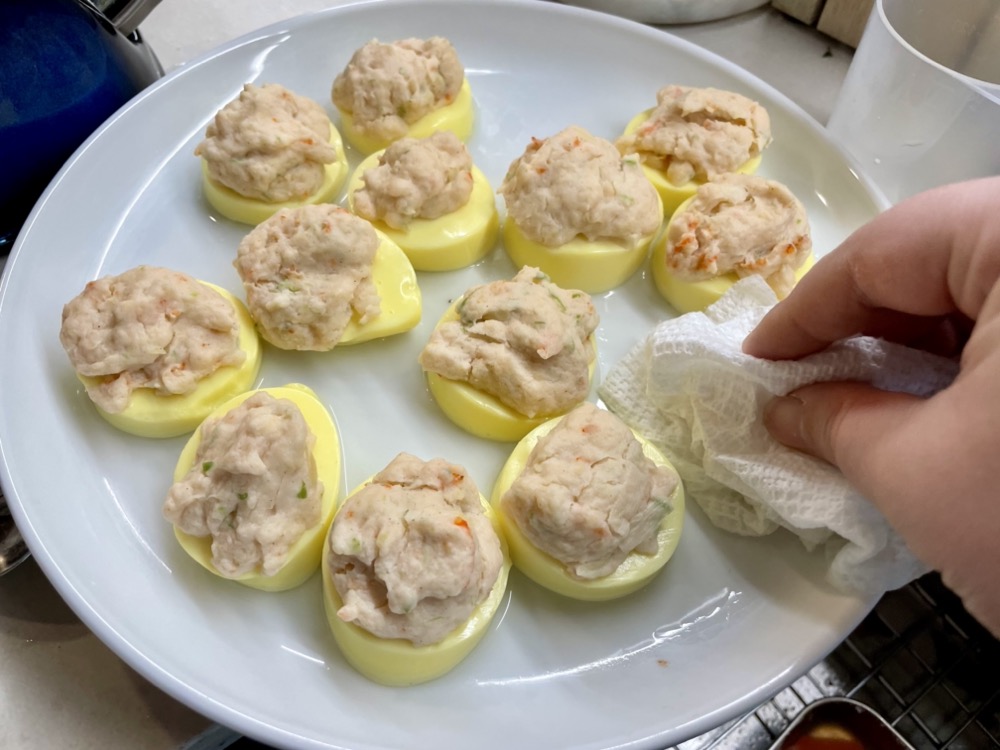
When the shrimp/tofu finishes steaming, remove the lid and use a papertowel to remove any collected water on the plate. Pour the sauce (from step 4) onto the plate around the shrimp/tofu and garnish with chopped green part of the green onions on top. Serve immediately. Enjoy!


Summarized Recipe:
Quick and Easy Shrimp & Egg Tofu Bites
Date Published: Sept 24th, 2025 | Last Updated: Sept 24th, 2025
Author: Abby |Category: appetizer, snacks, asian, <30 mins, easy, healthy, low-cal
Serves: 1 plate as an appetizer | Prep time: 10 mins | Cook time: 10 mins
Ingredients:
- Shrimp mixture:
- 6 large (140g) raw shrimp, deshelled and deveined
- 1 Tbsp (13g) ginger, peeled and roughly chopped
- 2 green onions (white and green parts separated)
- 1 tsp Shaoxing wine (Chinese cooking wine)
- 1/2 tsp corn starch
- 1/2 tsp sesame oil
- 1/8 tsp ground white pepper
- 1/8 tsp kosher salt
- 1 package egg tofu
- Sauce:
- 1/3 cup water
- 1/2 tsp soy sauce
- 1 tsp oyster sauce
- 1/4 tsp sesame oil
- 1/8 tsp ground white pepper
- 1/8 tsp granulated sugar
- 1/2 tsp corn starch
Directions:
- Slice the egg tofu into 2.5cm thick rounds and place on a heat-proof plate.
- In a food processor, add in your shrimp mixture: raw shrimp, 1 Tbsp ginger, 2 green onions (white part only), 1 tsp Shaoxing wine, 1/2 tsp corn starch, 1/2 tsp sesame oil, 1/8 tsp ground white pepper, and 1/8 tsp salt. Blend until you get a smooth paste.
- Carefully spoon a tablespoon of the shrimp mixture onto each egg tofu round. Place the plate in a steaming basket and steam for 10 minutes until the shrimp is set and cooked all the way through. If you don’t have a steaming basket, you can add a few centimetres of hot water into a wok and place the plate of shrimp tofu on an elevated plate or tray in the centre and add the lid over (as pictured).
- Make the sauce: While the shrimp and tofu steams, make the sauce by combining all the sauce ingredients (1/3 cup water, 1/2 tsp soy sauce, 1 tsp oyster sauce, 1/4 tsp sesame oil, 1/8 tsp white pepper, 1/8 tsp sugar, 1/2 tsp corn starch). Whisk until there are no lumps, then heat the sauce in a small pan on MED heat until it simmers and thickens (3-5 minutes) then turn off the heat.
- When the shrimp/tofu finishes steaming, remove the lid and use a papertowel to remove any collected water on the plate. Pour the sauce (from step 4) onto the plate around the shrimp/tofu and garnish with chopped green part of the green onions on top. Serve immediately. Enjoy!