Date Published: April 14th, 2024 | Last Updated: April 14th, 2024
Author: Abby |Category: appetizers, Asian, easy, snacks, Taiwanese
Serves: 4 as a snack (1 large bowl) | Prep time: marinate for 12 hours | Cook time: 20 minutes
Jump to recipe |
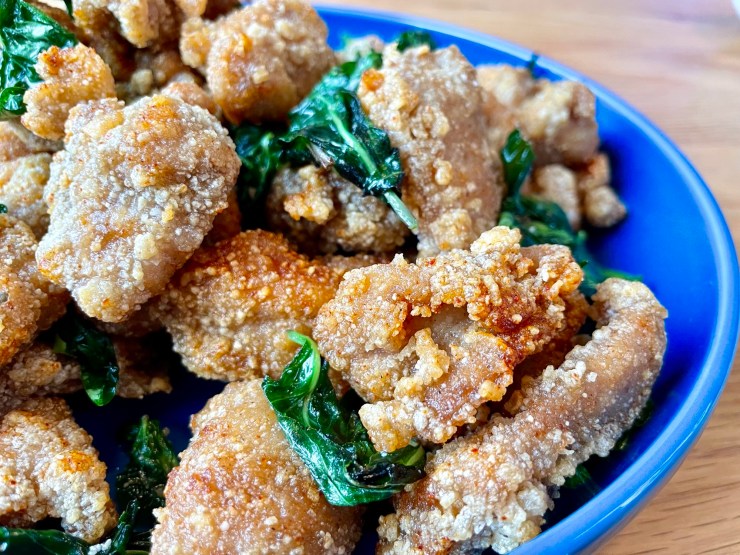
Ohhh yesssssss! I’m so excited to share this recipe with you all because Taiwanese popcorn chicken is SUPER addicting and is one of my all time favourite Taiwanese street foods. There used to be quite a few night market food stalls in Taiwan that sell this, but for some reason in recent years it’s been harder and harder to find. My parents’ place in Taiwan is within walking distance to the Shih-lin night market and when we were kids, we used to visit every summer and would occasionally go to the shitty small movie theatre in the night market for a cheap late night flick. Instead of popcorn as the traditional movie theatre food, popcorn chicken was our weakness. We would always go to the same popcorn chicken stall and each order our own large portion for the movie, along with a few fried tempura fish cakes. It was a time of bliss – I’d look forward to the chicken more than the actual movie 🙃. Now every time I see Taiwanese popcorn chicken, I’m transported back to those days of my parents taking us kids to the movies and indulging at the night market. That shitty movie theatre has since closed down and that food vendor is no longer there 😢, but I’m glad I figured out how to recreate the recipe so I can have it on demand any time.
How does Taiwanese popcorn chicken differ from regular popcorn chicken, you ask?
First of all, the batter coating is made with sweet potato starch rather than just regular flour which creates a more delicate crisp. Secondly, the chicken is marinated in a mix of common Taiwanese ingredients such as cooking rice wine, white pepper, and 5-spice powder that gives it a distinct flavour. Thirdly, this is eaten without a sauce, but topped with ground white pepper, salt, and chilli powder (optional). Fourth and finally, it is served with deep fried Thai basil leaves which in my opinion is crucial and adds an extra layer of flavour between bites of chicken. I am a Taiwanese popcorn chicken snob and will only order from food stalls if they serve it with the basil leaves 😅.
Anyways, without further ado, here’s the recipe! If you have any comments or suggestions, I’d love to hear from you in the comment section! You can follow me on instagram, youtube and facebook to see all the recipes I post!
Happy cooking!
Ingredients you’ll need:
- Chicken Marinade:
- 3 Tbsps soy sauce
- 1.5 Tbsps cooking rice wine/michu
- 3 cloves garlic, minced
- 3 tsps white sugar
- 3/4 tsp kosher salt
- 3/4 tsp ground white pepper
- 1/2 tsp 5-spice powder
- 3 large (~650g) chicken thighs, skinless, boneless, cut into 3-4 cm pieces
- 2 Tbsps all purpose flour
- 1/4 tsp baking powder
- 1.5 cups thick sweet potato starch (if you can only find the fine powder, sprtiz some water to make small clumps)
- 4 cups oil for frying (ie. canola, vegetable)
- 1 large handful of Thai basil leaves, washed and throughly dried
- Seasoning:
- 1/2 tsp chili powder (optional)
- 1/2 tsp ground white pepper
- 1/4 tsp fine salt
Directions:

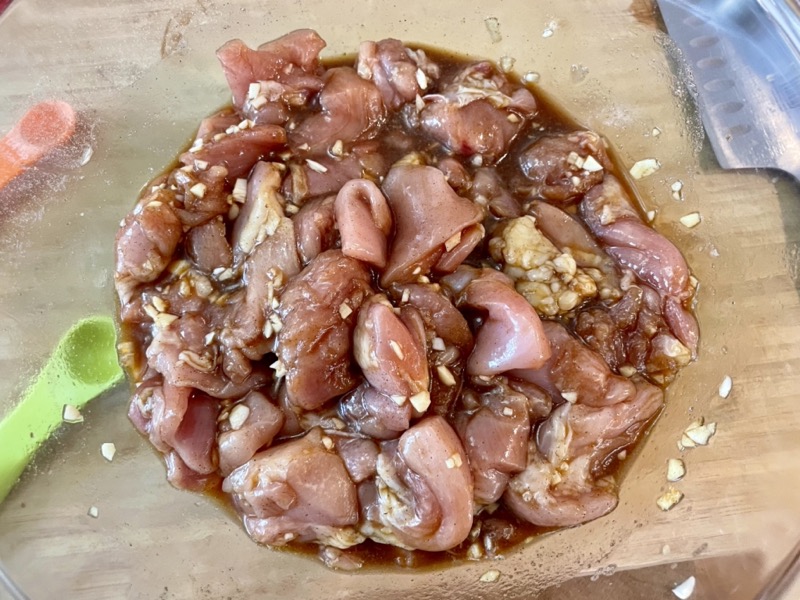
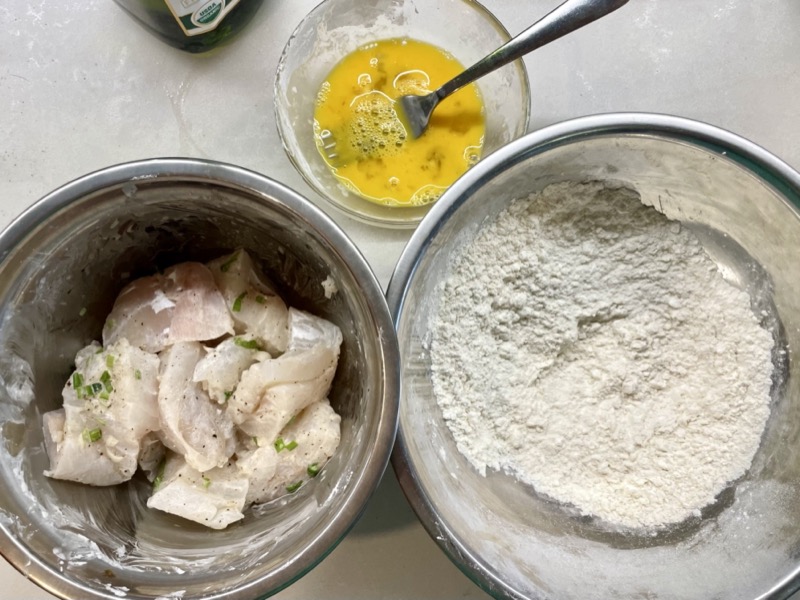
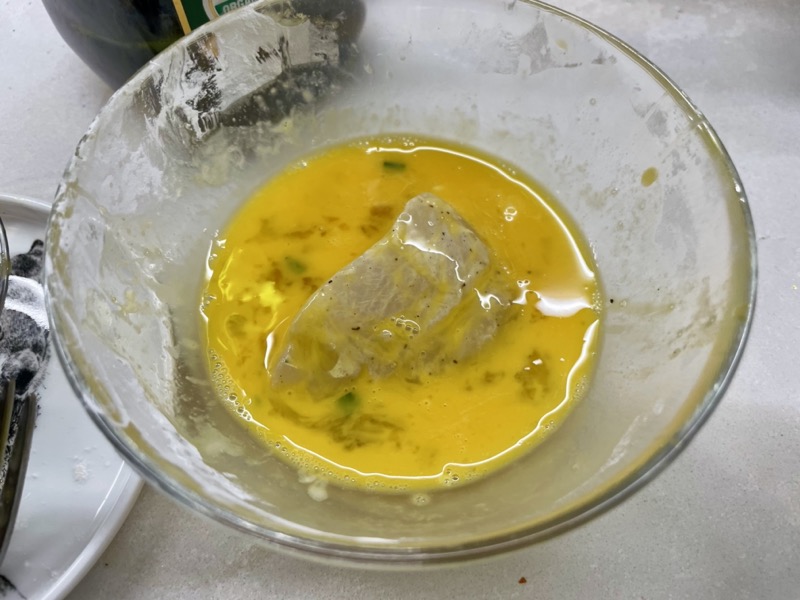
Marinate the chicken overnight: Combine all the chicken marinade ingredients in a mixing bowl: soy sauce, rice wine, garlic, sugar, salt, white pepper, 5-spice powder, and chicken thigh pieces. Cover and marinate in the fridge overnight.
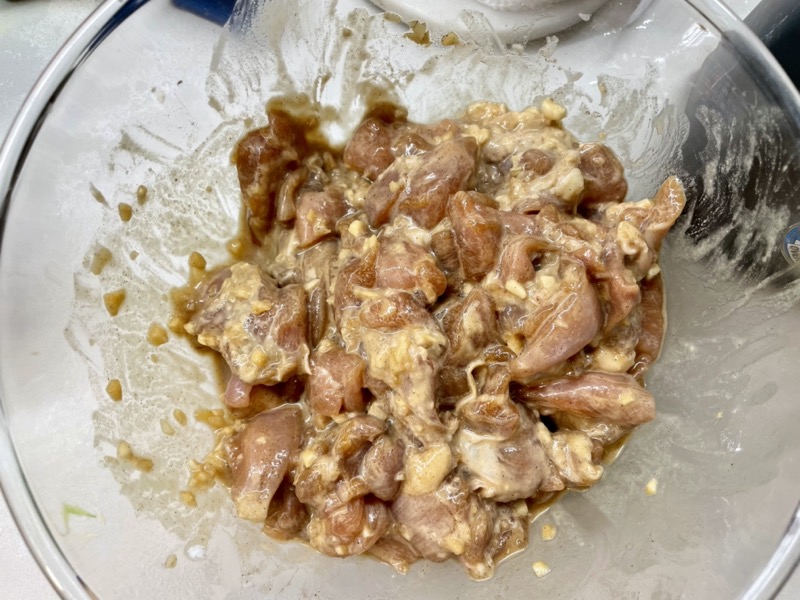
The next day, mix the chicken around in the marinade and add in the flour and baking powder. Mix well until combined.

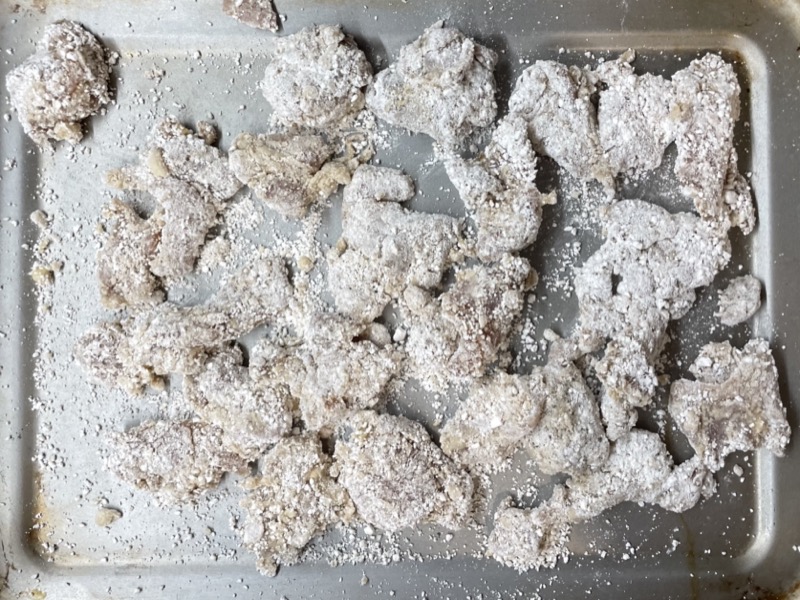
Bread the chicken: Pour the sweet potato starch into a wide base bowl. Place a few pieces of the marinated chicken at a time into the sweet potato starch and coat the chicken in the starch and gently pressing the starch into the chicken so it sticks better. Remove the coated chicken and place onto a plate. Repeat until all of the chicken pieces are coated in starch.
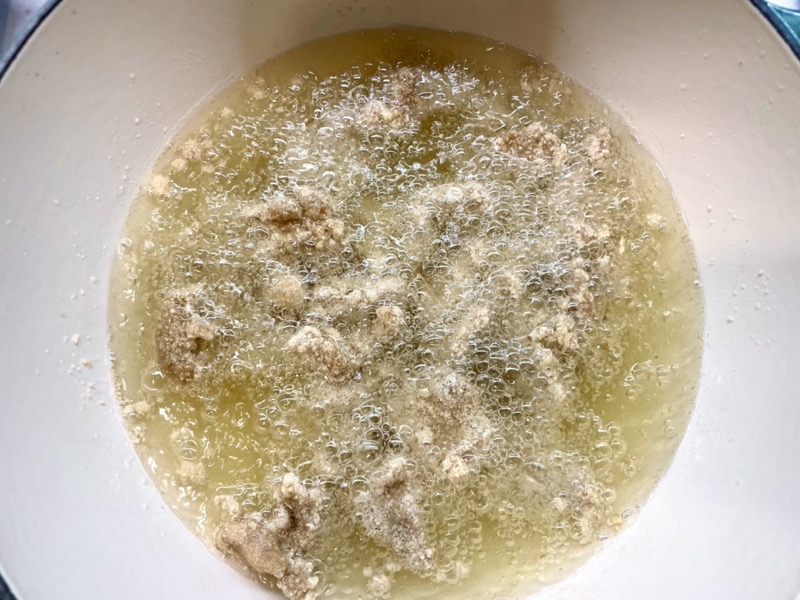

Cook the chicken: Heat the oil in a wide base pot. The oil is ready when it starts to shimmer and immediately sizzle when you add a dust of flour or a drop of batter. Fry the chicken in batches for 3-4 minutes at a time or until golden brown. Remove onto a cooling rack or paper towel-lined plate.


Once you’ve fried all the chicken, fry it all again a second time for 1 minute, starting with the first batch. This double fry method will give you a crispier coating. Once all the chicken has been refried, add in the basil leaves to the oil and fry for another 10-20 seconds and remove onto a cooling rack or a paper towel-lined plate to crisp up.

Add the seasoning: In a small bowl mix together the chili powder, white pepper, and salt. Once the chicken has cooled a little, put them all in a big mixing bowl along with the basil, and sprinkle the seasoning over top. Toss so all the pieces are evenly coated with seasoning. Serve immediately. Enjoy!


Summarized Recipe:
Taiwanese Popcorn Chicken 鹽酥雞
Date Published: April 14th, 2024 | Last Updated: April 14th, 2024
Author: Abby |Category: appetizers, Asian, easy, snacks, Taiwanese
Serves: 4 as a snack (1 large bowl) | Prep time: marinate for 12 hours | Cook time: 20 minutes
Ingredients:
- Chicken Marinade:
- 3 Tbsps soy sauce
- 1.5 Tbsps cooking rice wine/michu
- 3 cloves garlic, minced
- 3 tsps white sugar
- 3/4 tsp kosher salt
- 3/4 tsp ground white pepper
- 1/2 tsp 5-spice powder
- 3 large (~650g) chicken thighs, skinless, boneless, cut into 3-4 cm pieces
- 2 Tbsps all purpose flour
- 1/4 tsp baking powder
- 1.5 cups thick sweet potato starch (if you can only find the fine powder, sprtiz some water to make small clumps)
- 4 cups oil for frying (ie. canola, vegetable)
- 1 large handful of Thai basil leaves, washed and throughly dried
- Seasoning:
- 1/2 tsp chili powder (optional)
- 1/2 tsp ground white pepper
- 1/4 tsp fine salt
Directions:
- Marinate the chicken overnight: Combine all the chicken marinade ingredients in a mixing bowl: soy sauce, rice wine, garlic, sugar, salt, white pepper, 5-spice powder, and chicken thigh pieces. Cover and marinate in the fridge overnight.
- The next day, mix the chicken around in the marinade and add in the flour and baking powder. Mix well until combined.
- Bread the chicken: Pour the sweet potato starch into a wide base bowl. Place a few pieces of the marinated chicken at a time into the sweet potato starch and coat the chicken in the starch and gently pressing the starch into the chicken so it sticks better. Remove the coated chicken and place onto a plate. Repeat until all of the chicken pieces are coated in starch.
- Cook the chicken: Heat the oil in a wide base pot. The oil is ready when it starts to shimmer and immediately sizzle when you add a dust of flour or a drop of batter. Fry the chicken in batches for 3-4 minutes at a time or until golden brown. Remove onto a cooling rack or paper towel-lined plate. Once you’ve fried all the chicken, fry it all again a second time for 1 minute, starting with the first batch. This double fry method will give you a crispier coating. Once all the chicken has been refried, add in the basil leaves to the oil and fry for another 10-20 seconds and remove onto a paper towel-lined plate to crisp up.
- Add the seasoning: In a small bowl mix together the chili powder, white pepper, and salt. Once the chicken has cooled a little, put them all in a big mixing bowl along with the basil, and sprinkle the seasoning over top. Toss so all the pieces are evenly coated with seasoning. Serve immediately. Enjoy!