Date Published: Jan 6th, 2025 | Last Updated: Jan 6th, 2025
Author: Abby |Category: easy, <30 mins, Asian, appetizers, healthy, low cal, sides, Taiwanese
Serves: 1 plate | Prep time: 5 mins | Cook time: 28 mins (+ 2 hours marinating)
Jump to recipe |
Drunken Chicken is a traditional Chinese savoury appetizer dish served either cold or at room temperature. Fair warning, if you don’t like alcohol, you’re not going to like this dish. I grew up with this dish and I absolutely hated it when I was a kid because of how strong the alcohol flavour was. It was almost always served as part of a 10 course prix-fixe meal at fancy Chinese restaurants during get-togethers with extended families, work dinners, or wedding banquets. Any time there’s any occasion to celebrate, drunken chicken makes an appearance. Now as an adult and being more accustomed to alcohol, I found a new appreciation for this dish. It’s unique and is a nice way to open your palate before the hot stir frys come out, and the salty cool alcohol flavours gives a good break from hot spicy foods.

This recipe is ridiculously easy and cooks up quickly. Make sure you use good quality Shaoxing Wine for this dish since it’s 50% of the marinade – you’ll taste the difference. You’ll need to marinate the chicken for at least 2 hours or better if overnight, so make sure you give yourself enough time before serving.
Anyways, without further ado, here’s the recipe! If you have any comments or suggestions, I’d love to hear from you in the comment section! You can follow me on instagram, youtube and facebook to see all the recipes I post!
Happy cooking!
Ingredients you’ll need:
- 4 chicken thighs, skin-on, bone in or out
- 1 Tbsp kosher salt flakes + more to taste
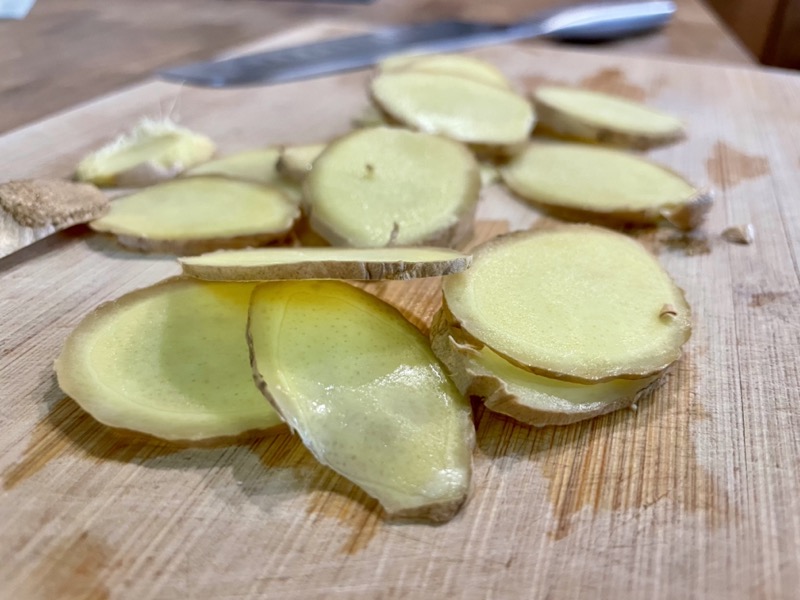
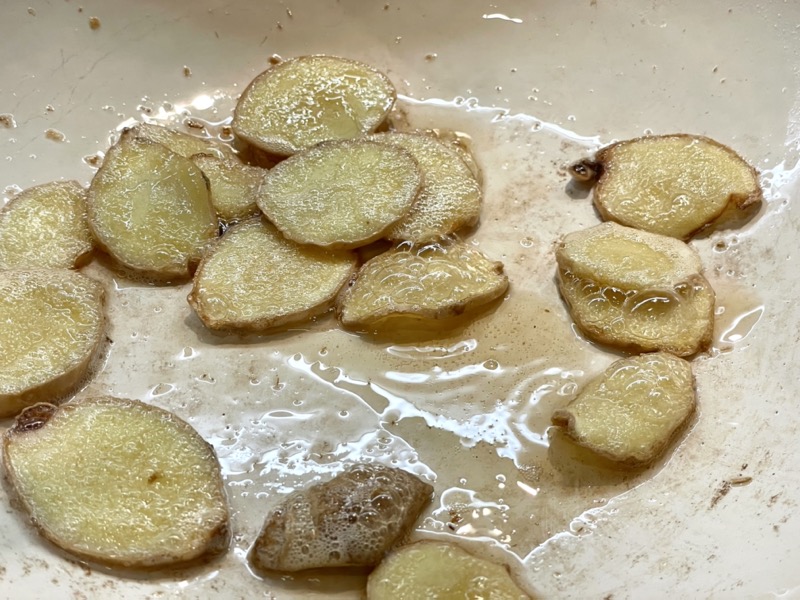
- 4x 3mm slices of ginger
- 2 spring onions, trimmed and cut 4cm lengths
- Ice water bath
- 1 tsp granulated sugar
- 1.5 cups (375ml) Shaoxing Wine (Chinese cooking wine)
- 1 Tbsp goji berries
Directions:
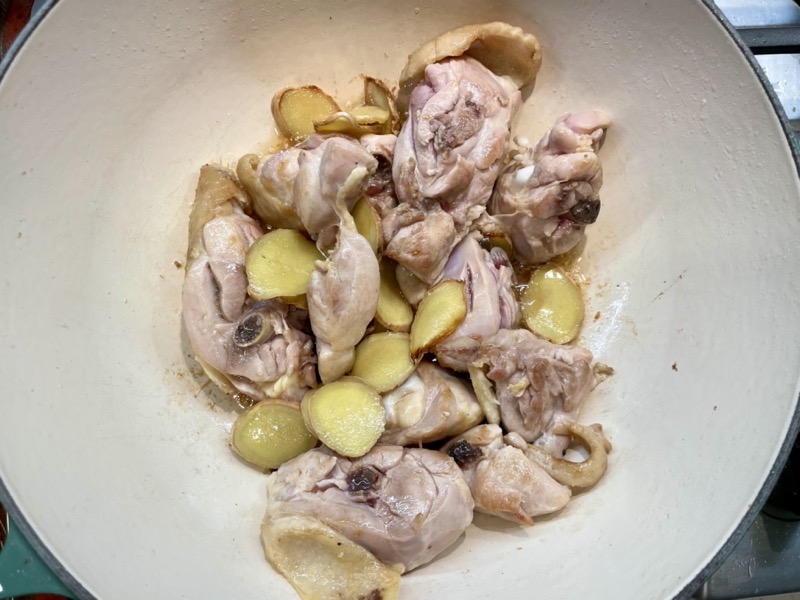
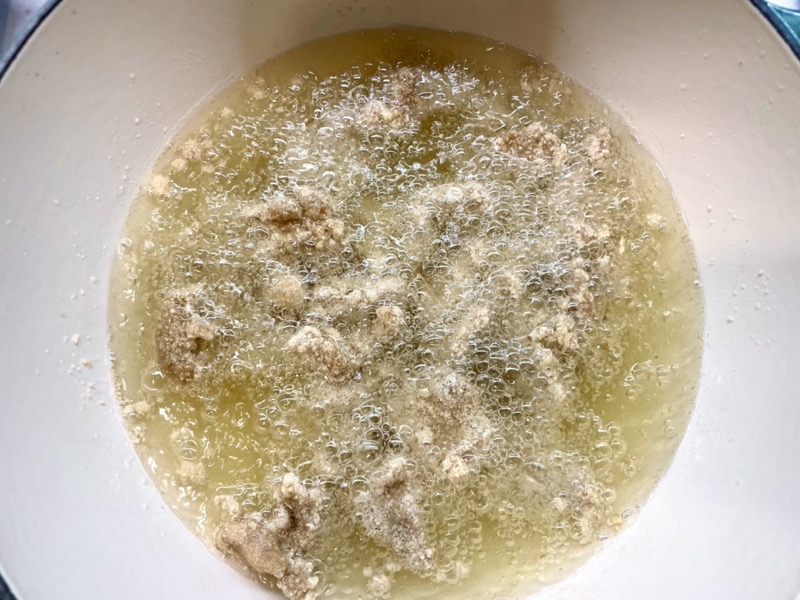
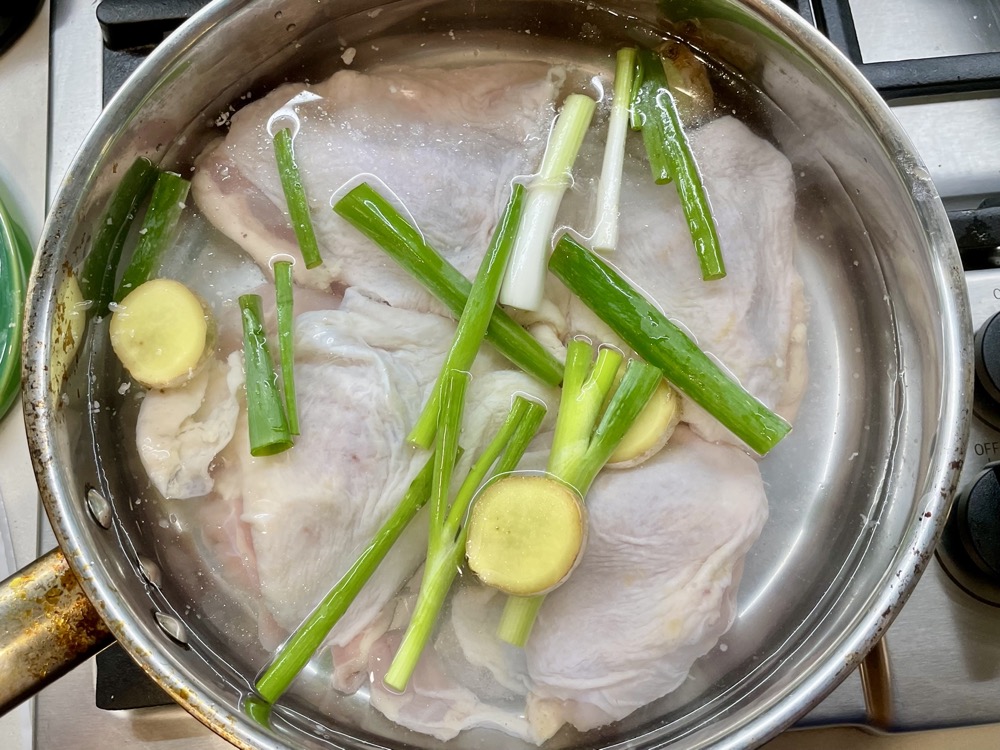
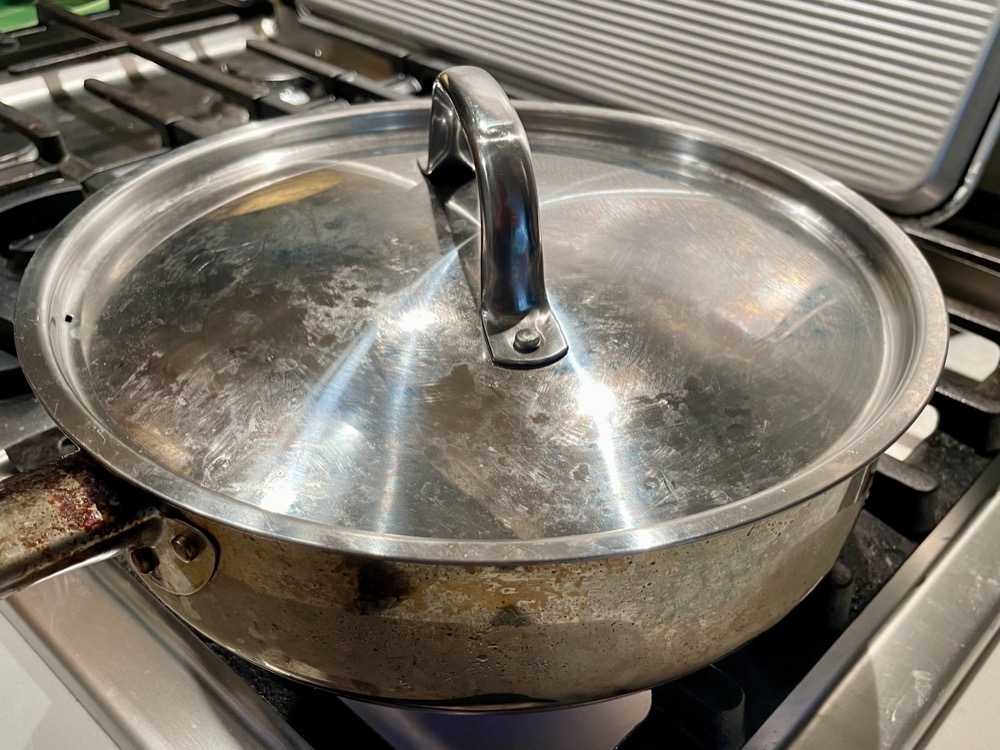
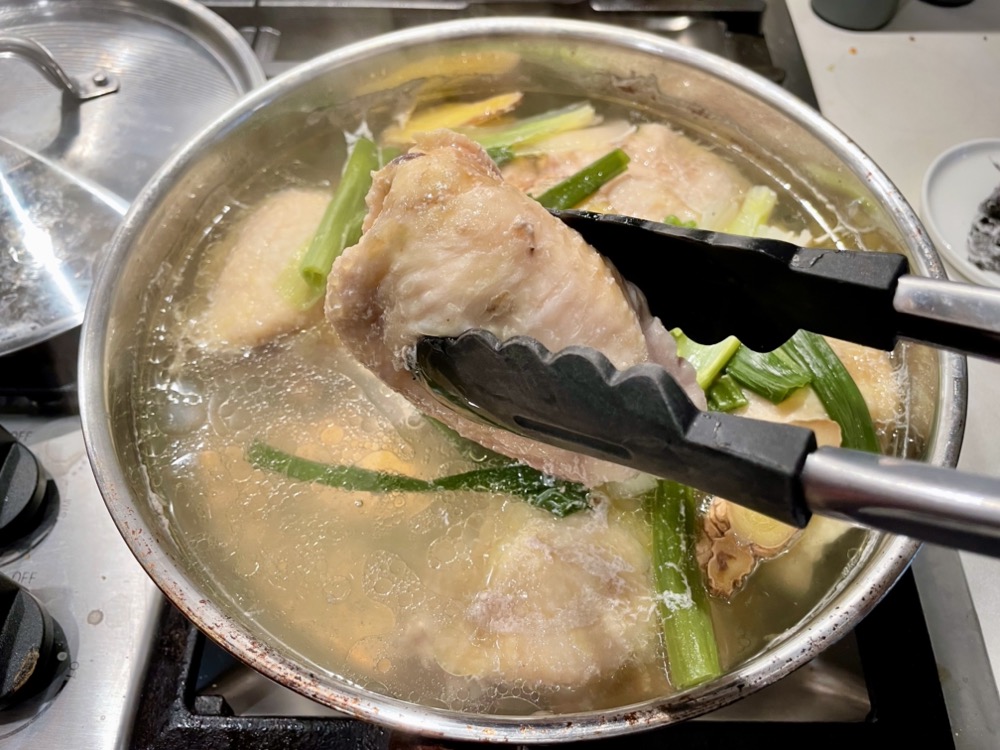
In a pot or a deep pan (with a lid), arrange the chicken thighs in a single layer and add in 1 Tbsp salt, ginger slices, and spring onions. Add enough water to just cover the chicken. Put the lid on and turn the heat up to HIGH to bring the water to a boil, then turn it down to LOW to let the chicken simmer for 8 minutes.

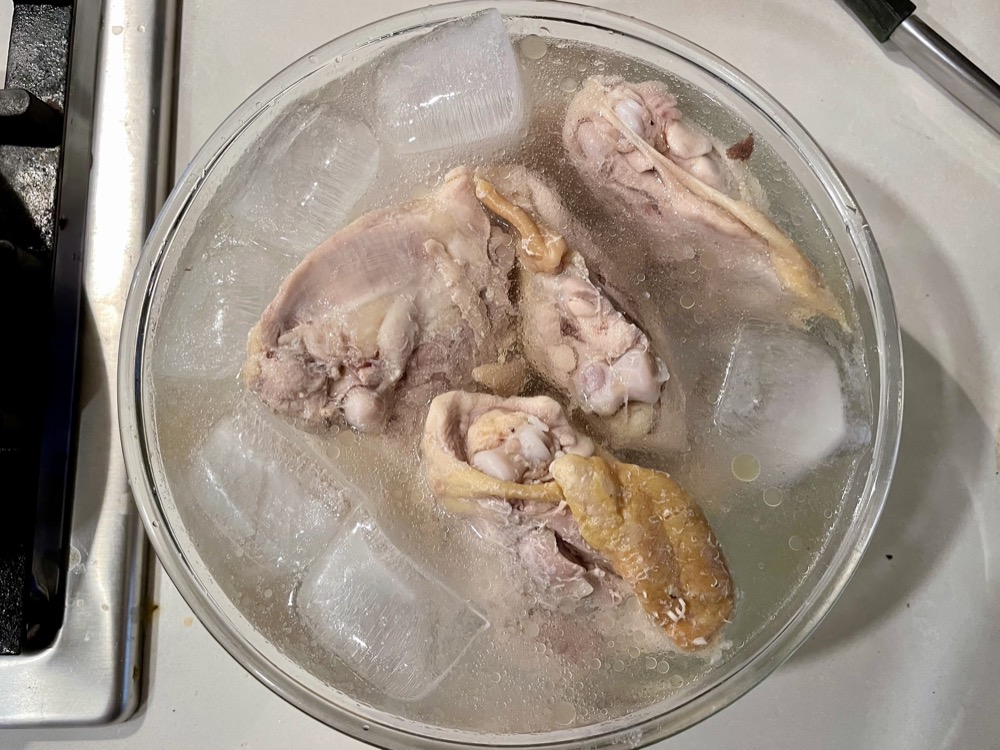
After 8 minutes, turn the heat off and let the chicken sit for another 5 minutes with the lid on (do not open the lid until the timer is up or else you’ll let the heat escape). Prepare an ice water bath for the chicken in this time.
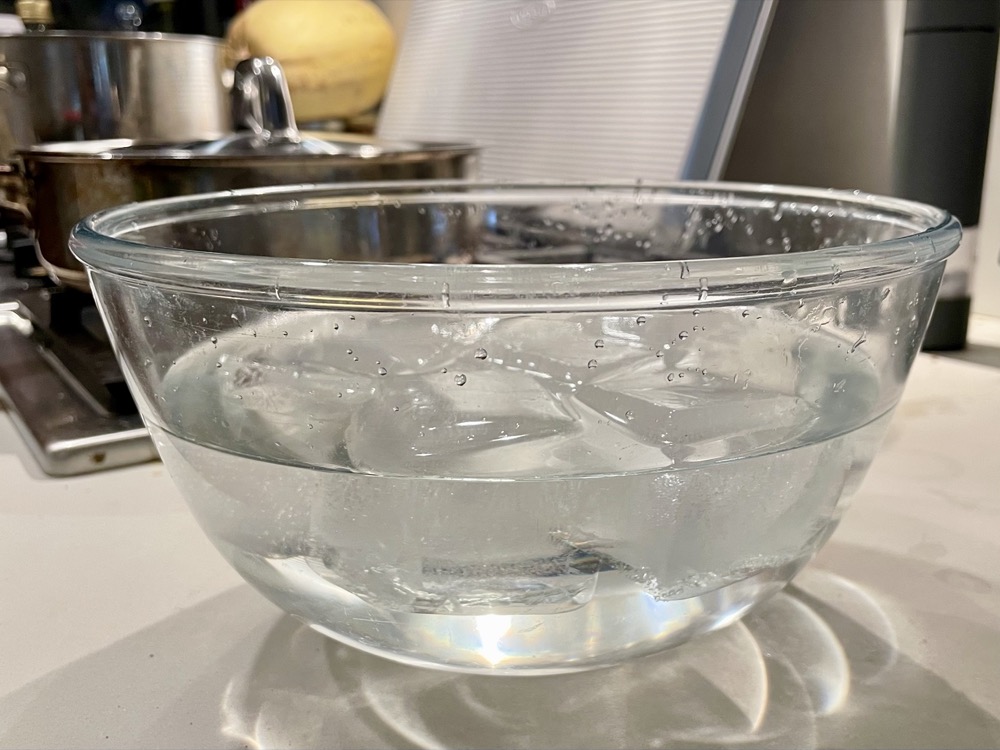
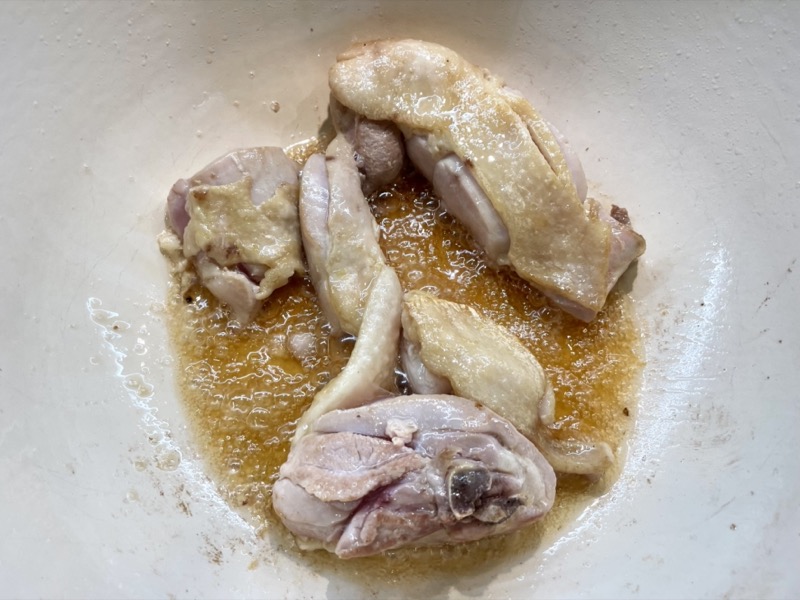
When the timer is up, check that the chicken is cooked (internal temp should be at least 165˚F/74˚C). If it hasn’t cooked, simmer it for a bit longer, otherwise remove the chicken and place it in the prepared ice water bath. This will allow the skin to firm up with a bouncy texture.
With the remaining broth, turn on the heat again to MED-HIGH and let the broth simmer until the liquid has reduced to about 1.5 cups (15-20 mins).

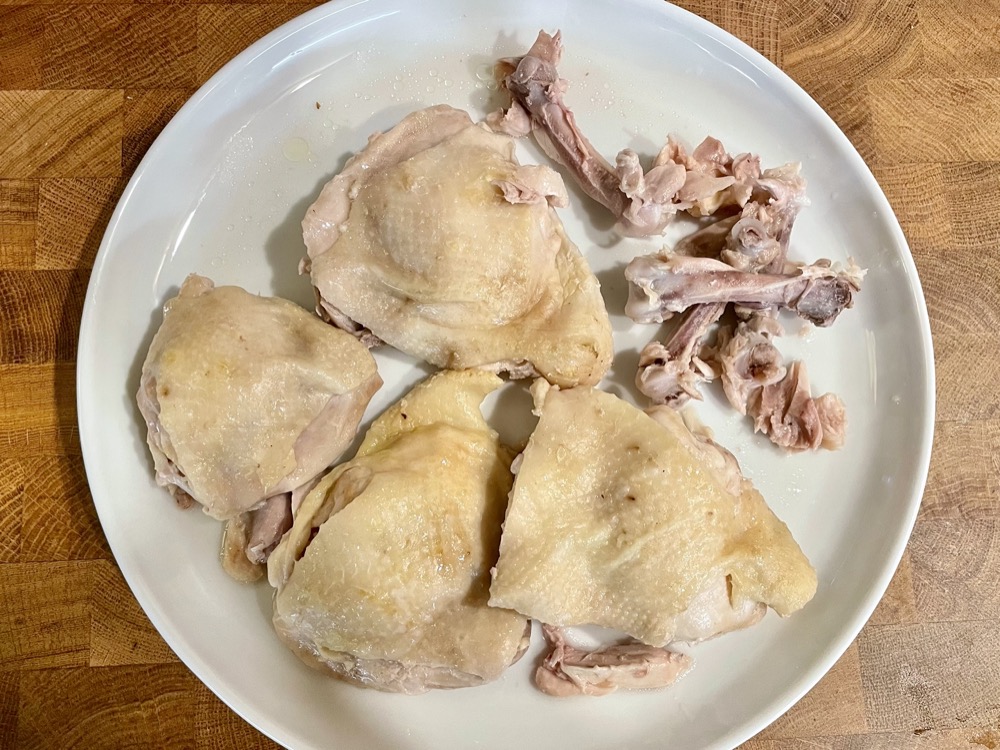
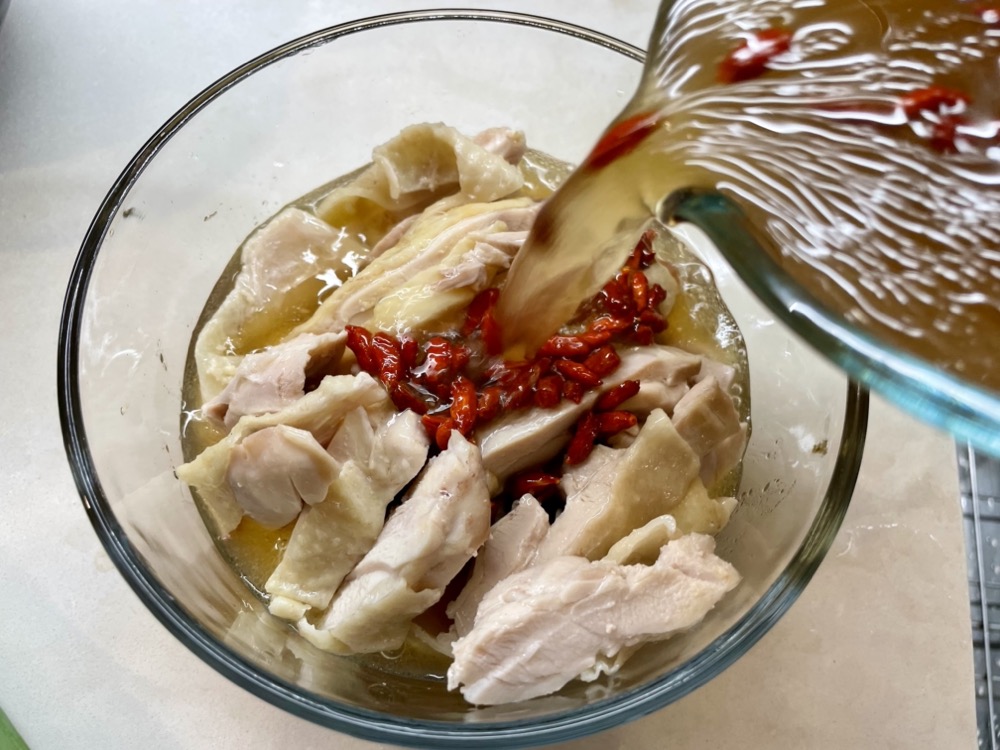
While the broth is reducing, once the chicken has cooled, remove it from the ice bath and remove the bone with your hands (if present). Slice the chicken and place it in a glass or non-reactive bowl with a lid.


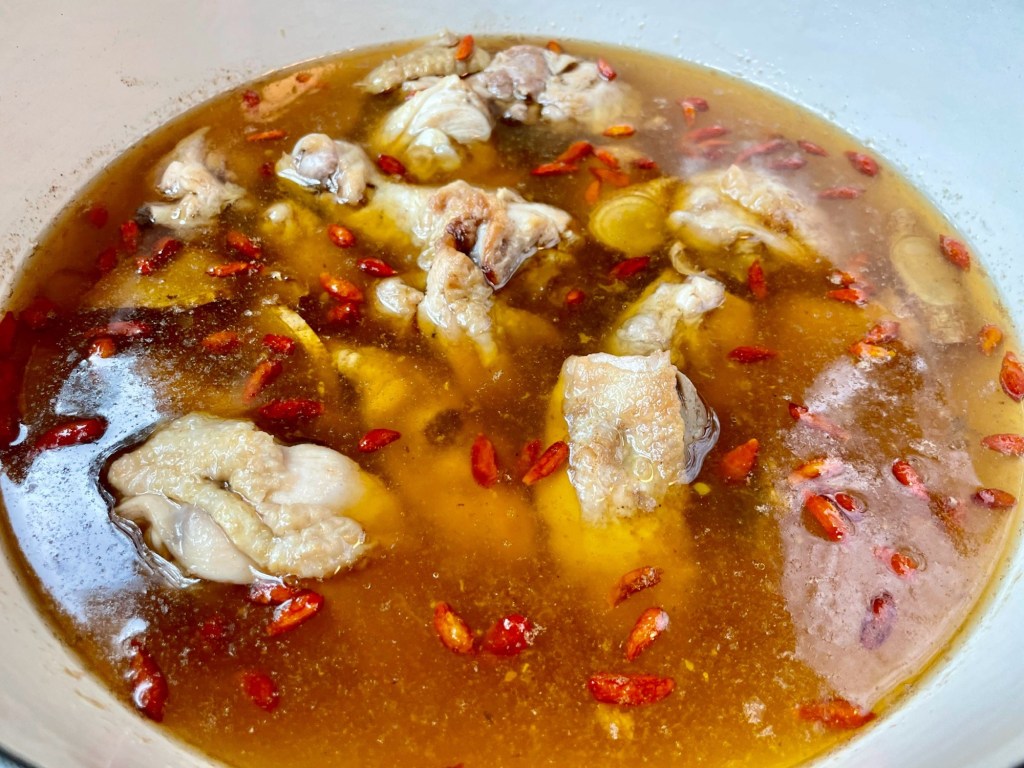
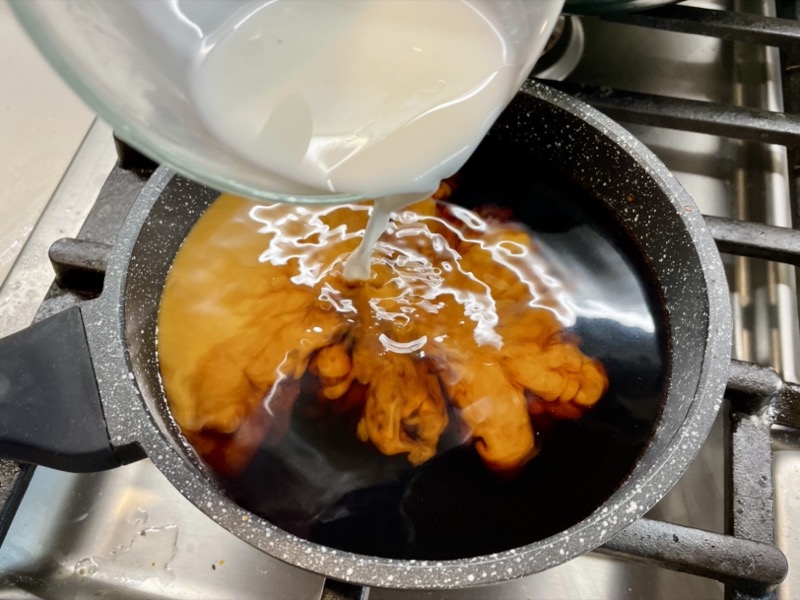
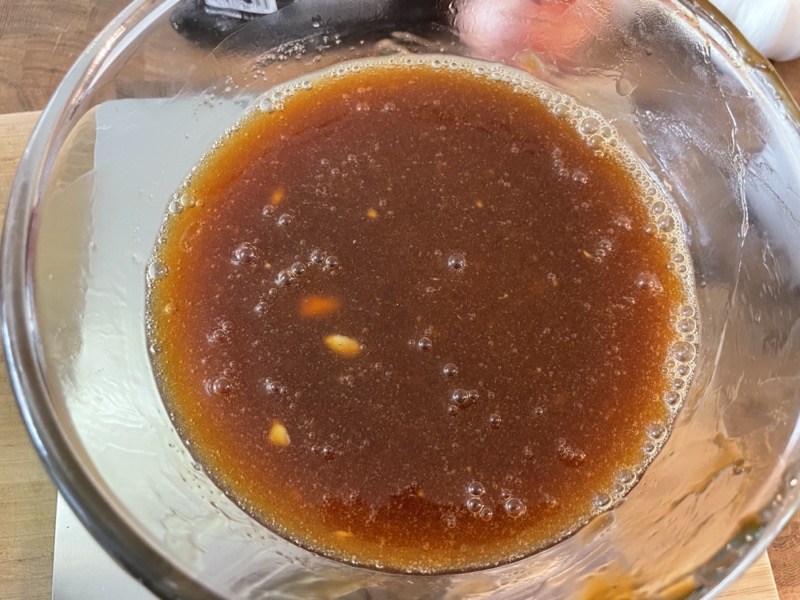
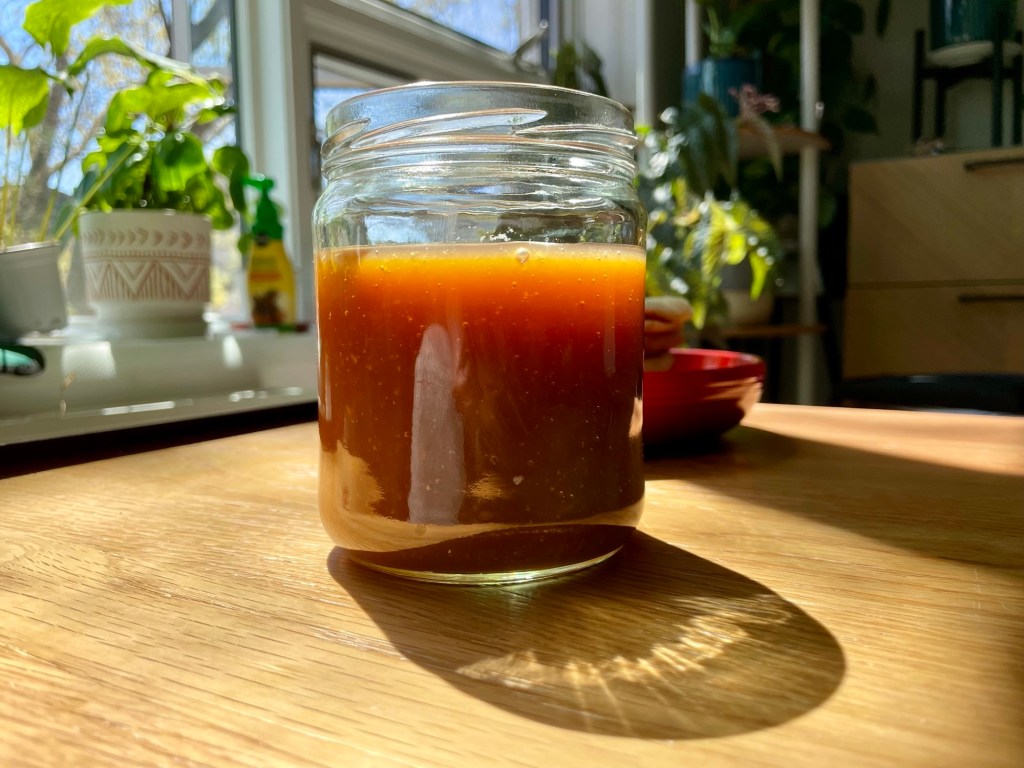
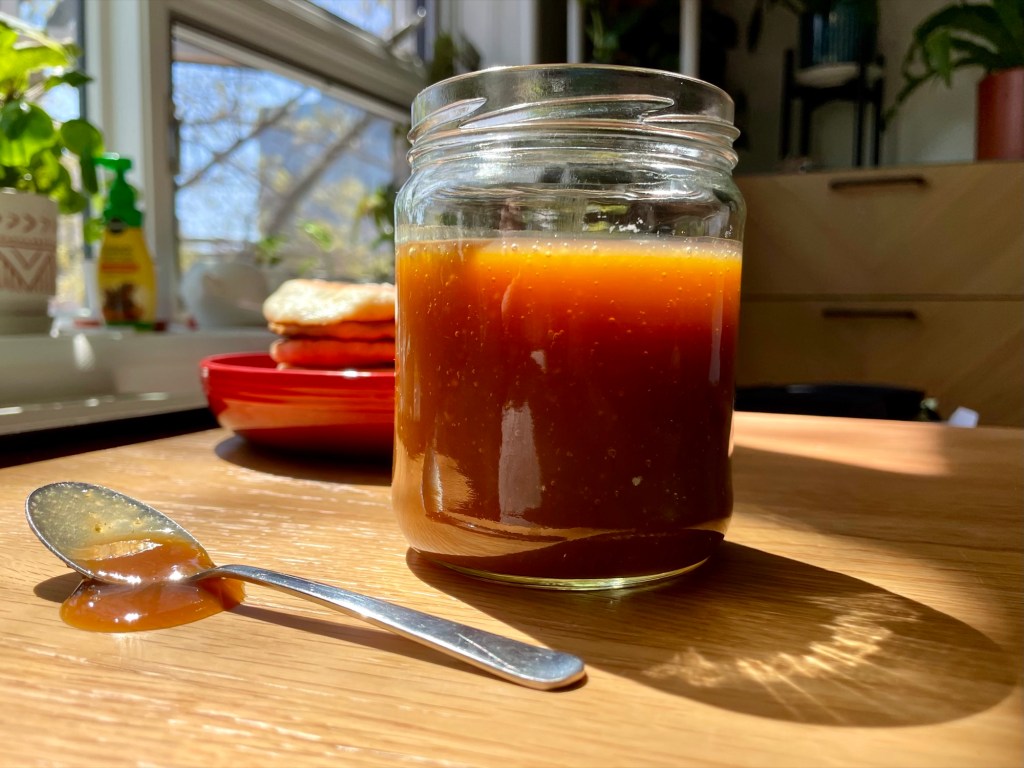
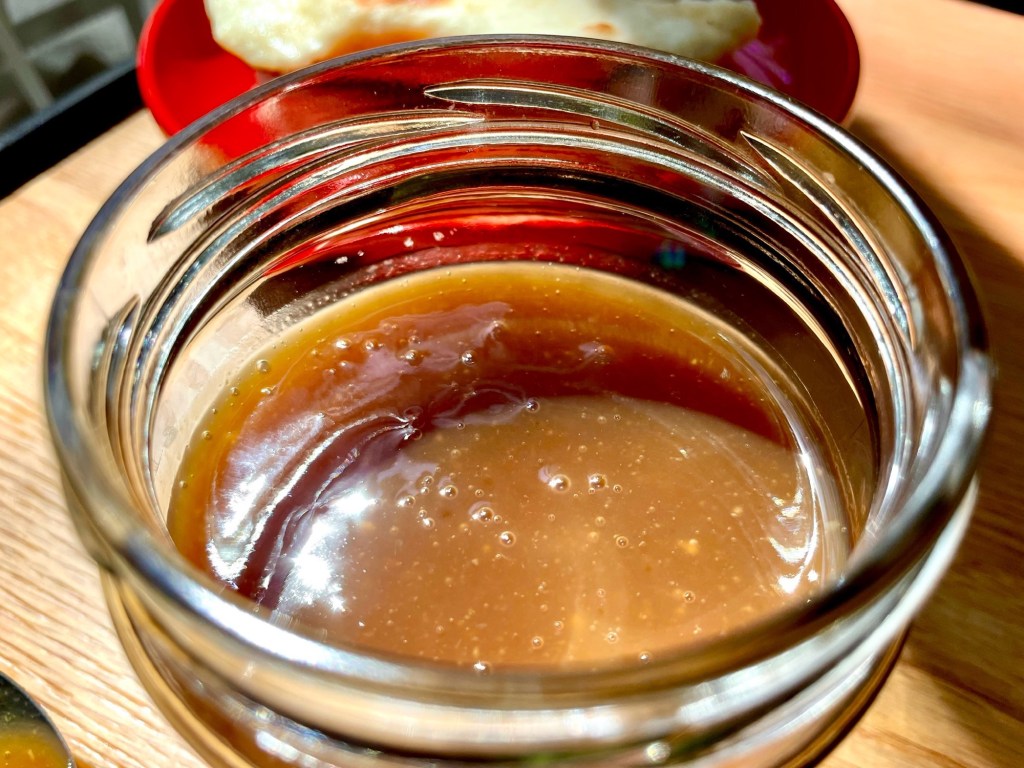
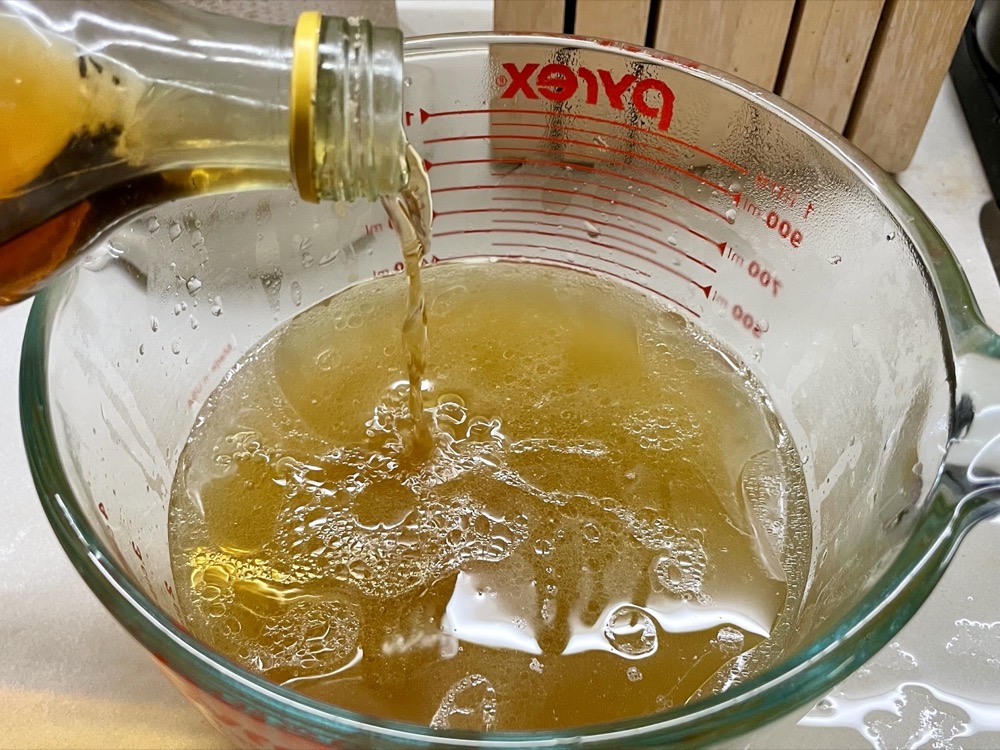
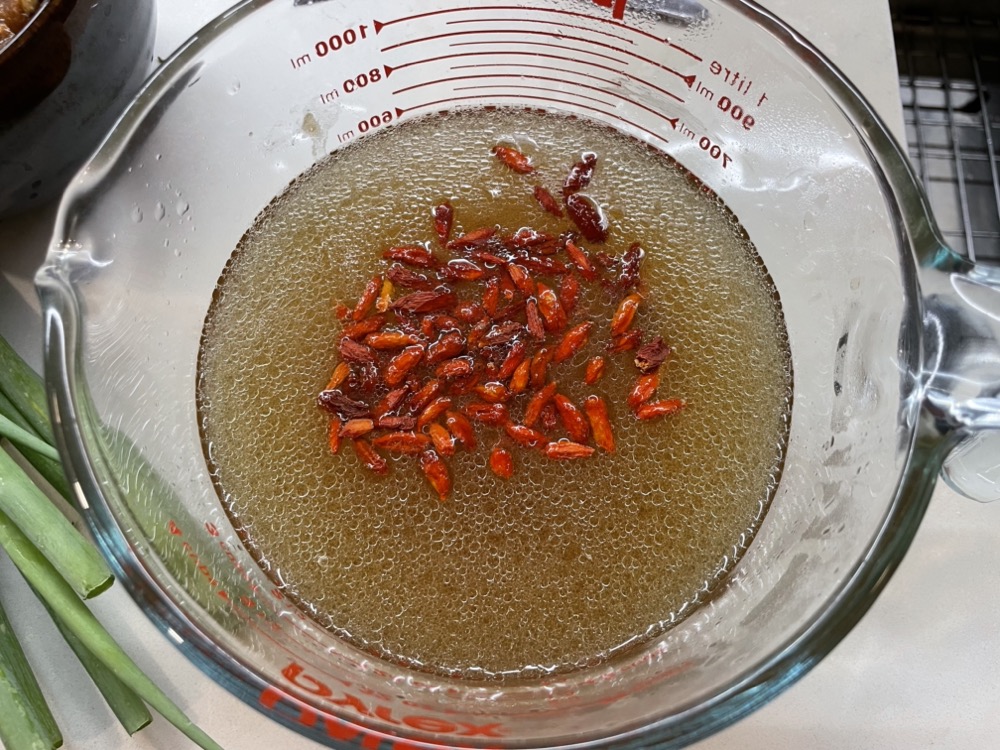
Once the broth has reduced, strain it into a measuring cup and add in the equivalent amount of Shaoxing wine into the measuring cup (ie. if you have 1.5 cups of broth, you will add to it 1.5 cups of the wine), 1 tsp sugar, and the goji berries. Stir until the sugar dissolves and taste. You should have a very savoury alcohol-tasting broth.


Pour the alcohol/broth mixture into the bowl with the sliced chicken and cover. Refrigerate to marinate for at least 2 hours or overnight.

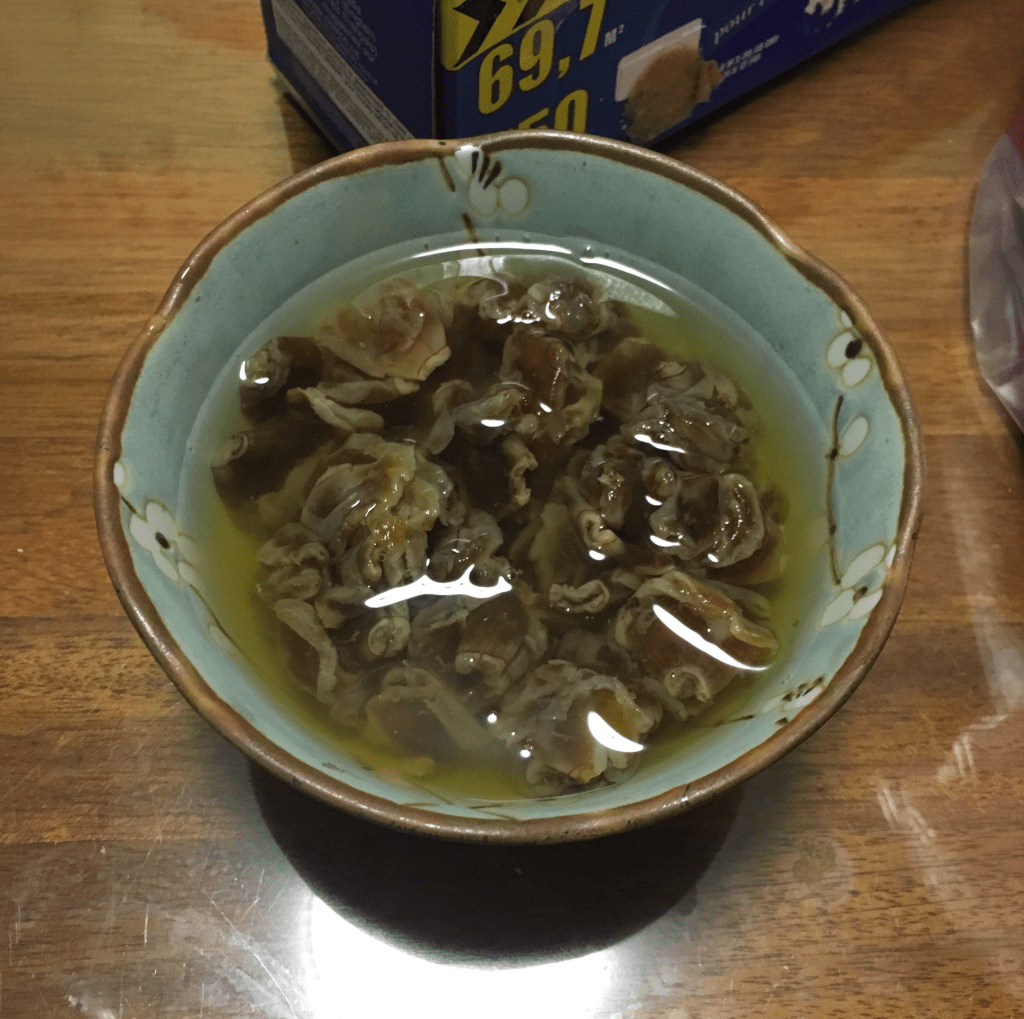
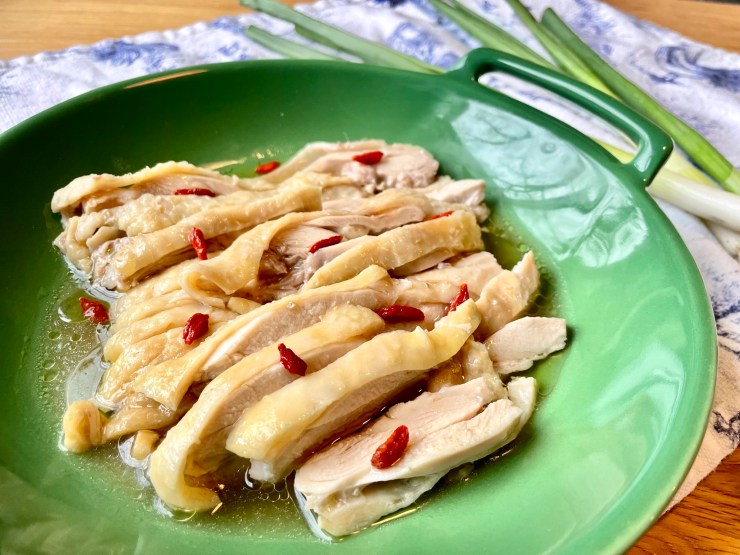
When serving, strain the liquid from the chicken and serve chilled. Enjoy!


Summarized Recipe:
Drunken Chicken (a Chinese cold dish)
Date Published: Jan 6th, 2025 | Last Updated: Jan 6th, 2025
Author: Abby |Category: easy, <30 mins, Asian, appetizers, healthy, low cal, sides, Taiwanese
Serves: 1 plate | Prep time: 5 mins | Cook time: 28 mins (+ 2 hours marinating)
Ingredients:
- 4 chicken thighs, skin-on, bone in or out
- 1 Tbsp kosher salt flakes + more to taste
- 4x 3mm slices of ginger
- 2 spring onions, trimmed and cut 4cm lengths
- Ice water bath
- 1 tsp granulated sugar
- 1.5 cups (375ml) Shaoxing Wine (Chinese cooking wine)
- 1 Tbsp goji berries
Directions:
- In a pot or a deep pan (with a lid), arrange the chicken thighs in a single layer and add in 1 Tbsp salt, ginger slices, and spring onions. Add enough water to just cover the chicken. Put the lid on and turn the heat up to HIGH to bring the water to a boil, then turn it down to LOW to let the chicken simmer for 8 minutes.
- After 8 minutes, turn the heat off and let the chicken sit for another 5 minutes with the lid on (do not open the lid until the timer is up or else you’ll let the heat escape). Prepare an ice water bath for the chicken in this time.
- When the timer is up, check that the chicken is cooked (internal temp should be at least 165˚F/74˚C). If it hasn’t cooked, simmer it for a bit longer, otherwise remove the chicken and place it in the prepared ice water bath. This will allow the skin to firm up with a bouncy texture.
- With the remaining broth, turn on the heat again to MED-HIGH and let the broth simmer until the liquid has reduced to about 1.5 cups (15-20 mins).
- While the broth is reducing, once the chicken has cooled, remove it from the ice bath and remove the bone with your hands (if present). Slice the chicken and place it in a glass or non-reactive bowl with a lid.
- Once the broth has reduced, strain it into a measuring cup and add in the equivalent amount of Shaoxing wine into the measuring cup (ie. if you have 1.5 cups of broth, you will add to it 1.5 cups of the wine), 1 tsp sugar, and the goji berries. Stir until the sugar dissolves and taste. You should have a very savoury alcohol-tasting broth.
- Pour the alcohol/broth mixture into the bowl with the sliced chicken and cover. Refrigerate to marinate for at least 2 hours or overnight. When serving, strain the liquid from the chicken and serve chilled. Enjoy!