It was the end of August 2020, smack deep in the pandemic. The state of Victoria had the highest number of COVID cases and everyone was stressed and in lockdown. 8 months prior when there were only whispers of an emerging COVID virus overseas, Toby and I both gave in our notices with big plans ahead, not expecting everything soon to be derailed. We had planned to move out of our apartment in Balwyn in April 2020, live 1 month on Toby’s parents’ farm to prepare for our wedding, then be wed on the farm on Saturday, May 9th, 2020. After the wedding we were going to locum in the UK and travel Europe.
In March of 2020, we were working the final months of our contract. The news got scarier and scarier to watch, with COVID cases climbing higher and higher. Everyone felt a sense of unease and paranoia. Our work started with face shields and masks with social distancing then turned into curb-side/over-the-phone consulting. There was a shortage of masks and hand sanitizer and I was so glad we still plenty of our Costco bulk toilet paper left from simpler times. When they closed international borders, it was clear that our wedding would not go ahead as planned and our overseas plans were in danger. How the near future would play out was uncertain and no one knew how long the pandemic would last. We decided to continue with our plan of leaving our jobs anyway and move on to the farm to wait out the pandemic since neither of us have had a proper break since starting work as new grad veterinarians so this would be a nice extended break. We sold all of our furniture and held a couple Camberwell stalls to get rid of unwanted items, then moved the rest to the farm. We were hopeful the virus would be contained within a few months so we only postponed our wedding to November of 2020.
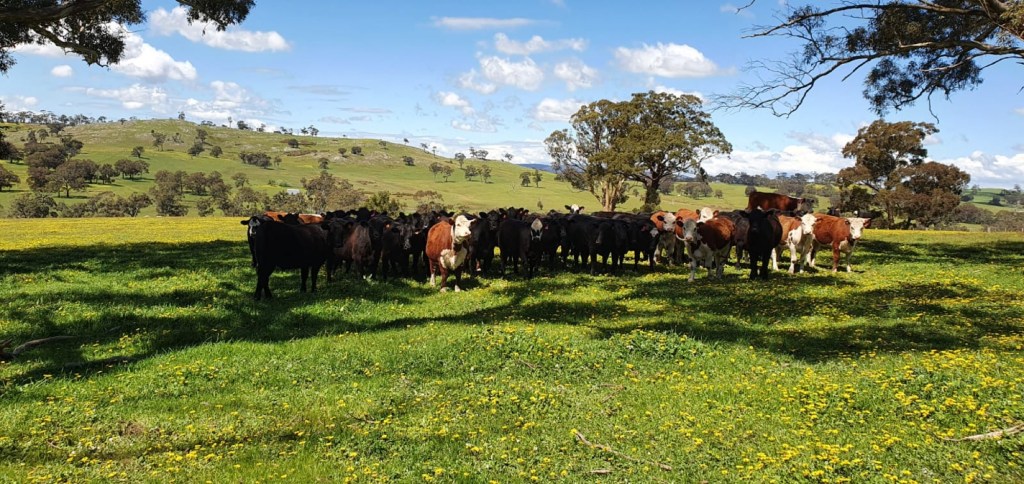
Moving to the farm was a breath of fresh air. We had 50 acres of land to roam and open-air with cattle, chickens, and the three family dogs. Toby put together a little TV room for us so we can have our own little space and watch our evening Masterchef on TV while his dad watched the evening news. His parents did the weekly grocery shop at Dandenong Market while Toby and I cooked daily with inspiration from Masterchef. Our day-to-day was waking up, cooking, doing the dishes, then going about our own activities until the evening where sometimes I’d be baking something or Toby would be trying out a soufflé recipe (he was really into egg recipes at point to use up the abundance of eggs from the chickens) and we’d eat it together until 7-8pm when Masterchef/the evening news would come on. Rinse and repeat.
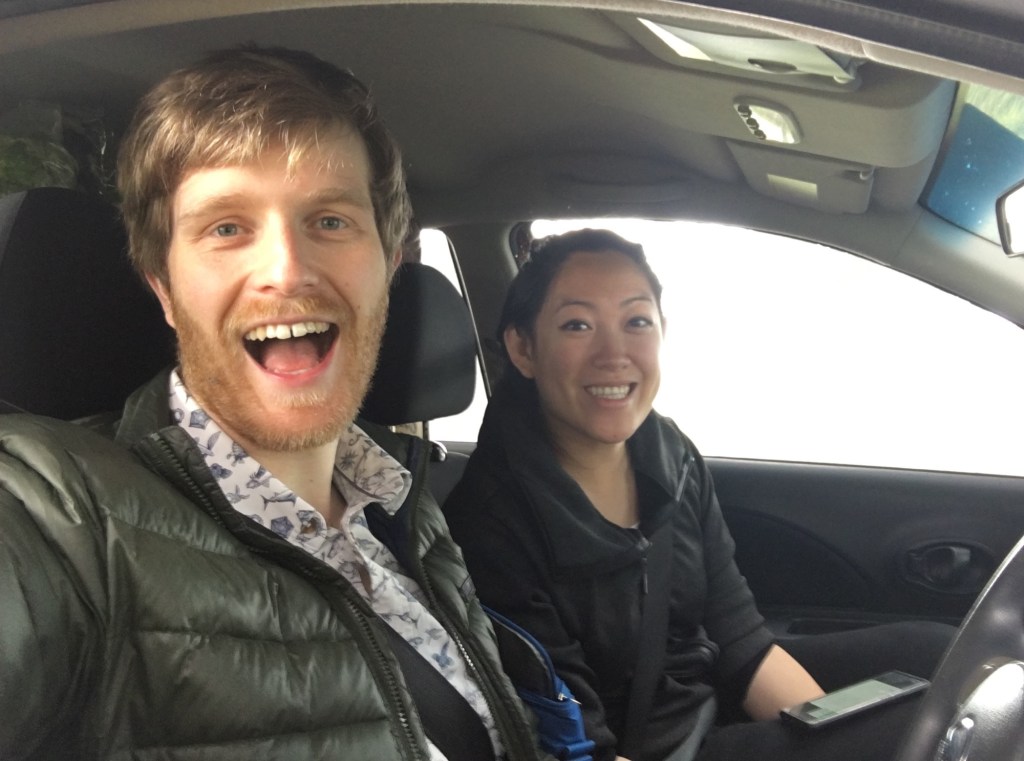
After 4 months of this, the end of the pandemic was nowhere in sight and the lack of income and working purpose was gnawing at us. One day I received a random phone call from a corporate company that asked me if I was looking for a job. During the pandemic everyone was home, paying more attention to their animals or people were rescuing animals from shelters and as a result the need for veterinarians were at an all time high. I had never actually worked for this company before, but I did apply for one of their clinics almost a year prior but I never accepted the job – they must’ve kept my information in their file and in desperate times, calling every lead they possibly had. The call came at a good time, when we were getting a little tired of the monotony and yearning for a greater purpose again. We didn’t want to commit to another full time contract job since we still had plans to leave the country when the pandemic blew over (whenever that would be), so we accepted a temporary locum job for 2 months. Within 48 hours we were packed and ready to start a new adventure. Toby stayed at the Kilmore clinic full time and I travelled between Kilmore, Wallan and Woodend.
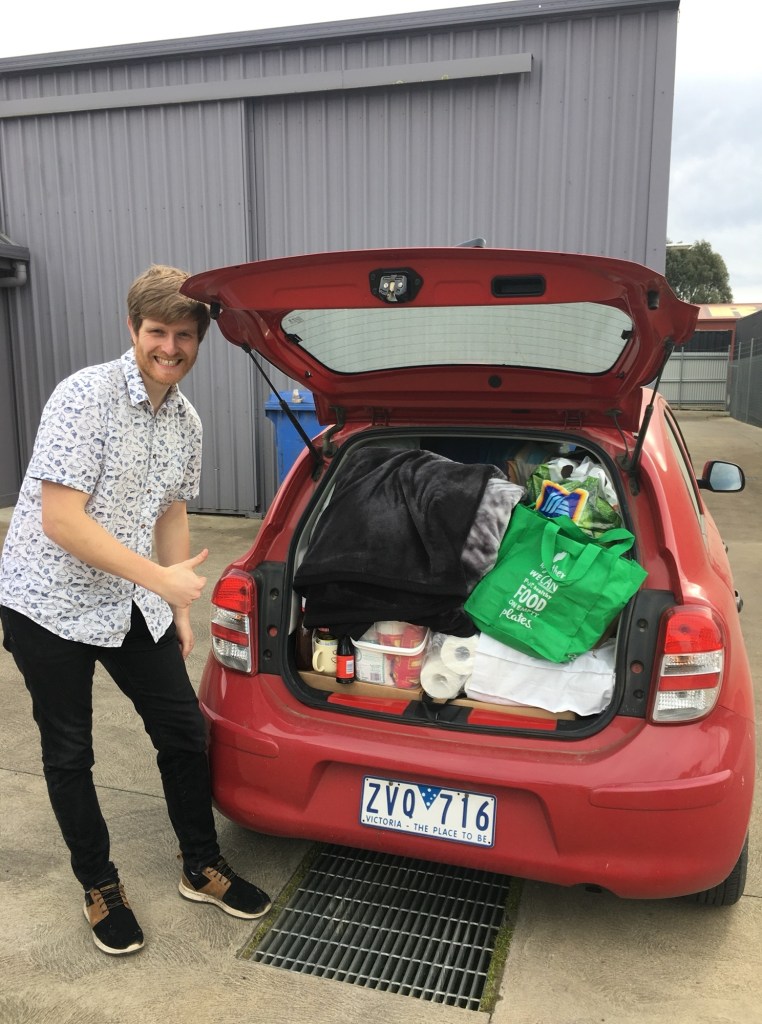

The communal break room had a full kitchen for us to use. As you can see, the bulk of our things were my cooking tools and we were also loaded up with farm fresh veggies from Toby’s mom before we left <3. Toby is trying to reorganize and figure out how everything is going to fit.
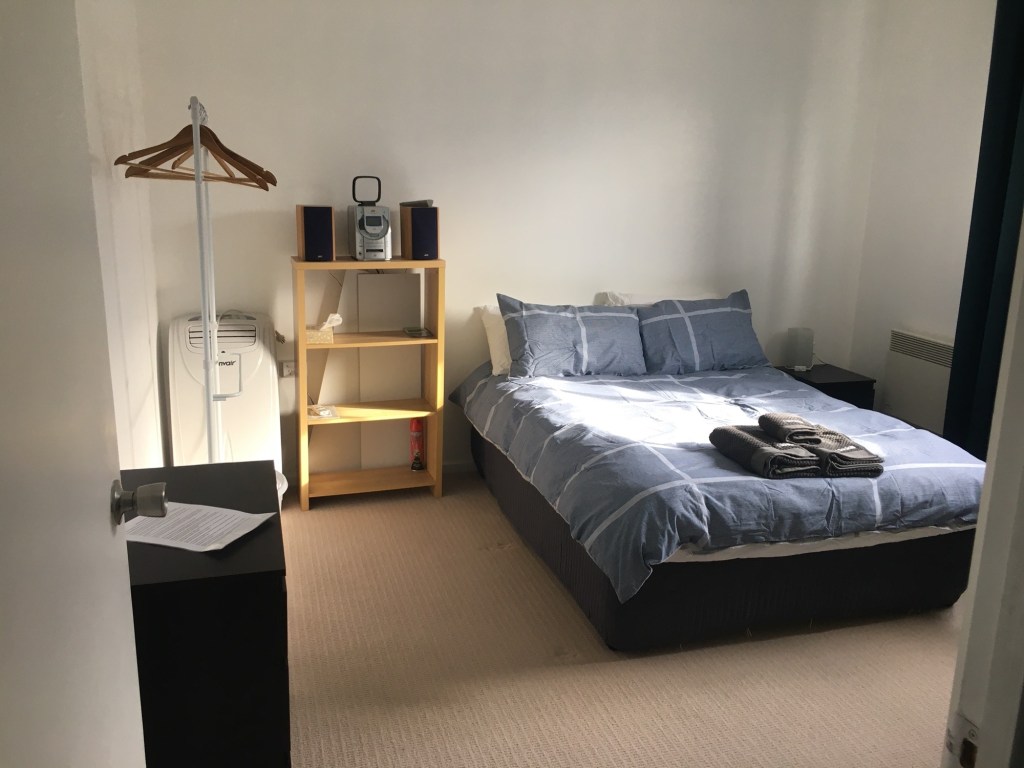
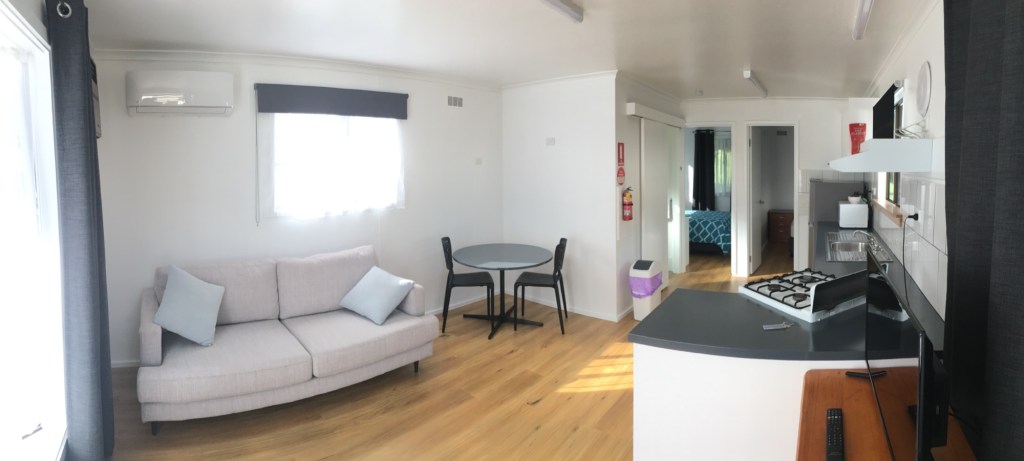
We arrived at the Kilmore clinic while the clinic was closed and the practice manager showed us to our accommodation at the back of the clinic. We were expecting the worst but it was actually a very nicely renovated room with a roomy bathroom. We unpacked and settled into our new home relatively quickly.


After a month the landlord decided that he suddenly needed to replace the flooring of the back of the clinic so they moved us to the trailer park across the street. Looked dodgy, but it was actually quite nice! We got two small bedrooms and a full kitchen. I continued to work between the 3 clinics and Toby crossed the street everyday and continued on at Kilmore.

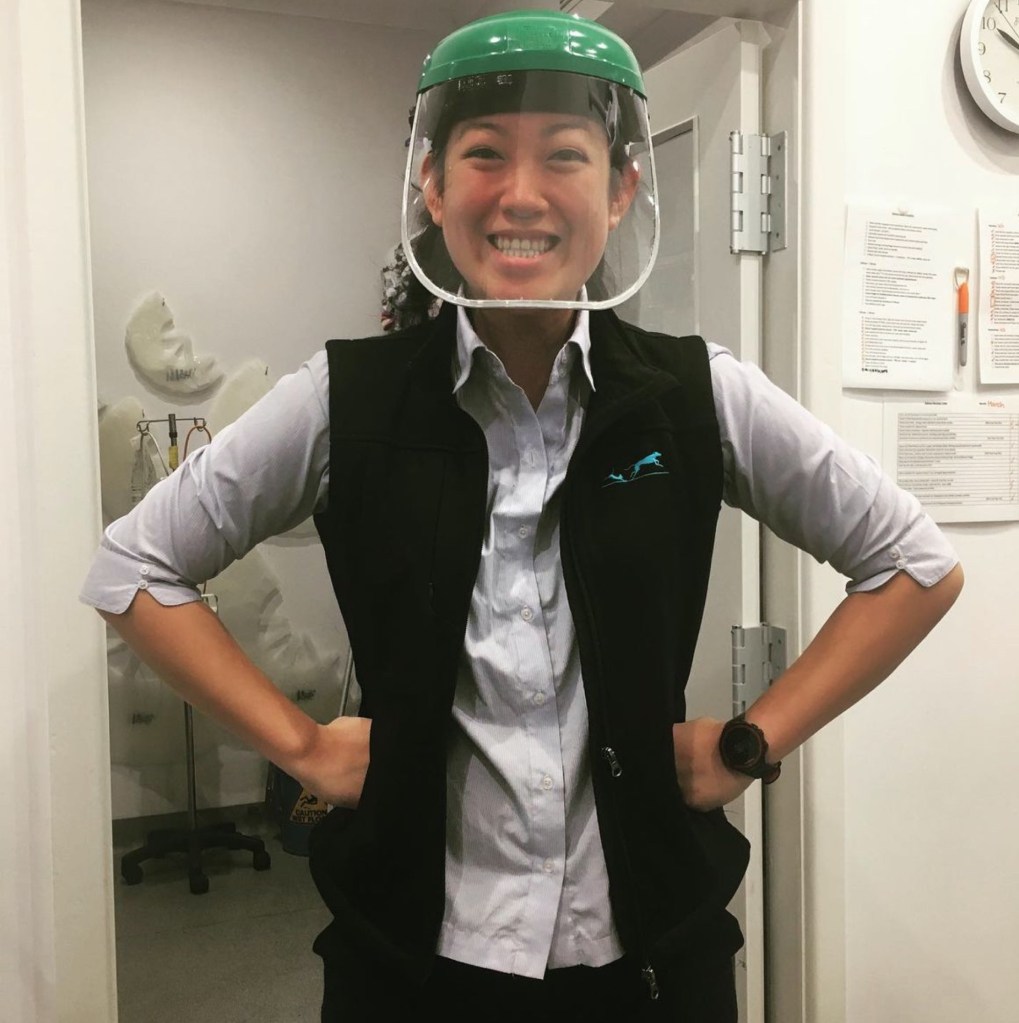
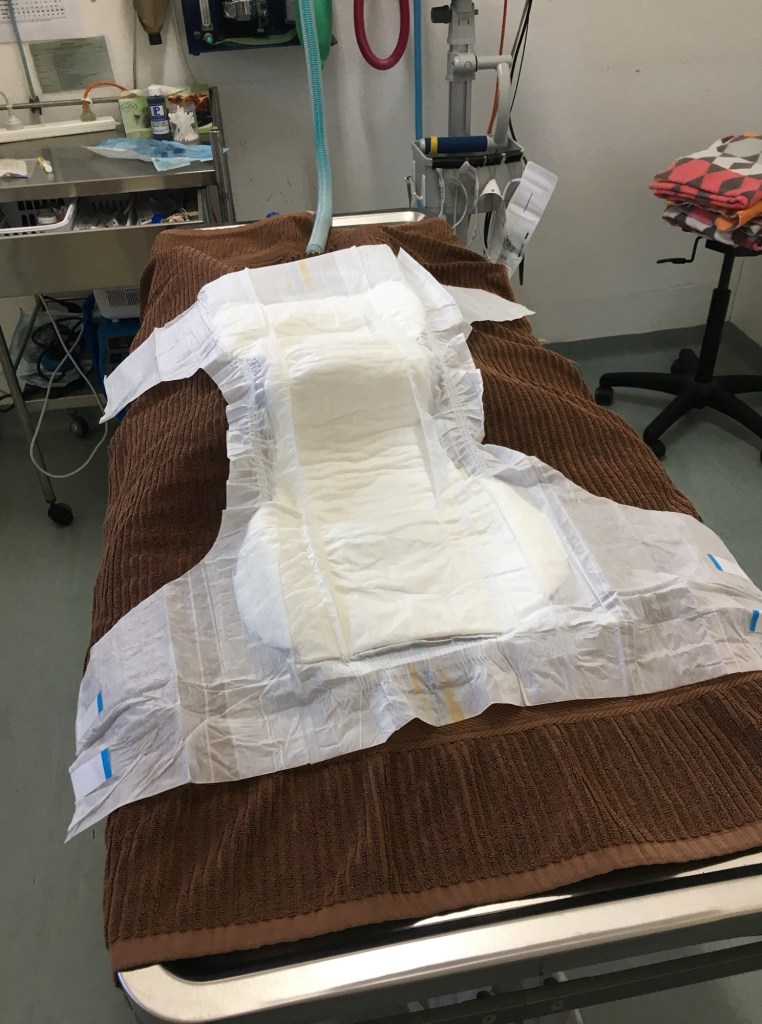
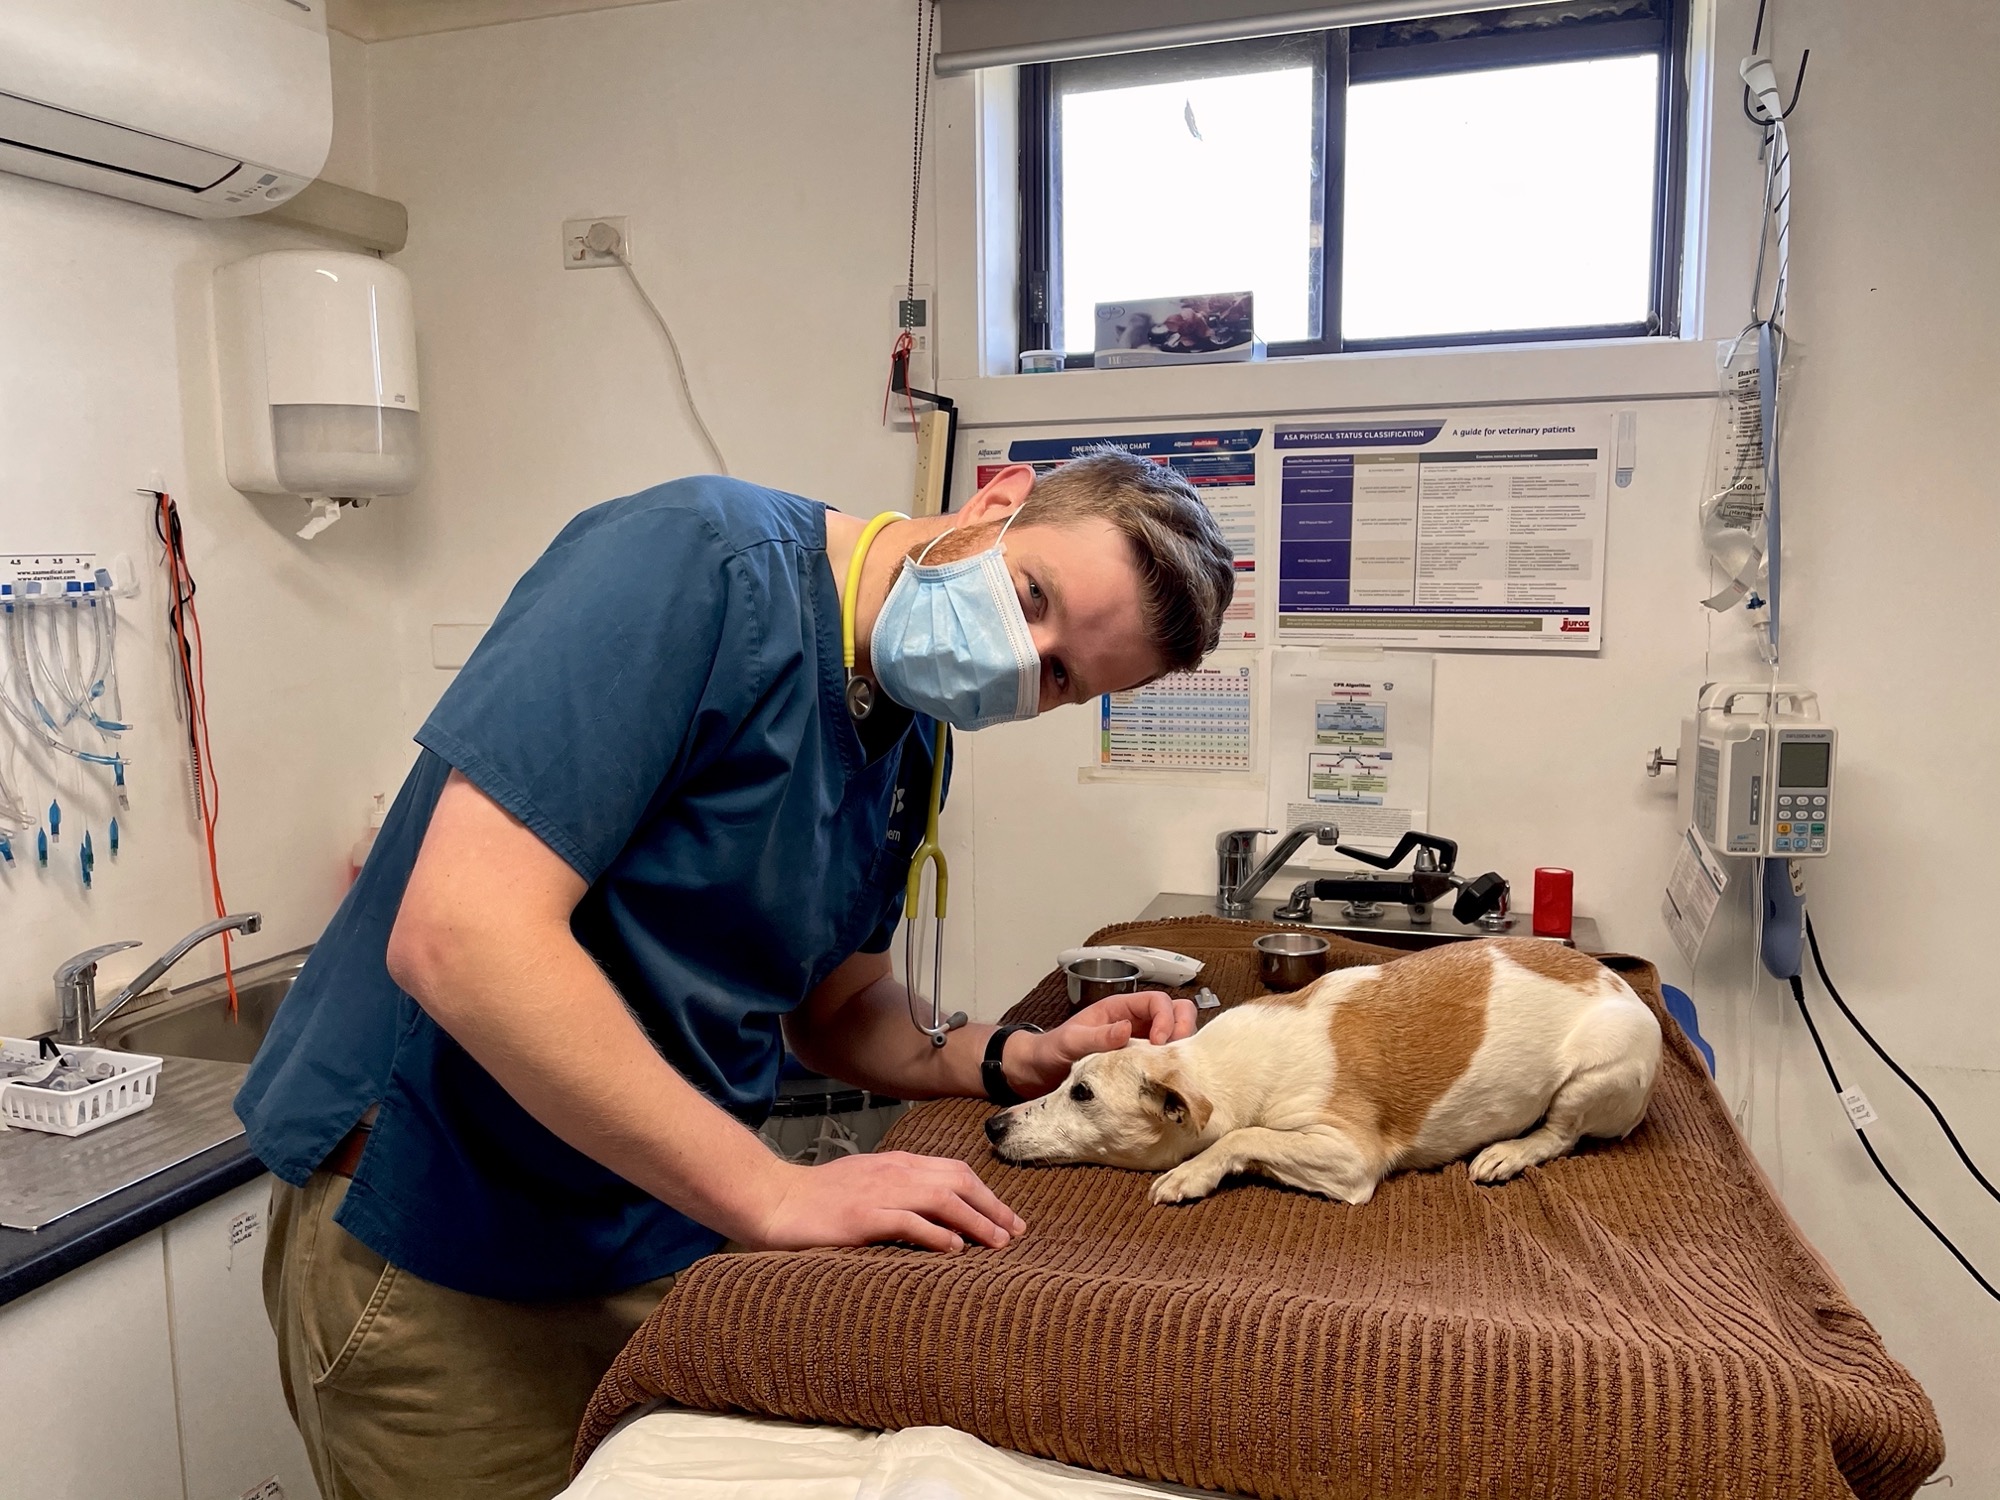
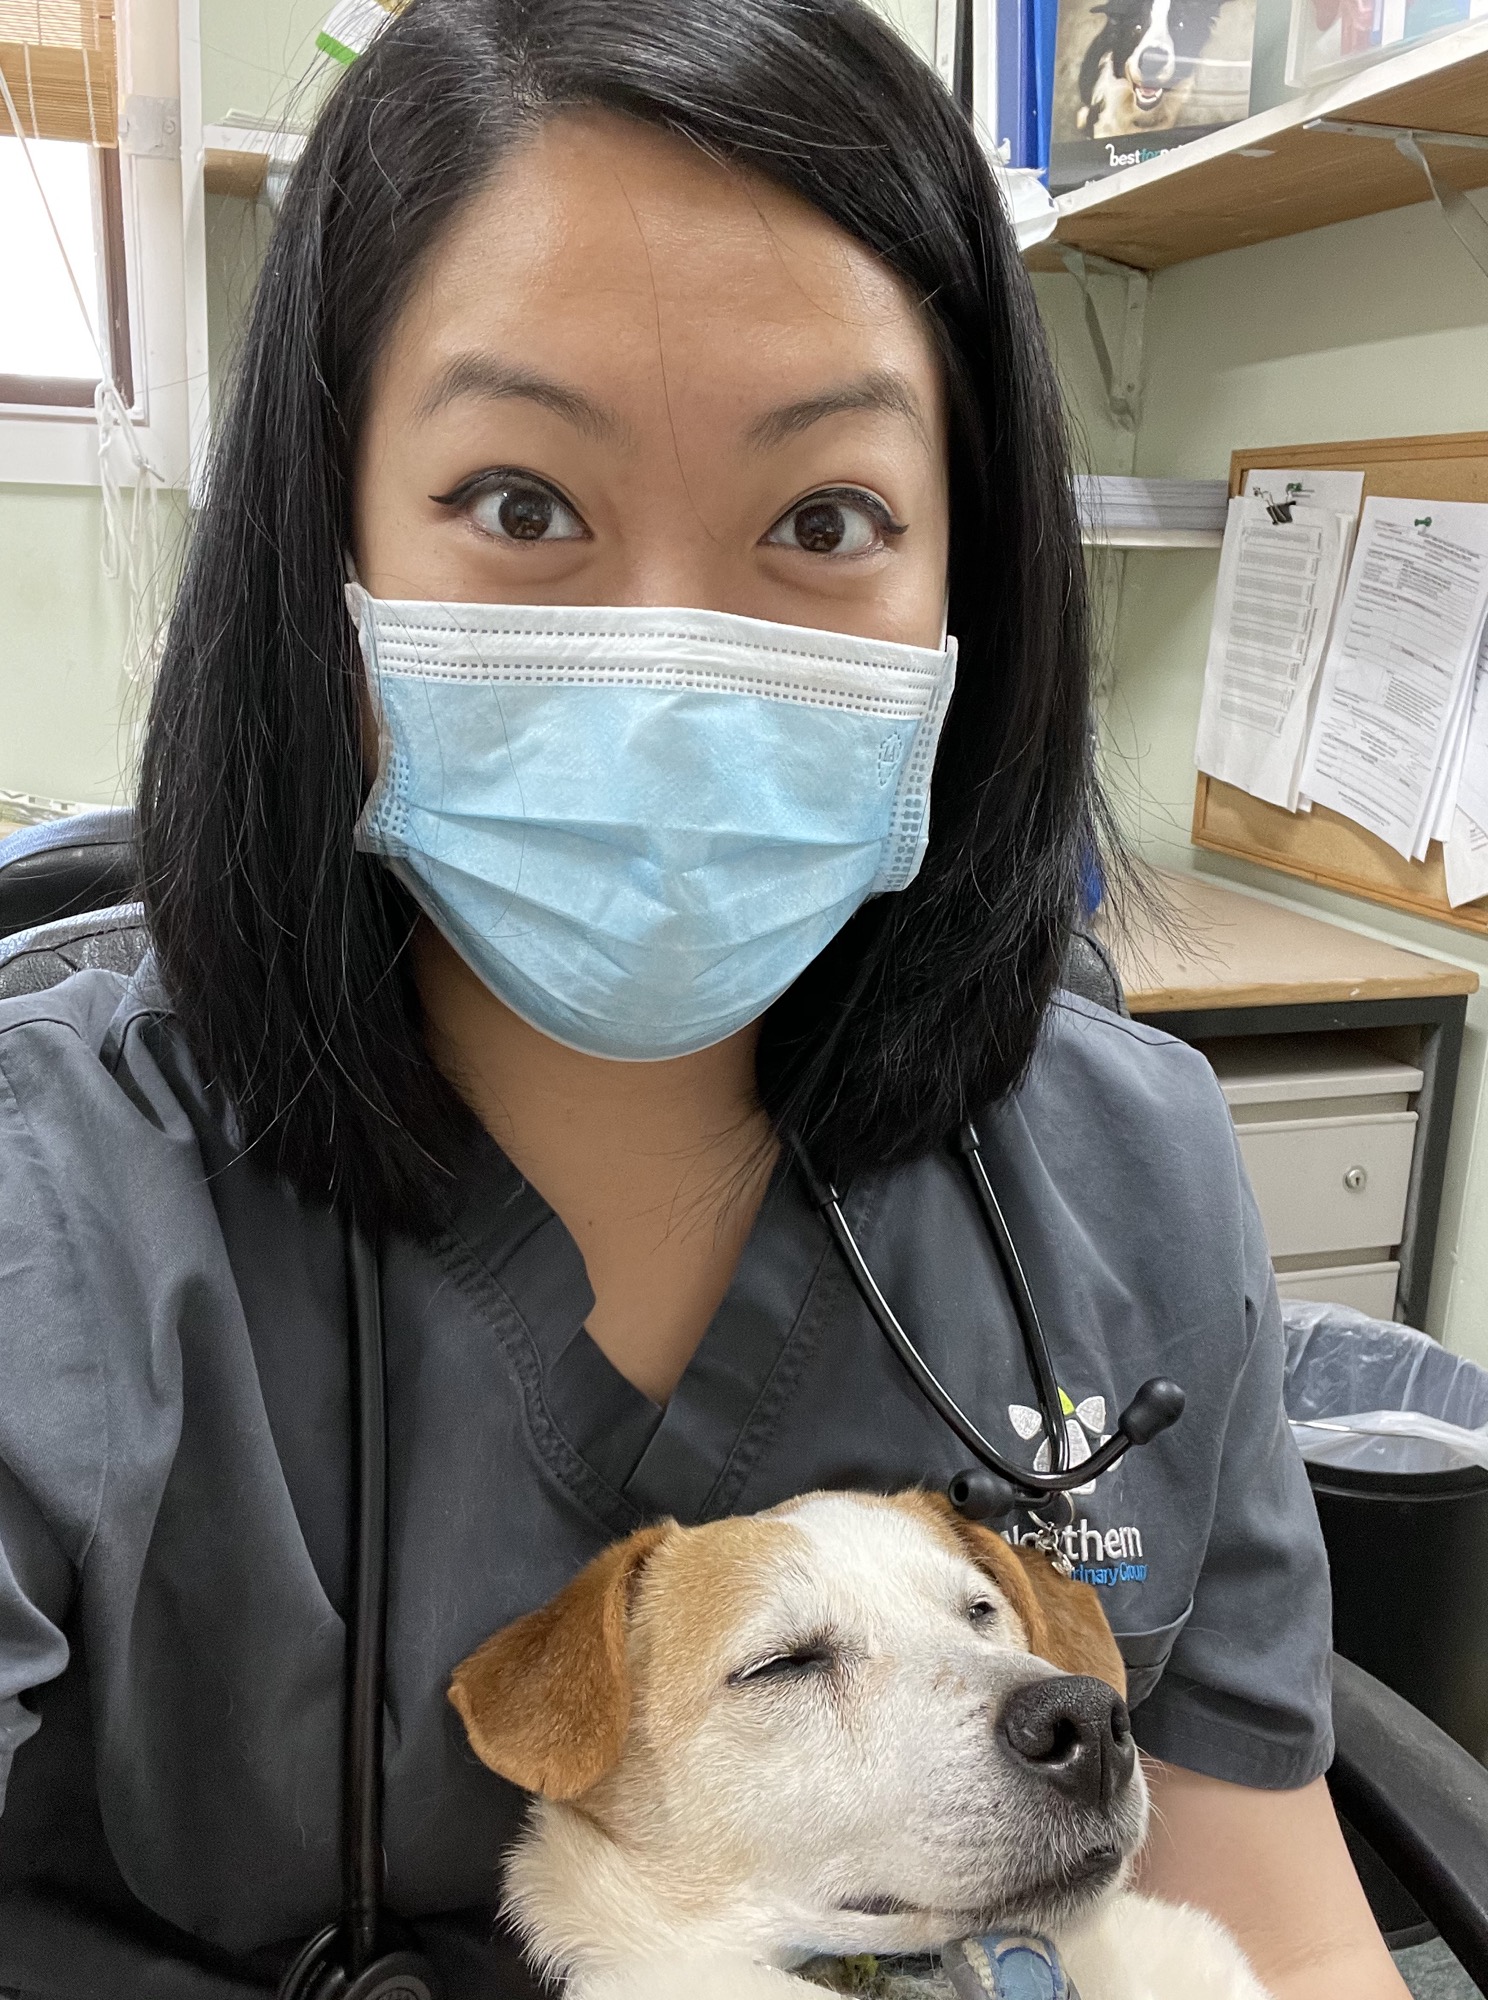
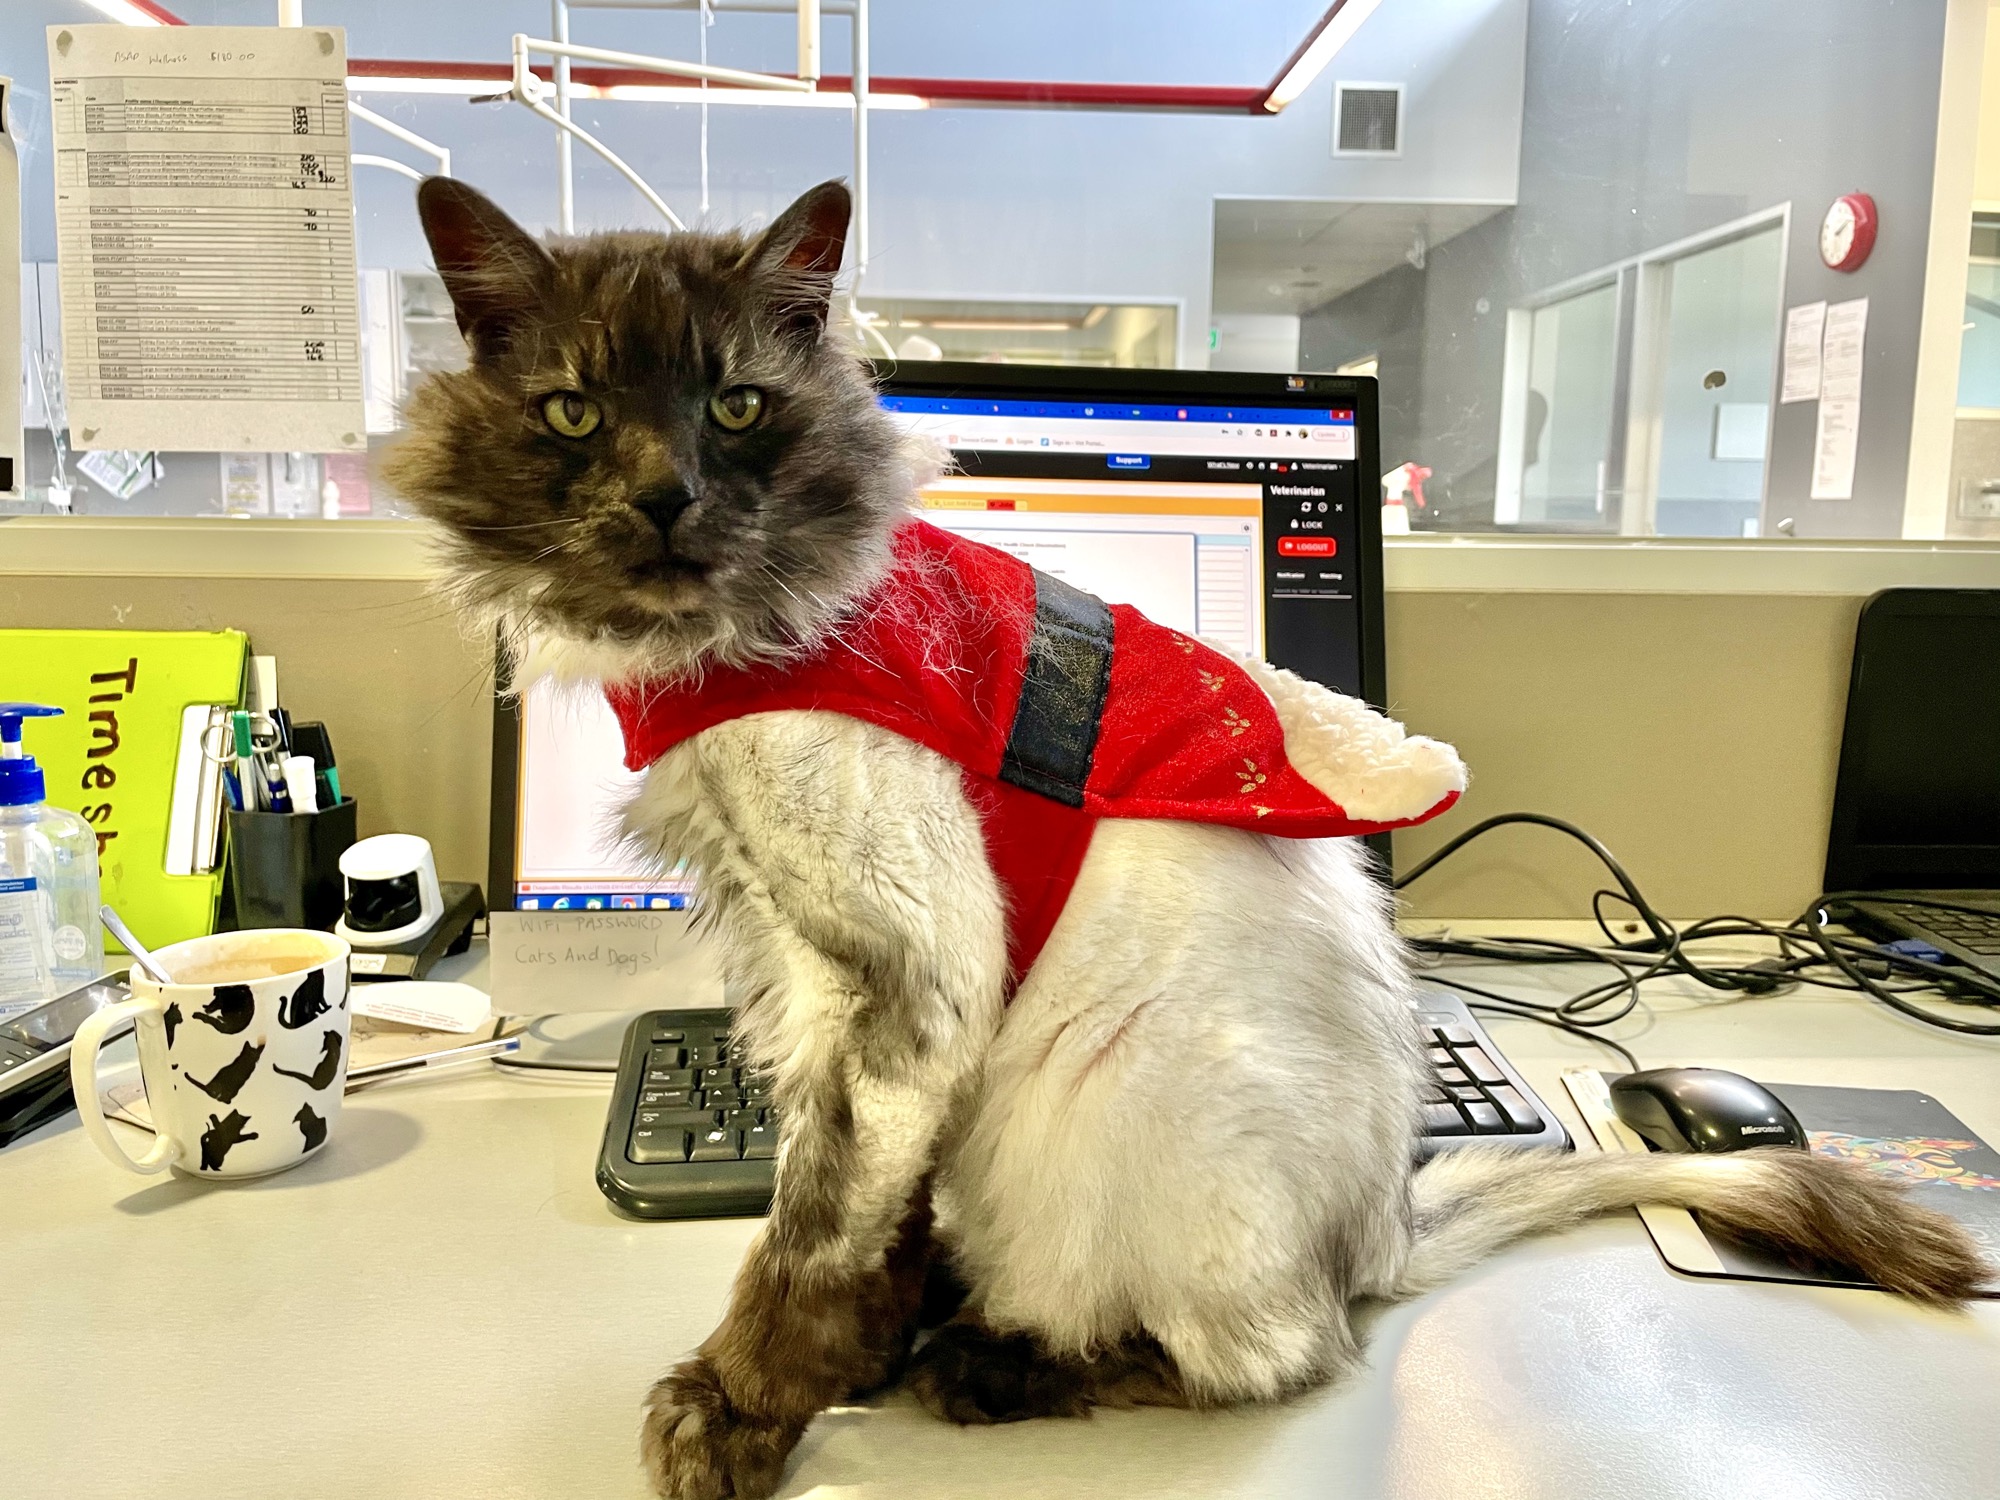
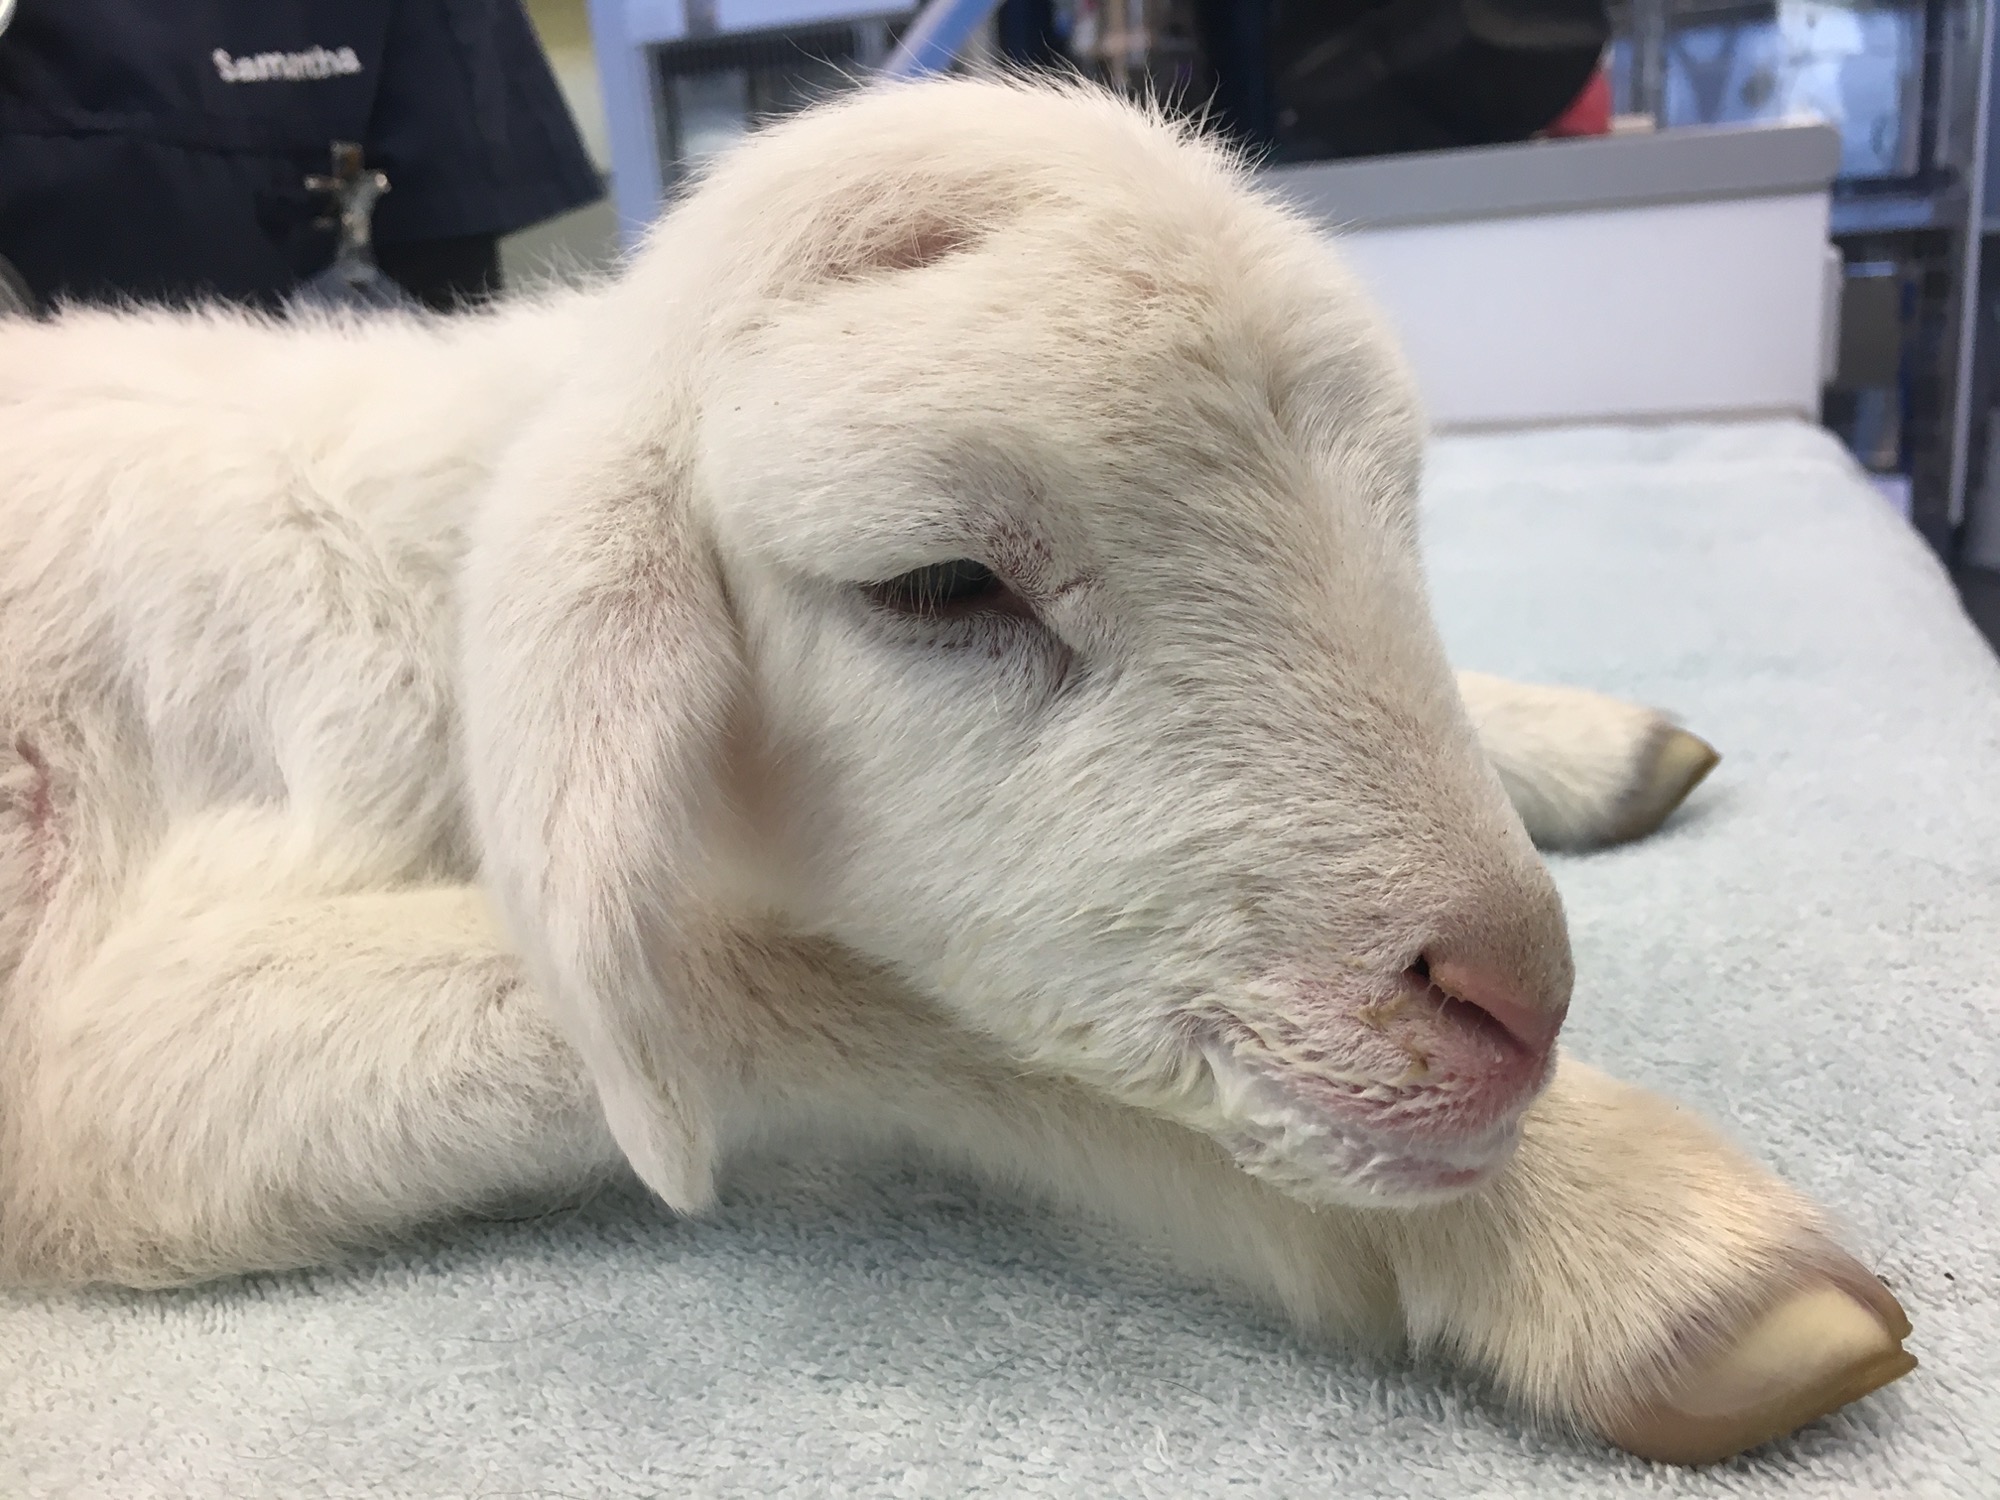
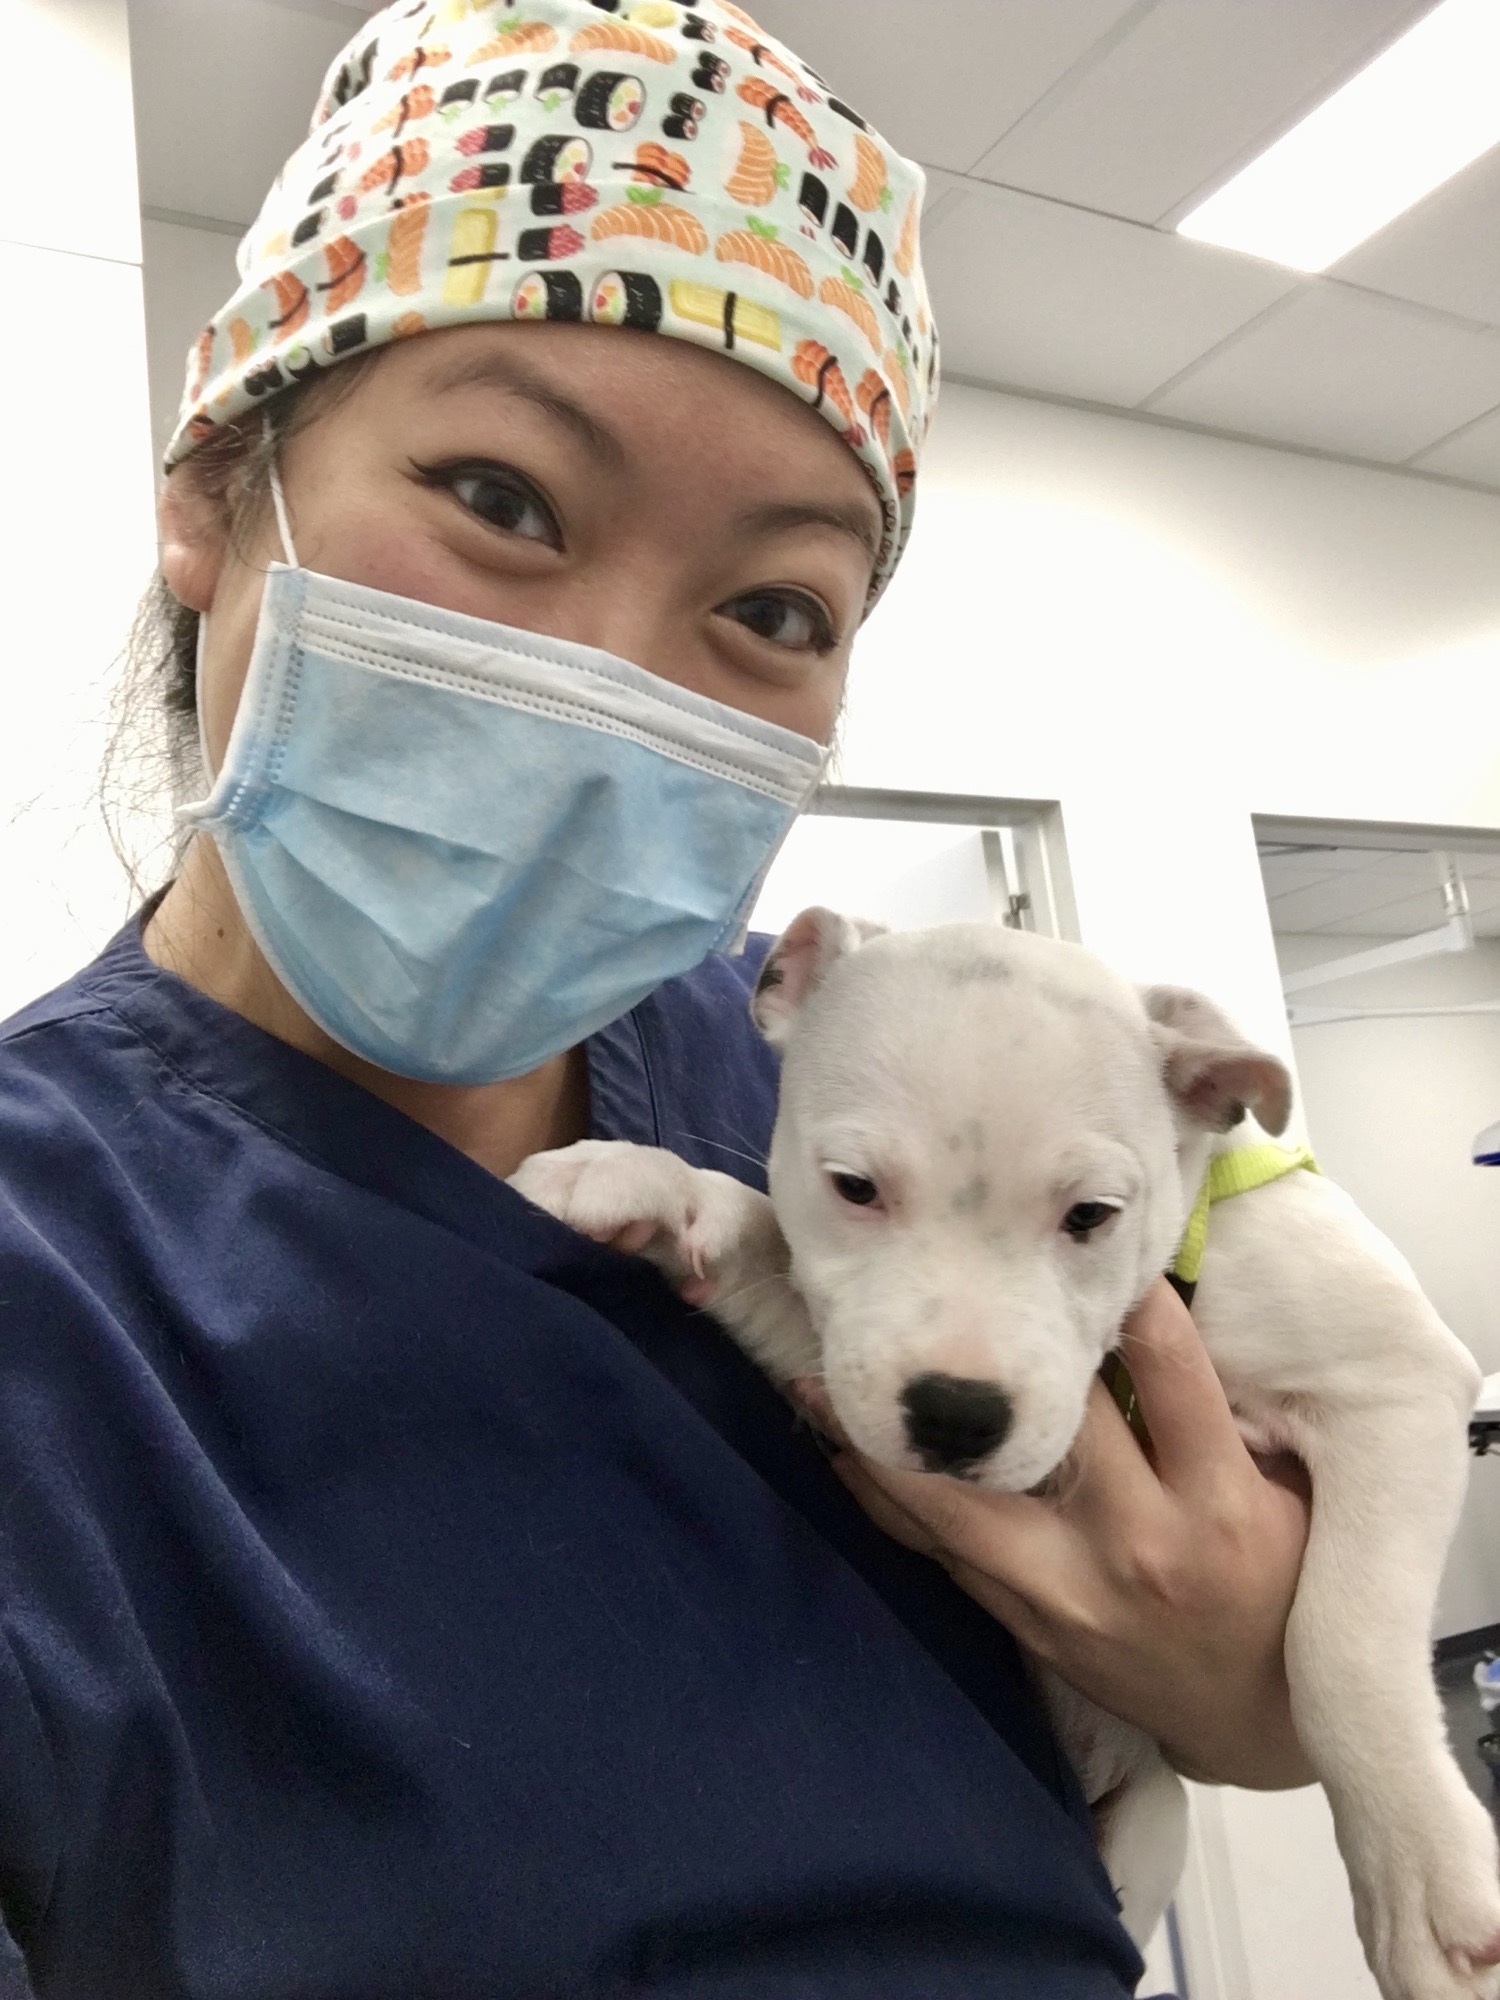
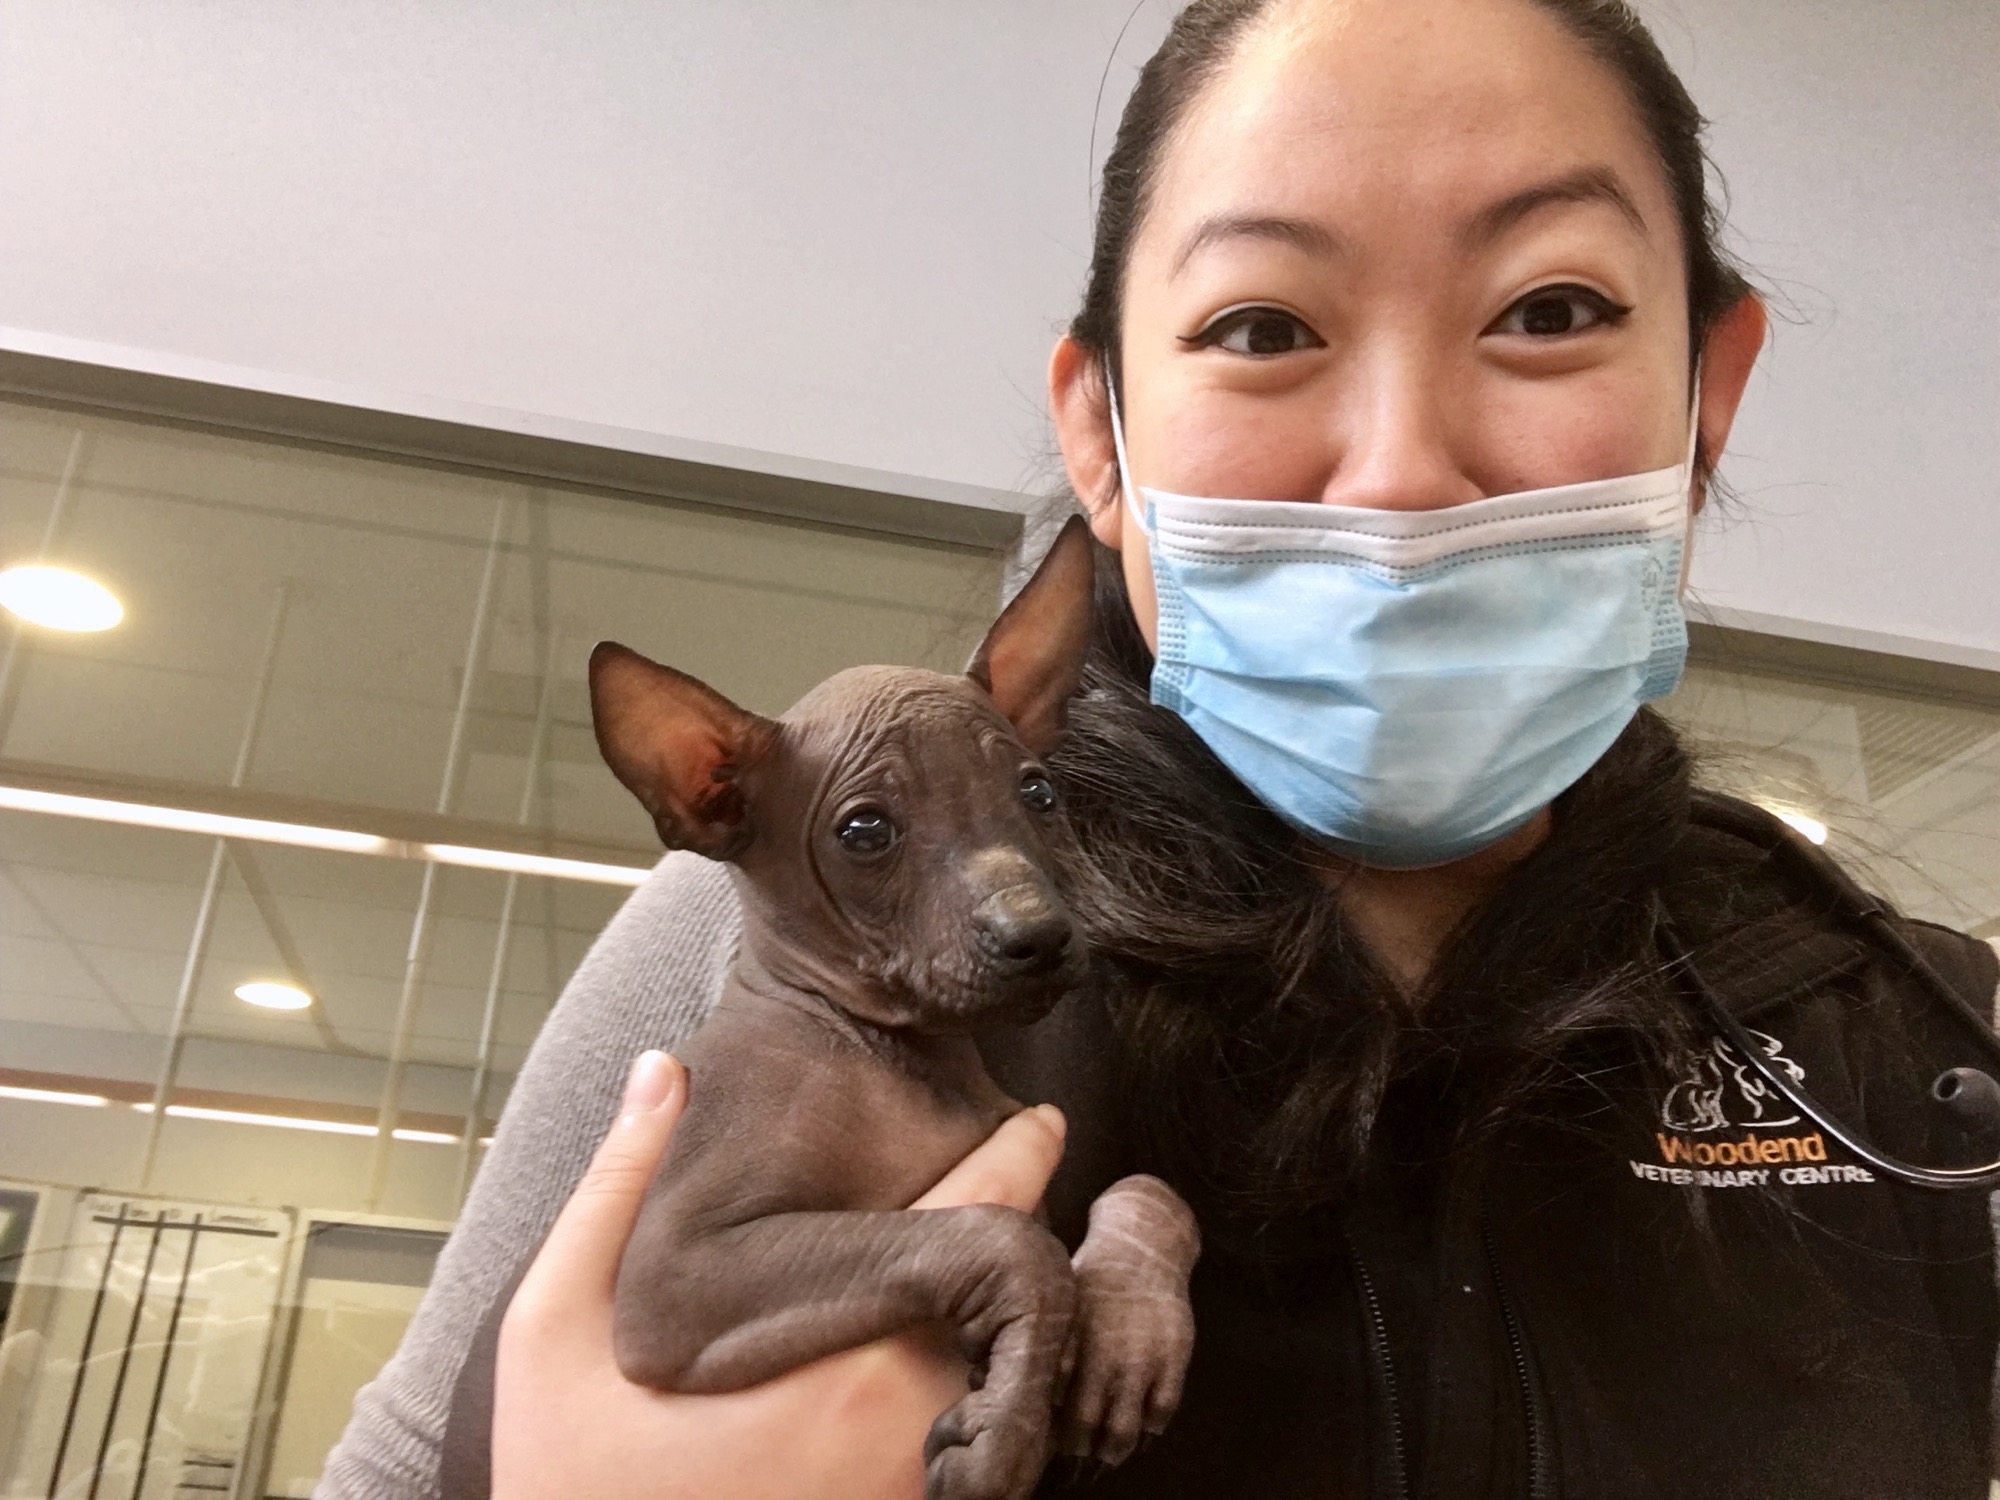
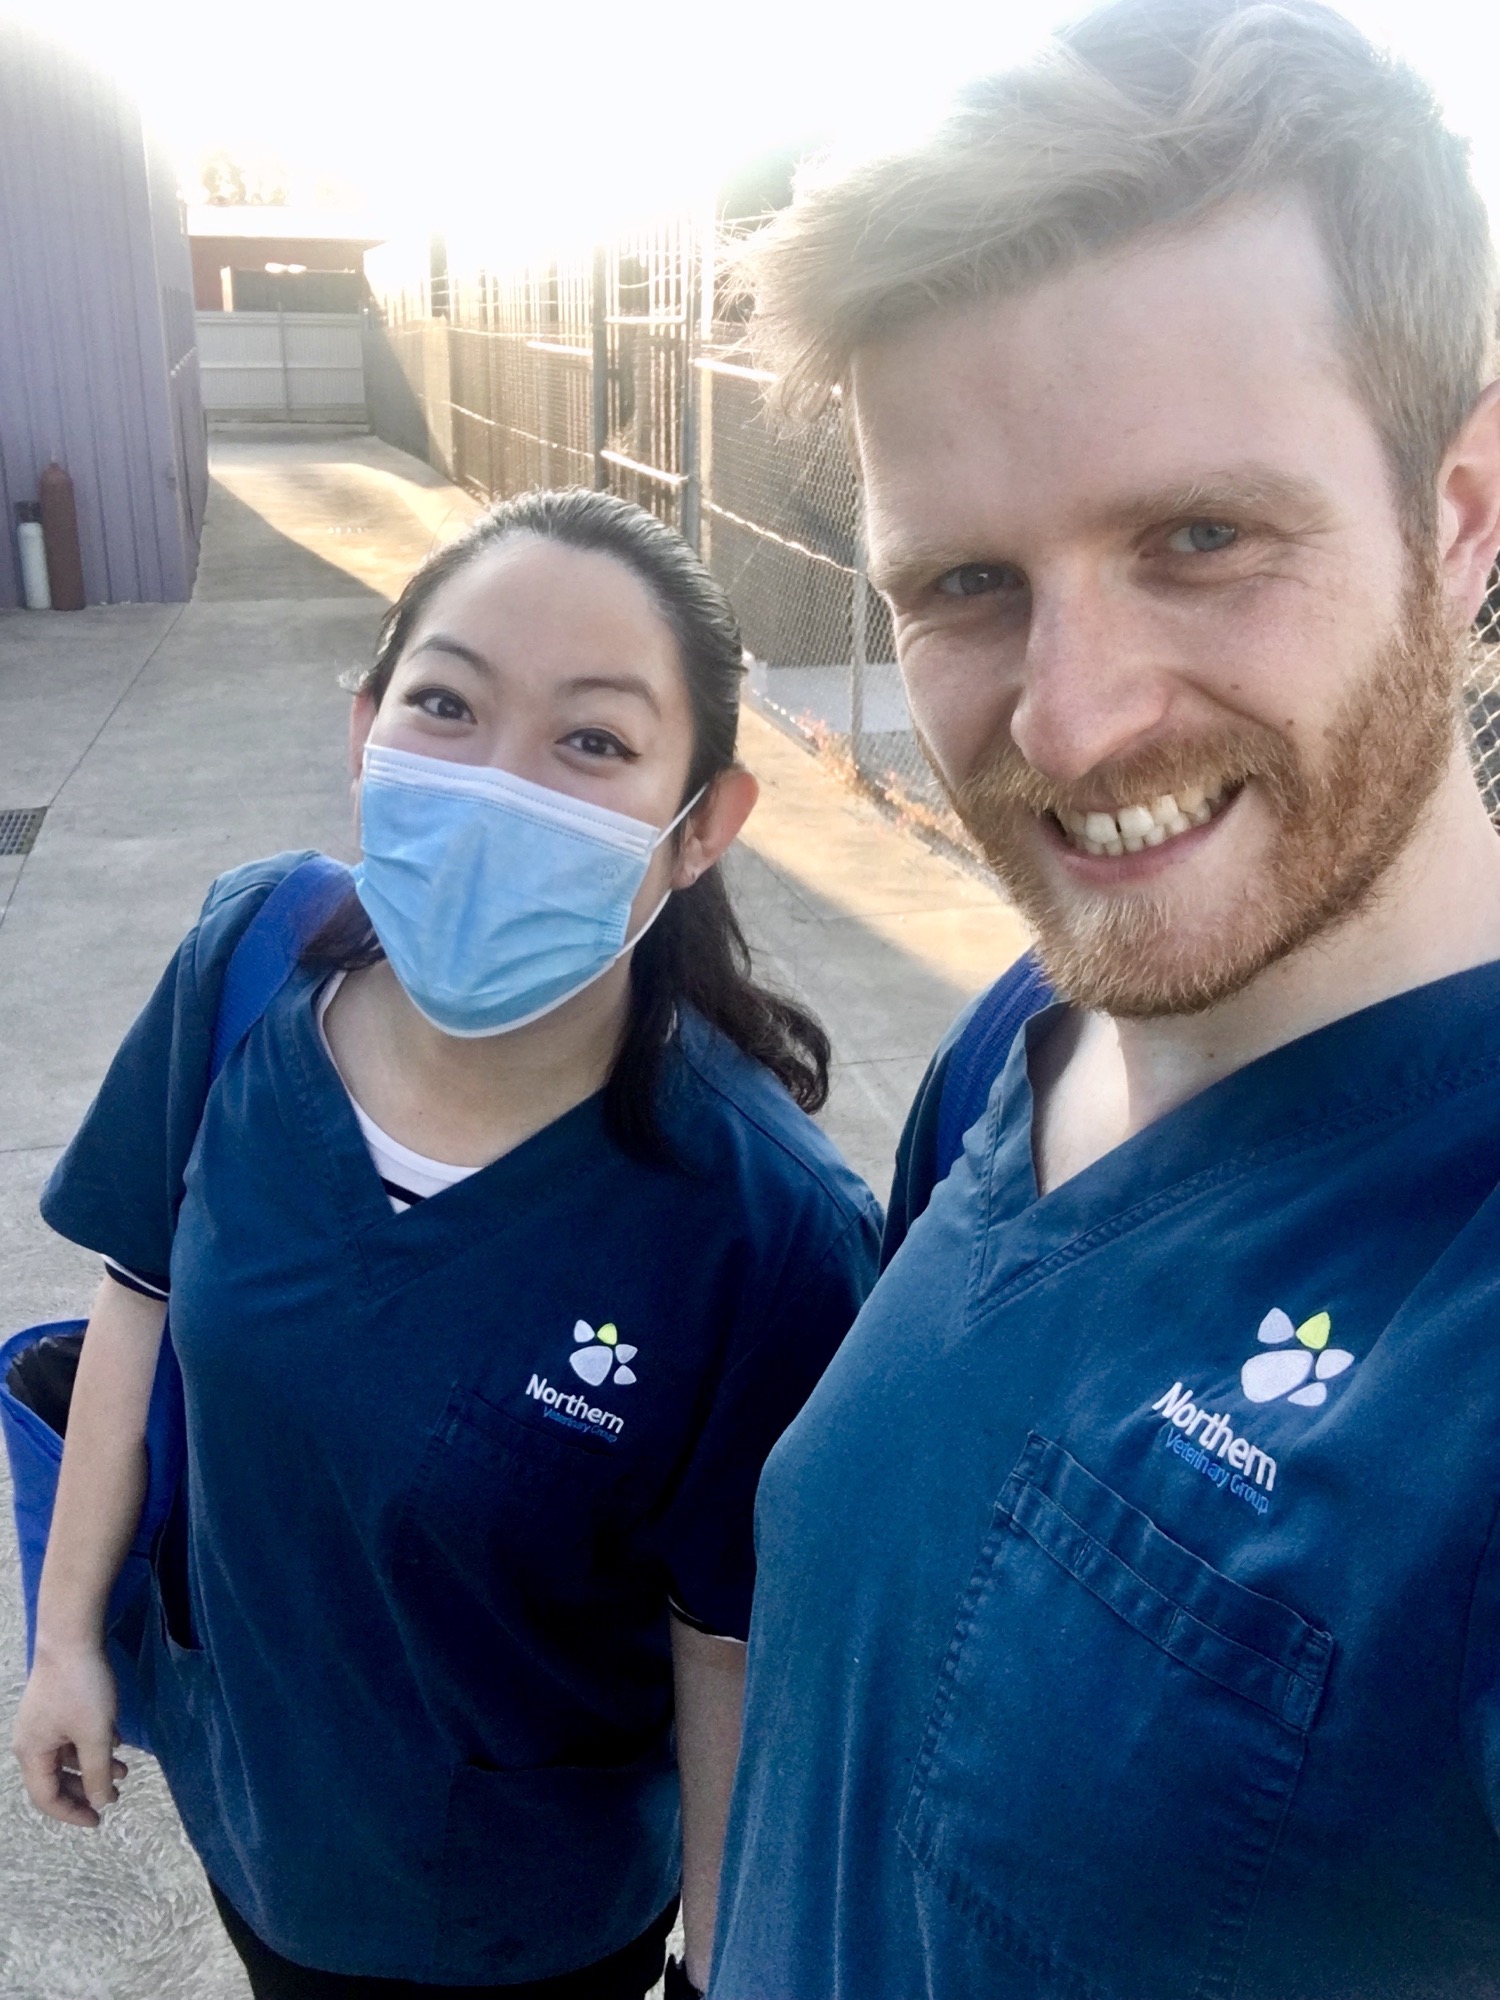
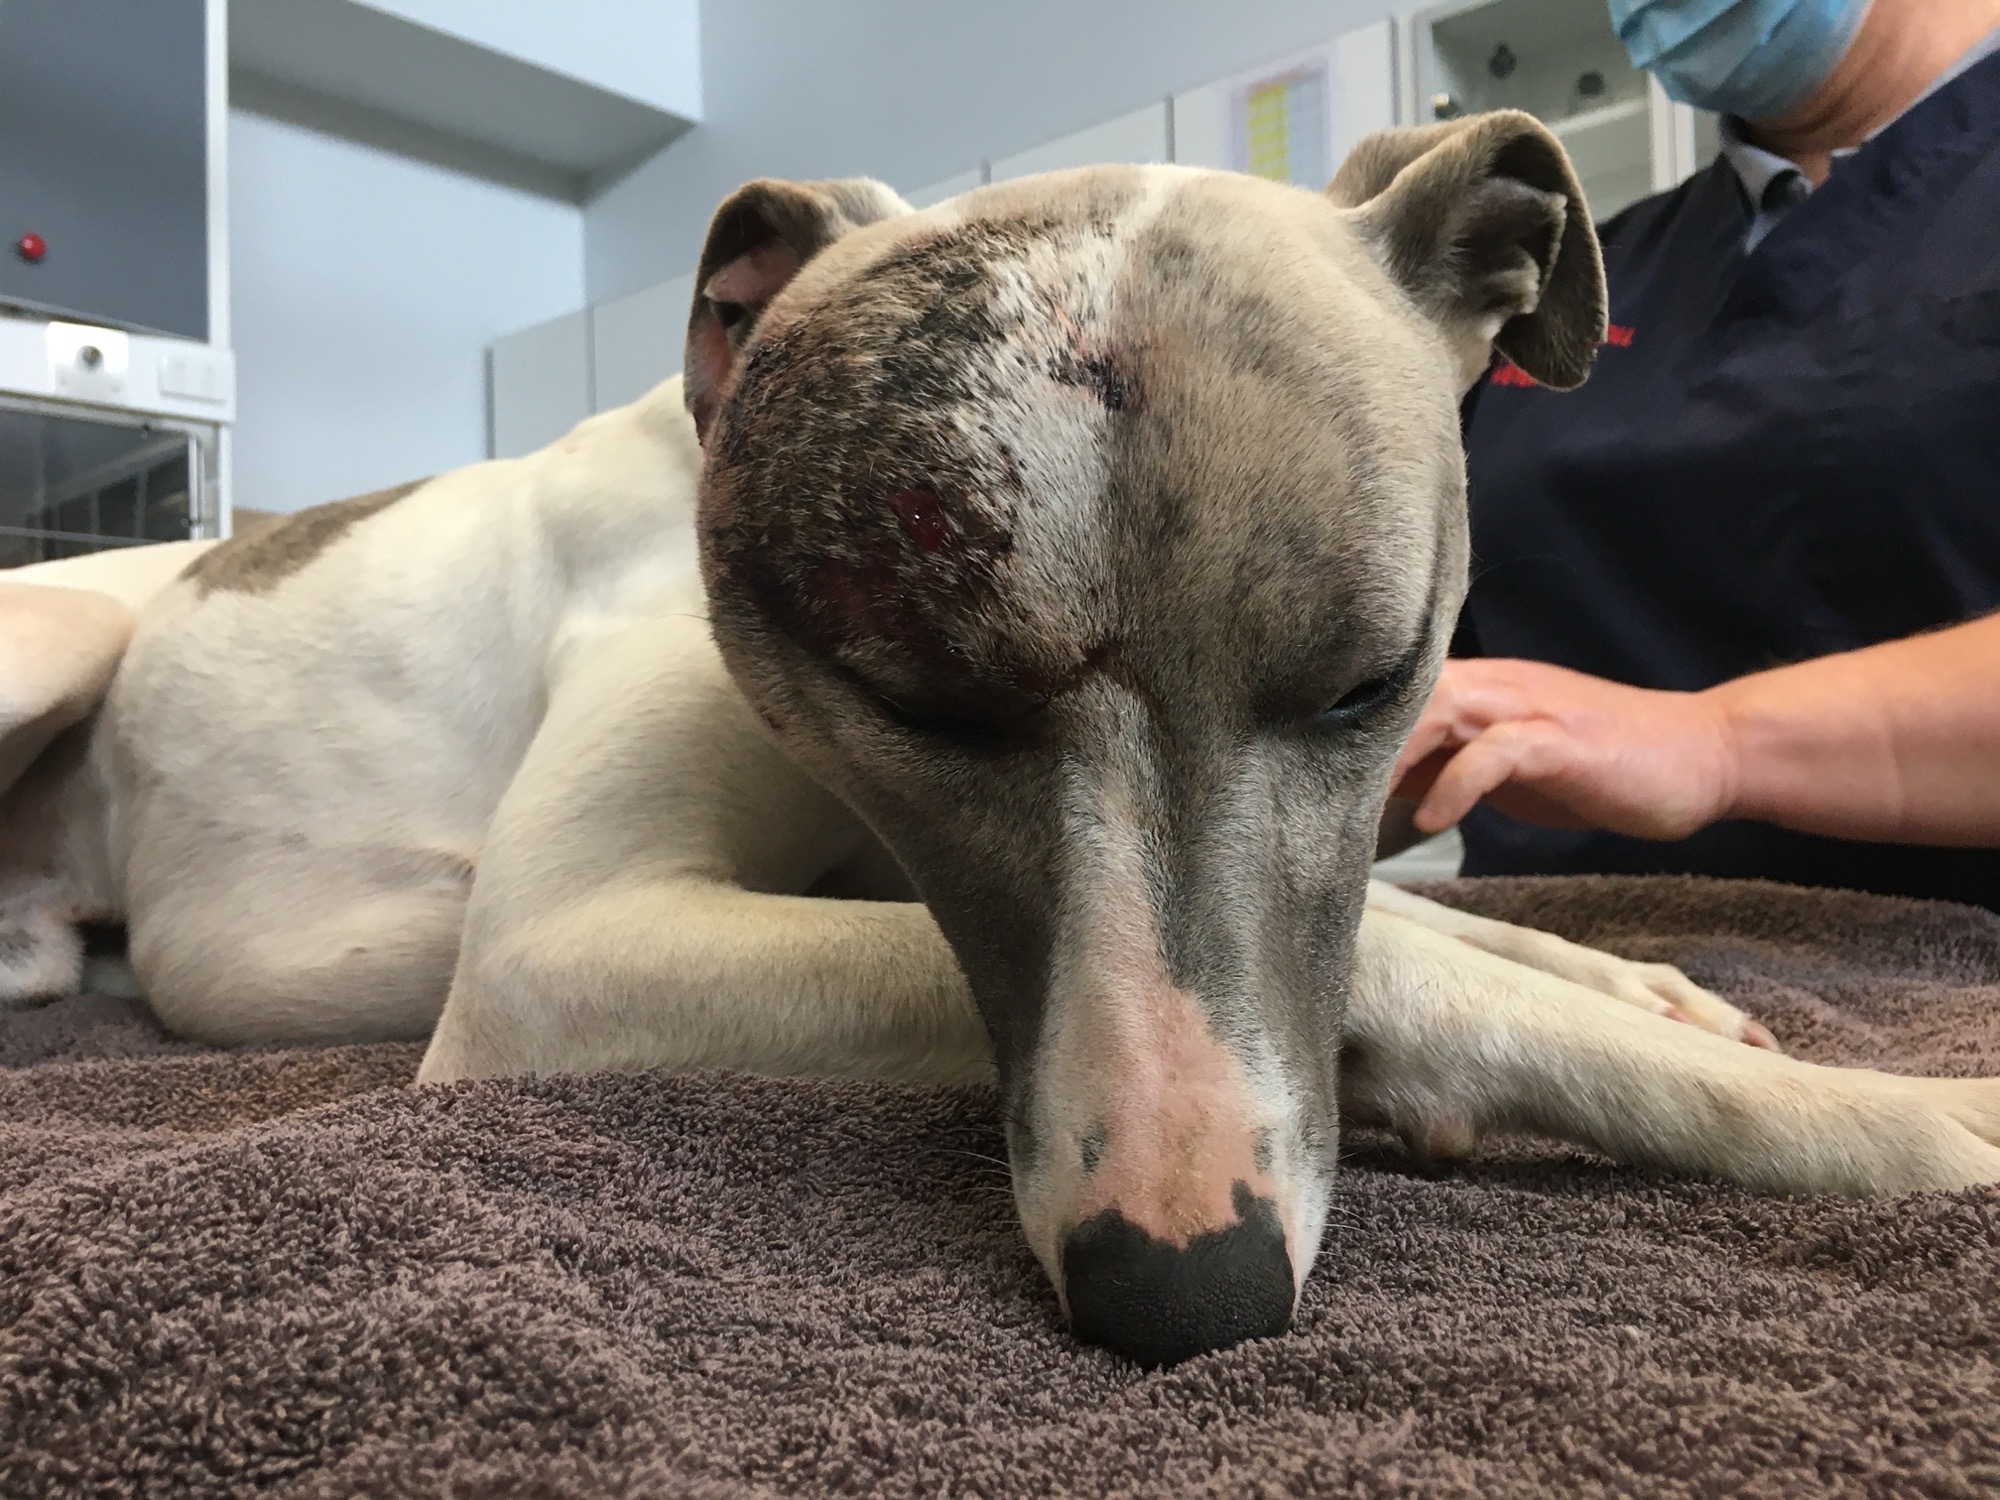
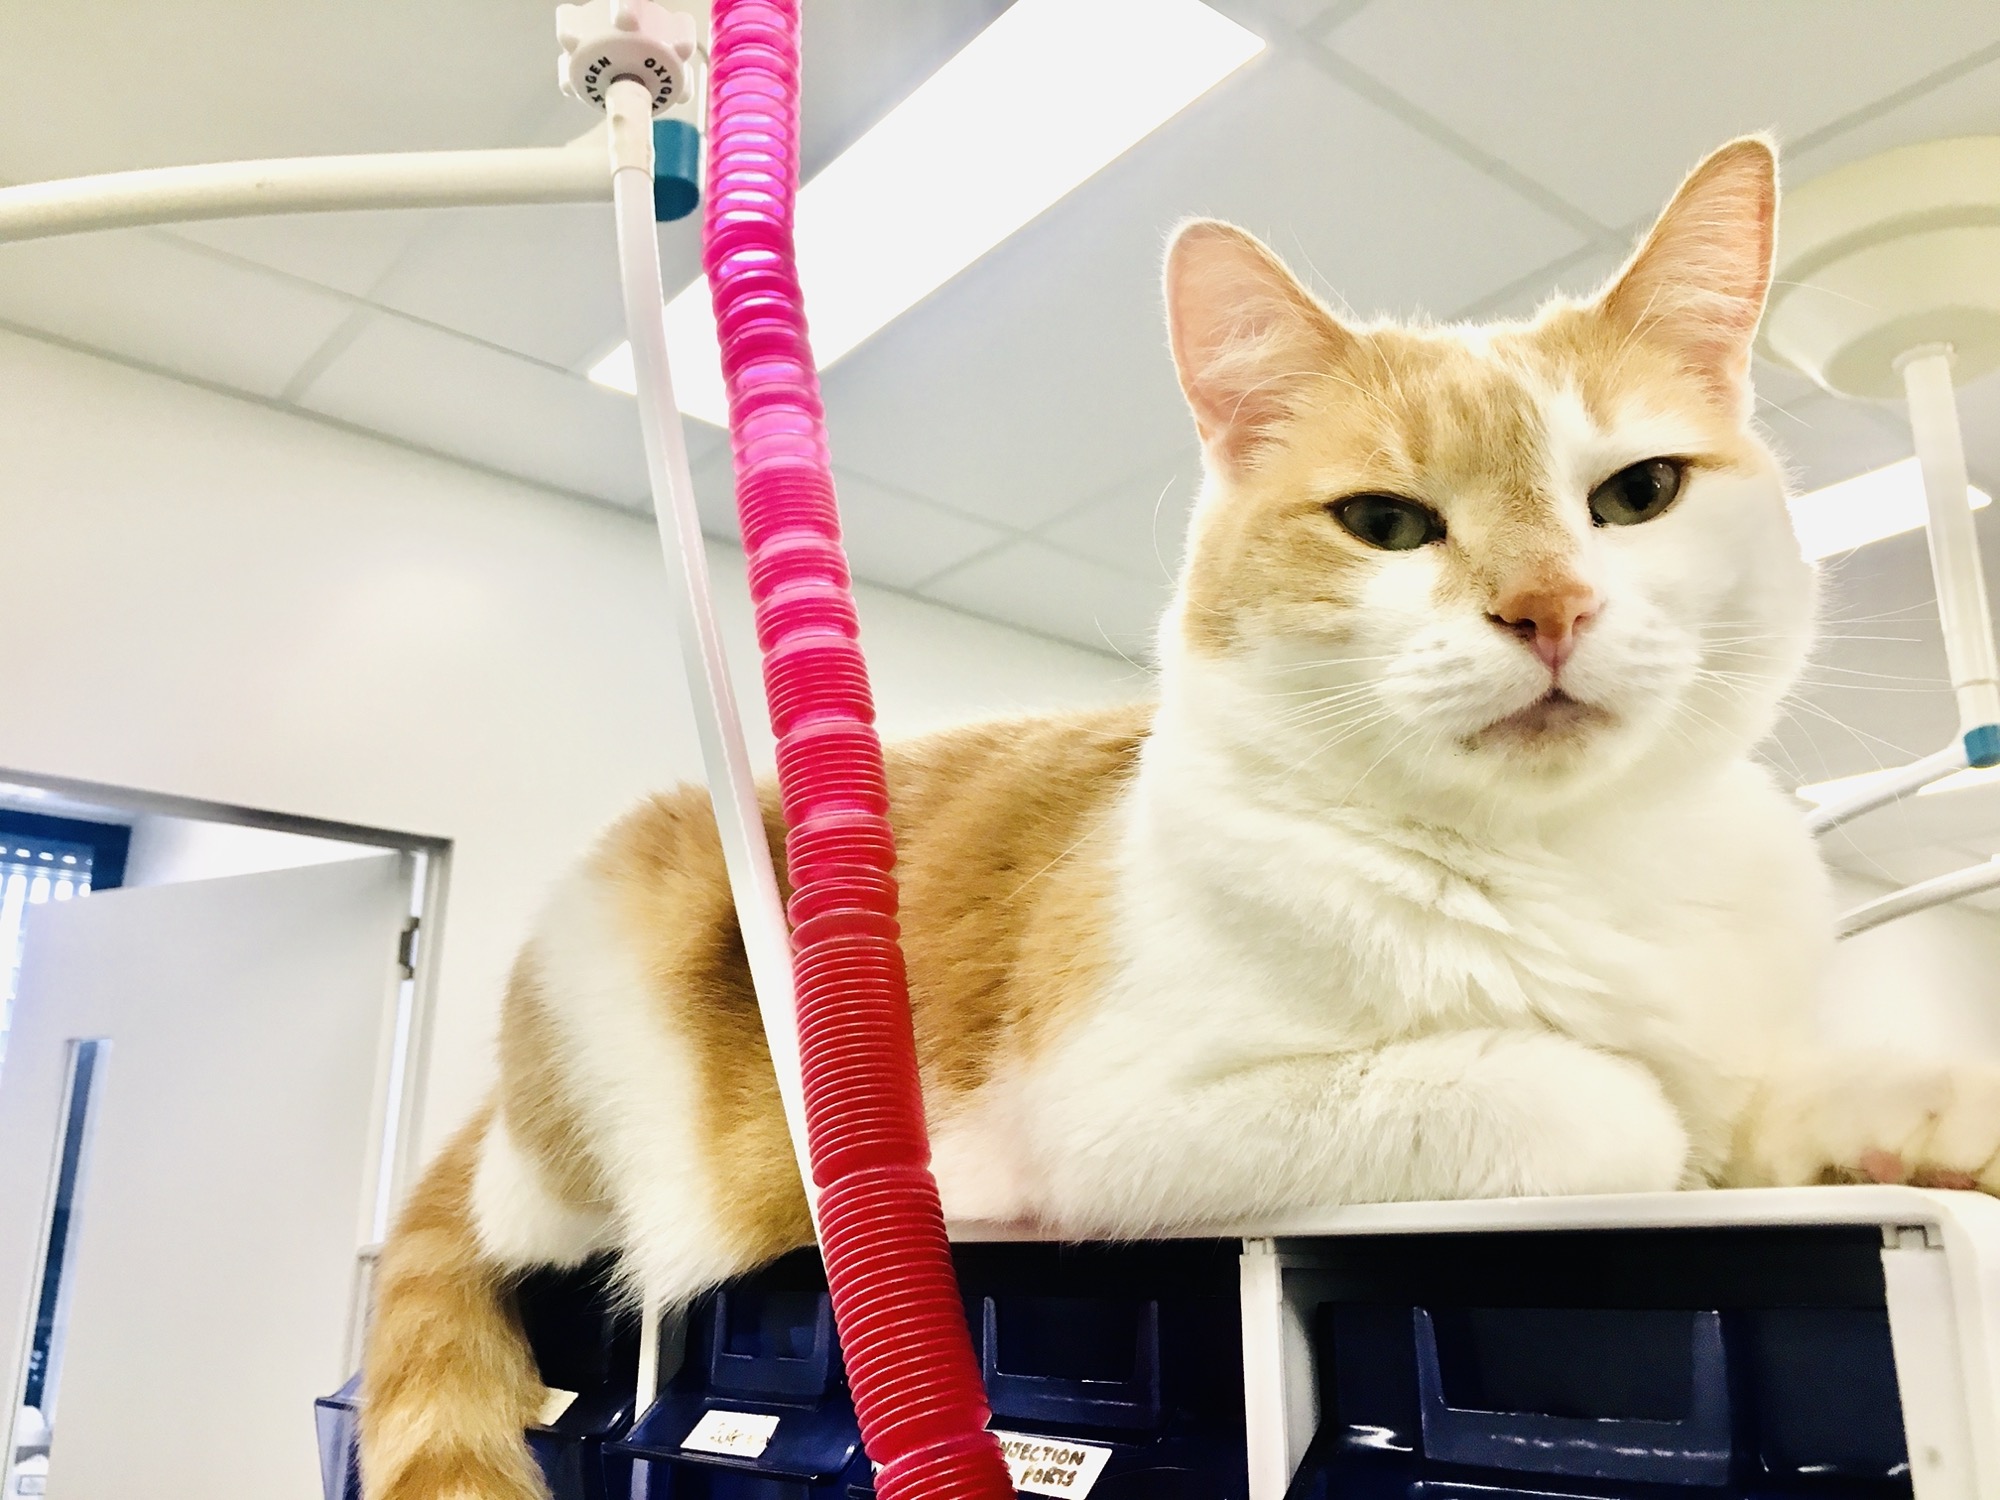
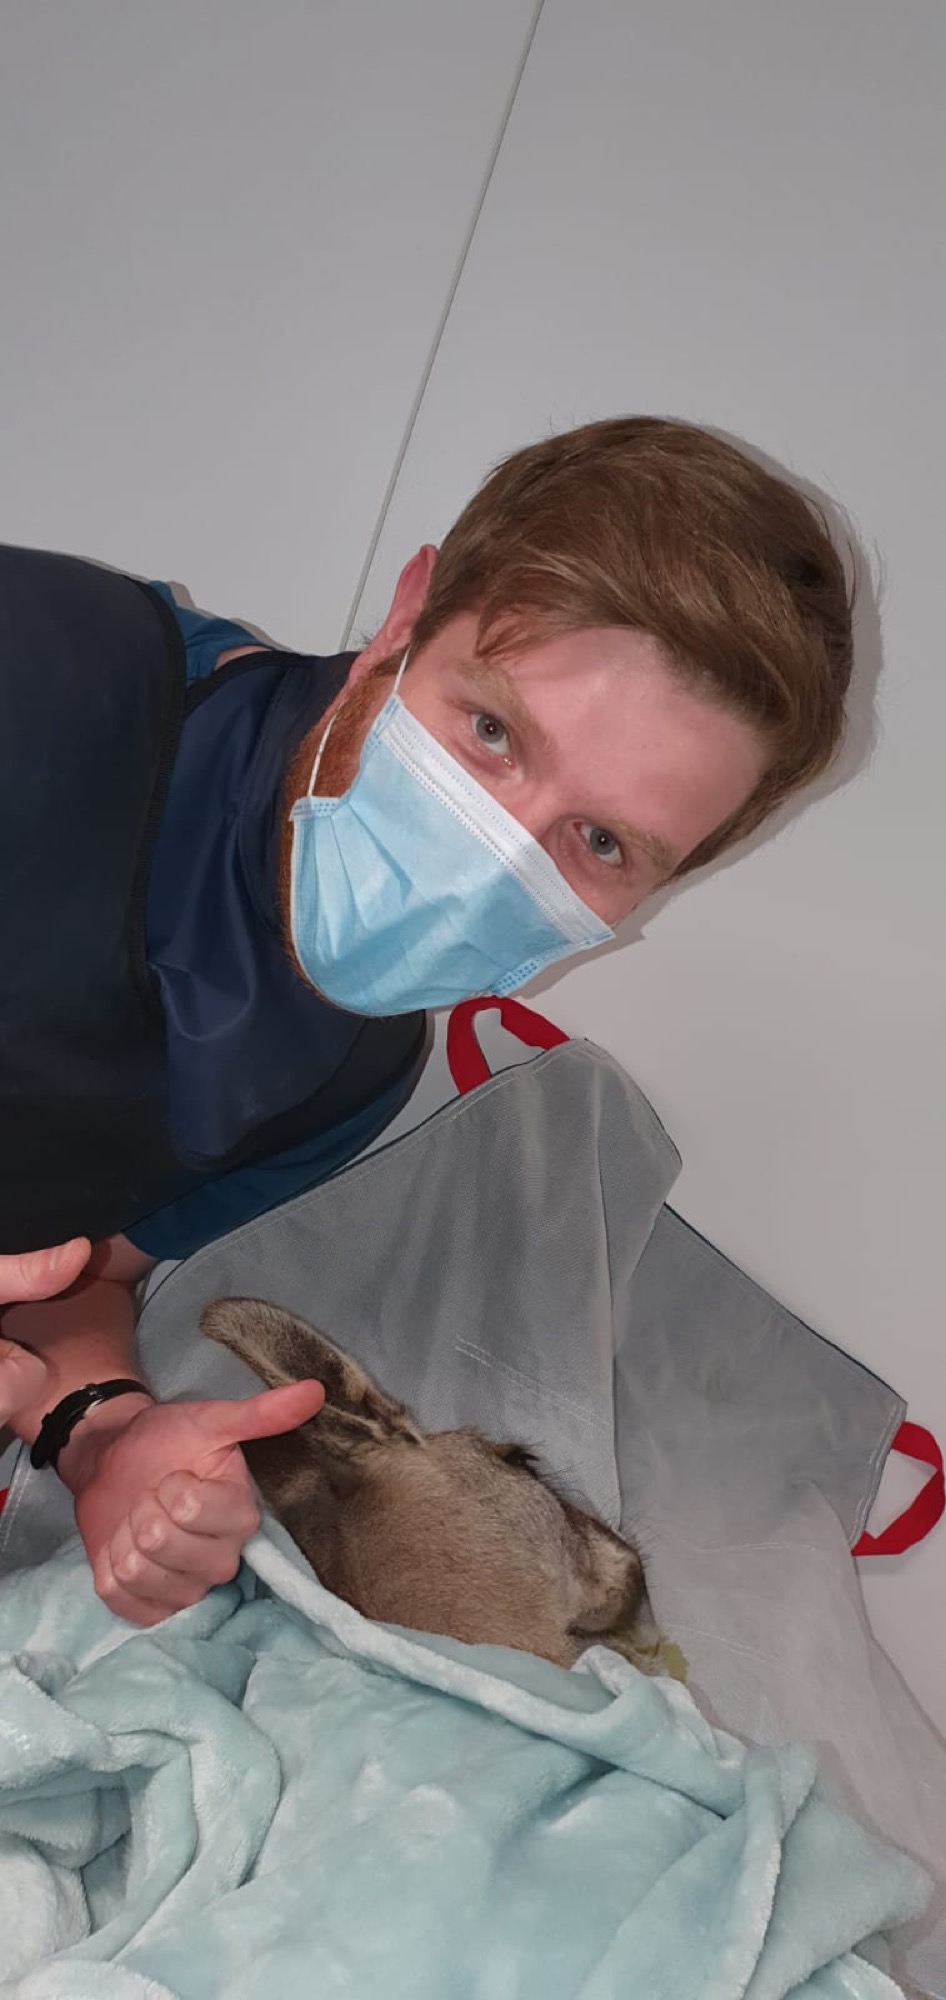
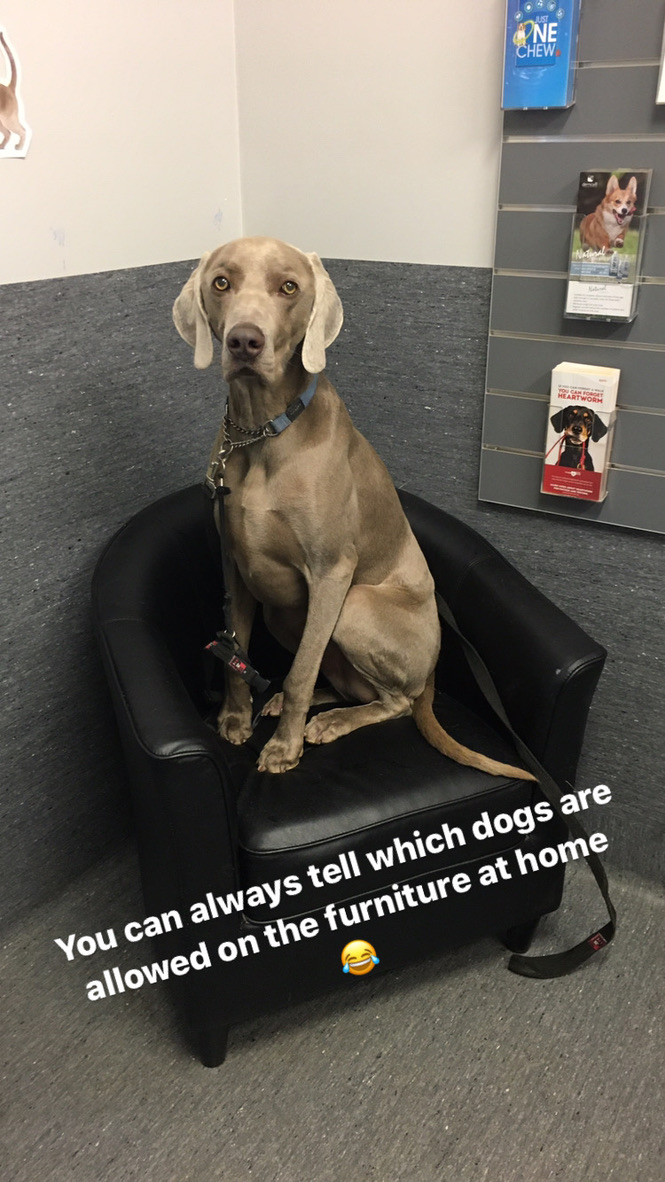
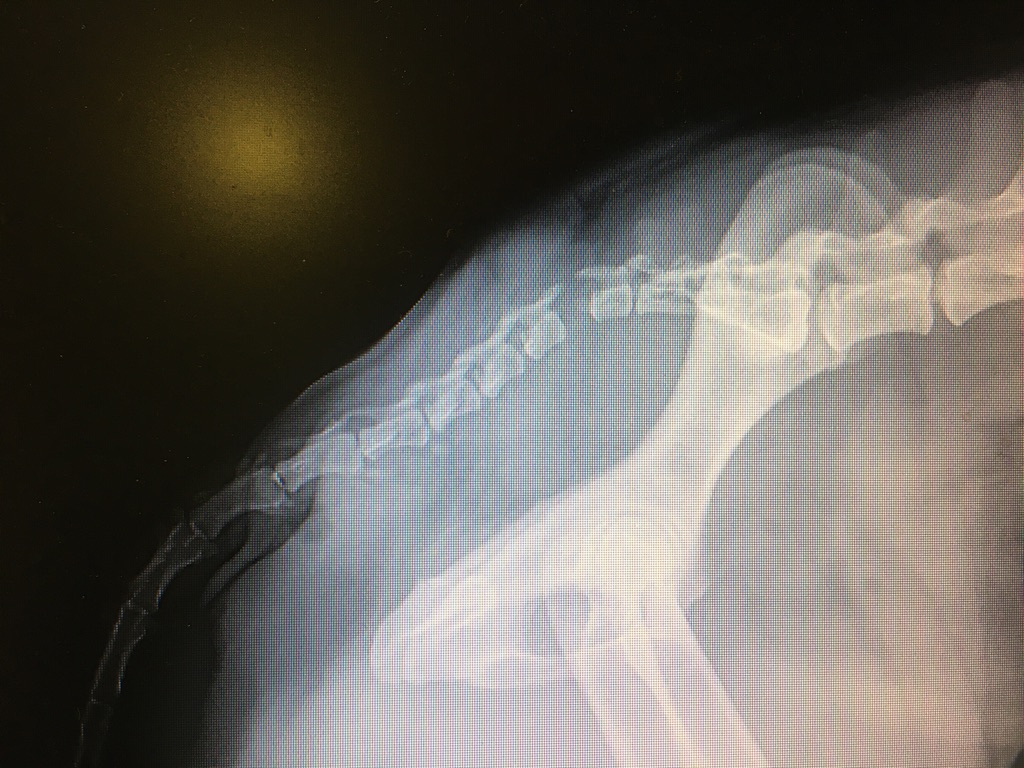
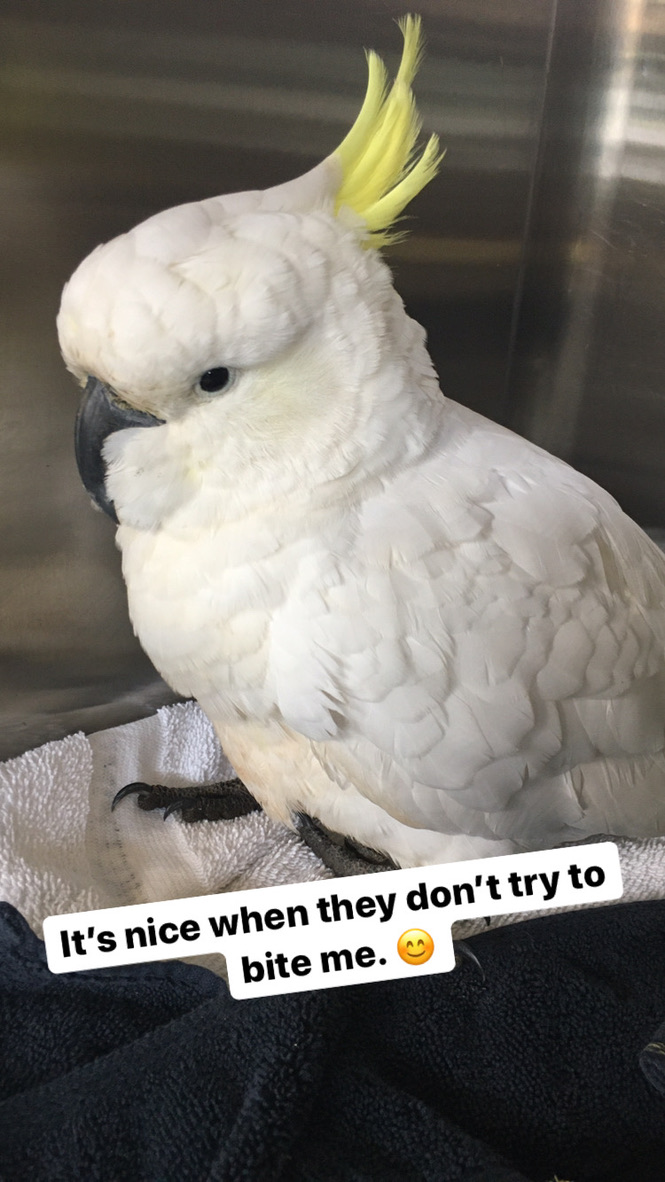
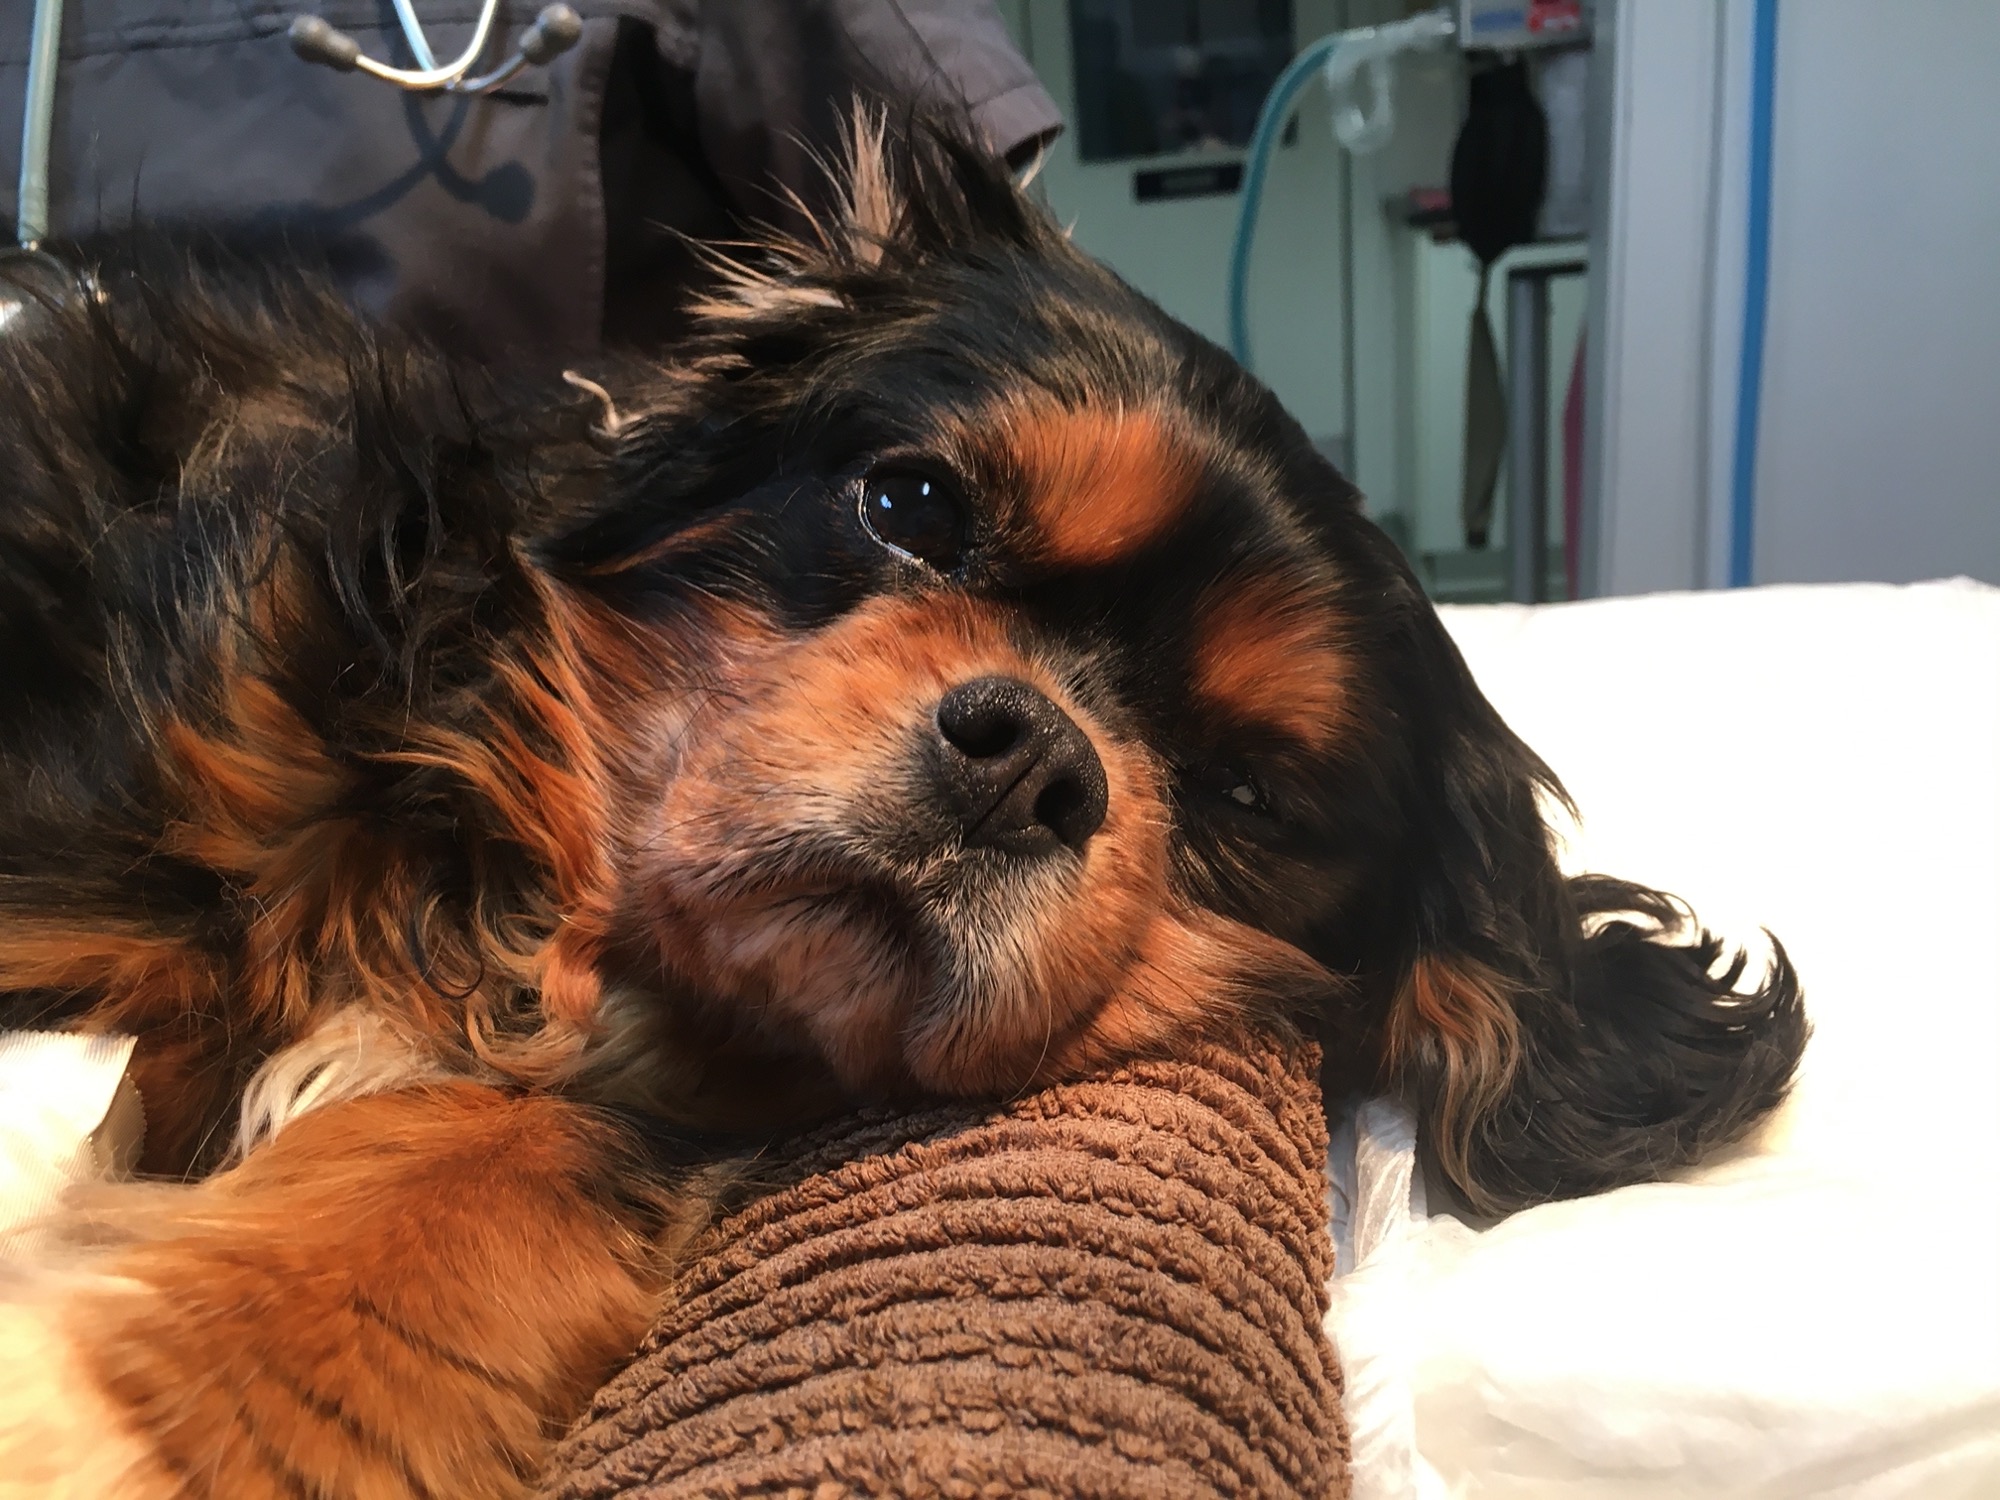
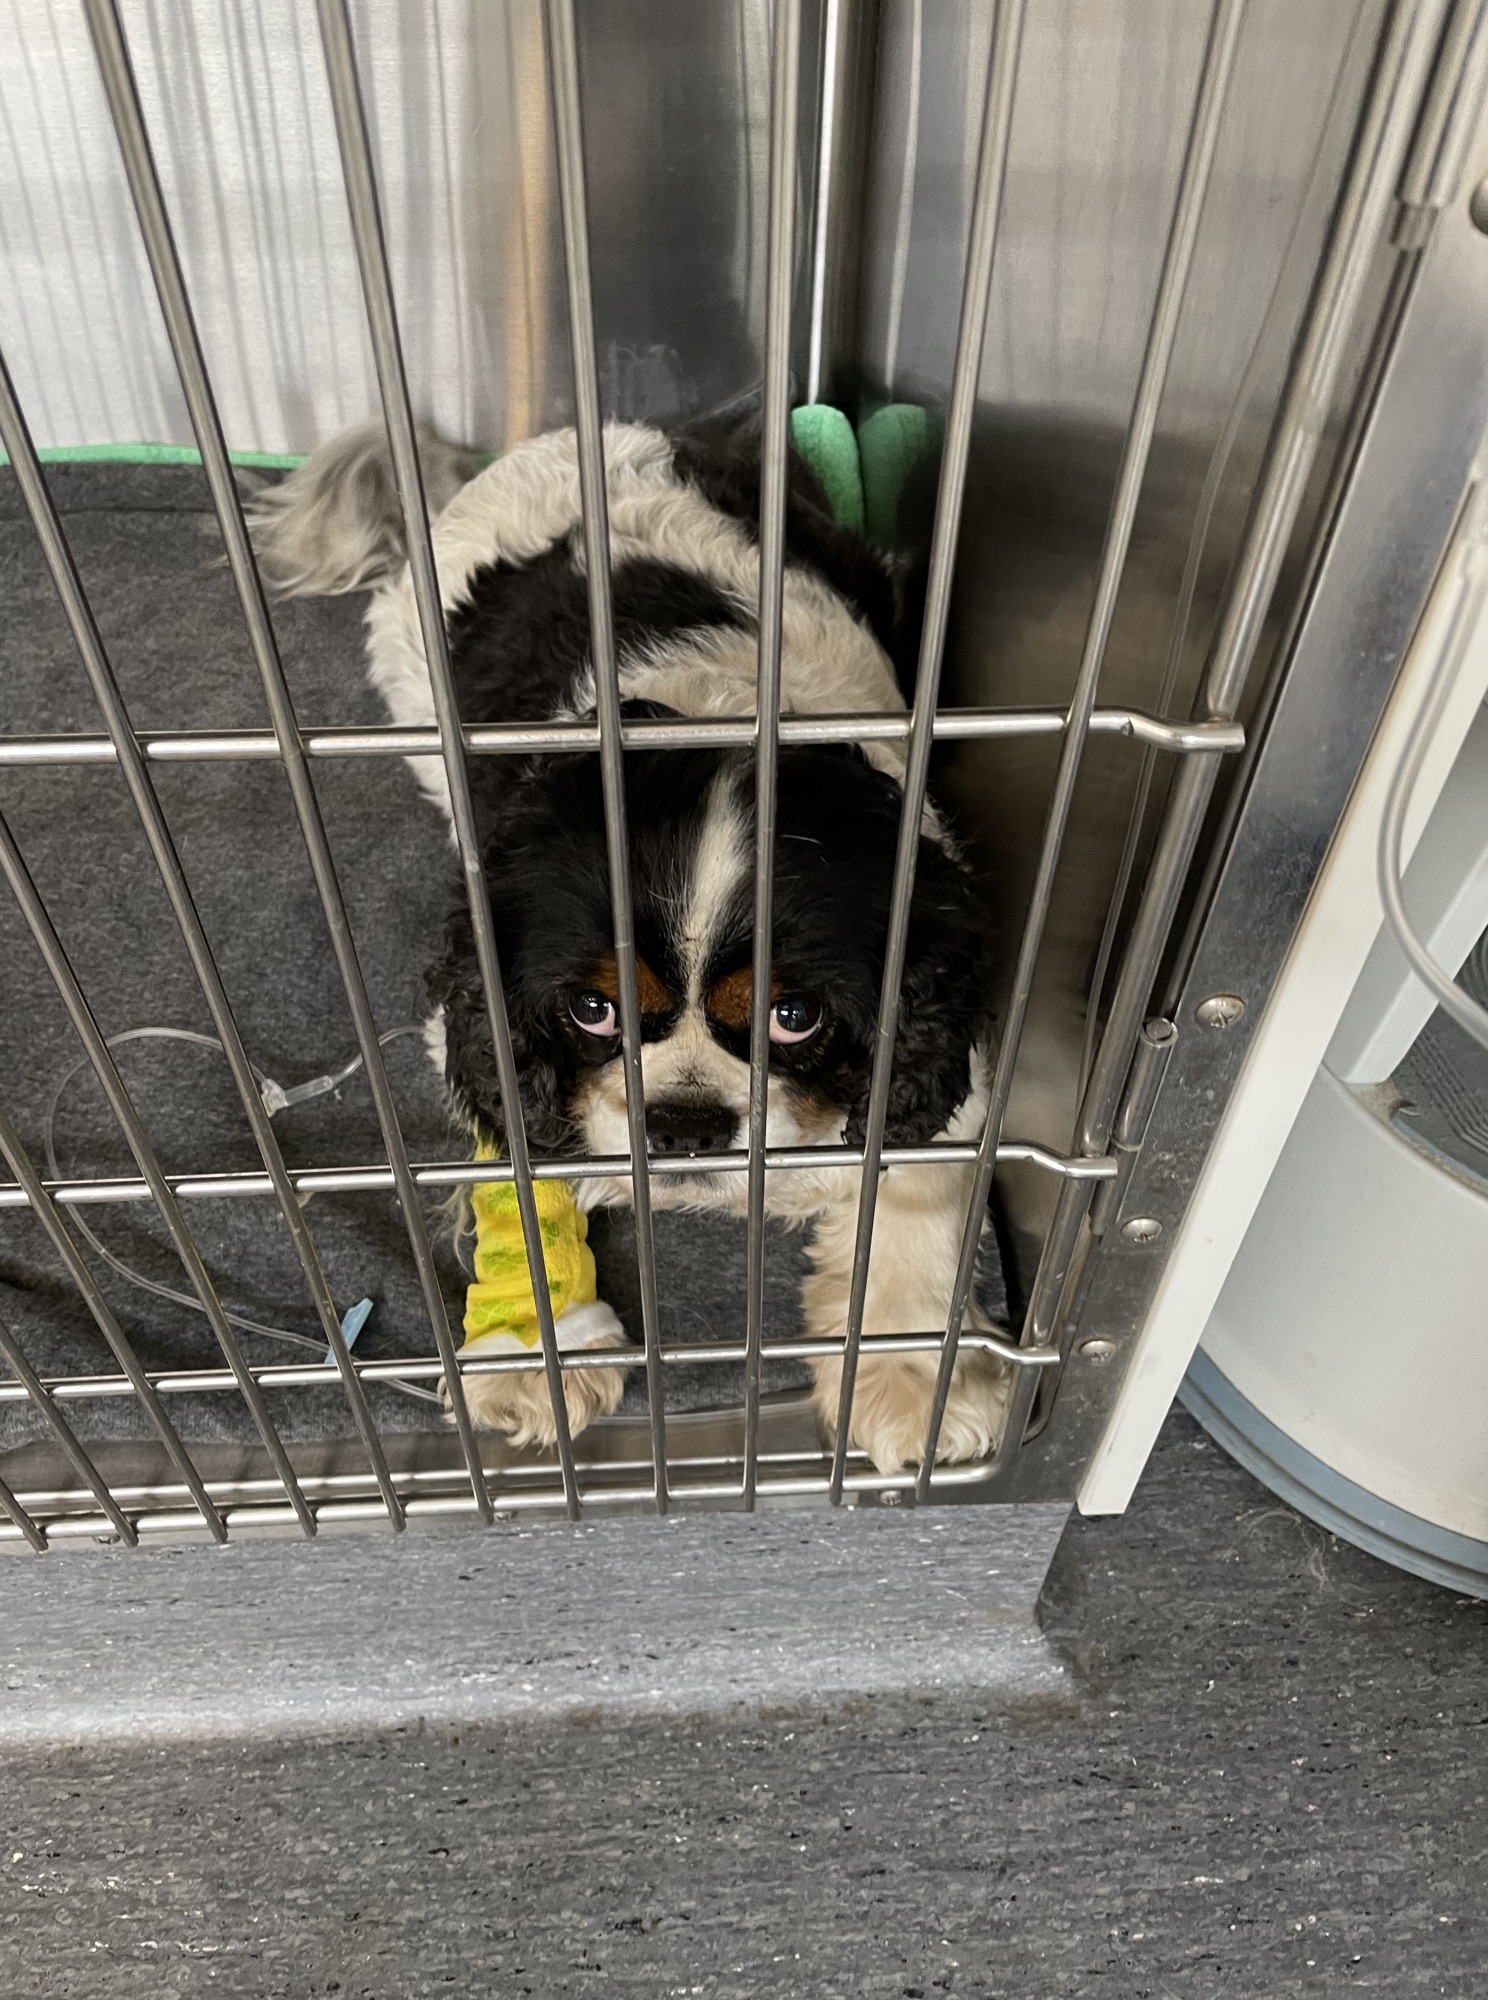
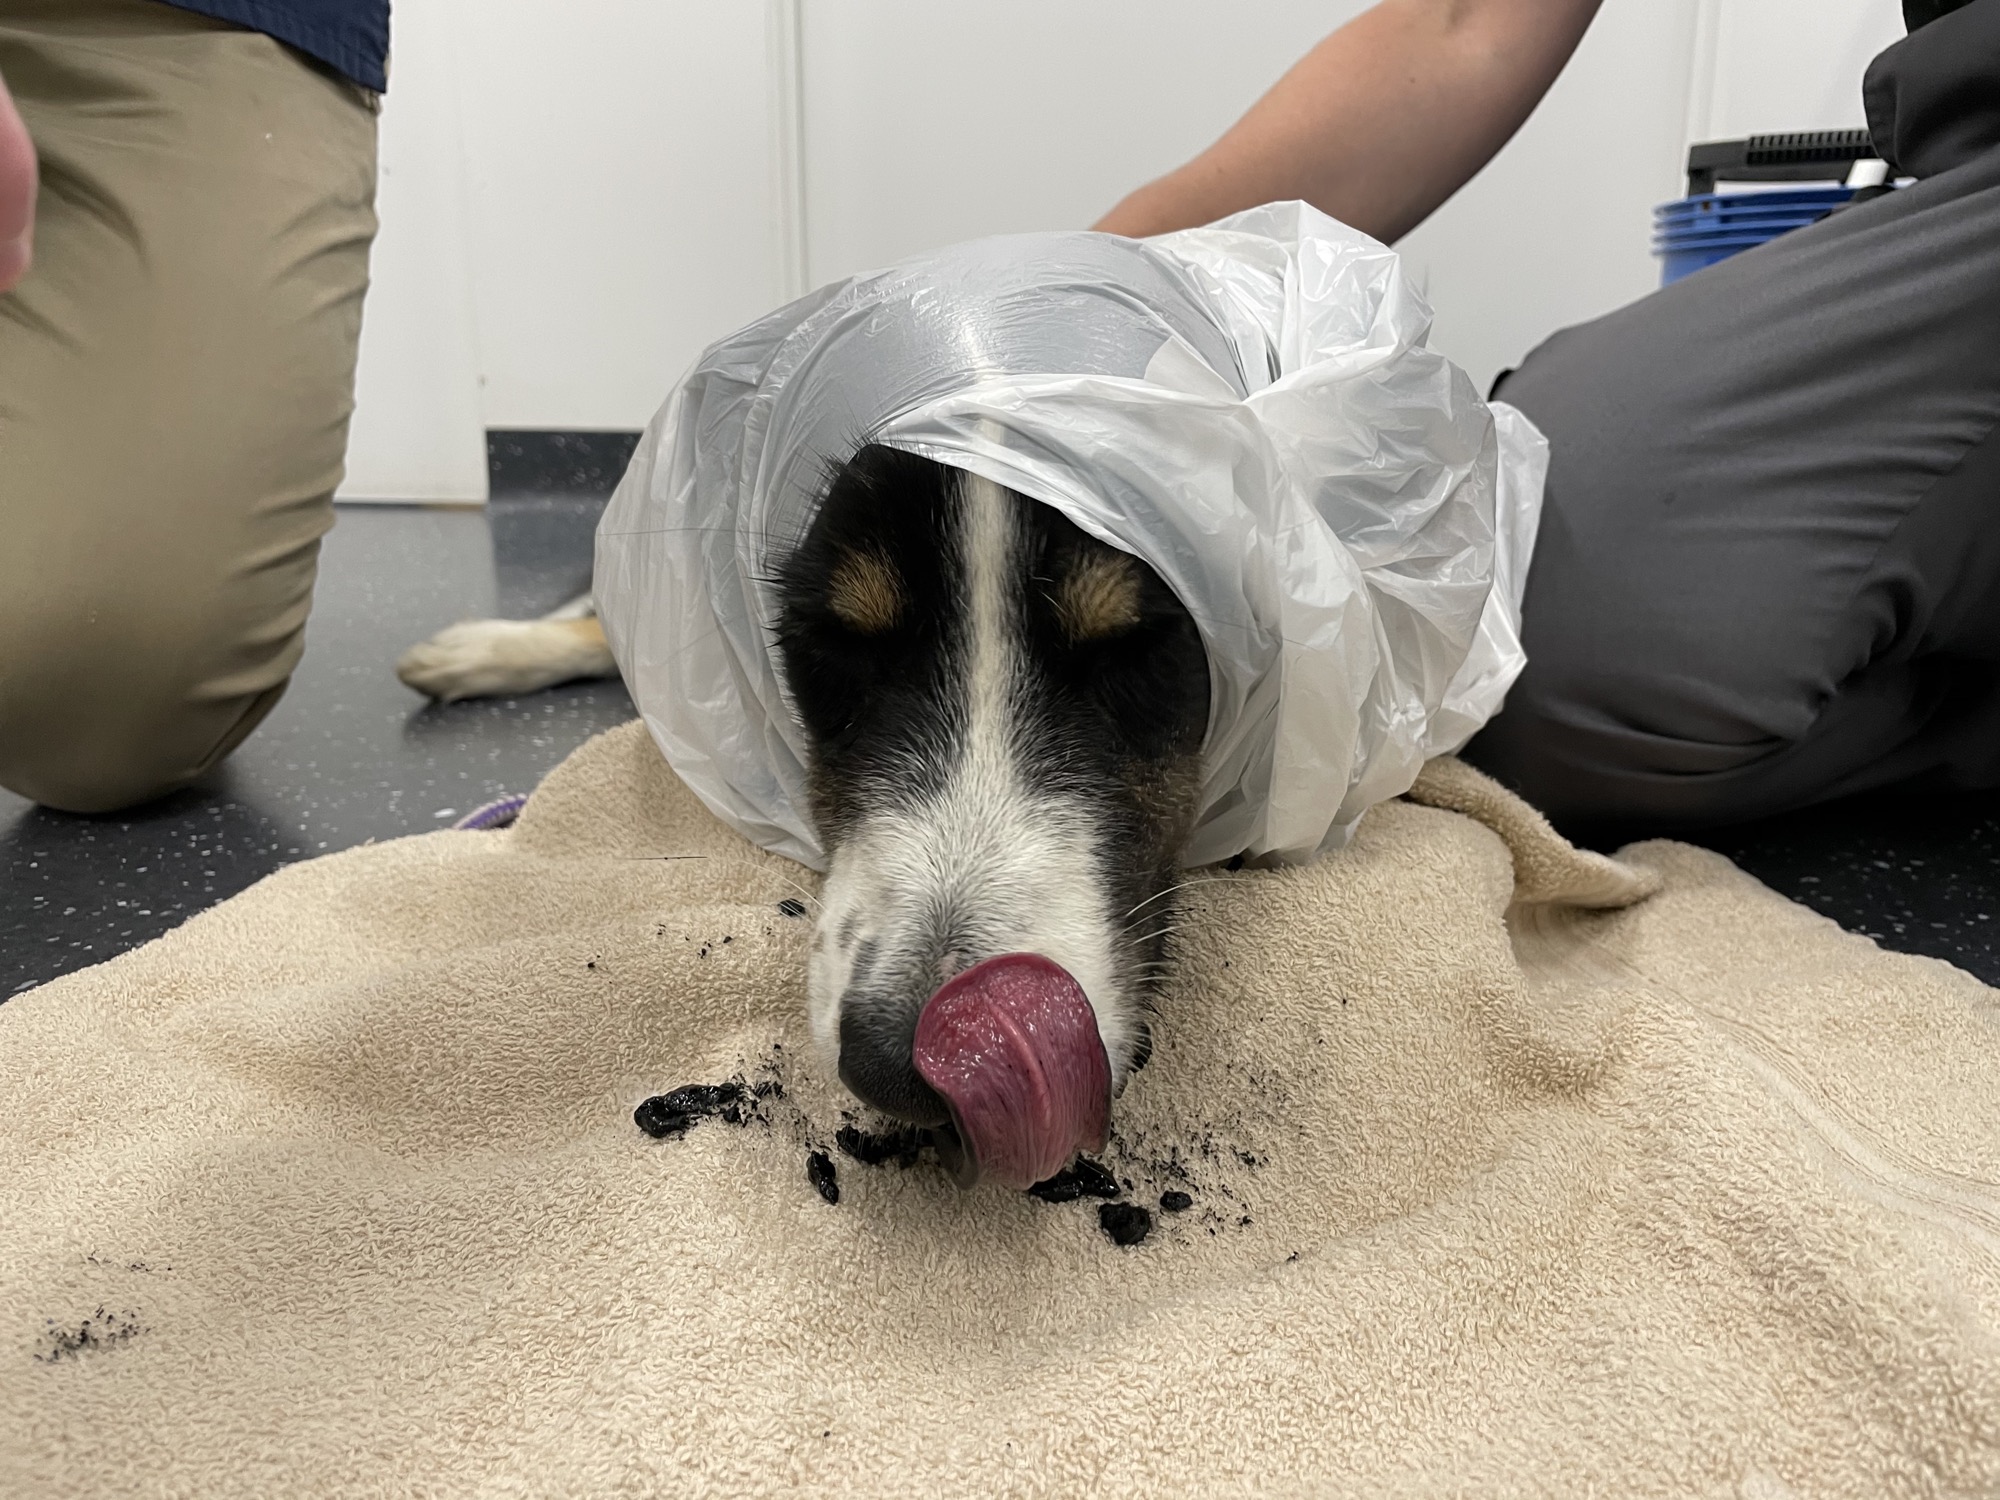
We had a great time over the next couple months with interesting cases and fantastic coworkers. We were only meant to stay 2 months, but decided to extend our contract another 2 months. Here’s a collection of our day-to-day and some crazy things we’ve seen along the way.


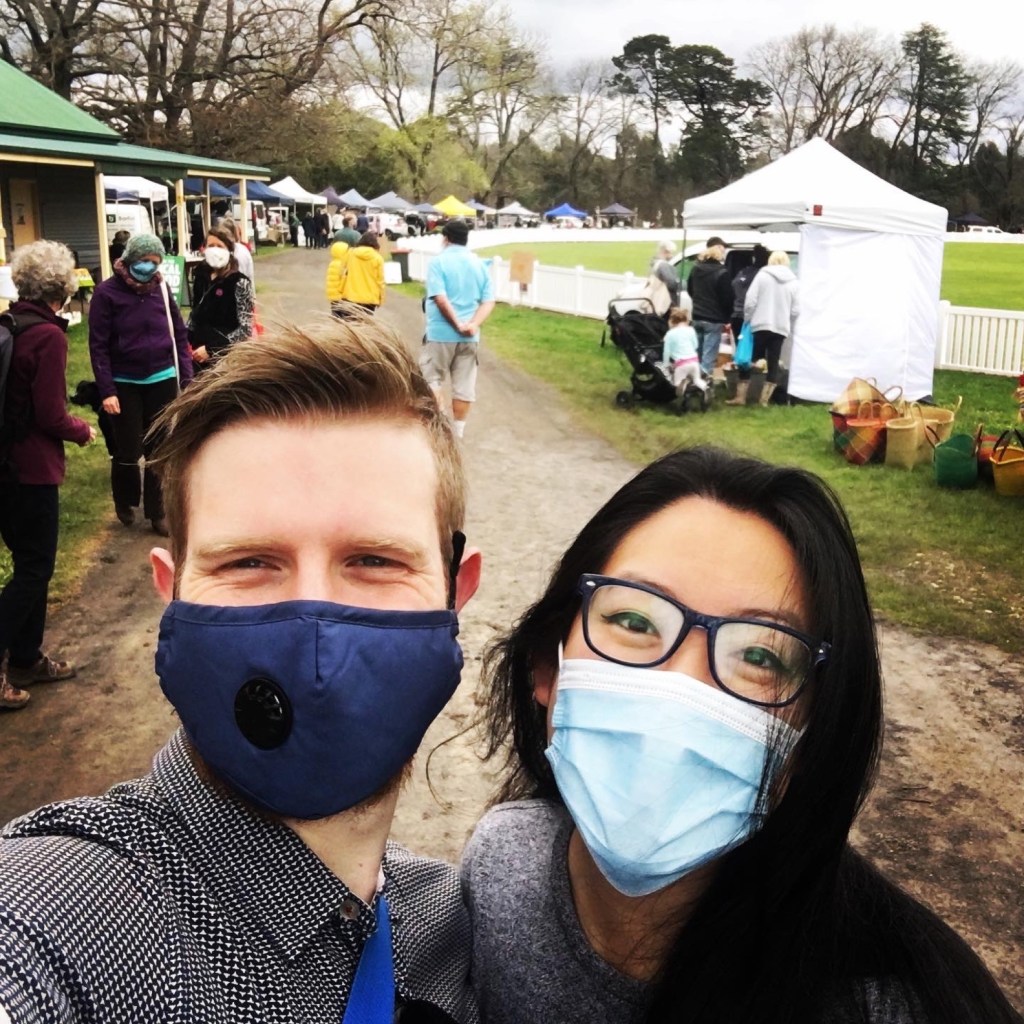
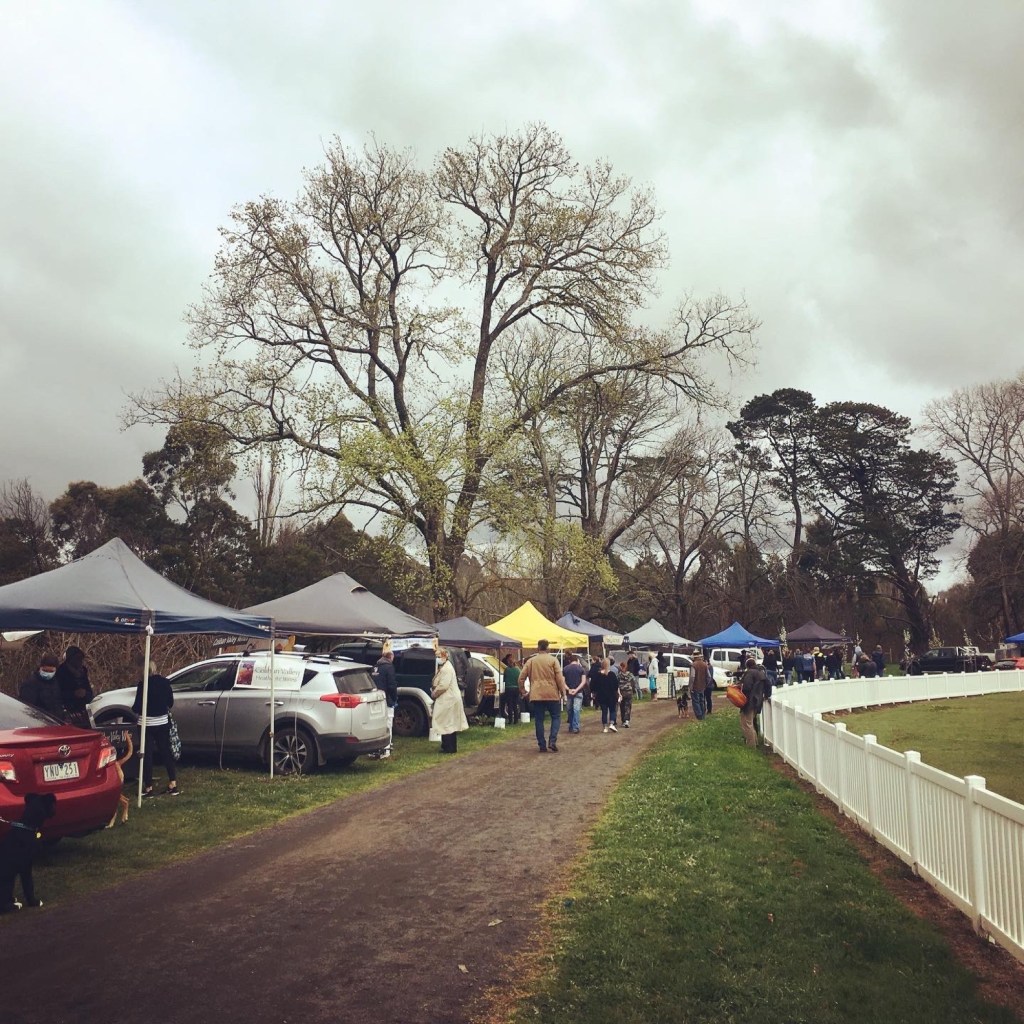
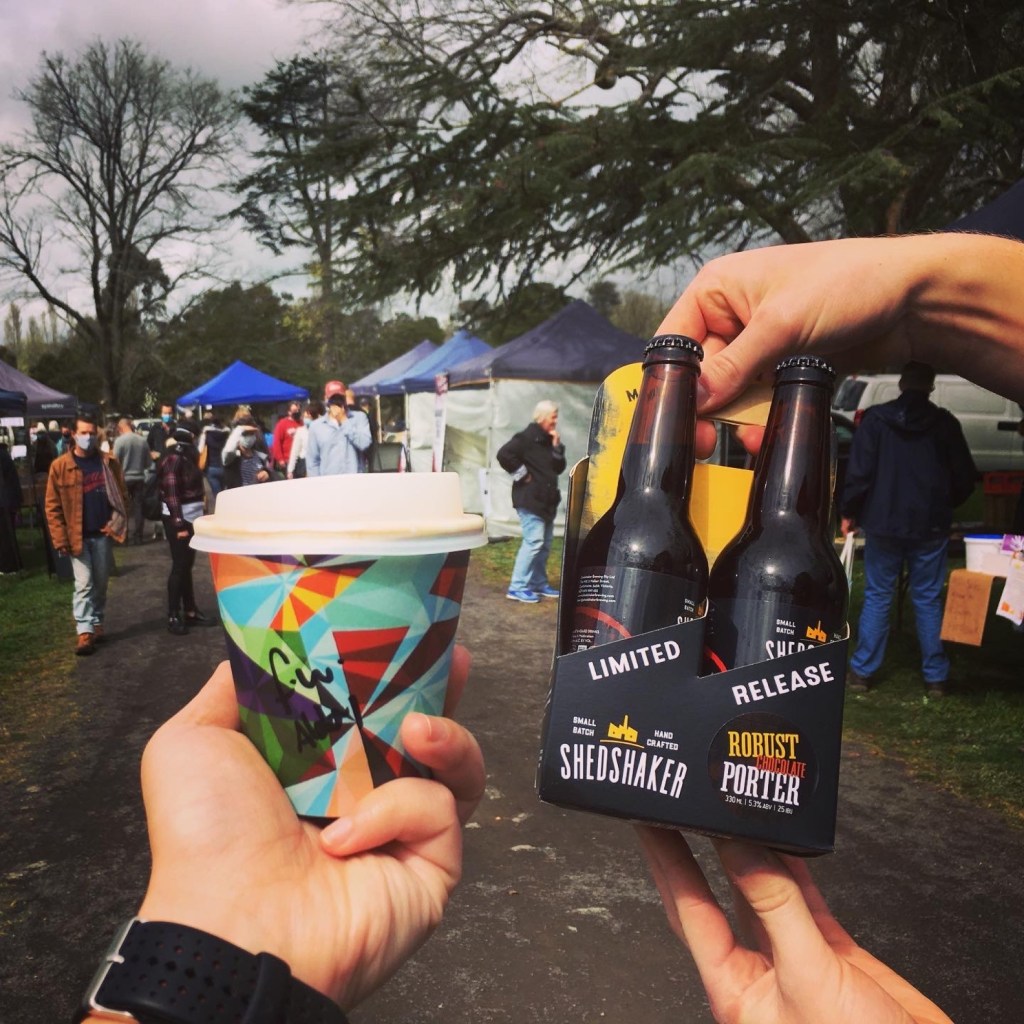
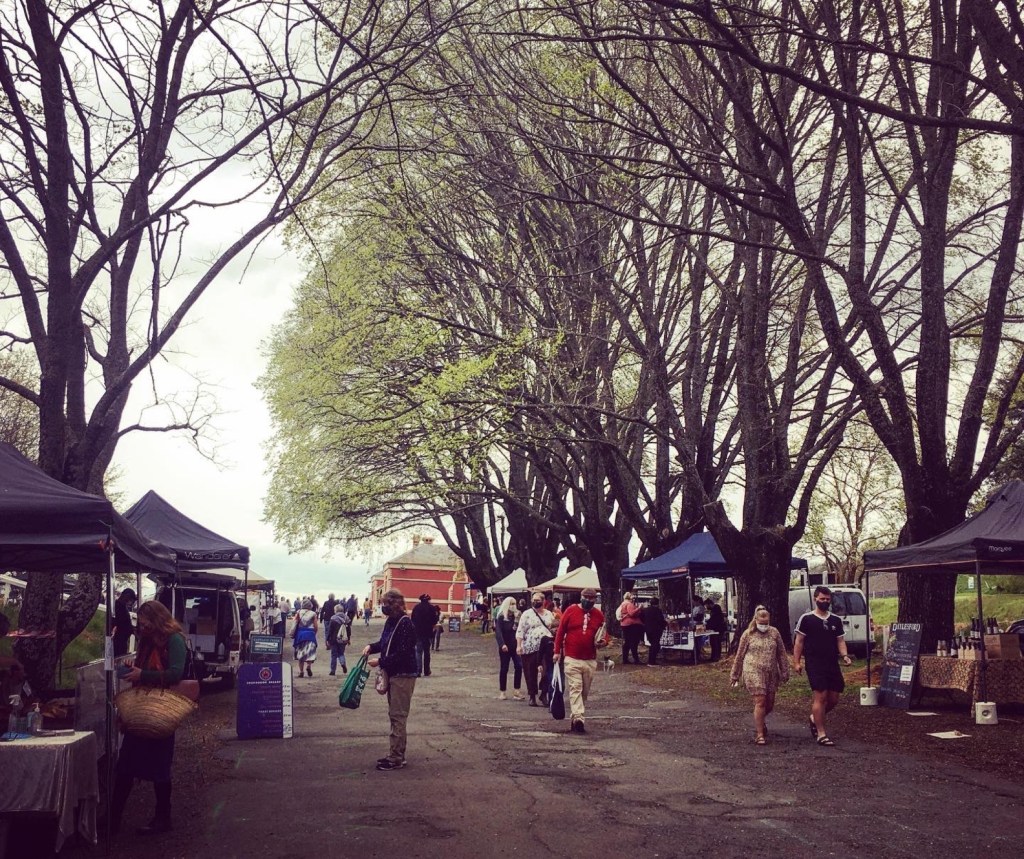
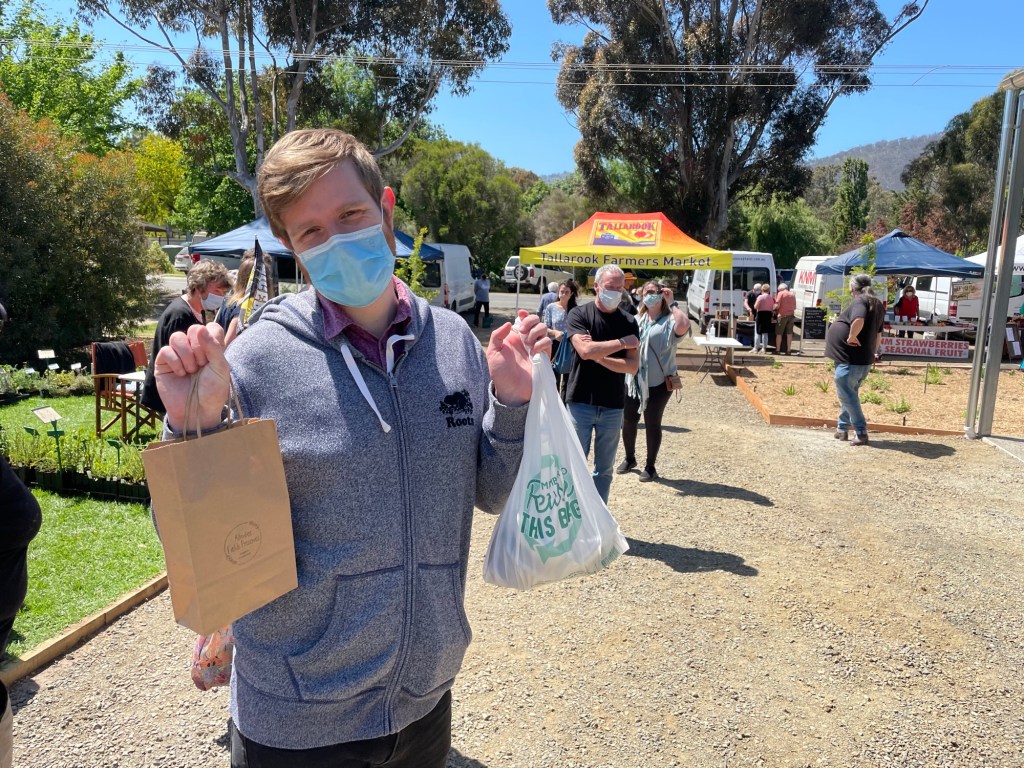
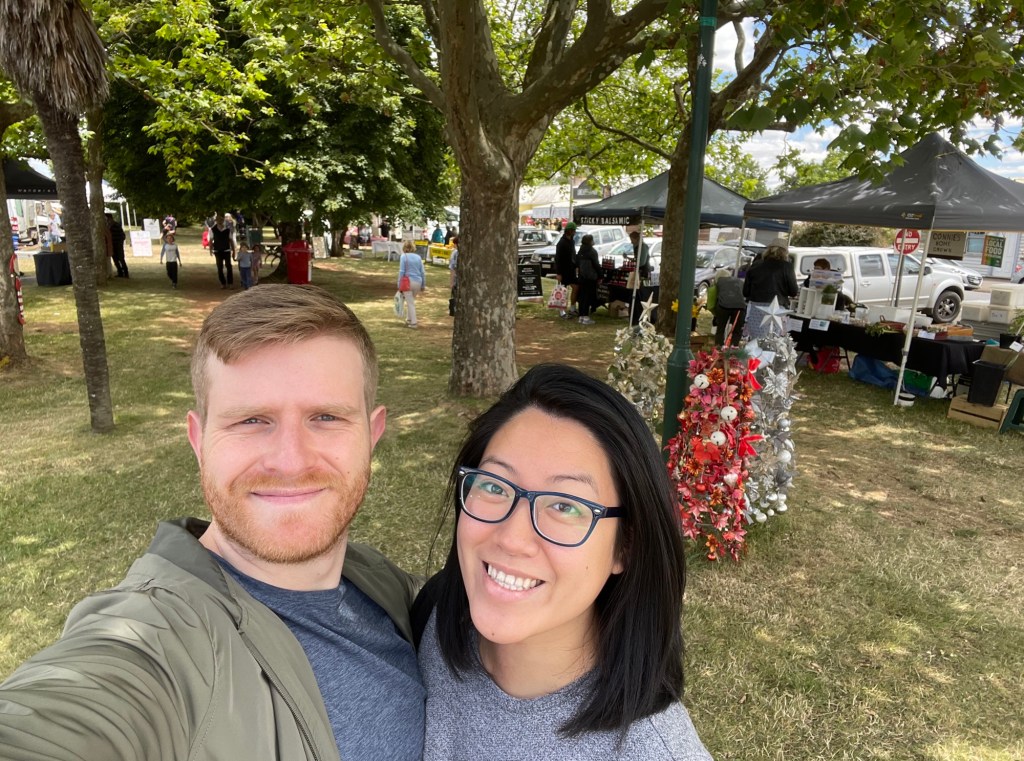
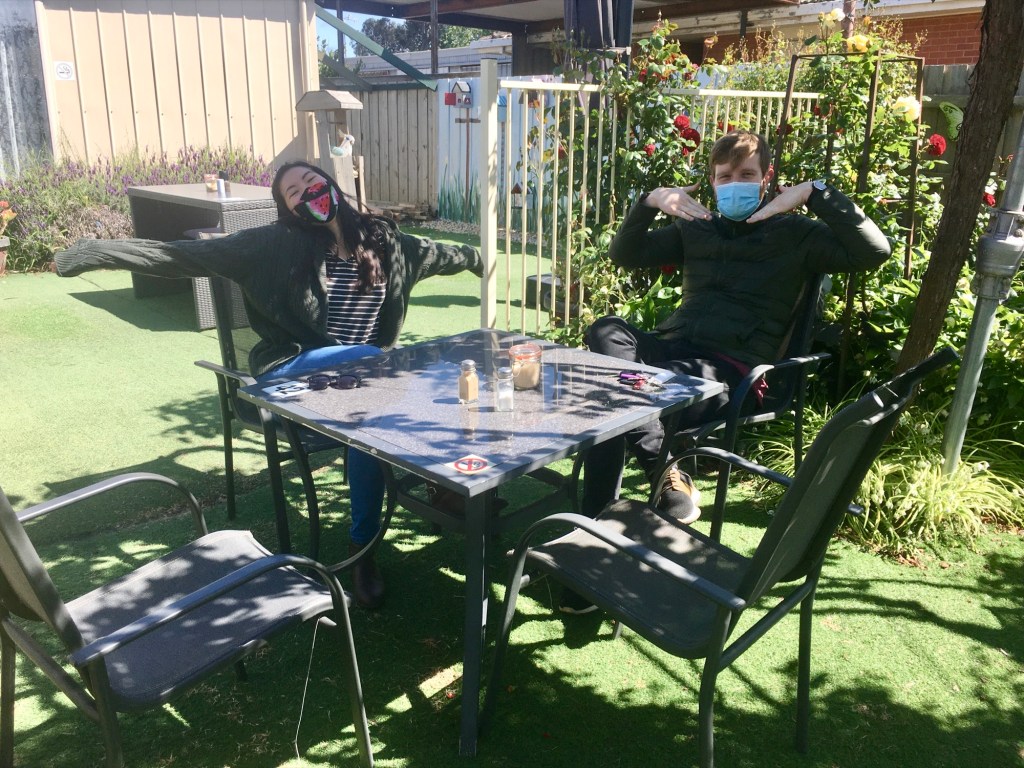
Out and about to local farmers markets on the weekends: They’ve all been small community markets but after so many months of lockdown, it was so nice to be back out in the sun again, supporting the locals.


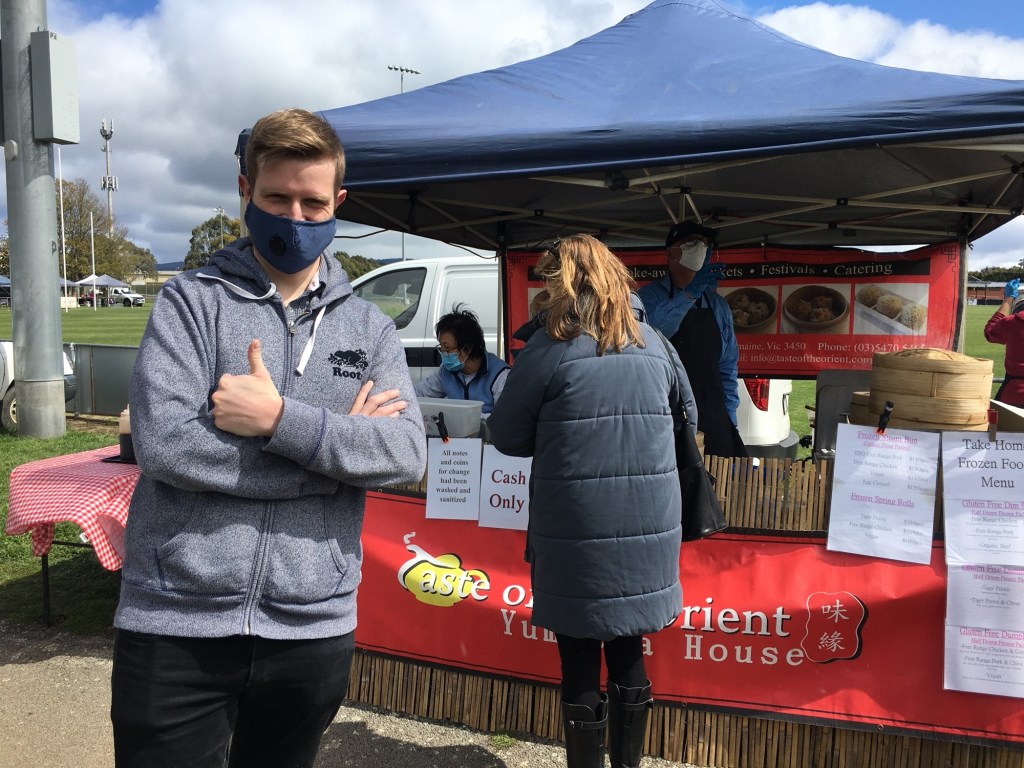

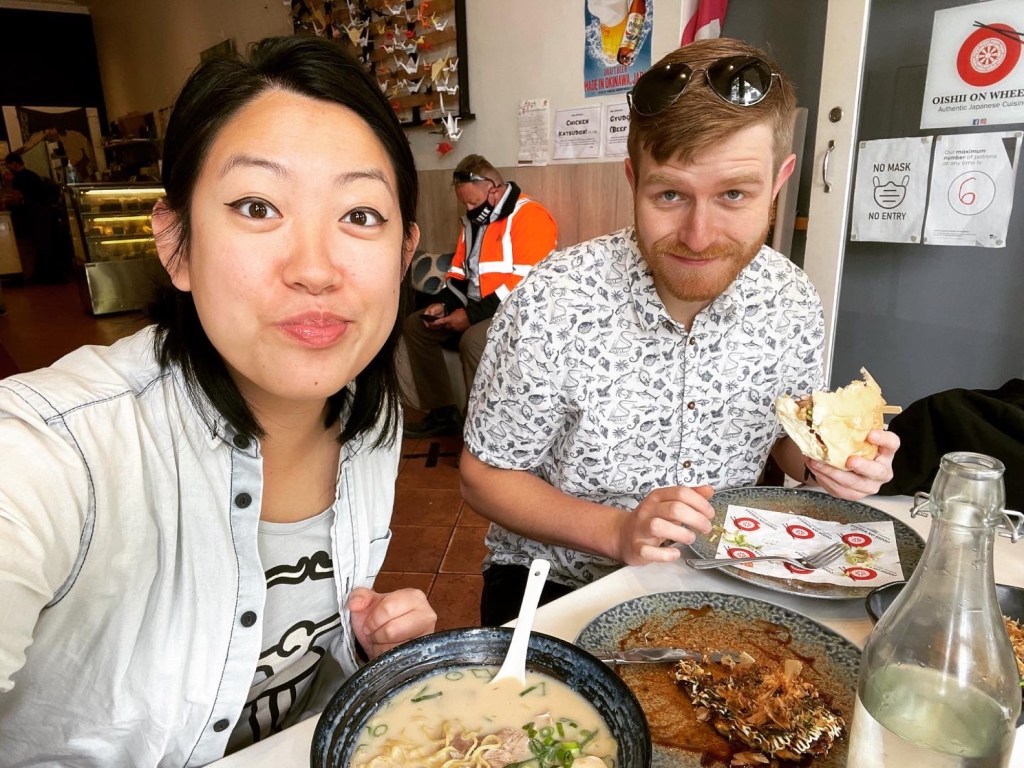
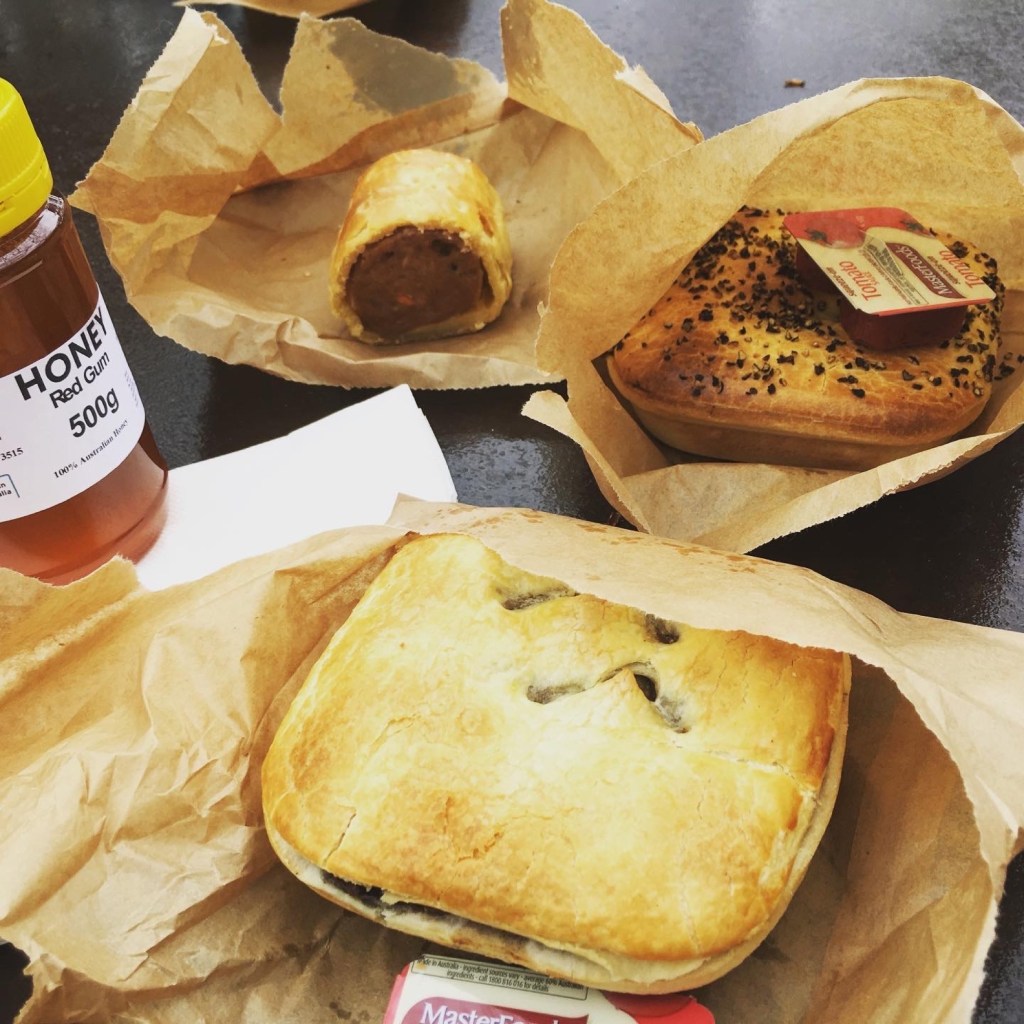
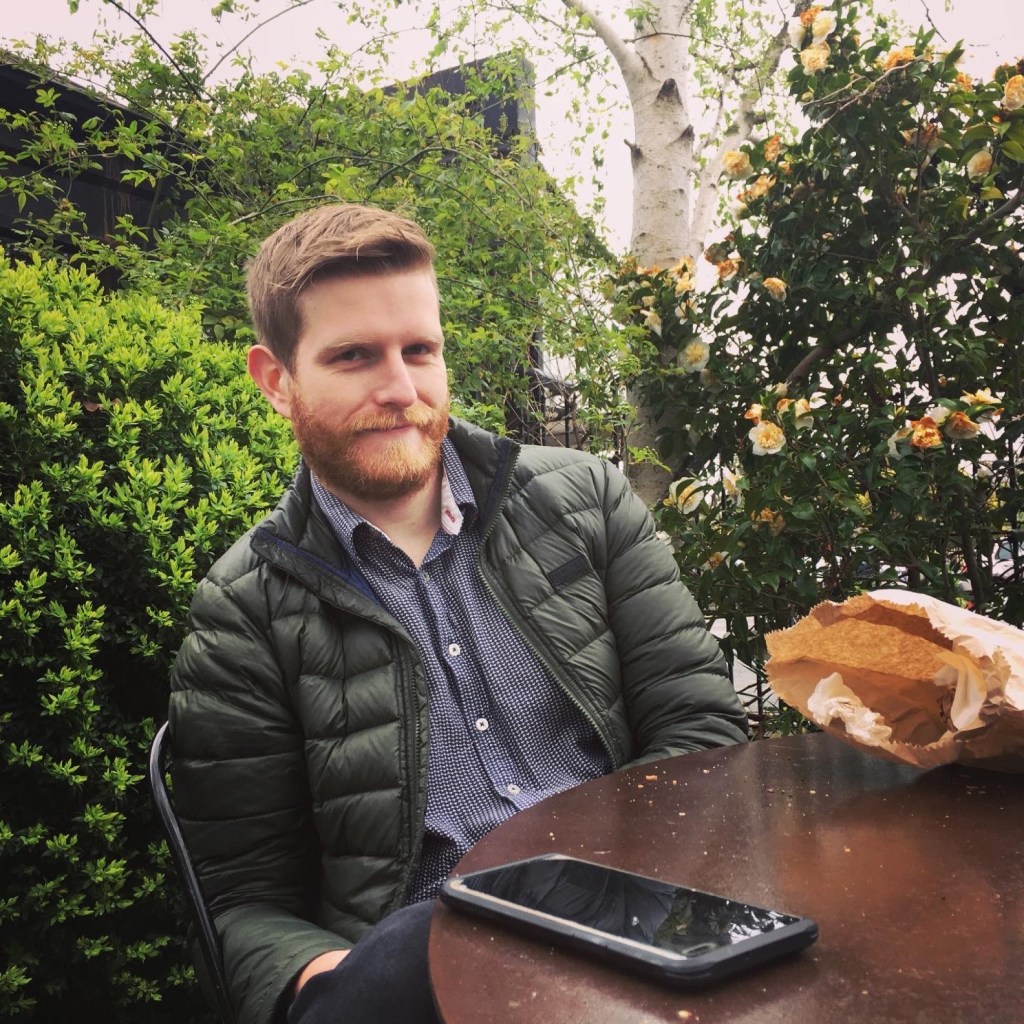
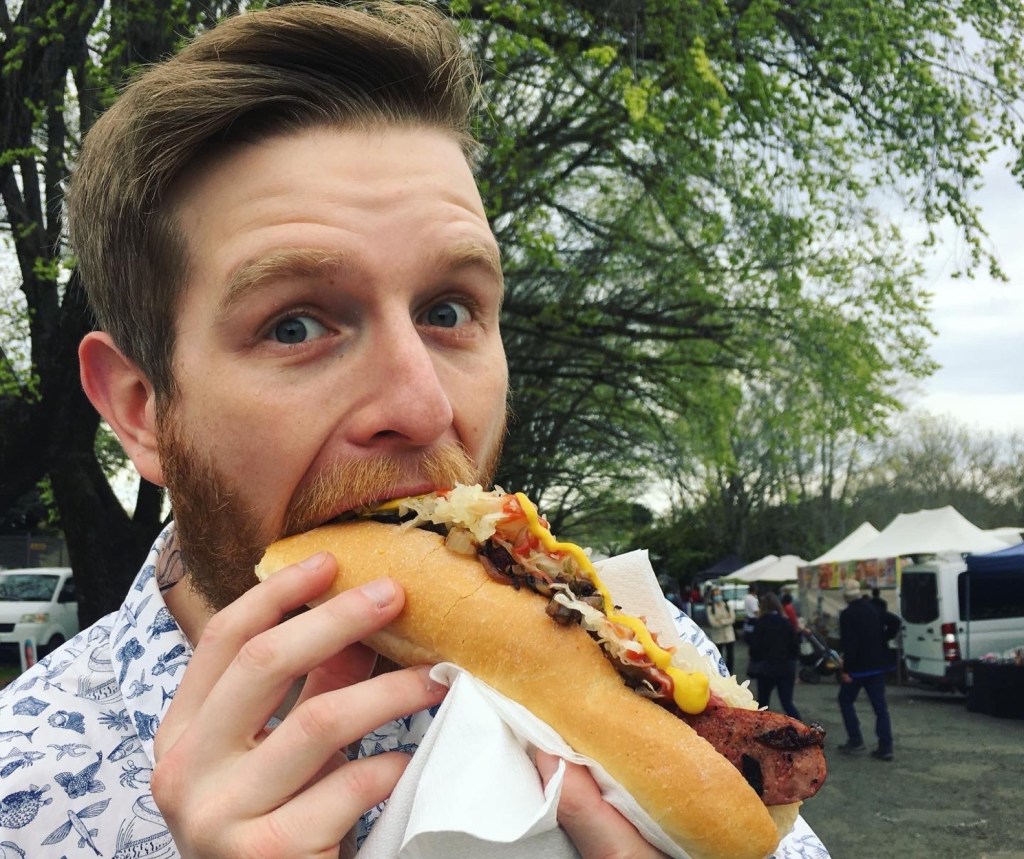
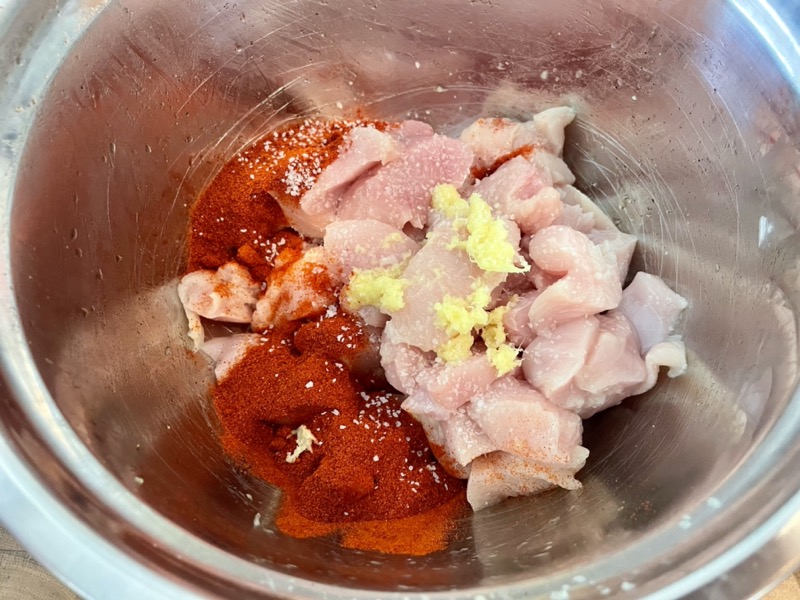
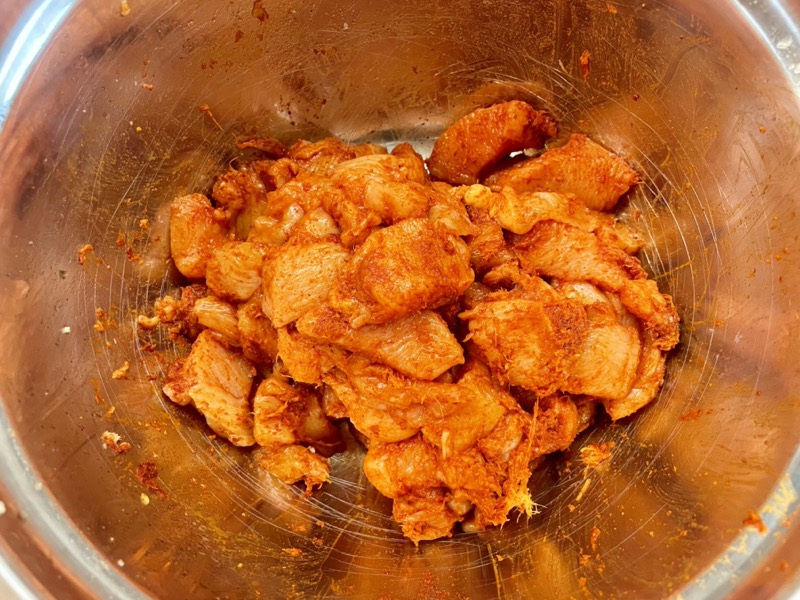
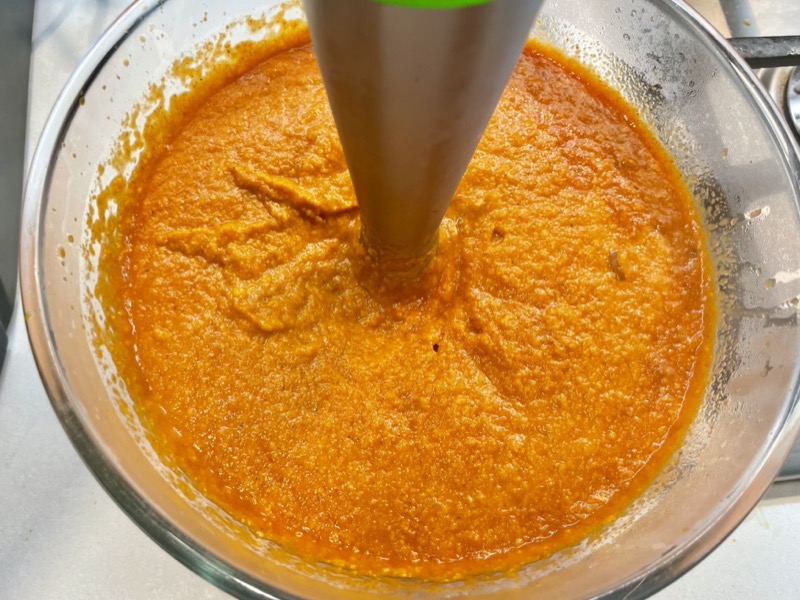
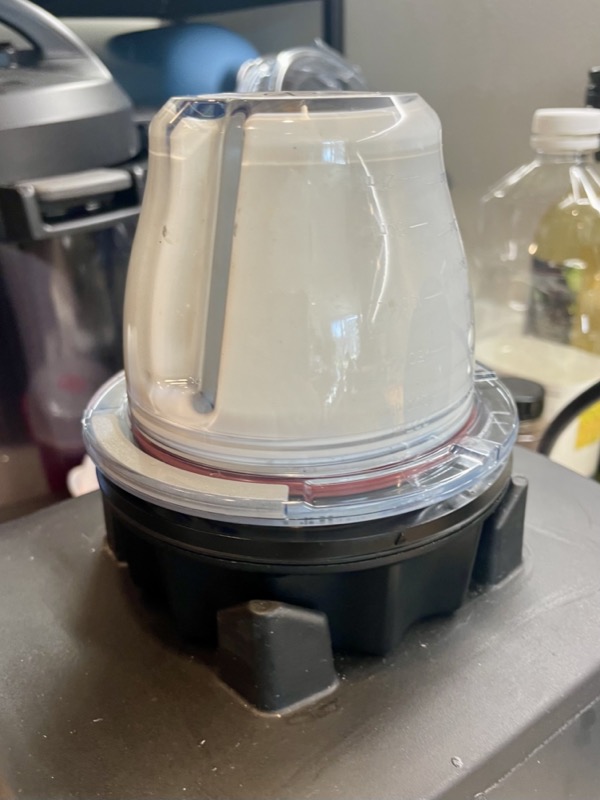
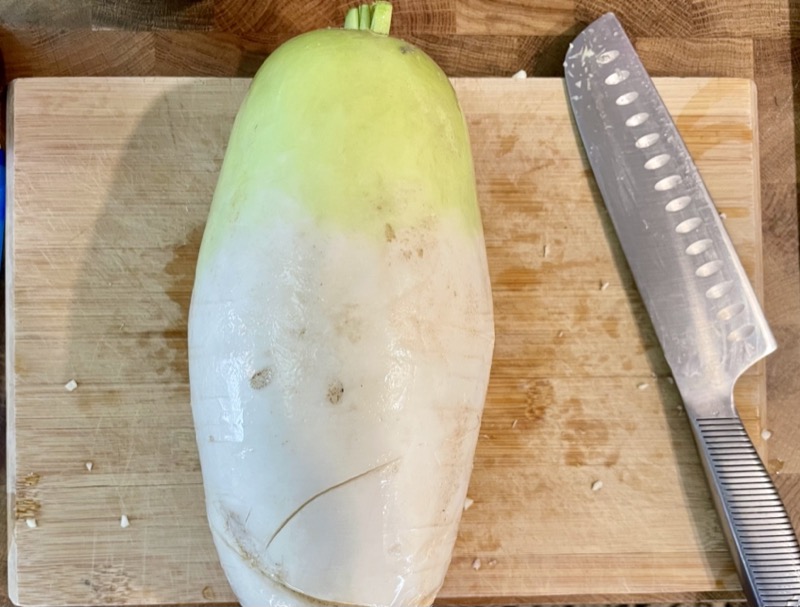
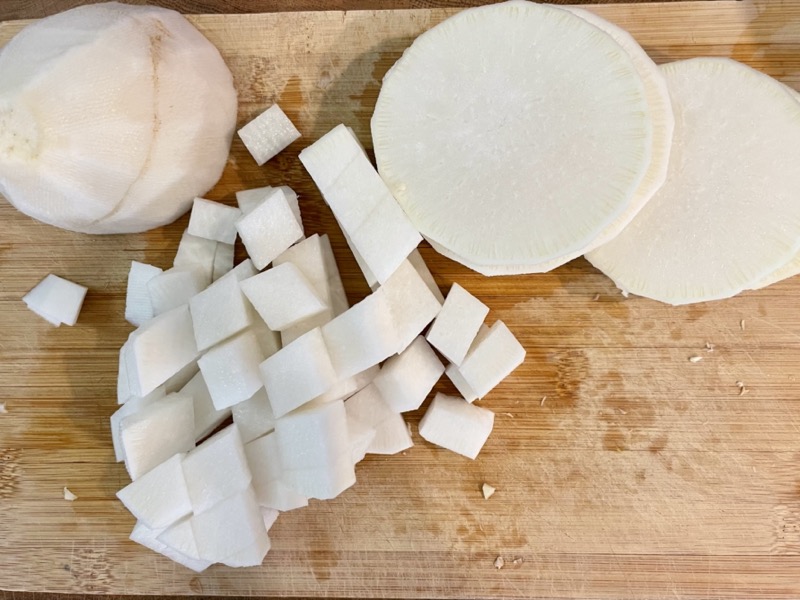
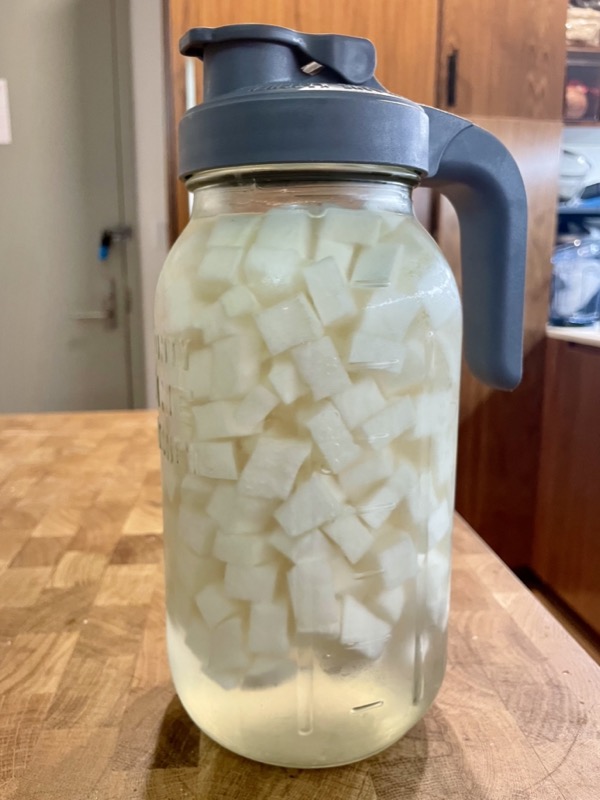
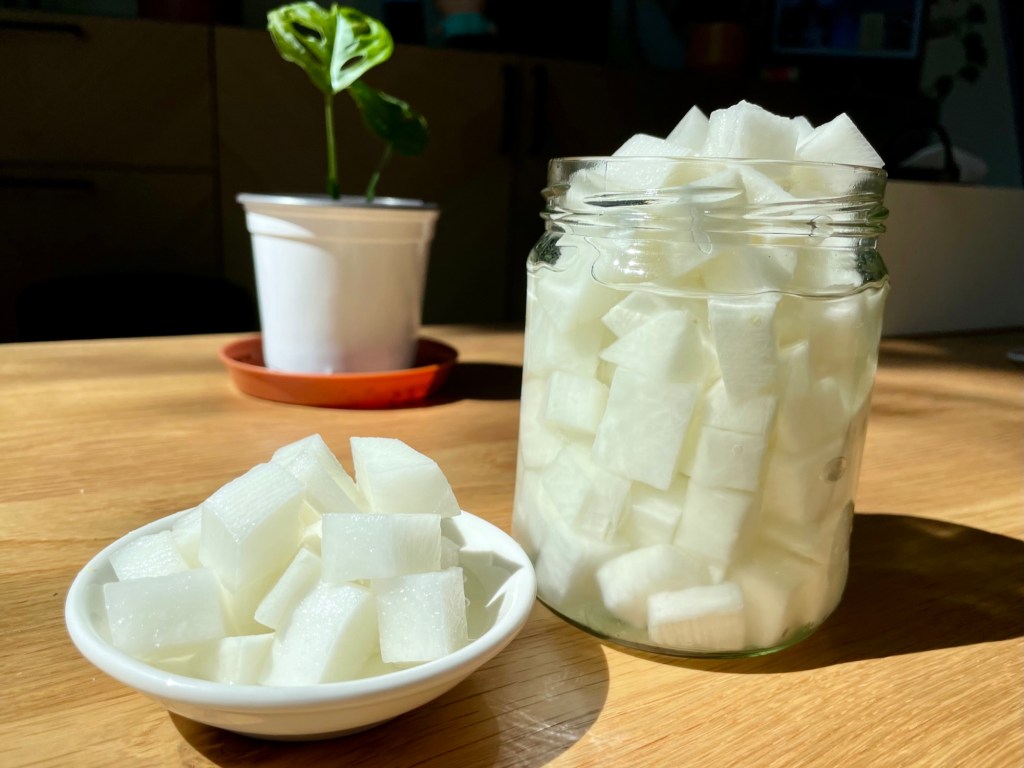
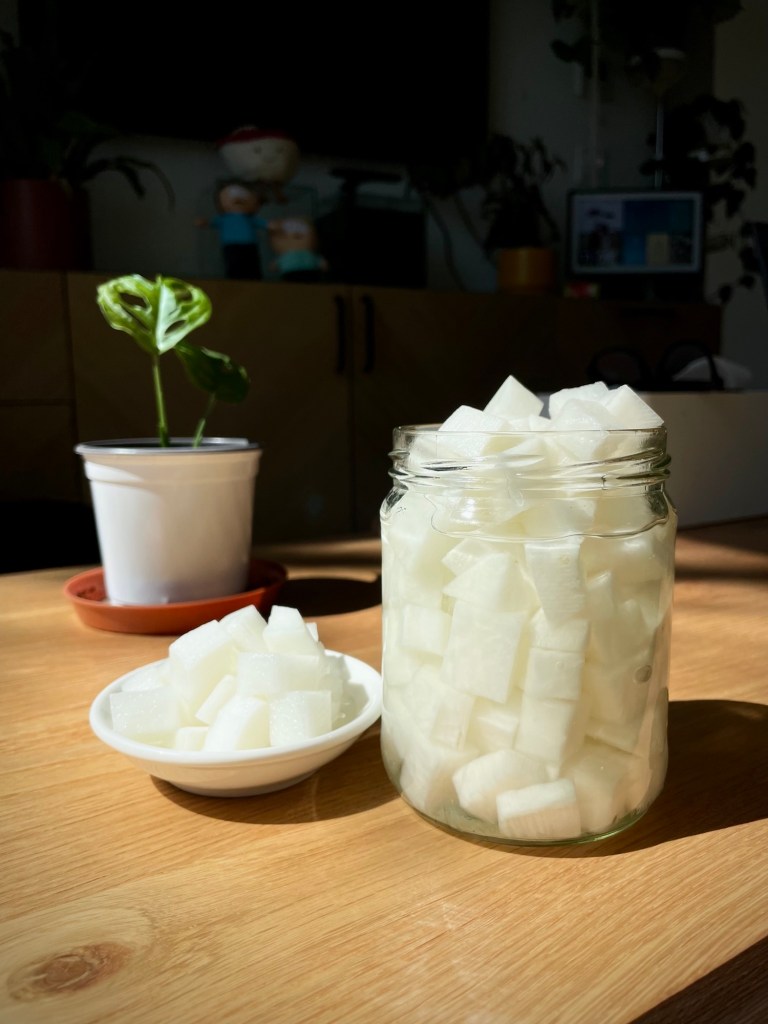
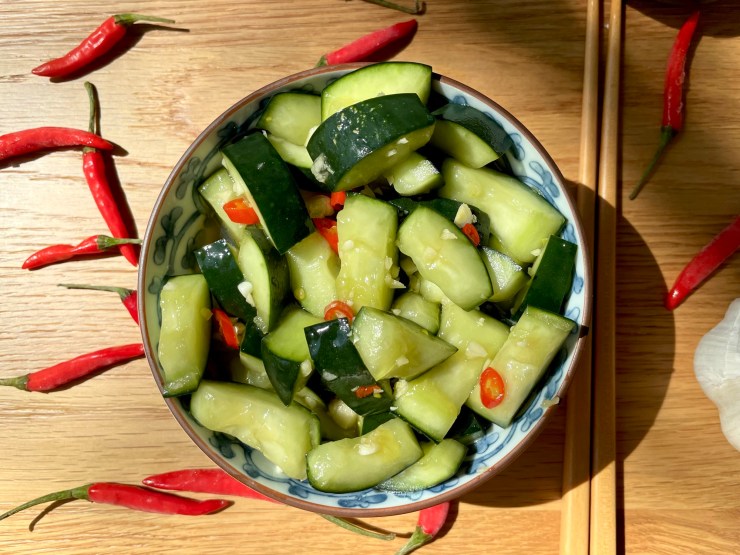
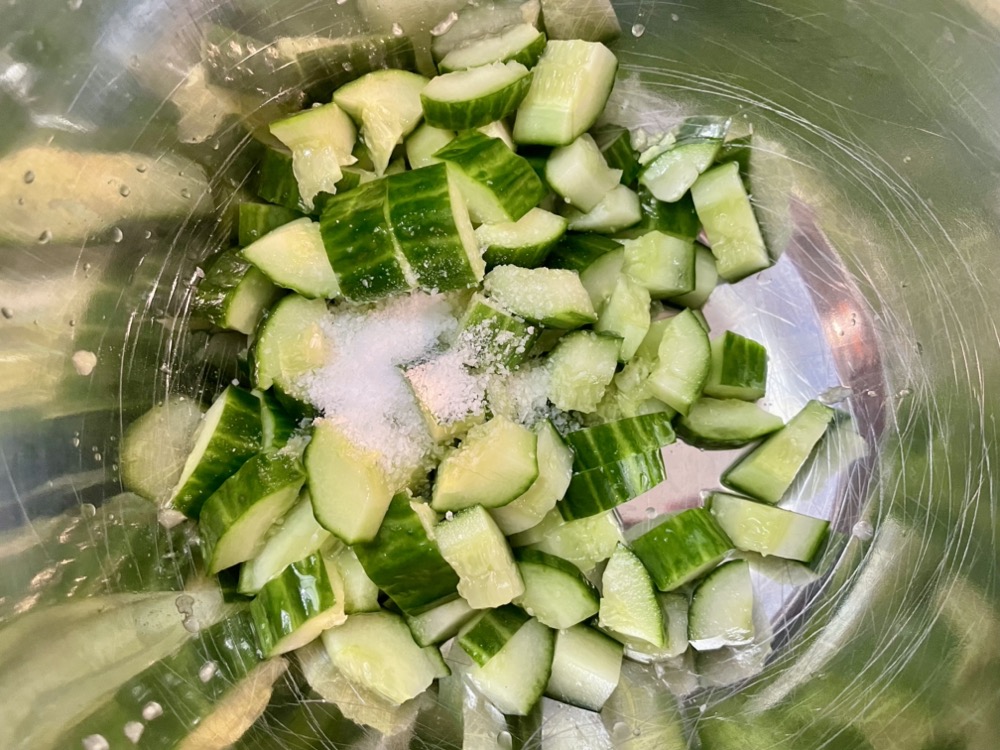
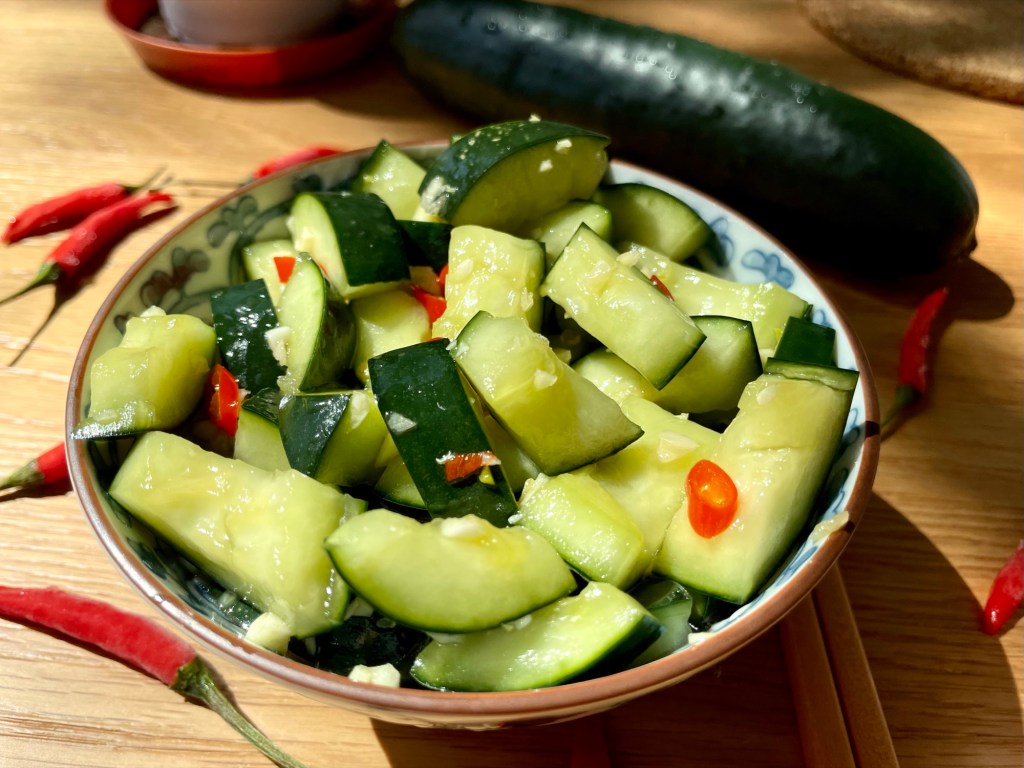
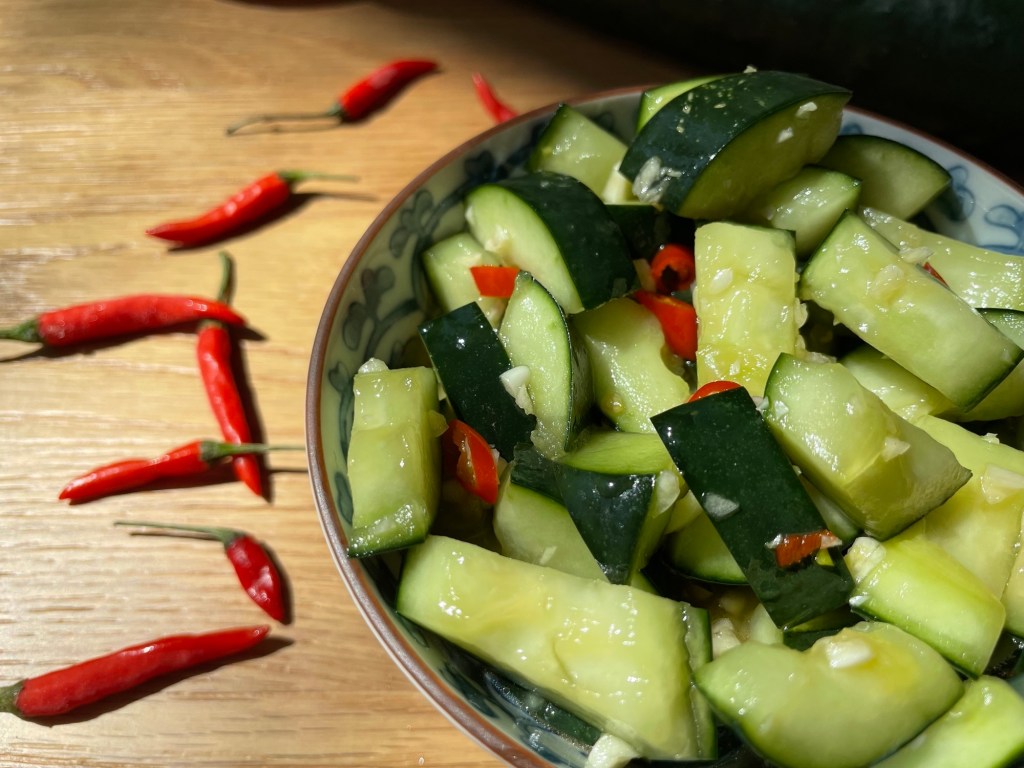
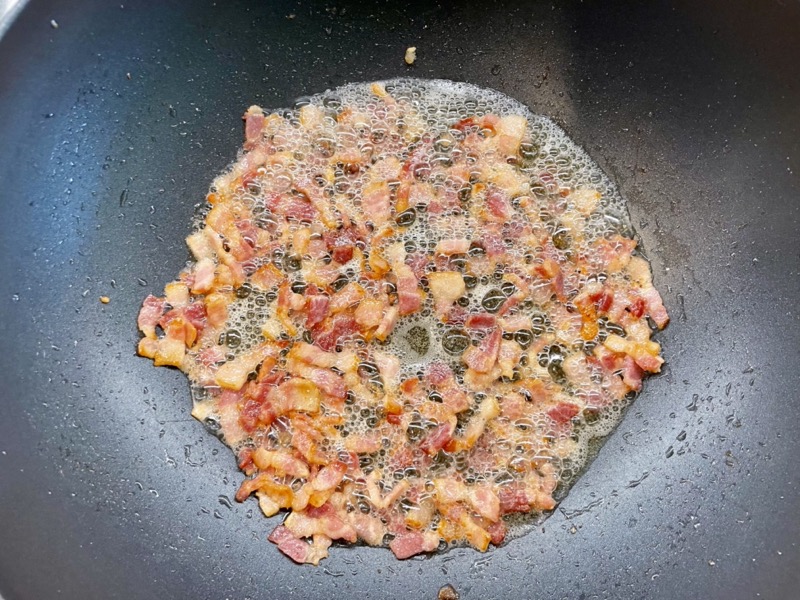
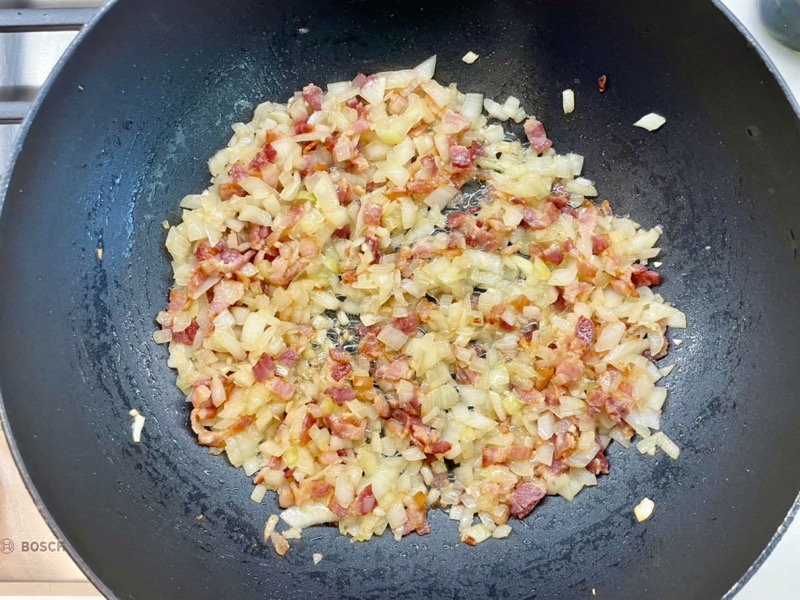
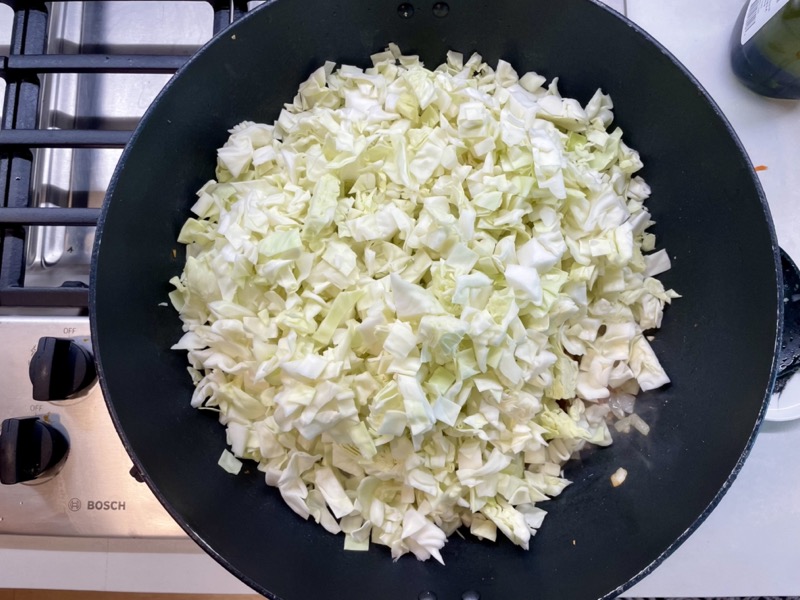
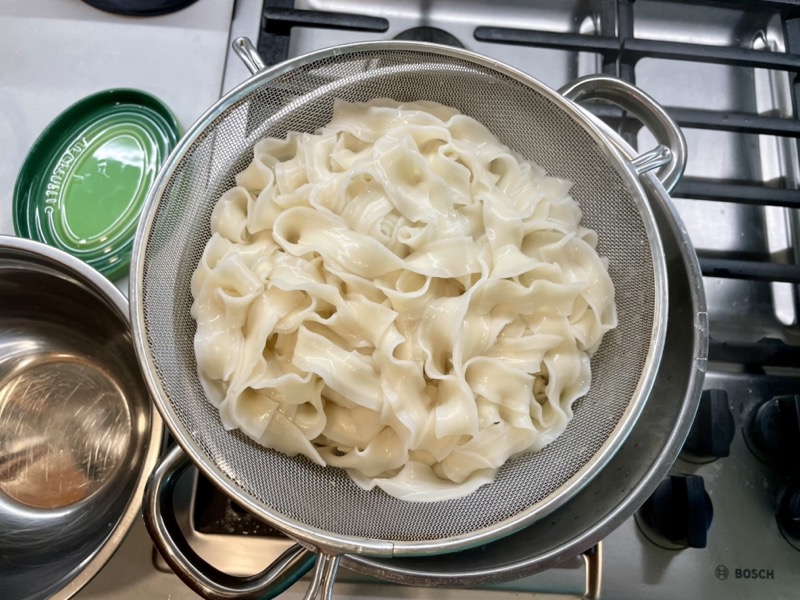
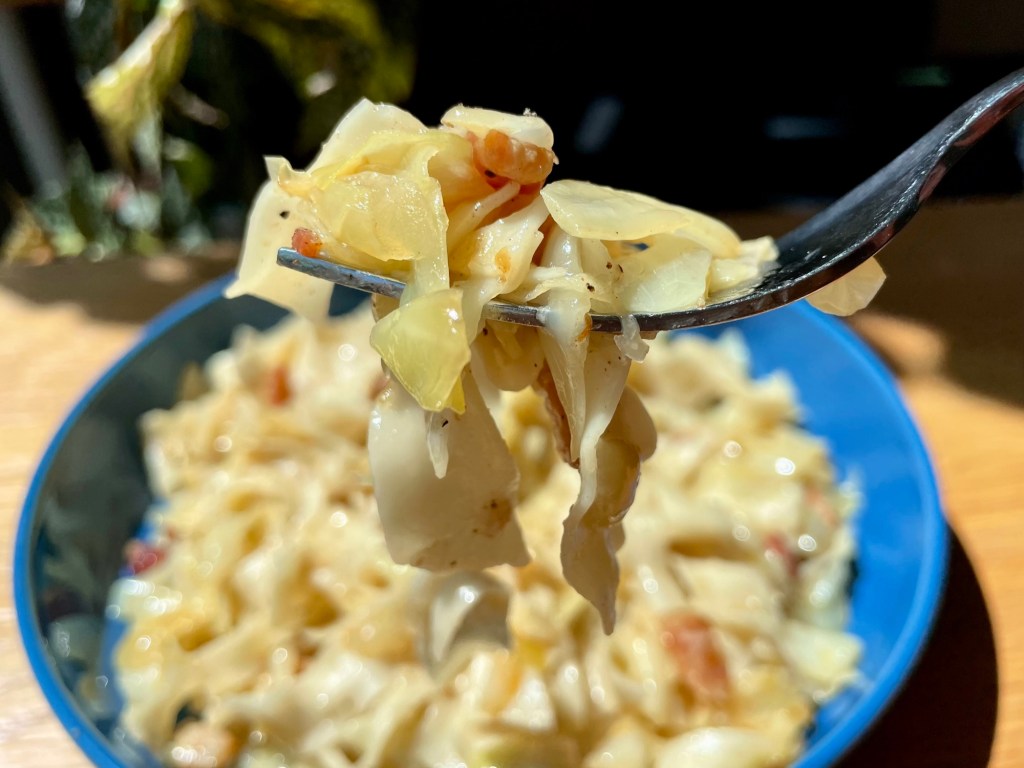
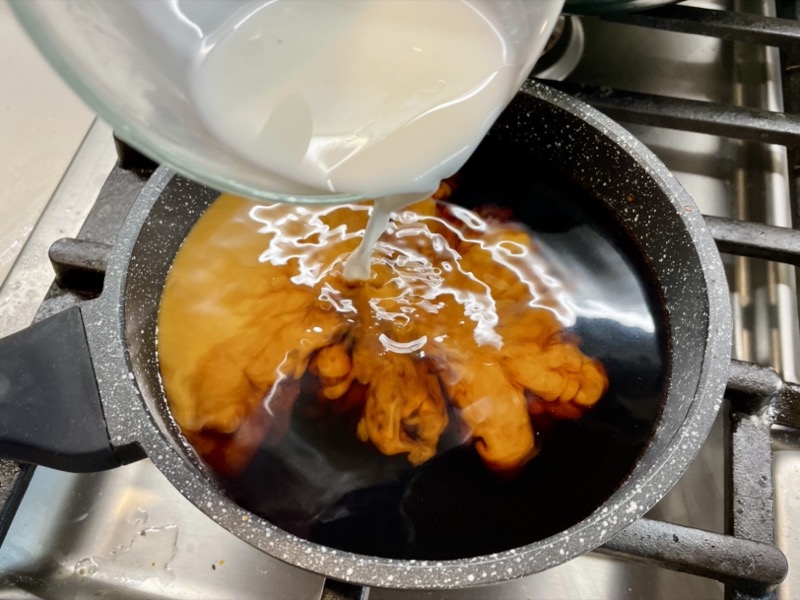
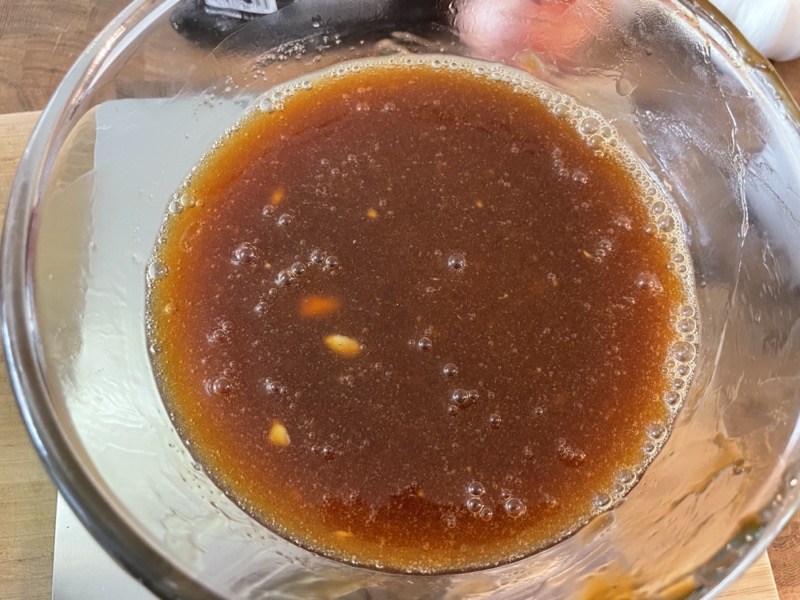
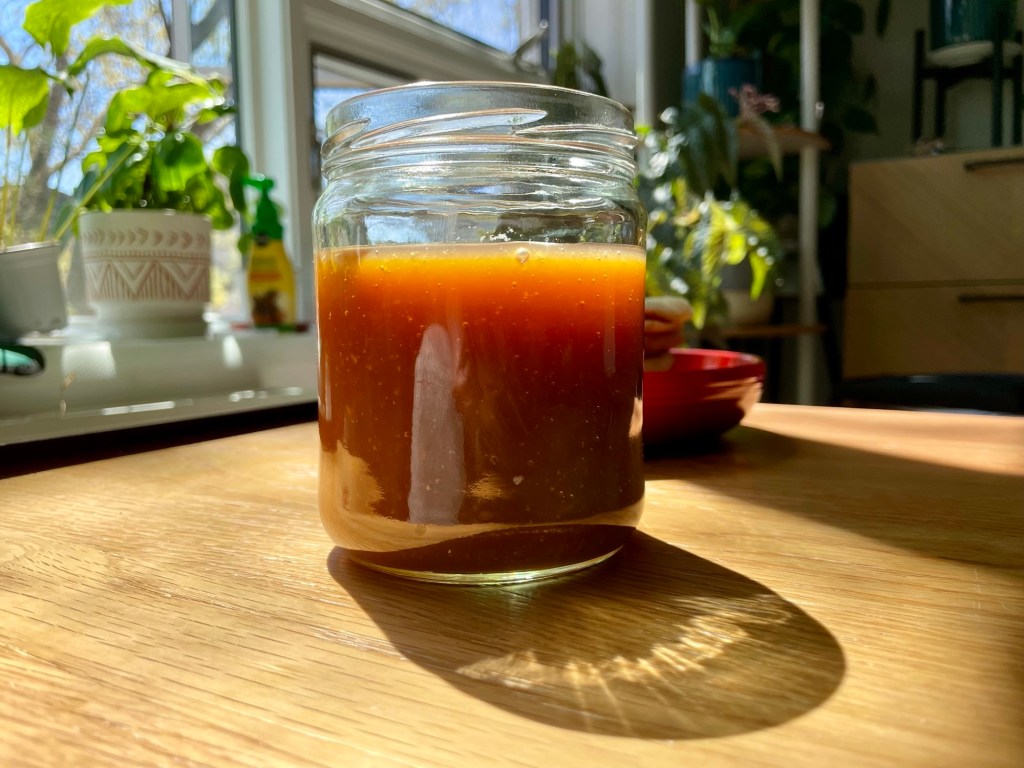
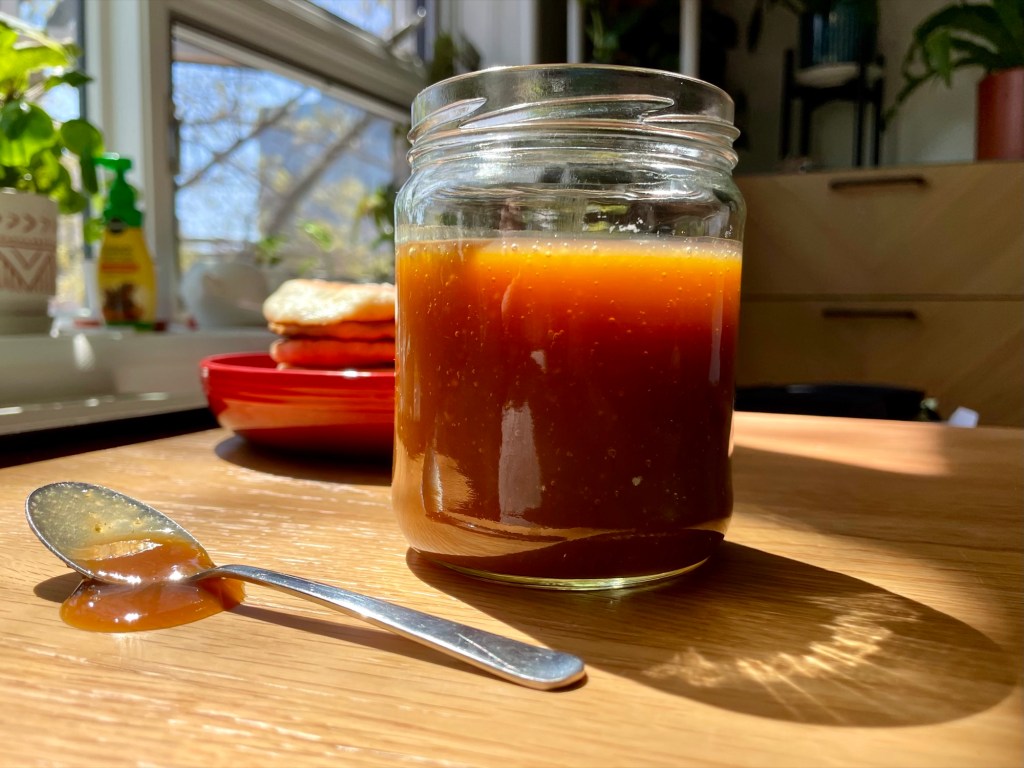
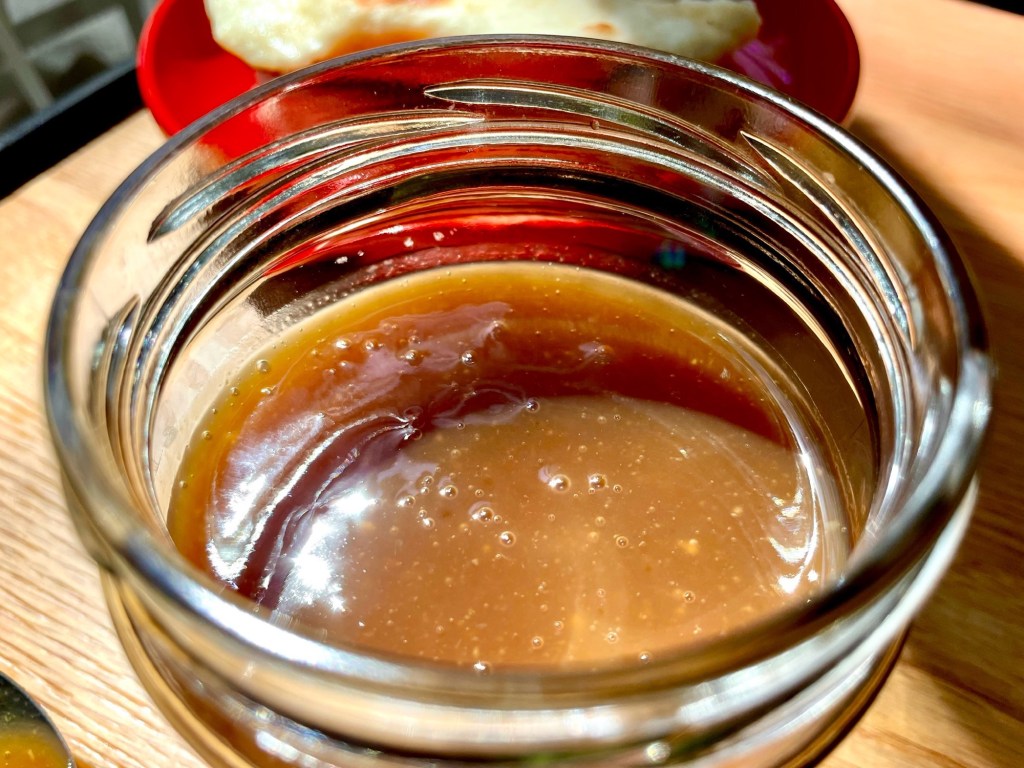
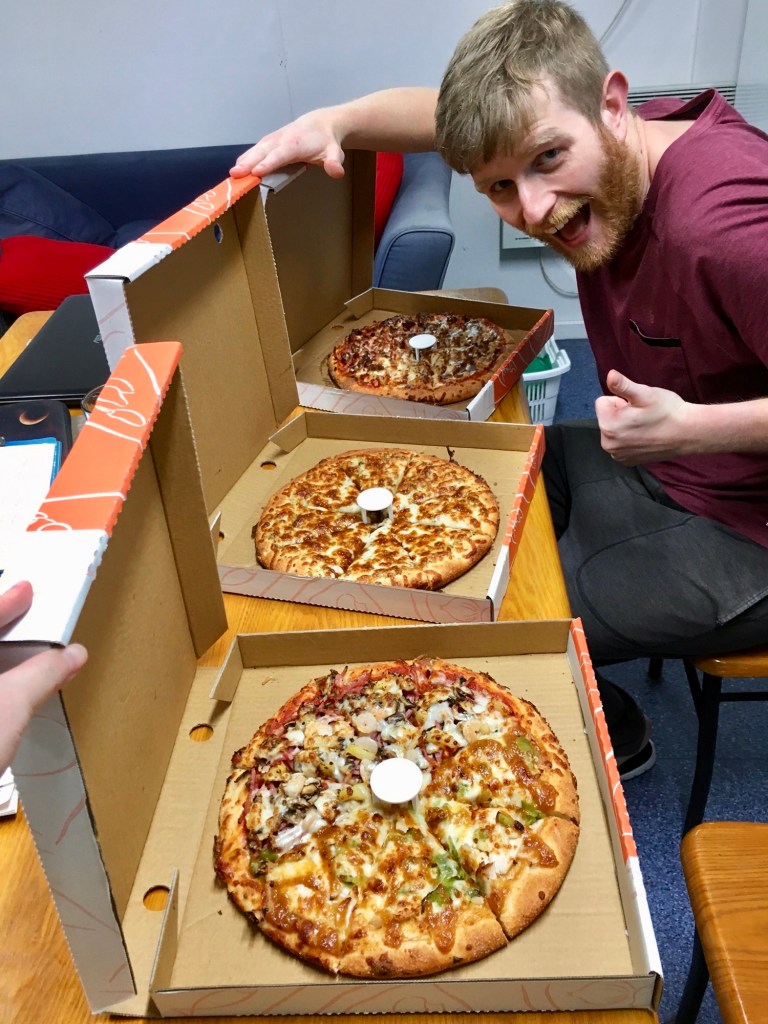
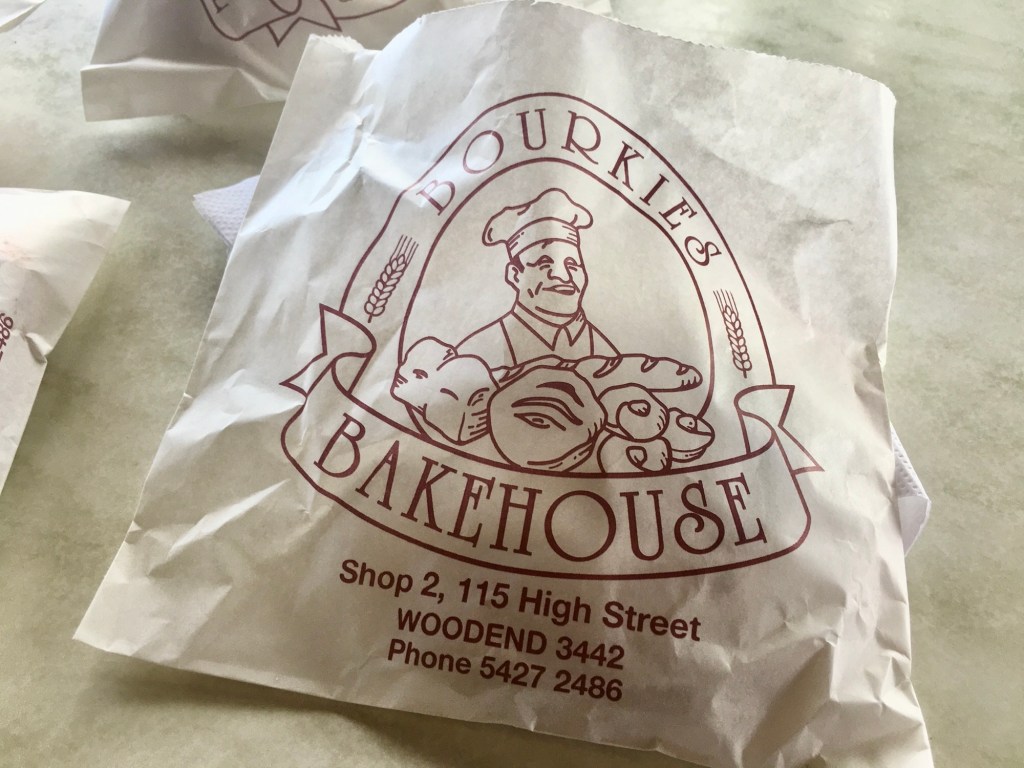
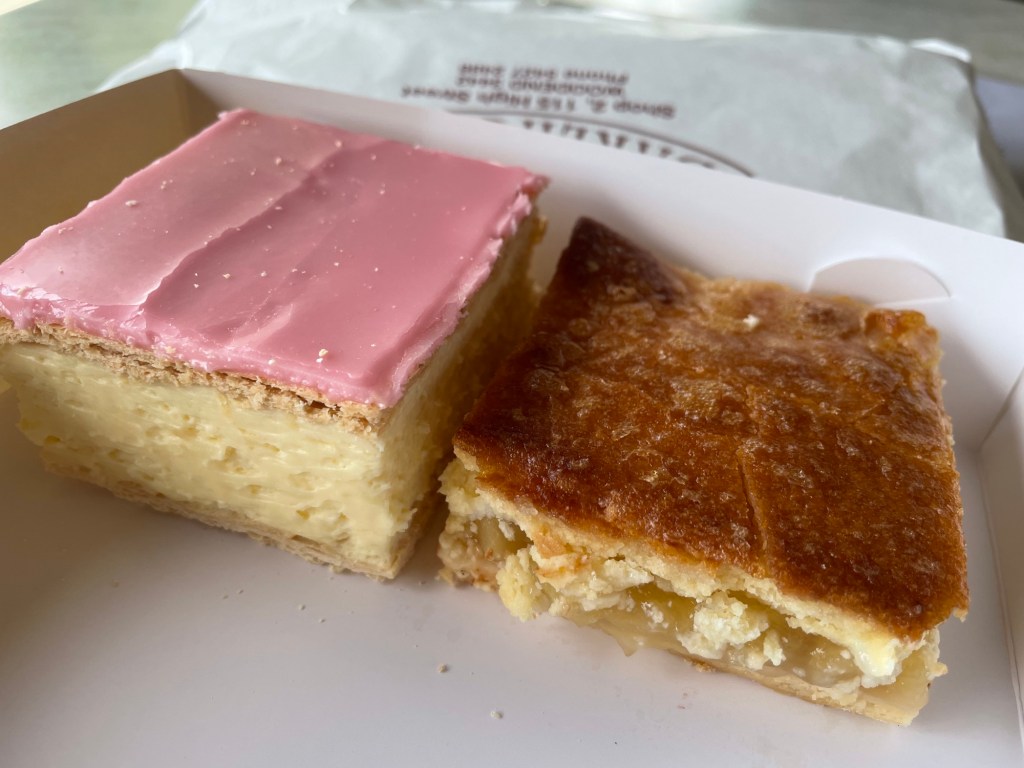
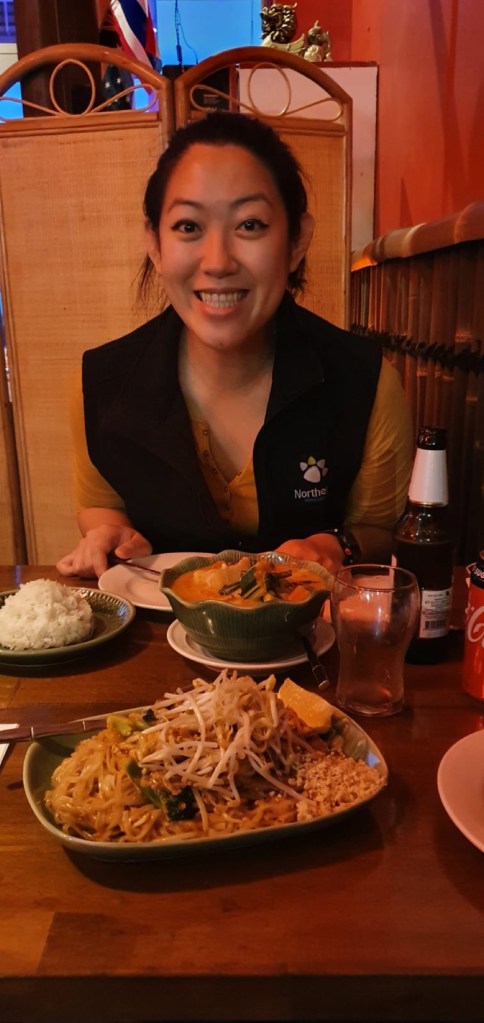
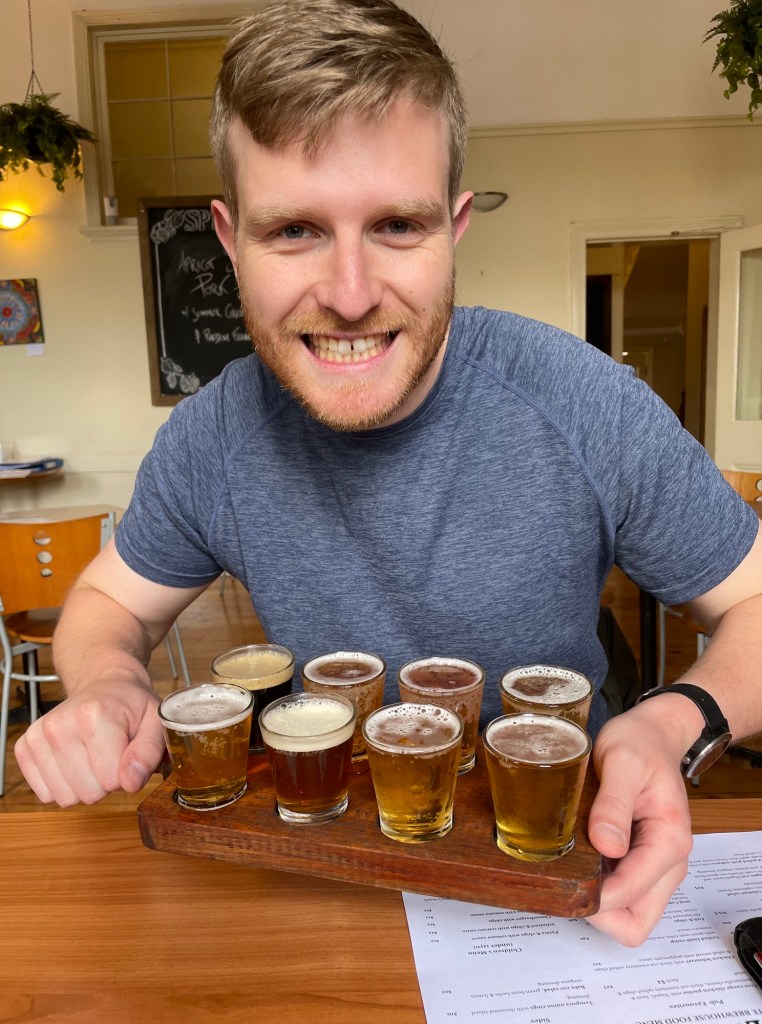
We had some pretty good food during out stay here:


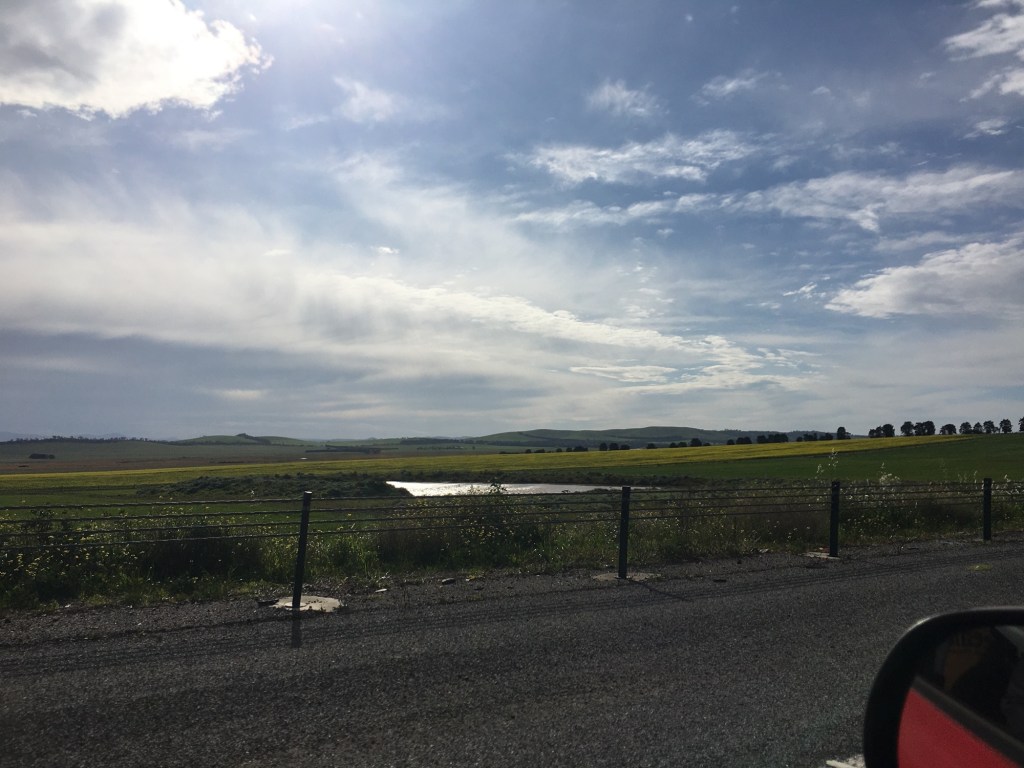
During our time here we took a few road trips to nearby towns:

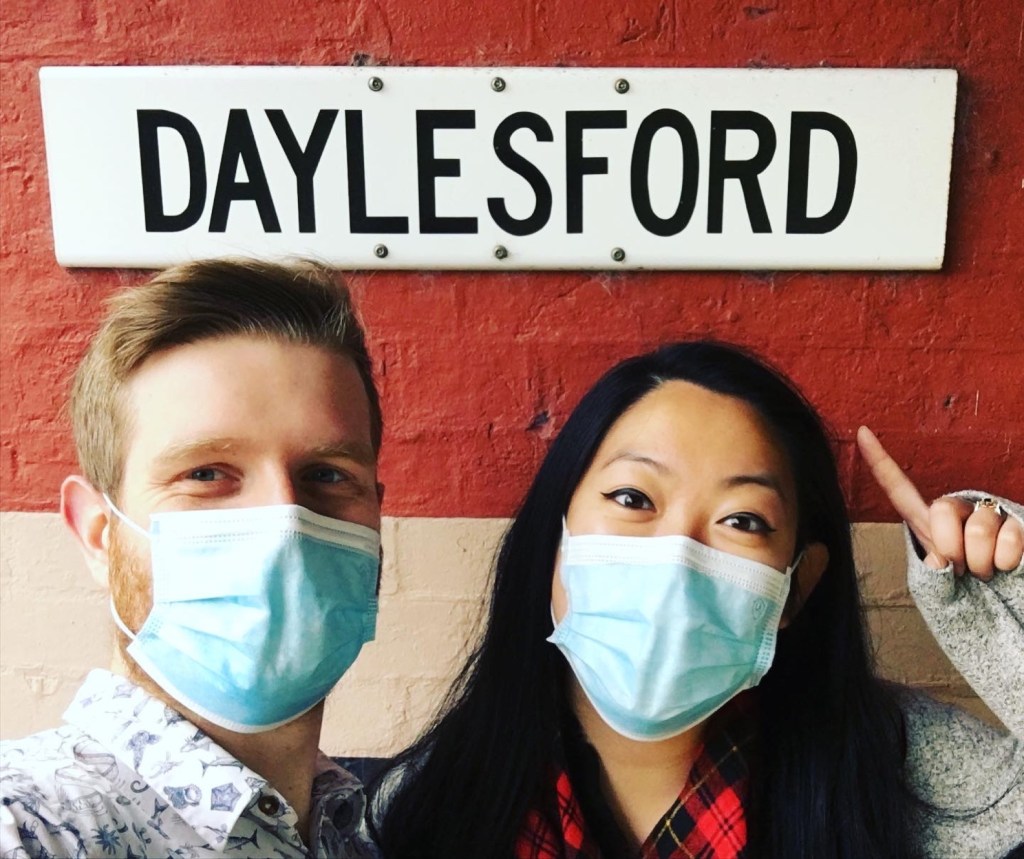
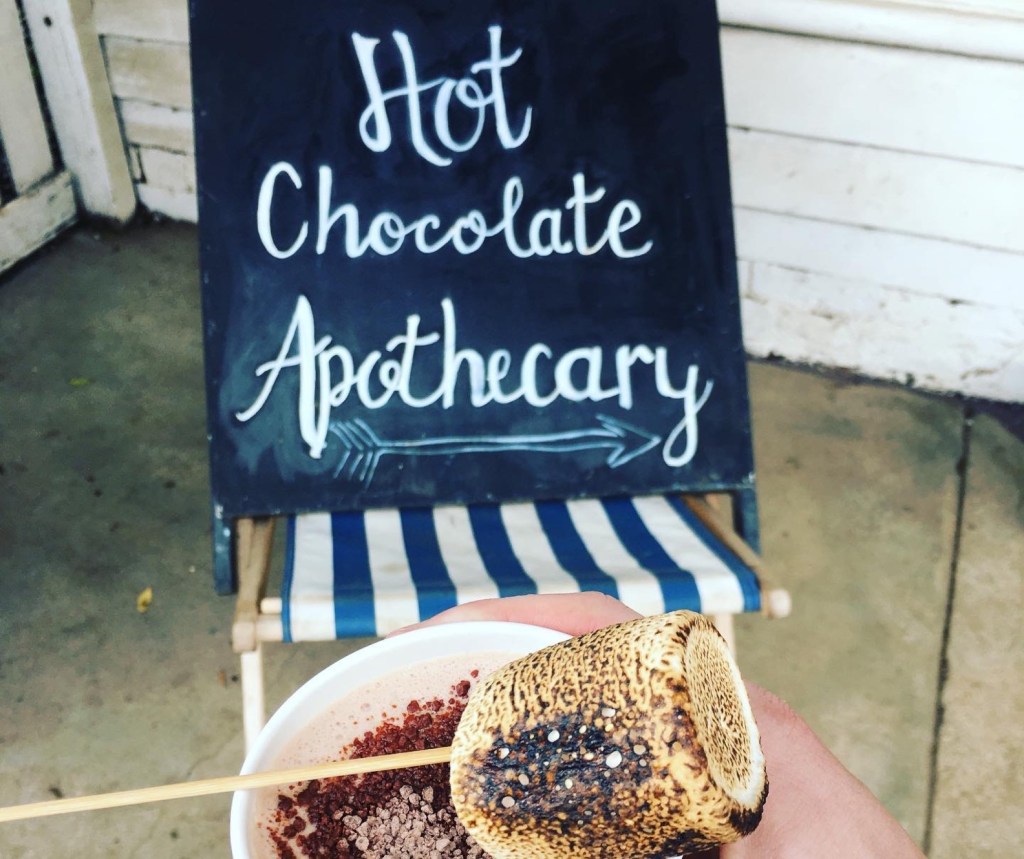
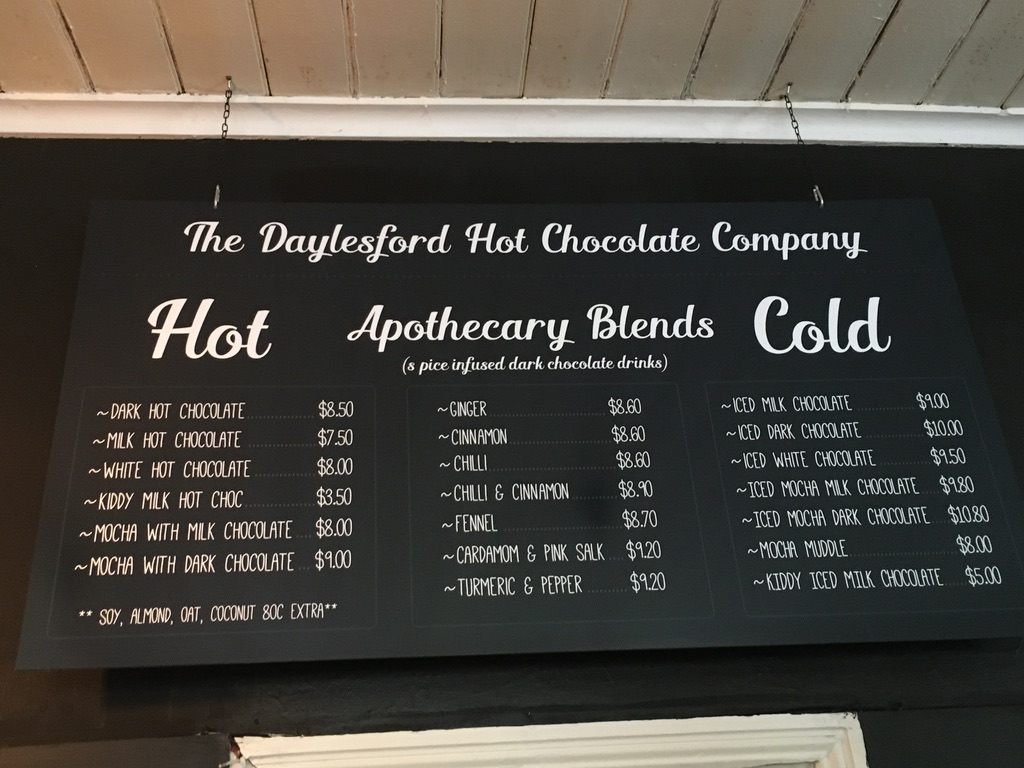
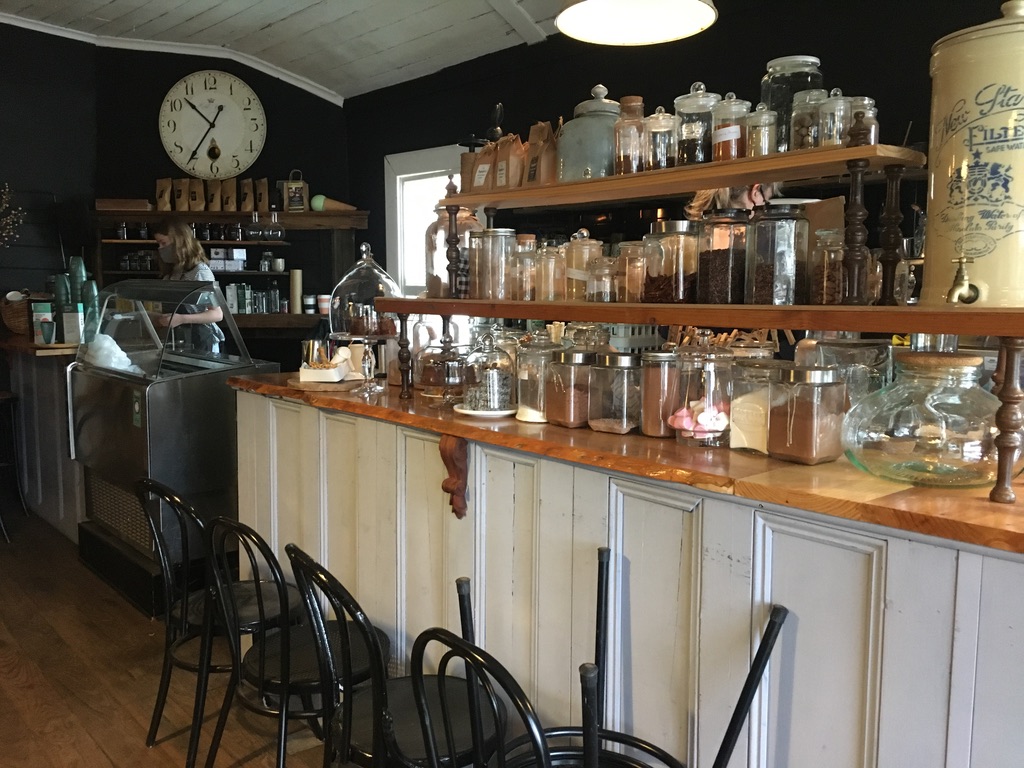
Daylesford, VIC
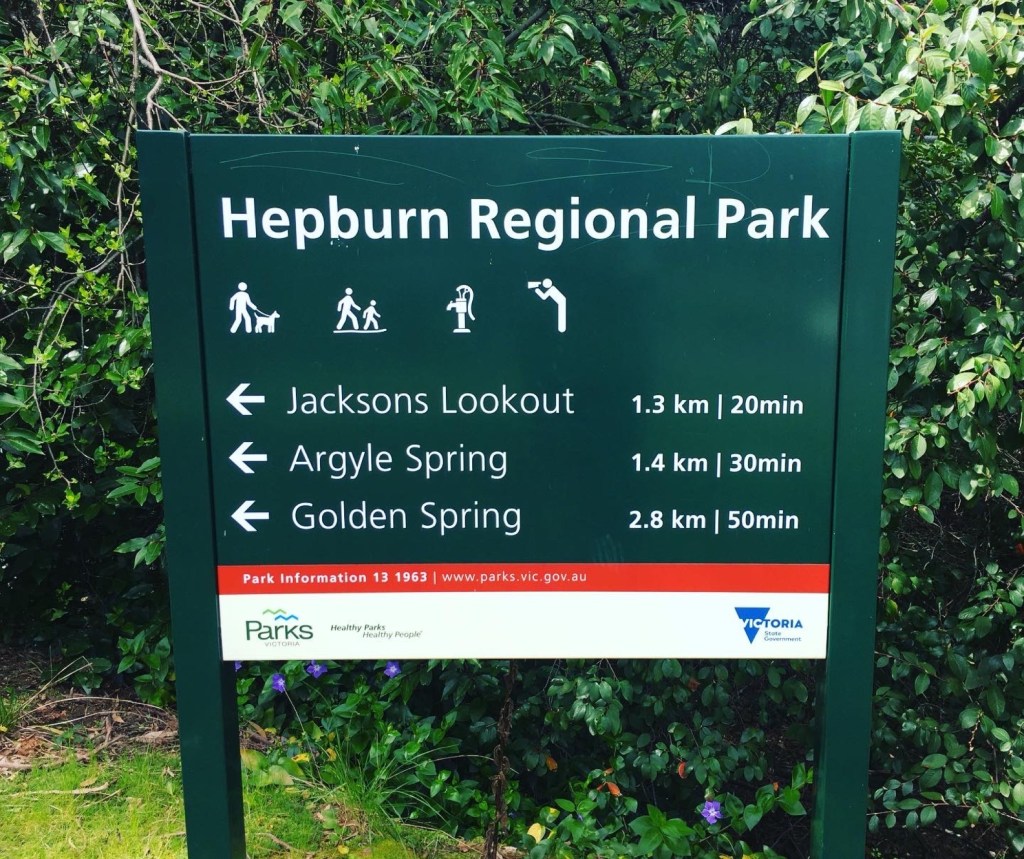
Travel date: October 4th, 2020 Daylesford is known as a spa town in regional Victoria. We made a day trip here after working for 6 days straight for some relaxation. The bathhouses and spas on offer were quite pricey and we didn’t quite feel like having a spa day and bringing a change of clothes so…

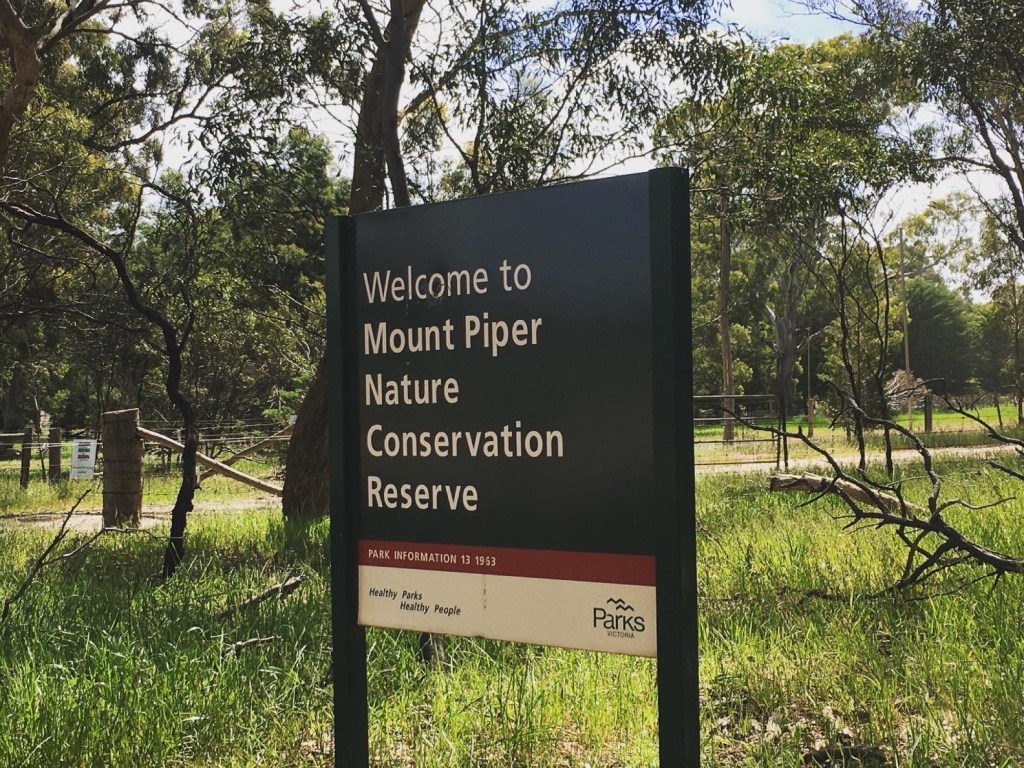
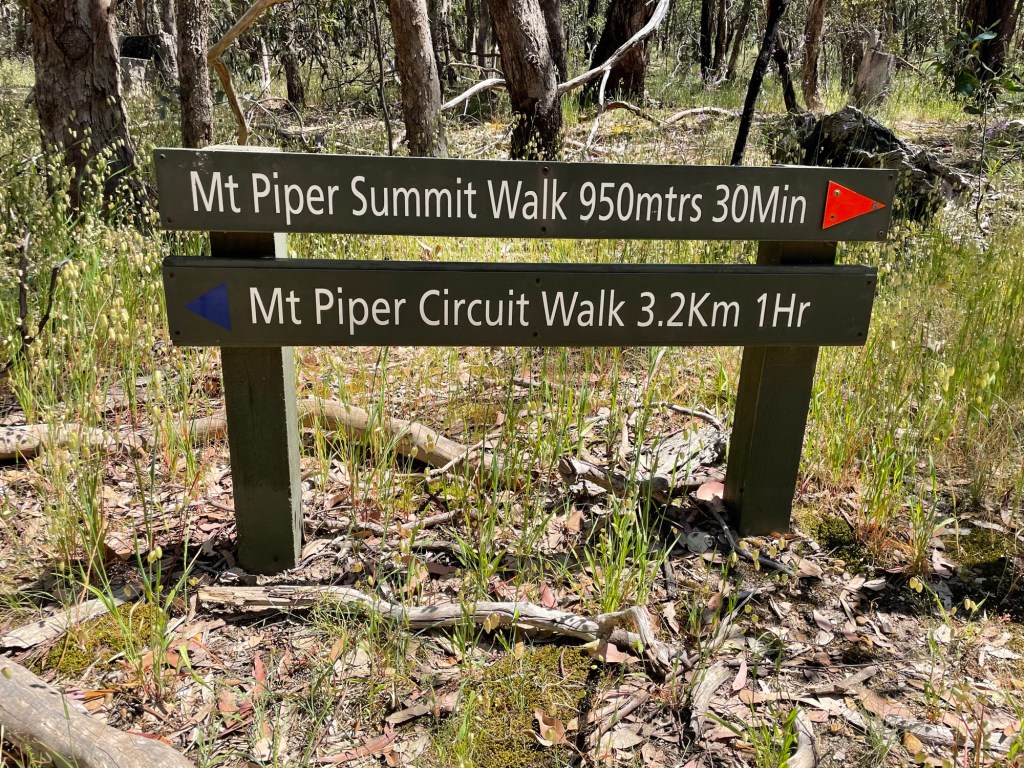
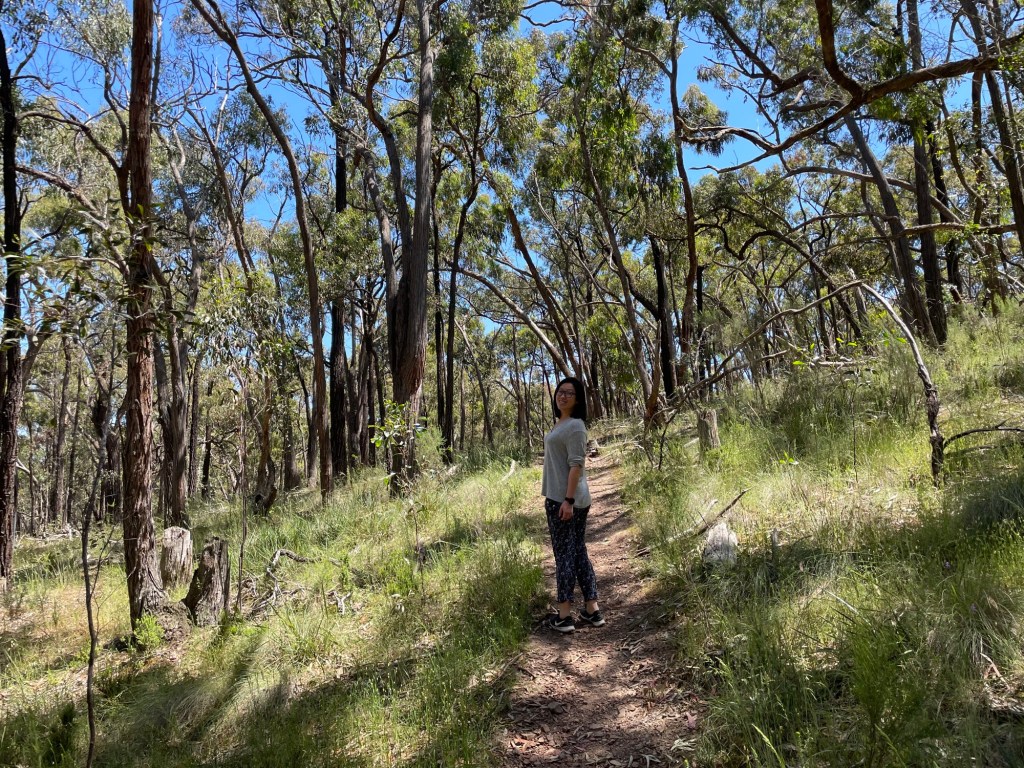
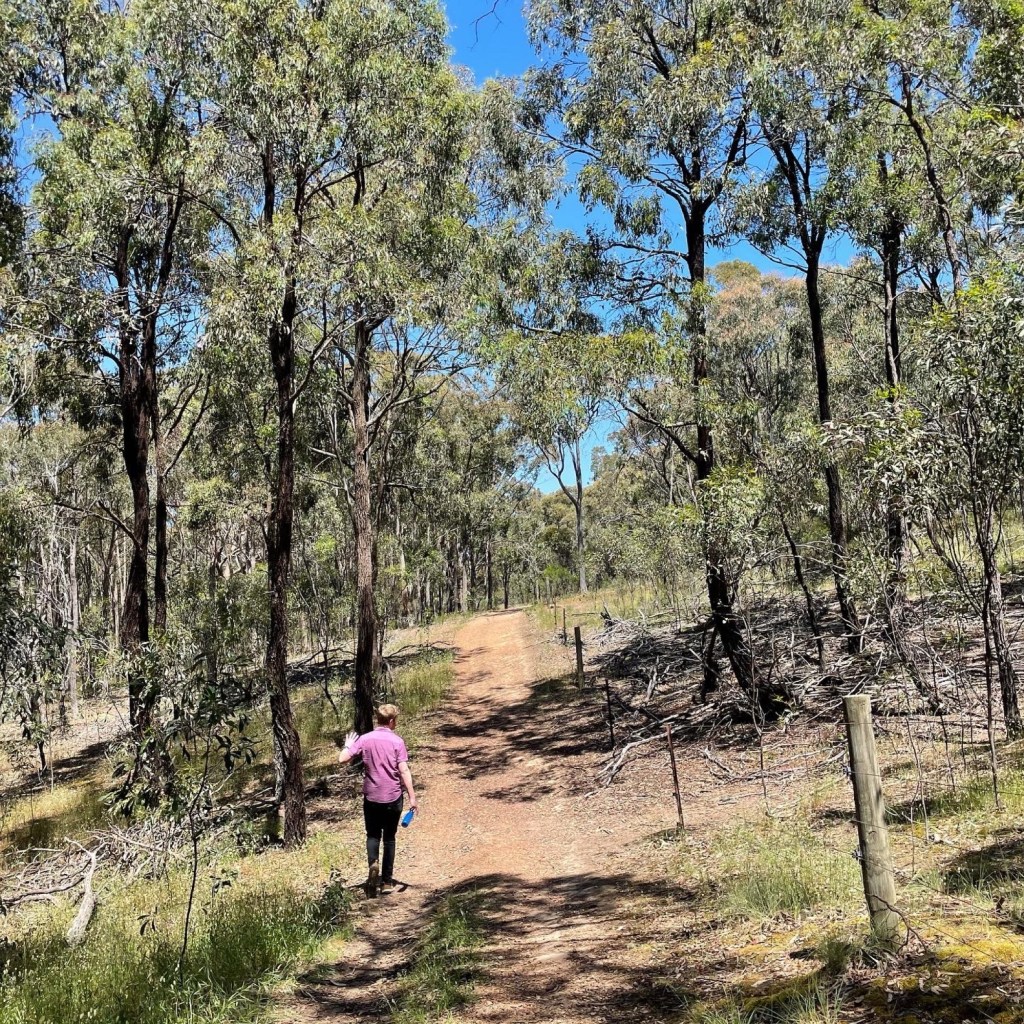
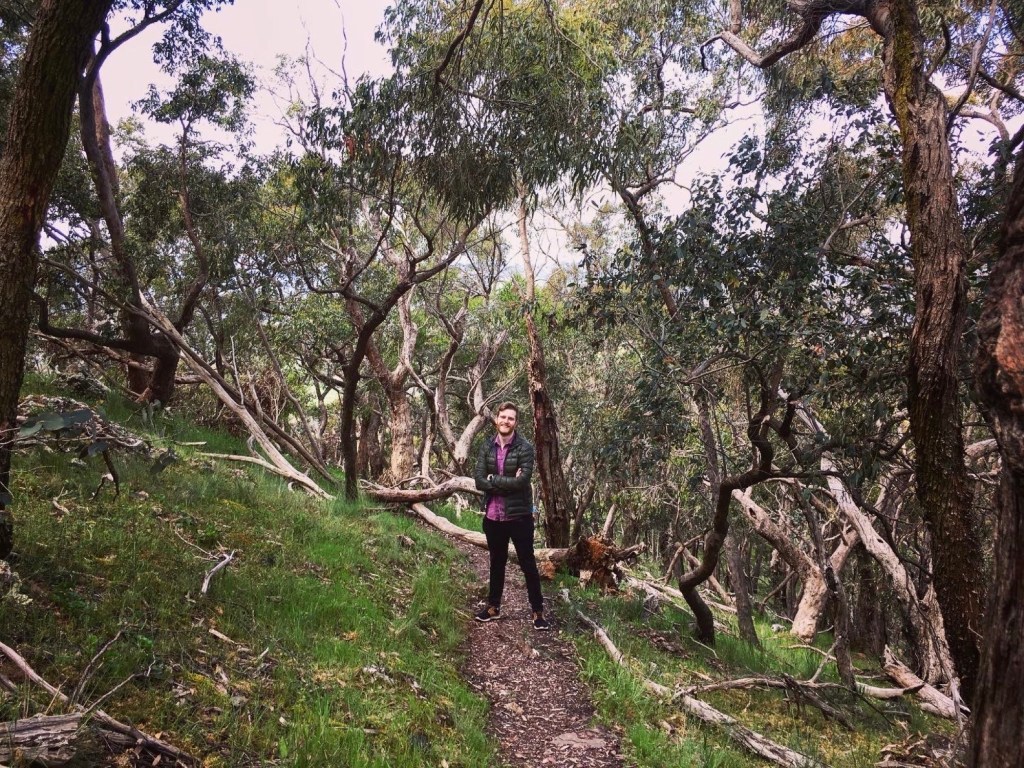
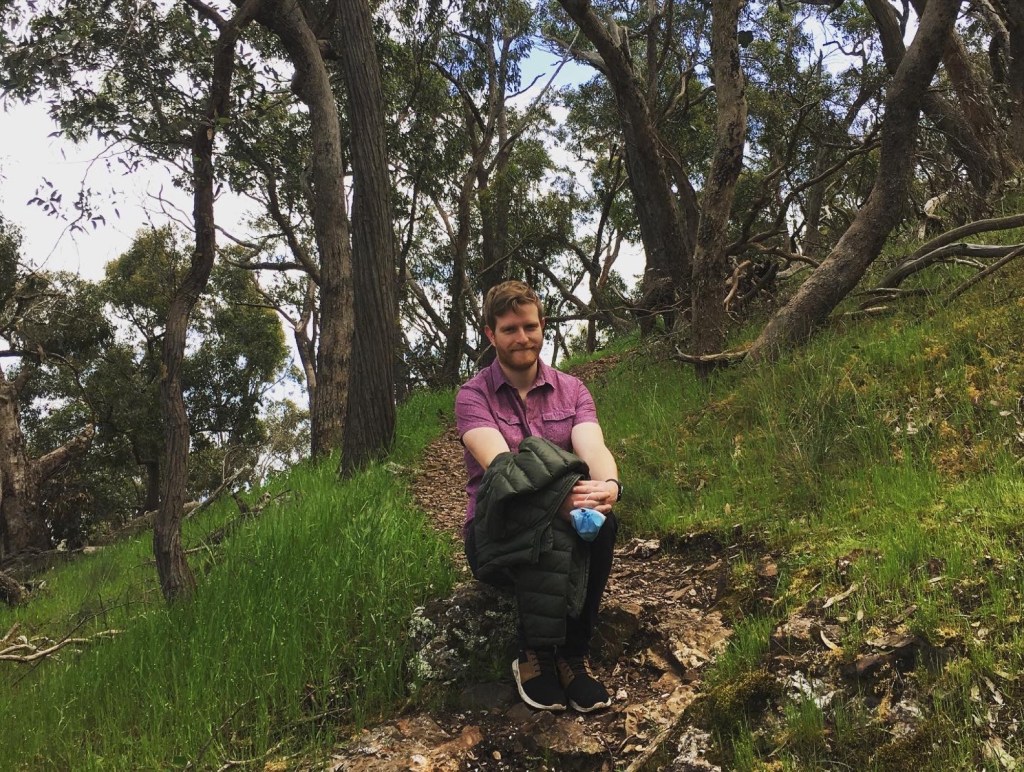
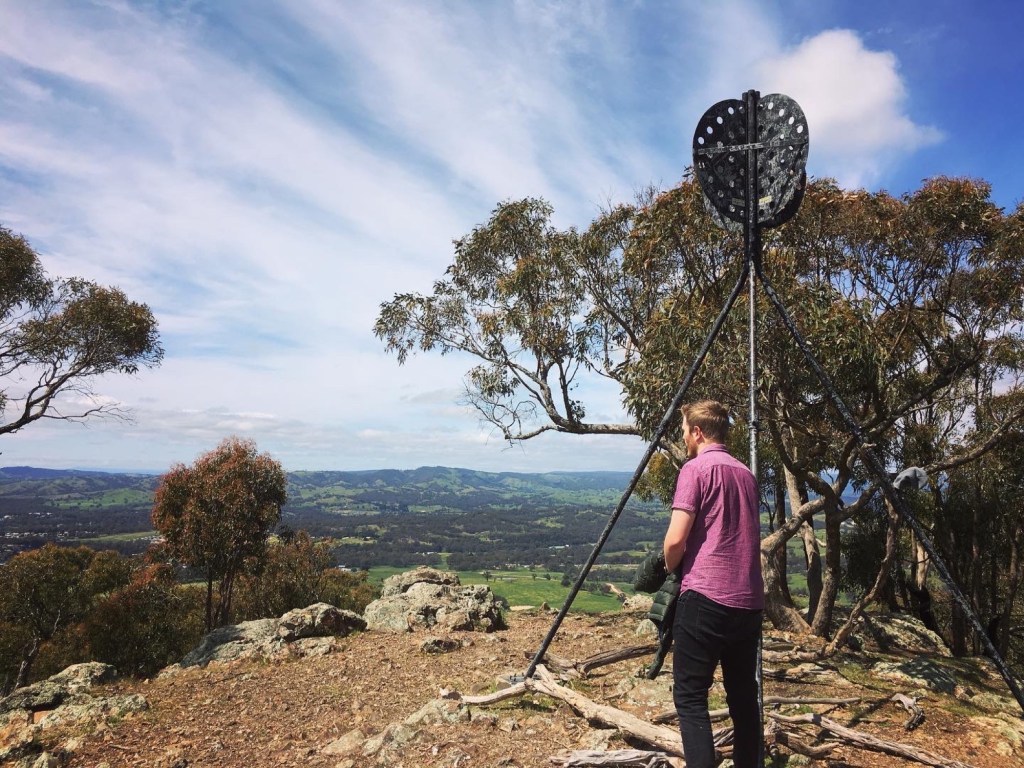
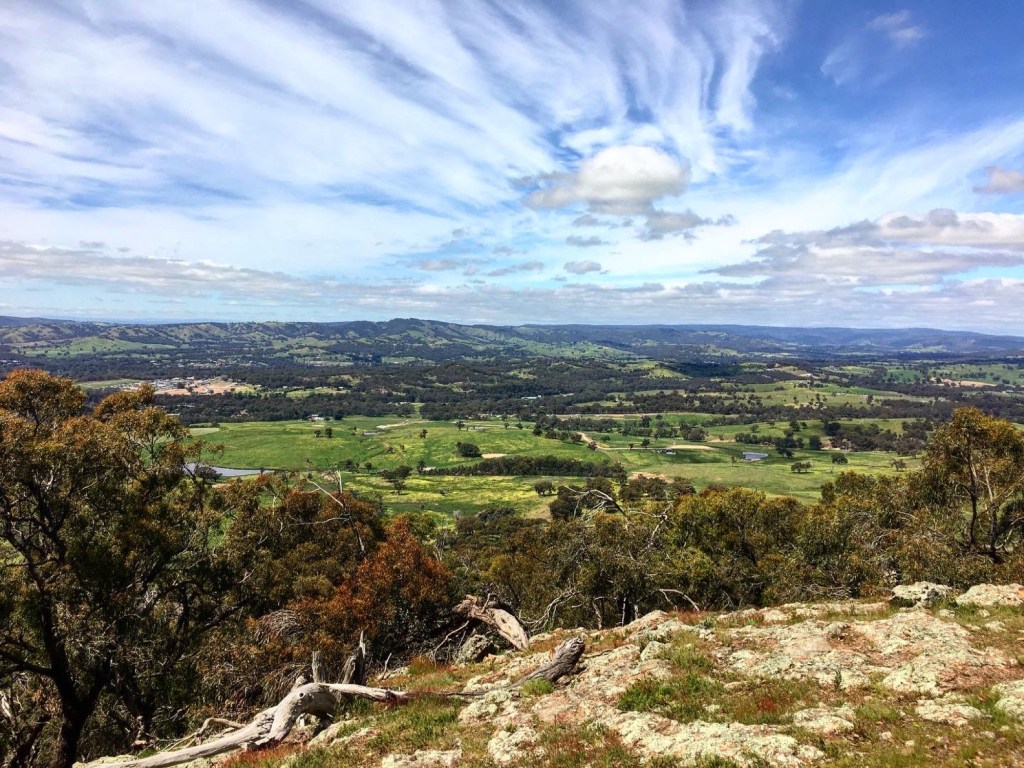
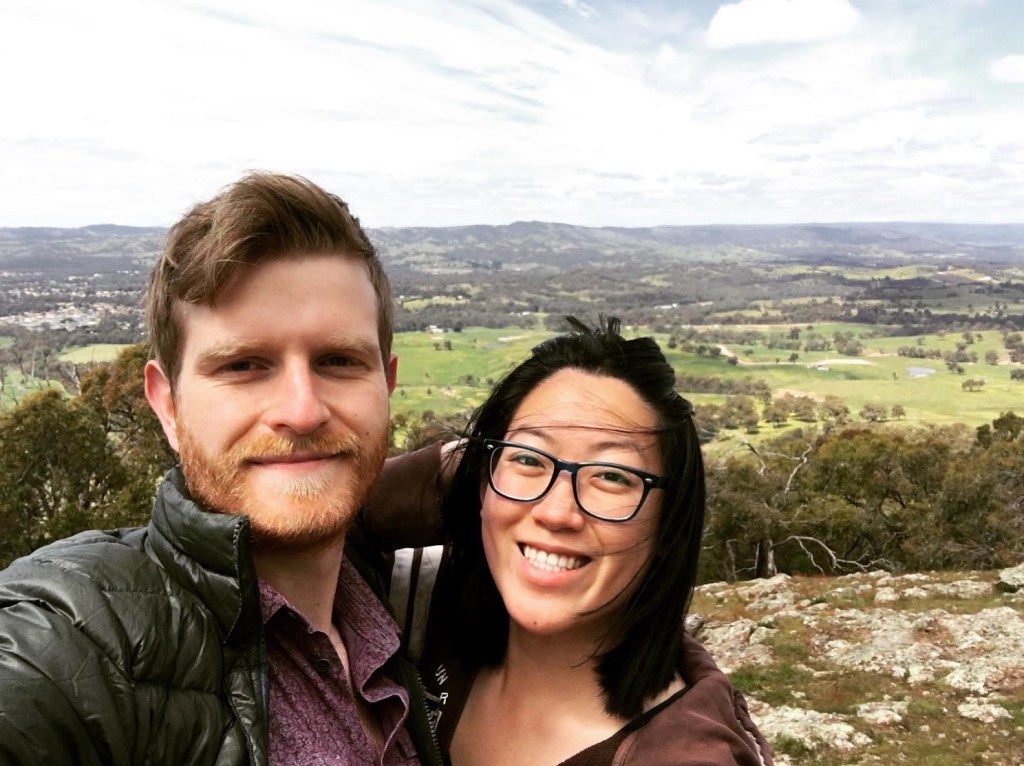
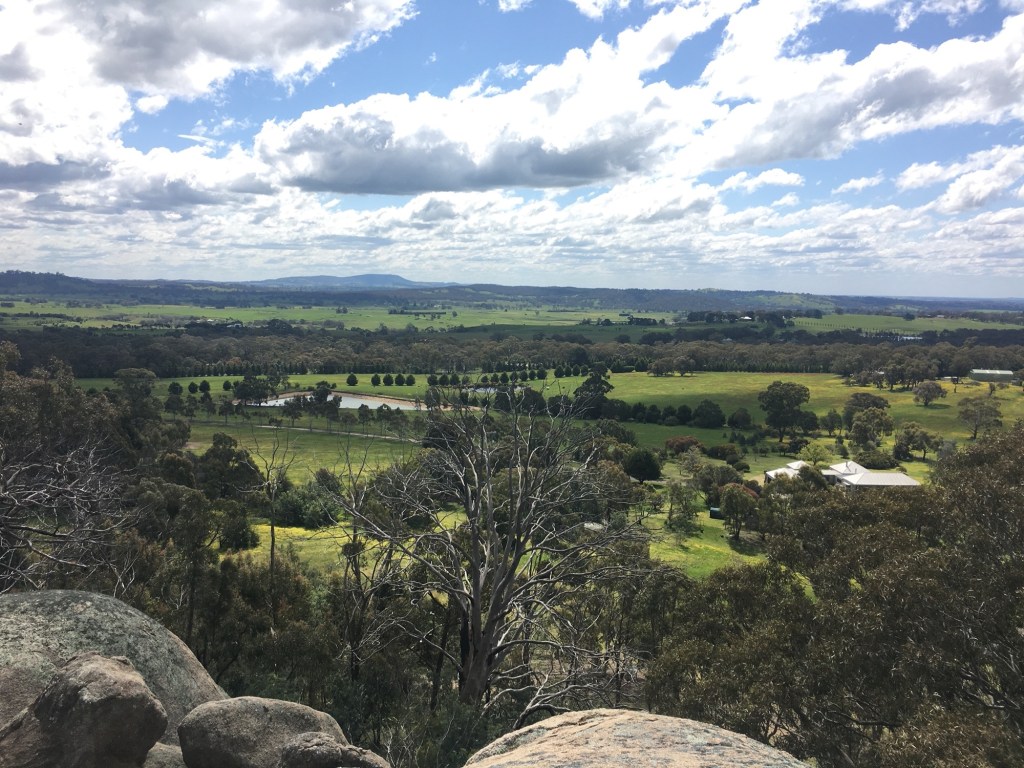
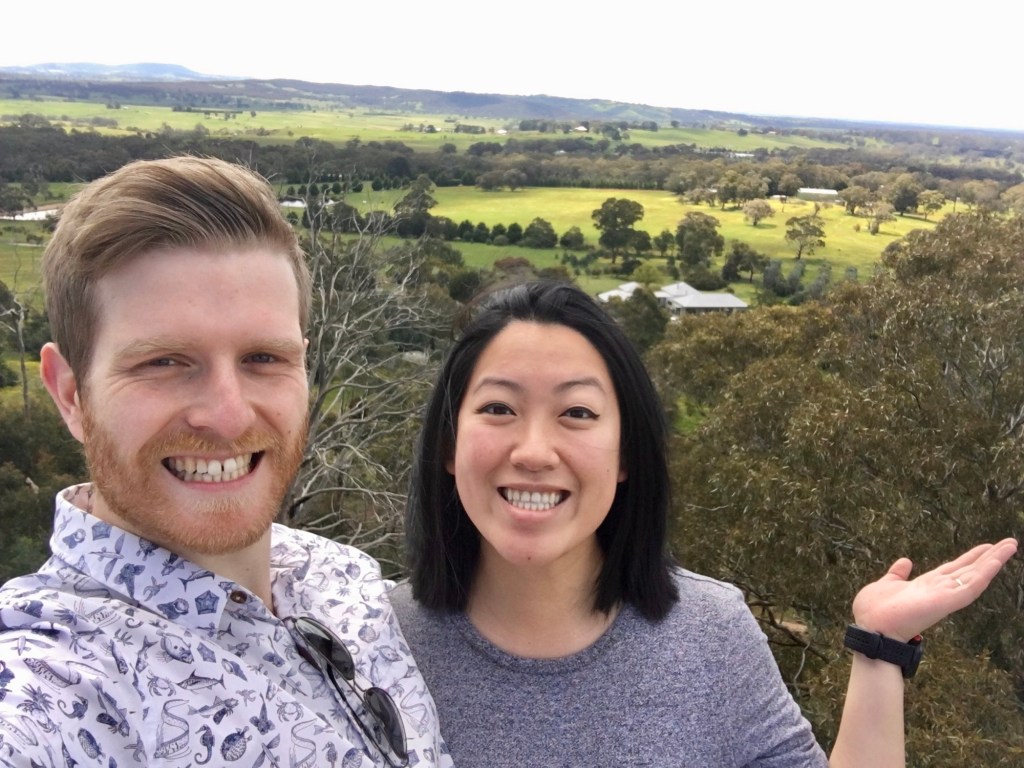
Kilmore, VIC and Mount Piper
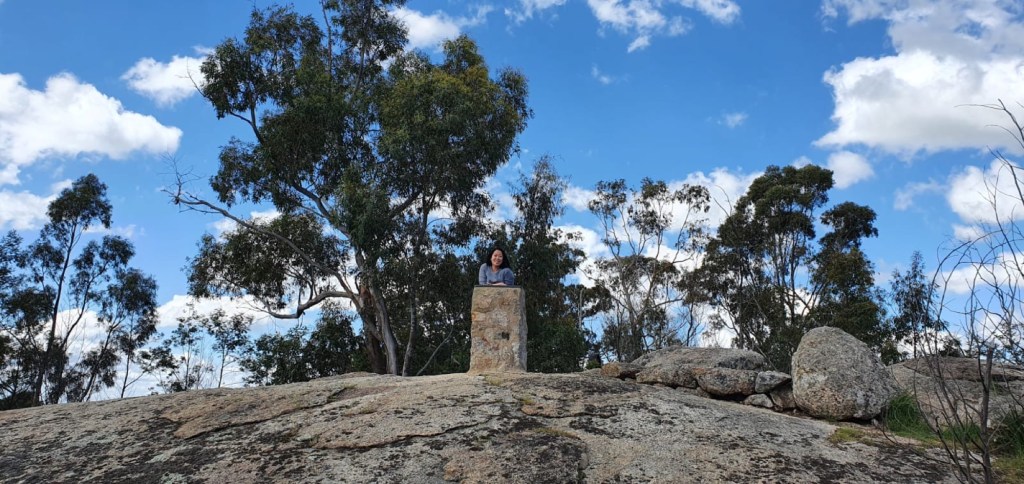
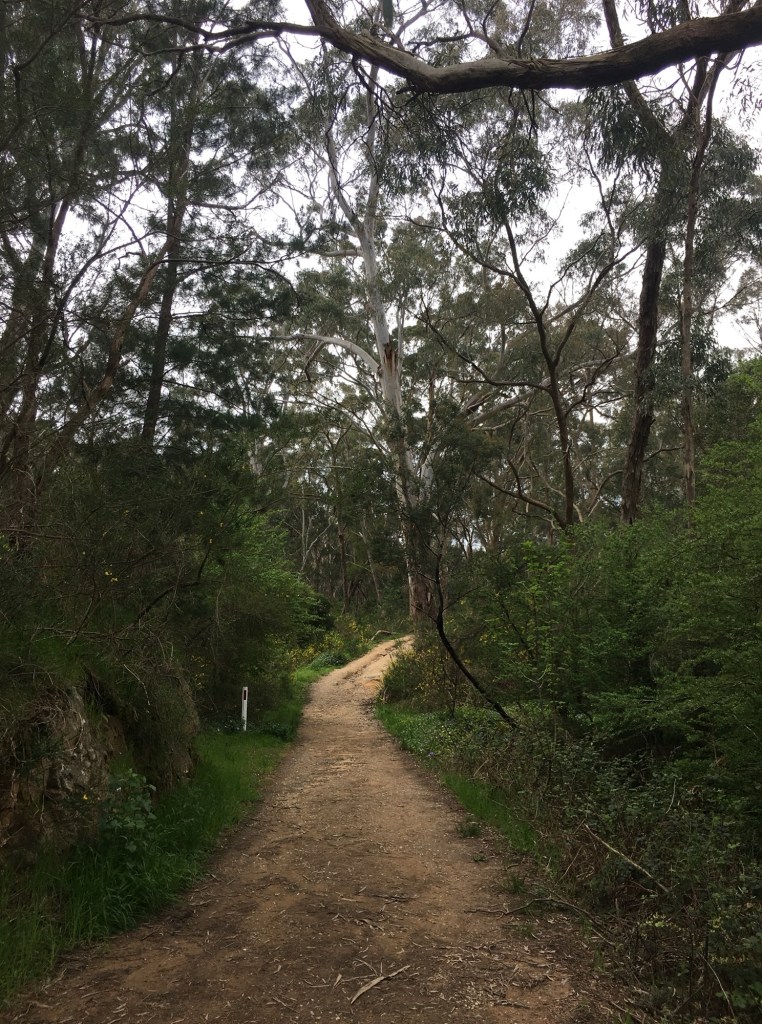
During our time in Kilmore, we did a couple of day hikes around the area. Mount Piper Situated in Broadford, Mount Piper was only about a 10 min drive from where we were staying Kilmore. There’s no entry fee and you can drive up right to the start. There are two hiking options: either the summit…

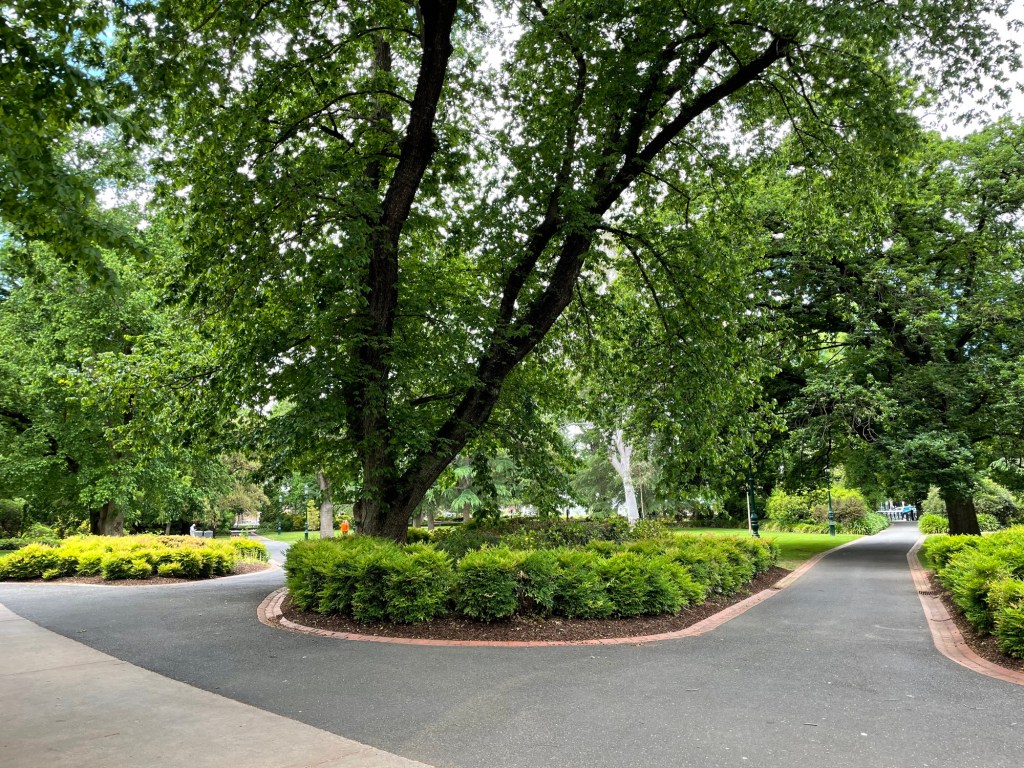
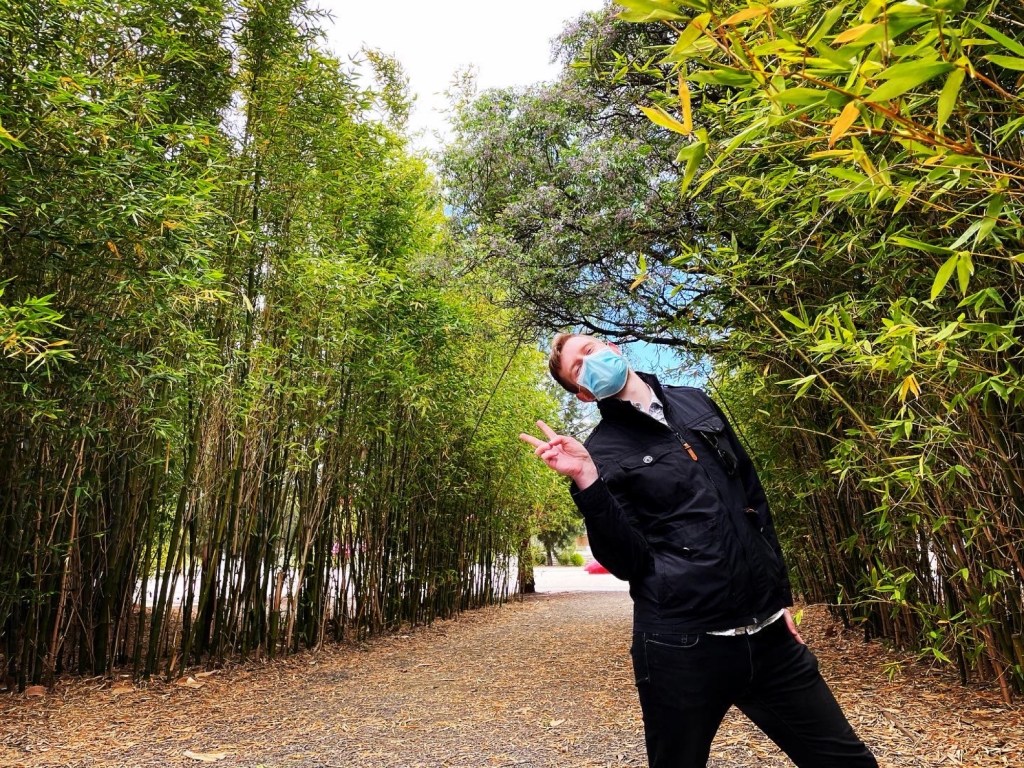
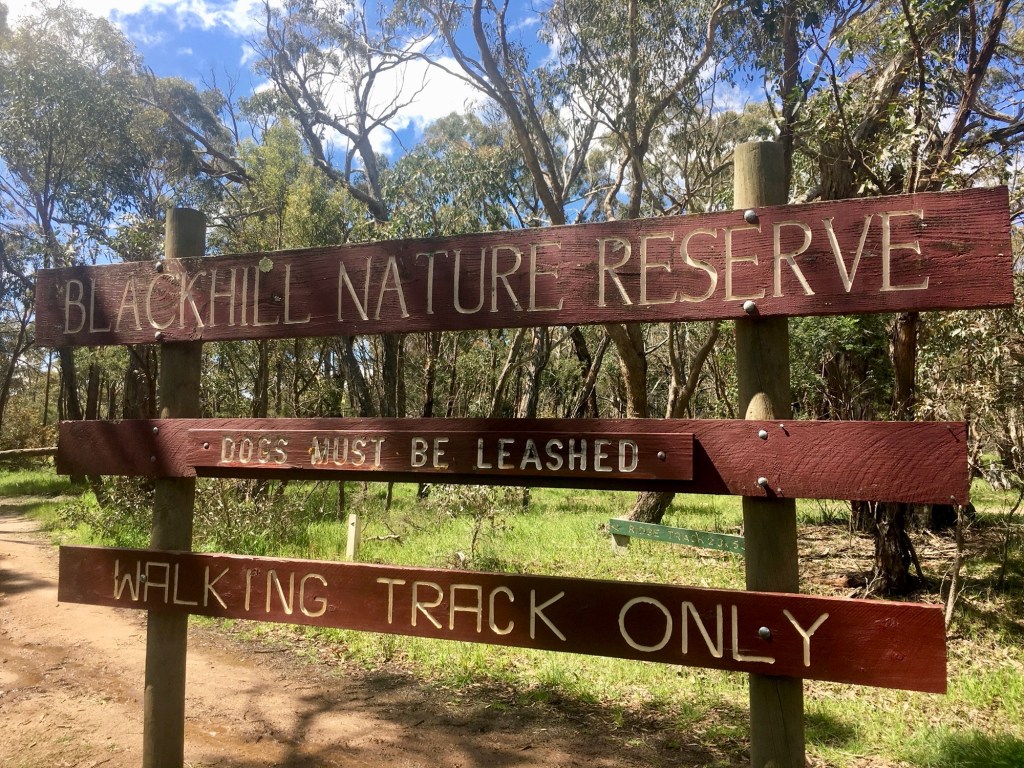
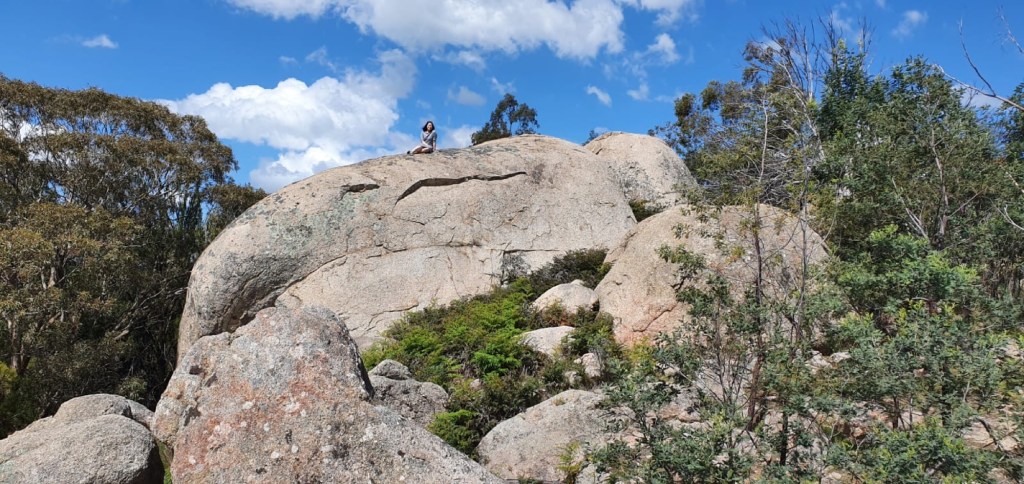
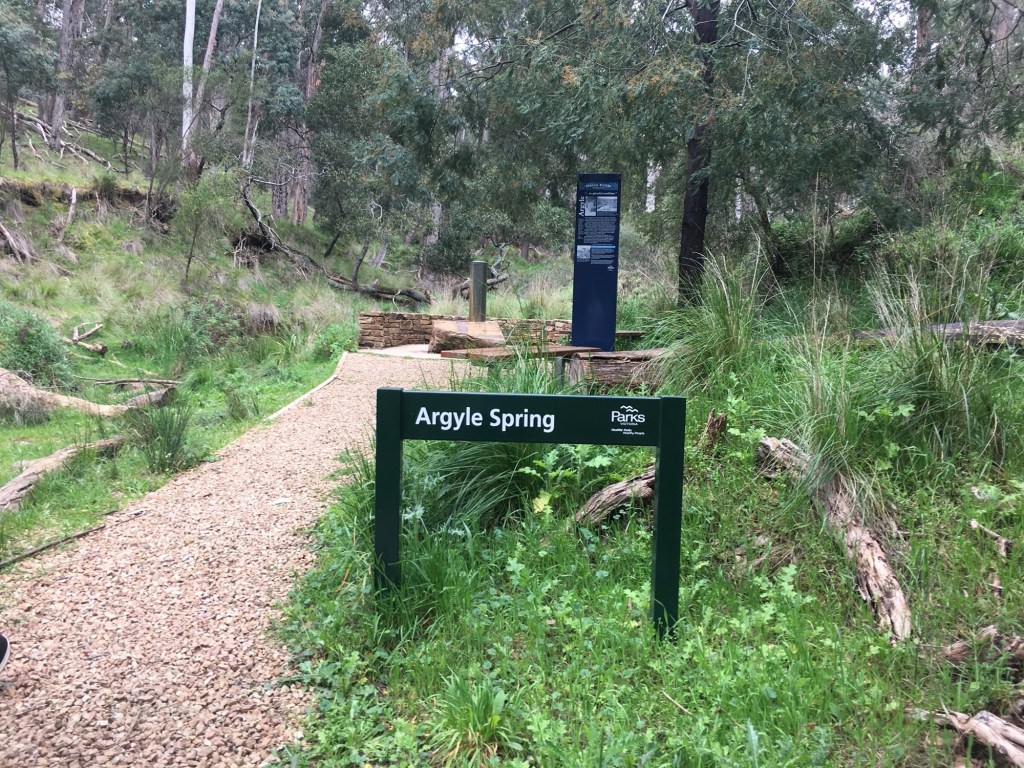
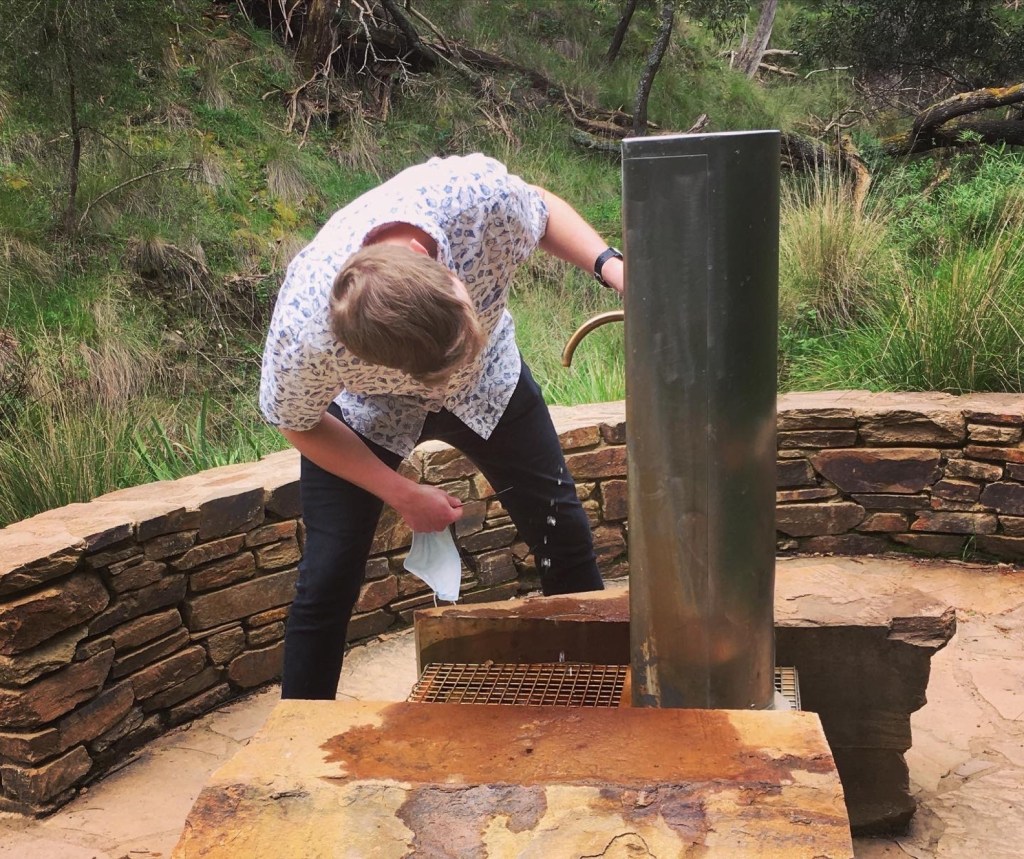
Malmsbury & Blackhill Nature Reserve, VIC
Travel Dates: October 2020 Malmsbury and Edgecombe are small towns in Central Victoria. They’re about a 12 minute drive away from each other. It’s the perfect outing to start with an early morning farmer’s market run then finish off with a hike through the Blackhill Nature Reserve in Edgecombe. Malmsbury, VIC Malmsbury Farmer’s Market This was…

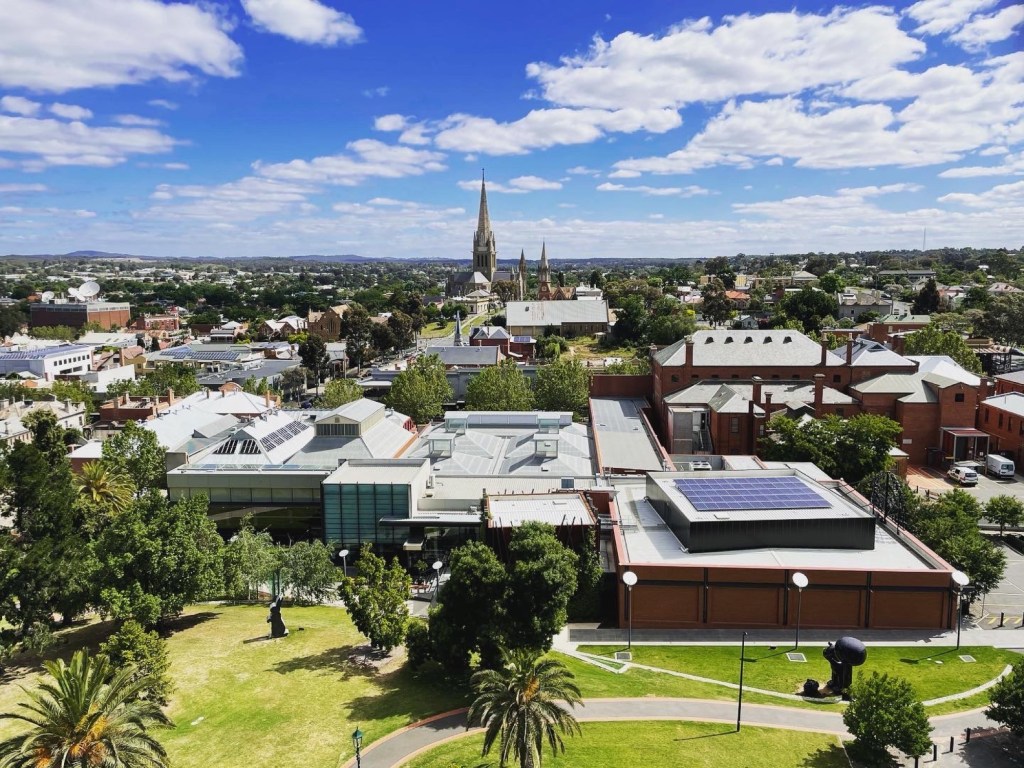
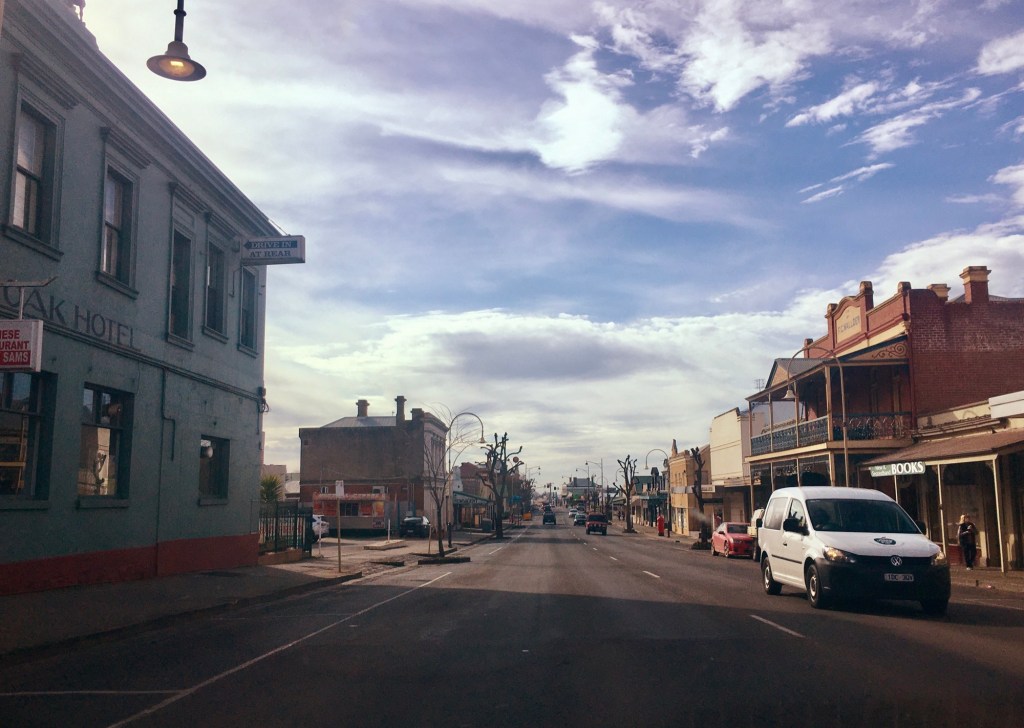
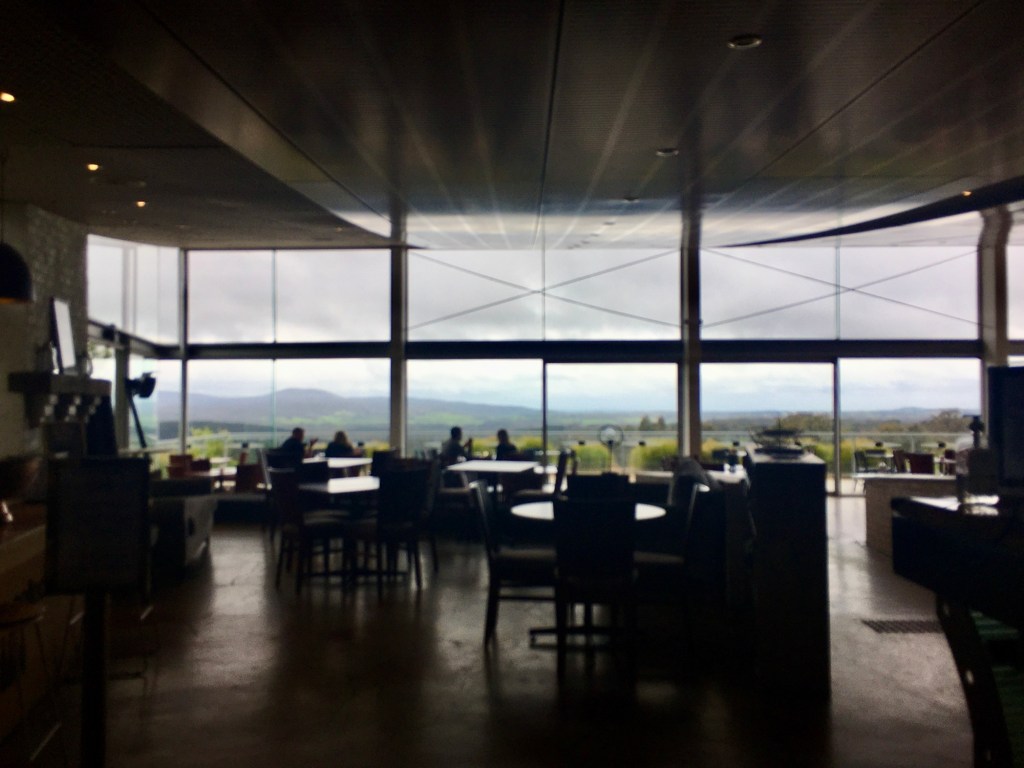
Bendigo, VIC
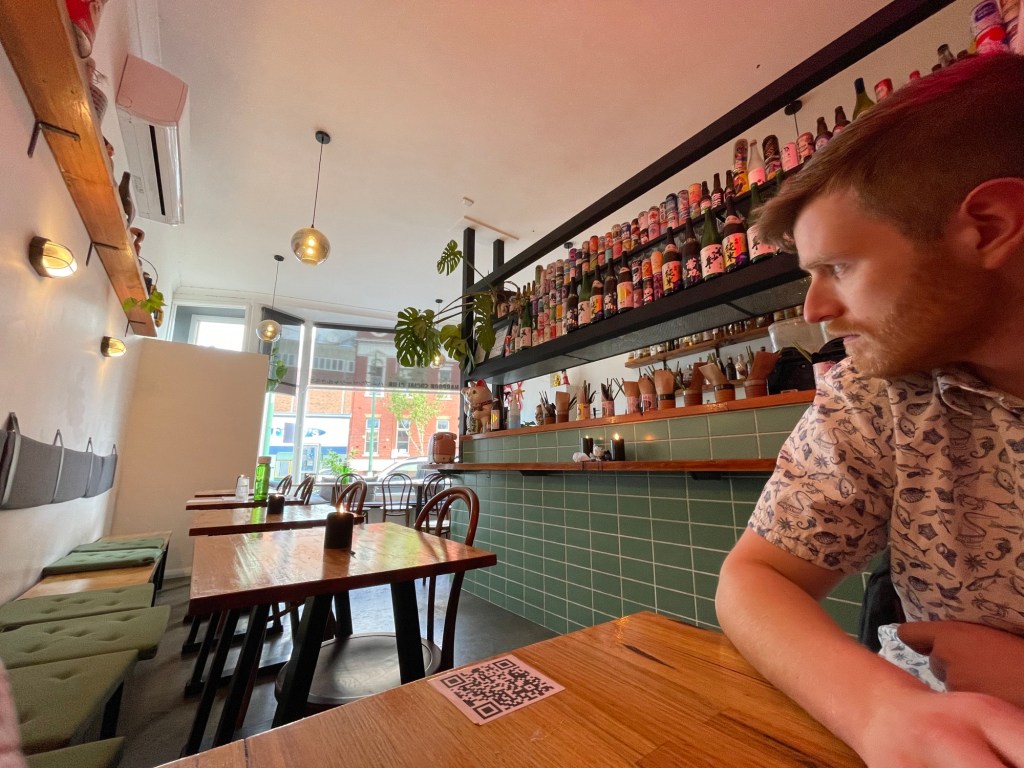
Travel Date: November 5th, 2020 After living in a small country town for a couple months, I was craving a nice ramen or any sort of decent Japanese food, so the next biggest town near us was Bendigo. There were 2 Japanese restaurants in town and sadly the ramen at both places were both disappointing </3.…
We left at the end of December 2020. We had such a great time and met so many amazing people and would have loved to stay longer, however we told ourselves that we wanted to keep travelling Australia and made the difficult decision to say goodbye. 💔 Kilmore will always have a special place in our heart as our first locum experience and it solidified our decision to continue travelling around Australia to have more new experiences and meet more people as we wait out the rest of the pandemic.


Since our departure, the company struggled to find a vet to fill the vacant position at Kilmore and last we heard they sold the practice to an independent buyer.