Date Published: Oct 24th, 2023 | Last Updated: Mar 2nd, 2024
Author: Abby |Category: easy, quick, Asian, mains, soups, healthy
Serves: 2 | Prep time: 20 mins | Cook time: 20 mins
Jump to recipe |
Ramen is my all time favourite food. No matter where we travel, I always scout out notable ramen shops (we’ve been to a LOT of them). Nothing beats a classic Tonkotsu Ramen, but a Tan Tan Ramen is a close second. For the longest time, I’ve assumed all ramen recipes would be long and arduous like the Tonkotsu ramen, until I came across a random Tan Tan Ramen recipe and realized how simple it was – no boiling down bones for hours required! In fact, the recipe is so simple that you can put it all together within 30 minutes and with minimal prep work! Toby tells me that this is the best Tan Tan Ramen he’s ever had – and I’m inclined to agree! This recipe comes out so flavourful with minimal effort, perfect for a quick lunch or dinner. The serving size is for 2 people because I find that it’s best eaten fresh and not as leftovers in a bulk cook as I often do for work. Multiply the recipe ingredients if you’re cooking for more people.
This recipe was adapted from Woks of Life.
A Healthier Alternative?
We all know a classic tonkotsu ramen isn’t the most calorie-friendly dish out there. The classic broth is made through boiling down bones with fatty pork belly to achieve that beautiful creamy flavour and texture. It’s delicious in every way, but sadly too rich to have daily. HOWEVER, a Tan Tan Ramen has the same creamy broth but without any cream, milk, or fat. The creamy broth is actually made with….drum roll…oat milk! 🤯🤯🤯 Any unsweetened oat milk will do, BUT I’ve discovered that homemade oat milk will create an even creamier texture. Toby and I recently bought a Vitamix Blender, a kitchen appliance I’ve wanted ever since I was a little girl waiting for the ice cream and hot soup samples during a demo at the CNE. After 18 years, I finally took the plunge and got one last month. Ever since then, I’ve been making my own oat milk. If you’ve ever made oat milk at home, you’ll know that if you over strain it, it can get kind of slimy – this is due to the beta glucan, a soluble fibre found in oats. Therefore when you make oat milk, you don’t want to squeeze the strainer bag too much or else the sliminess comes out. However, in a Tan Tan Ramen recipe, I encourage you to squeeze the bag! The slimier the better! This sliminess results in a thicker soup and creamier texture in the recipe. Beta glucan is actually good for you and has cholesterol-lowering properties, so go ahead, squeeze the bag (don’t worry, your soup won’t be slimy)! You don’t have to feel guilty about eating ramen anymore and the soup is actually good for you!
If you’re already making a big batch of oat milk, use the last 1.5 cups when straining the milk for this recipe. Otherwise, blend 1/2 cup of oats in 2 cups of cold water on HIGH speed for 30 seconds and strain and squeeze through a nut milk/fine mesh sieve/bag. You only need 1.5 cups for this recipe.
What are Ramen Noodles?

Ramen noodles are different than regular noodles. They are alkaline and has a distinct taste with a slight chewy/bounce texture. To stay true to the authenticity of a tonkotsu ramen, I’d recommend taking the extra effort to find ramen noodles – you’re putting in all this effort to make it all from scratch anyway!
When looking for ramen noodles, try to buy them either freshly made or in the frozen section. Avoid the dehydrated dried noodles that are labeled as ‘ramen noodles’ – I’ve tried a few different kinds in the past and they’re just not the same.
My favourite ramen noodles are made from Sun Noodle and they come in medium or thick noodles (see picture). This one package has 2 servings – it doesn’t seem like much, but it definitely expands when cooking!
Myojo is another brand of ramen noodles I’ve heard g
Anyways, without further ado, here’s the recipe! If you have any comments or suggestions, I’d love to hear from you in the comment section! You can follow me on instagram, youtube and facebook to see all the recipes I post!
Happy cooking!
Ingredients you’ll need:
- 300g ground pork
- 1 Tbsp mirin
- 1 Tbsp ginger, finely minced
- Soup Flavour Base:
- 2 Tbsps soy sauce
- 2 Tbsps unsweetened peanut butter
- 1 tsp rice vinegar
- 1/2 tsp granulated sugar
- 1 Tbsp chili oil (any kind is fine, I prefer the Szechuan mala chili oils)
- 1.5 cups unsweetened oat milk or soy milk
- Pro-tip: for a creamier soup, use homemade oat milk (blend 1/2 cup oats to 2 cups water on high speed for 30 seconds then strain it through a nut milk bag)
- 1.5 cups chicken stock
- 1 Tbsp spicy bean sauce (la dou ban jiang 辣豆瓣酱)
- 2 cloves garlic, minced
- 2 bunches of bok choy (or other leafy greens), washed and trimmed
- 2 servings of ramen noodles (any brand will do, my favourite are from Sun noodle – see photo)
- 2 green onions/scallions, chopped
Directions:
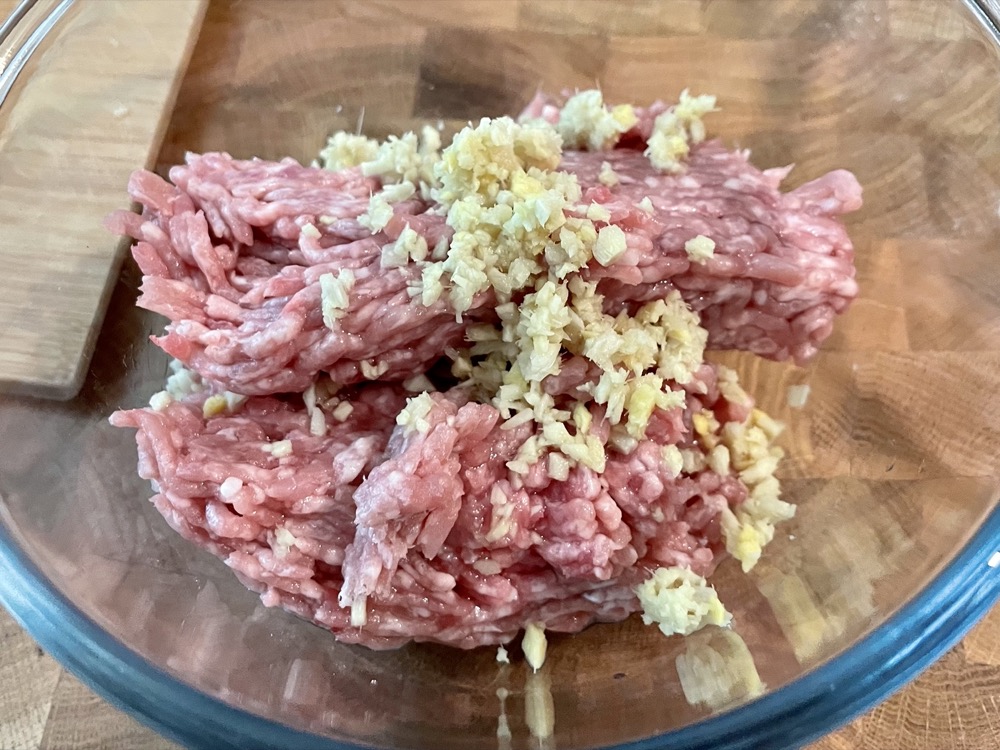

Mix the ground pork, mirin, and ginger together. Set aside to marinate for 15 mins.

Prepare the soup flavour base by combining soy sauce, peanut butter, rice vinegar, sugar, and chili oil. Evenly divide this mixture into 2 soup bowls for serving. Set aside.
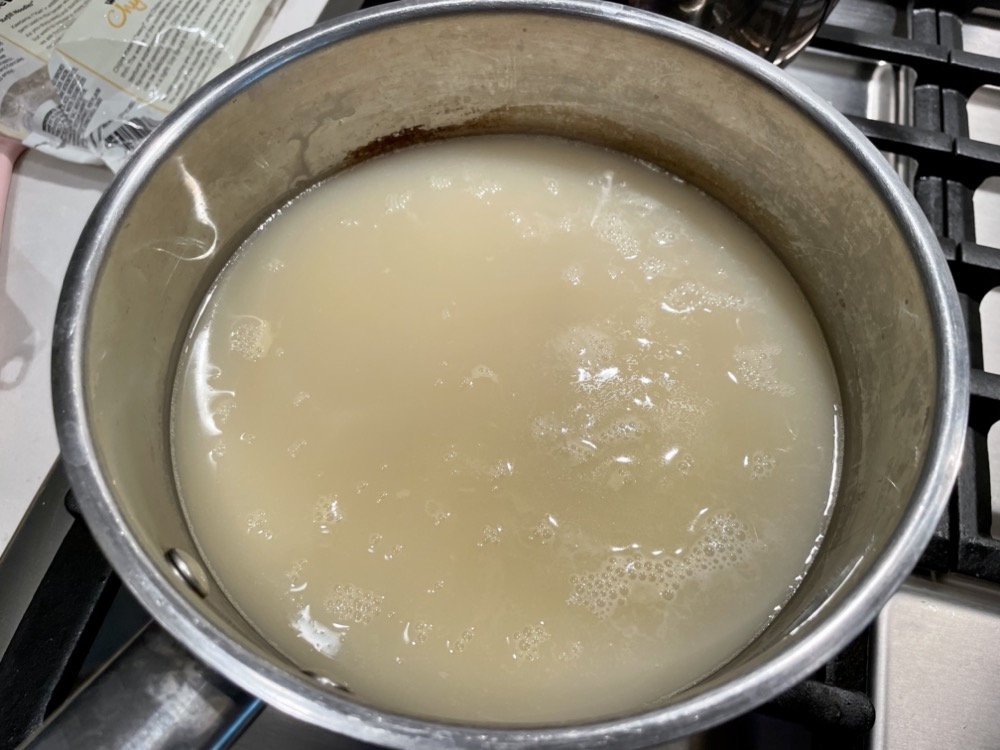
In a saucepan on HIGH heat, add in the oat milk and chicken stock. Heat it up until it just comes to a simmer then turn the heat to LOW to keep warm until ready to be used. Do not let it get any higher than a small simmer otherwise it may curdle!

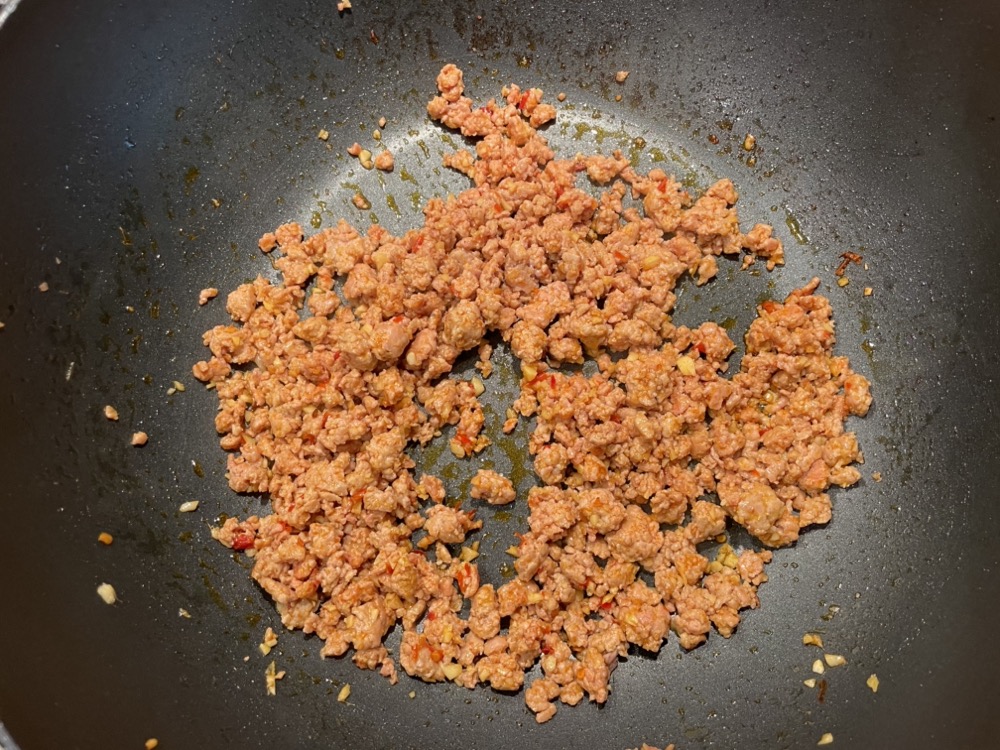
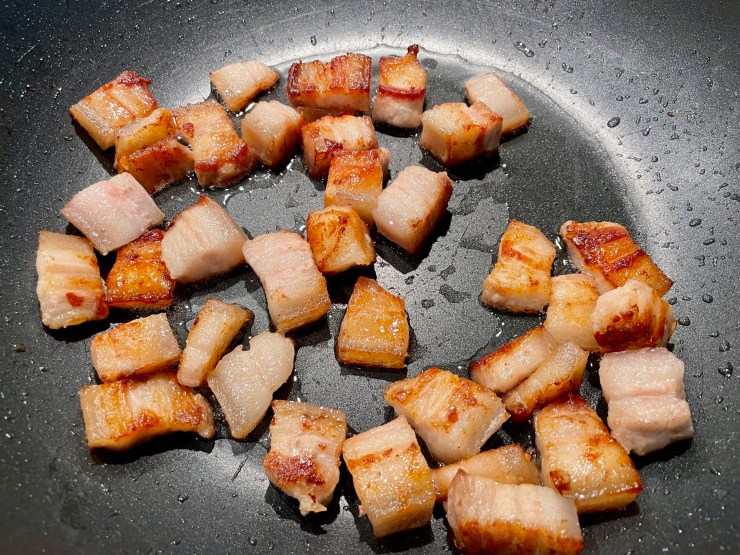
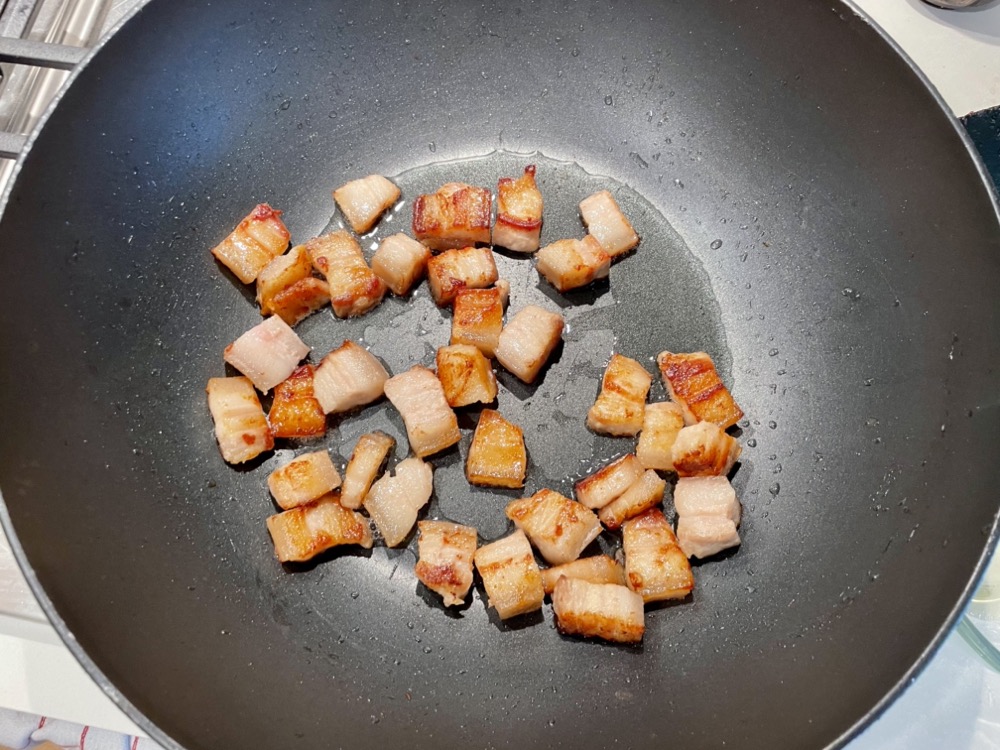
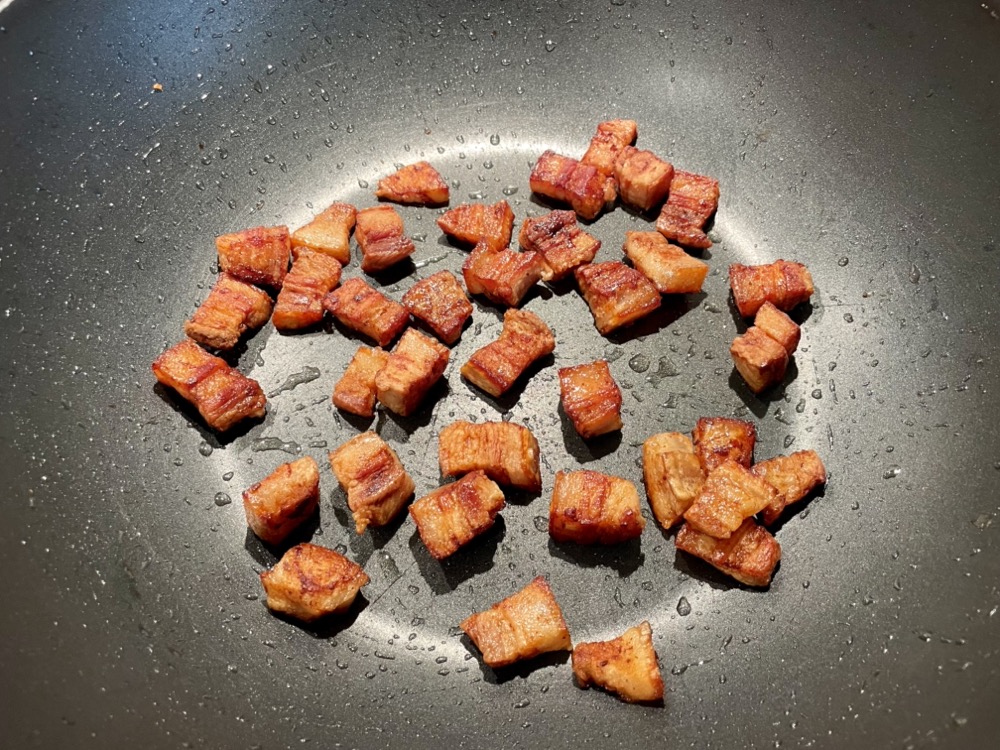
In a wok on HIGH heat, drizzle a small amount of oil and sauté the marinated pork from step 1 until browned. Then add in the spicy bean sauce and garlic. Continue to sauté for another minute then turn off the heat.
Bring a pot of water to a boil and blanch the bok choy for 60 seconds then remove from the pot and set aside.


Bring the same pot of water to a boil again and cook the ramen noodles according to package instructions. Strain the noodles.
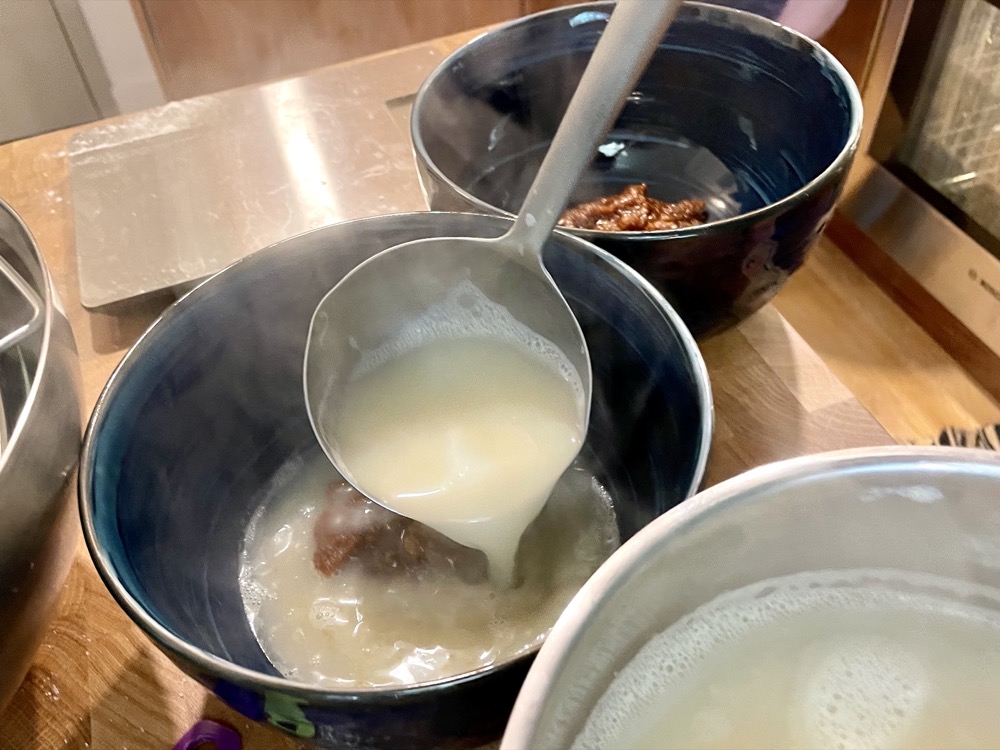

To assemble: Add one ladle of the oat milk/chicken stock mixture into each of the soup bowls over the soup flavour base and mix well until combined. Then evenly divide the rest of the oat milk/chicken stock mixture into each bowl.
Then top with the cooked ramen noodles, ground pork, and bok choy. Garnish with a sprinkling of chopped scallions over top. Enjoy!


Summarized Recipe:
So Easy Tan Tan Ramen
Date Published: Oct 24th, 2023 | Last Updated: Mar 2nd, 2024
Author: Abby |Category: easy, quick, Asian, mains, soups, healthy
Serves: 2 | Prep time: 20 mins | Cook time: 20 mins
Ingredients:
- 300g ground pork
- 1 Tbsp mirin
- 1 Tbsp ginger, finely minced
- Soup Flavour Base:
- 2 Tbsps soy sauce
- 2 Tbsps unsweetened peanut butter
- 1 tsp rice vinegar
- 1/2 tsp granulated sugar
- 1 Tbsp chili oil (any kind is fine, I prefer the Szechuan mala chili oils)
- 1.5 cups unsweetened oat milk or soy milk
- Pro-tip: for a creamier soup, use homemade oat milk (blend 1/2 cup oats to 2 cups water on high speed for 30 seconds then strain it through a nut milk bag)
- 1.5 cups chicken stock
- 1 Tbsp spicy bean sauce (la dou ban jiang 辣豆瓣酱)
- 2 cloves garlic, minced
- 2 bunches of bok choy (or other leafy greens), washed and trimmed
- 2 servings of ramen noodles (any brand will do, my favourite are from Sun noodle – see photo)
- 2 green onions/scallions, chopped
Directions:
- Mix the ground pork, mirin, and ginger together. Set aside to marinate for 15 mins.
- Prepare the soup flavour base by combining soy sauce, peanut butter, rice vinegar, sugar, and chili oil. Evenly divide this mixture into 2 soup bowls for serving. Set aside.
- In a saucepan on HIGH heat, add in the oat milk and chicken stock. Heat it up until it just comes to a simmer then turn the heat to LOW to keep warm until ready to be used. Do not let it get any higher than a small simmer otherwise it may curdle!
- In a wok on HIGH heat, drizzle a small amount of oil and sauté the marinated pork from step 1 until browned. Then add in the spicy bean sauce and garlic. Continue to sauté for another minute then turn off the heat.
- Bring a pot of water to a boil and blanch the bok choy for 60 seconds then remove from the pot and set aside. Bring the same pot of water to a boil again and cook the ramen noodles according to package instructions. Strain the noodles.
- To assemble: Add one ladle of the oat milk/chicken stock mixture into each of the soup bowls over the soup flavour base and mix well until combined. Then evenly divide the rest of the oat milk/chicken stock mixture into each bowl. Then top with the cooked ramen noodles, ground pork, and bok choy. Garnish with a sprinkling of chopped scallions over top. Enjoy!