Date Published: Dec 27th, 2024 | Last Updated: Dec 27th, 2024
Author: Abby |Category: soups
Serves: 6 (as mains) | Prep time: 20 mins | Cook time: 45 mins
Jump to recipe |
Chicken corn chowder is the ultimate comfort food for me. No matter what’s going on in this world, a big bowl of this soup seems to always hit the right spot. It’s especially fitting for this cold weather we’ve been having lately!
My version of a chicken corn chowder packs a ton of vegetables and protein because I like my soups hearty and filling. It also makes a large pot of soup, enough for at least 6 large portions. The jalapeño is optional if you prefer a bit of a kick.
Anyways, without further ado, here’s the recipe! If you have any comments or suggestions, I’d love to hear from you in the comment section! You can follow me on instagram, youtube and facebook to see all the recipes I post!
Happy cooking!
Ingredients you’ll need:
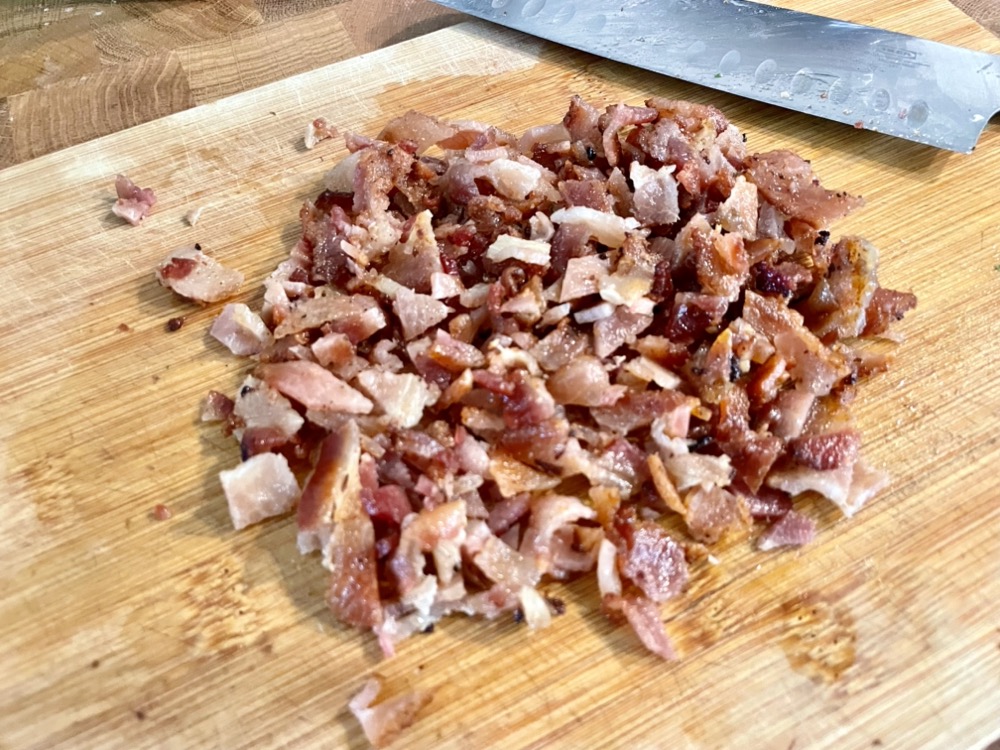
- 200g (~6 slices) bacon, chopped
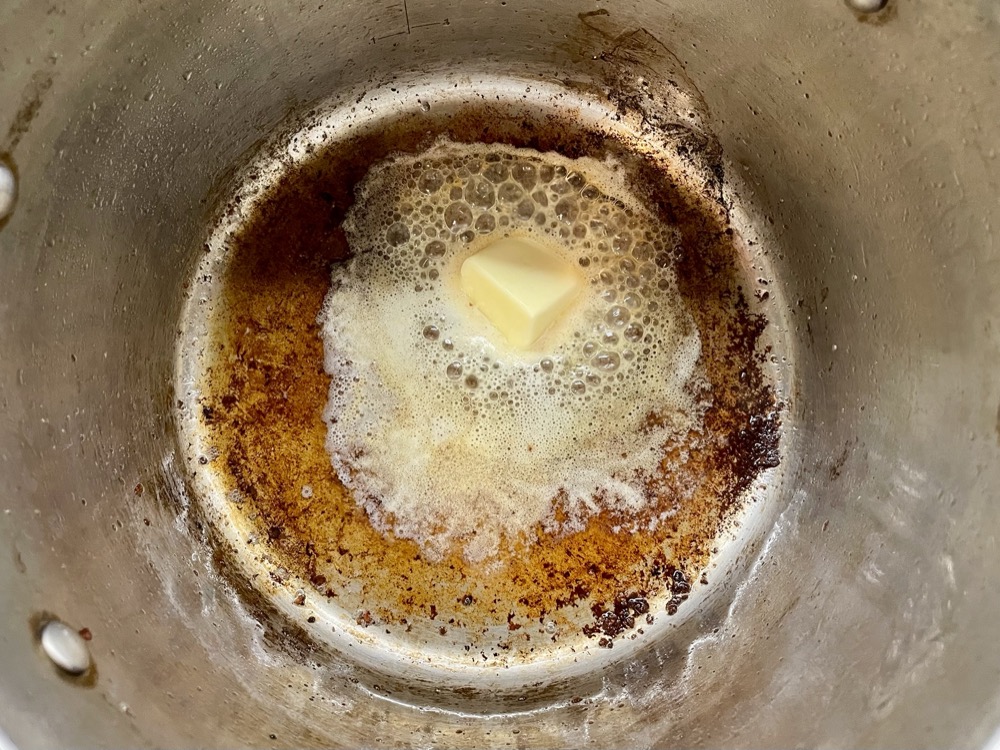
- 2 Tbsp unsalted butter
- 1 large yellow onion, diced
- 1 medium carrot, diced
- 2 stalks celery, diced
- 1 red bell pepper/capsicum, diced
- 1 raw jalapeño pepper, seeds removed and diced (optional, for a mild kick, keep the seeds in if you like it spicier)
- 2 cloves garlic, minced
- 1/2 cup all purpose flour
- 1 tsp fresh ground black pepper + more to taste
- 1 tsp kosher salt + more to taste
- 1 tsp paprika (ideally sweet smoked, but any will do)
- 4 cups chicken broth
- 1 cup whole milk
- 1 cup heavy cream
- 3 chicken breasts (or 2 large ones), skinless, boneless
- 1kg (4 med-large) potatoes, peeled and diced to 2cm cubes
- 2 cans of corn, drained or cut the kernels off 3 ears of sweet corn
- 3 dashes of Worcestershire sauce
Directions:
In a large soup pot on MED heat, add in the chopped bacon and cook until browned and crispy then remove onto a paper towel and set aside.

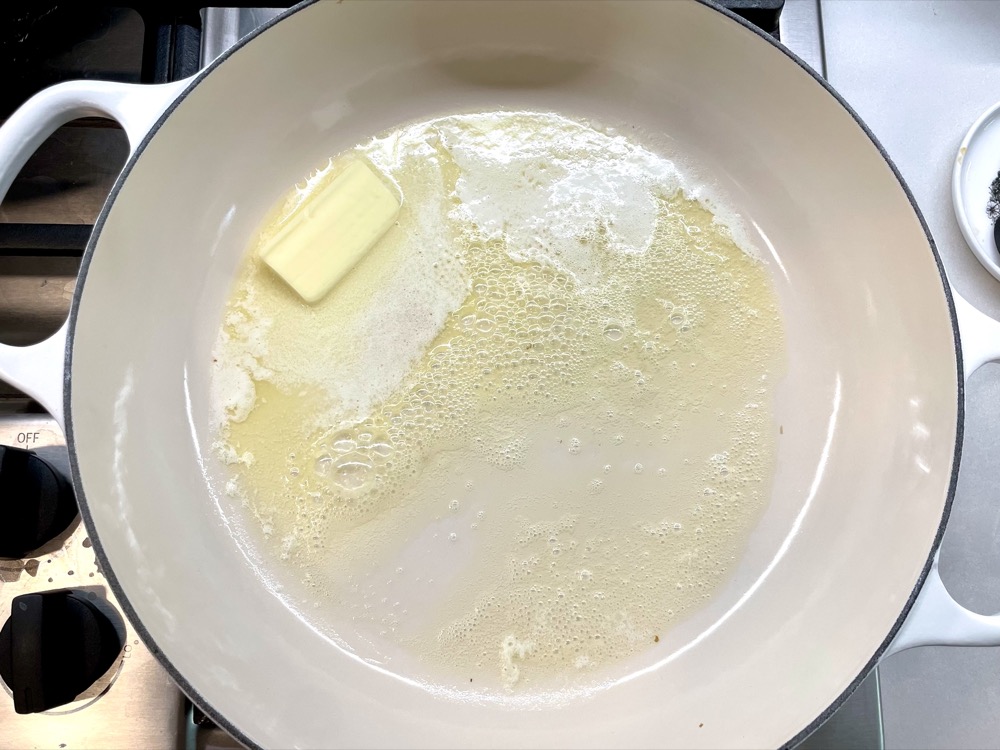
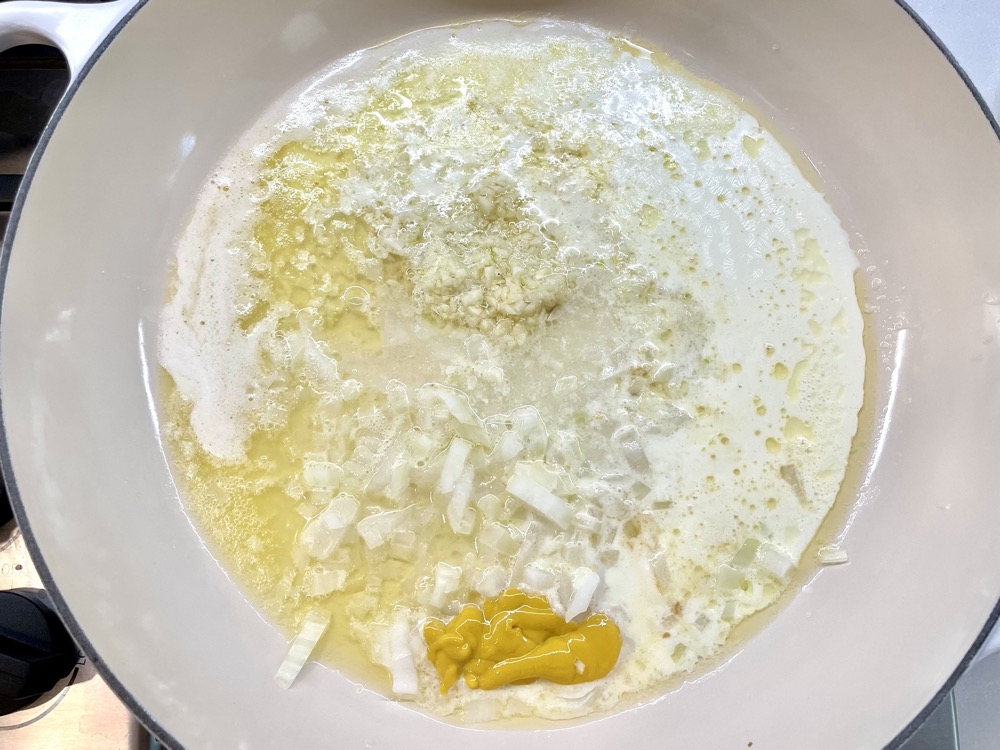
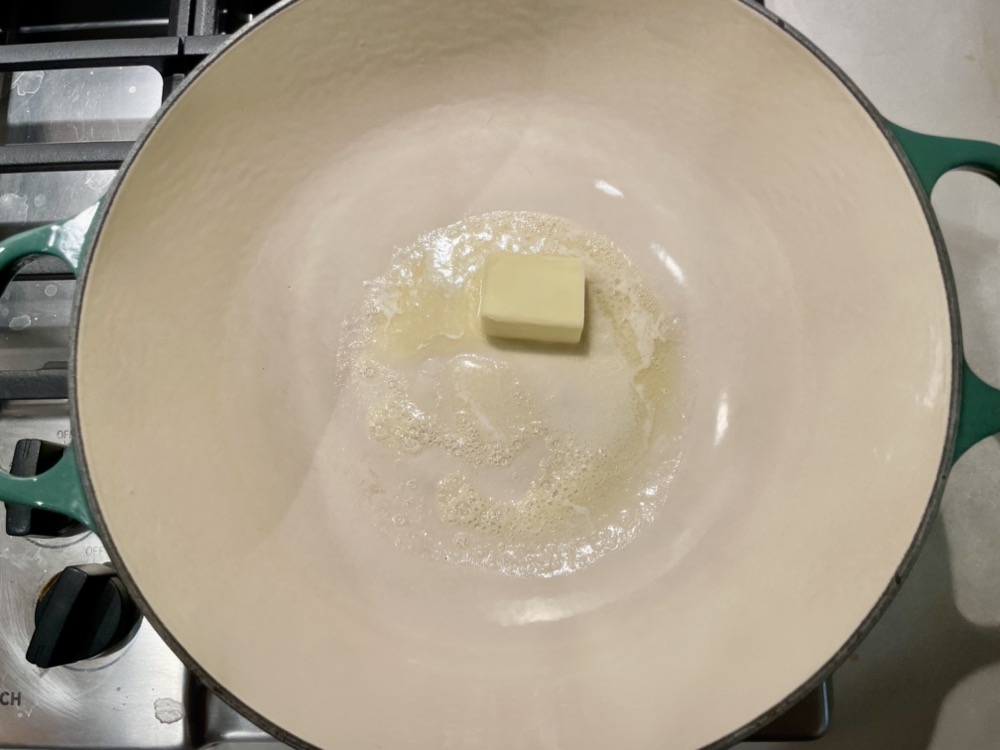
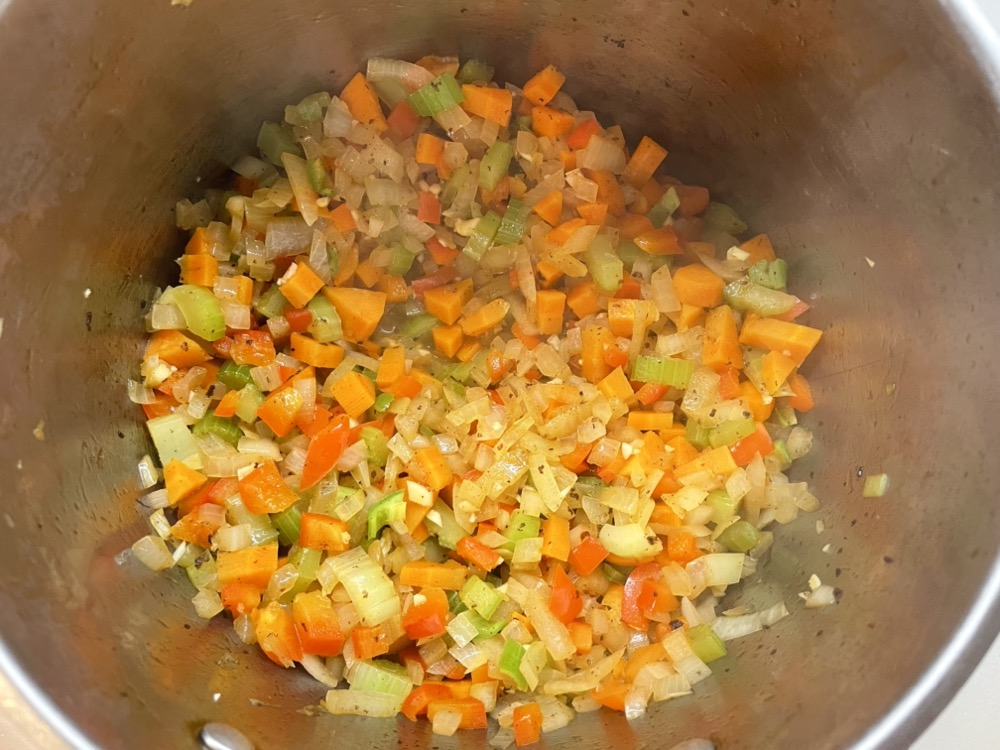
Discard all but 2 tablespoons of bacon grease from the pot and add in the 2 Tbsps butter. Once the butter has melted, add in the diced onion, carrots, celery, red bell pepper, jalapeño (if using) and minced garlic. Mix everything together and cook until the vegetables are soft enough to break with the spatula (5-8 minutes).

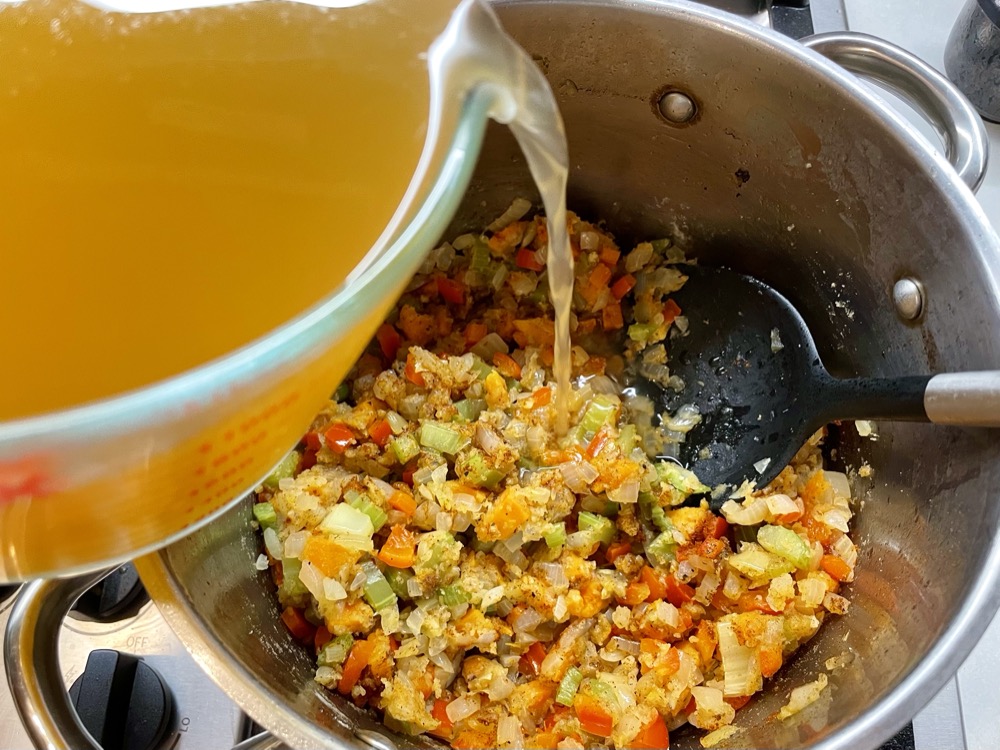
Sprinkle in the 1/2 cup flour and stir until well combined for 1-2 minutes so the flour cooks a little.


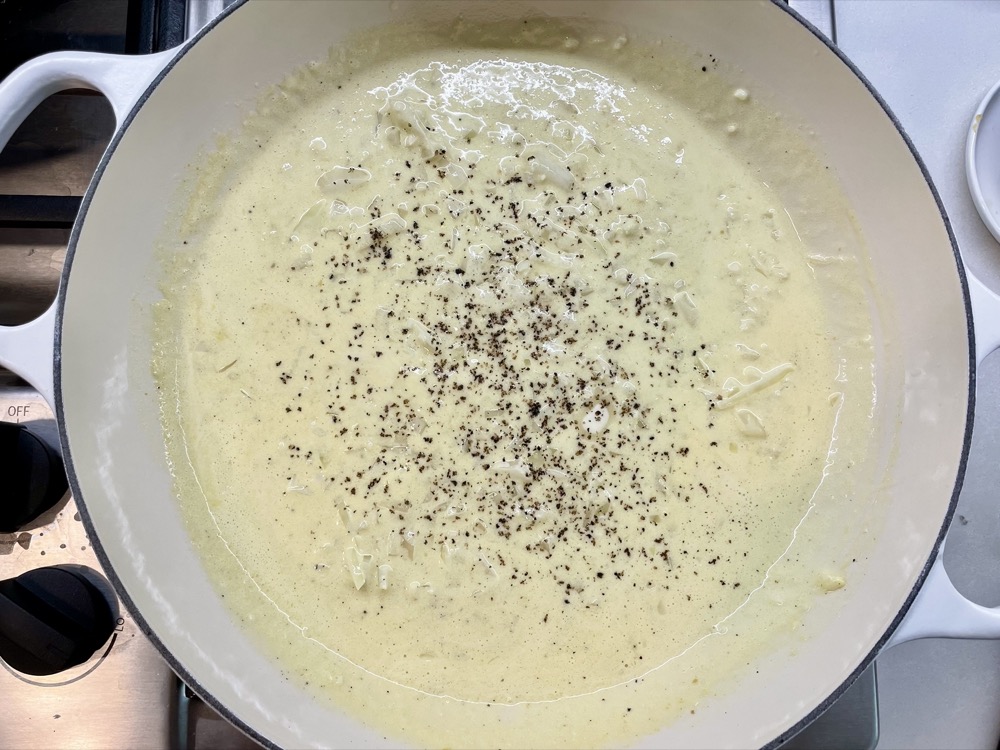
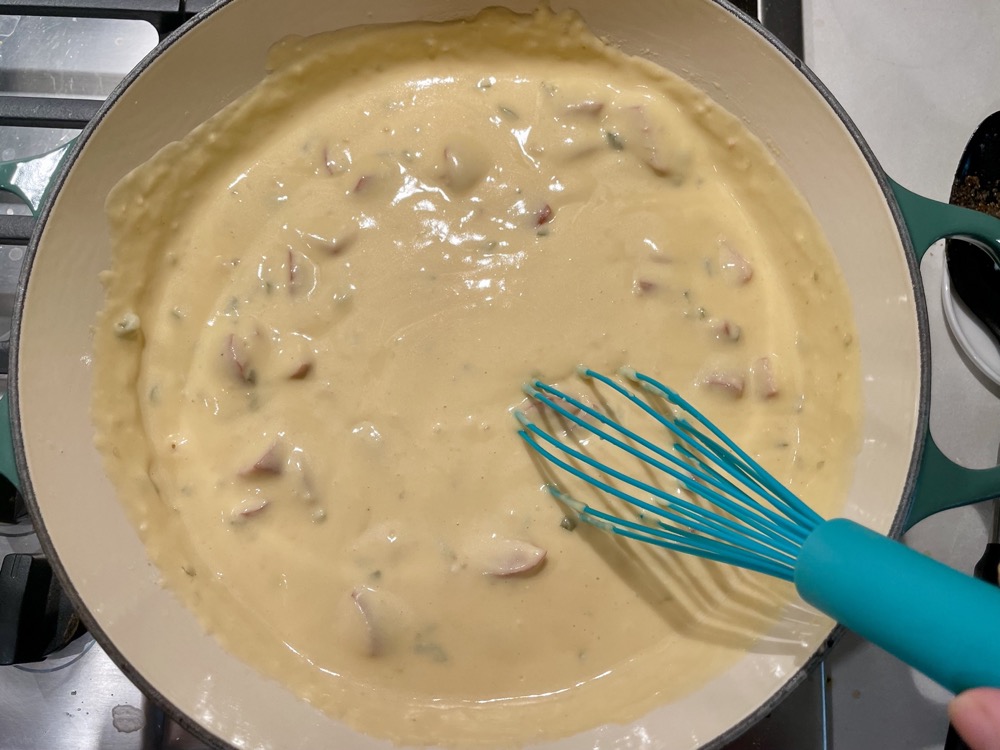
Add in the 1 tsp black pepper and 1 tsp paprika. Mix together then slowly add in the chicken broth 1 cup at a time while mixing to ensure there are no clumps and make sure you scrape the bottom of the pot.

Once all the chicken broth has been added, add in the 1 cup of milk and 1 cup of heavy cream. Stir everything together and let the soup come to a boil.

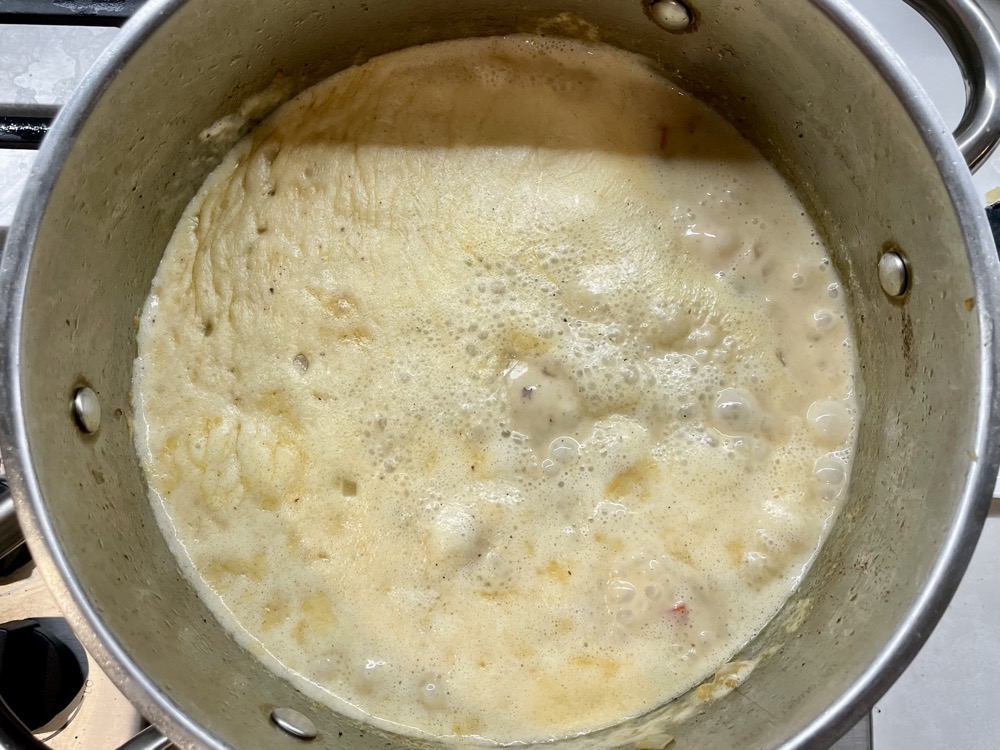
Add in the 3 whole chicken breasts. Continue to simmer for 15 minutes until the chicken is cooked. Once the chicken has cooked, remove the breasts and set aside on a plate.


Add the diced potatoes and corn to the soup and continue to simmer until the potatoes are cooked (~10 minutes).


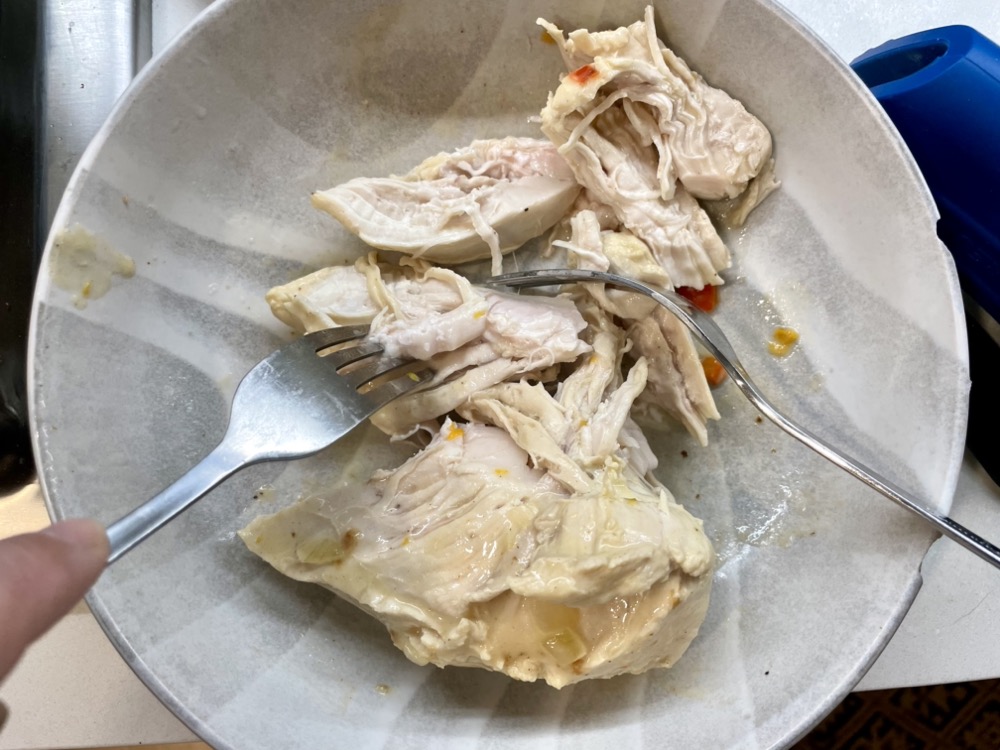
While the potatoes are cooking, use two forks to shred the chicken (don’t worry if it’s a little undercooked in some parts).

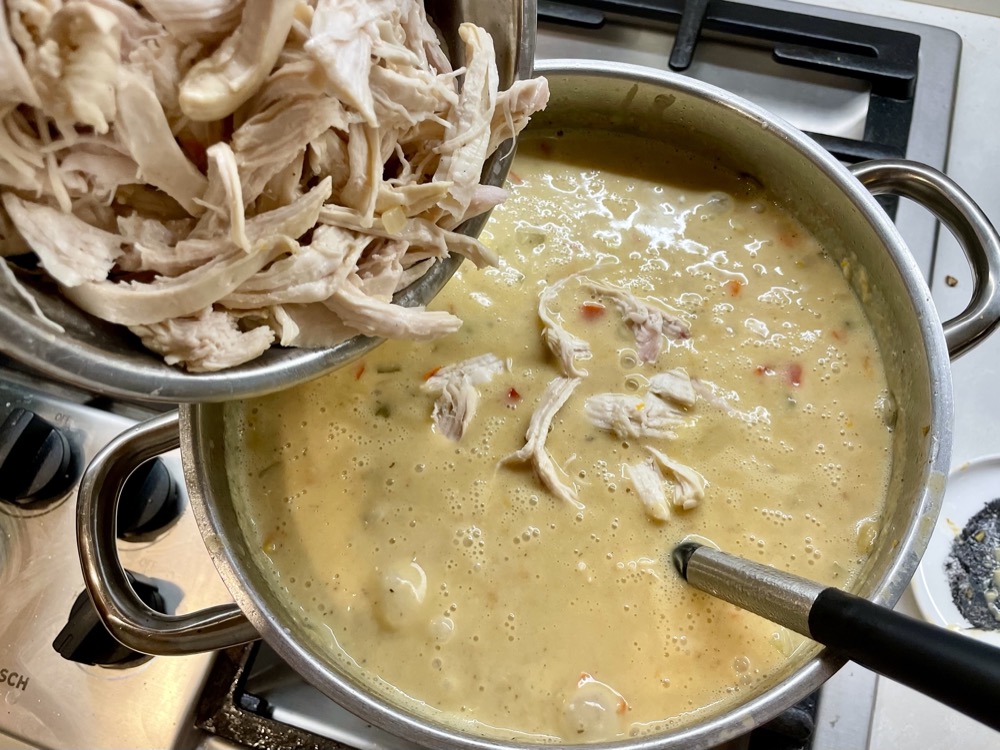
Add it back into the pot along with half the amount of cooked bacon (from step 1).

When the potatoes are soft enough the break with a spatula, add 3 dashes of Worcestershire sauce and mix. Taste and adjust salt and pepper to taste.


Done! Serve hot with a sprinkle of the rest of the cooked bacon (from step 1) sprinkled on top.


Summarized Recipe:
Hearty Chicken Corn Chowder – the ultimate comfort food
Date Published: Dec 27th, 2024 | Last Updated: Dec 27th, 2024
Author: Abby |Category: soups
Serves: 6 (as mains) | Prep time: 20 mins | Cook time: 45 mins
Ingredients:
- 200g (~6 slices) bacon, chopped
- 2 Tbsp unsalted butter
- 1 large yellow onion, diced
- 1 medium carrot, diced
- 2 stalks celery, diced
- 1 red bell pepper/capsicum, diced
- 1 raw jalapeño pepper, seeds removed and diced (optional for a mild kick, keep the seeds in if you like it spicier)
- 2 cloves garlic, minced
- 1/2 cup all purpose flour
- 1 tsp fresh ground black pepper + more to taste
- 1 tsp kosher salt + more to taste
- 1 tsp paprika (ideally sweet smoked, but any will do)
- 4 cups chicken broth
- 1 cup whole milk
- 1 cup heavy cream
- 3 chicken breasts (or 2 large ones), skinless, boneless
- 1kg (4 med-large) potatoes, peeled and diced to 2cm cubes
- 2 cans of corn, drained or cut the kernels off 3 ears of sweet corn
- 3 dashes of Worcestershire sauce
Directions:
- In a large soup pot on MED heat, add in the chopped bacon and cook until browned and crispy then remove onto a paper towel and set aside.
- Discard all but 2 tablespoons of bacon grease from the pot and add in the 2 Tbsps butter. Once the butter has melted, add in the diced onion, carrots, celery, red bell pepper, jalapeño (if using) and minced garlic. Mix everything together and cook until the vegetables are soft enough to break with the spatula (5-8 minutes).
- Sprinkle in the 1/2 cup flour and stir until well combined for 1-2 minutes so the flour cooks a little.
- Add in the 1 tsp black pepper and 1 tsp paprika. Mix together then slowly add in the chicken broth 1 cup at a time while mixing to ensure there are no clumps and make sure you scrape the bottom of the pot.
- Once all the chicken broth has been added, add in the 1 cup of milk and 1 cup of heavy cream. Stir everything together and let the soup come to a boil, then add in the 3 whole chicken breasts. Continue to simmer for 15 minutes until the chicken is cooked.
- Once the chicken has cooked, remove the breasts and set aside on a plate. Add the diced potatoes and corn to the soup and continue to simmer until the potatoes are cooked (~10 minutes).
- While the potatoes are cooking, use two forks to shred the chicken (don’t worry if it’s a little undercooked in some parts) then add it back into the pot along with half the amount of cooked bacon (from step 1).
- When the potatoes are soft enough the break with a spatula, add 3 dashes of Worcestershire sauce and mix. Taste and adjust salt and pepper to taste. Done! Serve hot with a sprinkle of the rest of the cooked bacon (from step 1) sprinkled on top.