Date Published: Feb 28th, 2024 | Last Updated: Feb 28th, 2024
Author: Abby |Category: easy, healthy, low-cal, mains, vegetarian
Serves: 4-6 | Prep time: 1 hour | Cook time: 40 mins
Jump to recipe |
‘Tian de Courgettes au Riz’ is a recipe from the great Julia Child. I came across this recipe randomly through my search for healthier meals in this new year and found many adaptations of it. From those adaptations, I played around with the recipe, added in mushrooms and sausage (because why not) to make it a more rounded and hearty meal, and out came yet another adaptation of her recipe 😛. According to the internet, a “tian” is a French word used to describe a shallow baking dish but also the name of a baked vegetable dish (Martha Stewart compares the wordplay to a casserole and a casserole dish).
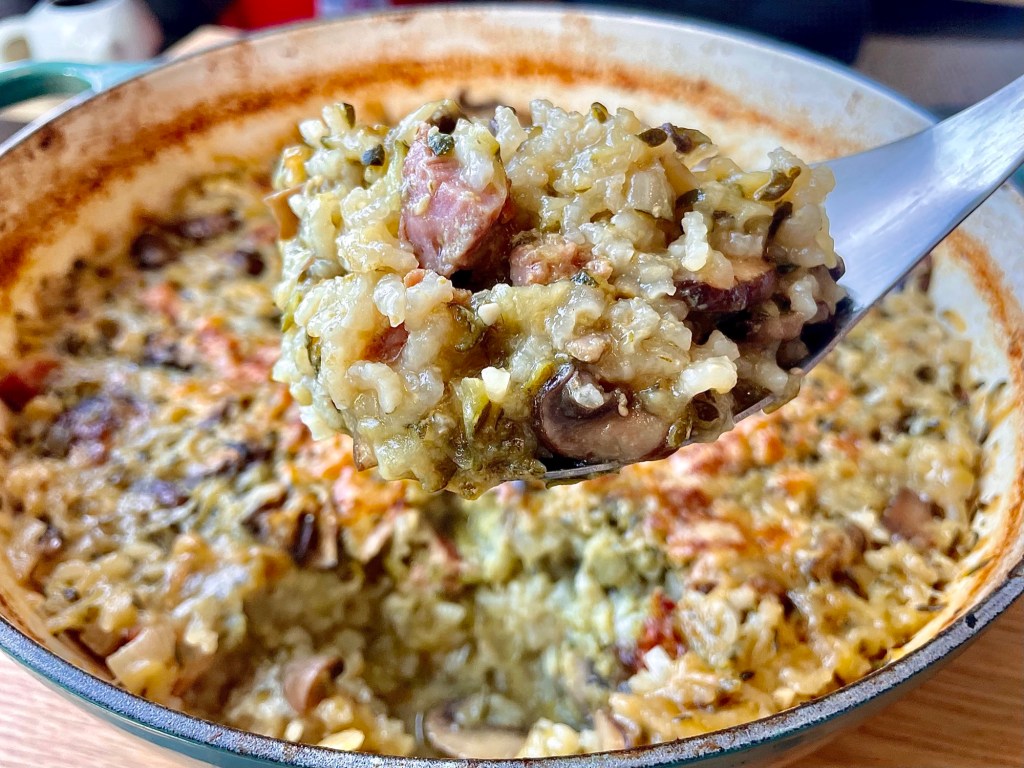
In its essence, this dish is pretty much rice cooked in zucchini liquid mixed with mushroom, meat, and cheese. It’s kind of like a risotto, except much easier to achieve. This recipe seems long, but I promise it’s just wordy and not difficult at all. Once you get into it, you’ll realize that it’s quite easy and not at all intimidating unlike other Julia Child recipes.
This recipe is a fantastic way to use up an overflow of zucchinis in the summer season. For 6 portions, it uses up about 6 large zucchinis. I wish I discovered this recipe sooner when Toby and I were staying on the farm. His dad grew sooooo many zucchinis that we were gifting them to everyone we see (he was seriously harvesting at least 6-8 a day at peak season!).
Anyways, without further ado, here’s the recipe! If you have any comments or suggestions, I’d love to hear from you in the comment section! You can follow me on instagram, youtube and facebook to see all the recipes I post!
Happy cooking!
Ingredients you’ll need:
*You will need an oven-proof pot or dutch oven with a lid – I used a 5 1/4 quart dutch oven.
- 1.5kg zucchinis (roughly 6 large ones)
- 500g portobello mushrooms, cleaned and sliced
- Roughly 1/2 a cup of milk (amount will vary depending on how much liquid is released from your zucchini and mushrooms)
- 3 cloves garlic, minced
- 2 medium brown onions, diced
- 3 Tbsps all purpose flour
- 1 cup Parmesan cheese, grated + extra for sprinkling
- Salt & pepper to taste
- 3/4 cup medium grain rice (I use arborio/risotto rice, but any medium grain will do)
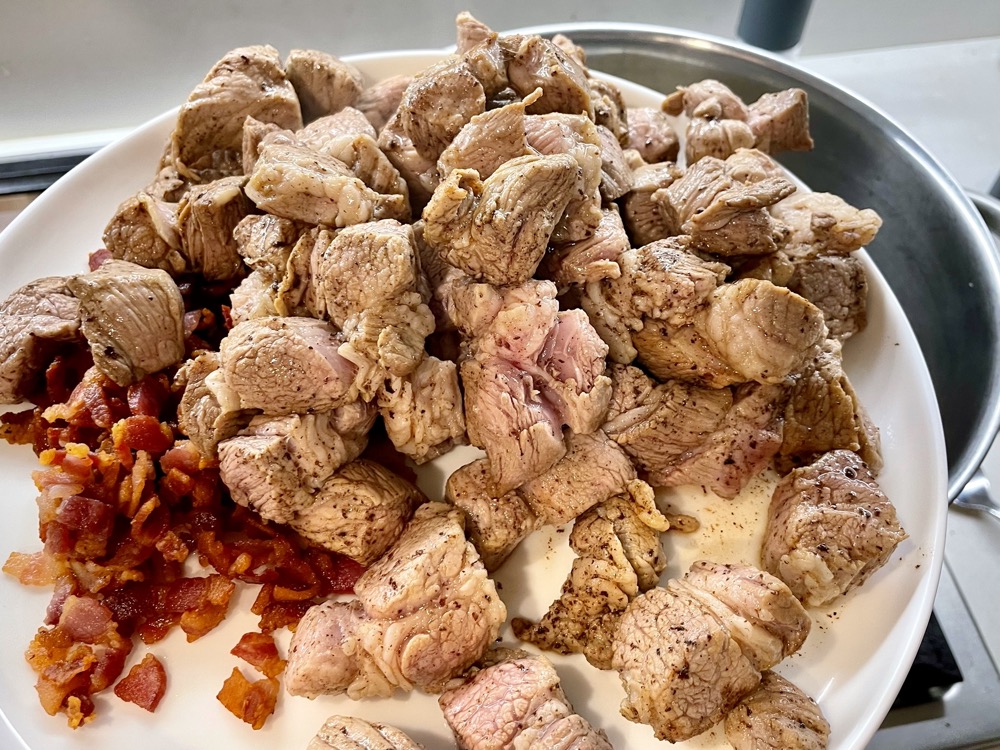
- 300-400g kielbasa (Polish sausage), diced
- You can use any protein you like (ie. sausage, ground beef, shredded rotisserie chicken…etc.), but make sure your protein is cooked, dry, and doesn’t add any extra liquid or else it’ll throw off the liquid ratio to cook the rice.
Directions:
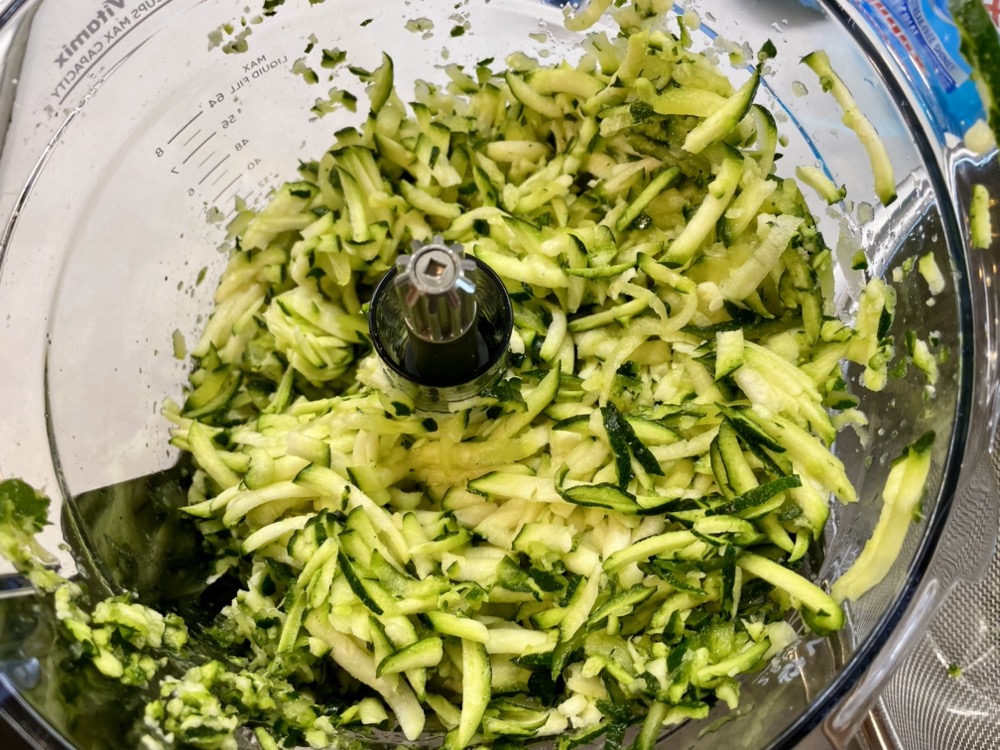
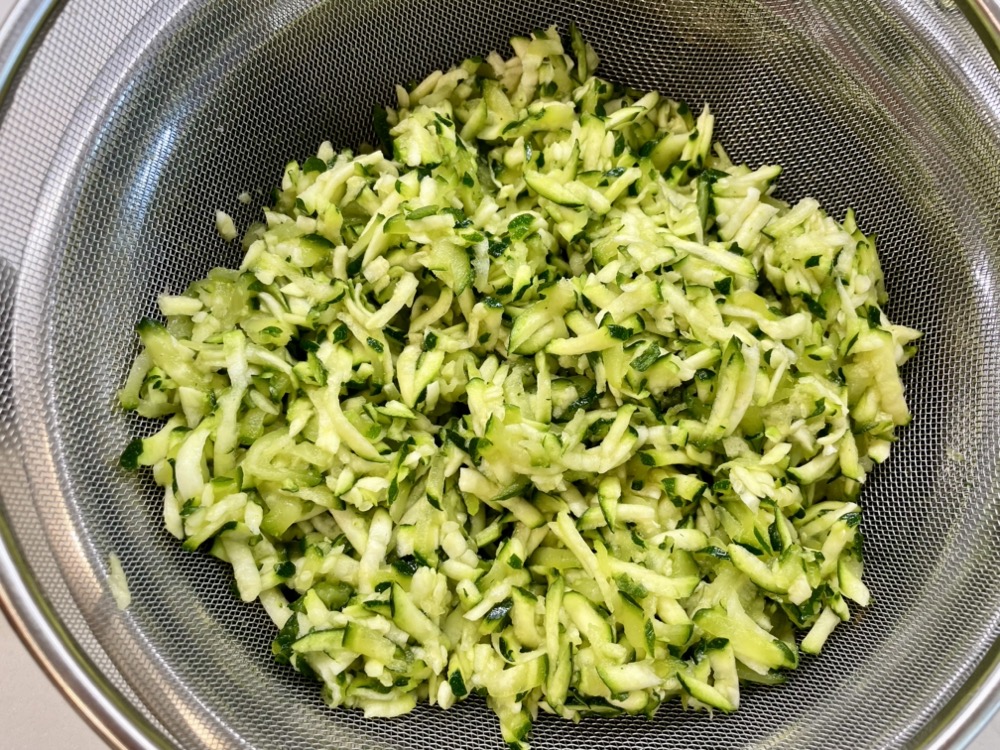
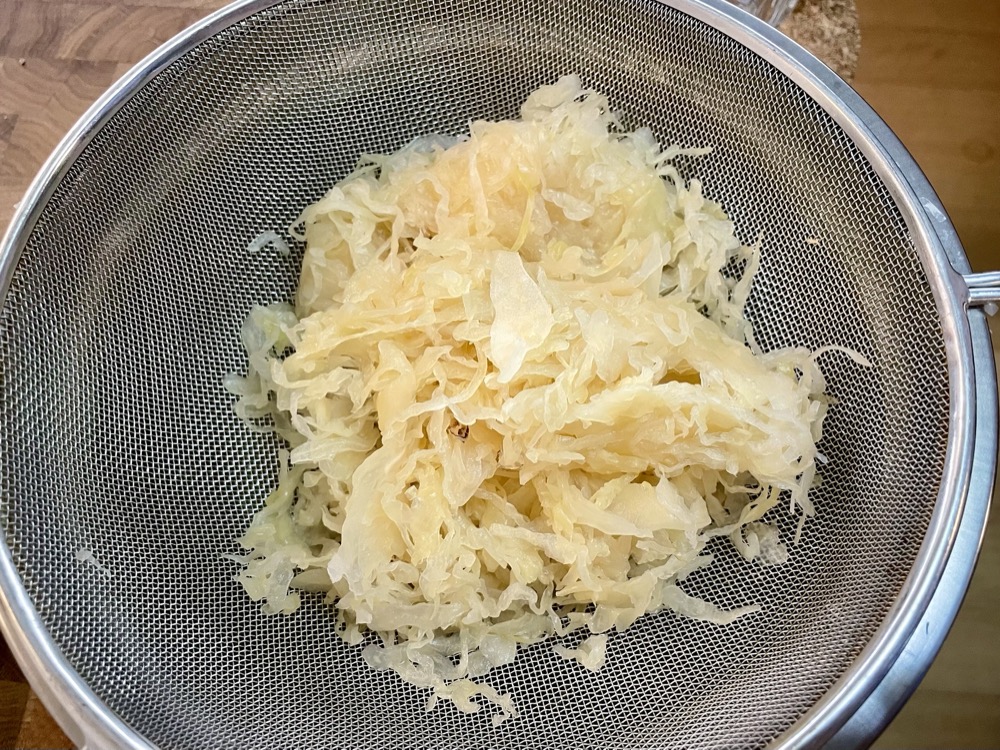
Cut the fibrous ends off the zucchinis and grate each one using a large hole grater (this is a whole lot quicker if you have a food processor with a grating function). Place a colander over a bowl and put the grated zucchini into the colander with 3 tsps of salt. Use your hands and massage the salt through the zucchini, making sure its mixed well. Set aside for 1 hour, allowing the liquid from the zucchini to release and collect in the bowl below.


After 1 hour, squeeze out as much zucchini liquid as you can and save this liquid. Rinse the grated zucchini under cold water to remove any excess salt and squeeze until dry and set aside (do not save this liquid).
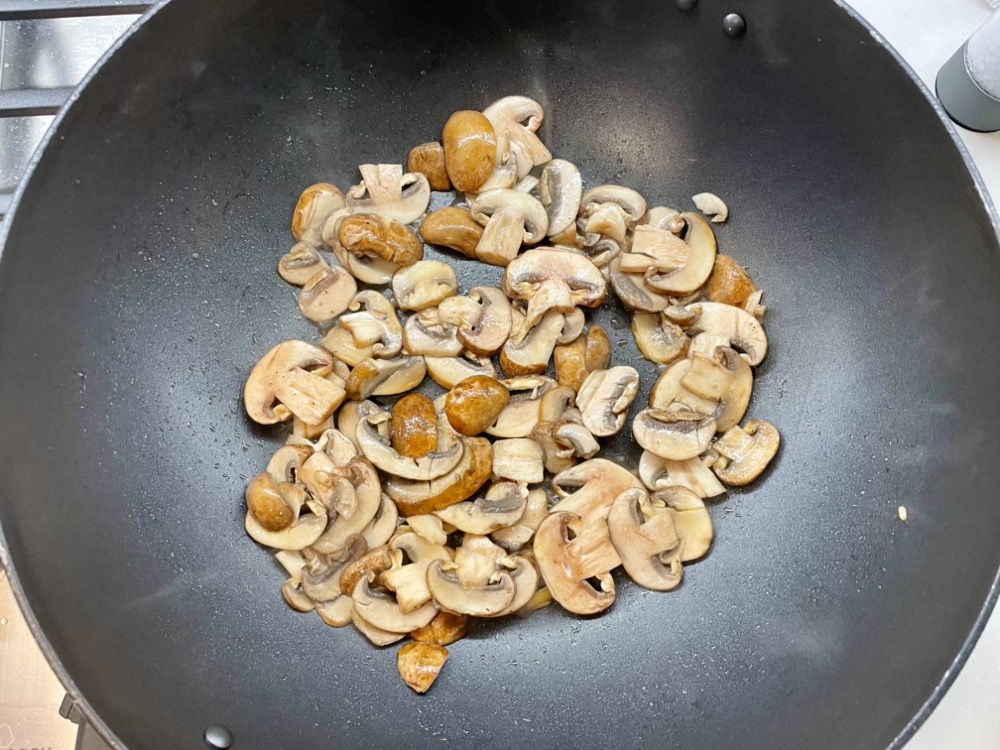

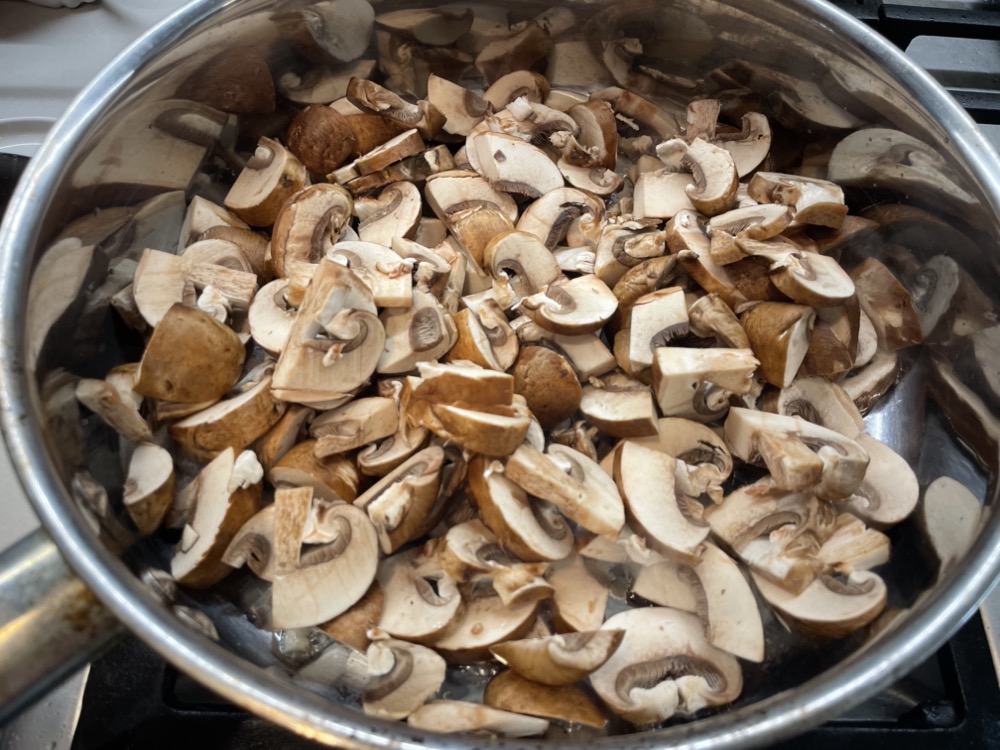
While you’re waiting for the zucchini to release its liquid, cook the mushrooms: in a large pan on MED-HIGH heat, add a drizzle of oil and sauté the mushrooms until cooked (4-5 minutes). Place the cooked mushrooms in a strainer and reserve any liquid.


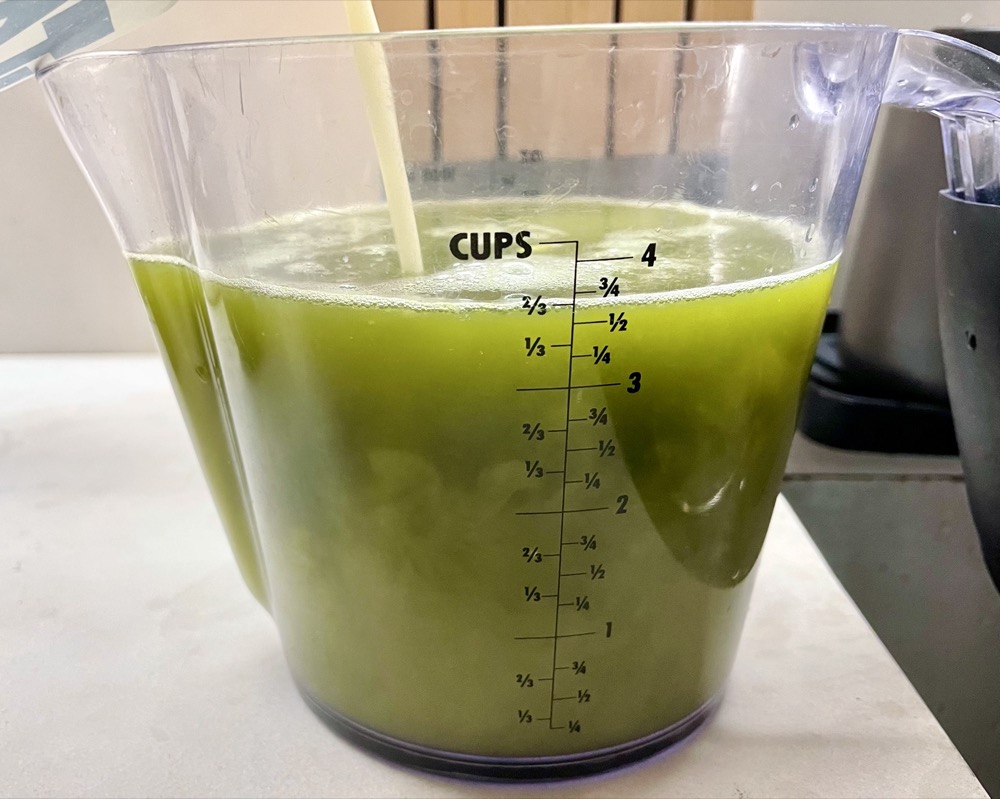
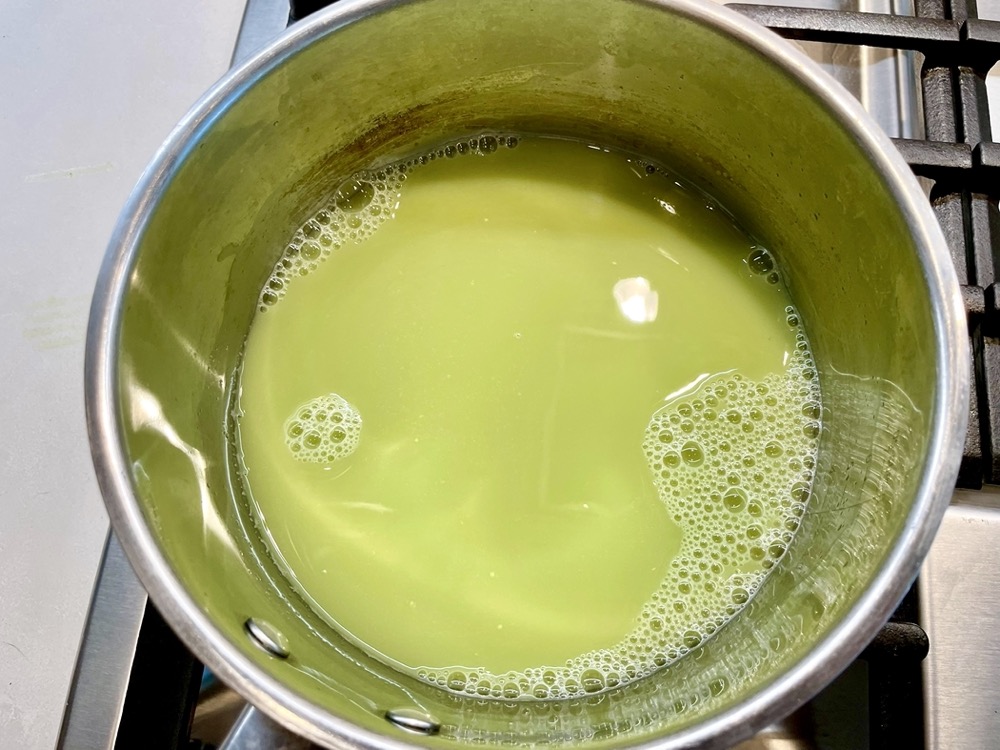
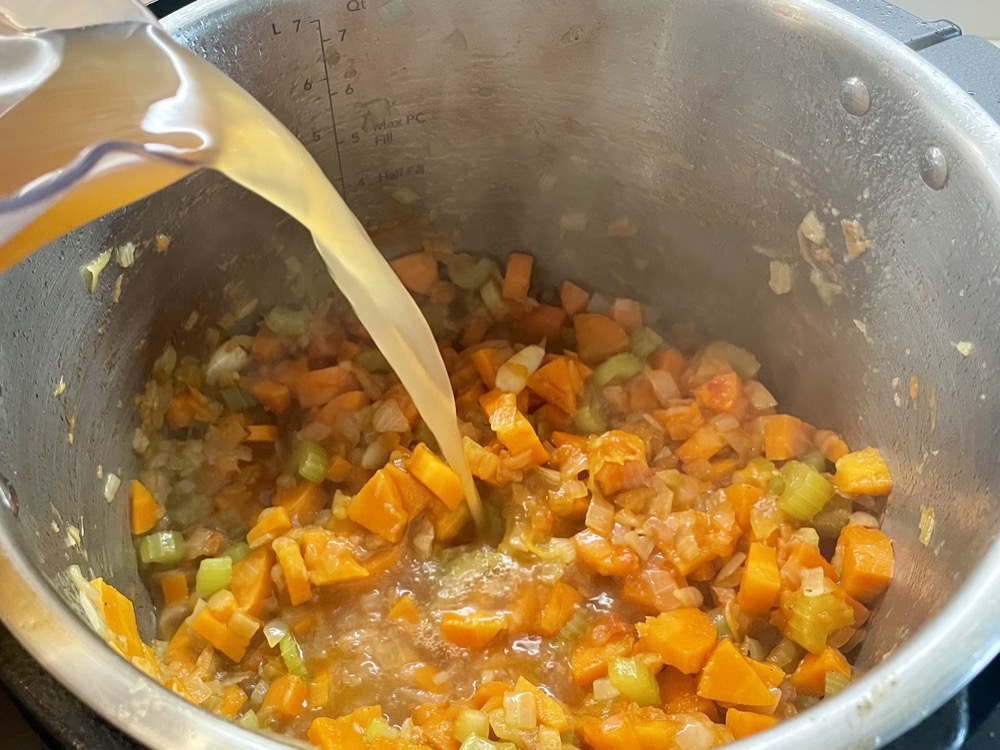
Measure out the amount of collected zucchini liquid from step 2 and add in the released liquid from the mushrooms in step 3 until it makes 3.75 cups. If the combined liquid is not enough to make up 3.75 cups, then add enough milk to make up the rest of the amount. Pour the liquid into a saucepan and heat it up on the stove until warmed. Do NOT let it come to a boil, otherwise it may split. Only heat it up until warmed. Keep on LOW heat until ready to use.
Preheat the oven to 220C/425F.

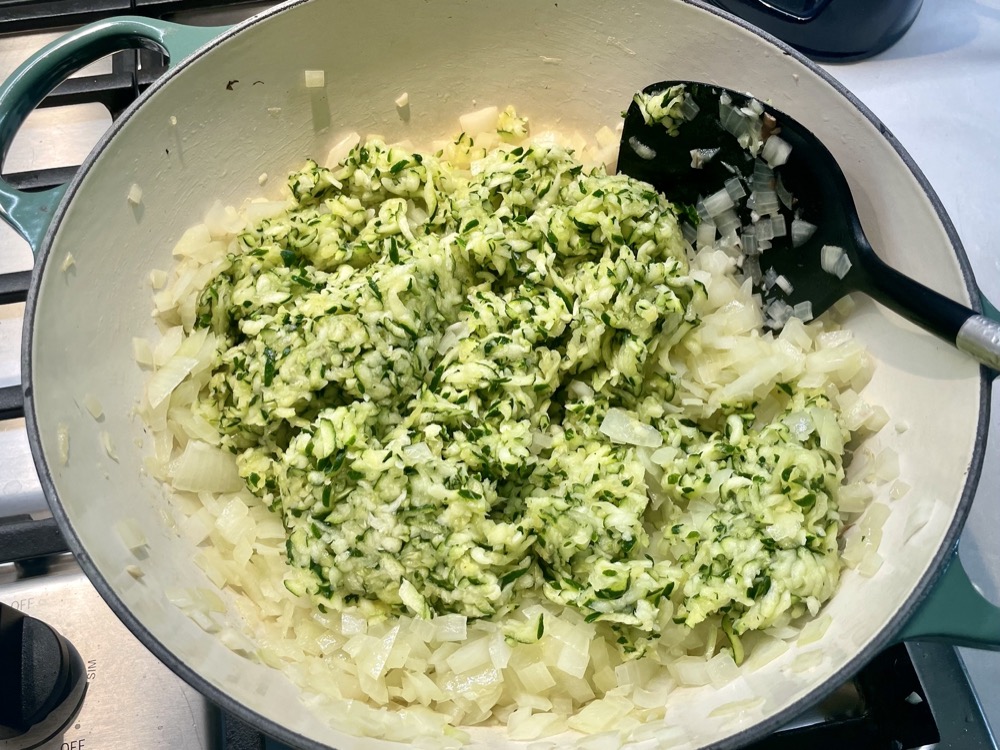
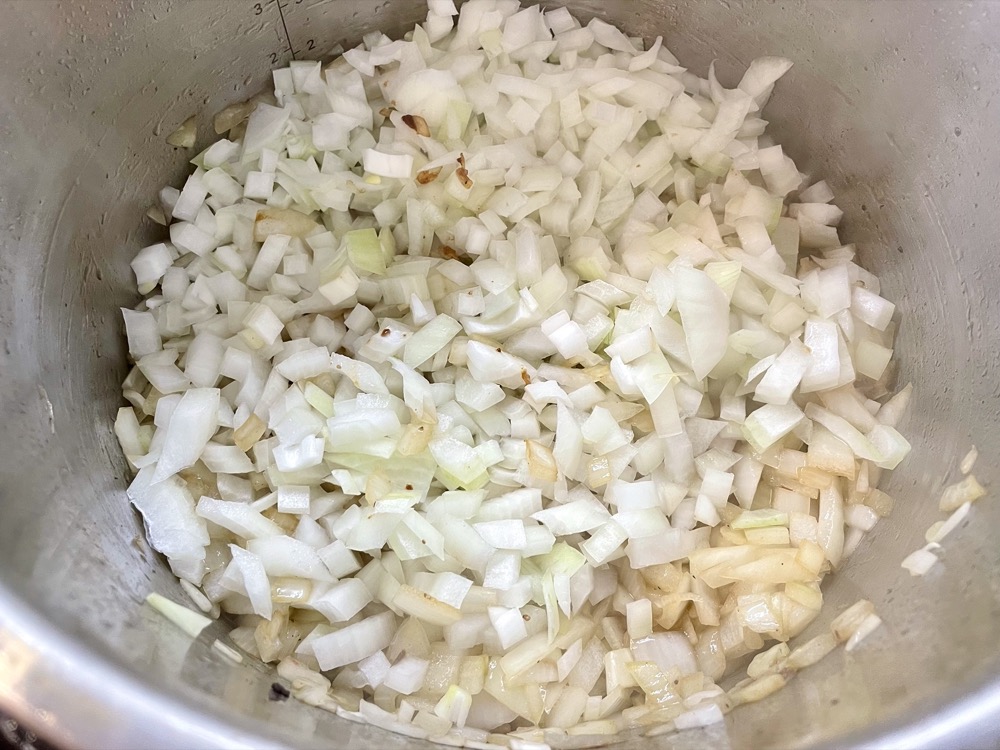
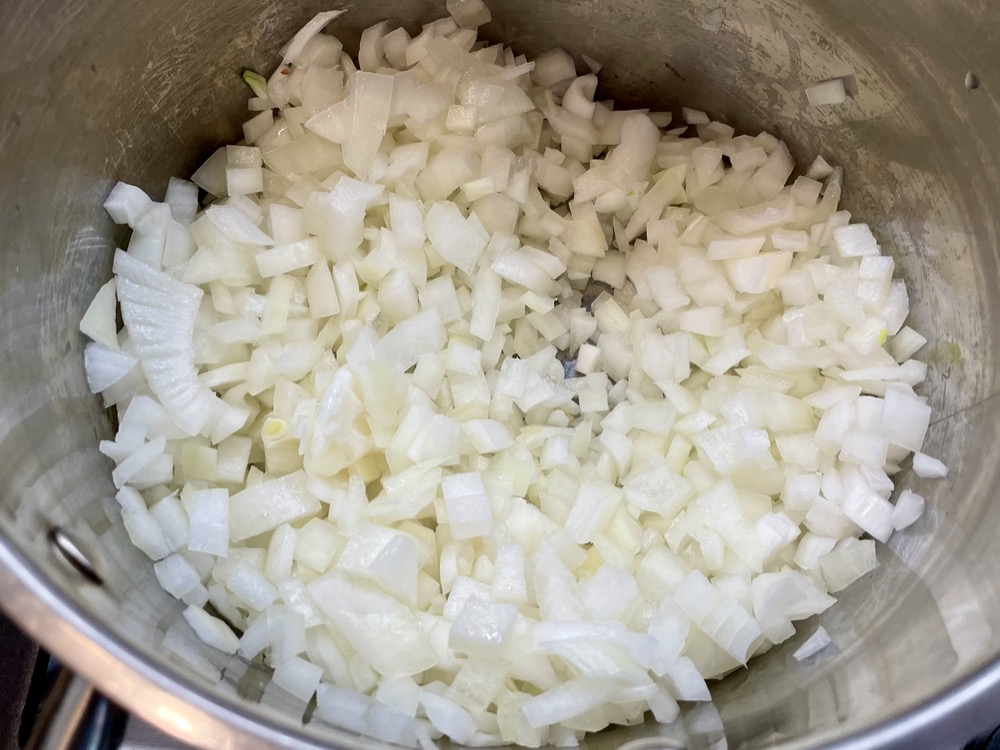
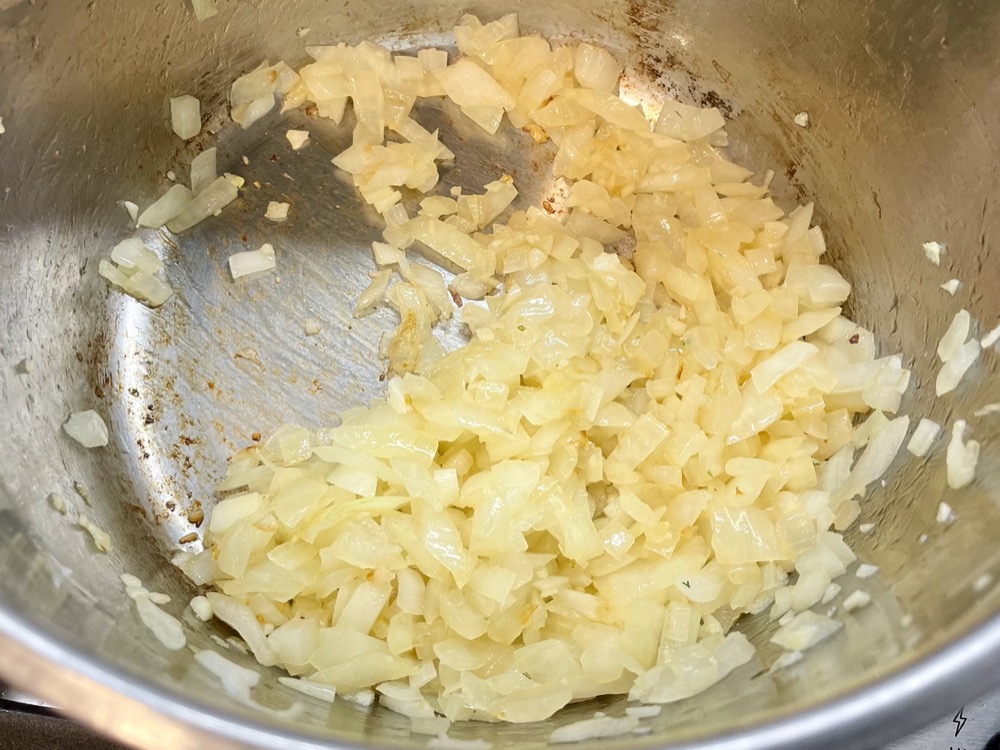
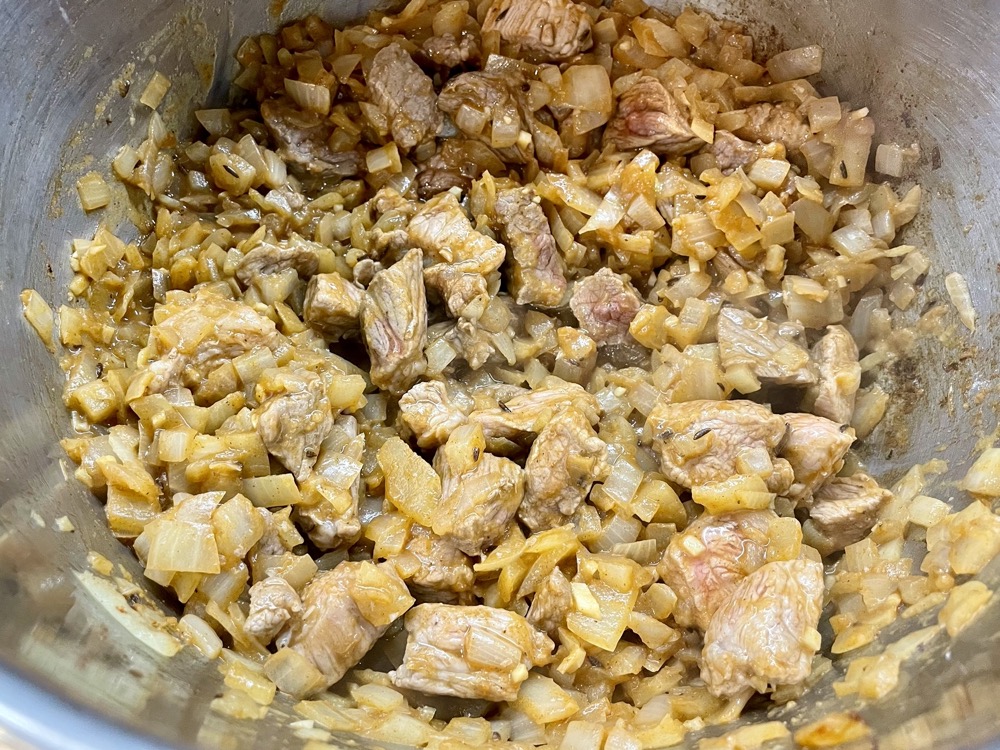
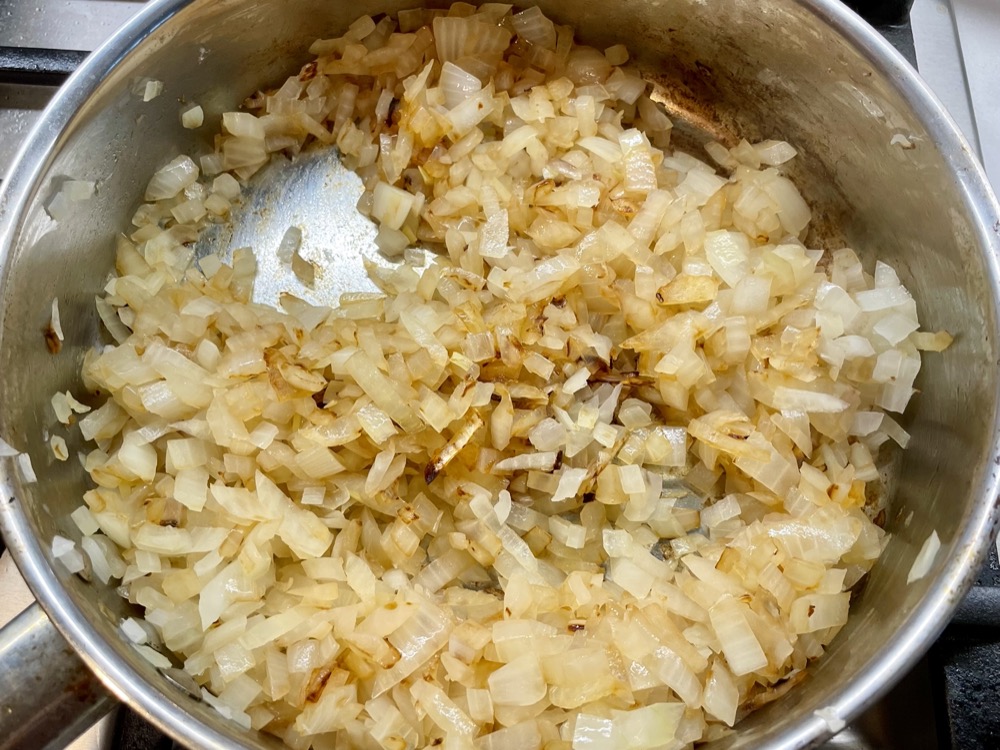
In an oven-safe pot or dutch oven (make sure there’s a lid, I used a 5 1/4 quart size dutch oven) on MED-HIGH heat, add a drizzle of oil and sauté the garlic and onion together for 3-4 minutes until the onion turns translucent. Then add in the grated zucchini and continue to sauté for another 5-6 minutes.

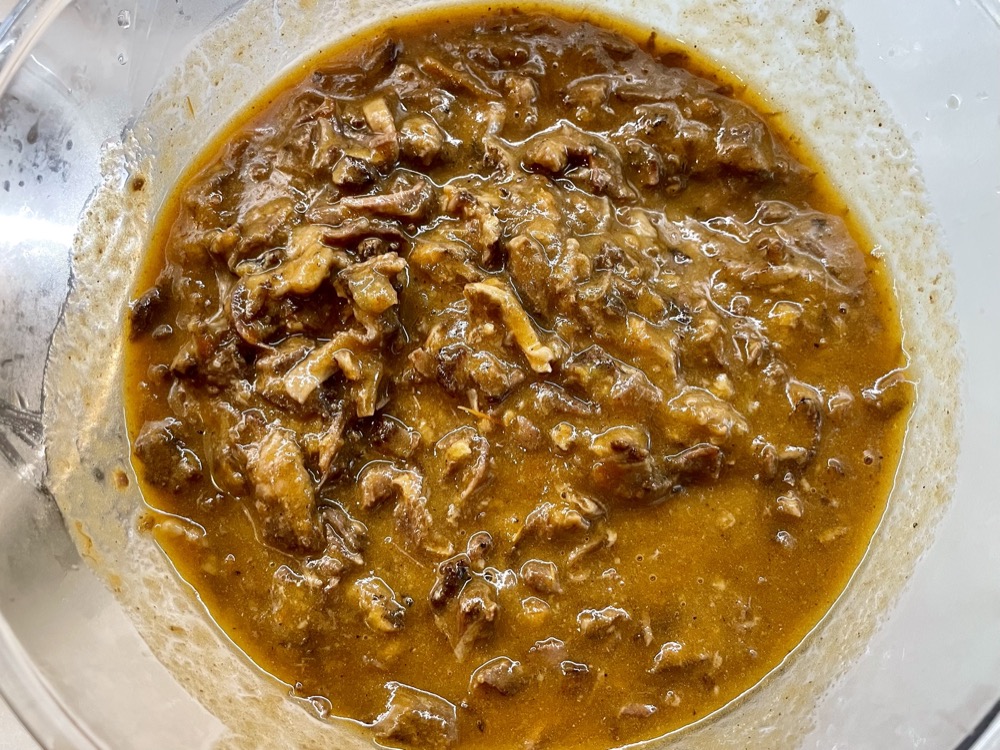
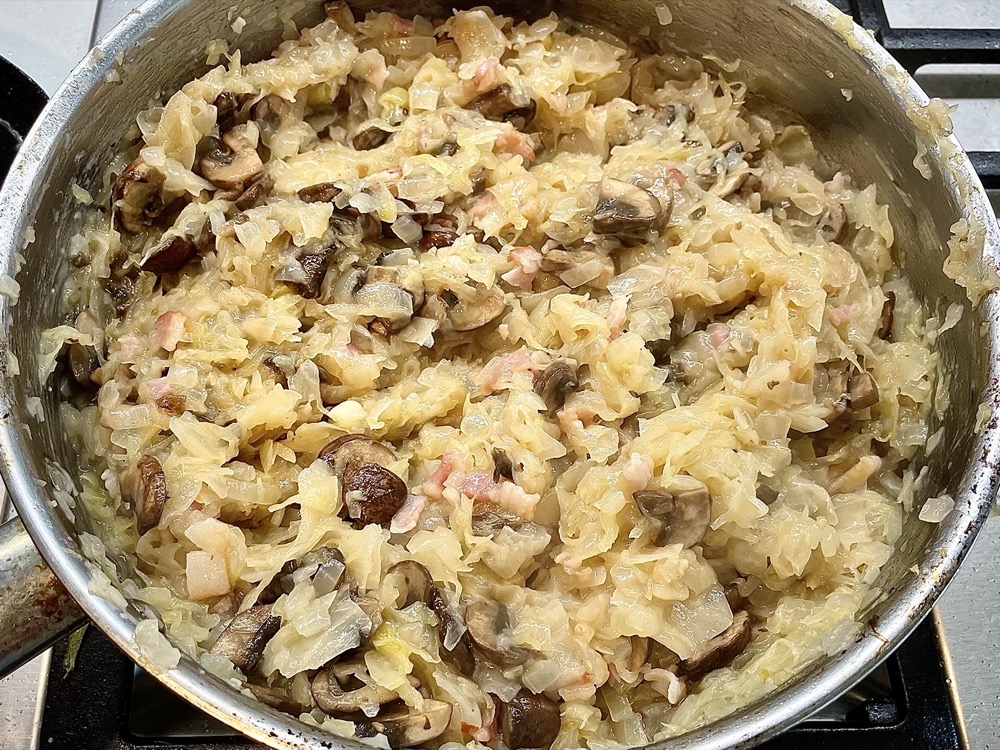
Add in the cooked mushrooms and 3 Tbsps of flour to the pan and continue mixing for 2 more minutes until everything is well combined then turn off the heat.

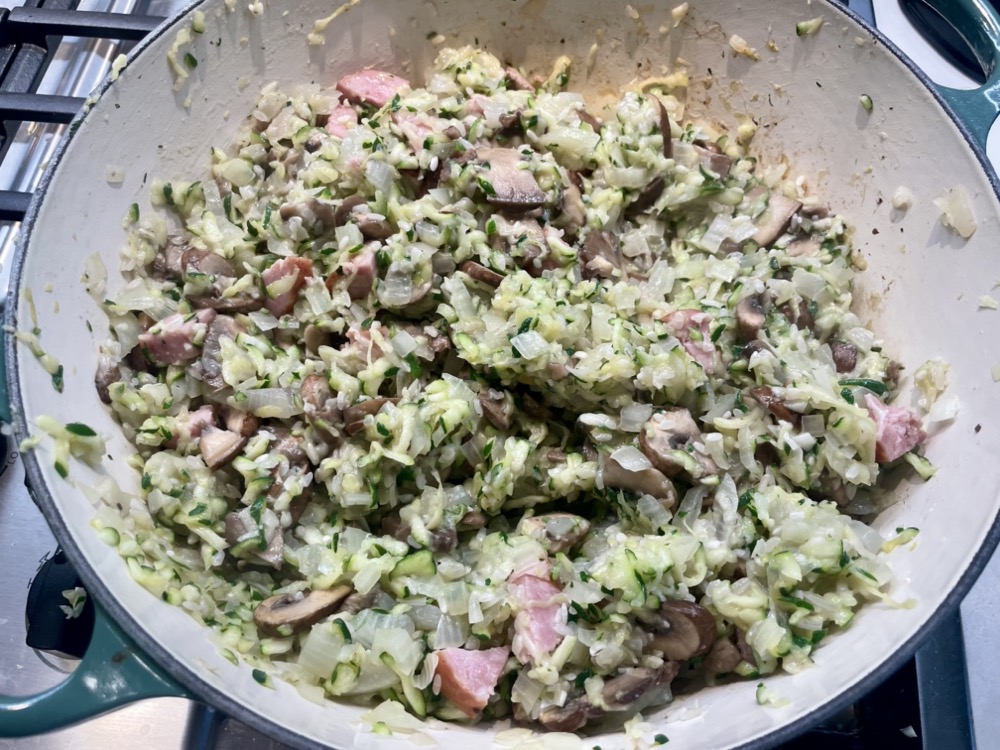
Mix in the Parmesan cheese, rice, and kielbasa (or your choice of cooked protein).


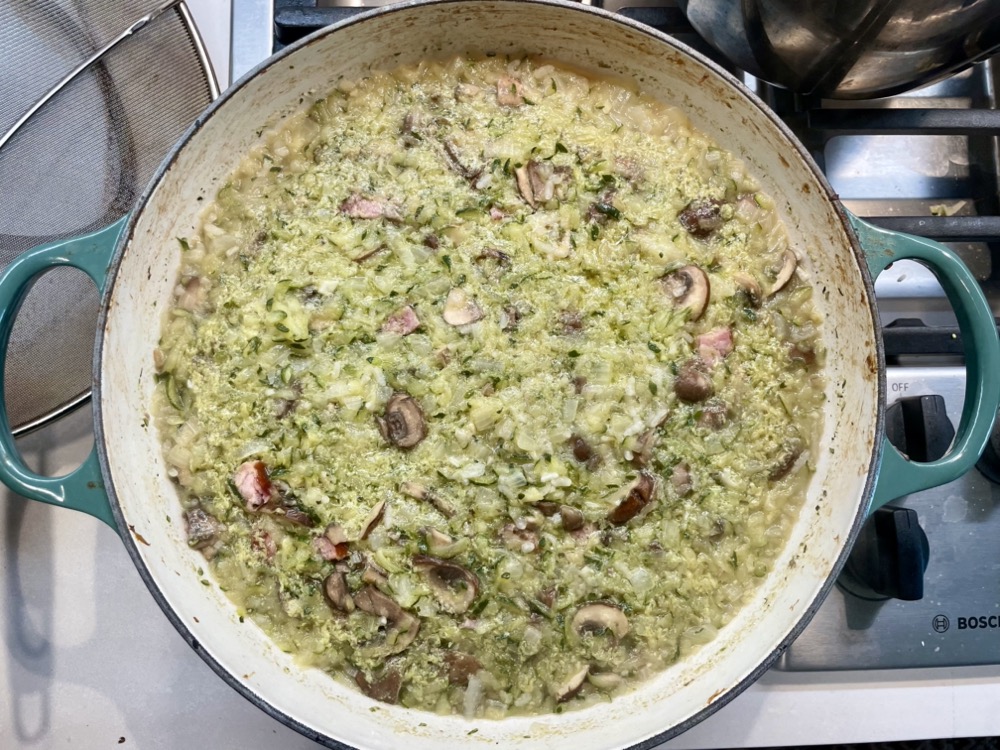
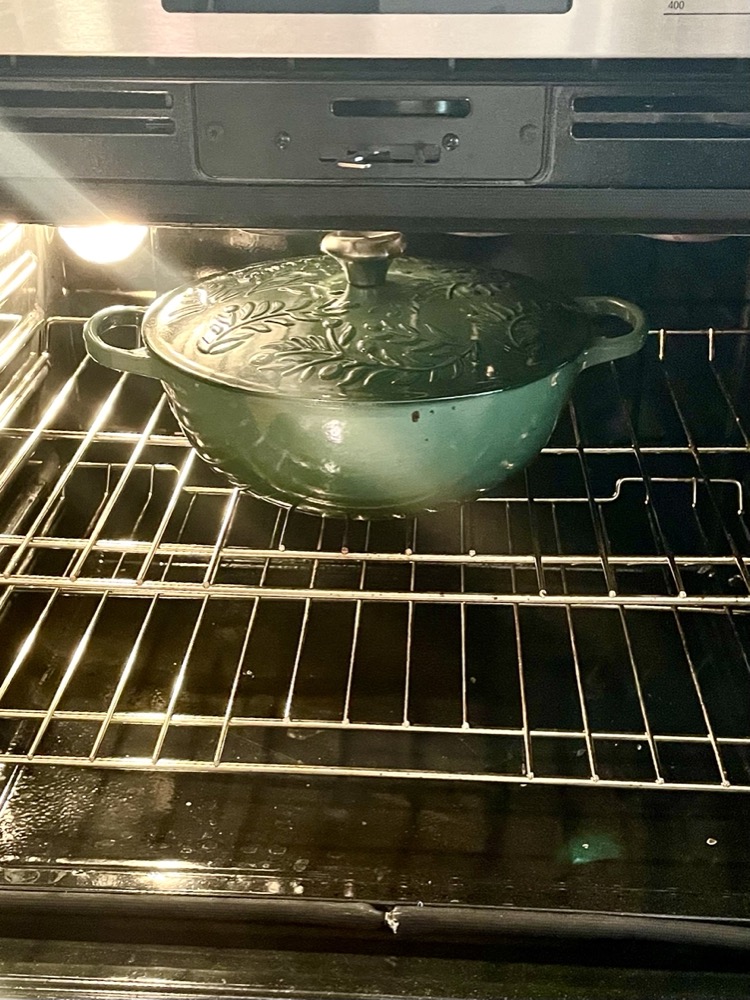
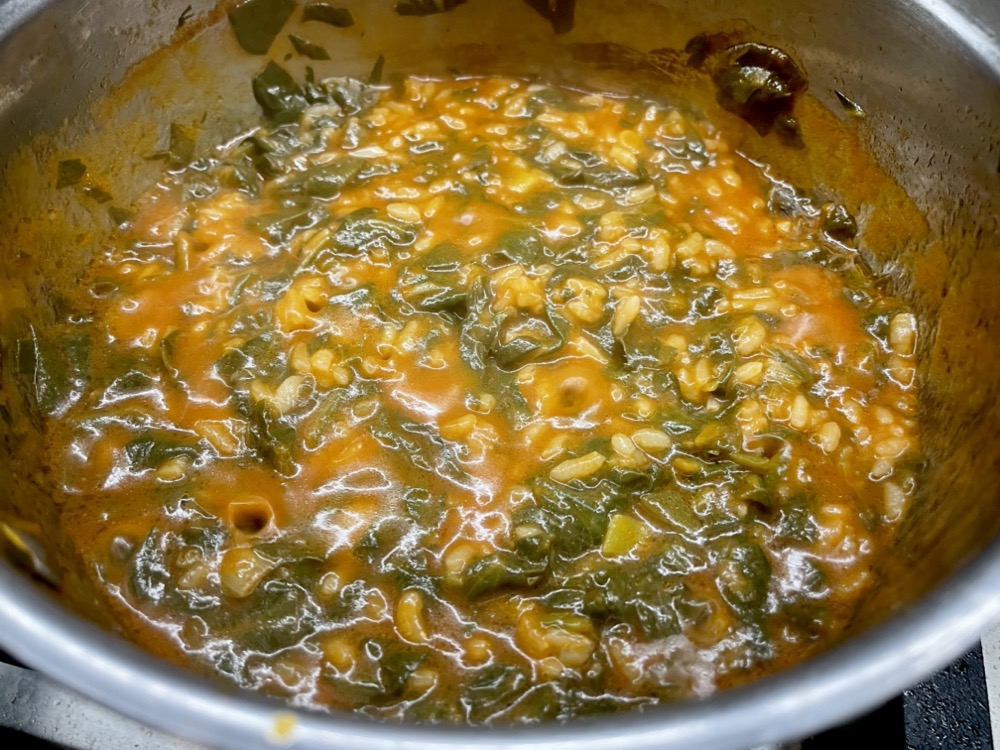
Pour in the warmed zucchini/mushroom/milk liquid over top. Mix it all together then cover with the lid and bake in the preheated oven for 20 minutes.


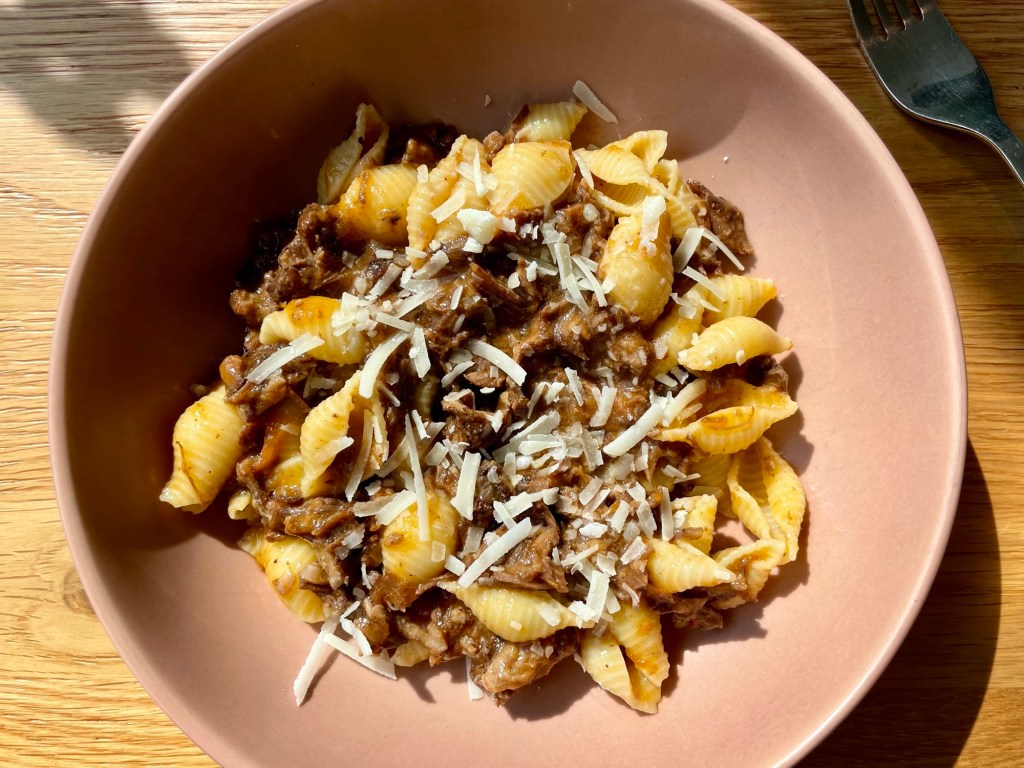
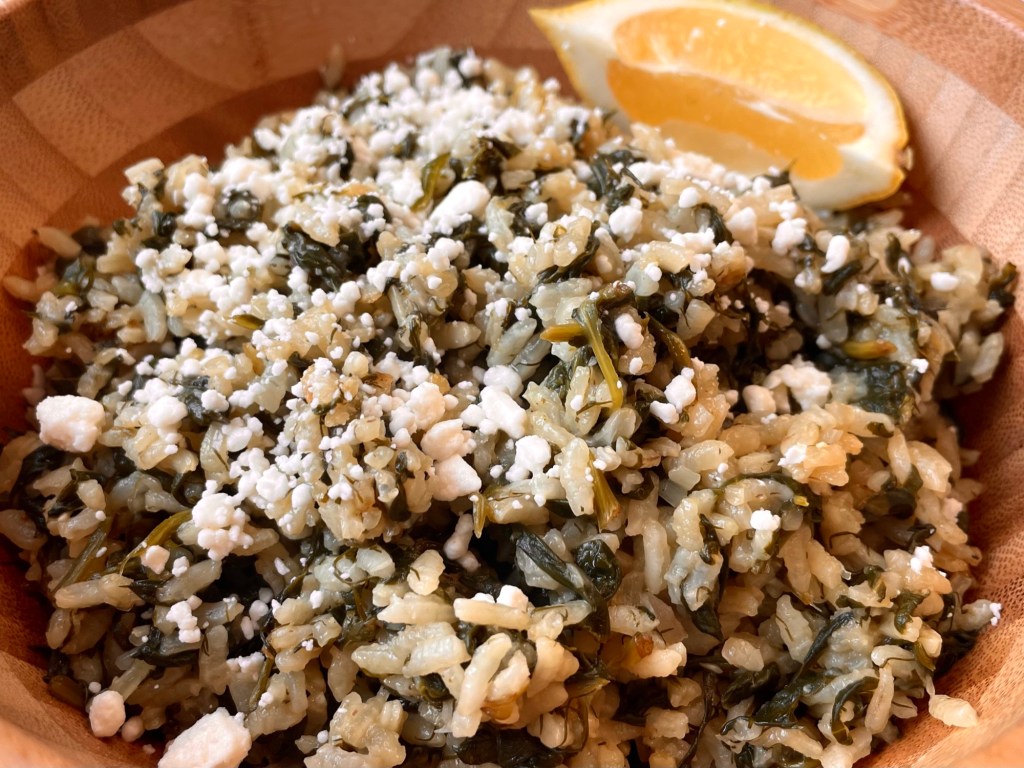
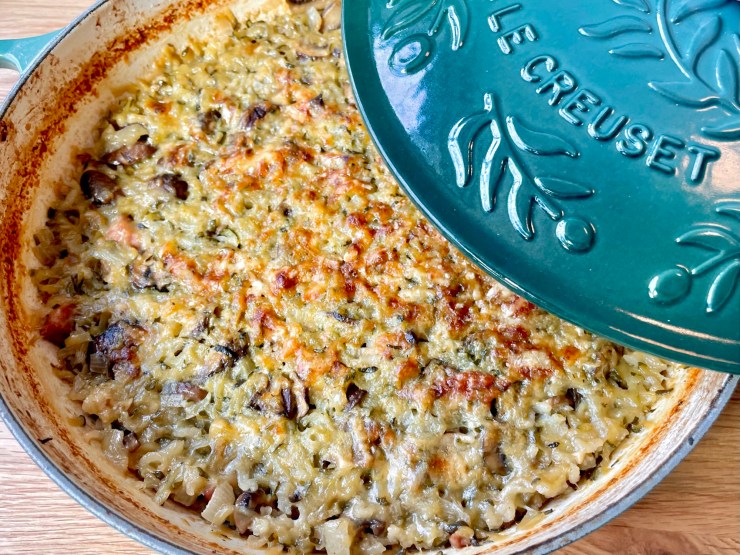
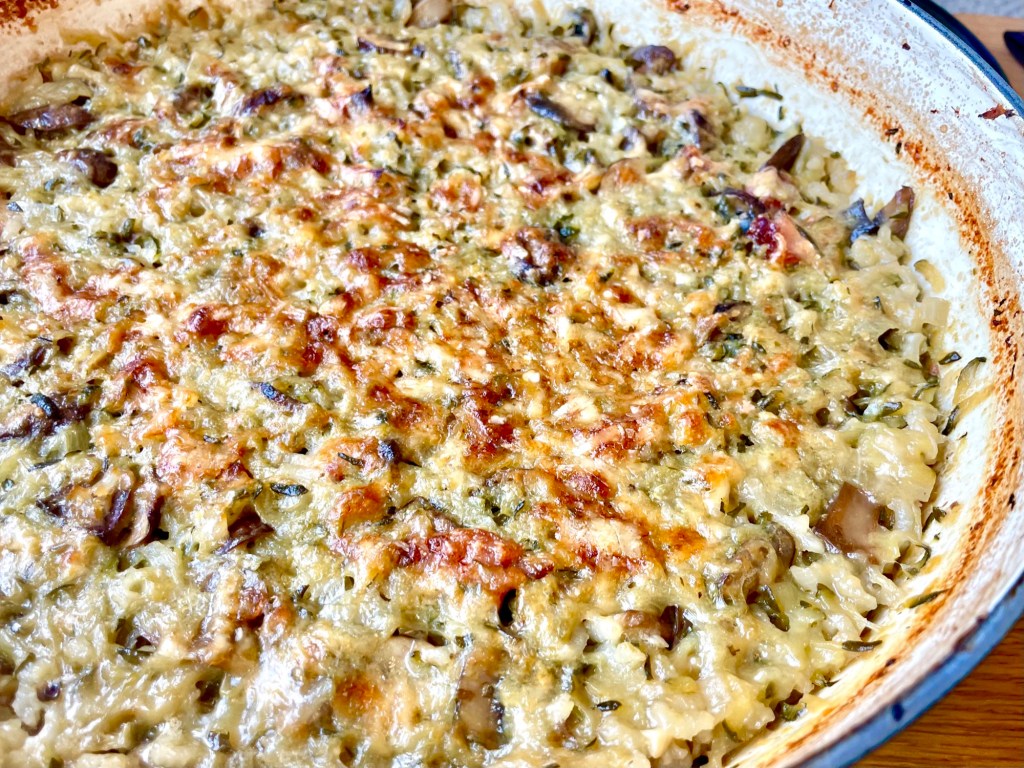
After 20 minutes, remove the lid and add a sprinkling of Parmesan cheese over top and continue baking without the lid for another 20-25 minutes, or until the liquid has been absorbed and the top is slightly golden brown. Once it’s done, take it out of the oven and let it rest for 10 minutes for any remaining liquid to absorb before serving. When dishing it out, add another sprinkle of Parmesan cheese before serving. Enjoy!

Summarized Recipe:
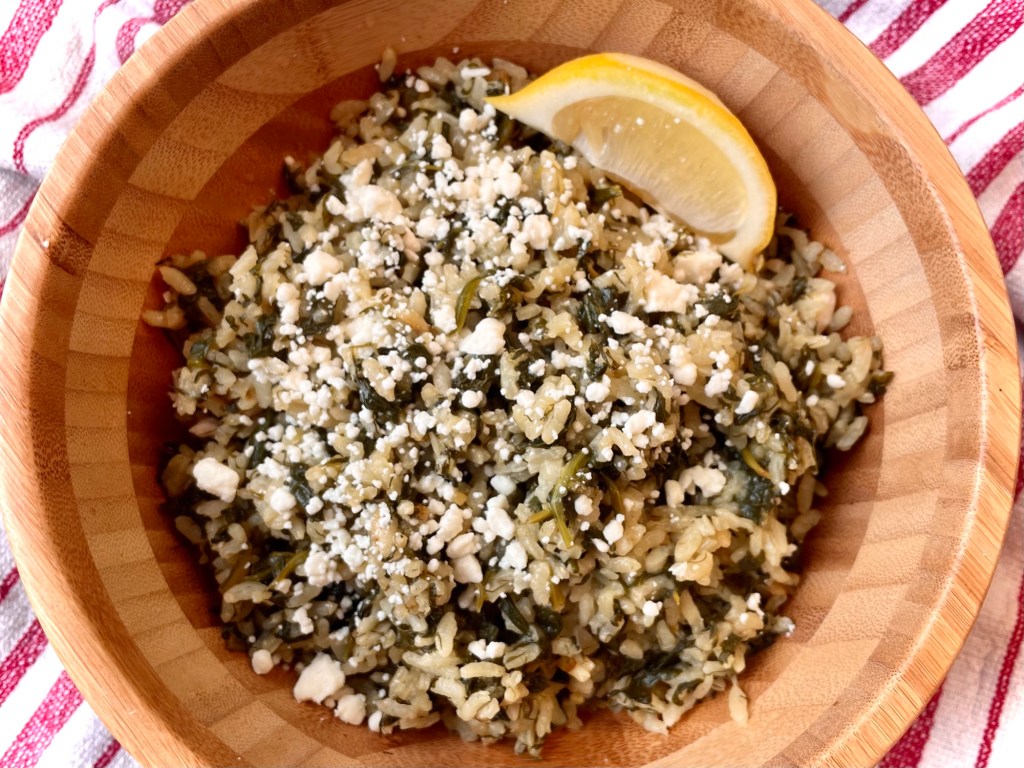
Sausage Mushroom Zucchini Tian (kinda like a risotto but easier)
Date Published: Feb 28th, 2024 | Last Updated: Feb 28th, 2024
Author: Abby |Category: easy, healthy, low-cal, mains, vegetarian
Serves: 4-6 | Prep time: 1 hour | Cook time: 40 mins
Ingredients:
*You will need an oven-proof pot or dutch oven with a lid – I used a 5 1/4 quart dutch oven.
- 1.5kg zucchinis (roughly 6 large ones)
- 500g portobello mushrooms, cleaned and sliced
- Roughly 1/2 a cup of milk (amount will vary depending on how much liquid is released from your zucchini and mushrooms)
- 3 cloves garlic, minced
- 2 medium brown onions, diced
- 3 Tbsps all purpose flour
- 1 cup Parmesan cheese, grated + extra for sprinkling
- Salt & pepper to taste
- 3/4 cup medium grain rice (I use arborio/risotto rice, but any medium grain will do)
- 300-400g kielbasa (Polish sausage), diced
- You can use any protein you like (ie. sausage, ground beef, shredded rotisserie chicken…etc.), but make sure your protein is cooked, dry, and doesn’t add any extra liquid or else it’ll throw off the liquid ratio to cook the rice.
Directions:
- Prepare the zucchini: Cut the fibrous ends off the zucchinis and grate each one using a large hole grater (this is a whole lot quicker if you have a food processor with a grating function). Place a colander over a bowl and put the grated zucchini into the colander with 3 tsps of salt. Use your hands and massage the salt through the zucchini, making sure its mixed well. Set aside for 1 hour, allowing the liquid from the zucchini to release and collect in the bowl below. After 1 hour, squeeze out as much zucchini liquid as you can and save this liquid. Rinse the grated zucchini under cold water to remove any excess salt and squeeze until dry and set aside (do not save this liquid).
- Cook the mushrooms: While you’re waiting for the zucchini to release its liquid, cook the mushrooms: in a large pan on MED-HIGH heat, add a drizzle of oil and sauté the mushrooms until cooked (4-5 minutes). Place the cooked mushrooms in a strainer and reserve any liquid.
- Prepare the liquid: Measure out the amount of collected zucchini liquid from step 2 and add in the released liquid from the mushrooms in step 3 until it makes 3.75 cups. If the combined liquid is not enough to make up 3.75 cups, then add enough milk to make up the rest of the amount. Pour the liquid into a saucepan and heat it up on the stove until warmed. Do NOT let it come to a boil, otherwise it may split. Only heat it up until warmed. Keep on LOW heat until ready to use.
- Preheat the oven to 220C/425F.
- In an oven-safe pot or dutch oven (make sure there’s a lid) on MED-HIGH heat, add a drizzle of oil and sauté the garlic and onion together for 3-4 minutes until the onion turns translucent. Then add in the grated zucchini and continue to sauté for another 5-6 minutes.
- Add in the cooked mushrooms and 3 Tbsps of flour to the pan and continue mixing for 2 more minutes until everything is well combined then turn off the heat.
- Mix in the Parmesan cheese, rice, and kielbasa (or your choice of cooked protein).
- Pour in the warmed zucchini/mushroom/milk liquid over top. Mix it all together then cover with the lid and bake in the preheated oven for 20 minutes.
- After 20 minutes, remove the lid and add a sprinkling of Parmesan cheese over top and continue baking without the lid for another 20-25 minutes, or until the liquid has been absorbed and the top is slightly golden brown. Once it’s done, take it out of the oven and let it rest for 10 minutes for any remaining liquid to absorb before serving. When dishing it out, add another sprinkle of Parmesan cheese before serving. Enjoy!